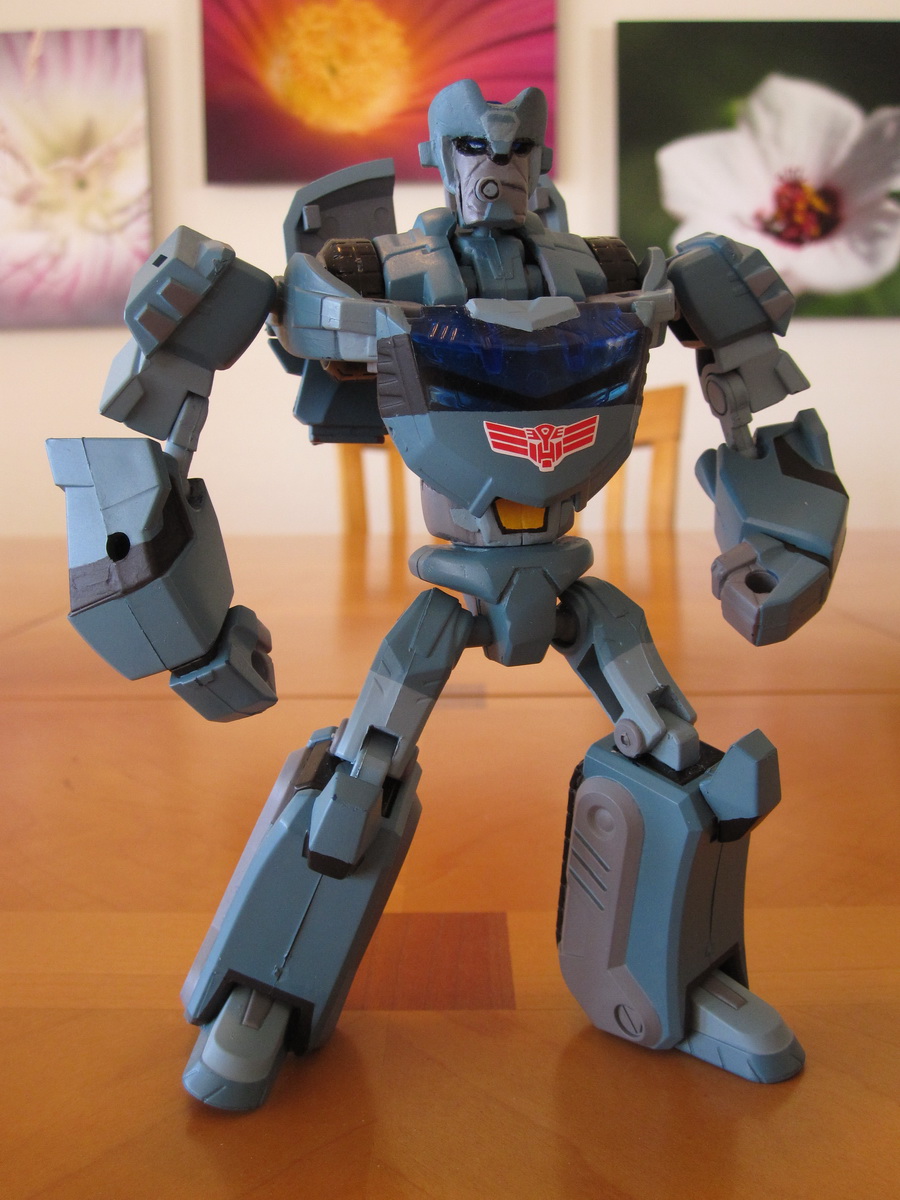
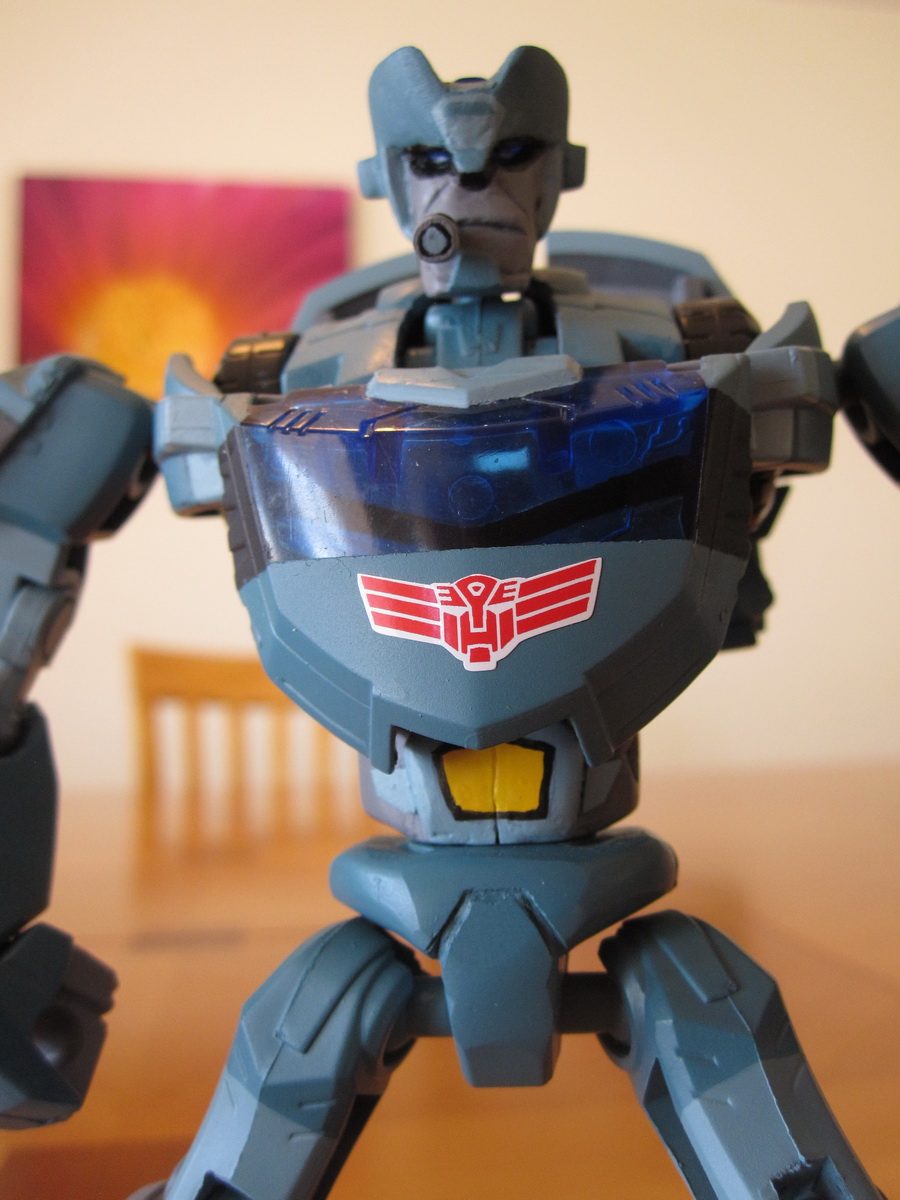
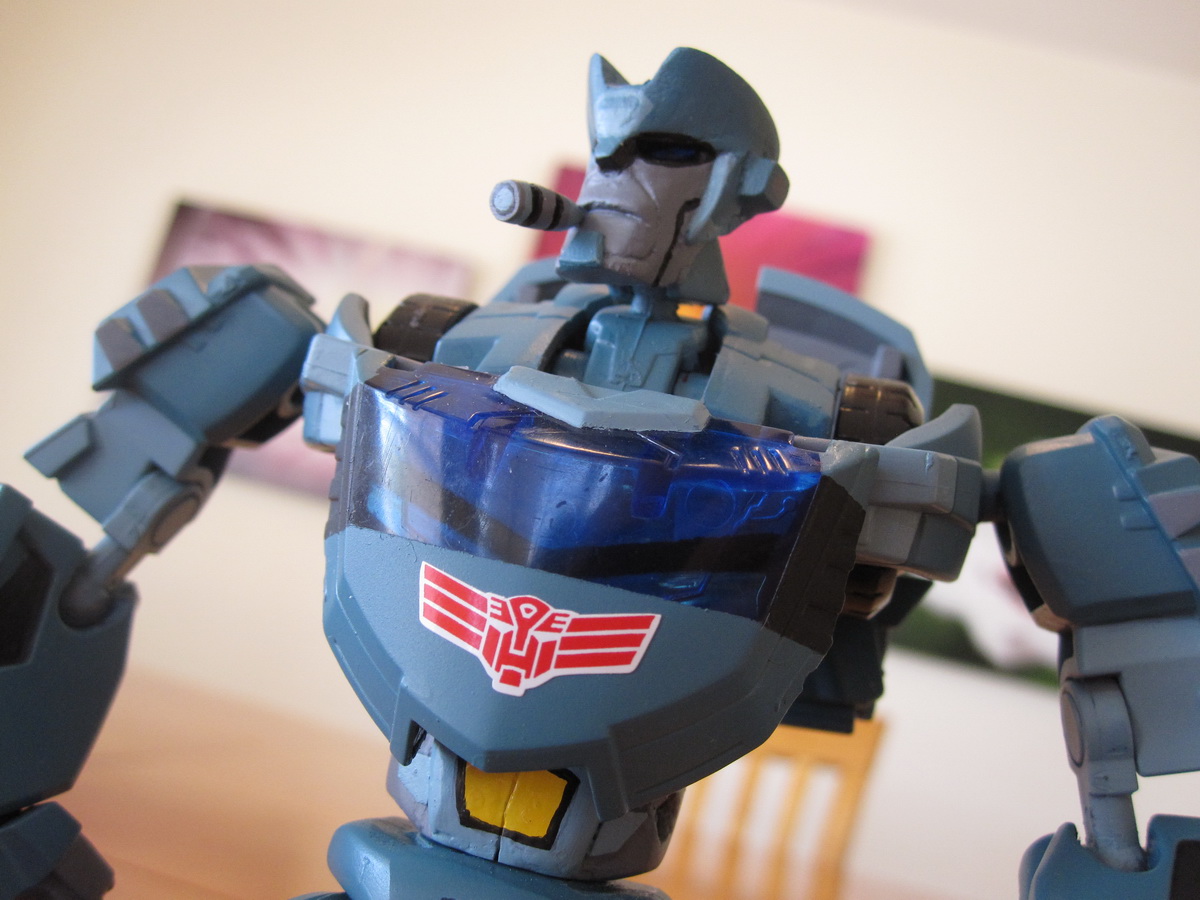
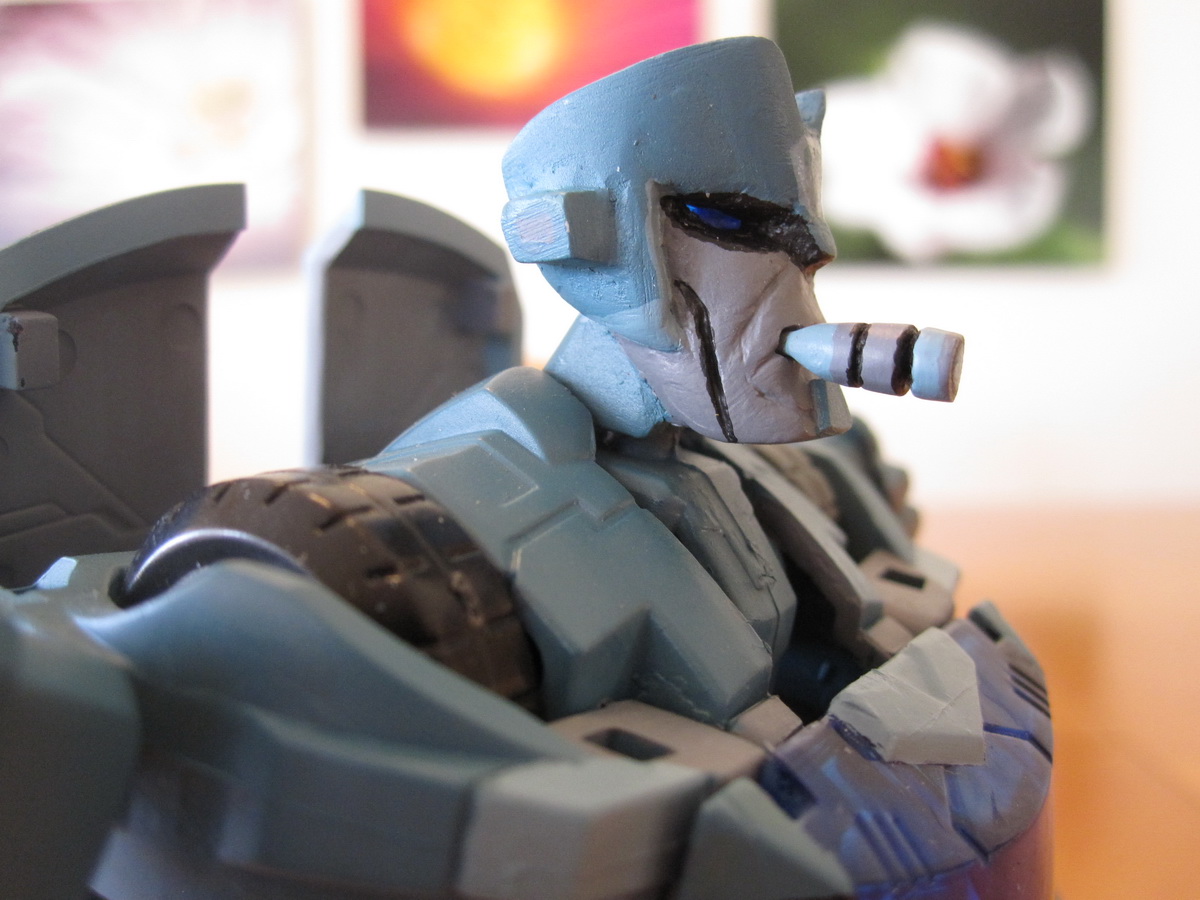
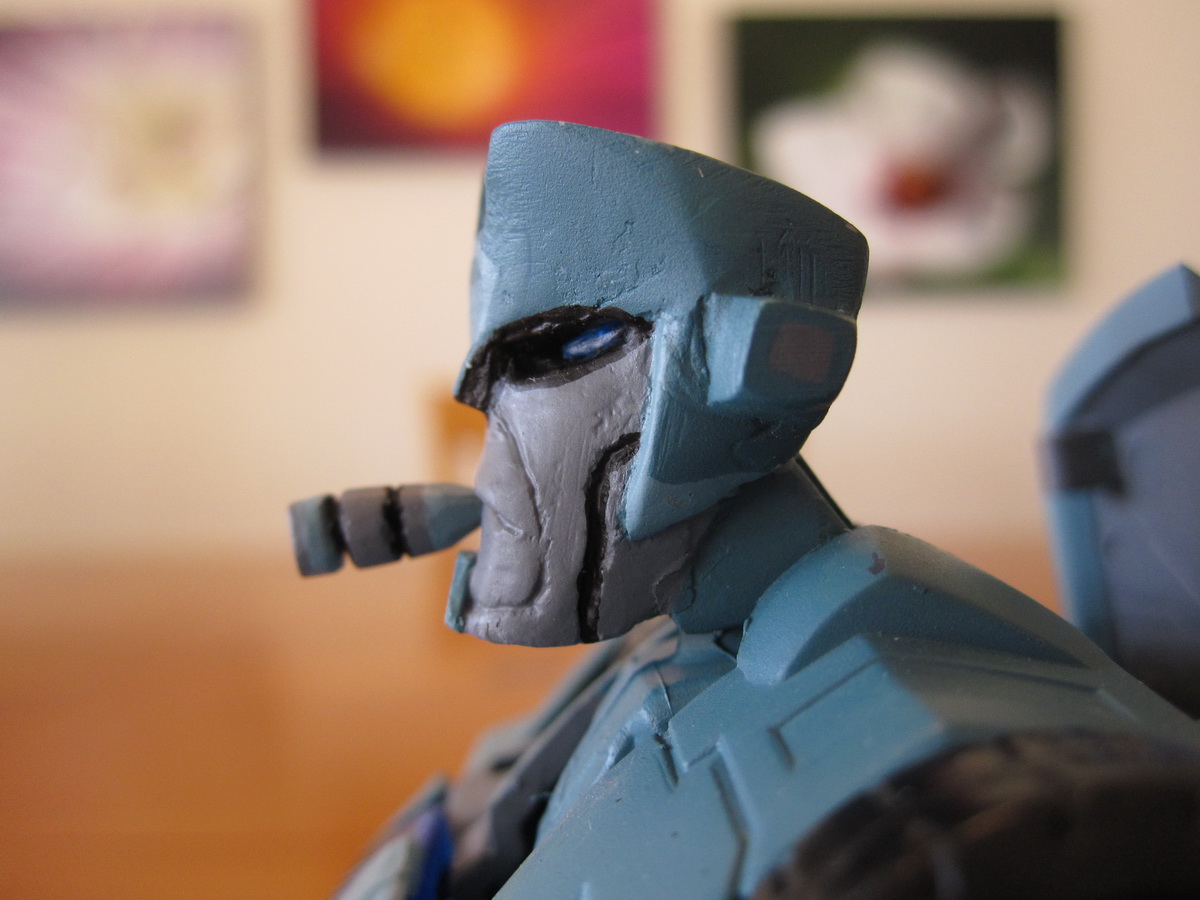
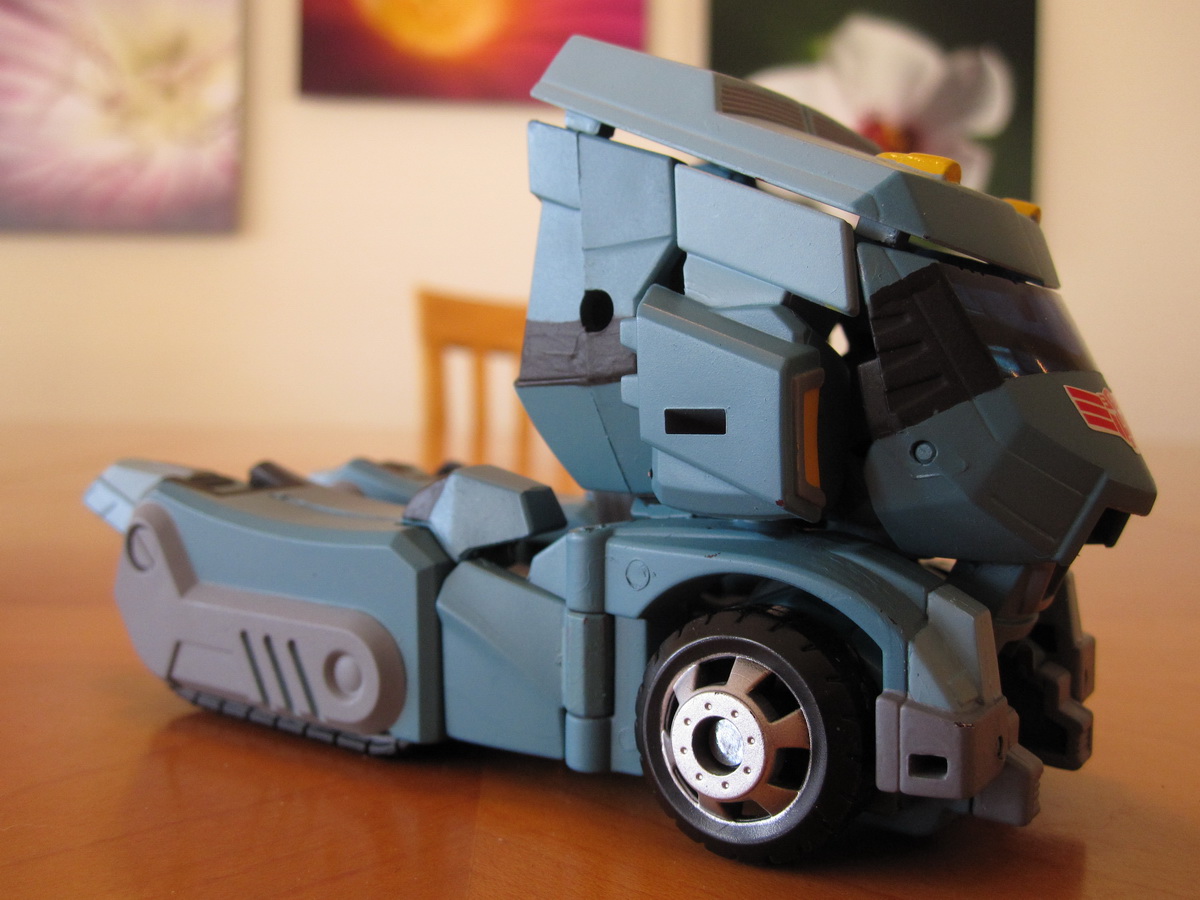
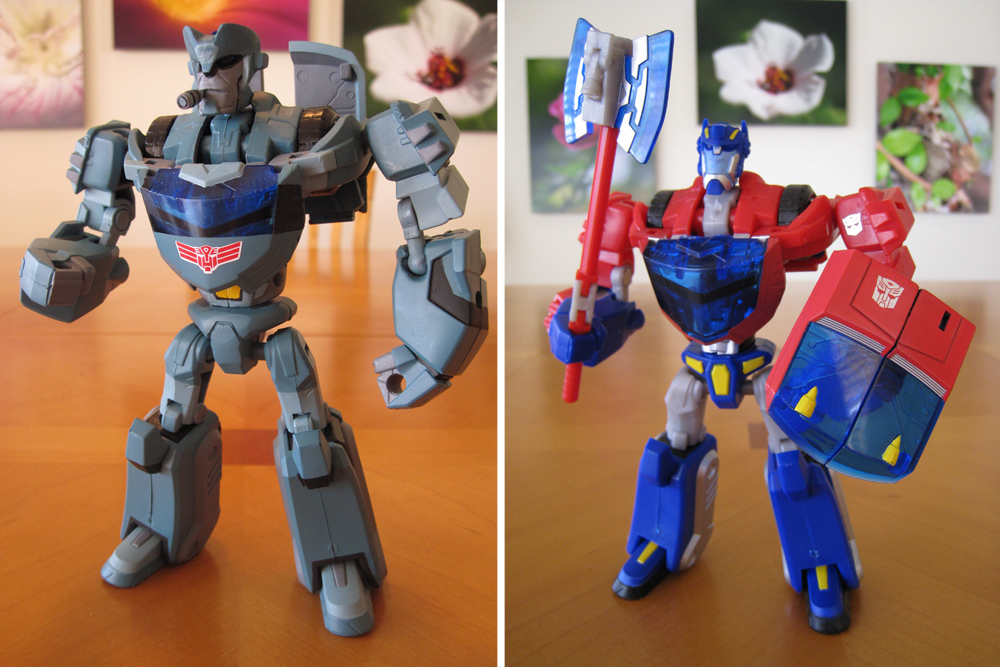
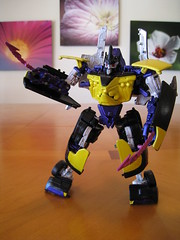
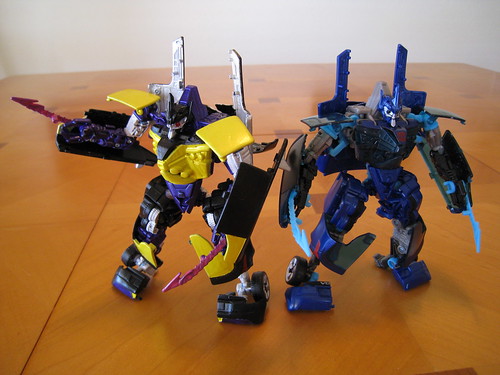
This little guy is the result of many weeks of work. His name is Copperhead, and he’s part of the Transformers Prime universe.
Designed as an exclusive for a local group of Arizona Transformers fans on TFW2005.com, this project included the creation of 10 custom-painted legion class figures for what we jokingly called “Cacticon”.
I knew that this project would be a lot of work, and I had planned for it; but it surely was A LOT OF WORK!
The seed for this idea sprouted from talk amongst our group. The primary group of us have been meeting for over a year, having started just a bit before BotCon 2011. We had met each other on-and-off before that, but we started meeting monthly just before BotCon 2011. Since I had begun customizing, and others within the group had as well, we began to dream about having our own exclusive figure for the group.
 I kept getting good responses from my customizing work, and I kept pushing back on commission requests since I didn’t want money to corrupt this hobby I was having fun with. I was / am of the mindset that money and time constraints would make me lose appeal in the fandom. Therefore, I would brush off the talks whenever they came up.
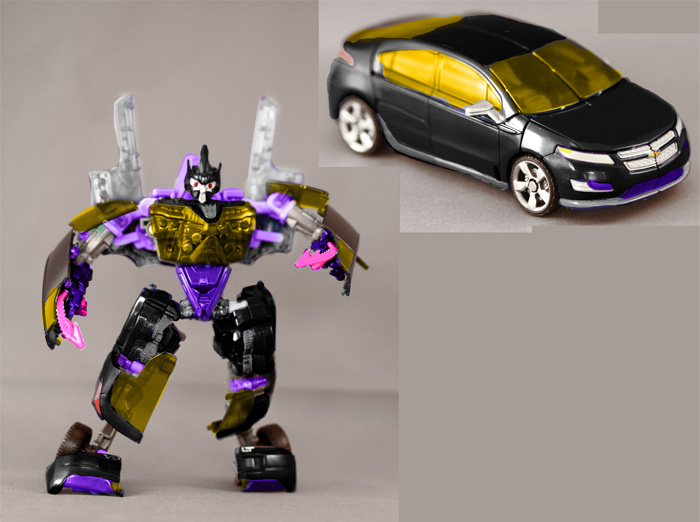
However, one night an idea (or two) popped into my head and lodged itself in my brain. I simply couldn’t get it out, and had to get the ideas down on paper before I went to sleep. And then on the next day I began working on viable concepts. The fruits of that labor were a Bumblebee redeco called Copperhead (originally Coppertone), and a Arcee redeco called Diamondback.
The idea was that both were Transformers Prime characters/toys, and that were readily available and inexpensive. Furthermore, I had planned on using legion, or legends class, figures which I thought would simplify the process. The final theme concept was to turn them into desert / Arizona / snake-themed characters, which I felt was applicable for our Cacticon concept.
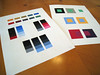
 I presented 2 Photoshop mockups to the group in a poll and asked for them to vote. I stated what I thought each would cost, what would be included, and how long it would take. I didn’t want to charge too much to scare people away, and I didn’t want to charge too little to make it costly for me to do. In the end there were 2 pricing schemes: $26 and I’d get the base figure for you, or $20 if you supplied the figure.


The poll went for a little over 2 weeks, and Copperhead was a winner by a small margin. I began asking for pre-orders for Copperheads, while in the background I pocketed the Diamondback concept and had other possible ideas for her in the future.
Finally after another 2 weeks or so, Copperhead production was ready. I had gotten payment and/or figures, and was ready to make a grand total of 10 Copperhead figures. Supplies were purchased, my airbrush setup came back out into my office, and I got to work.
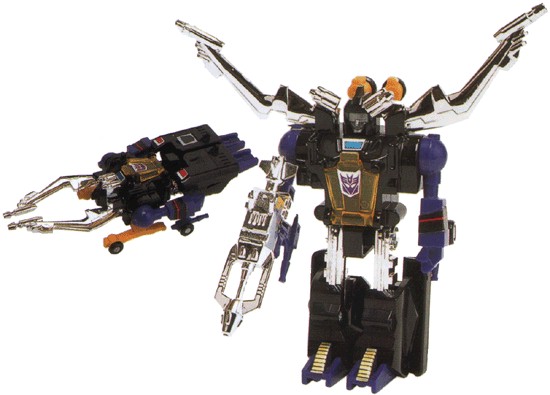
One of the members, Matt, had written Copperhead’s bio information (found on the card back above); and another named Brad had promised to complete the Photoshop work and printing of the updated packaging artwork to match the new figure.
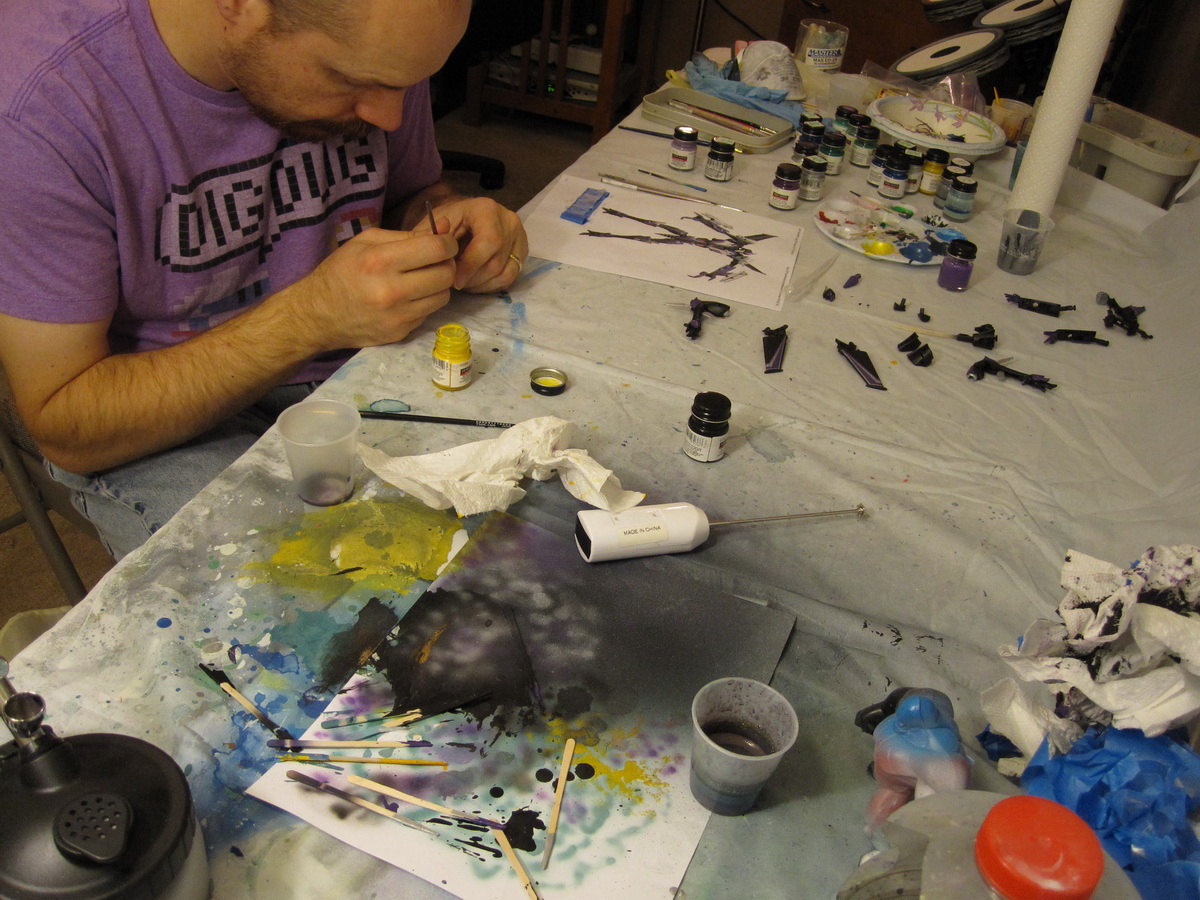
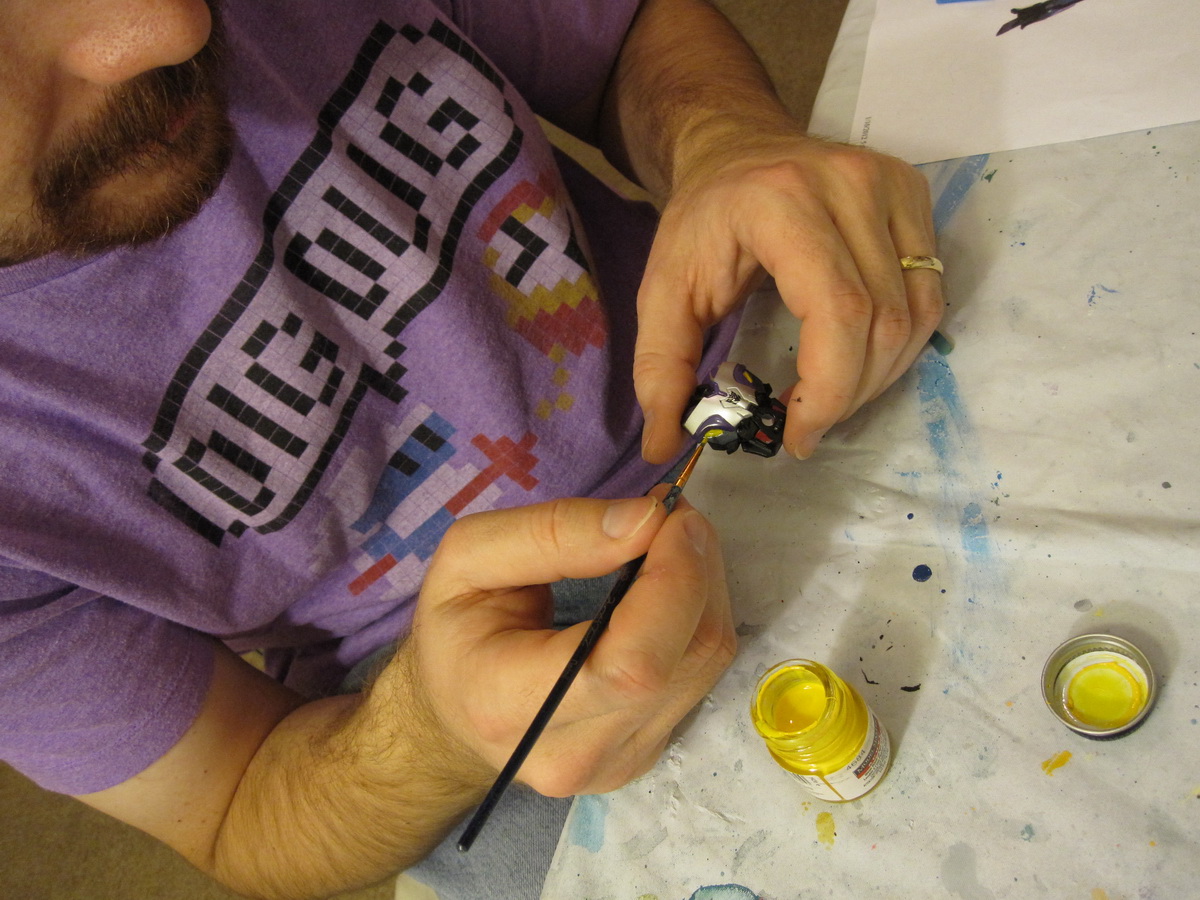
The work was long and tiring. Many a late night over the course of several weeks. If you are interested, more step-by-step details can be found in a Flickr set about the full creation of the Copperhead army. I took photos of pretty much every step of the process, as well as my tools, techniques, and tips. I’ll hit on some of the main points below with photos.


The 10 original Bumblebee figures ready to be turned into Copperheads. I don’t think I’ve ever had this many of the same figure before.
 First edition deluxe-class Bumblebee inspects the carnage that is 10 disassembled legion Bumblebees. The idea was to do a deluxe-sized Copperhead as well, but I haven’t had time to finish him quite yet.
 Me starting the first round of masking off the wheels on each figure. 4 wheels per figure, times 10 figures, is a lot of masking tape. I ended up using 1.5 rolls of it on this project.
 Here the initial bits of paint work had been completed. I had used 2 whole bottles of tan Model Master Acryl paint by this point at $3.50 a piece.
 This was about 3/4 through the project. A prototype Copperhead had been completed to test the design, and he’s in front. The others had been masked up and ready for the primary brown stripe. I actually came up with a pretty good idea of templating the masking tape by cutting them all out a once so they’d have the same curve. They still were a pain to line up, and on both sides of the car.
 All the figures had been painted with final touch-ups and reassembled. They had gotten a coat of clear semi-gloss as well to add a bit of sheen. Only thing left was packaging.


Brad and I completed the packaging right before they were due, outside of the Tempe Marketplace Dave & Busters. We were down to the wire.


I think these shots are quite funny. I had 9 weapons available at the end of the project, and so what better way to utilize them other than stacking them on top of each other? Copperhead is now ready for business anytime of the day.


Here you can see how I lined up the Copperheads in a row to show him transforming from car to robot, and back. A rare occasion to take a shot such as this.


The Army of Copperheads is ready for duty.
So in conclusion, I’m happy to be done with this project. I’m pleased with the results, and the response has been pretty good. The shear effort needed to get these guys done was mind-numbing. So much paint, so much masking tape, so much repetition. I also didn’t make any money on the project, but that wasn’t the point. The finished outcome was what I was concerned about.
Would I do this again? Maybe, but I’d have to think long and hard about it. I’m definitely burned out at the moment and my other projects have stalled.
But I am proud that our group finally has a little custom exclusive to call our own, named Copperhead.
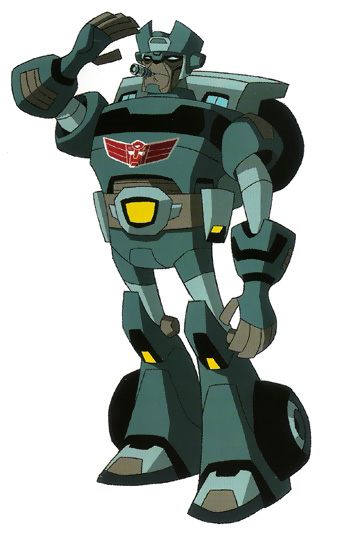
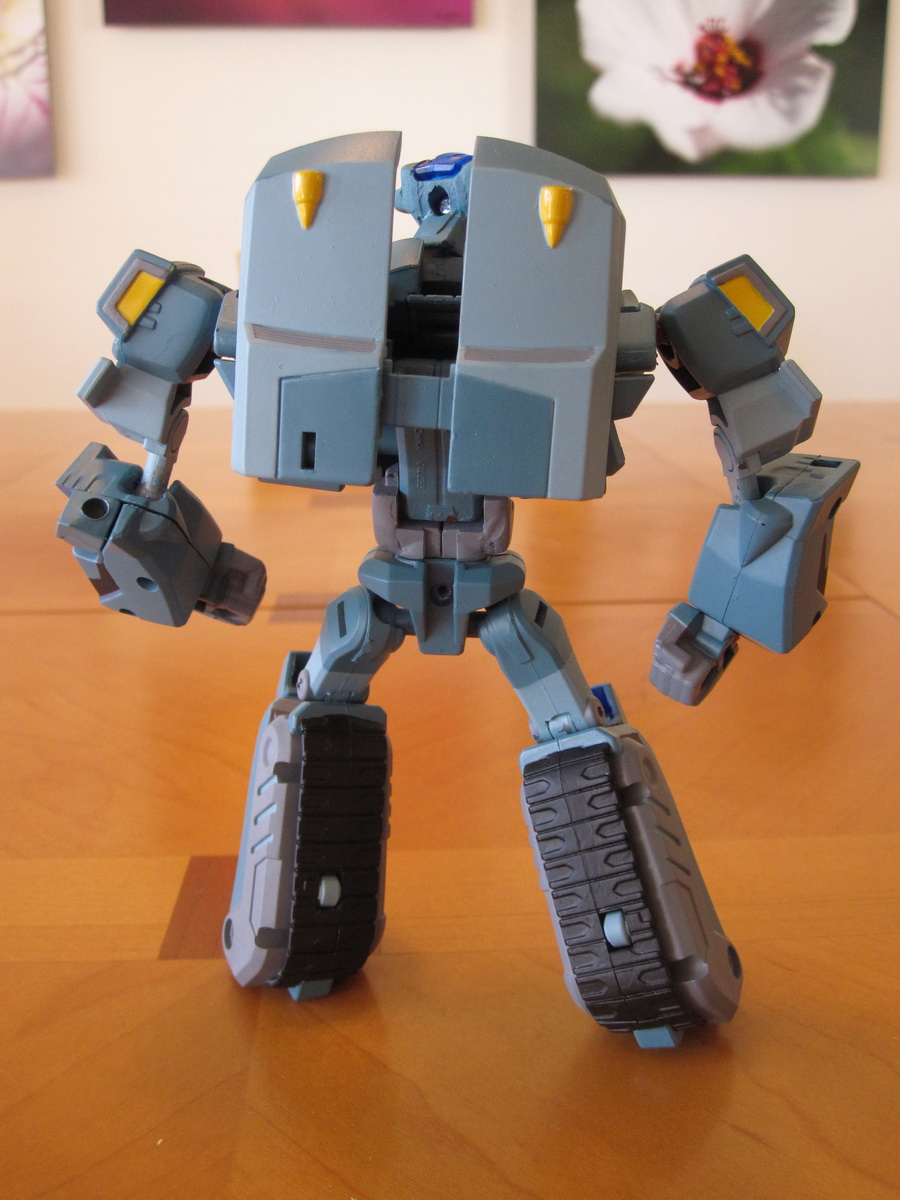
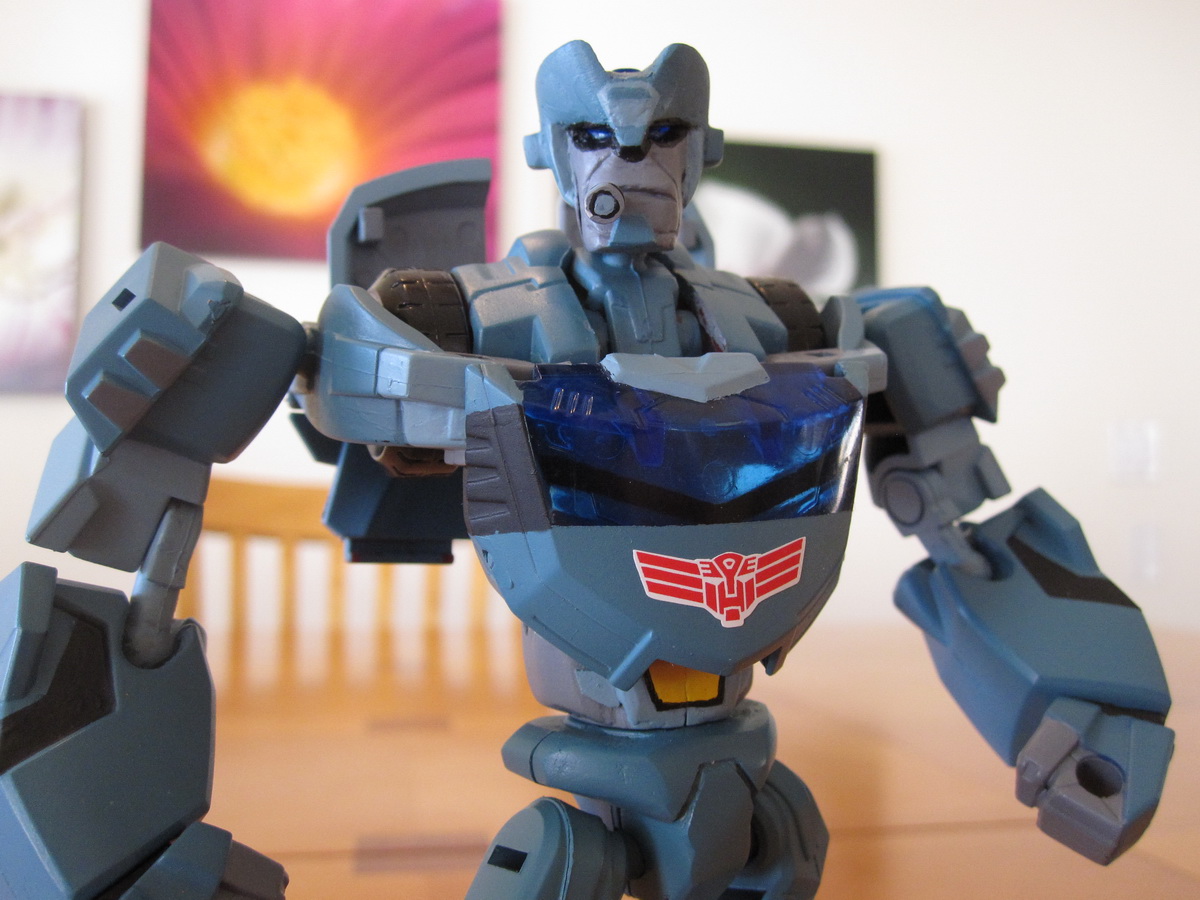
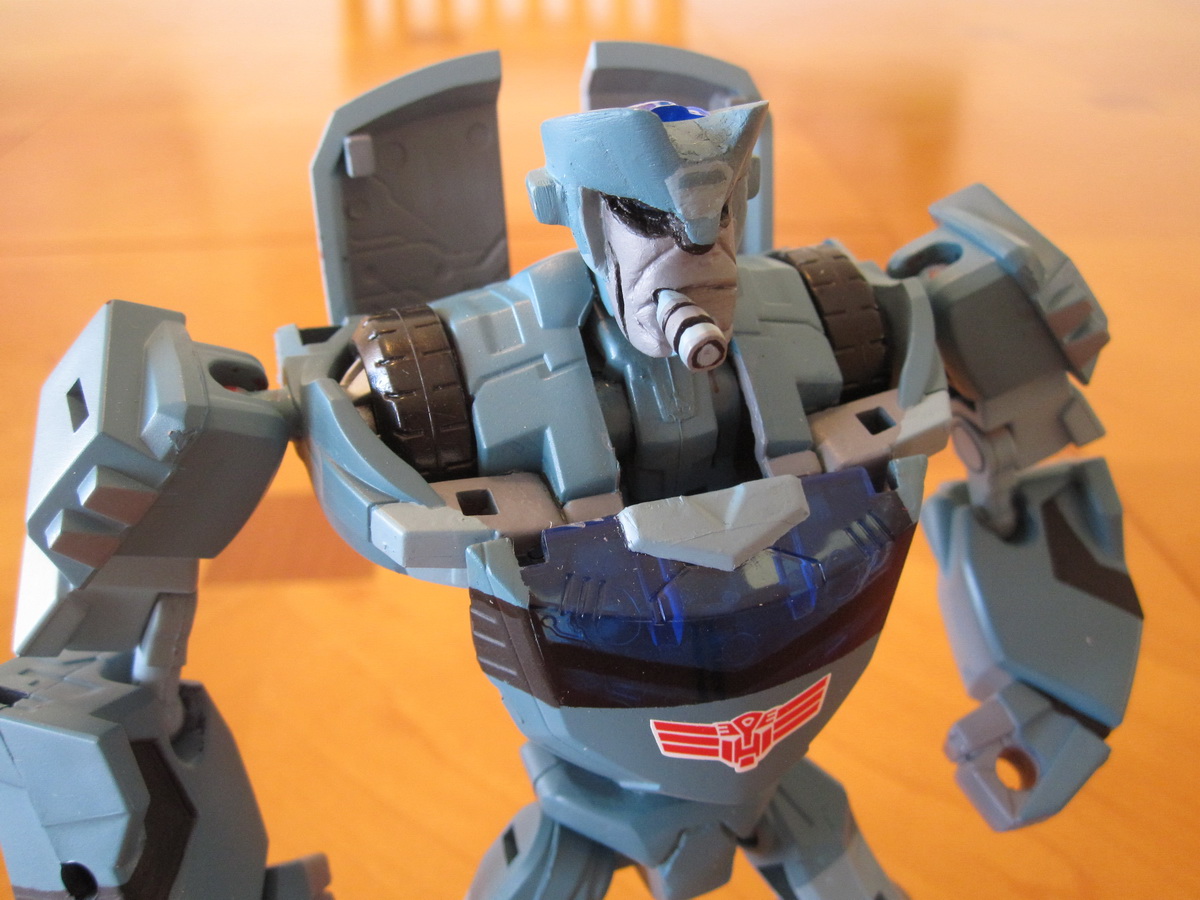
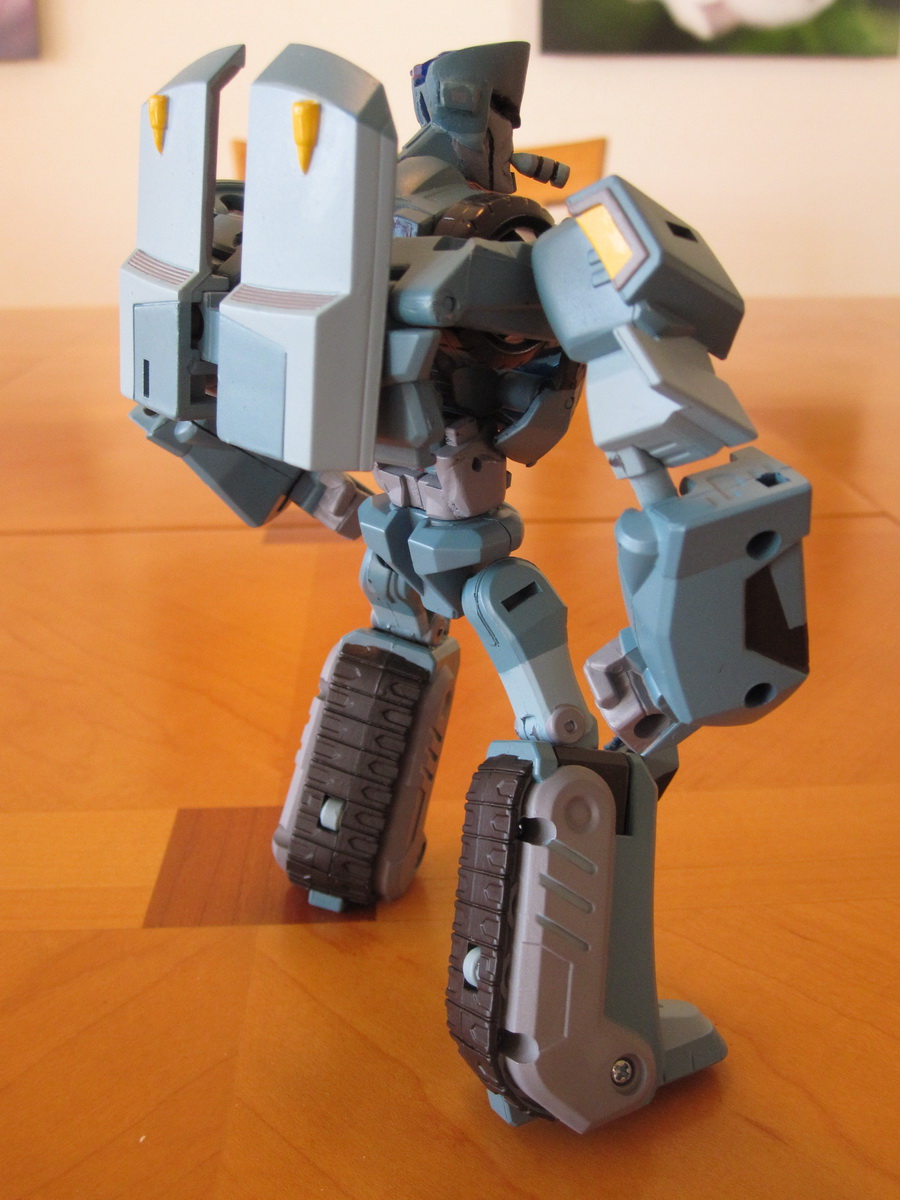
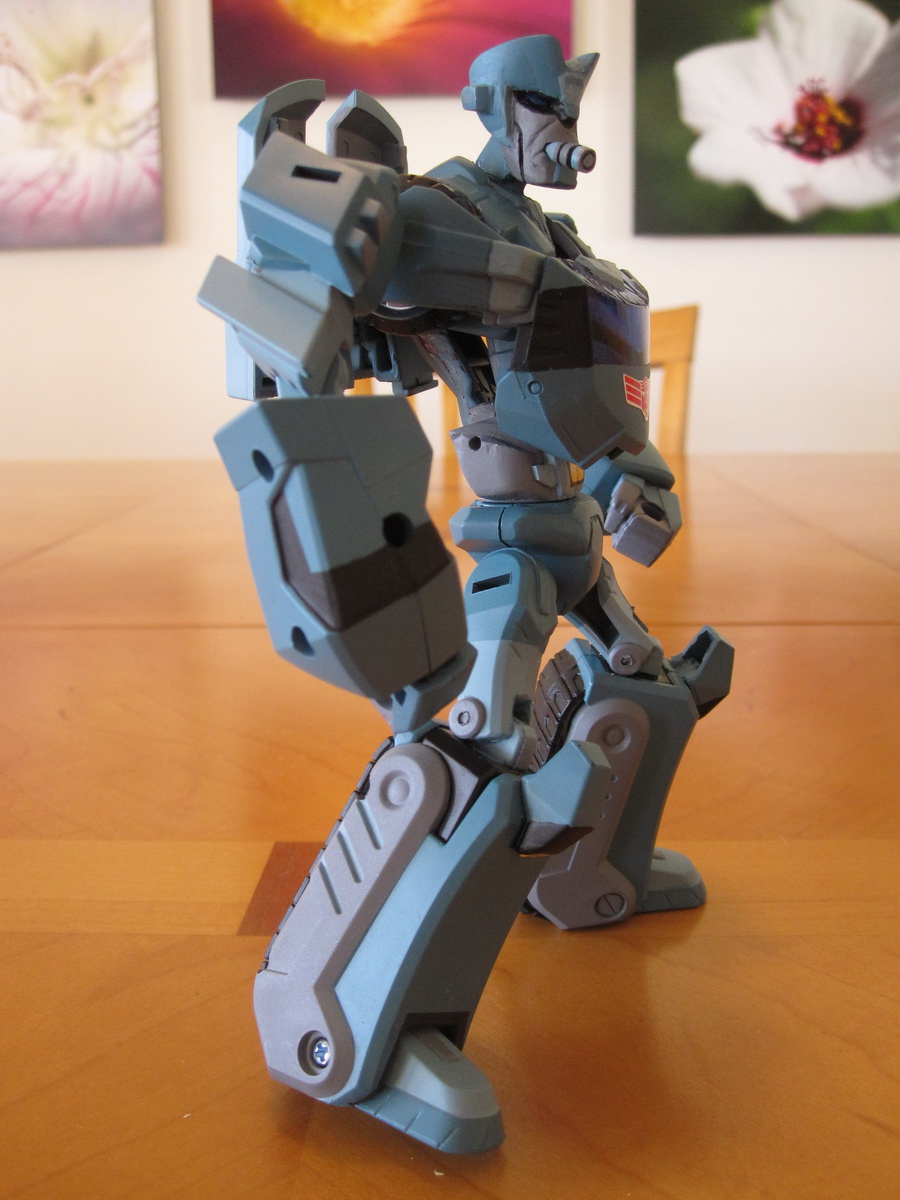
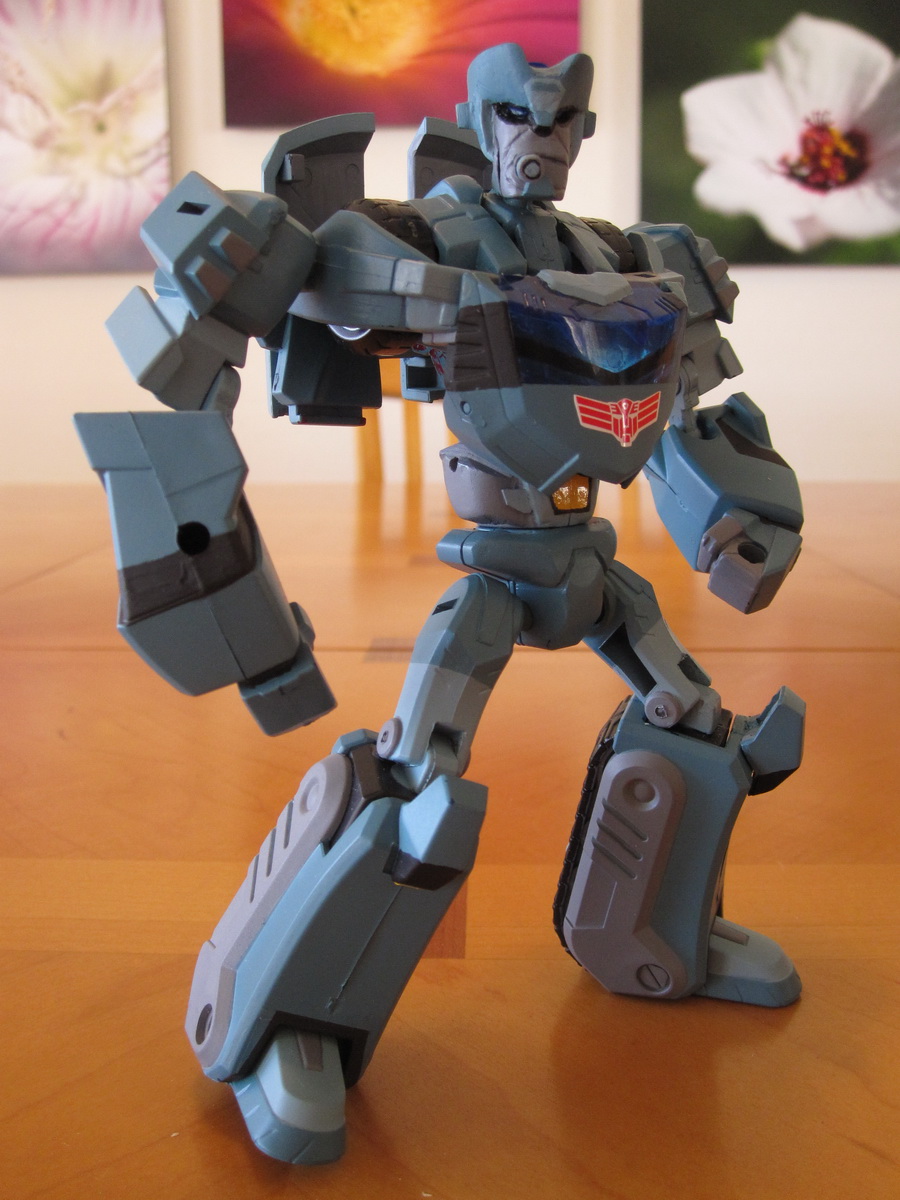
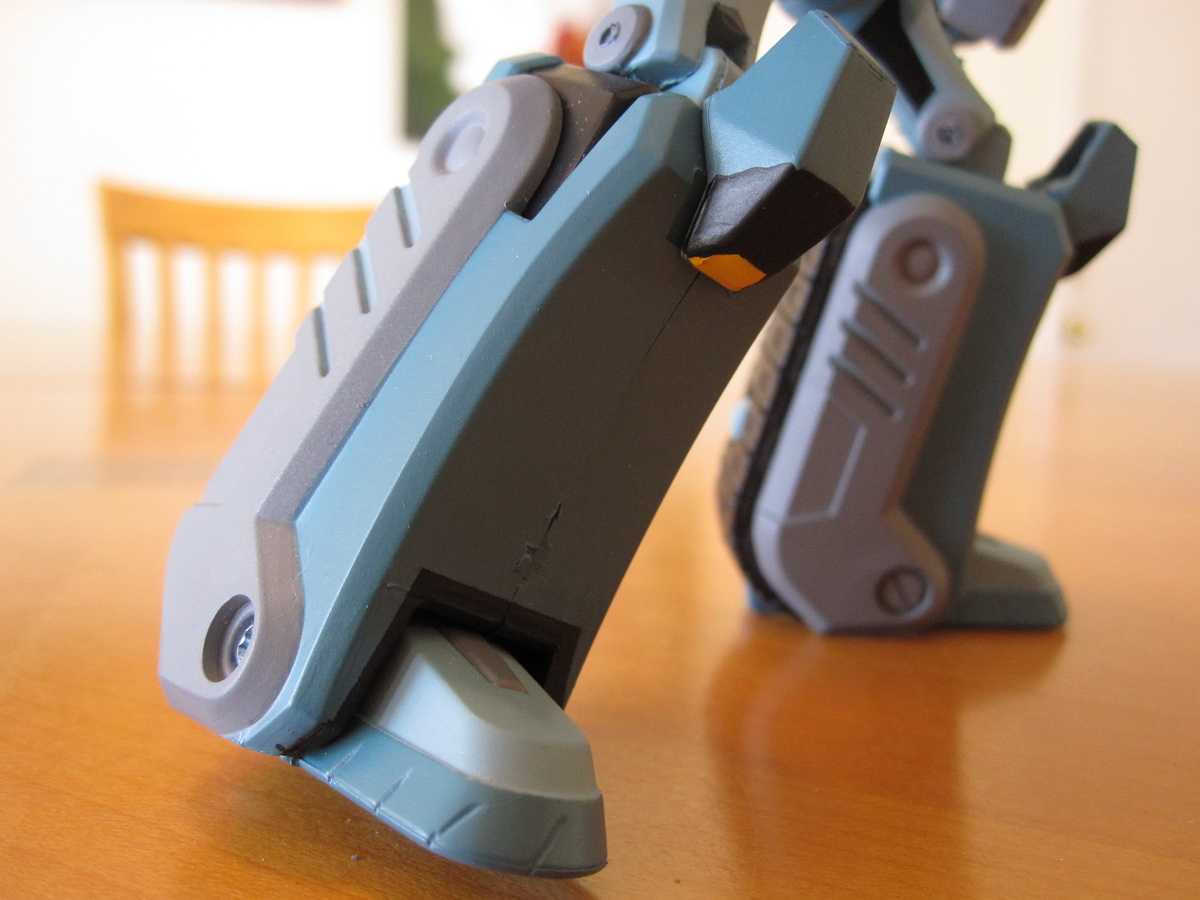
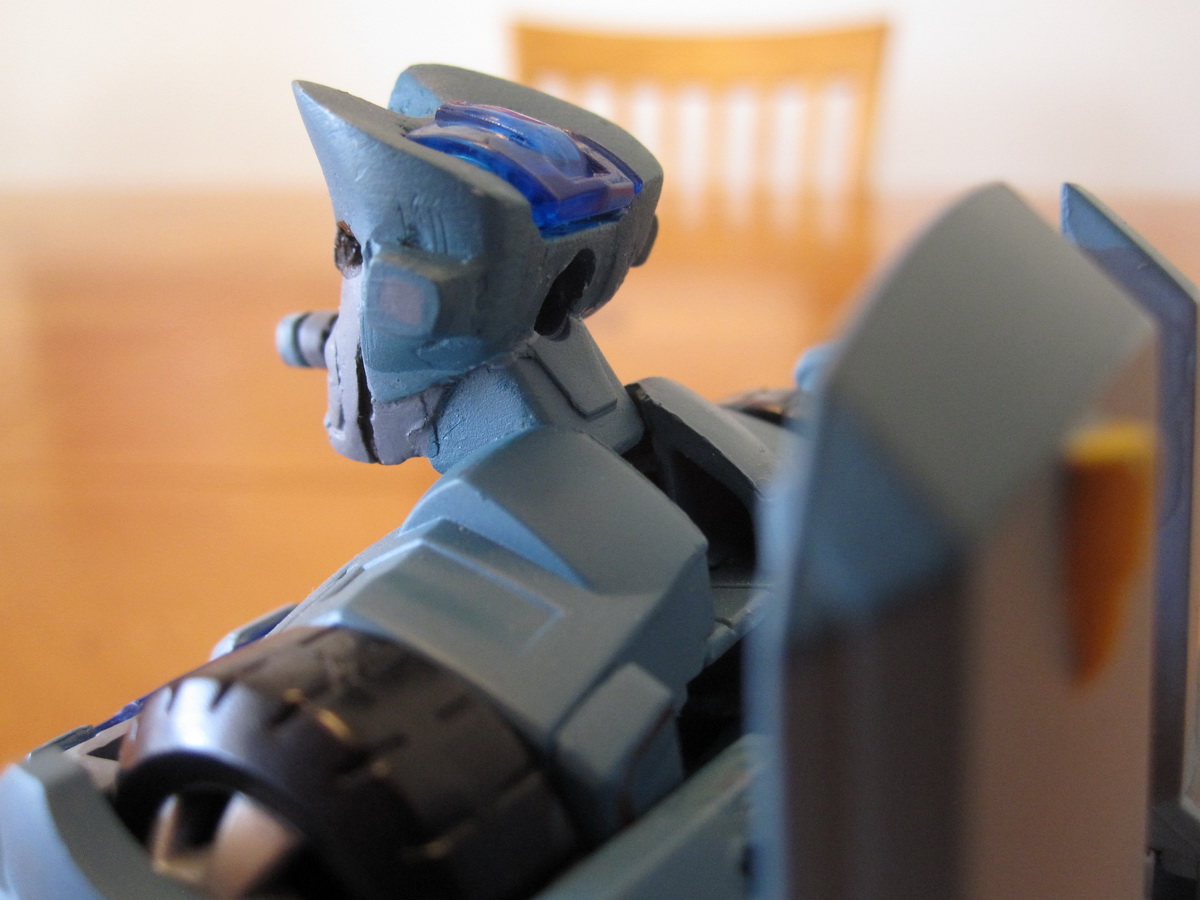
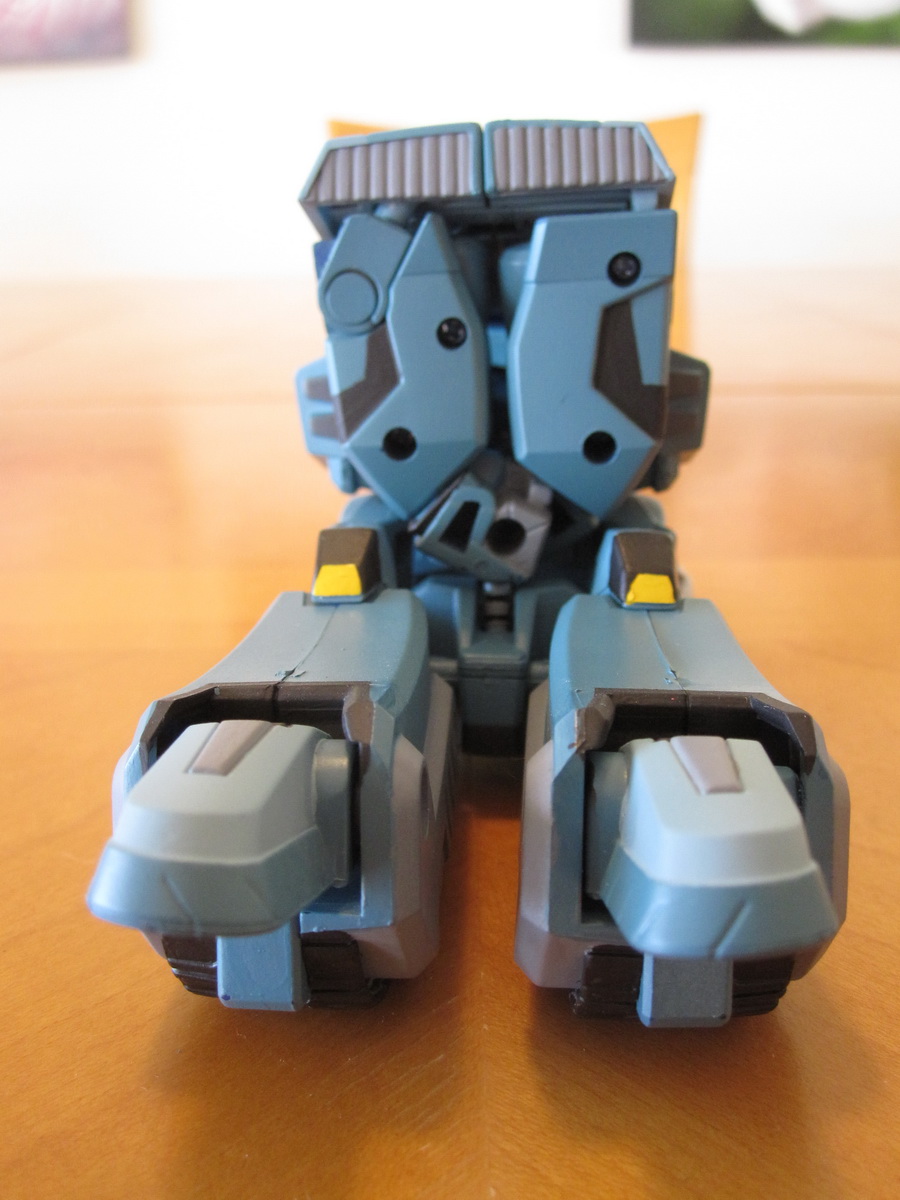
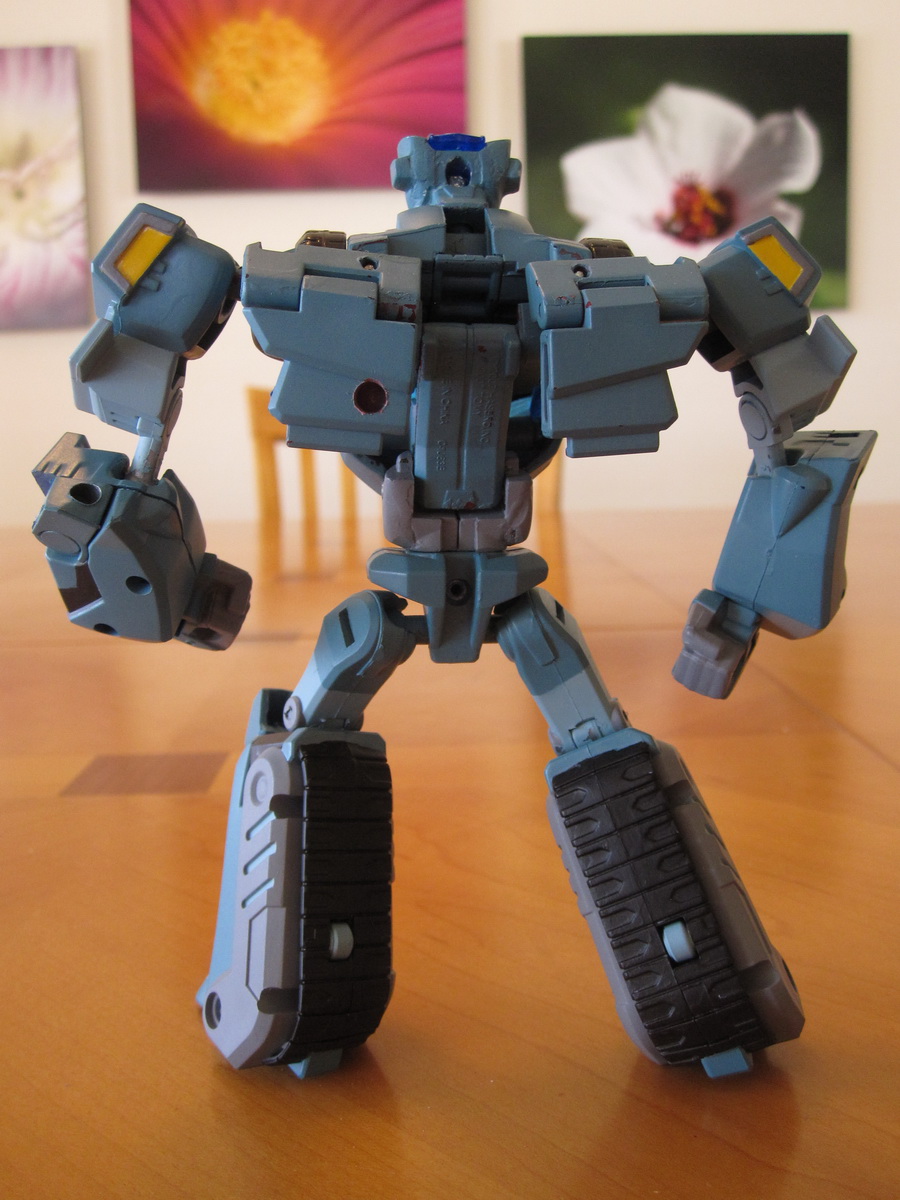
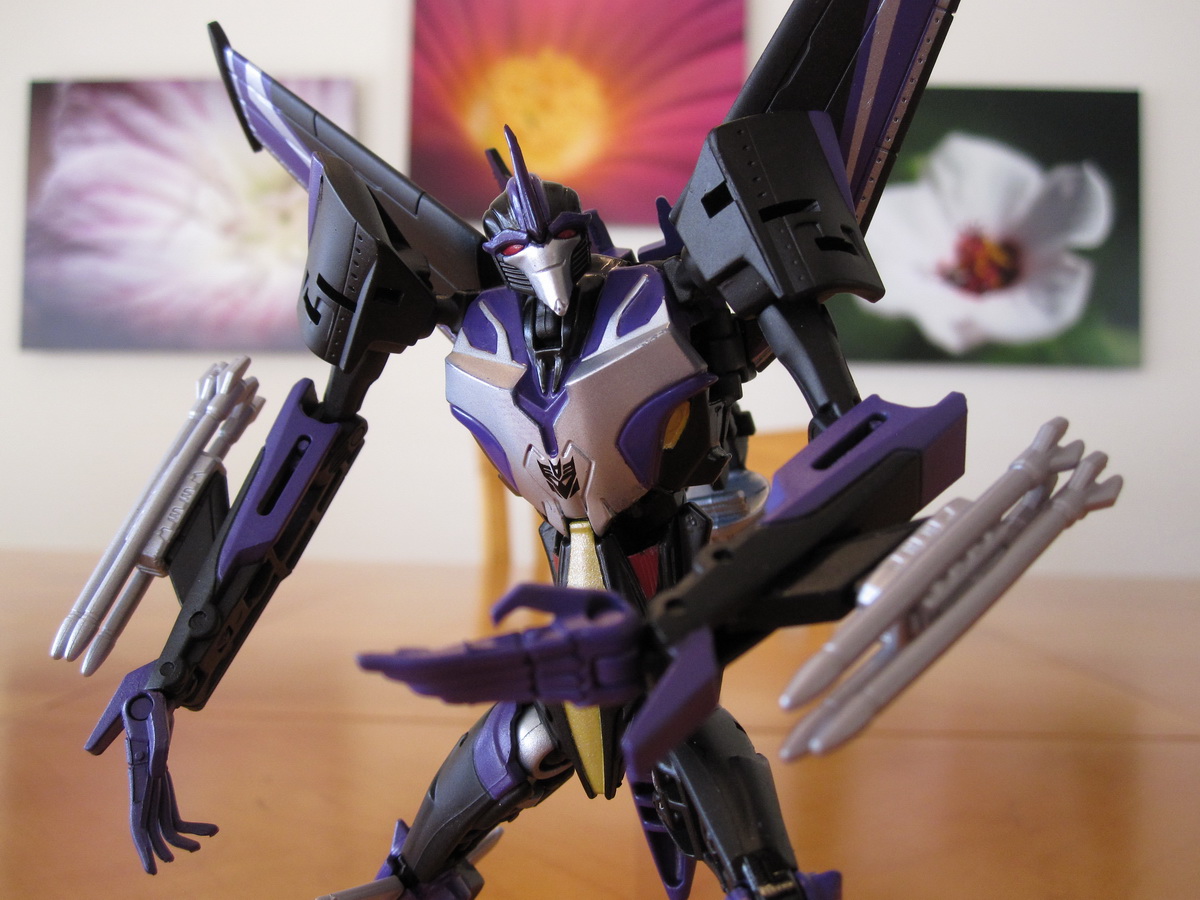
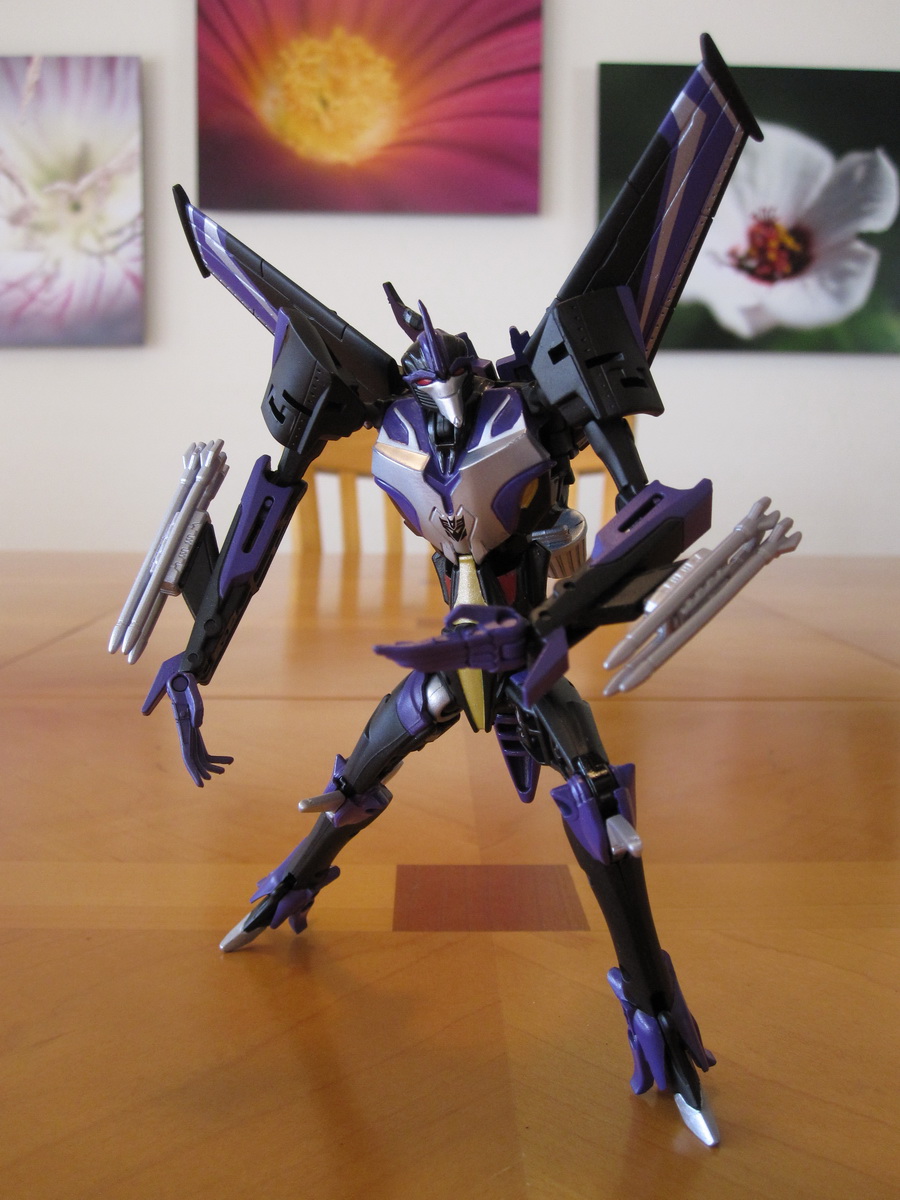
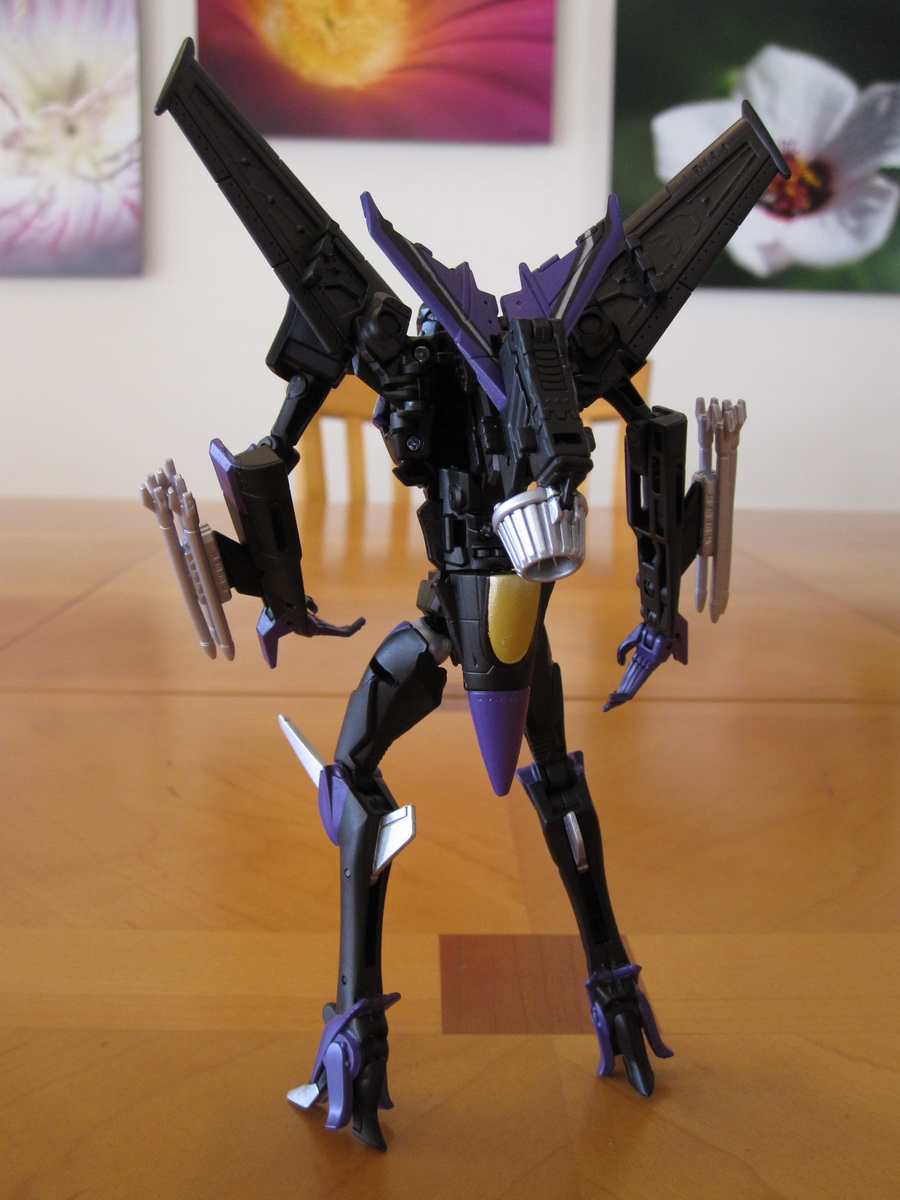
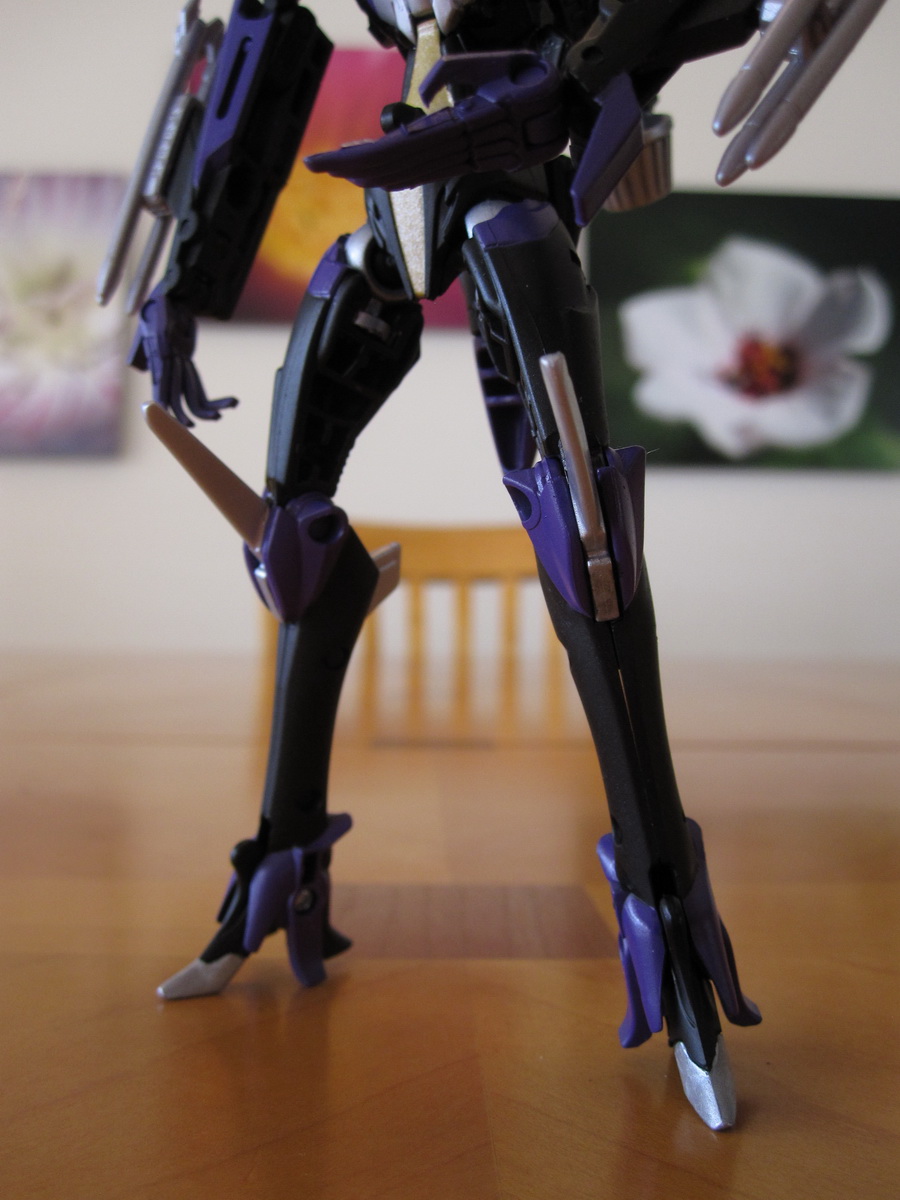
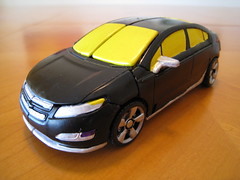
 - Robot mode")
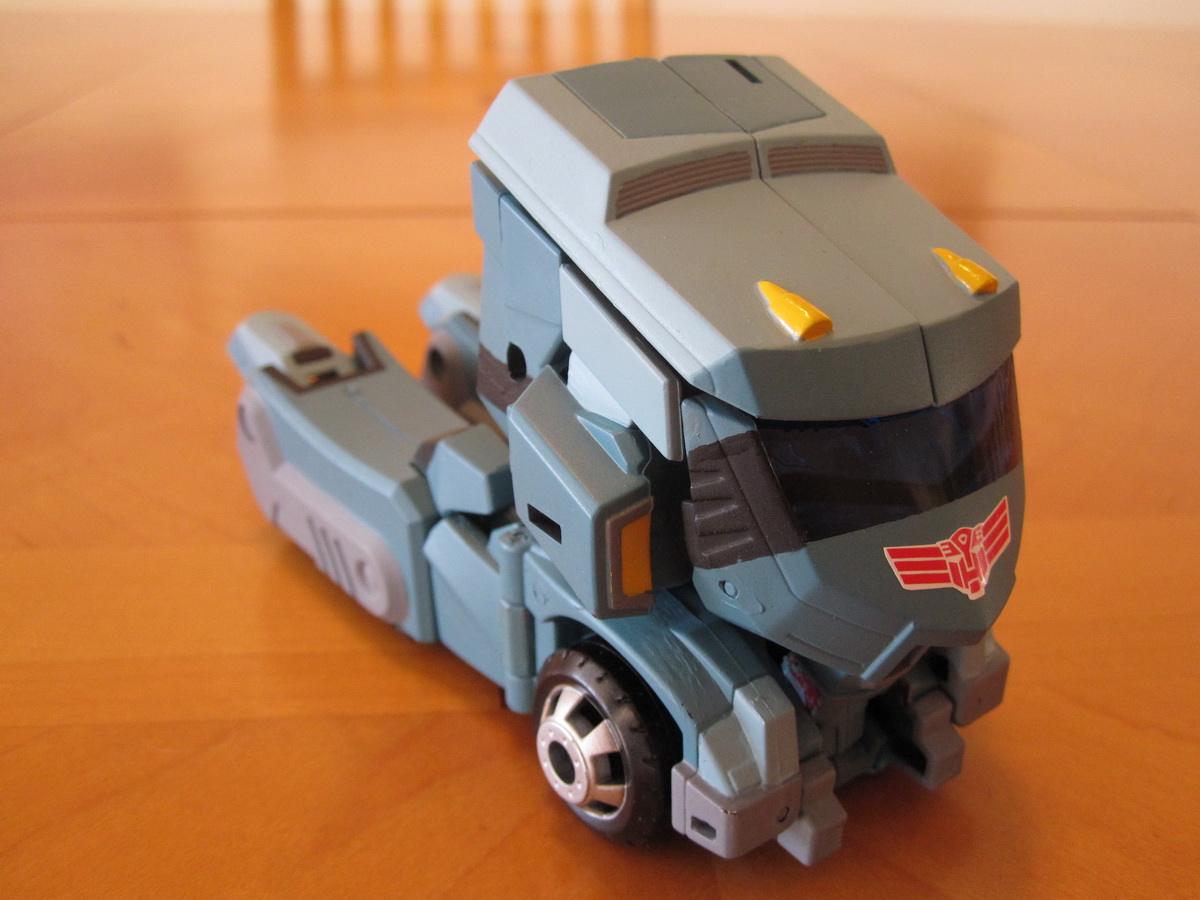
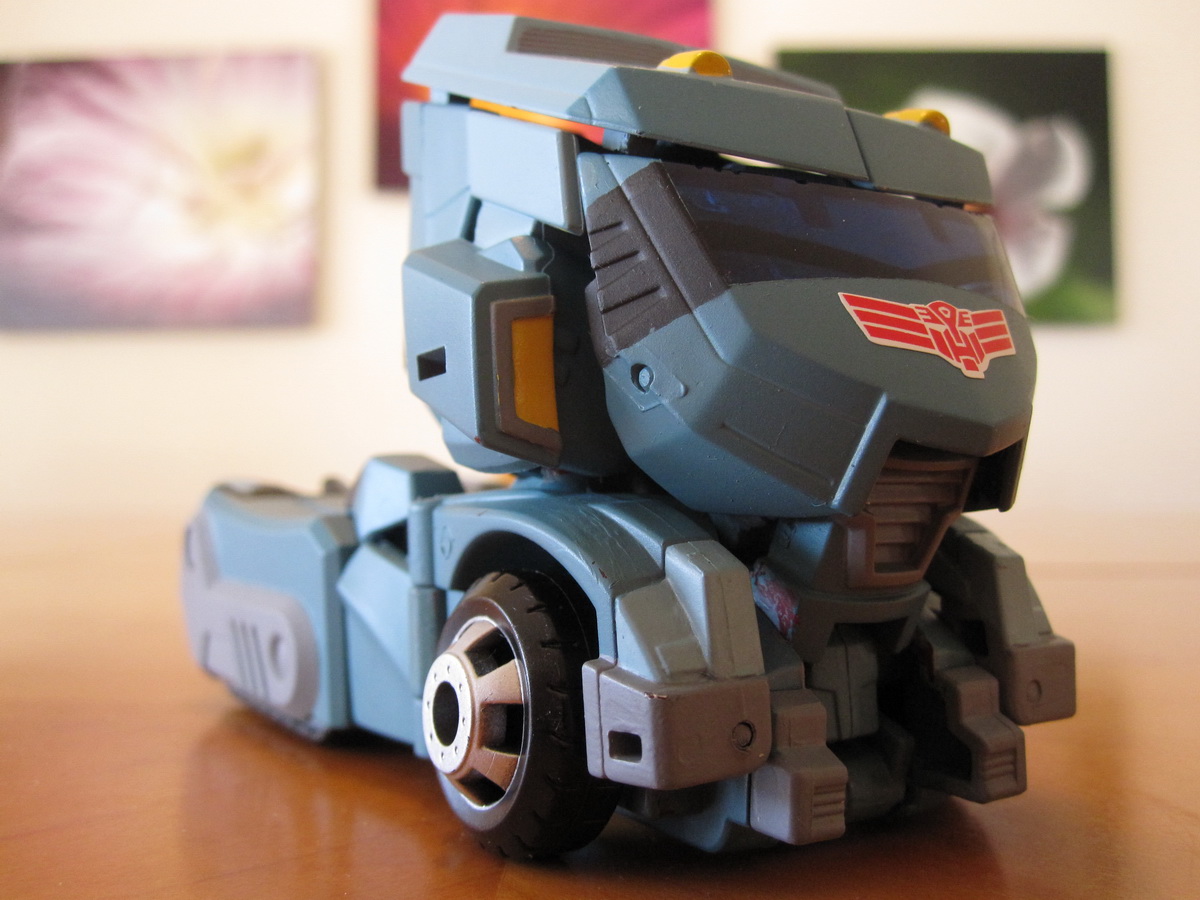
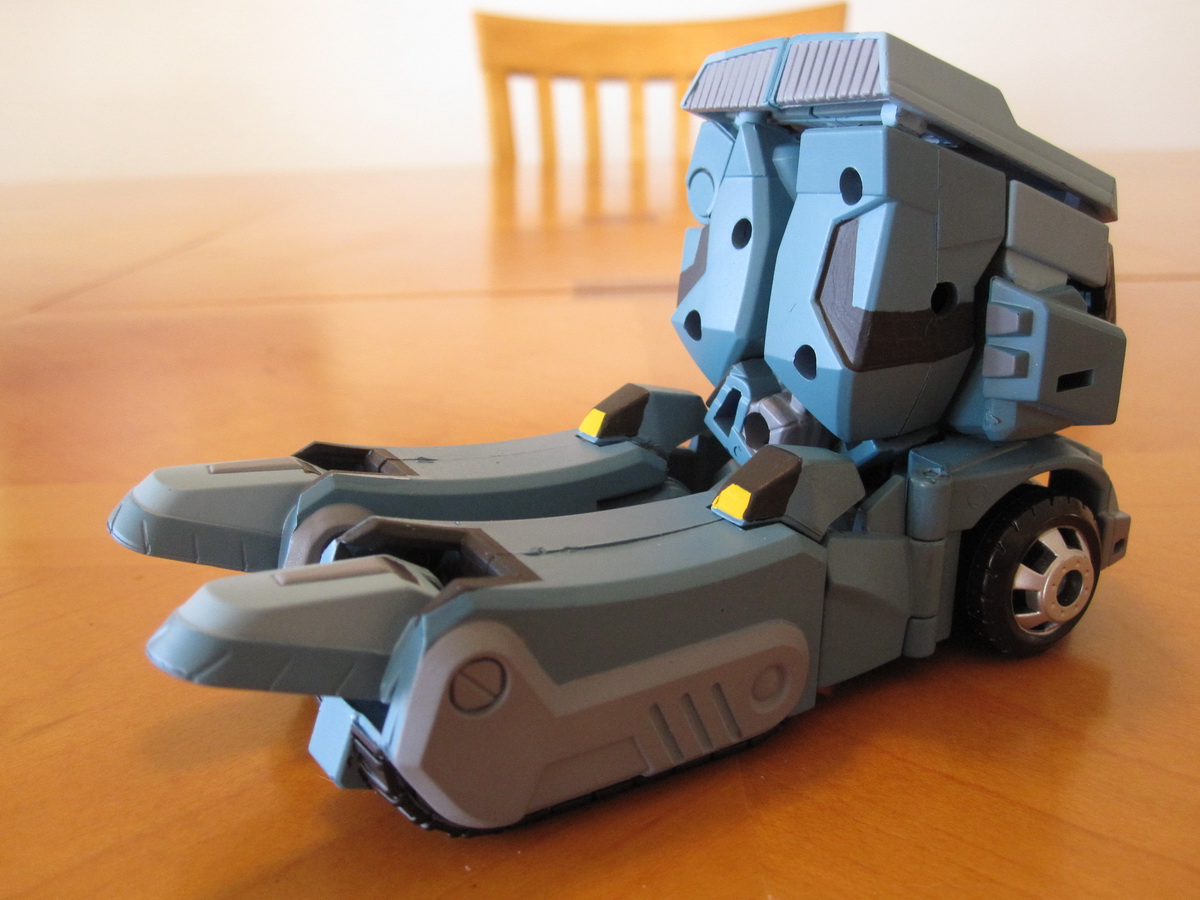
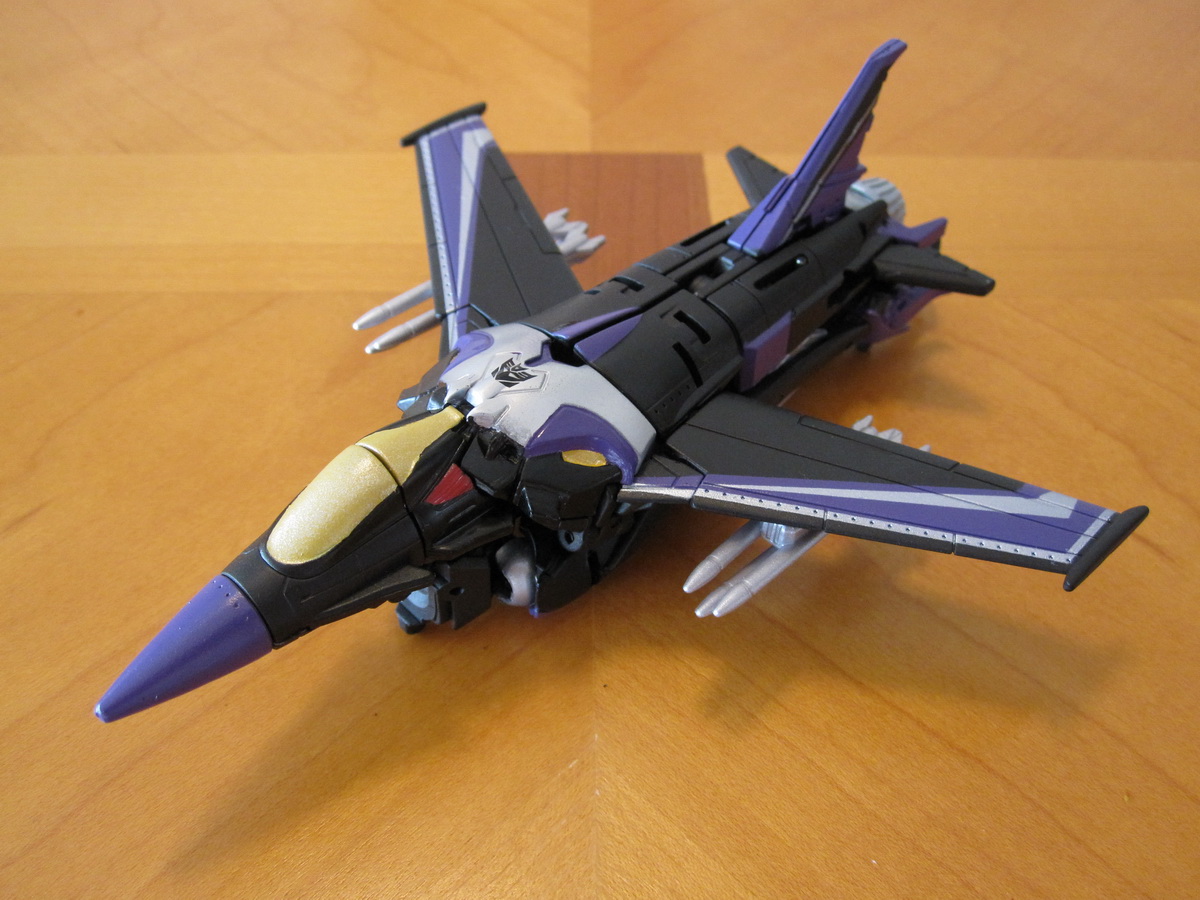
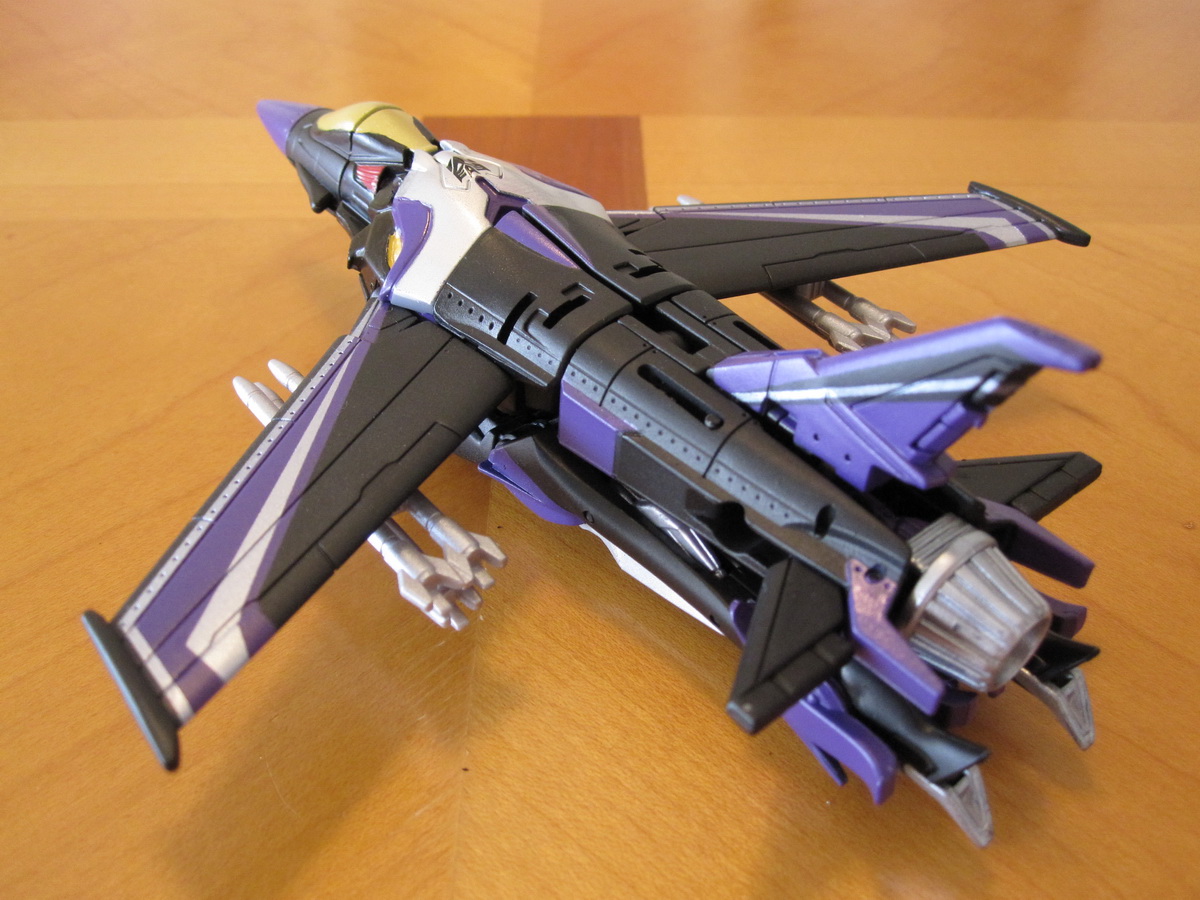
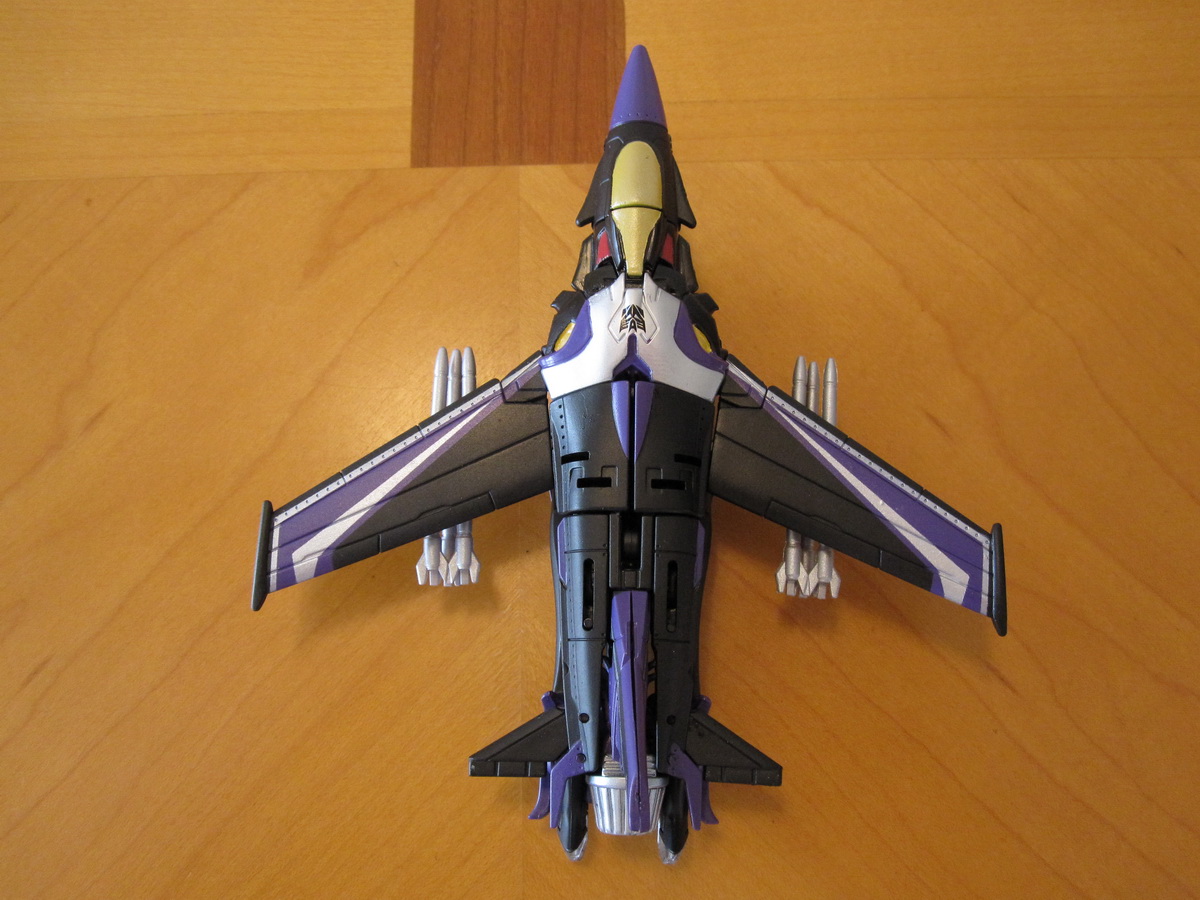
 - Sports Car mode")


And don’t forget to the look at the Flickr set for more details!