
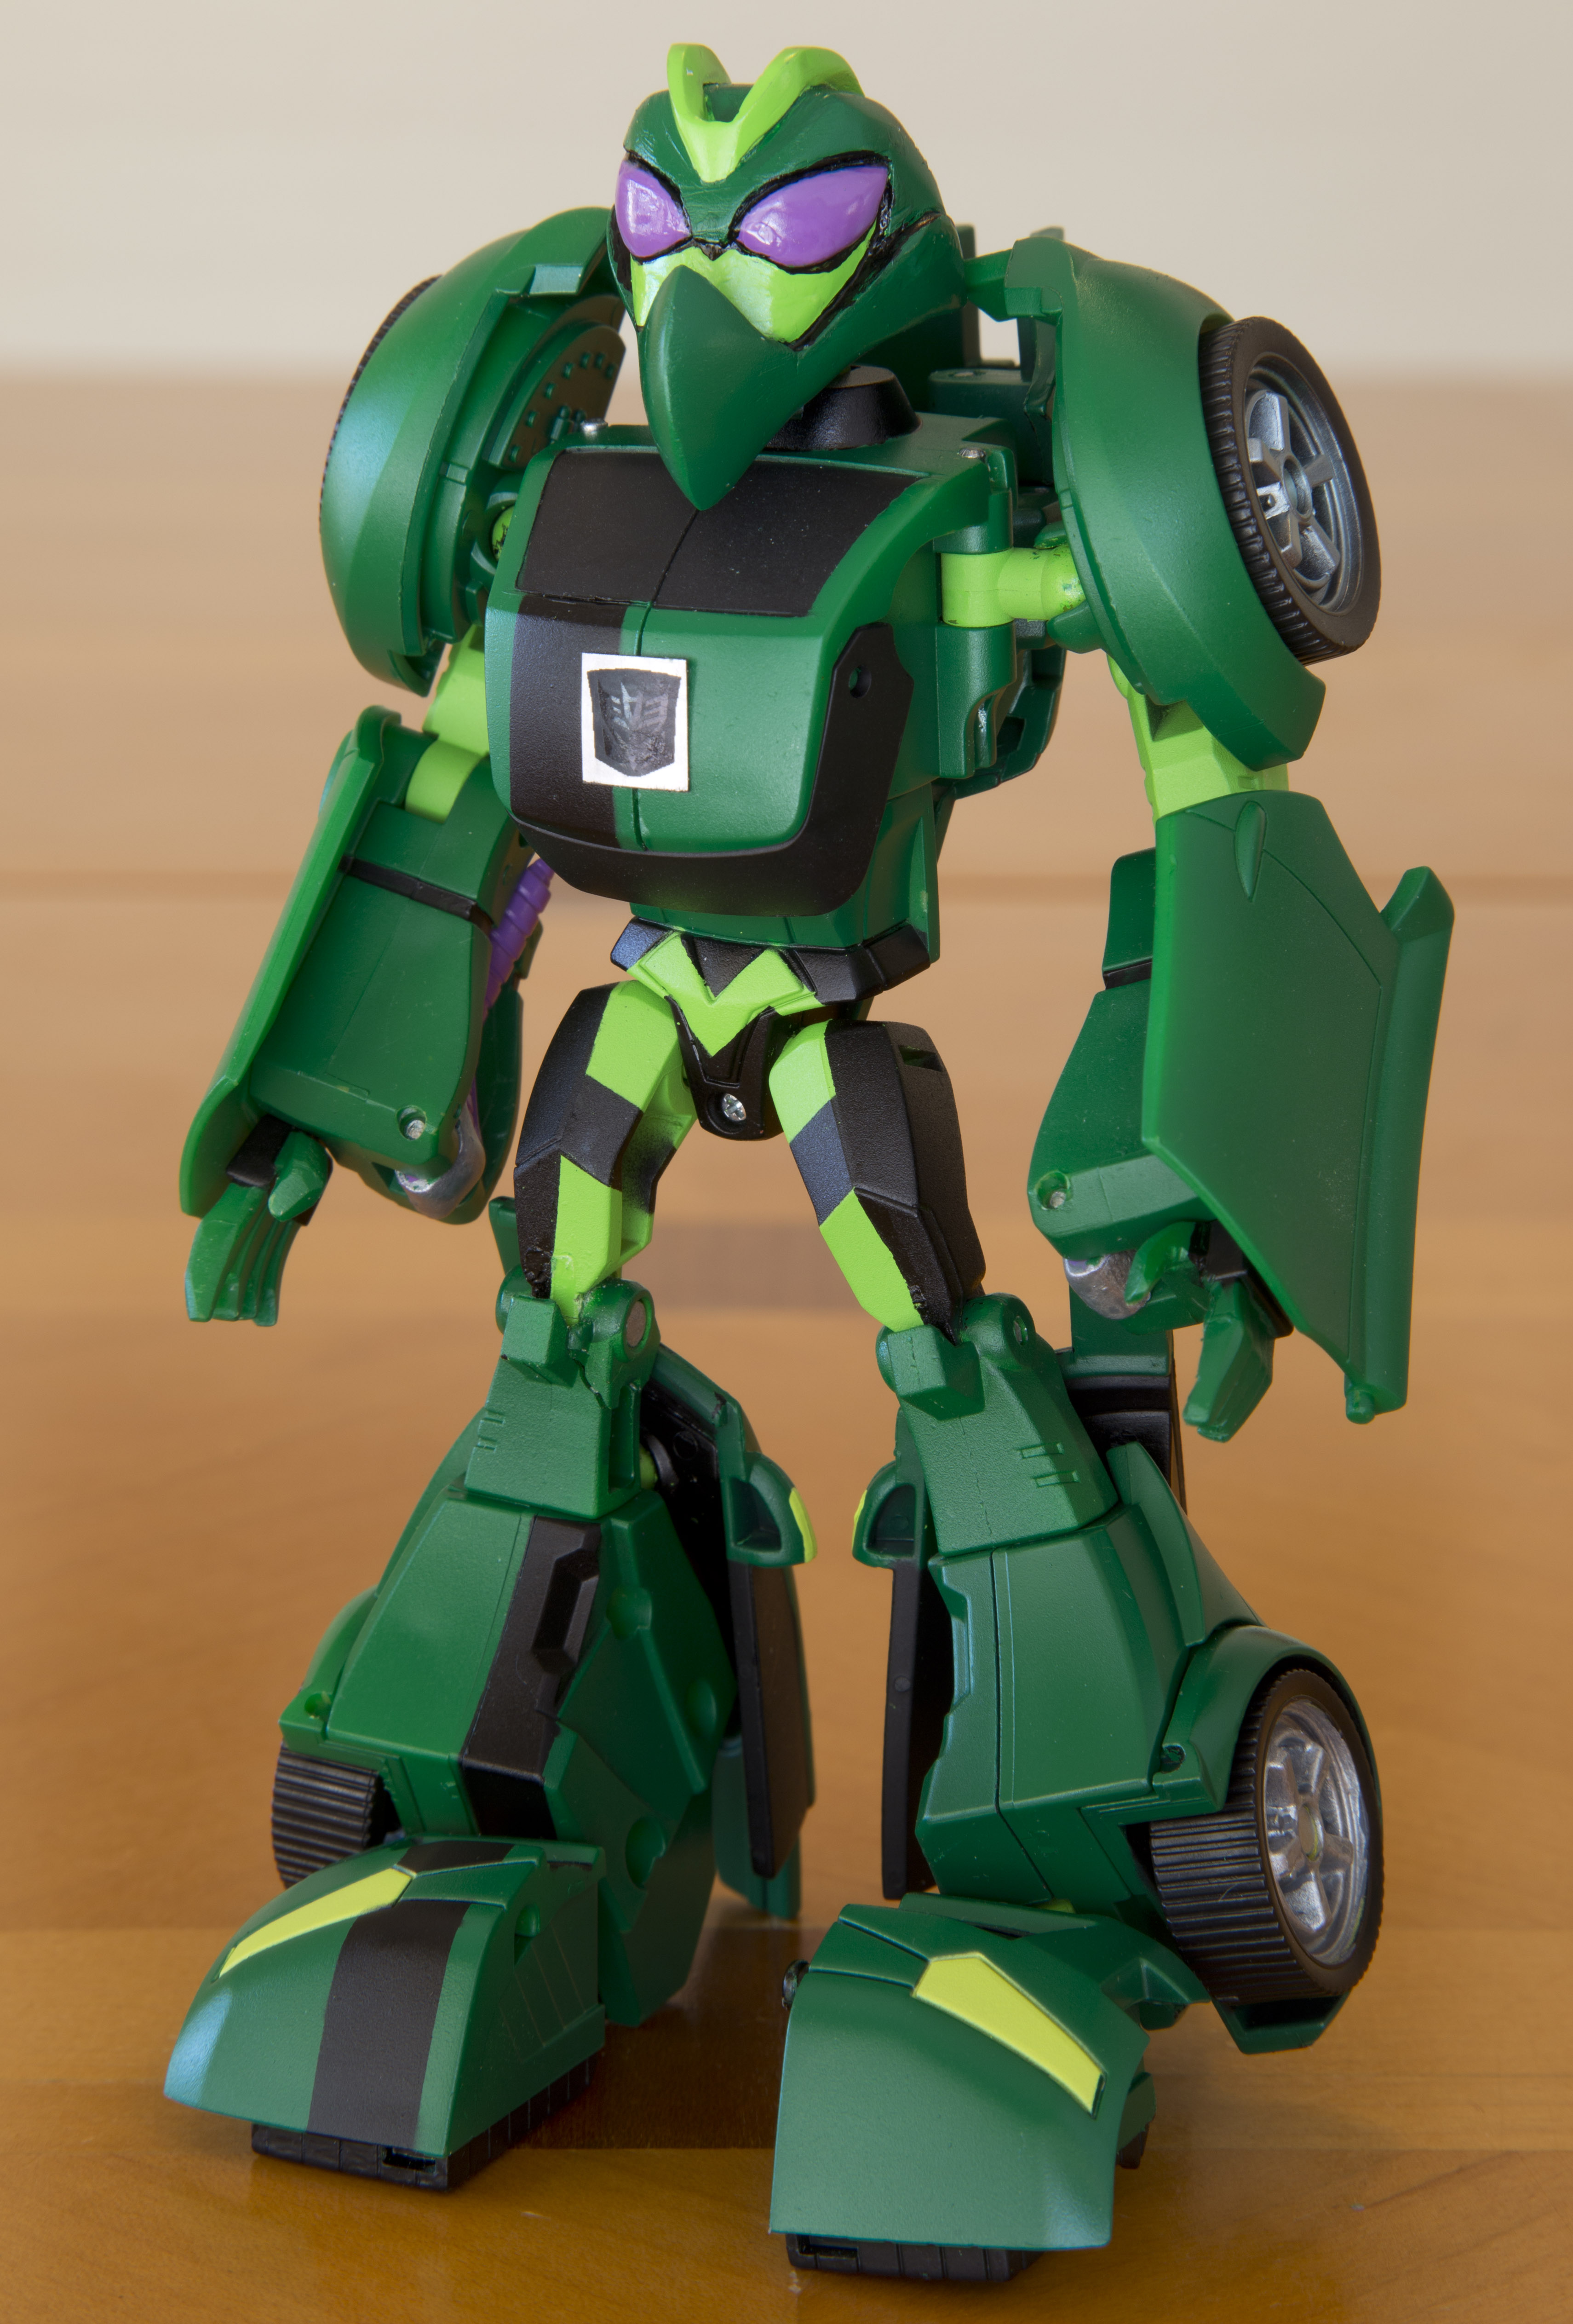
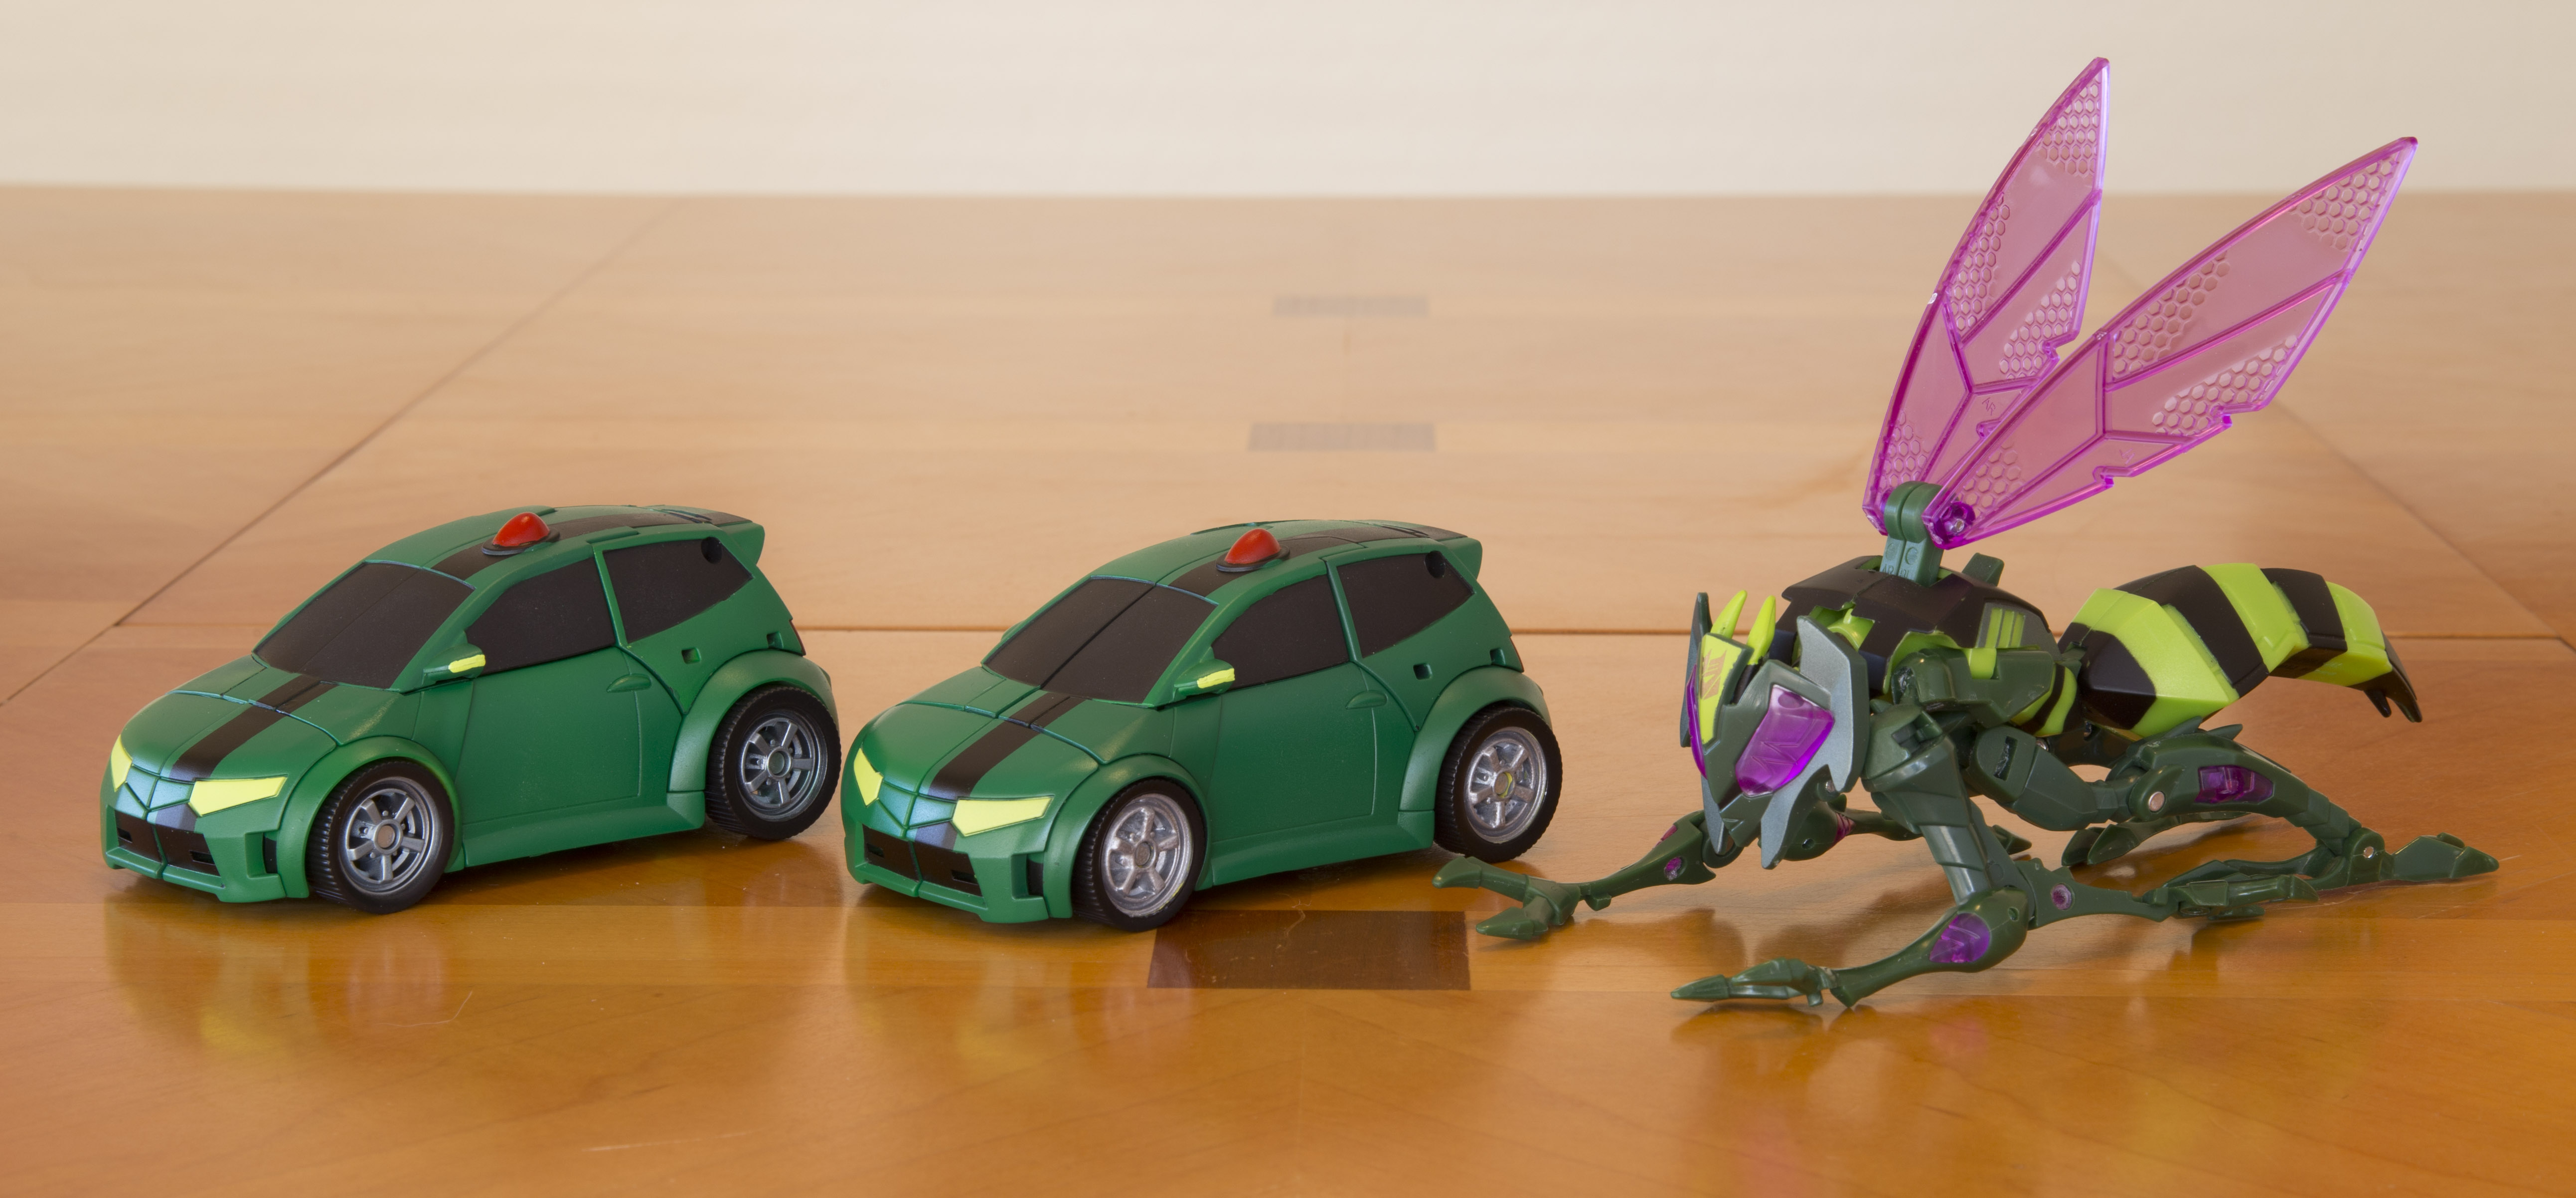
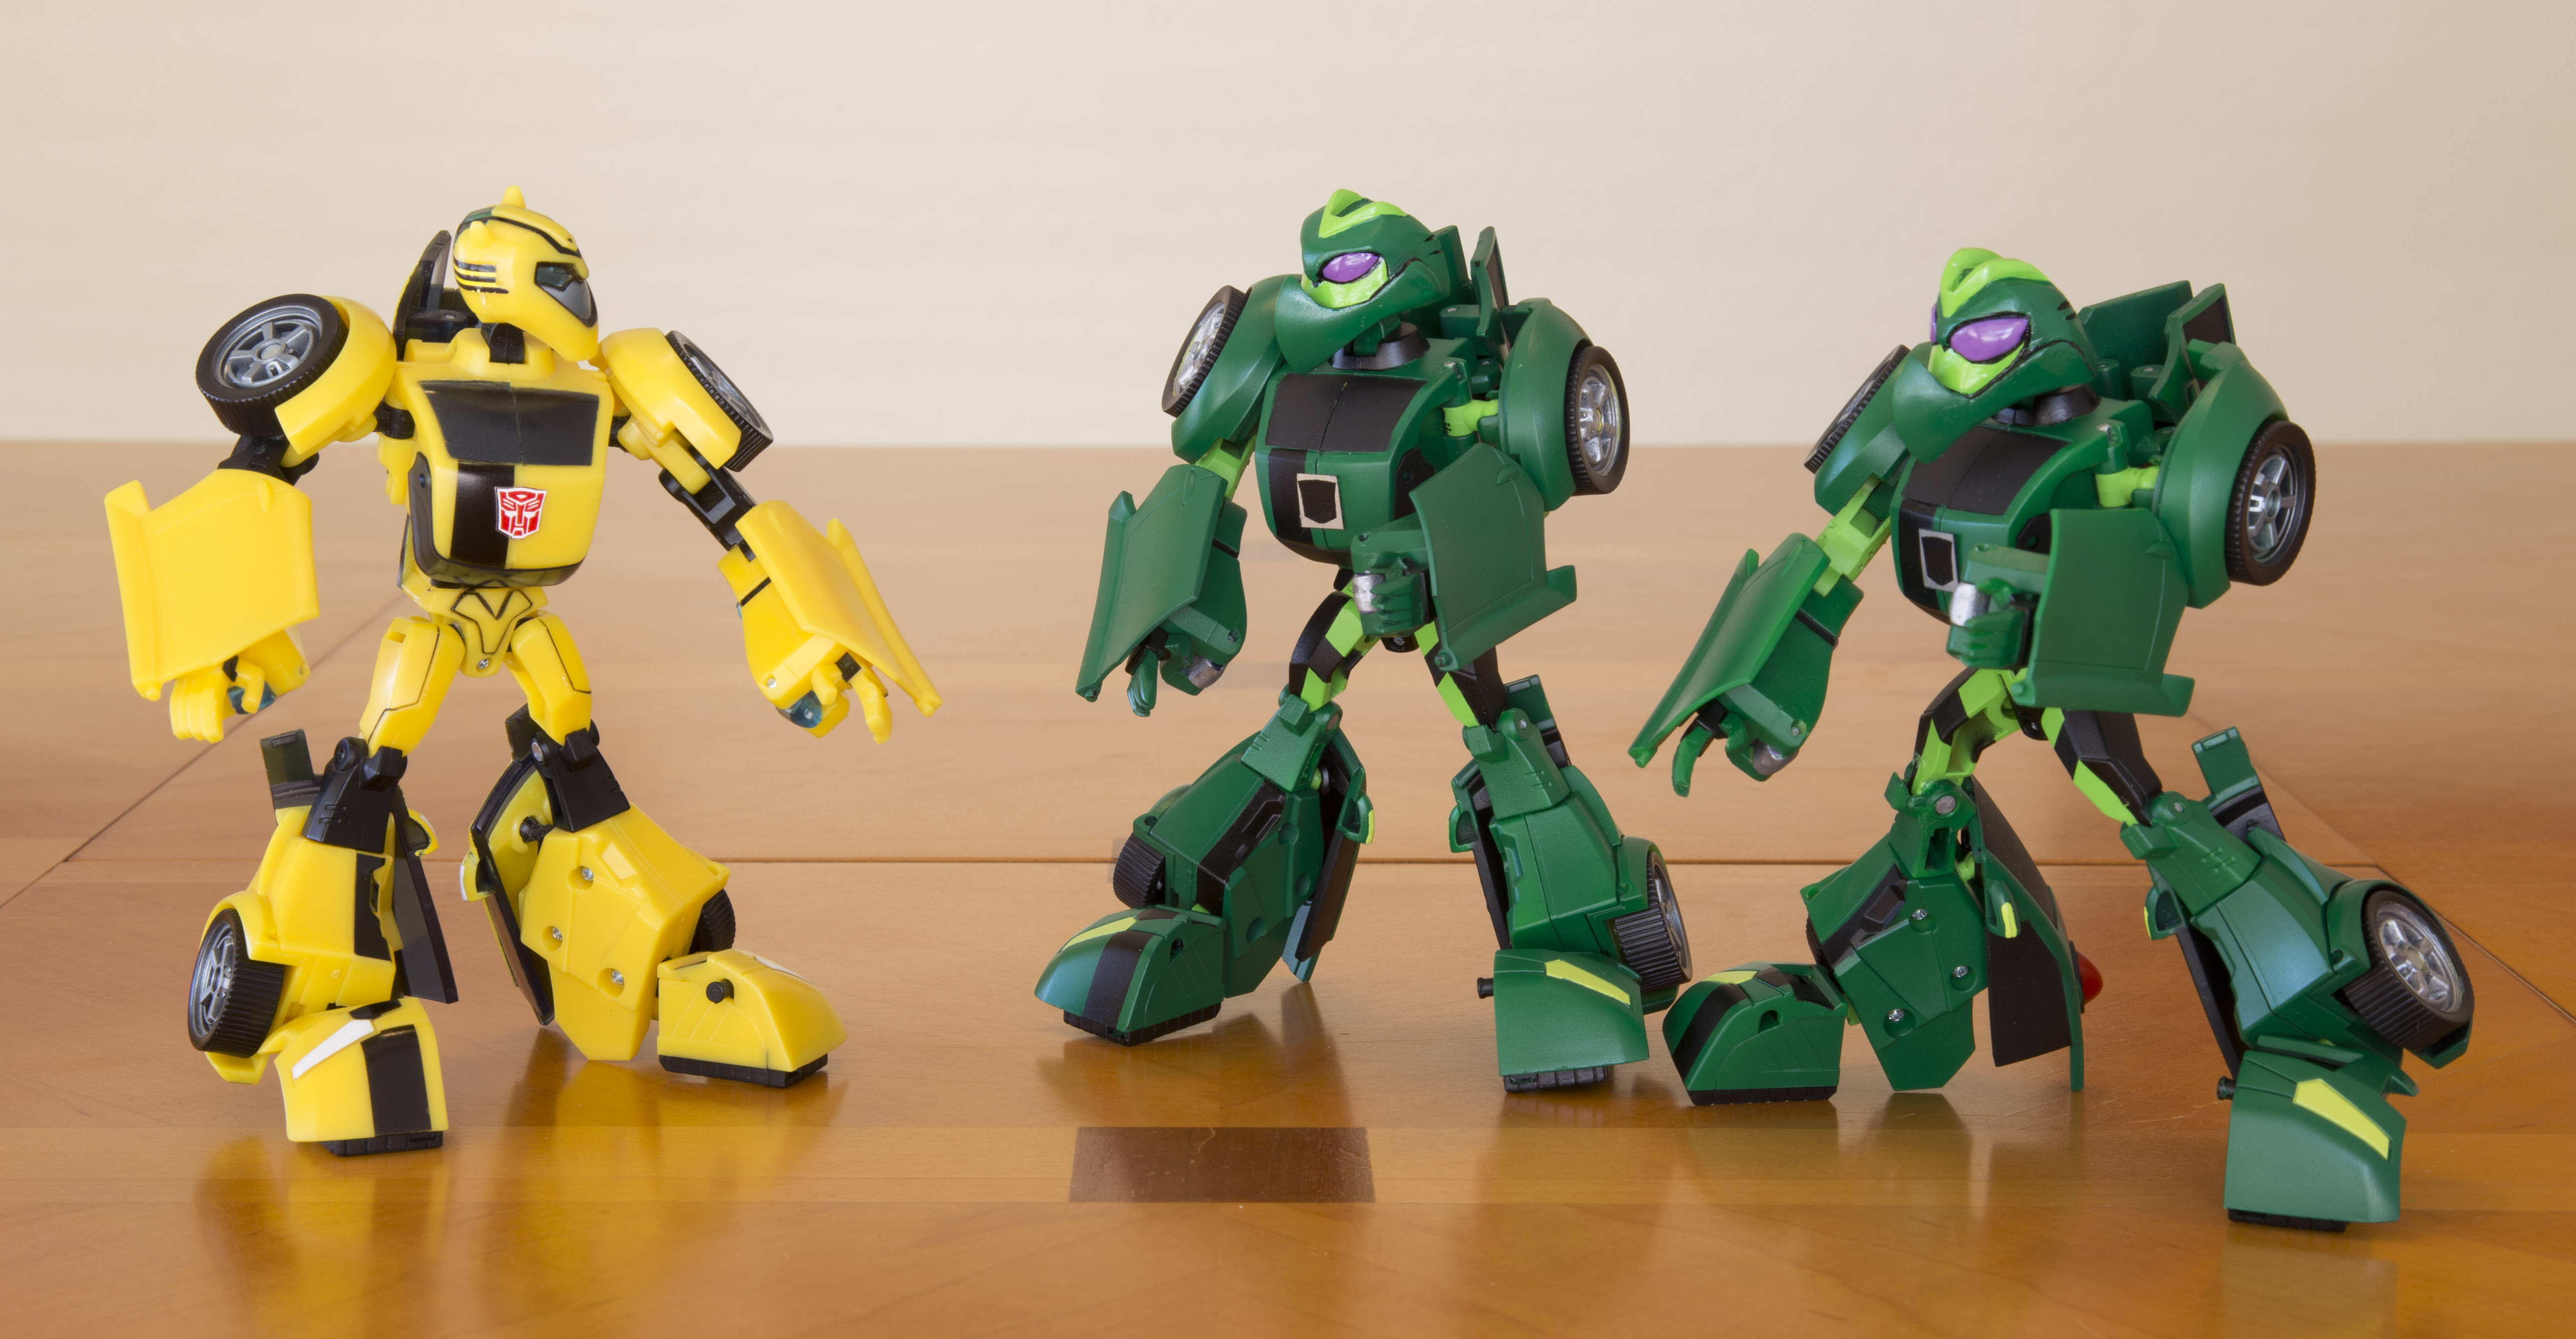
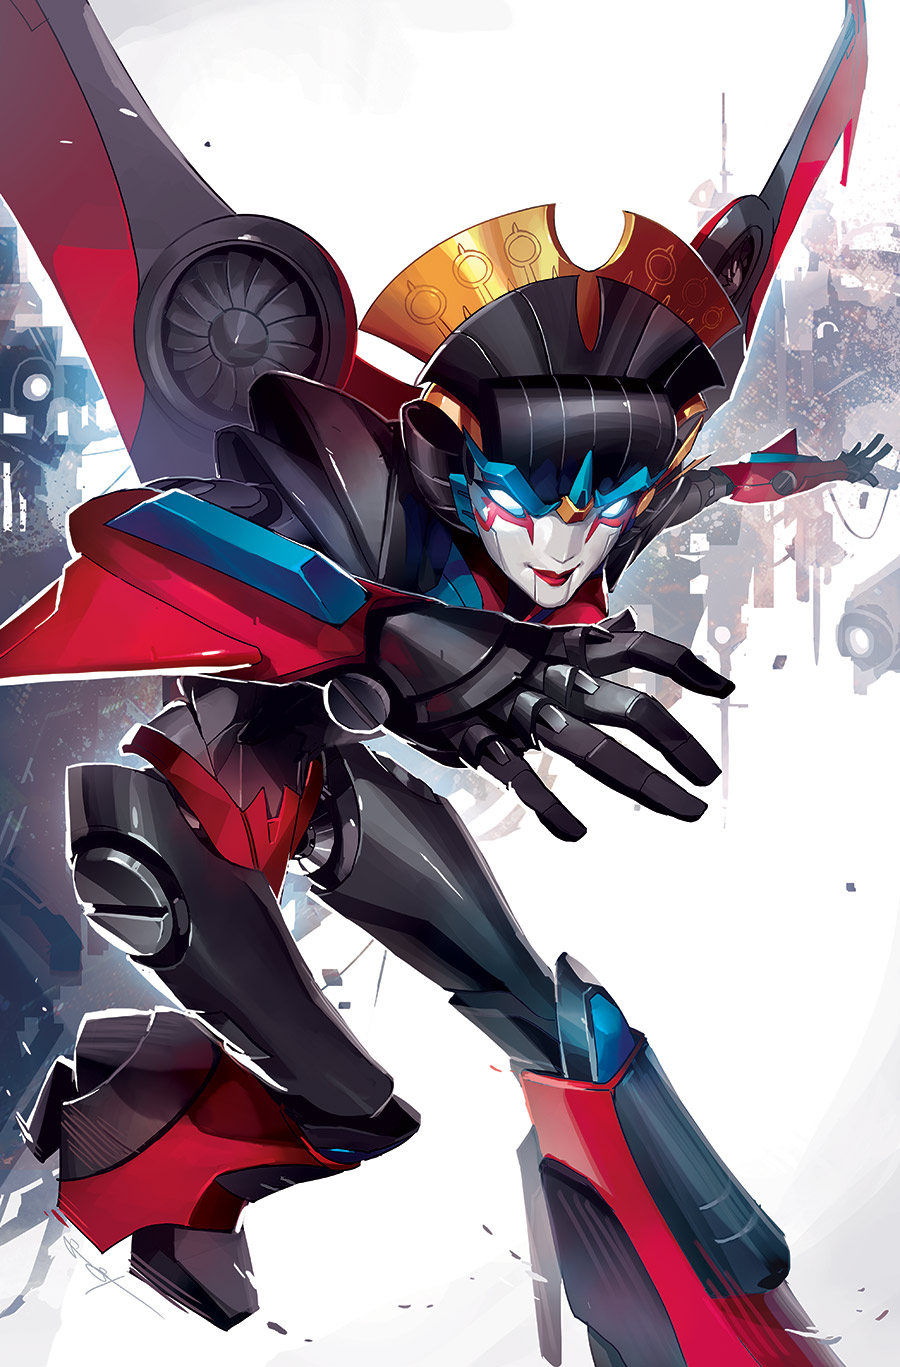
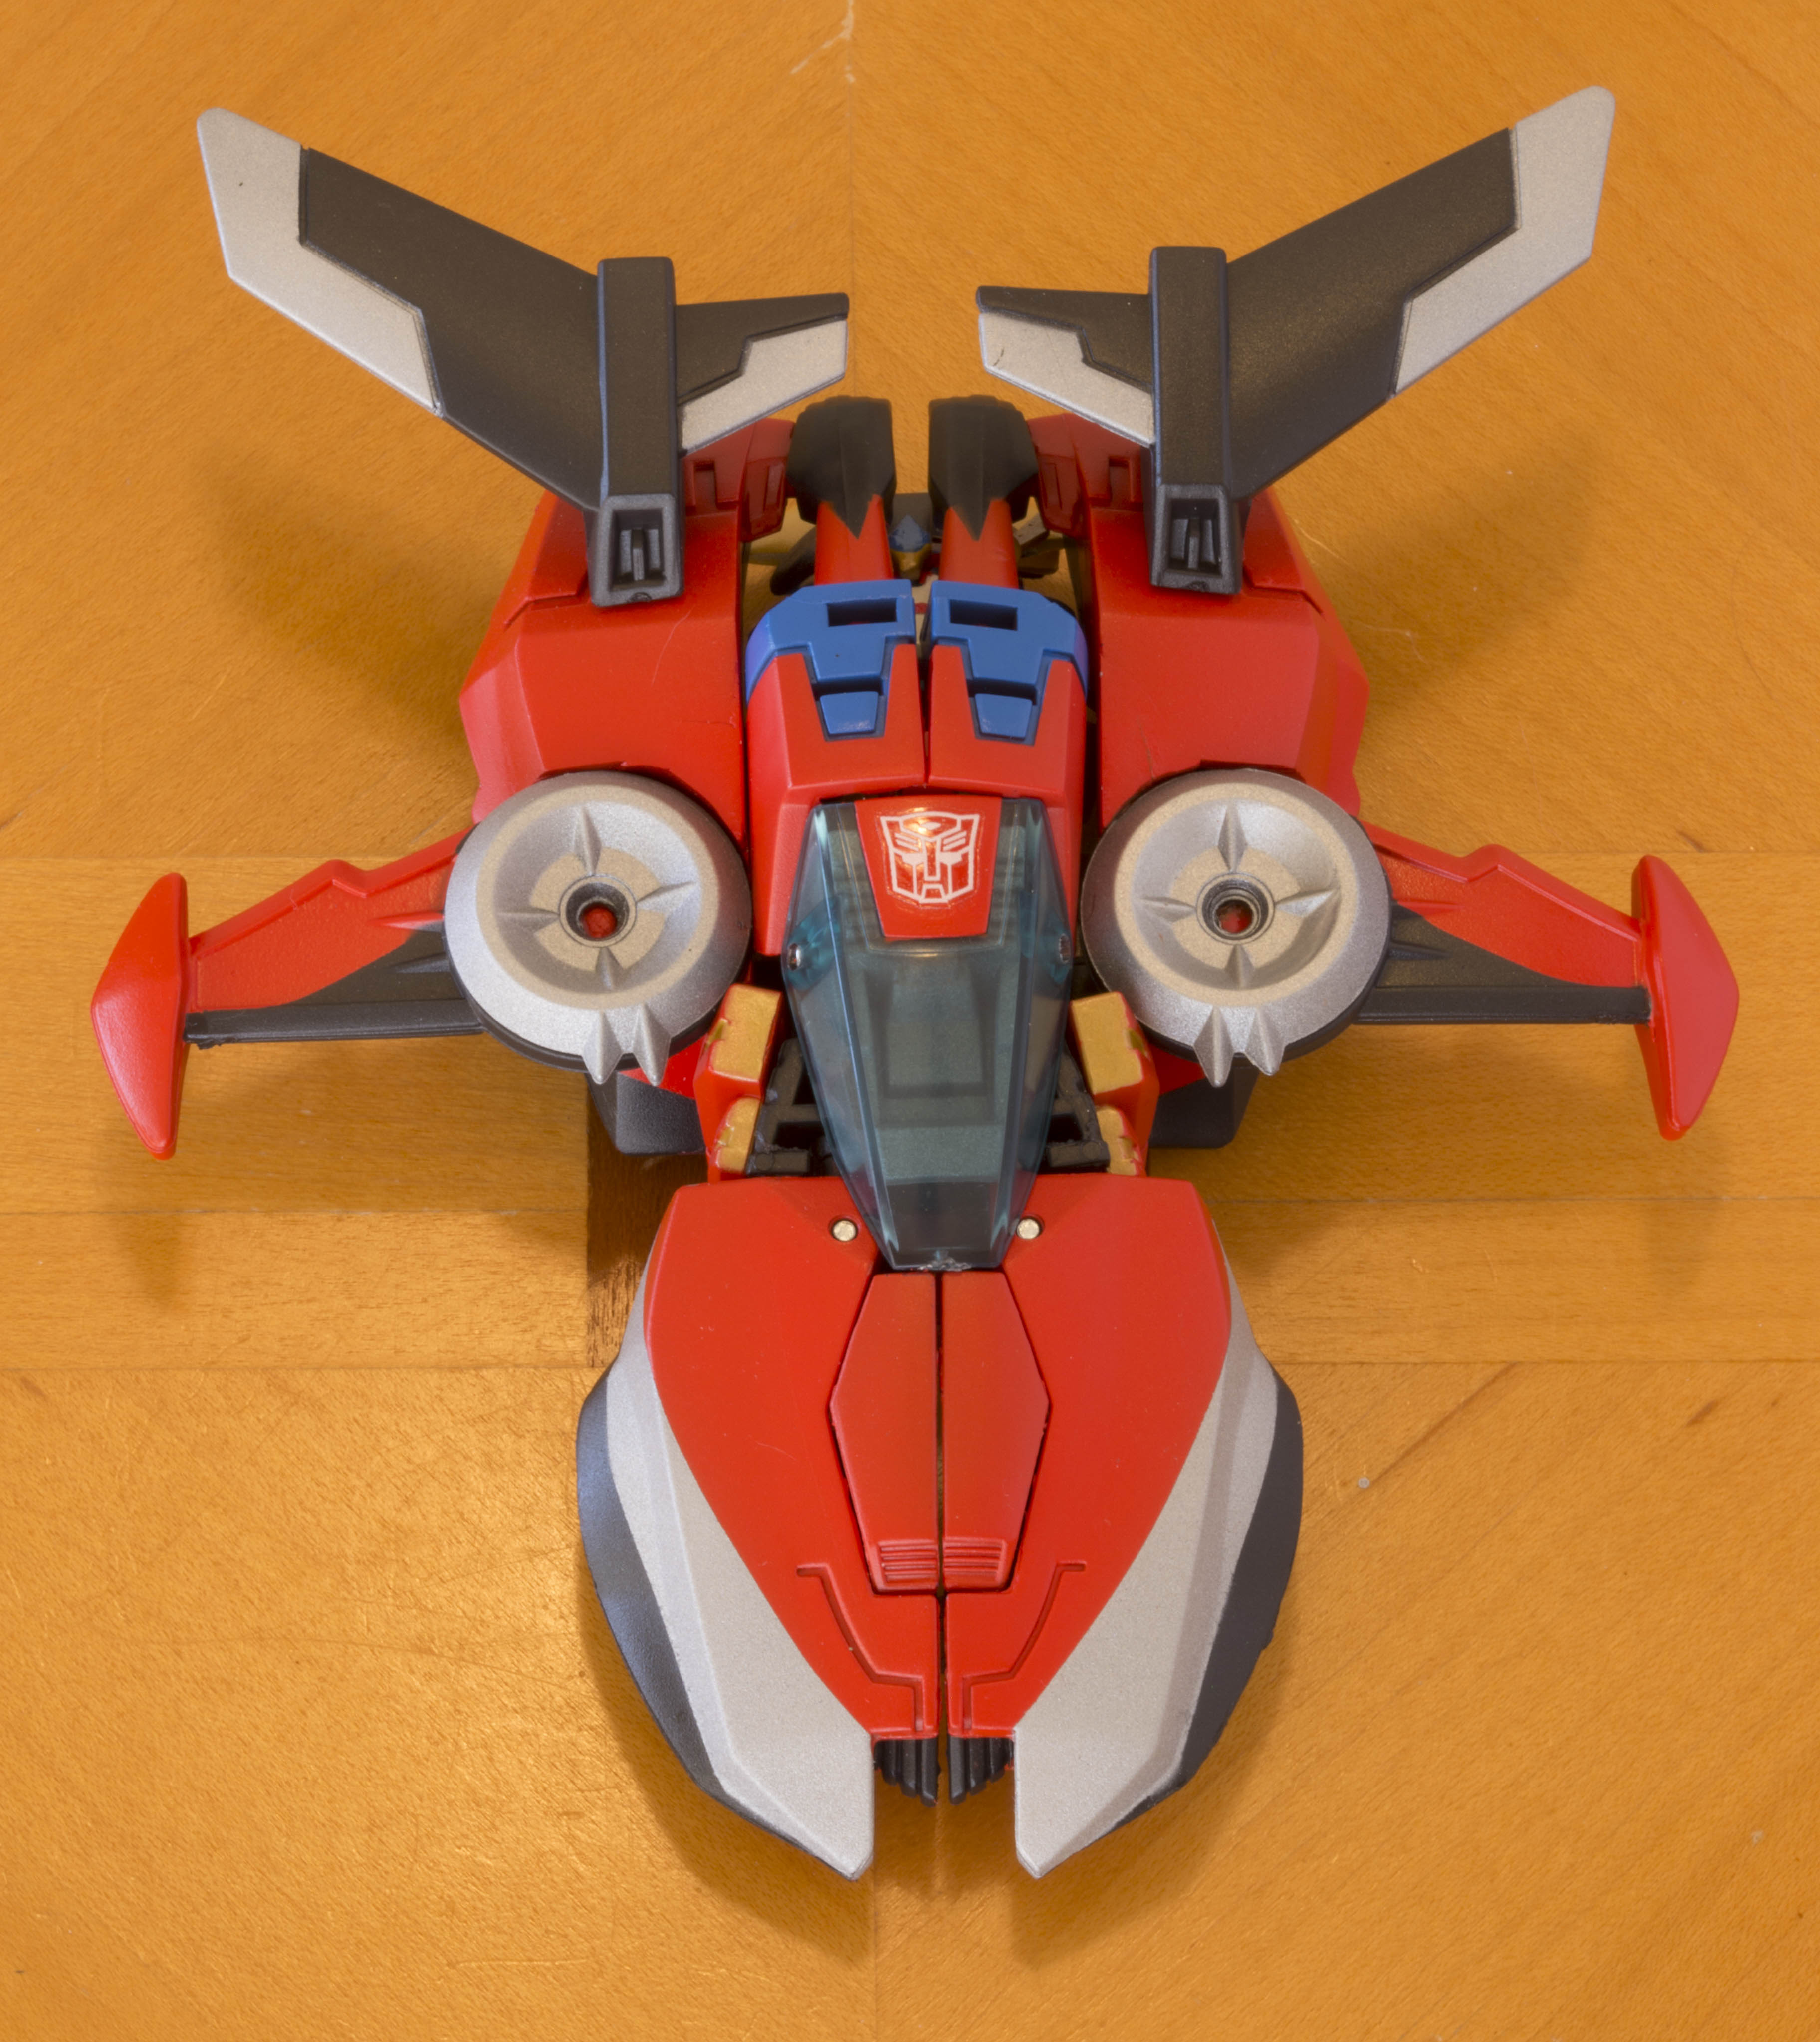
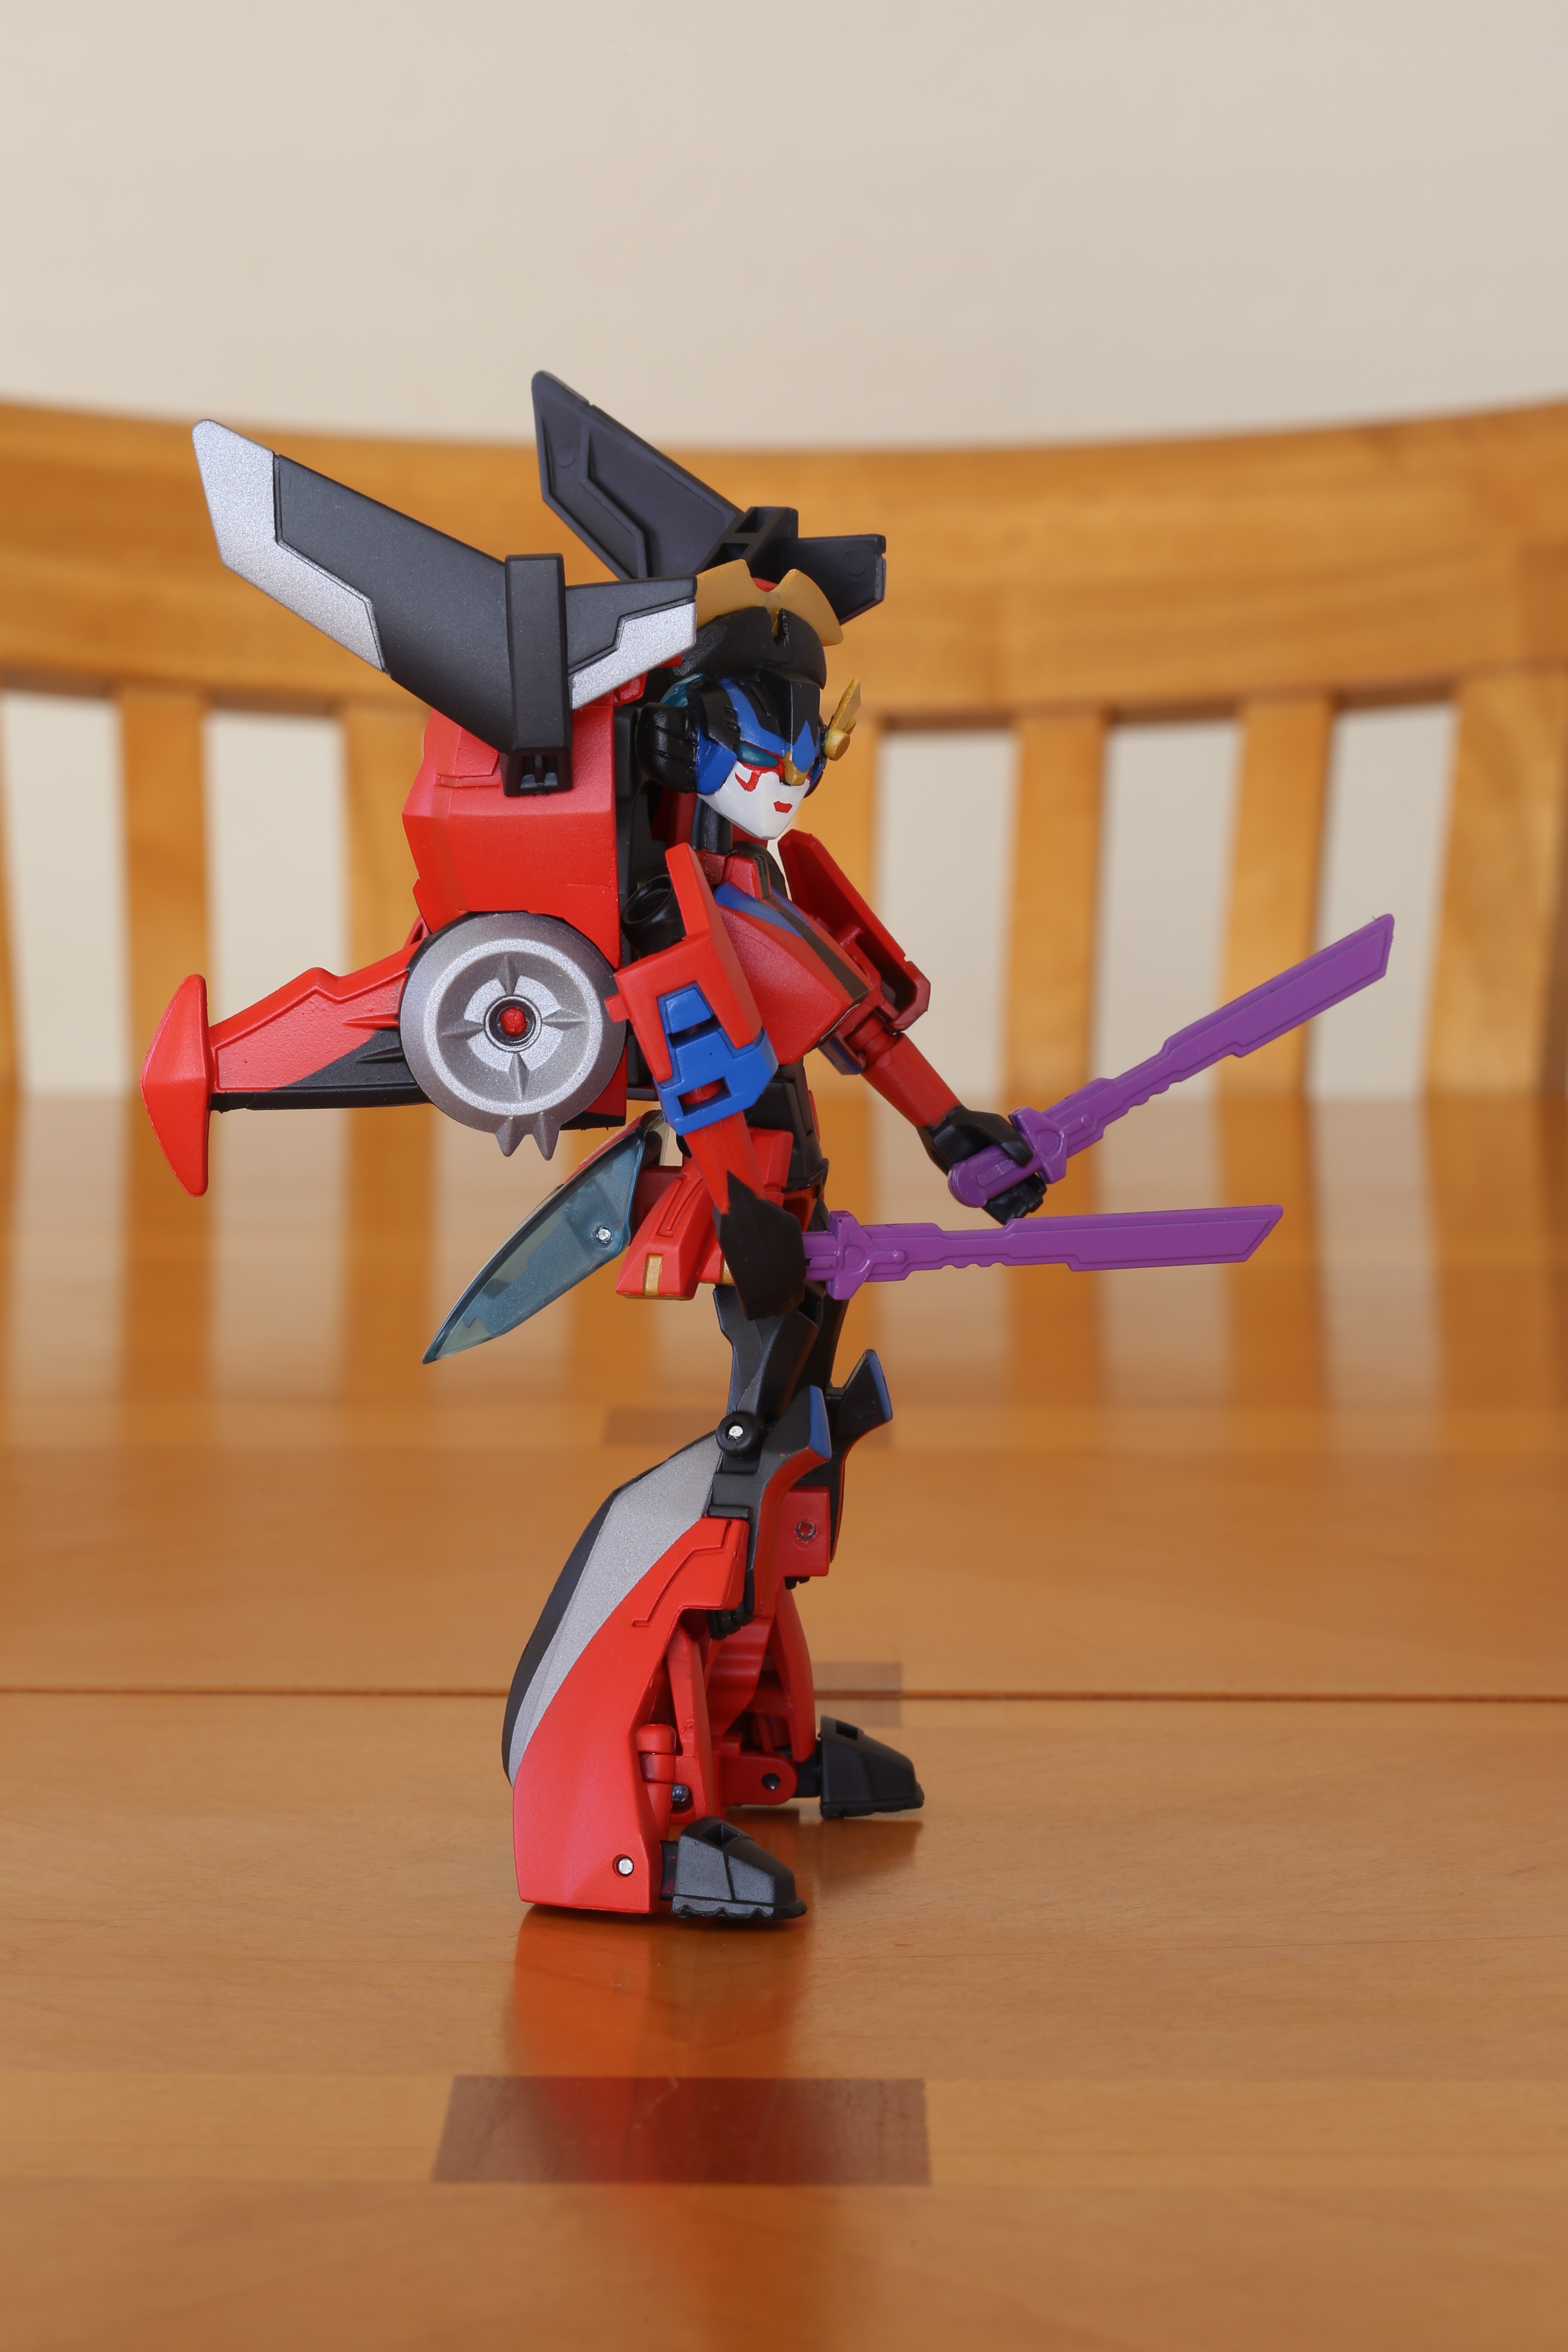
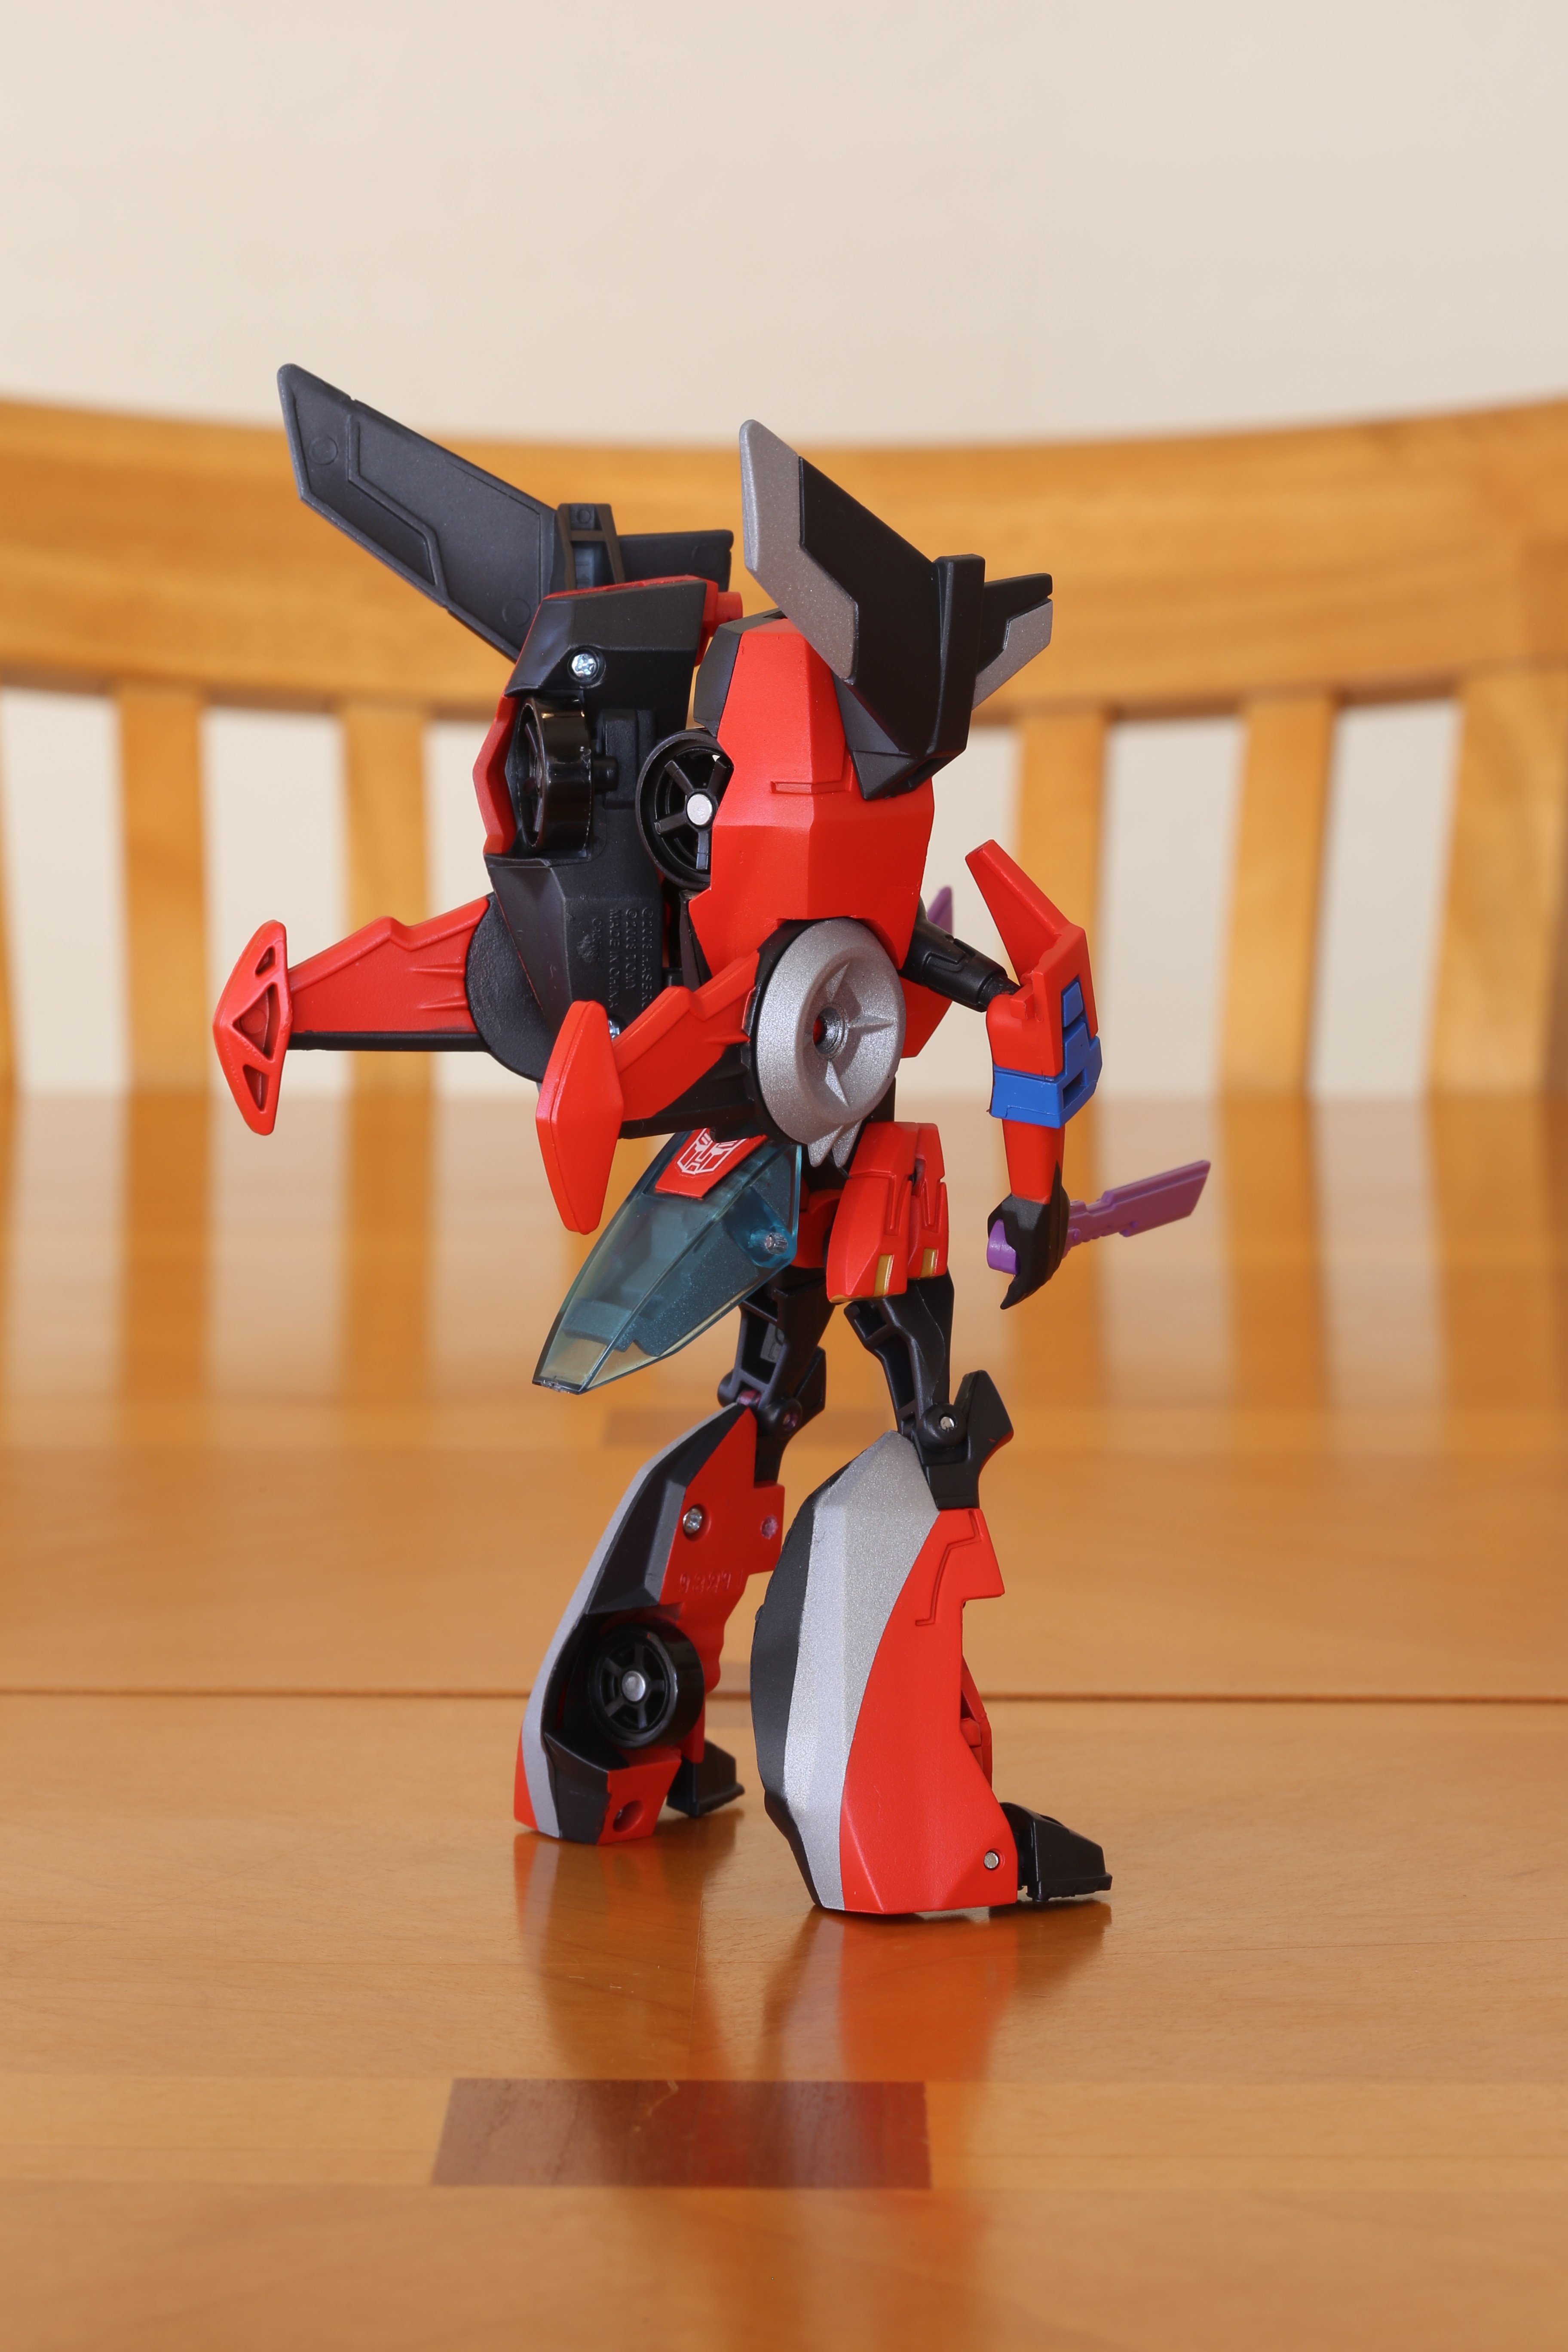
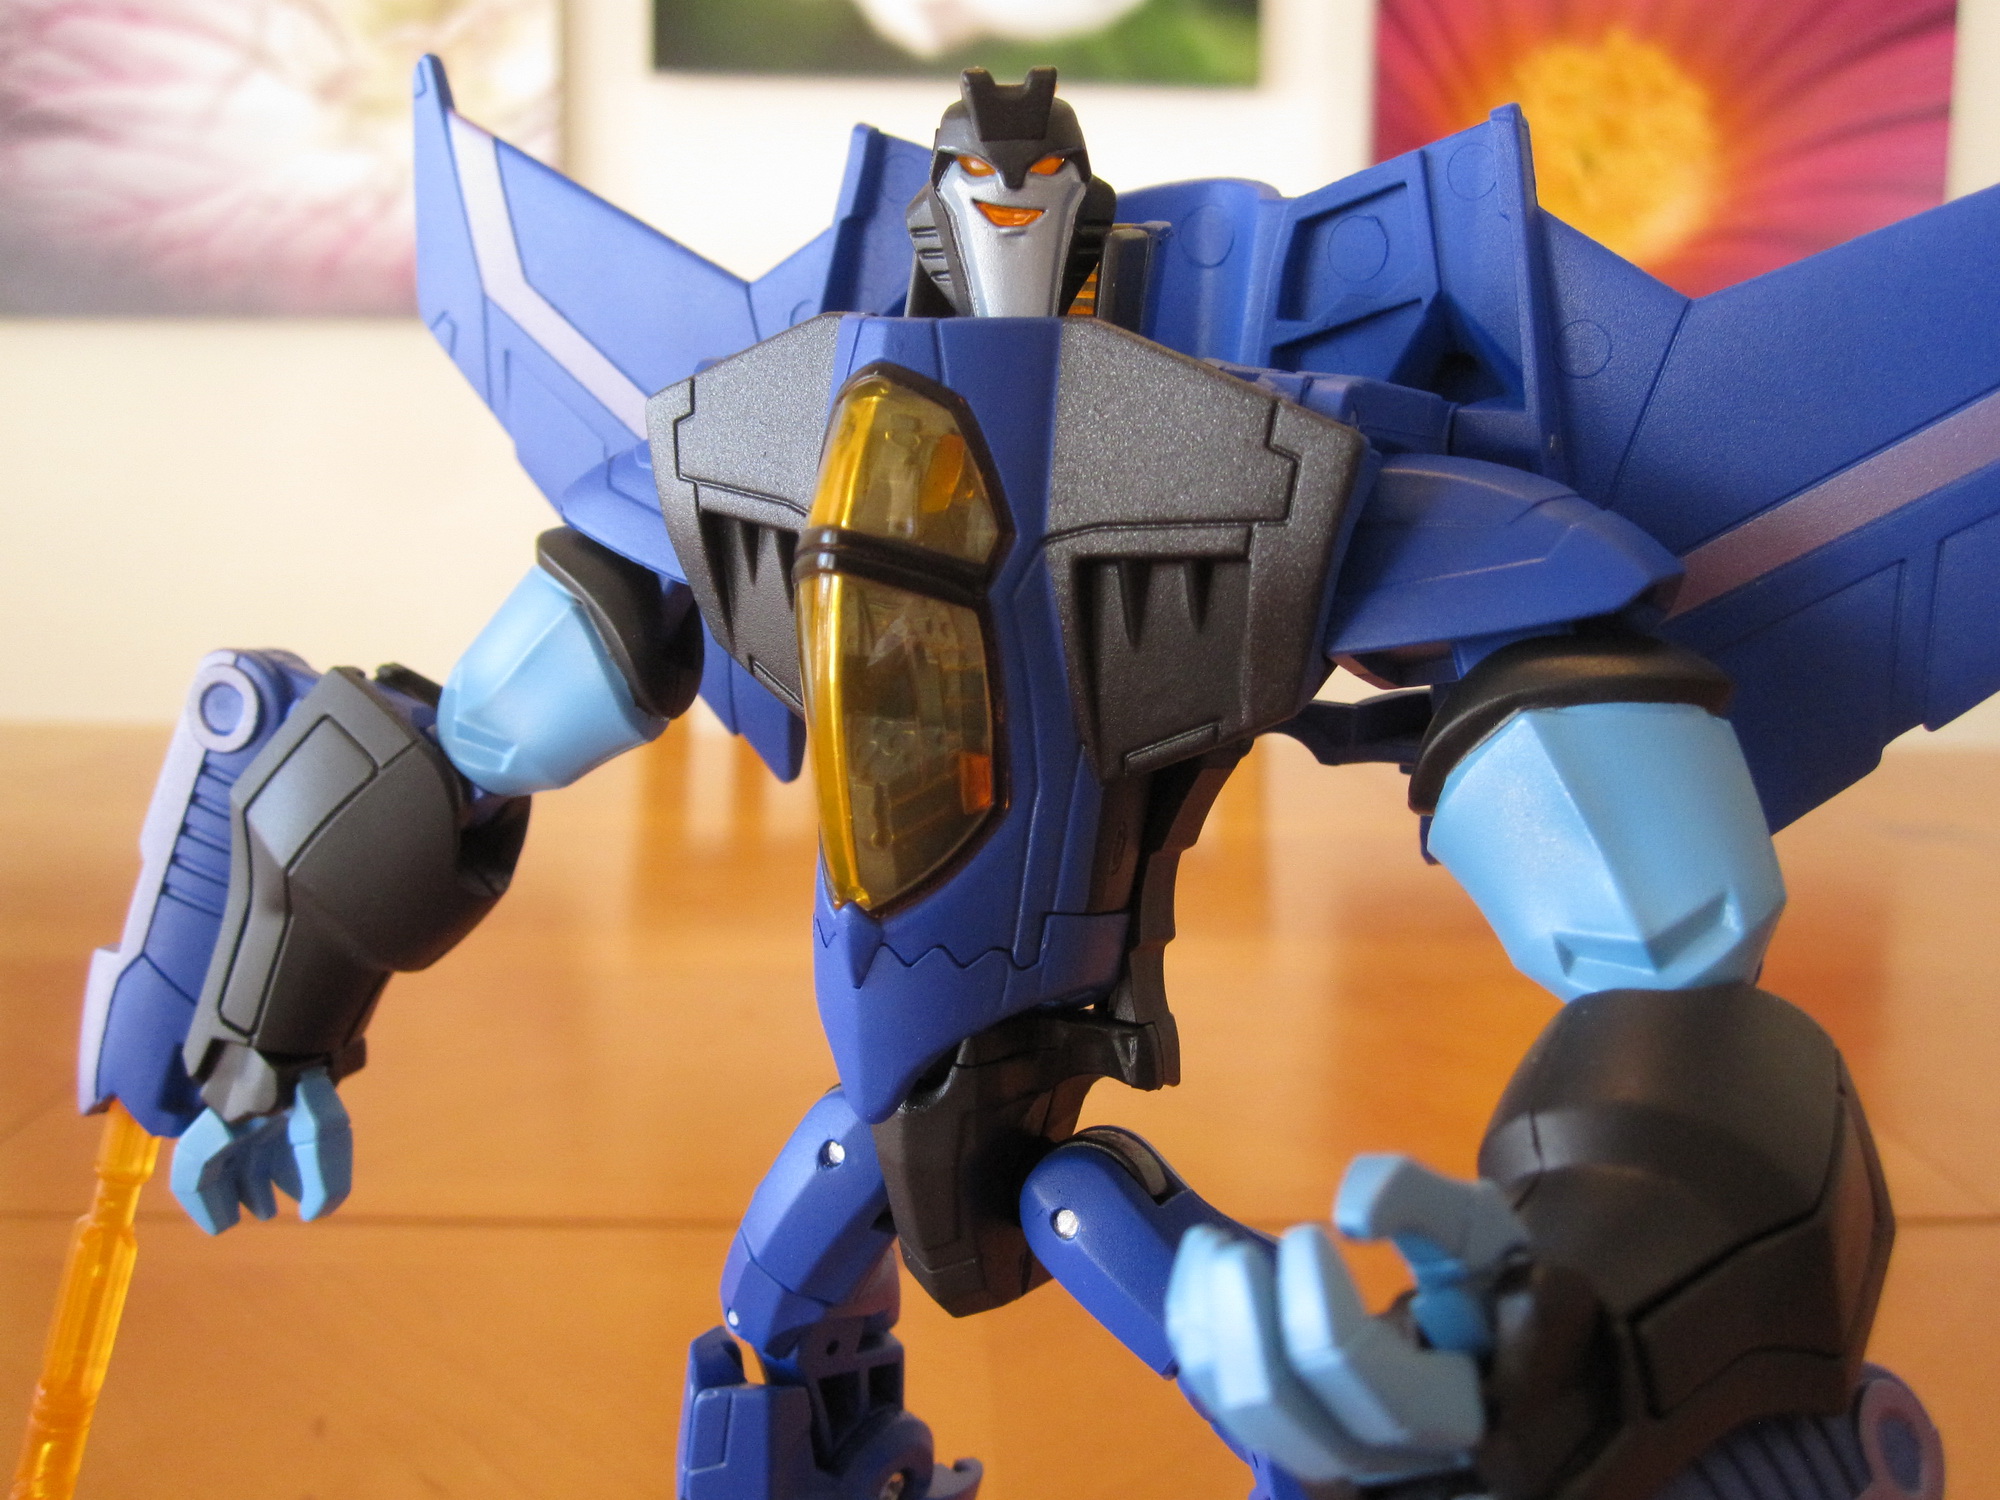
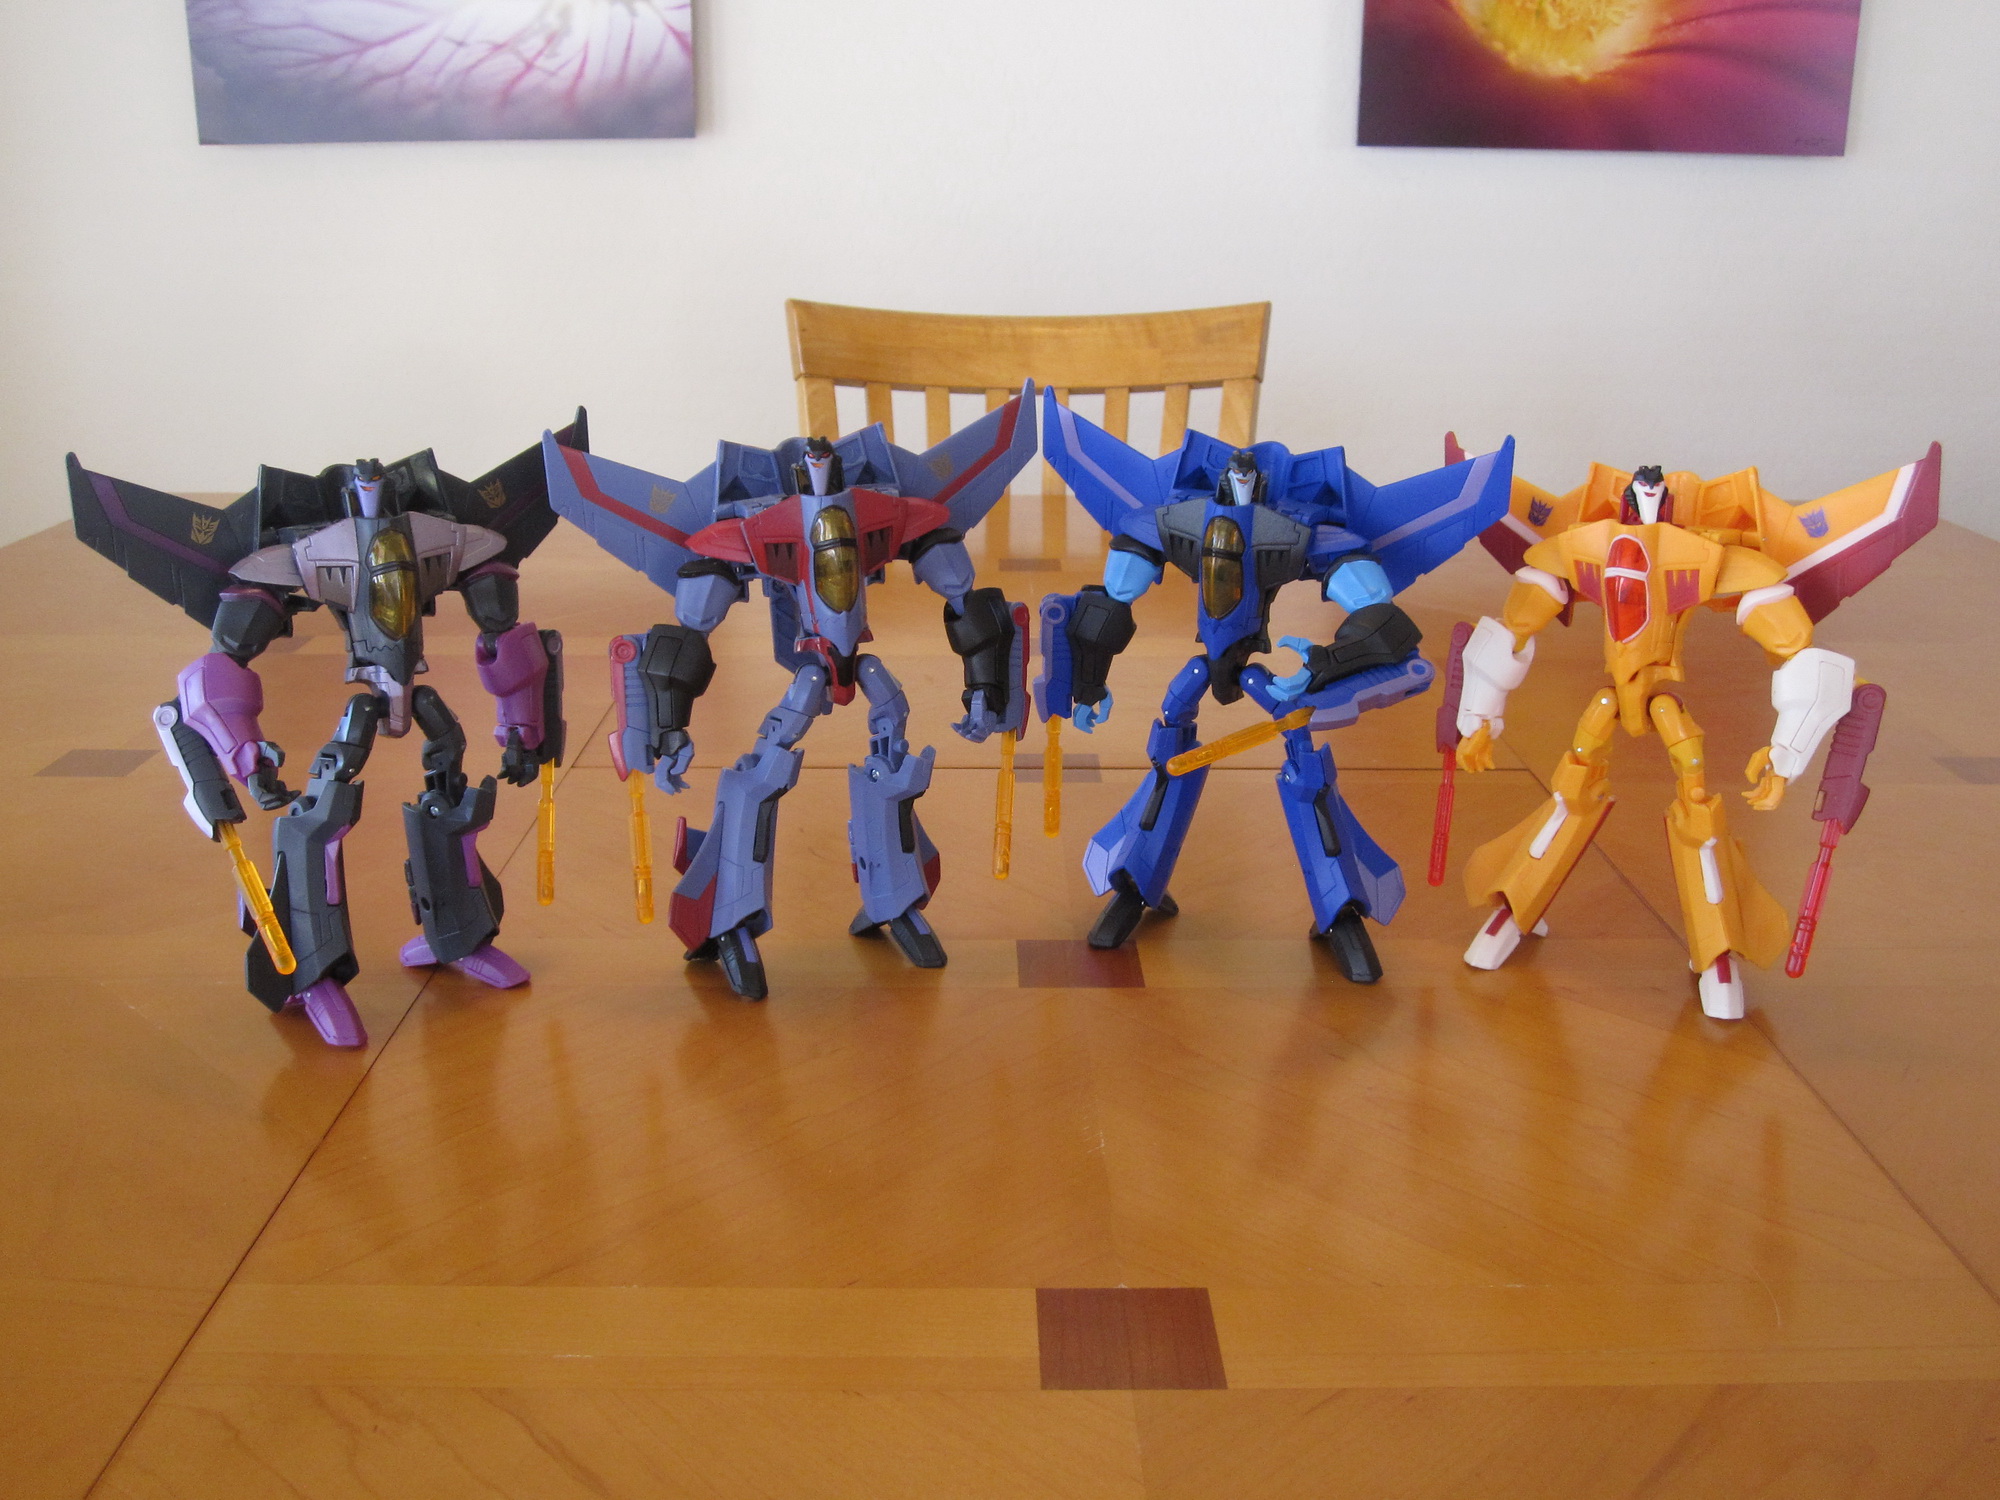
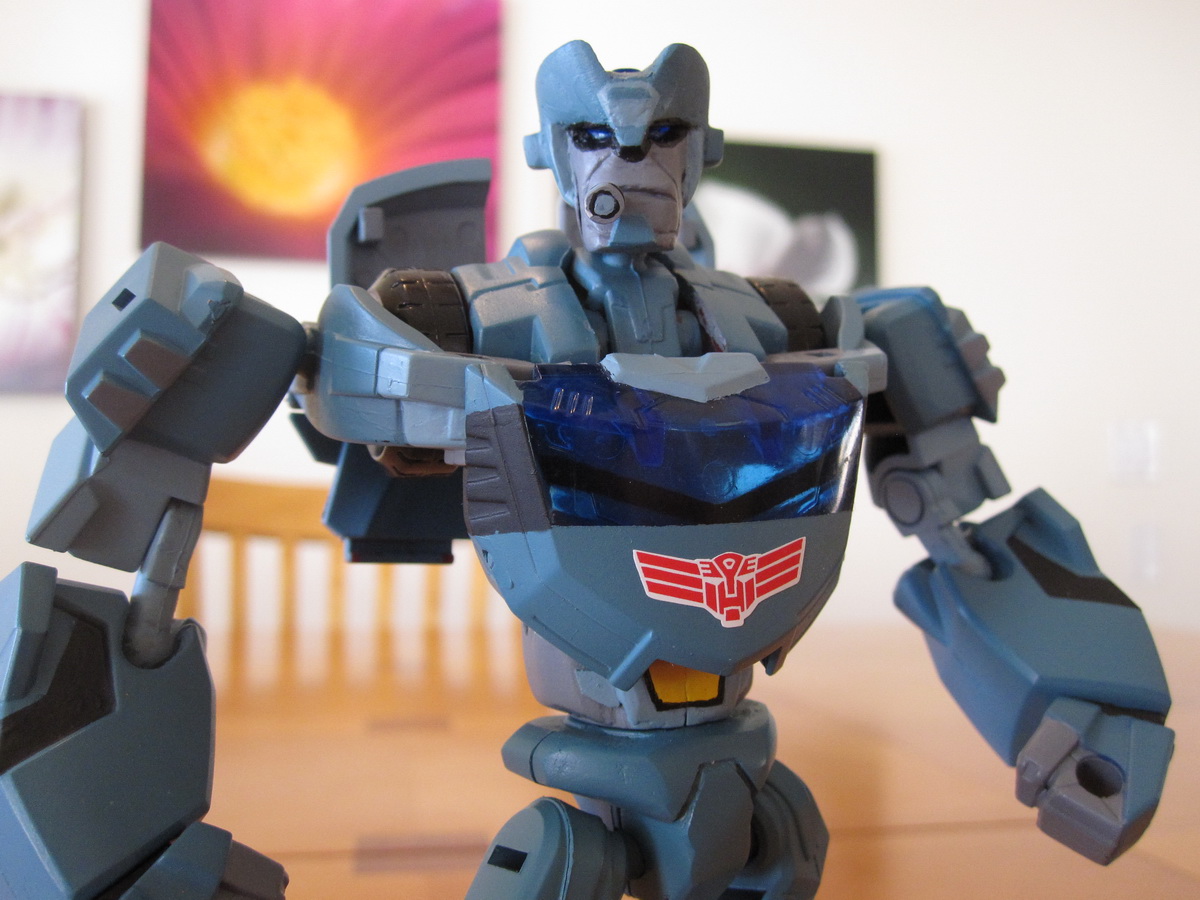
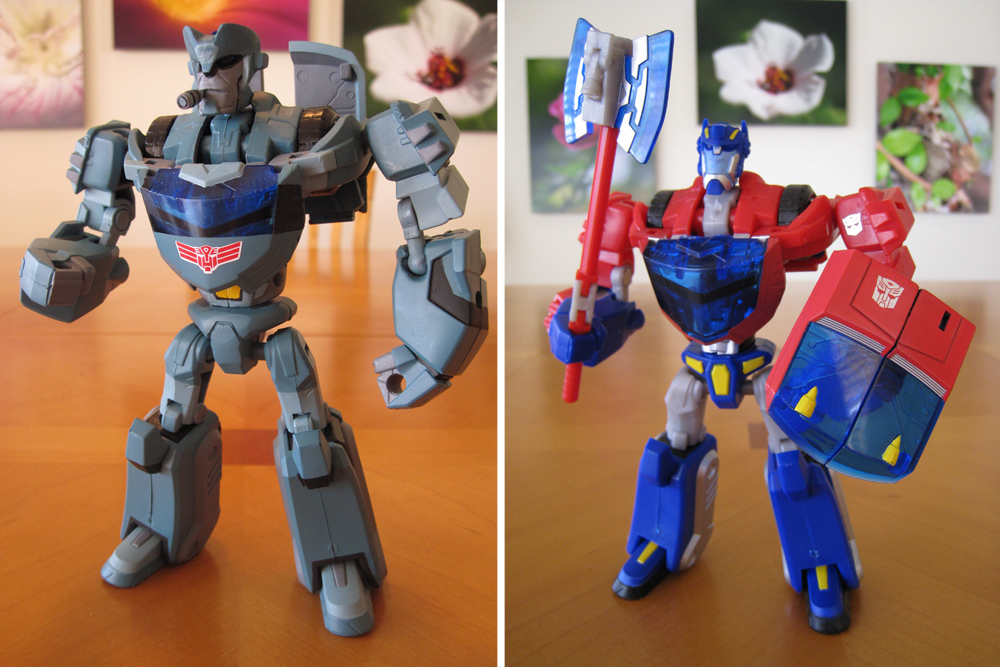
At the same time I was working on my custom Transformers Animated Windblade, I was also working on this pair of custom TFA figures. Each of these toys is an homage to the misunderstood Decepticon: Transformers Animated Wasp.
 In the show, Wasp originally starts off with a similarly constructed chassis or body to the familiar Bumblebee. Unfortunately during his time trying to become part of the Autobot Elite Guard, Wasp is incorrectly labelled a traitor and is sent to prison. He doesn’t do to well in the brink, quickly escapes, and then isn’t quite the same as he once was. Wasp gains a weird voice pattern, odd mannerisms, and promises to avenge himself against Bumblebee, whom he felt has wronged him. He makes his way to Earth to locate the Autobot, and chaos ensues. It is the Wasp seen during these episodes that my custom toys homage. They also reference the Wasp that appears during this transition period, before he is transformed into something more sinister…
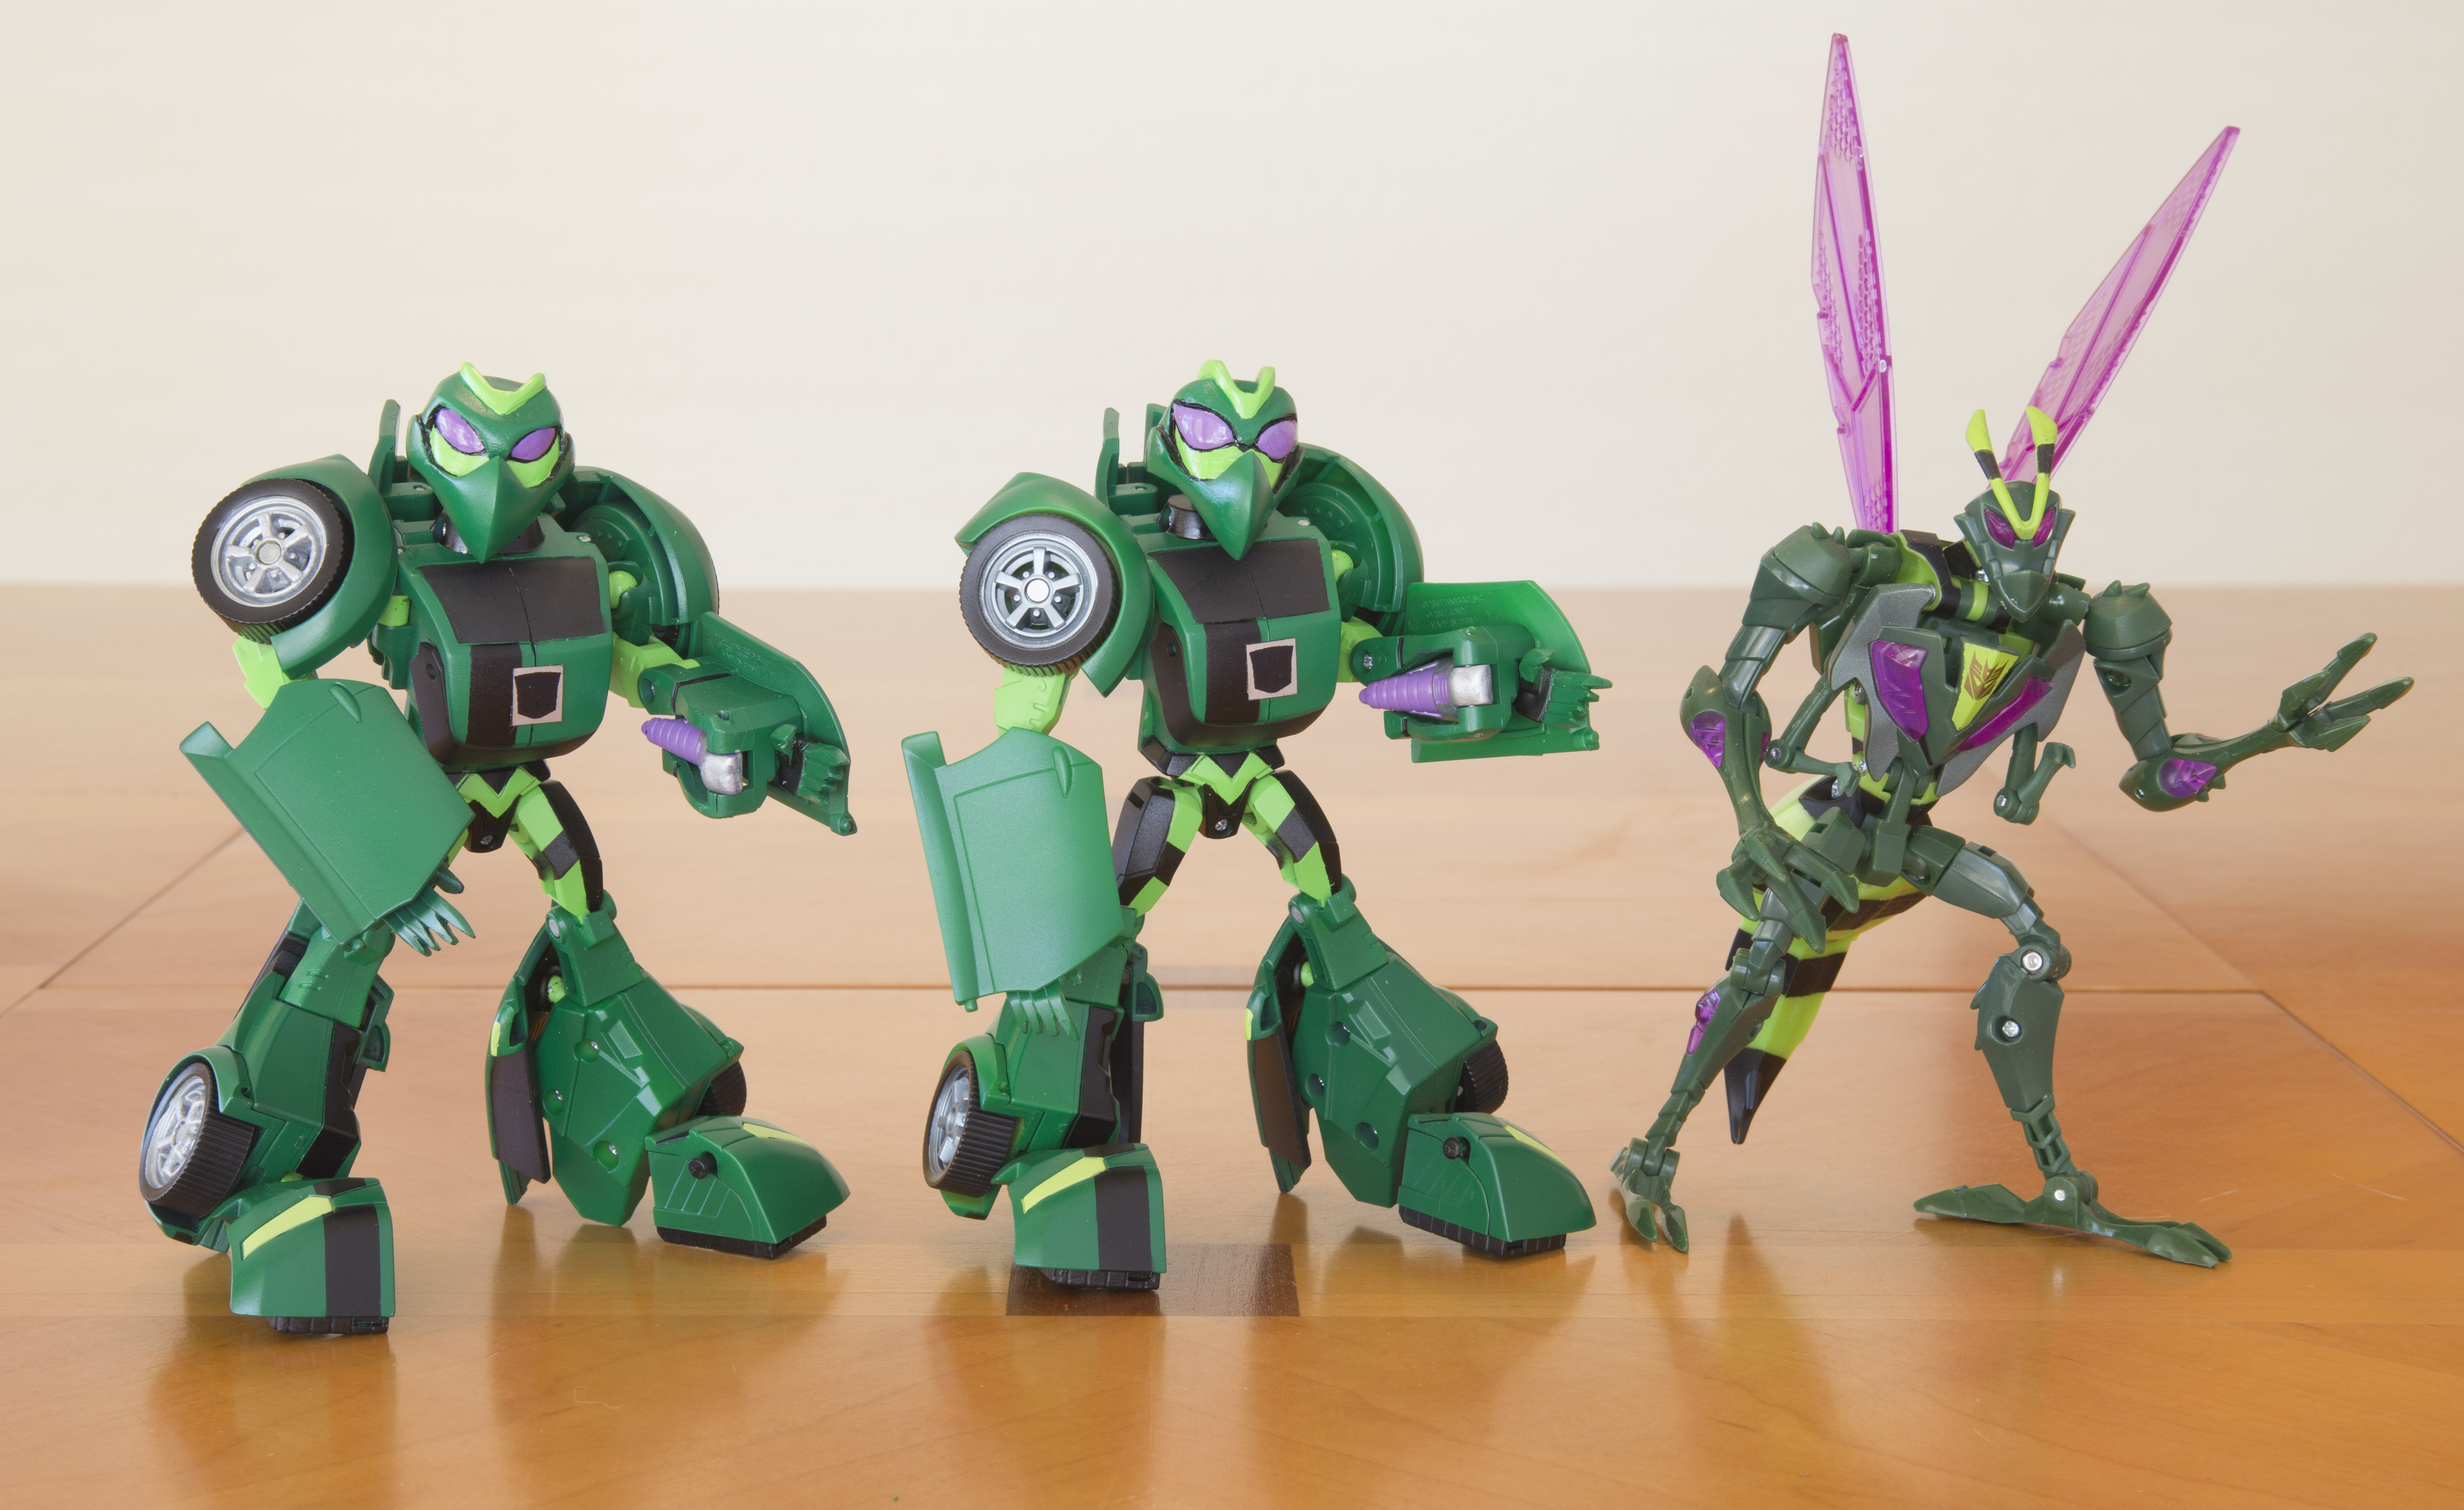
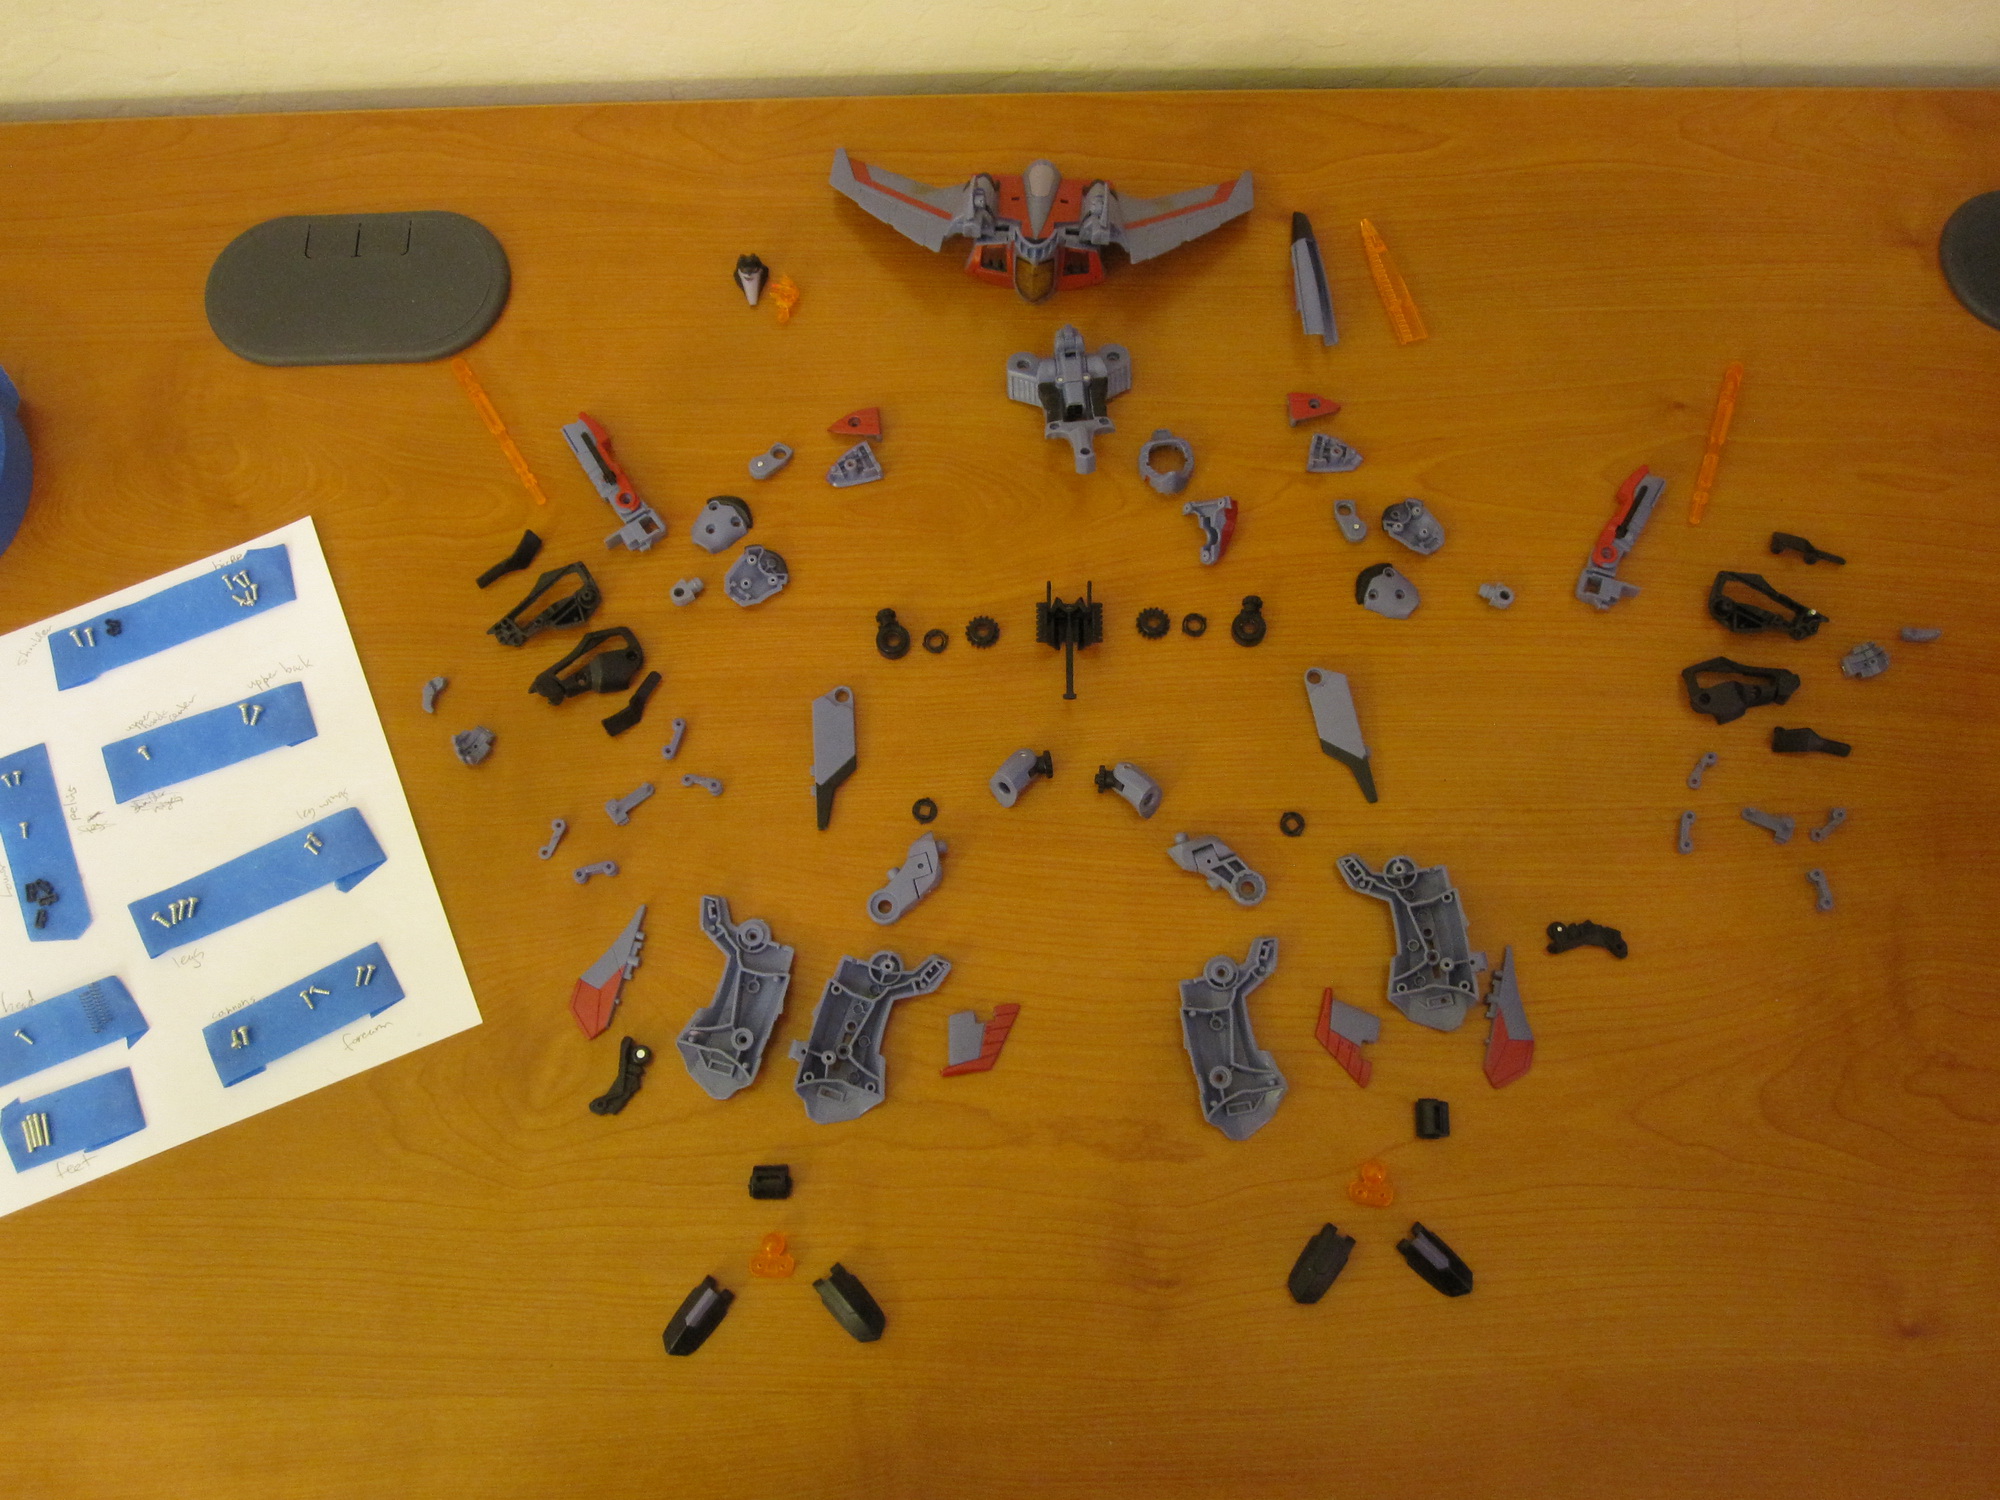
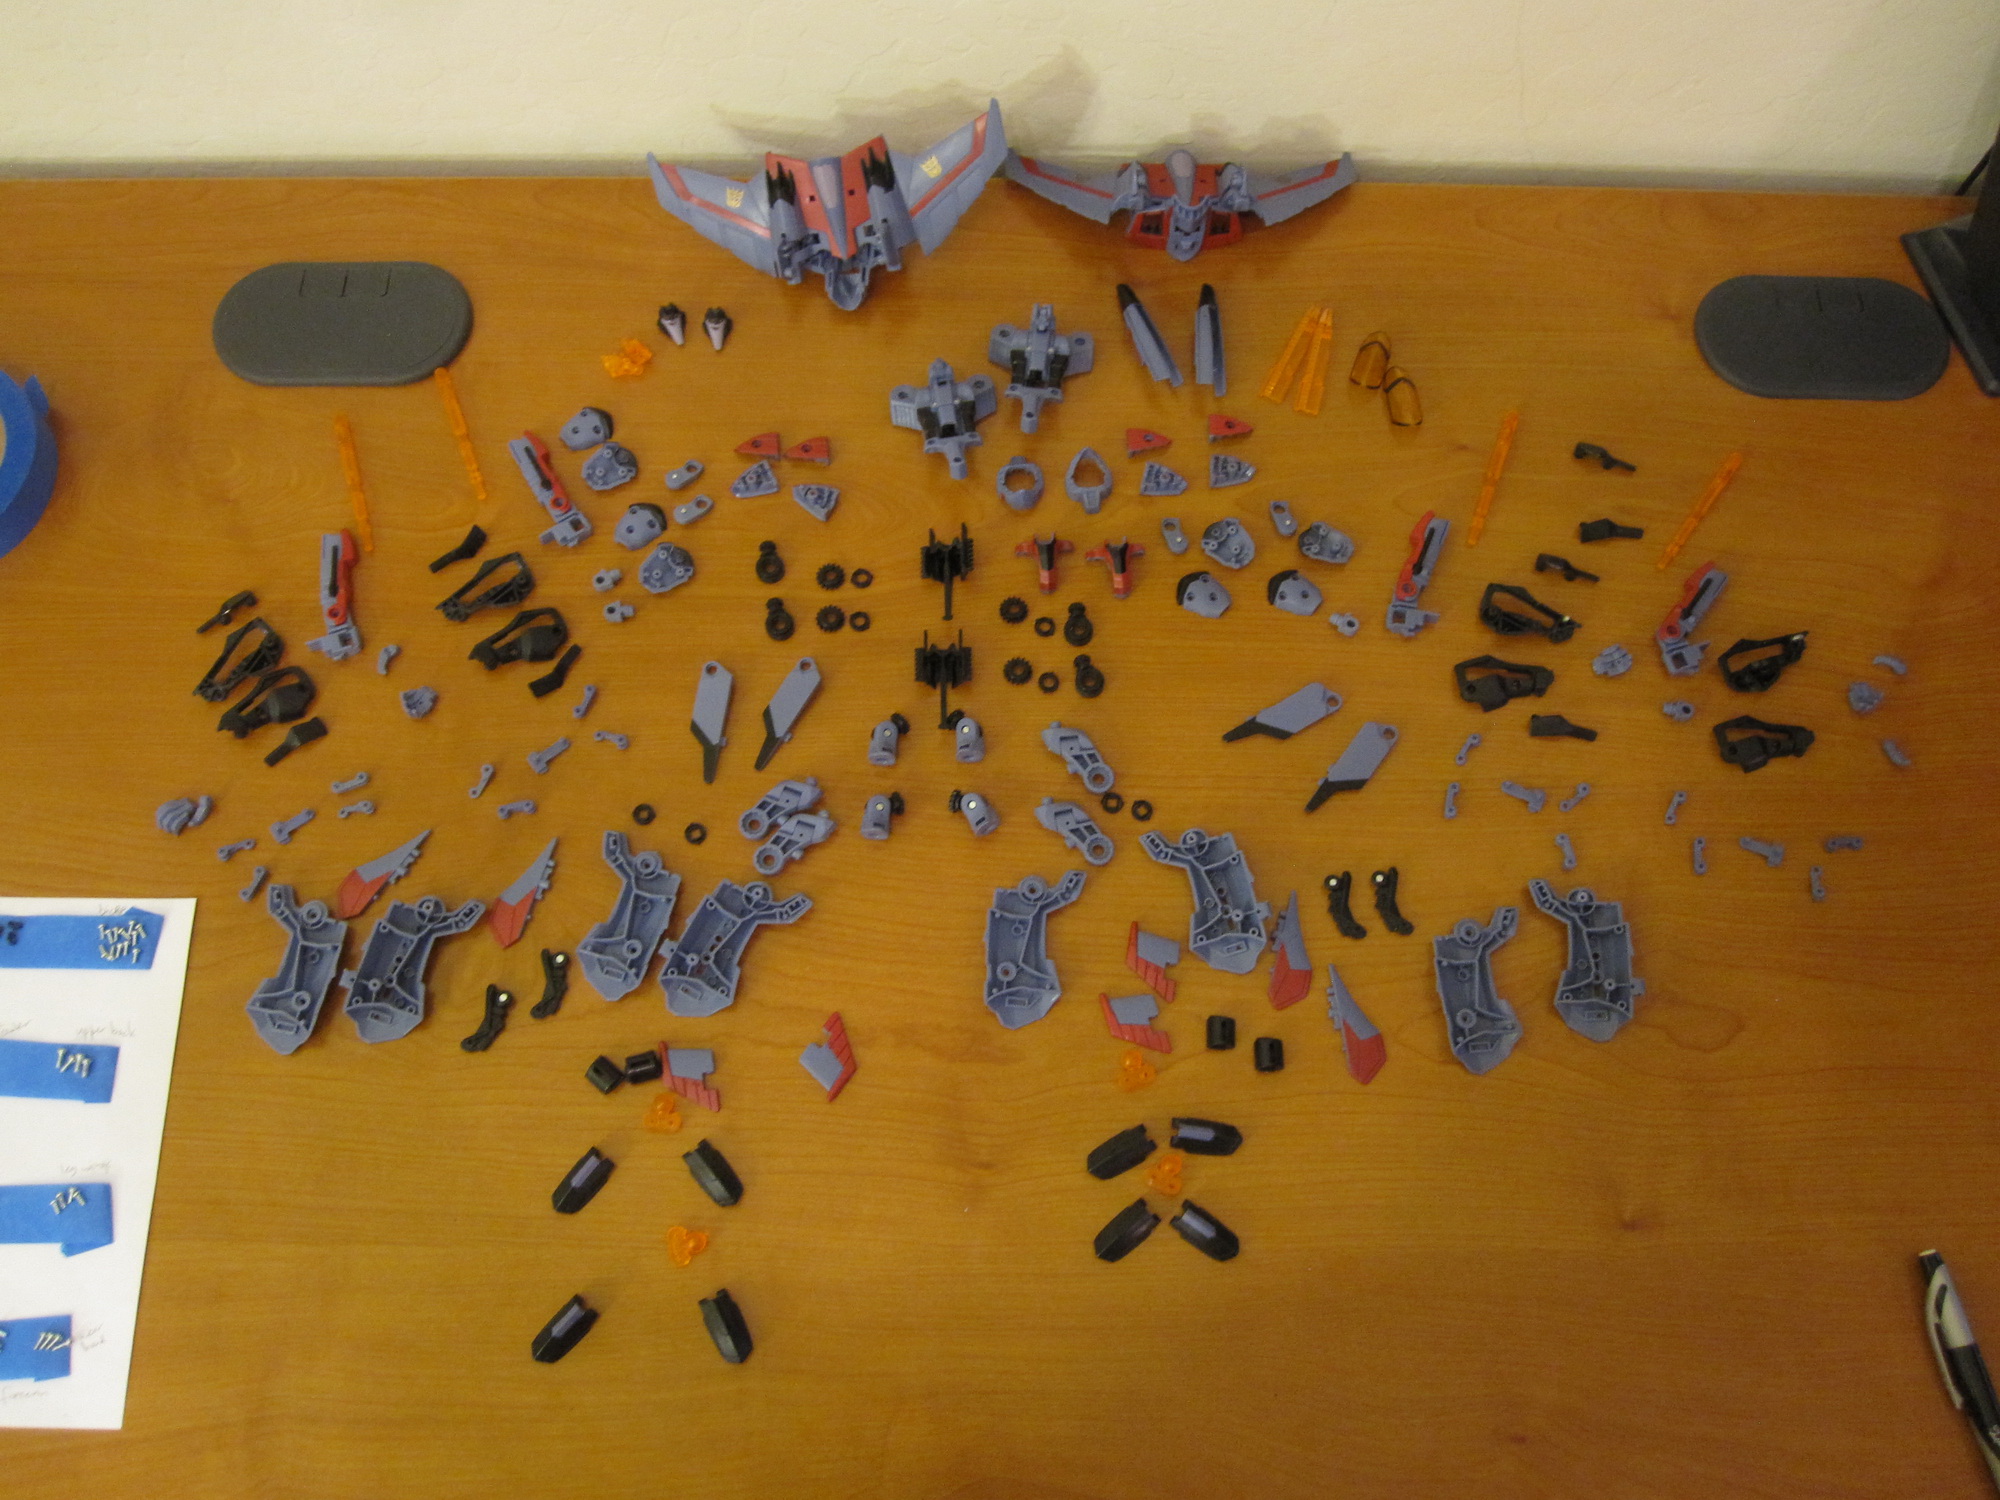
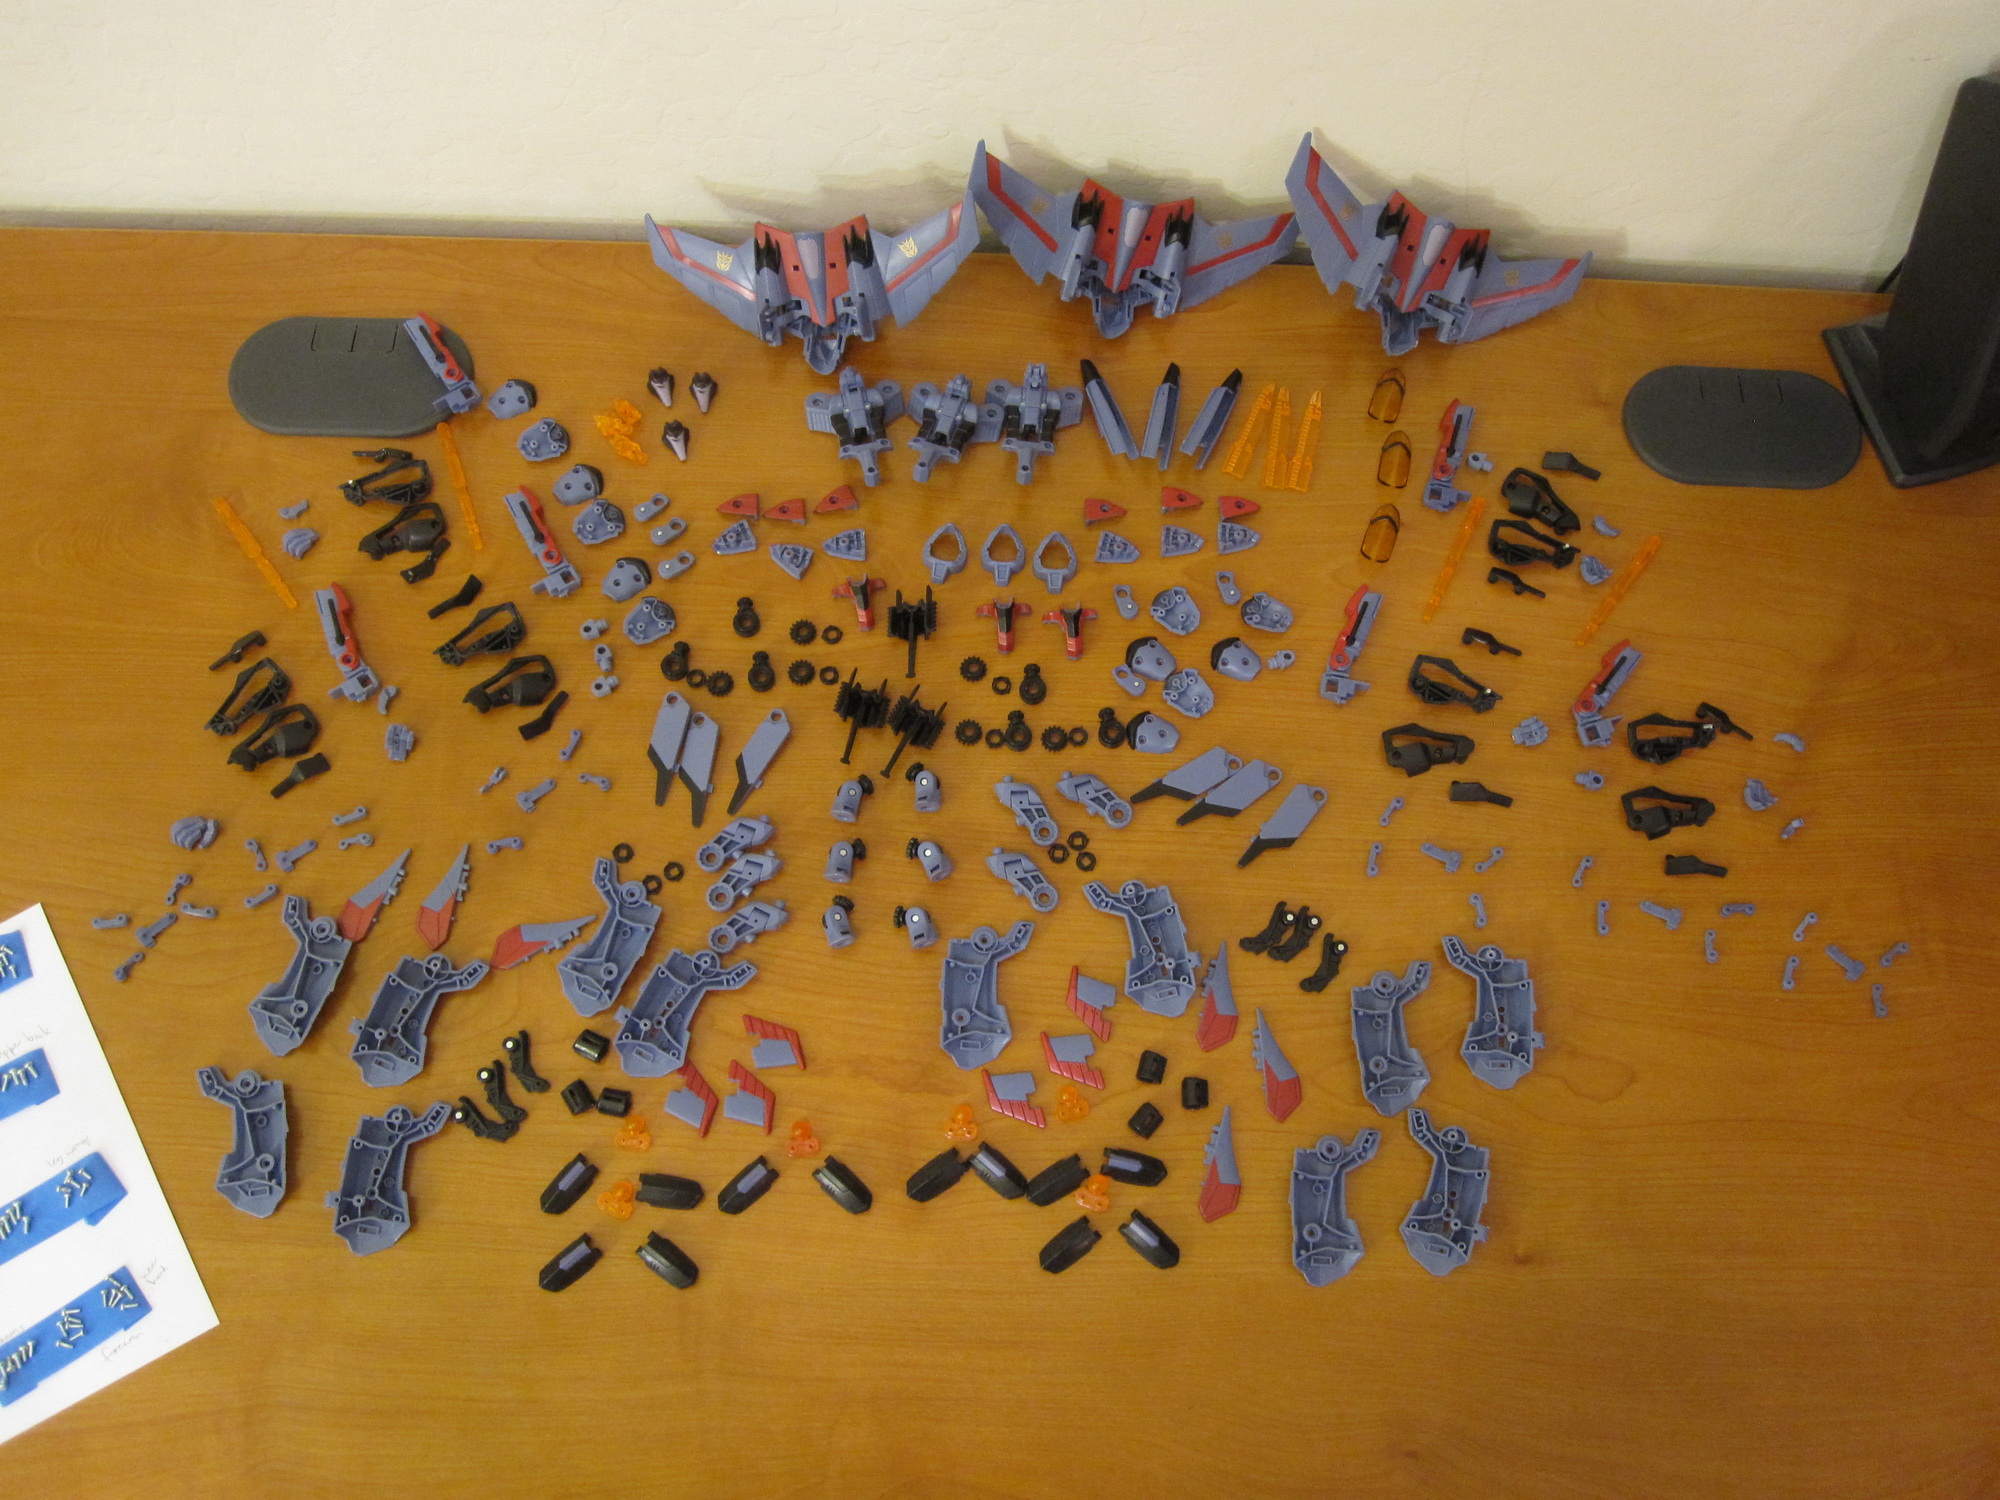
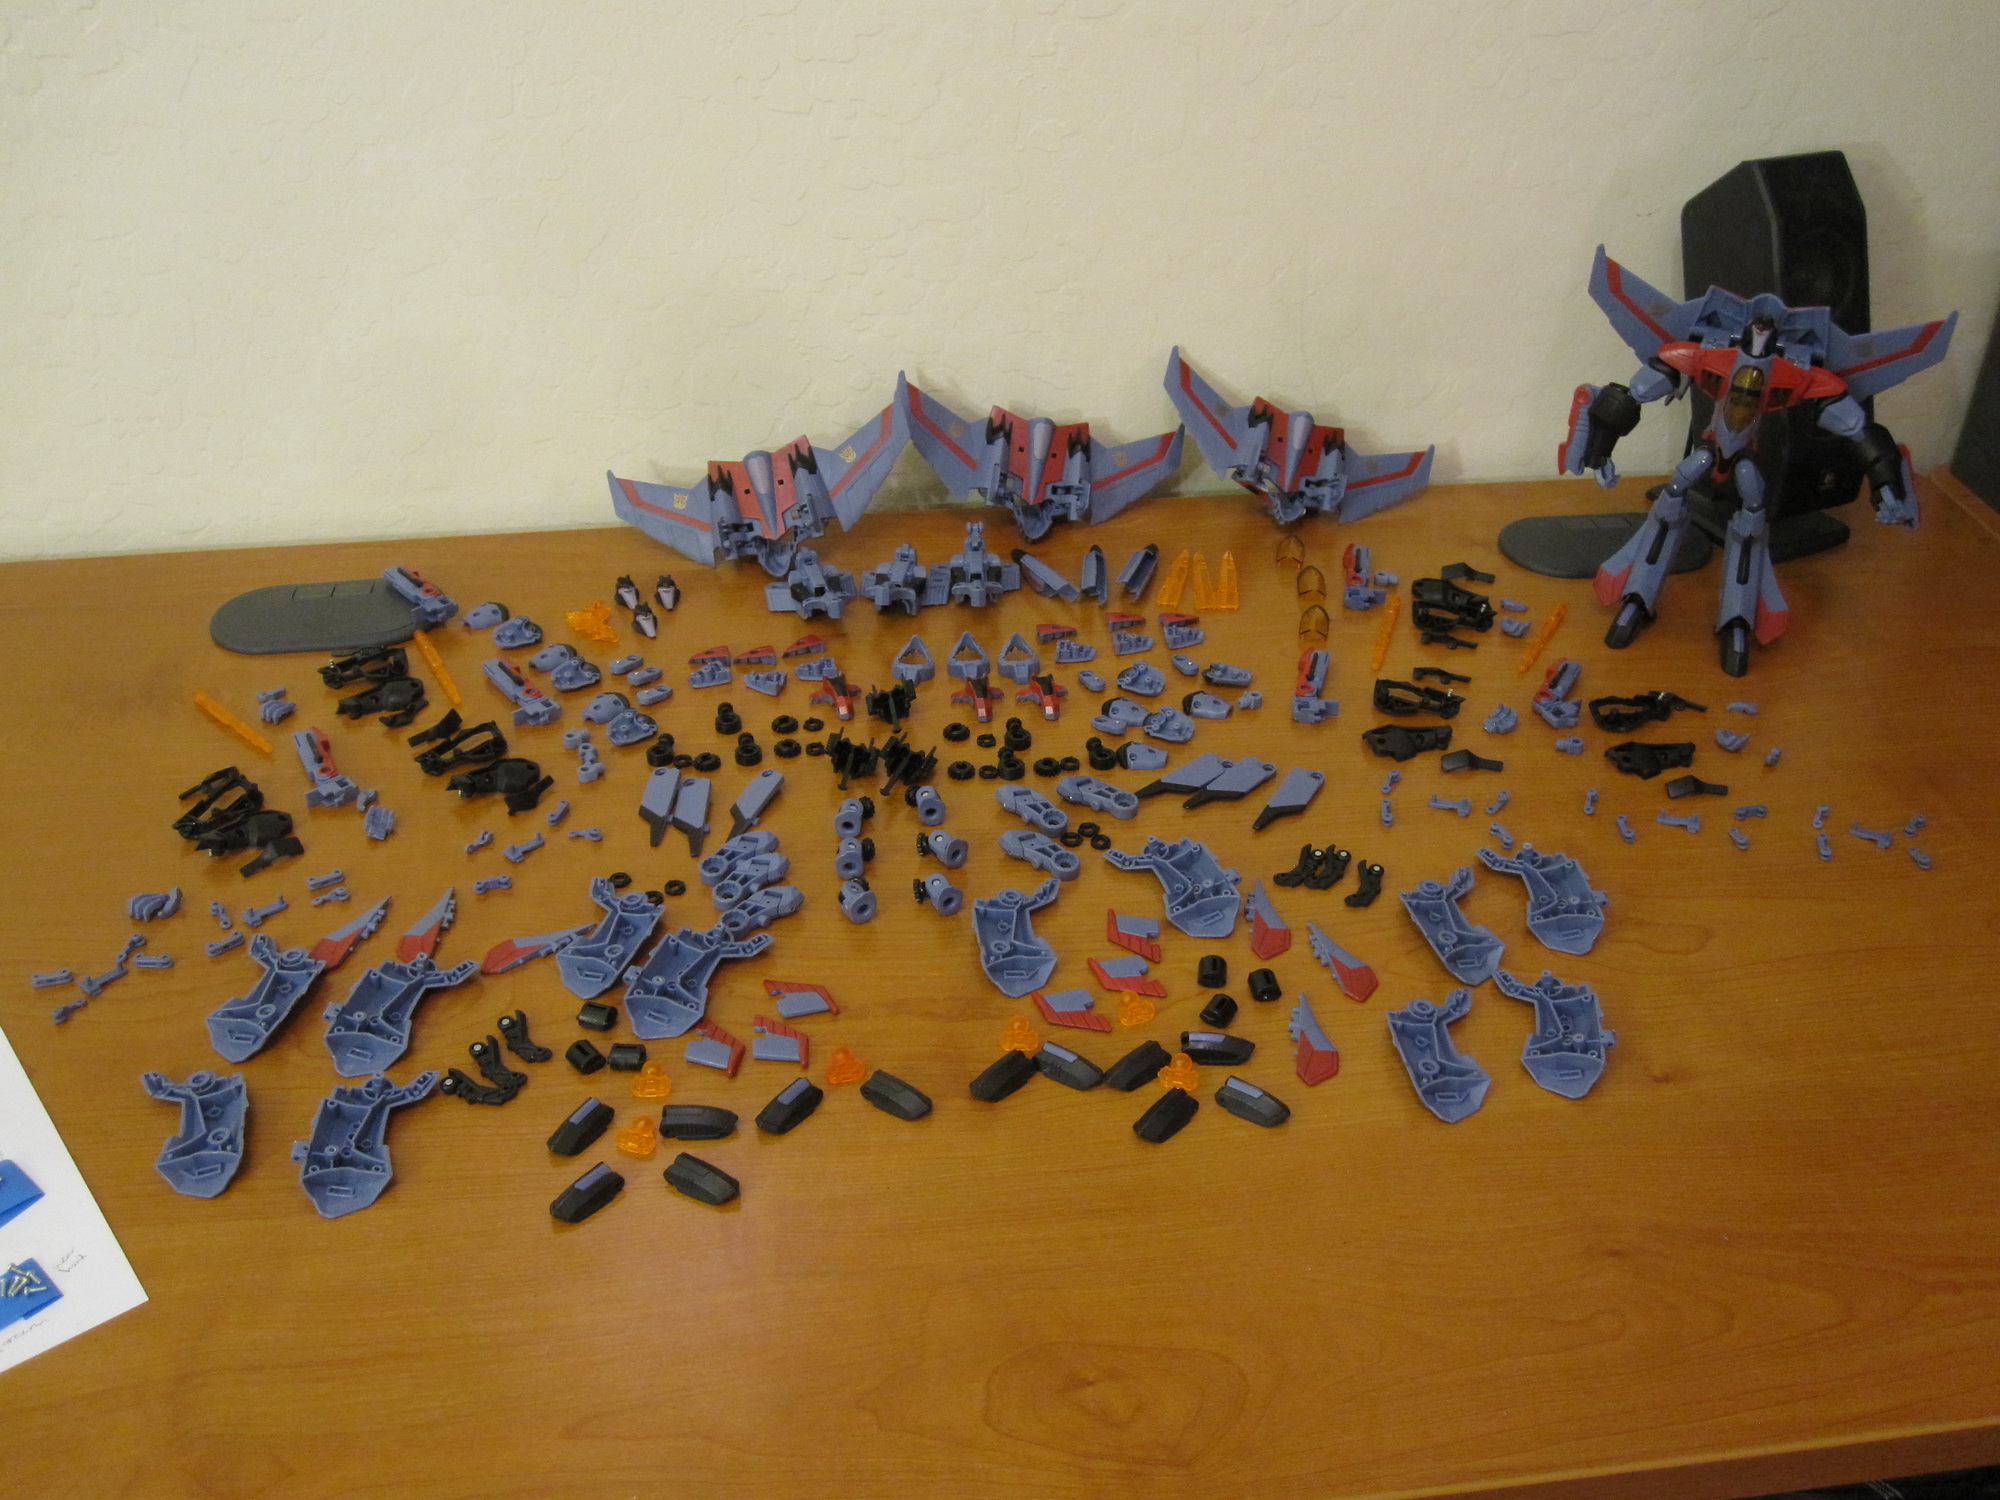
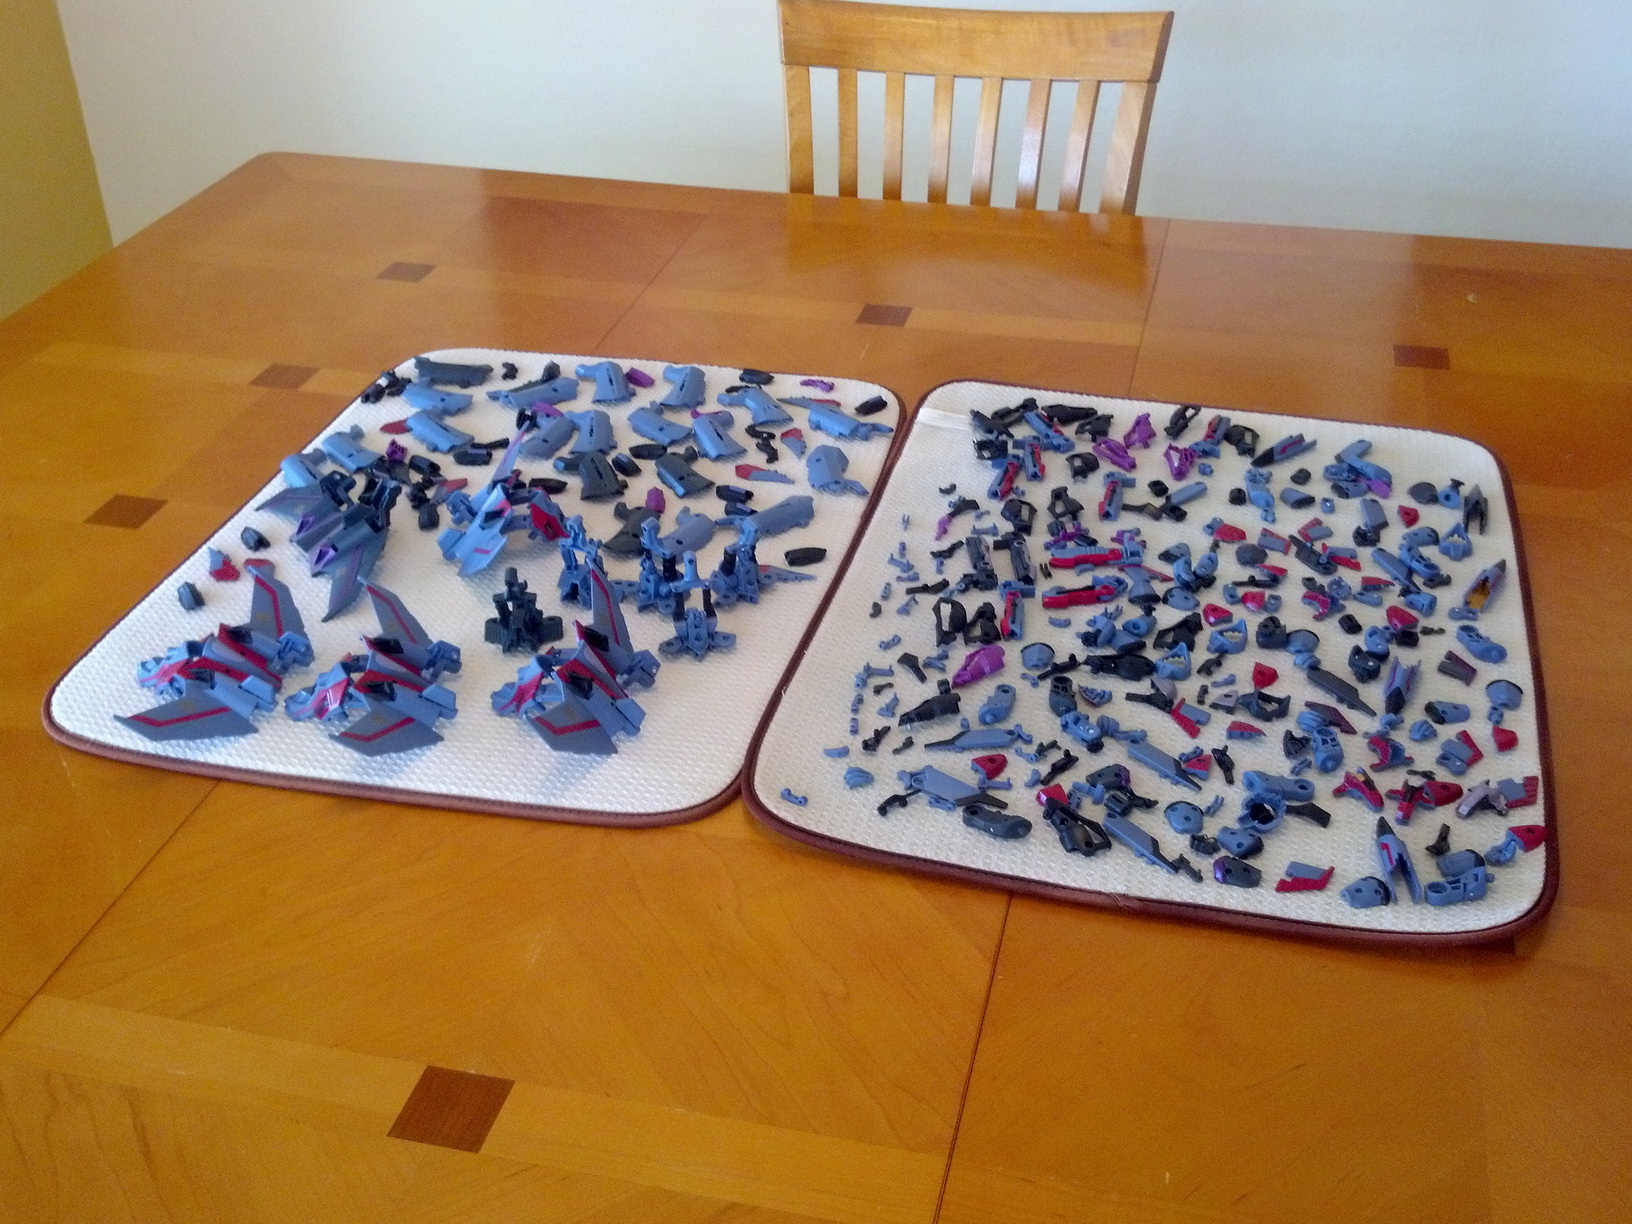
The impetus for this pair of custom figures was a local Transformers fan, Nickbot. He’ll be leaving the state of Arizona very soon, and I wanted to make this custom for him for his send off. At the same time, I figured if I was going to make one, why not make two so I could have a Wasp of my own? So “planzzz” were made and I got started on sculpting some heads.
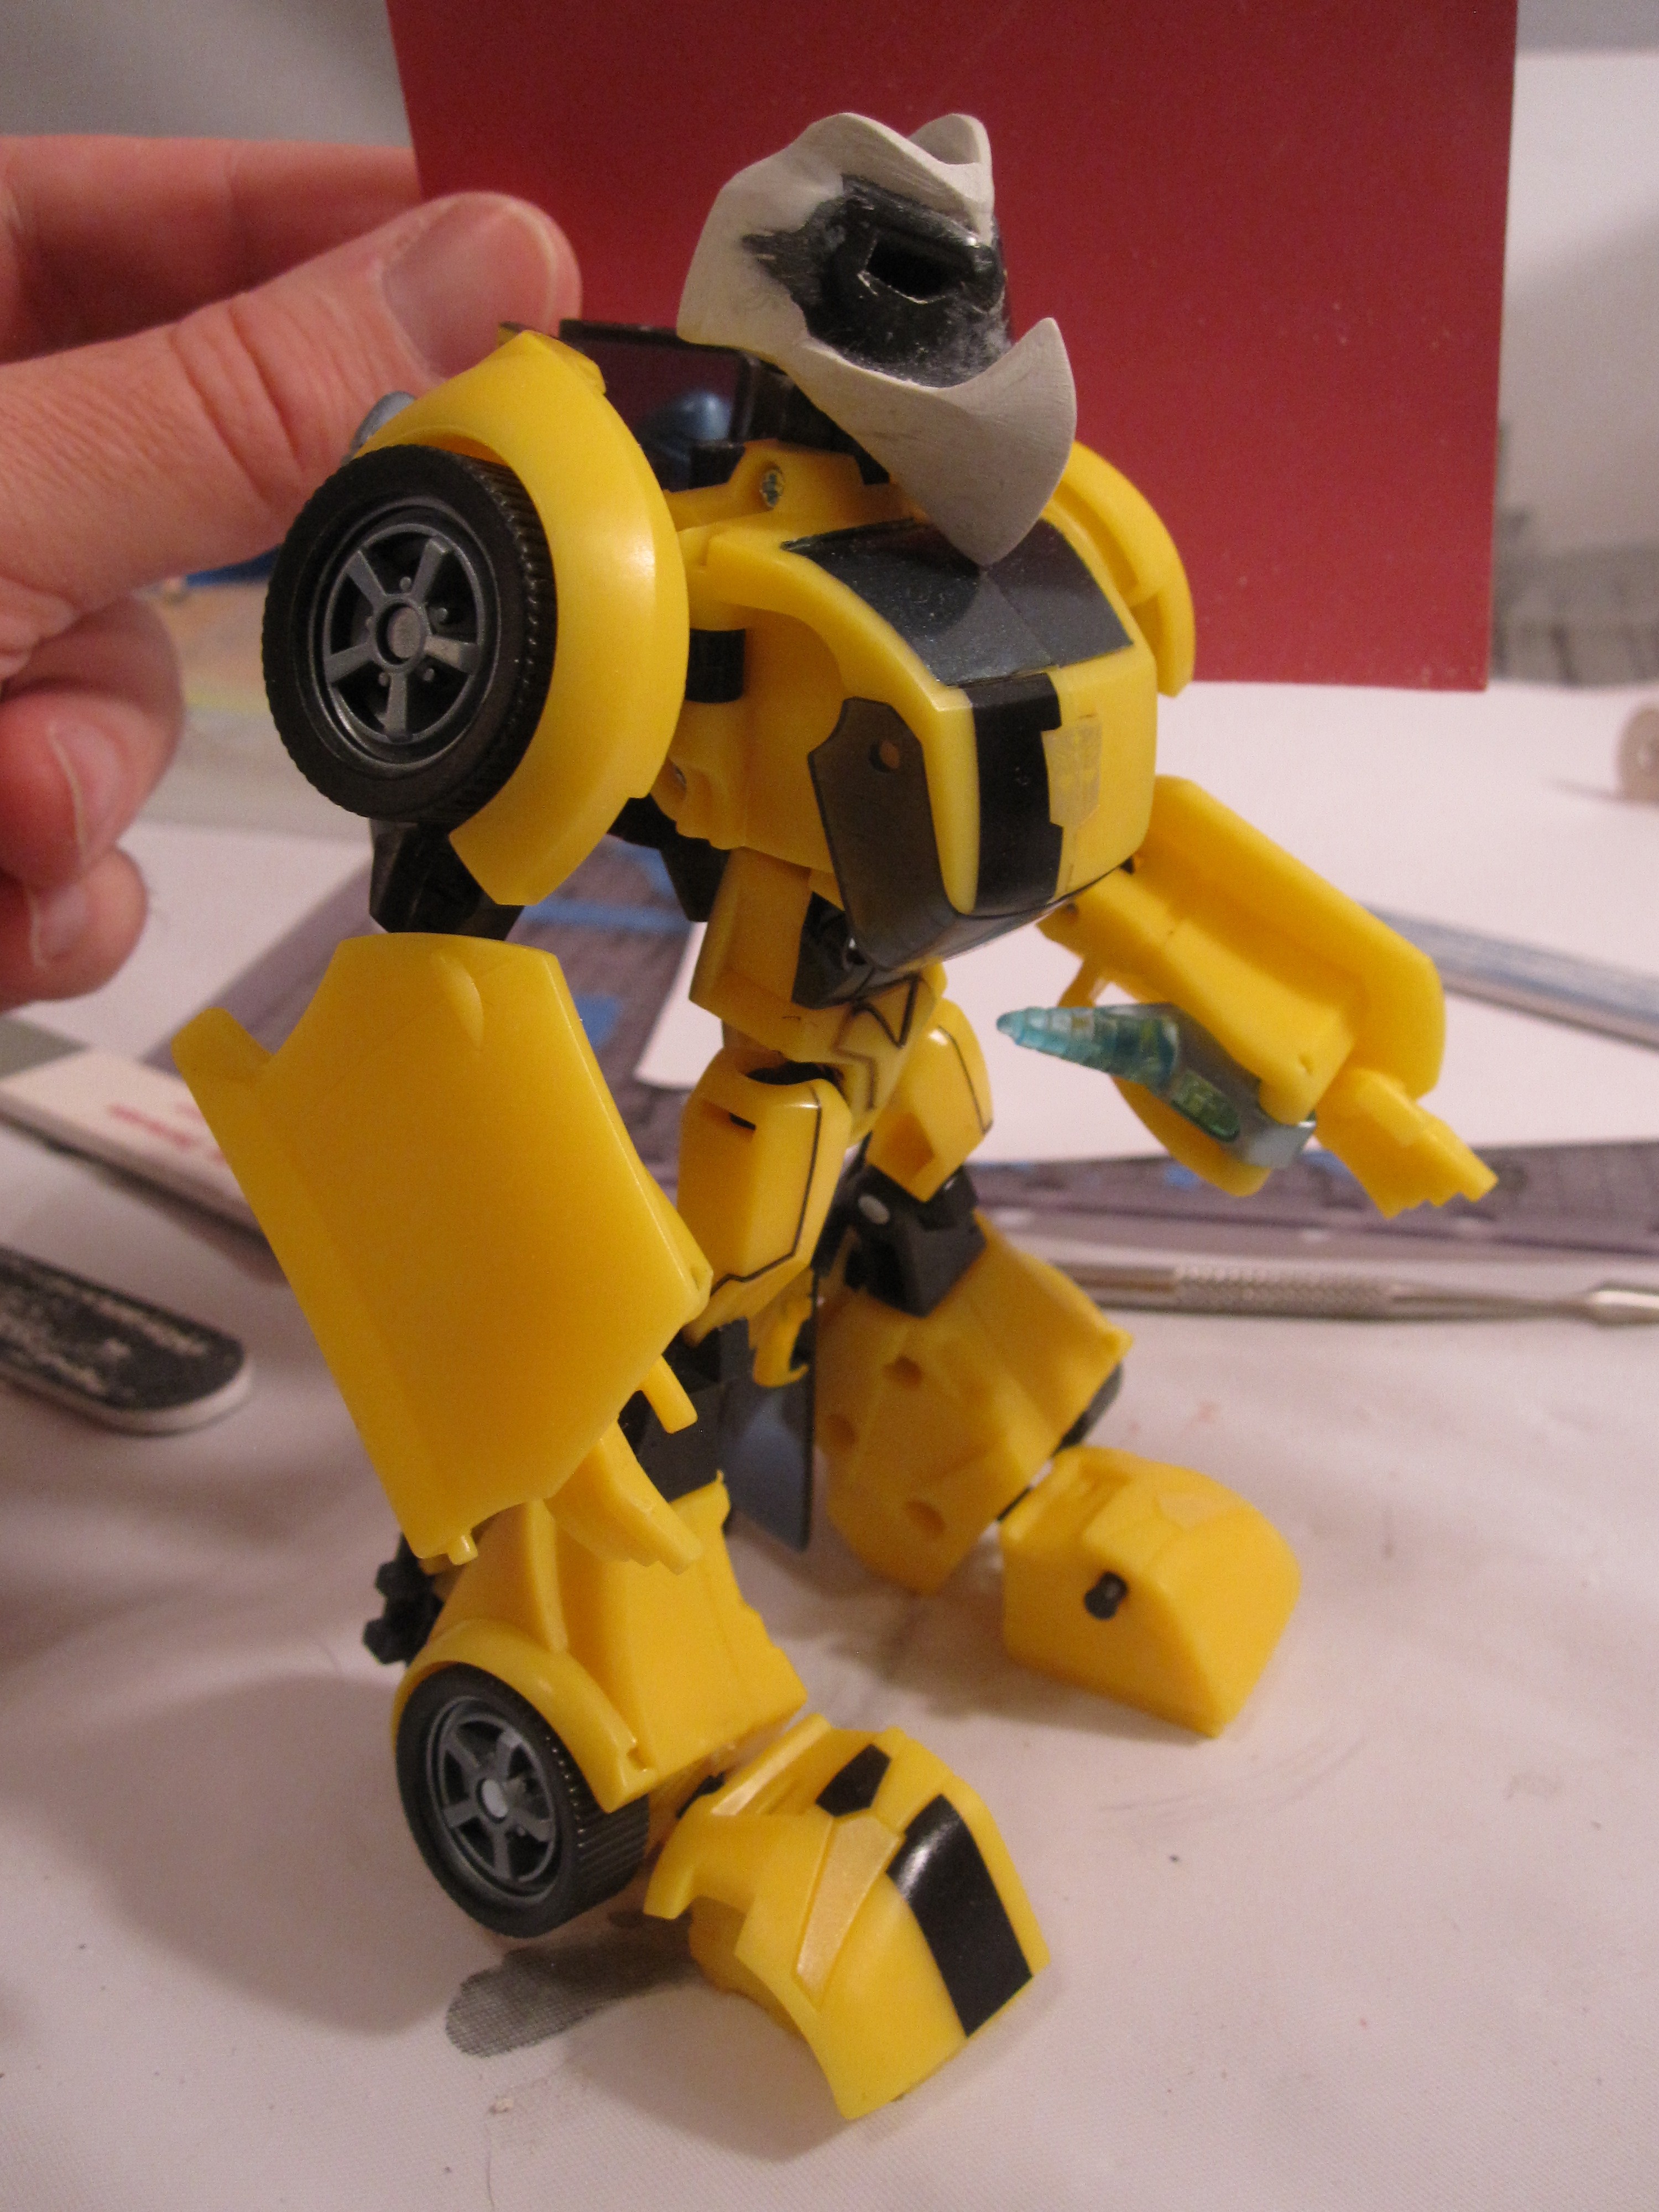
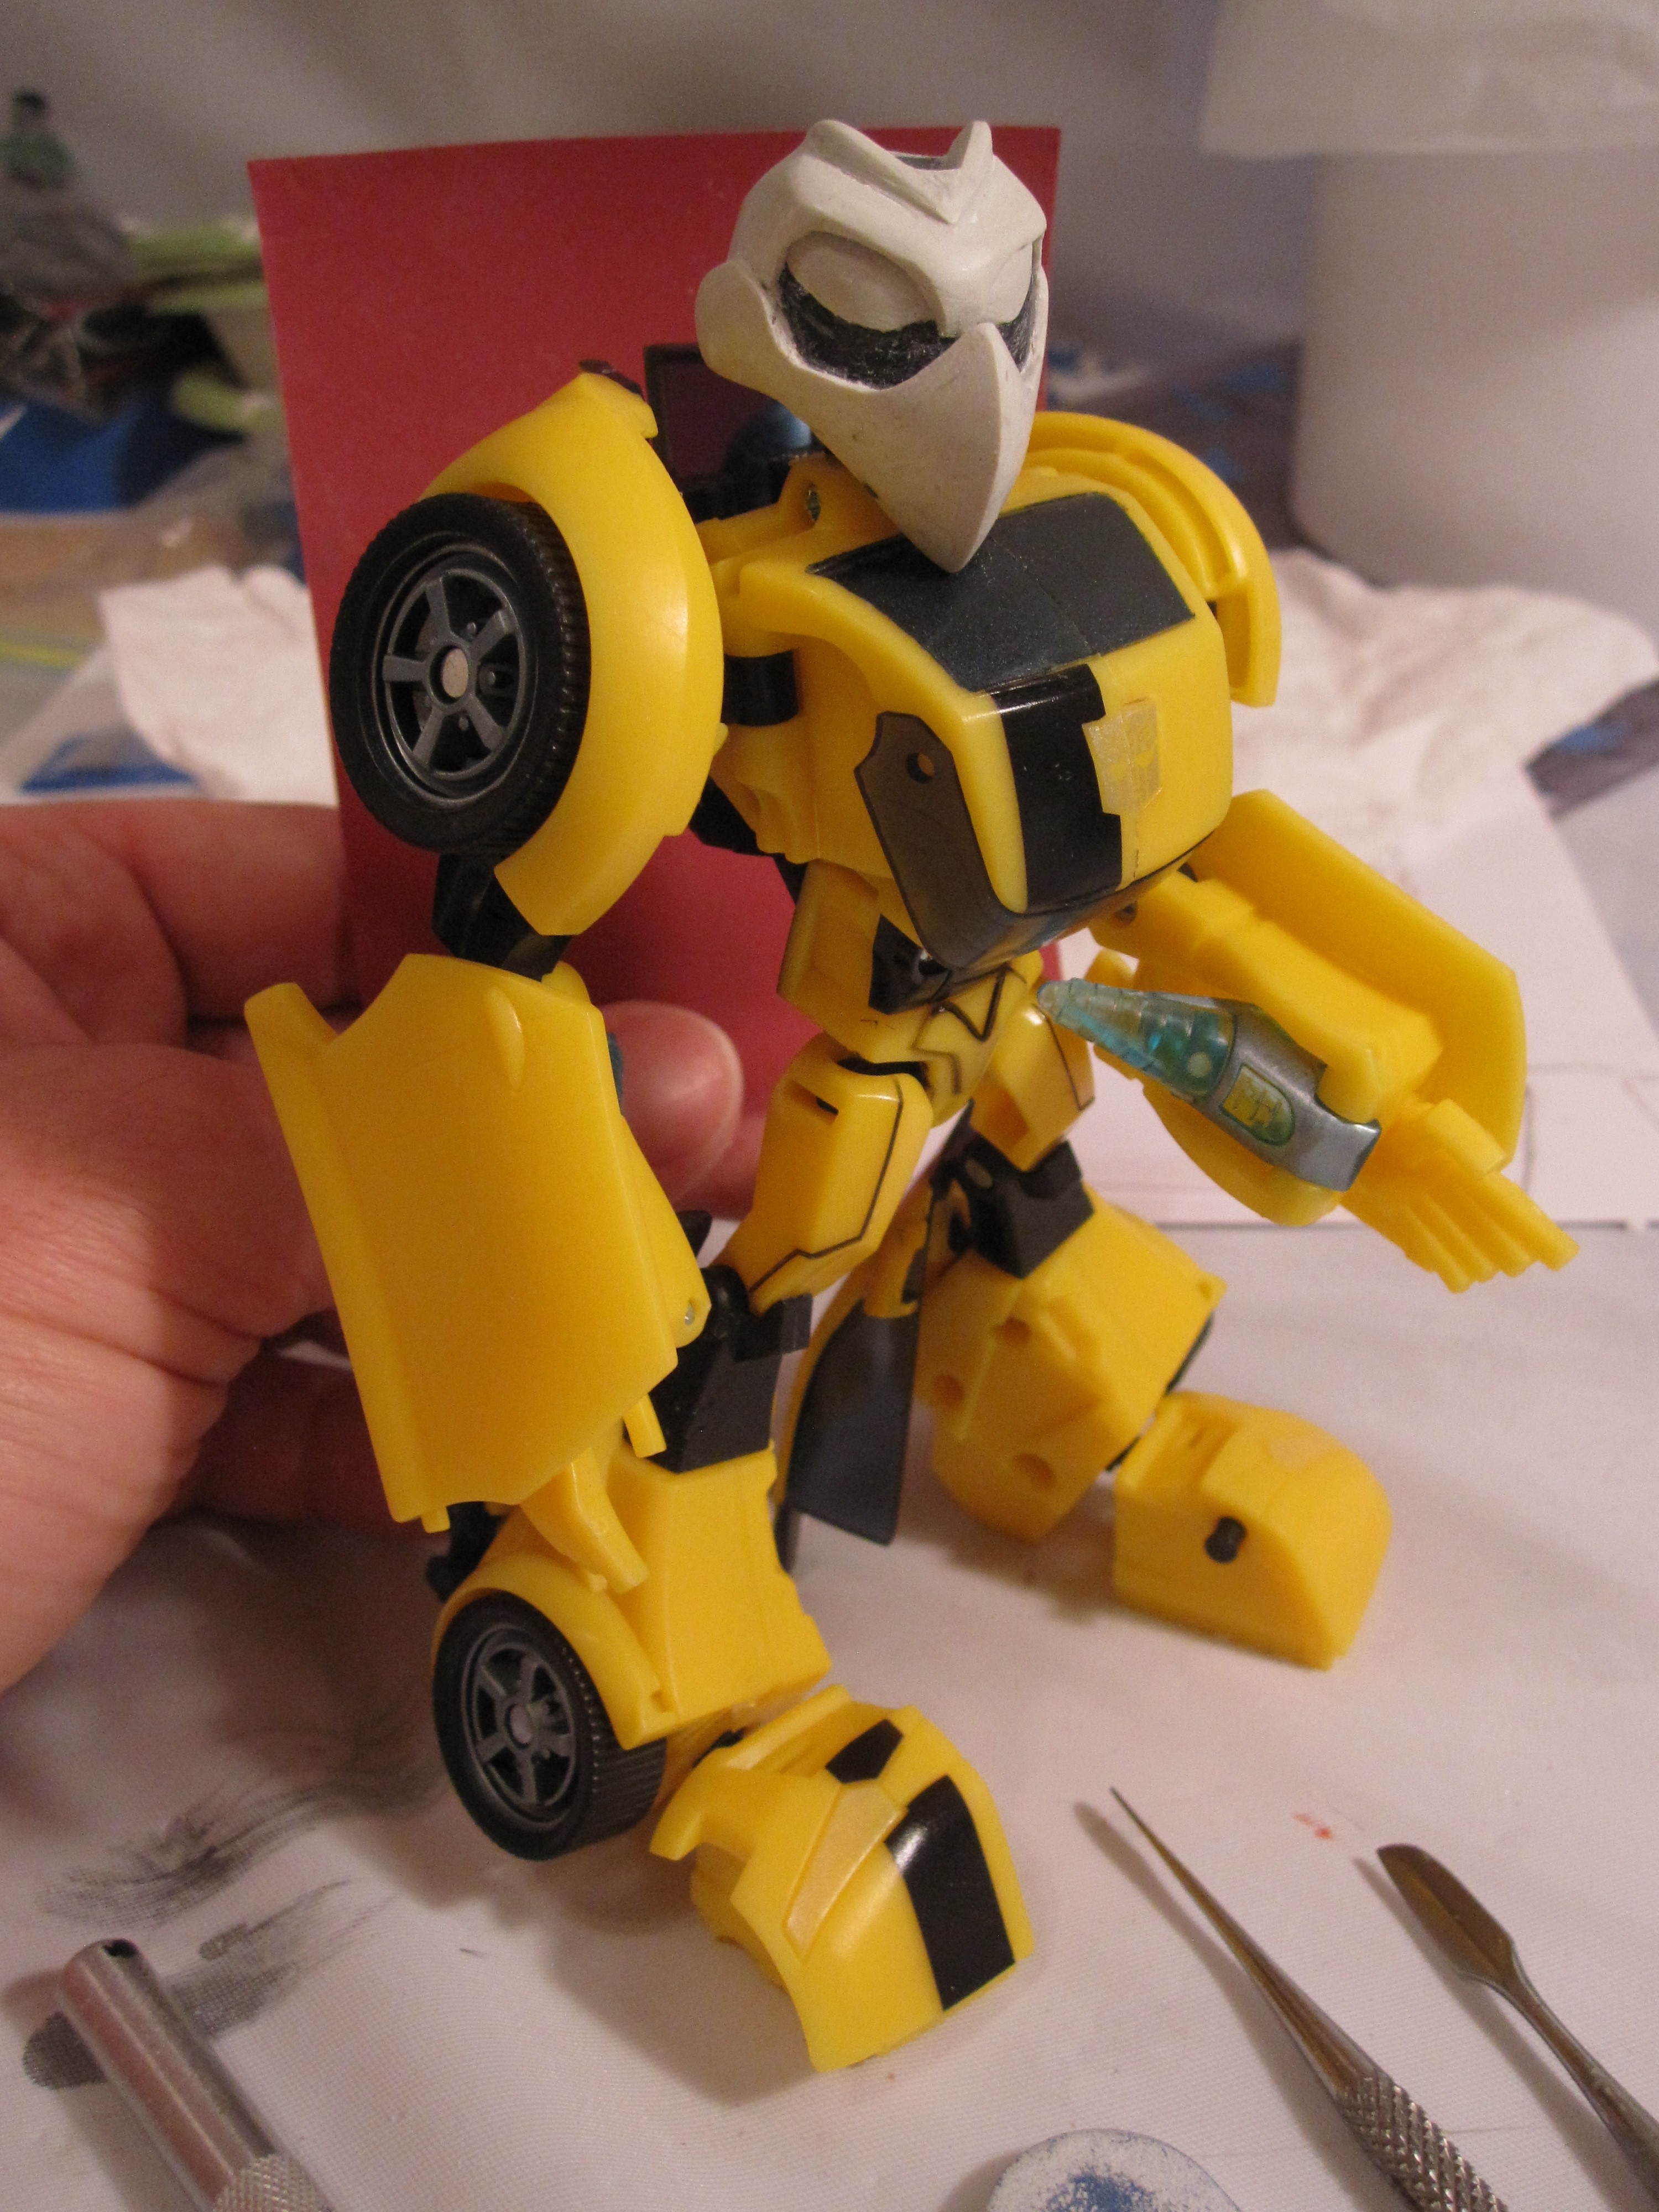
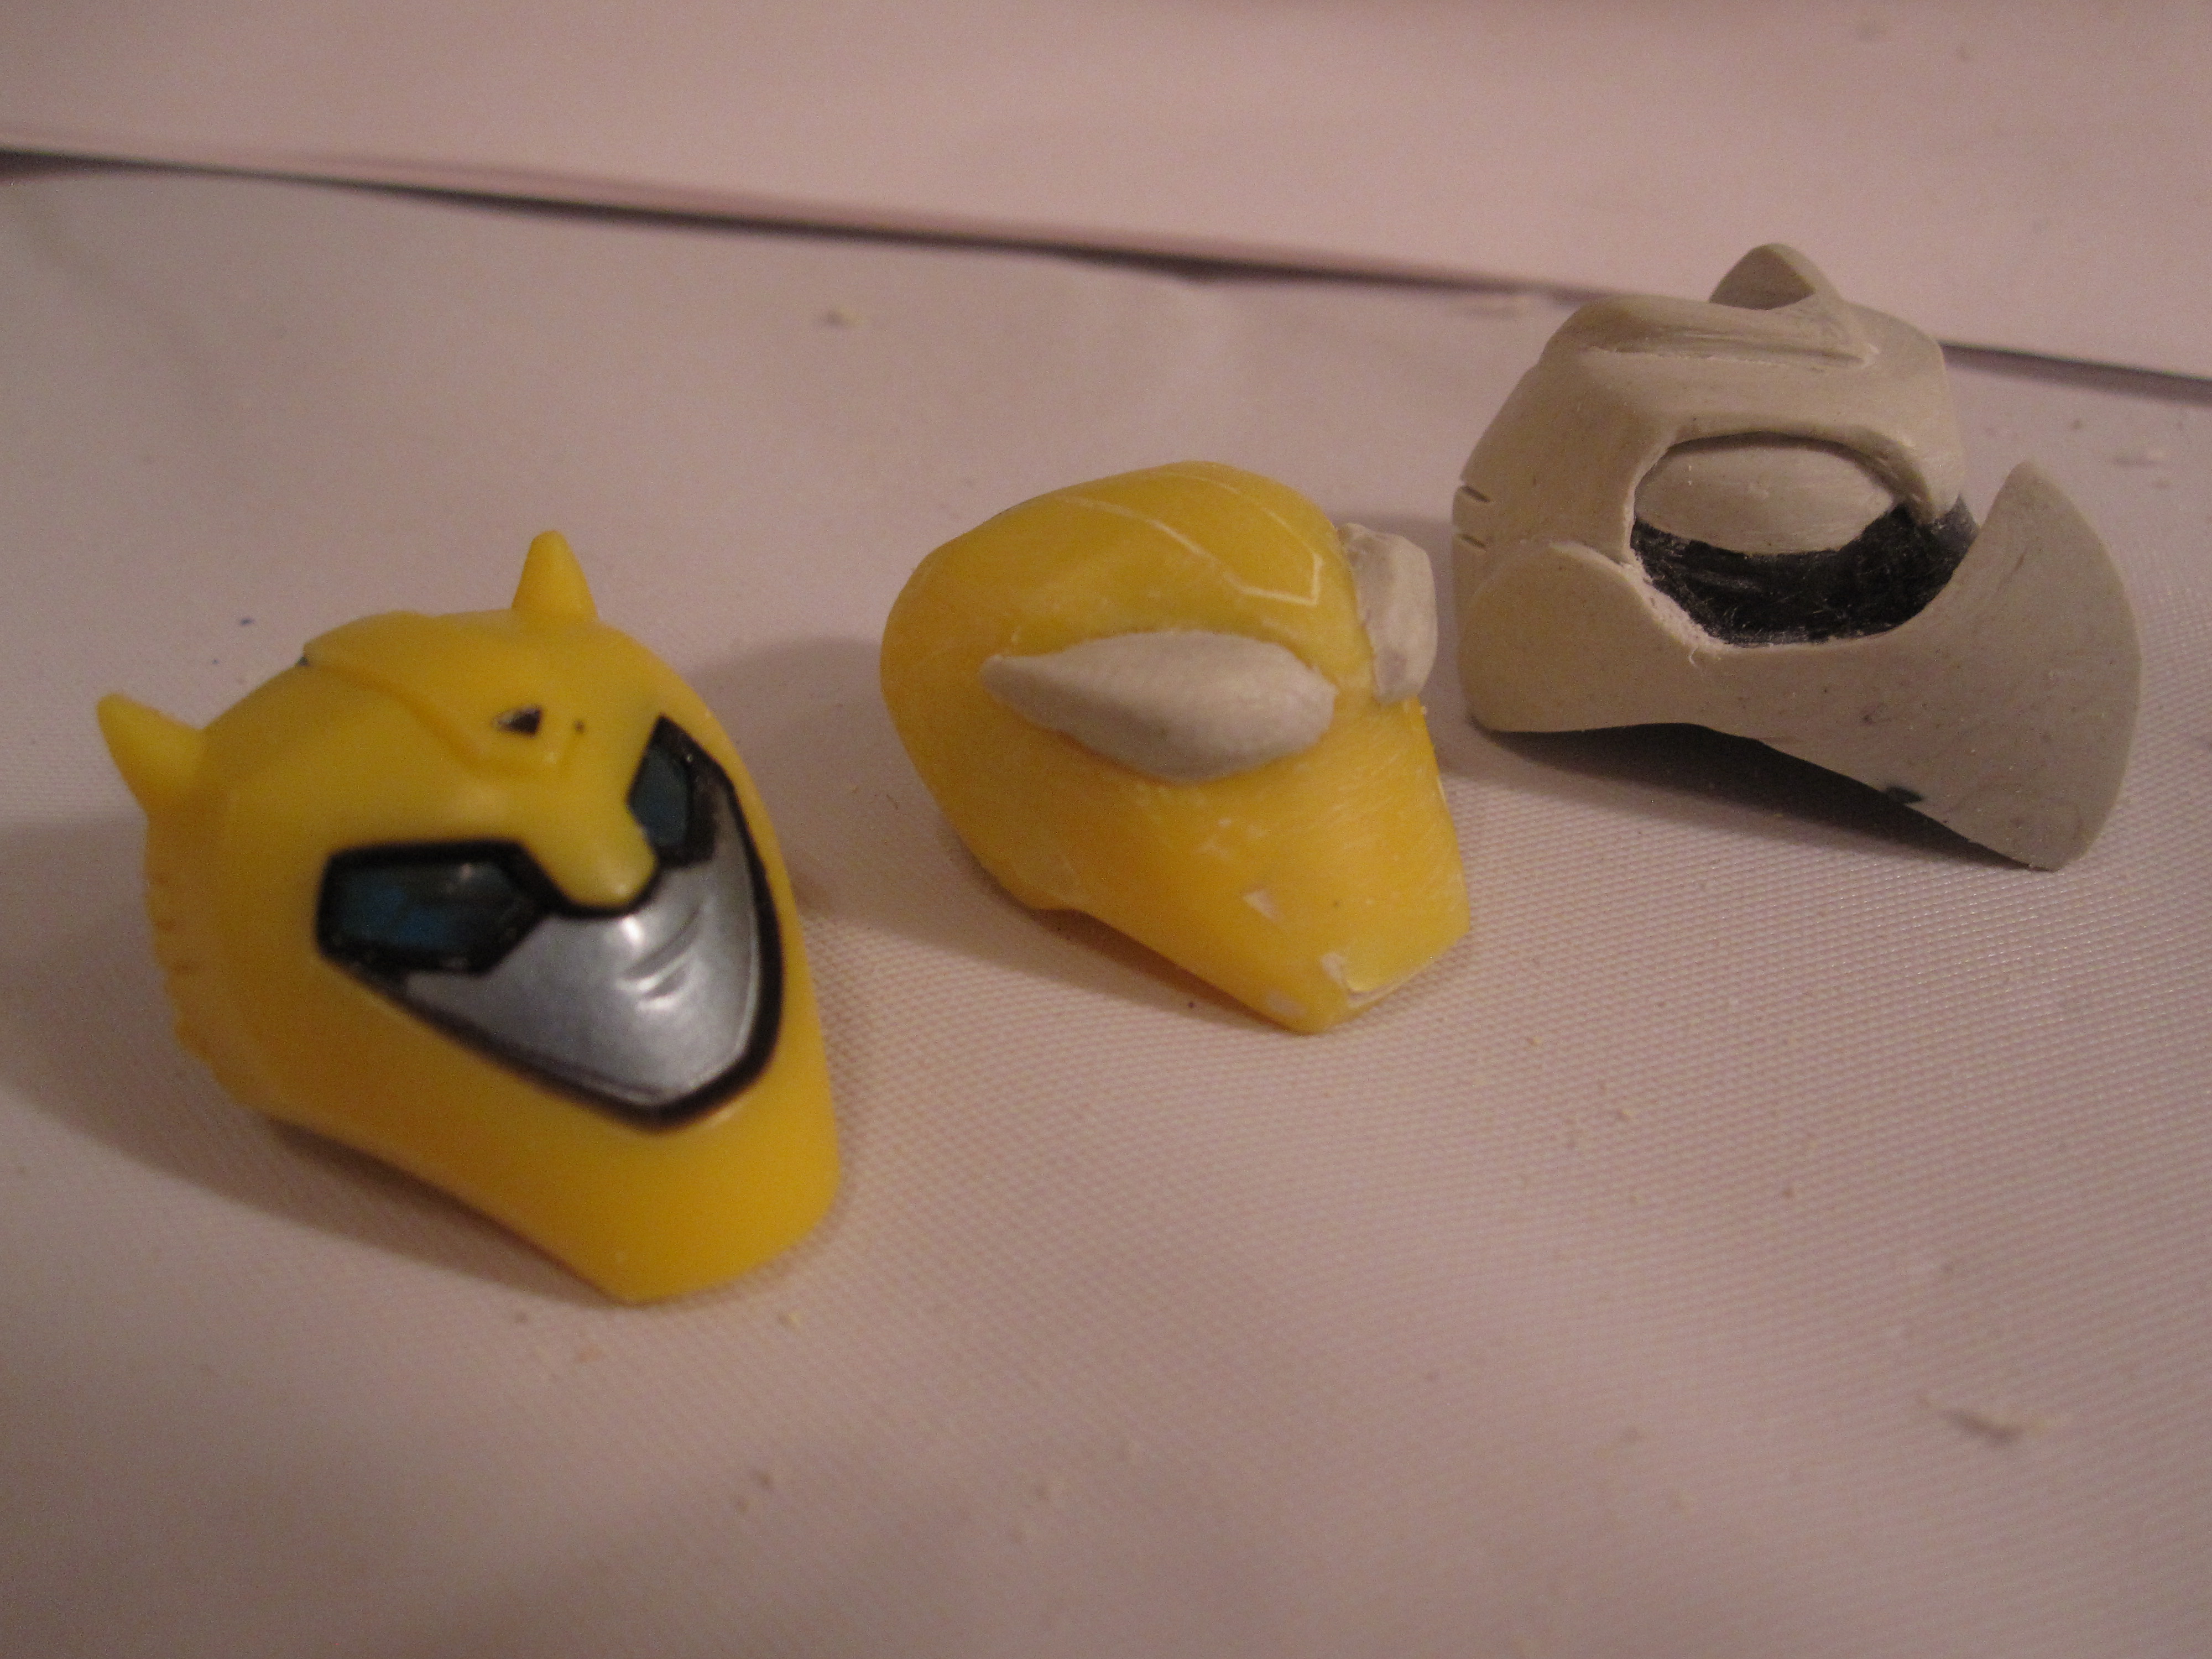
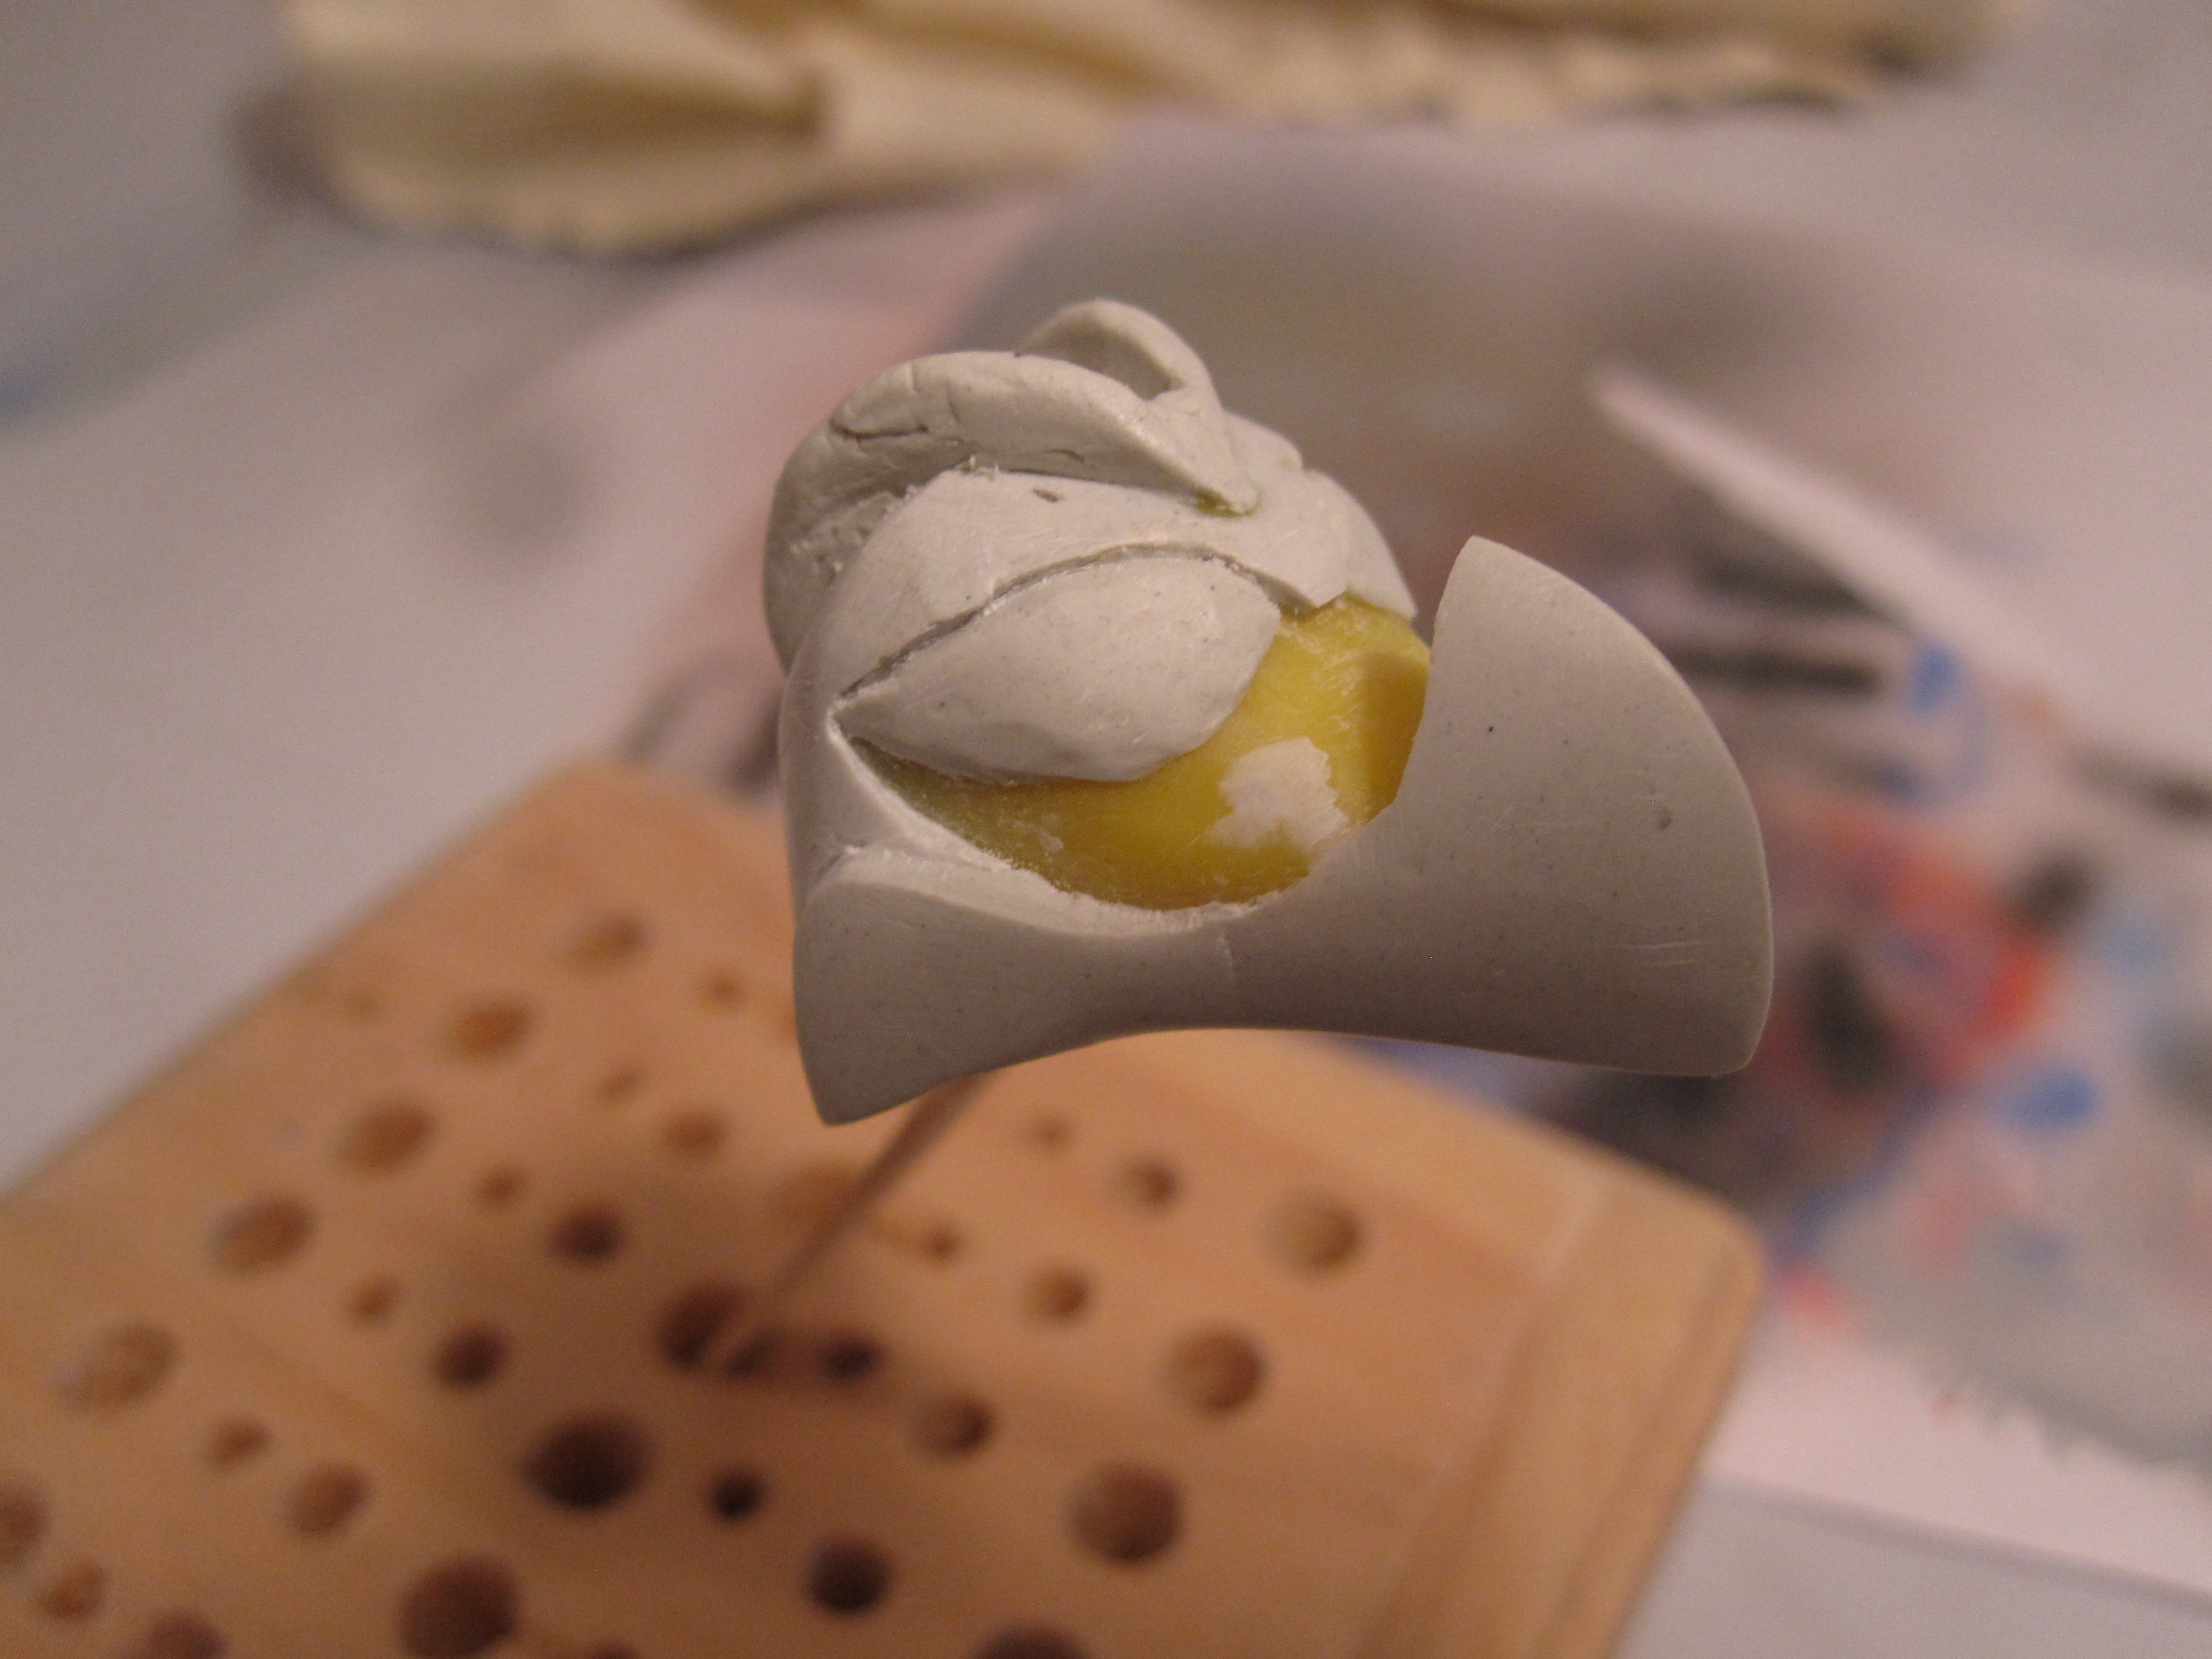
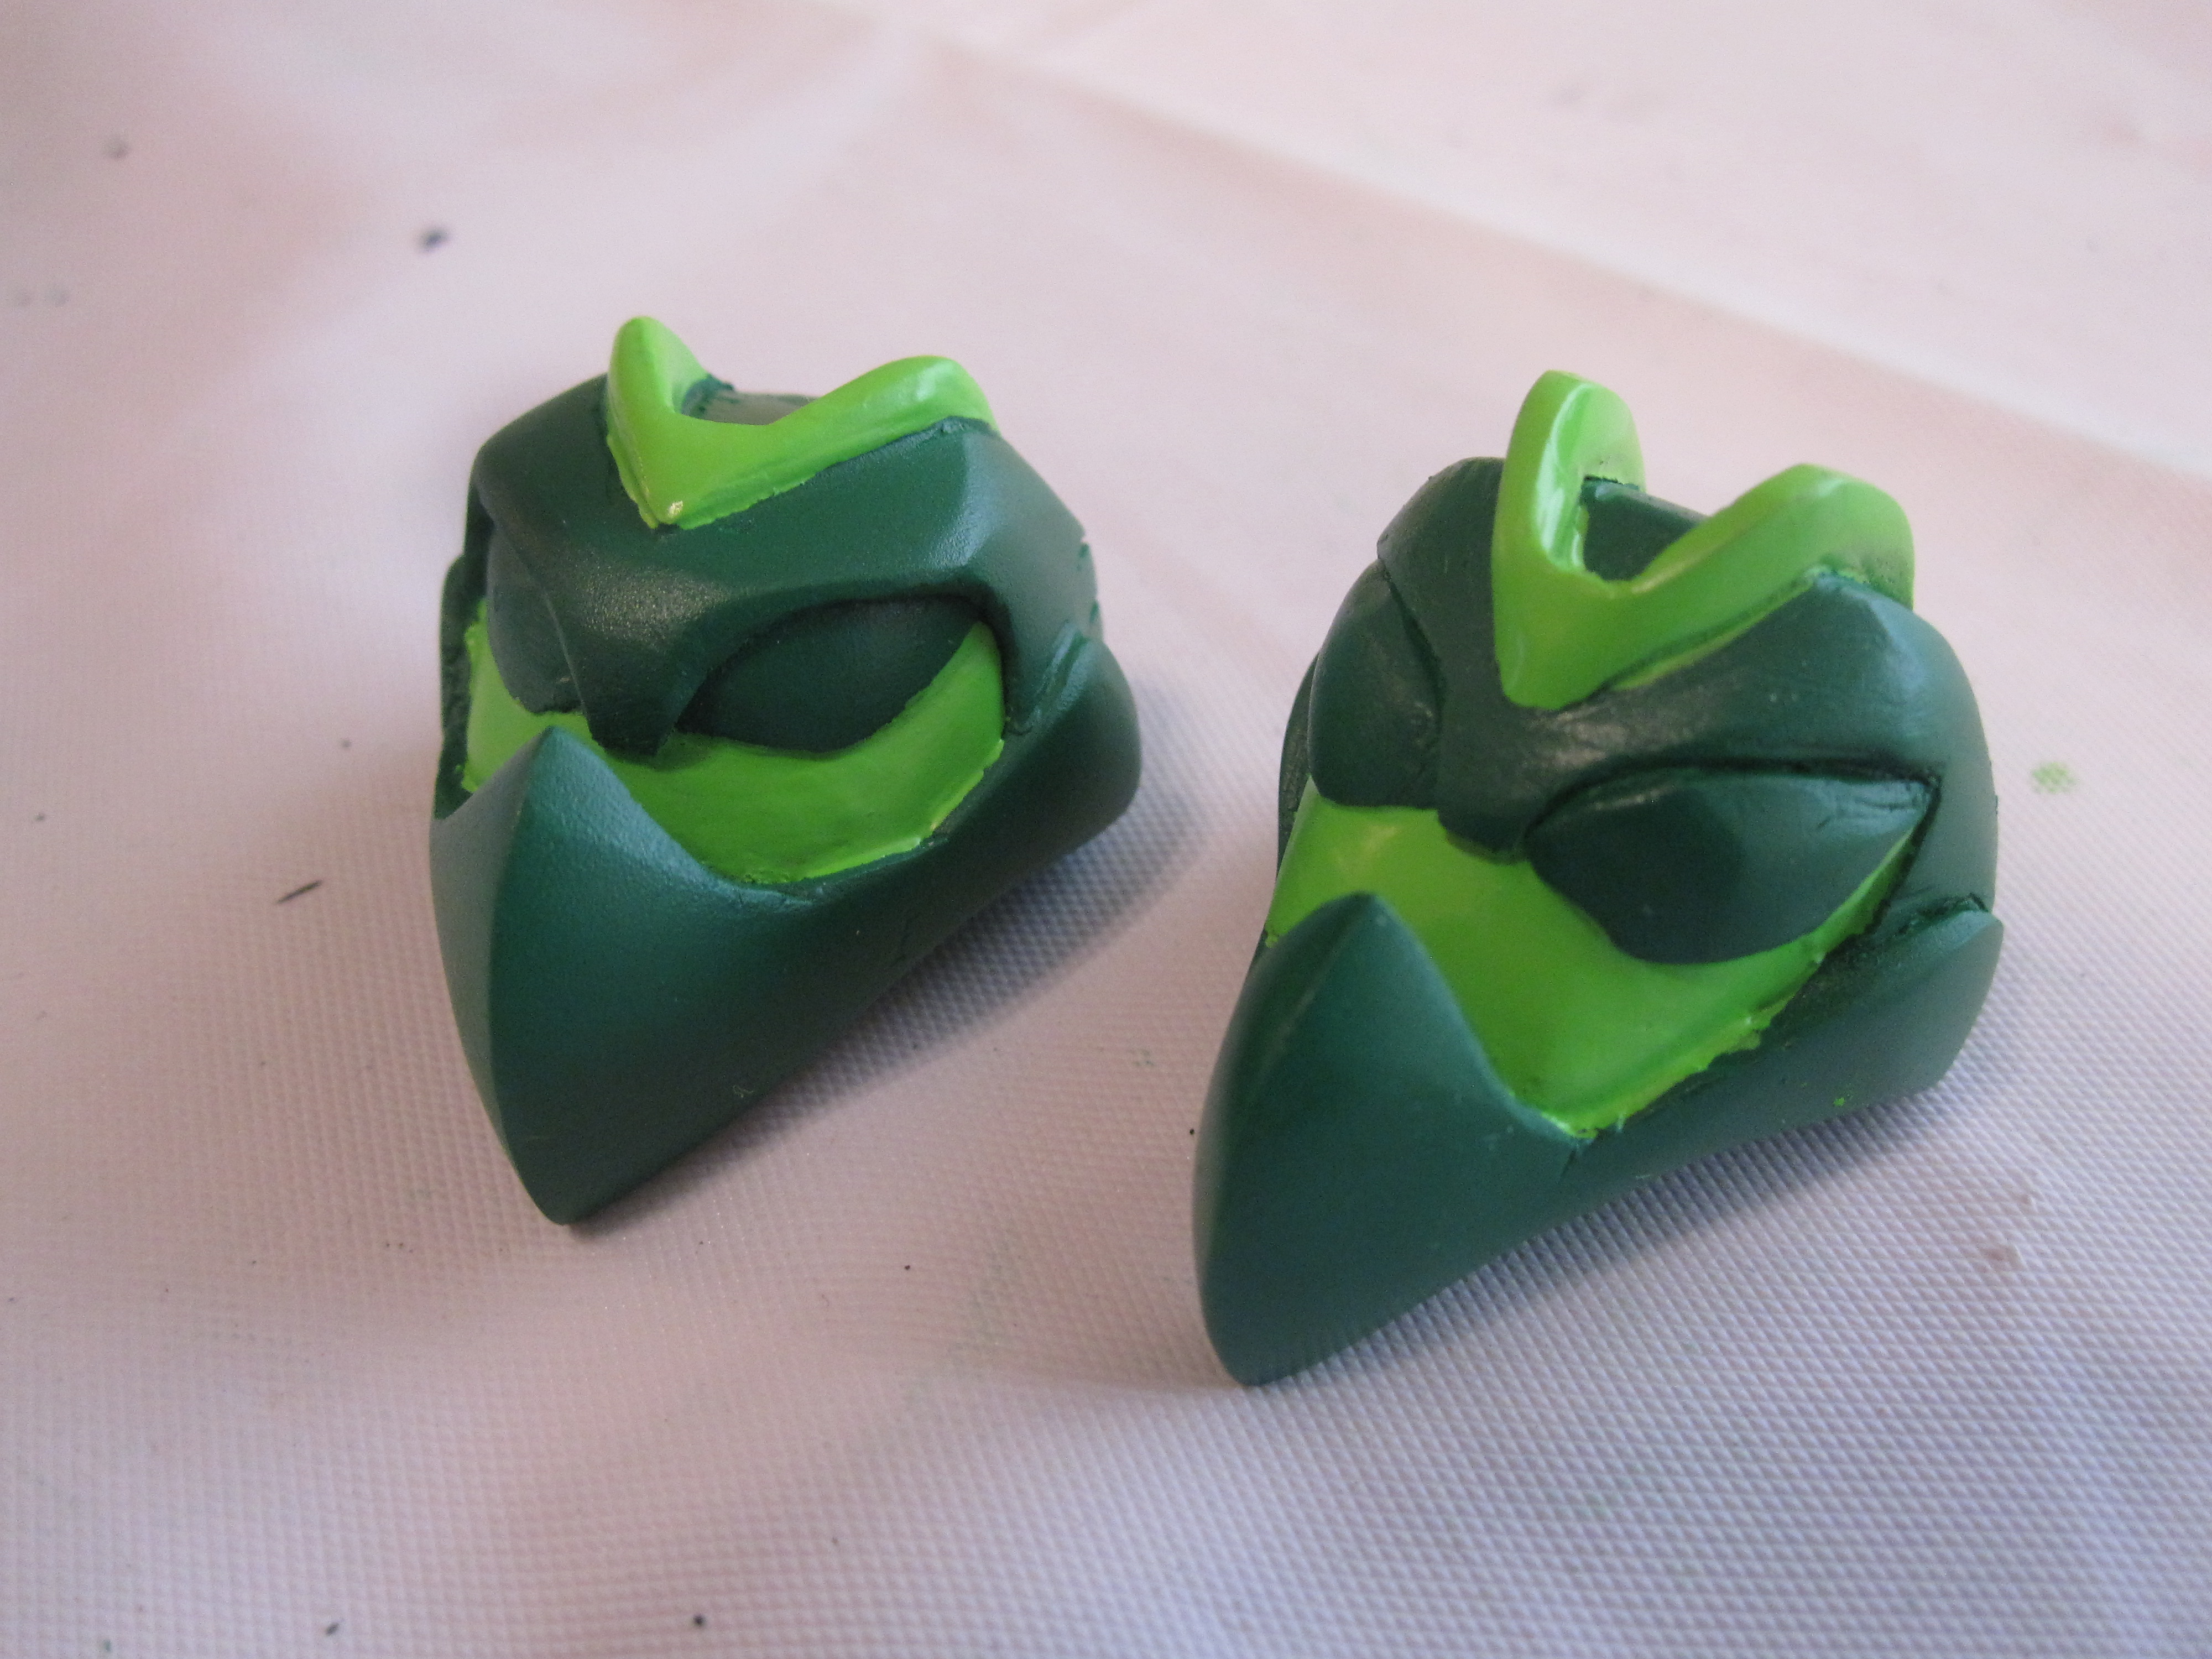
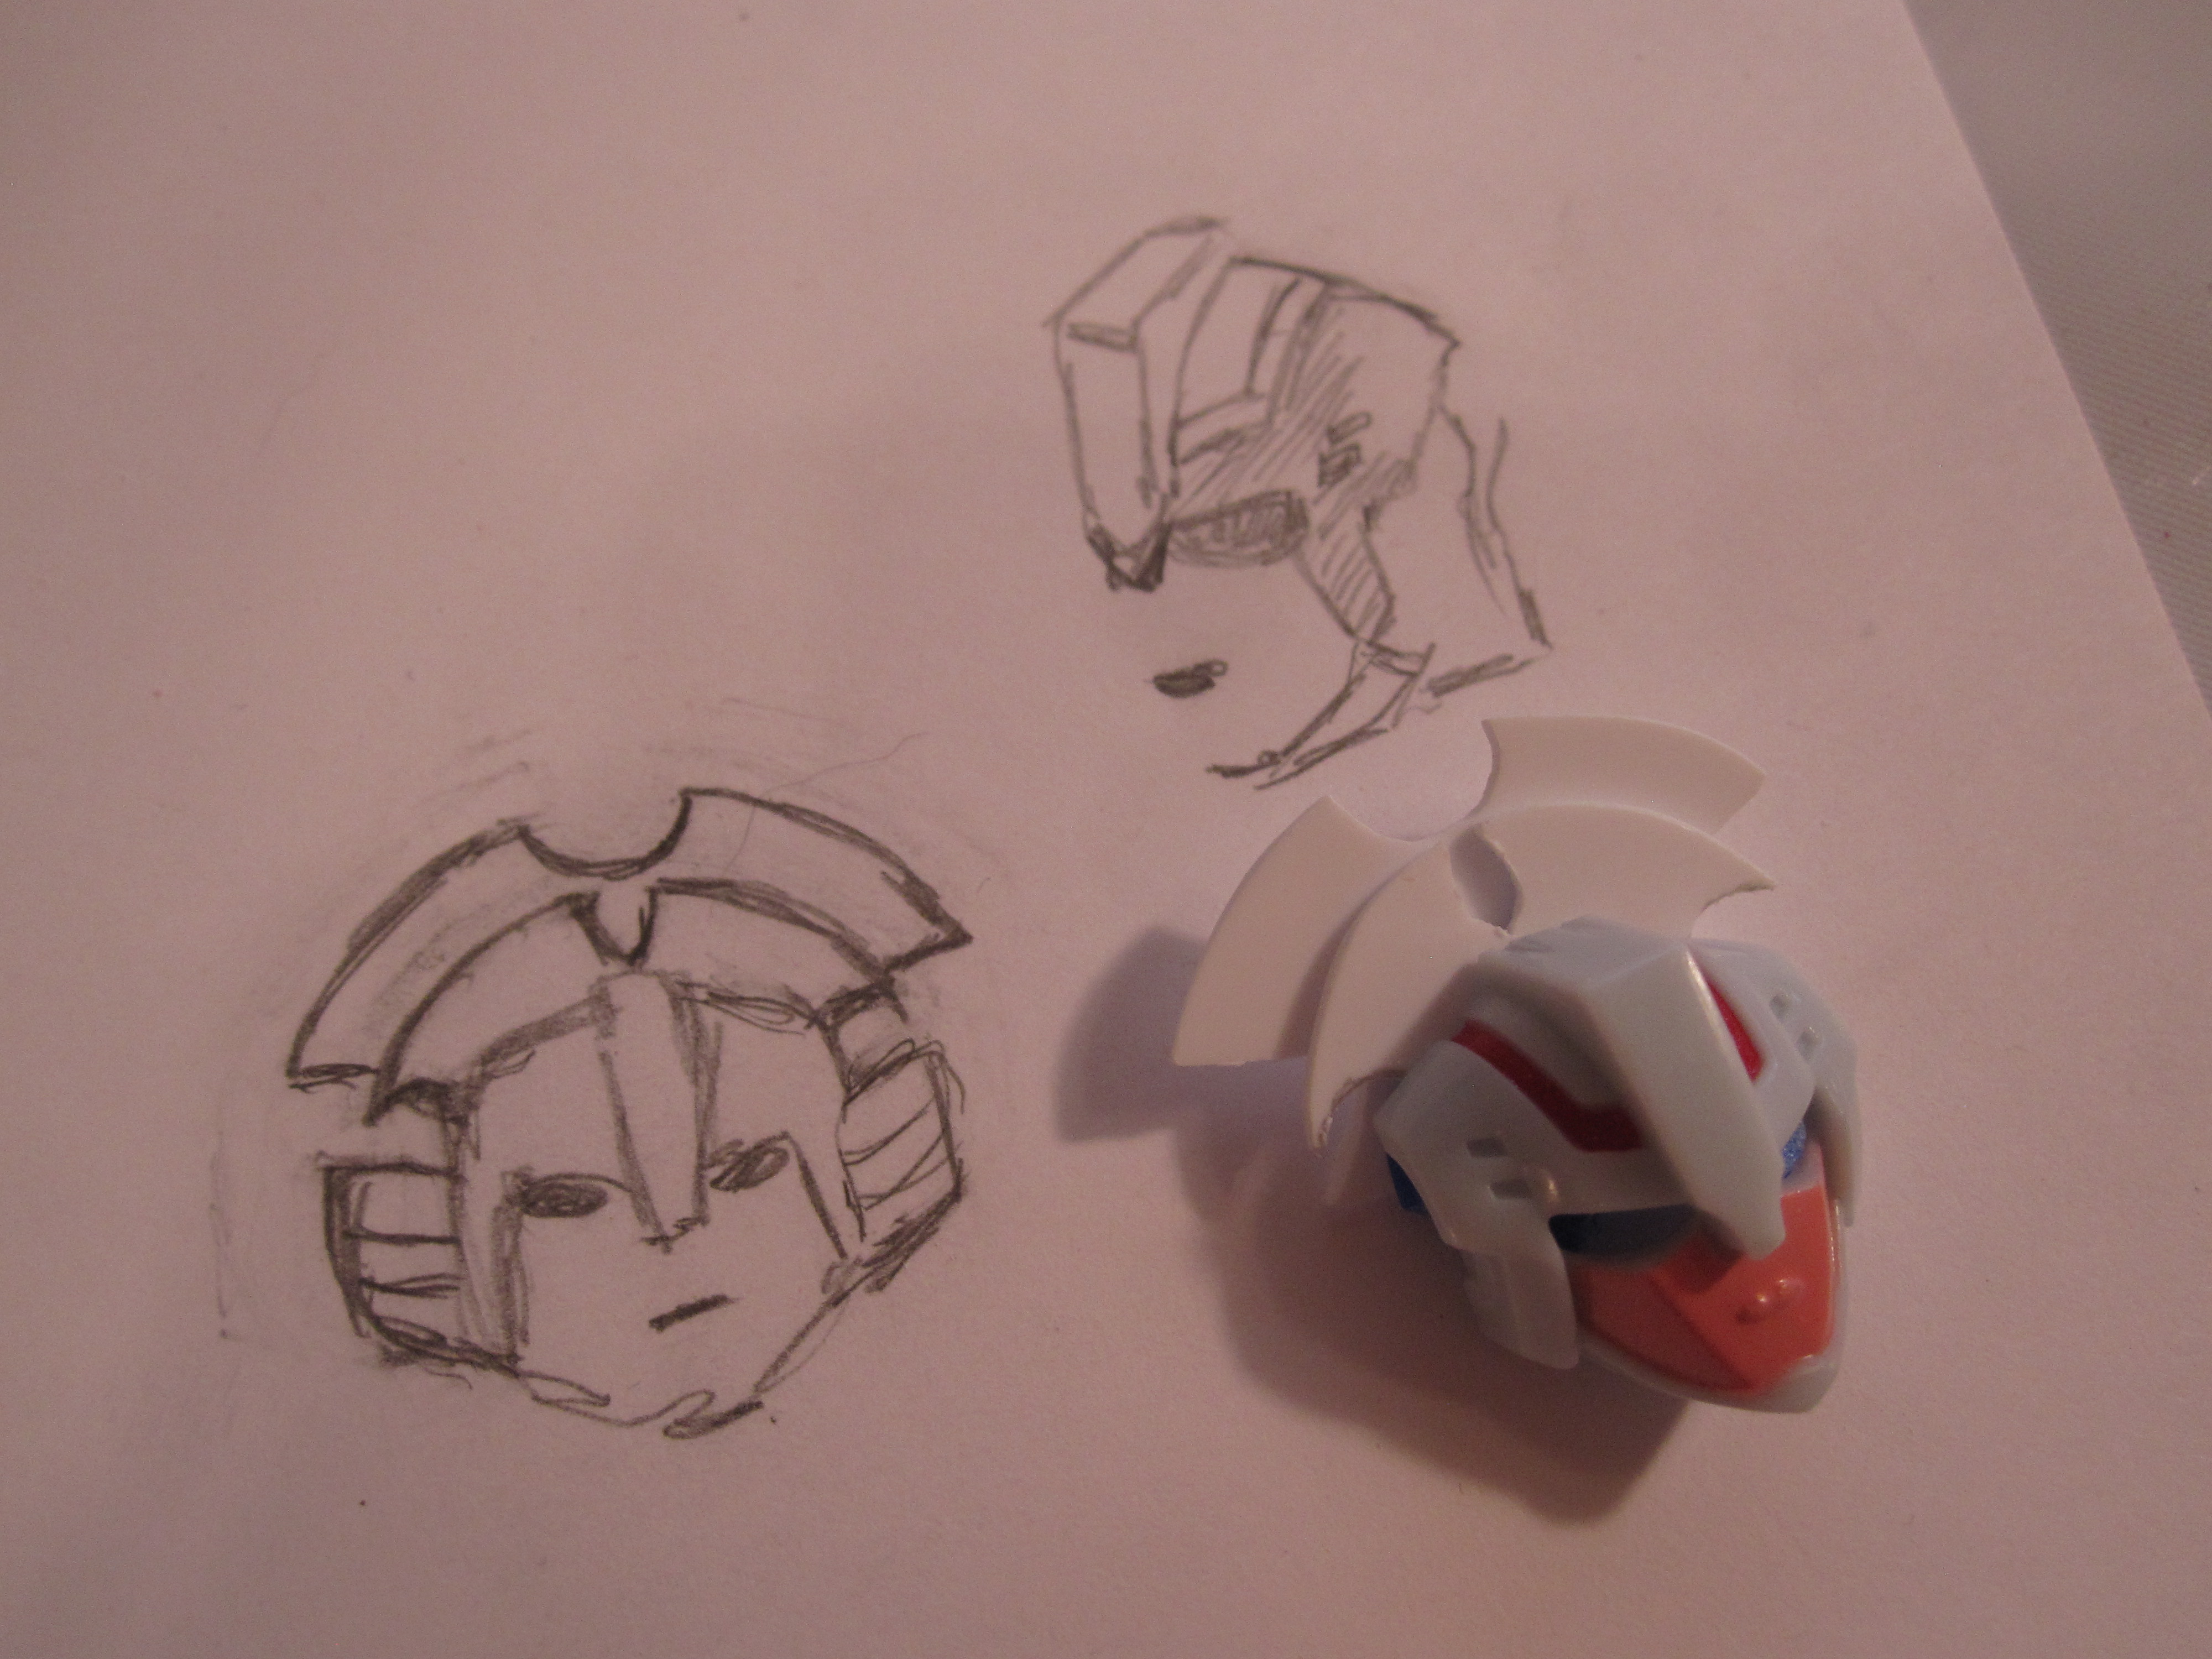
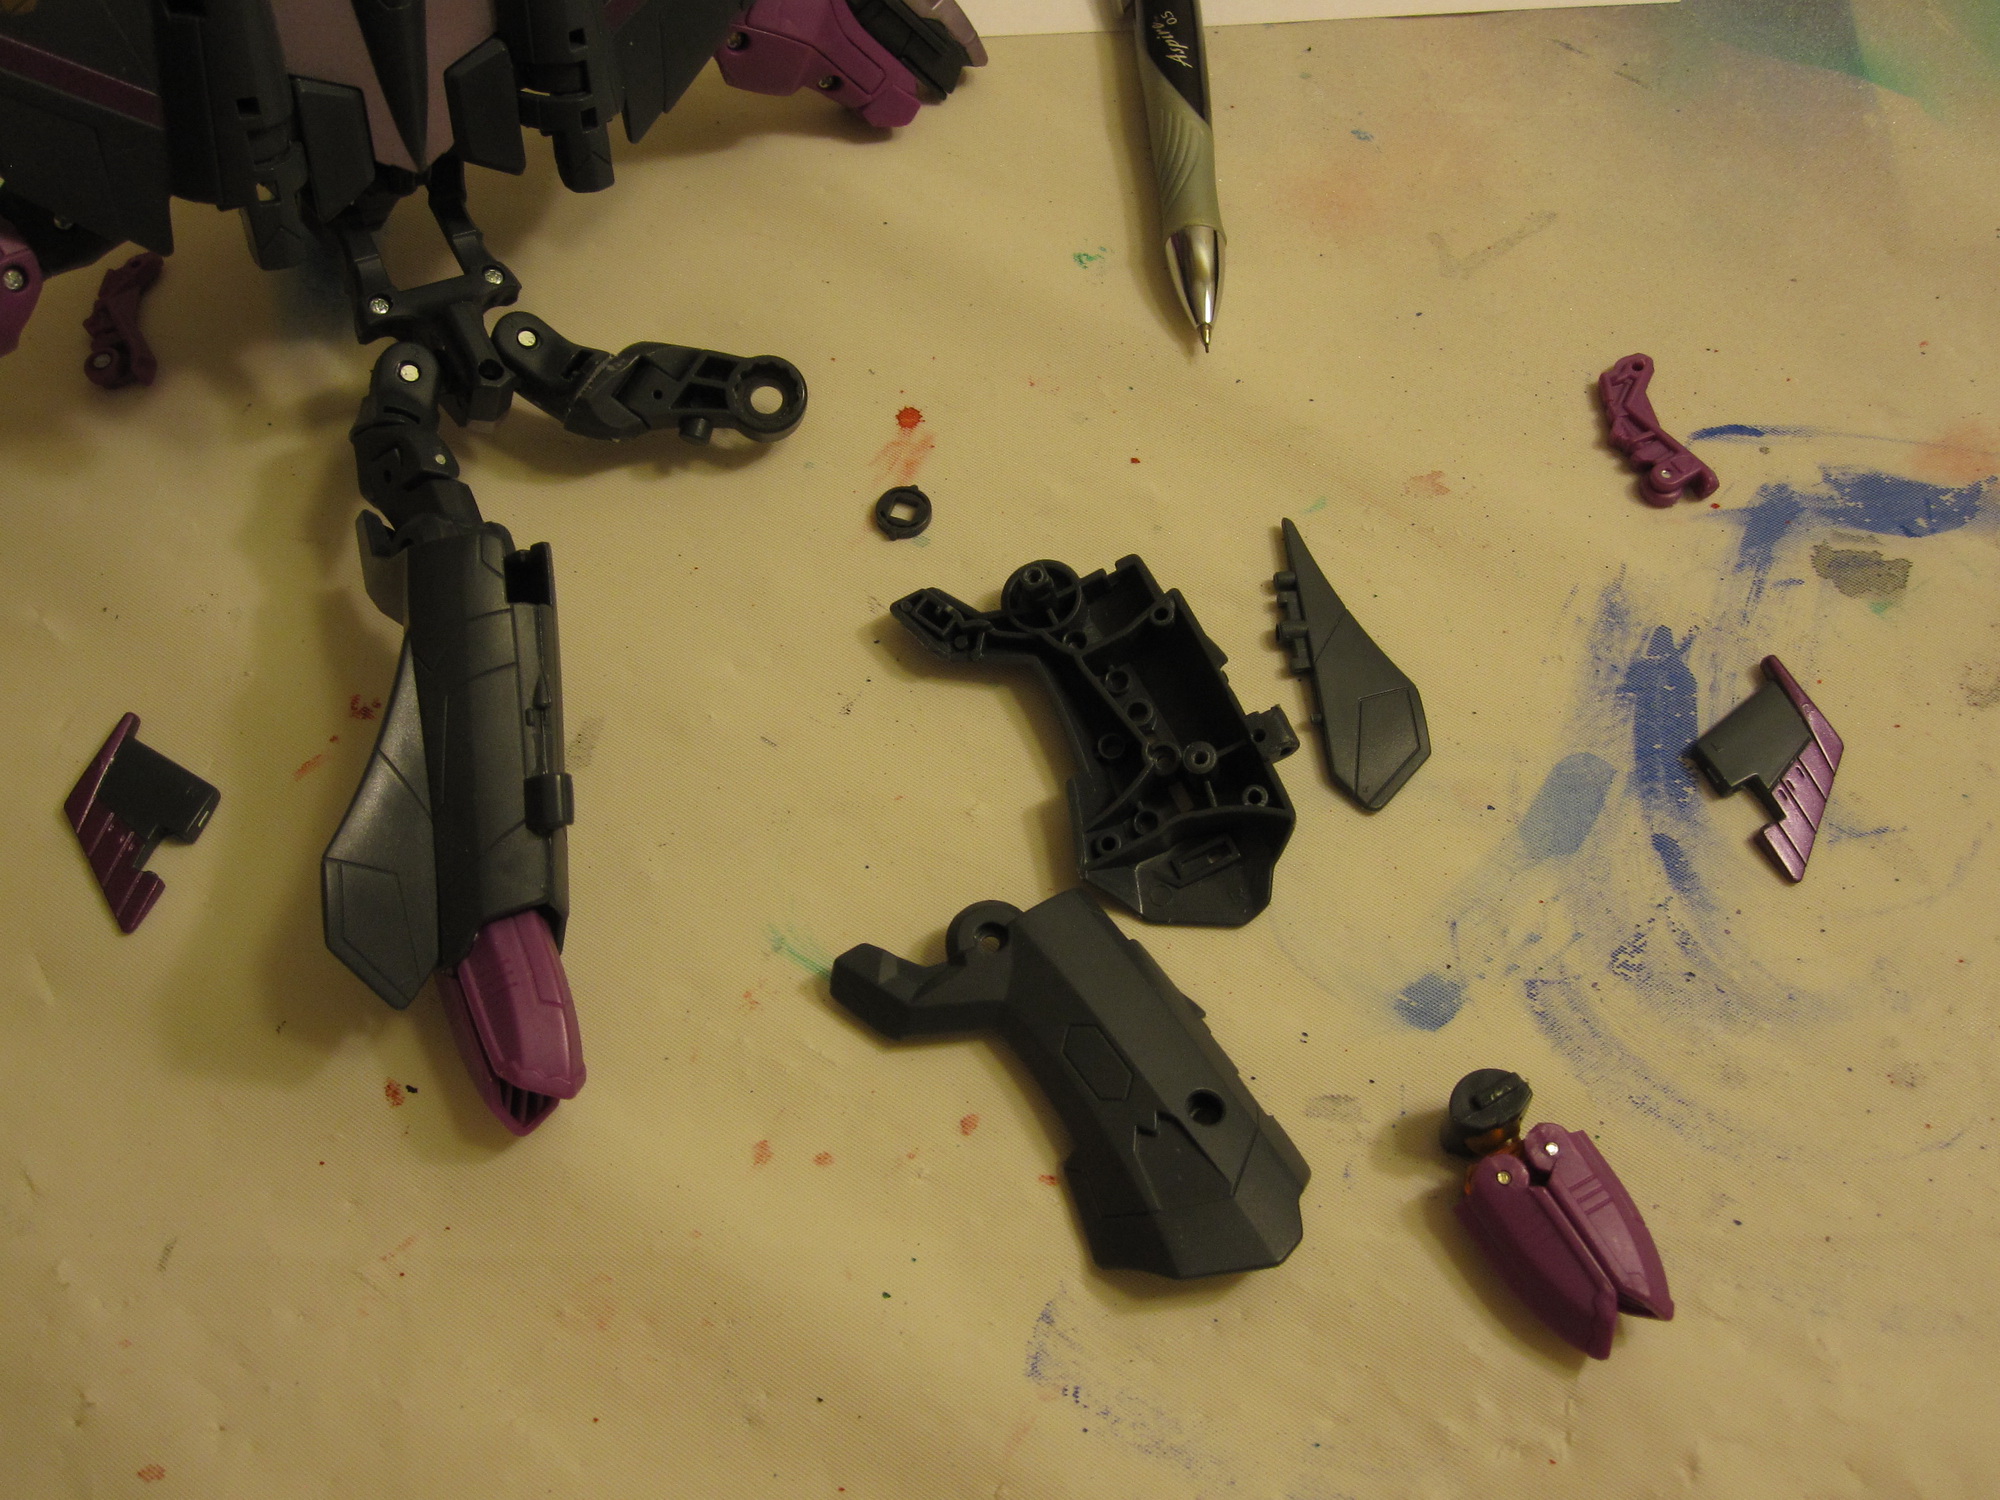
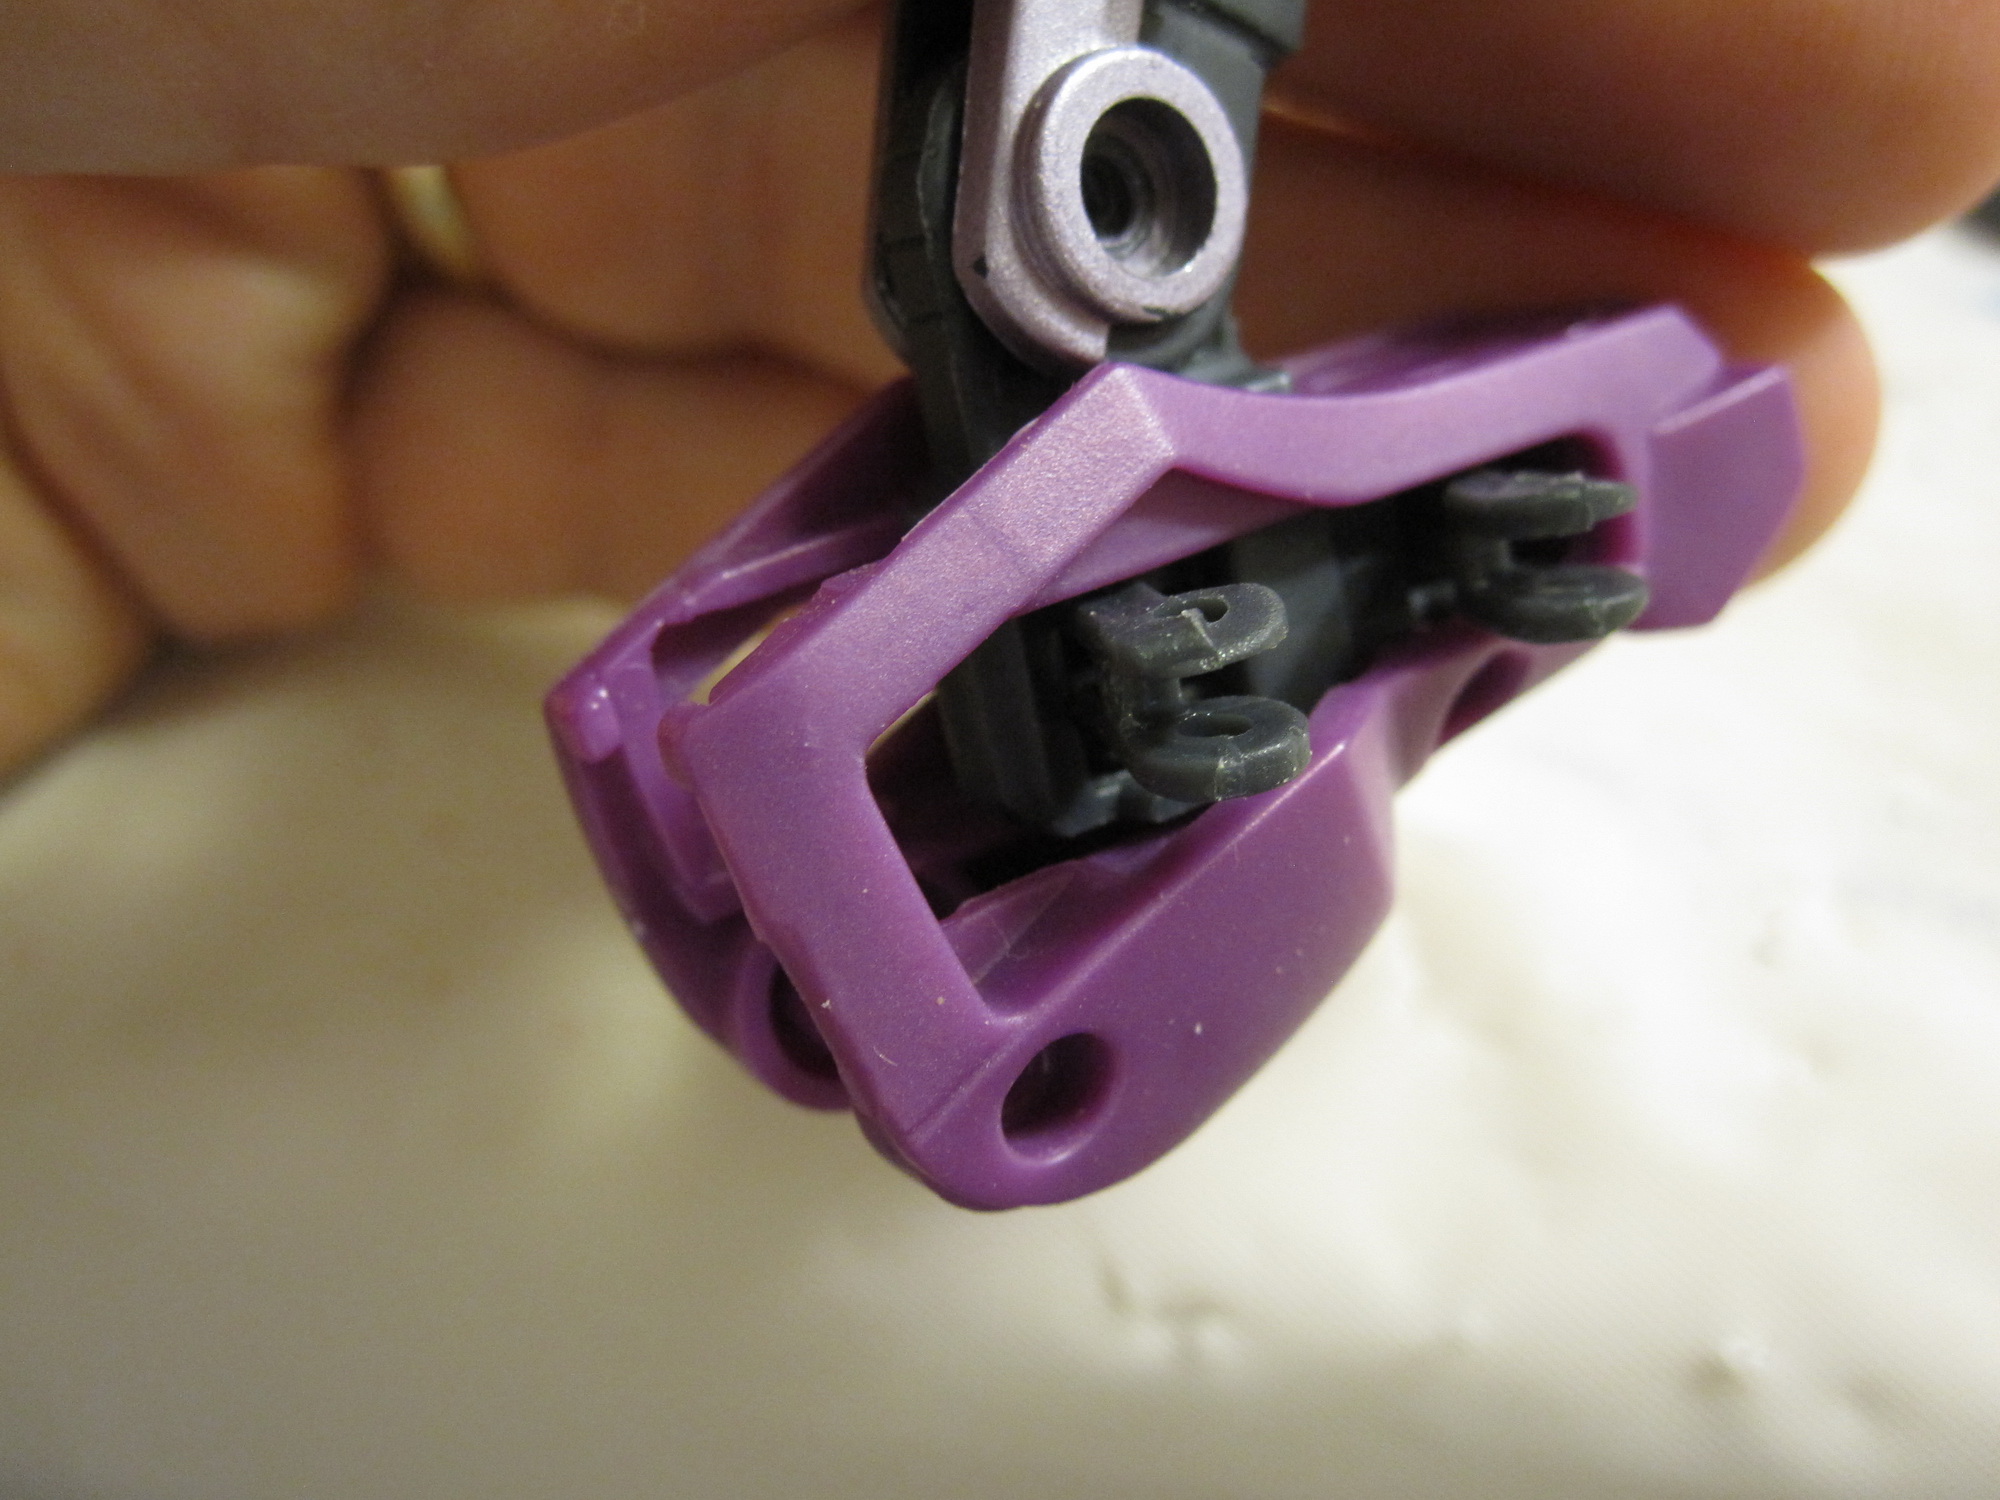
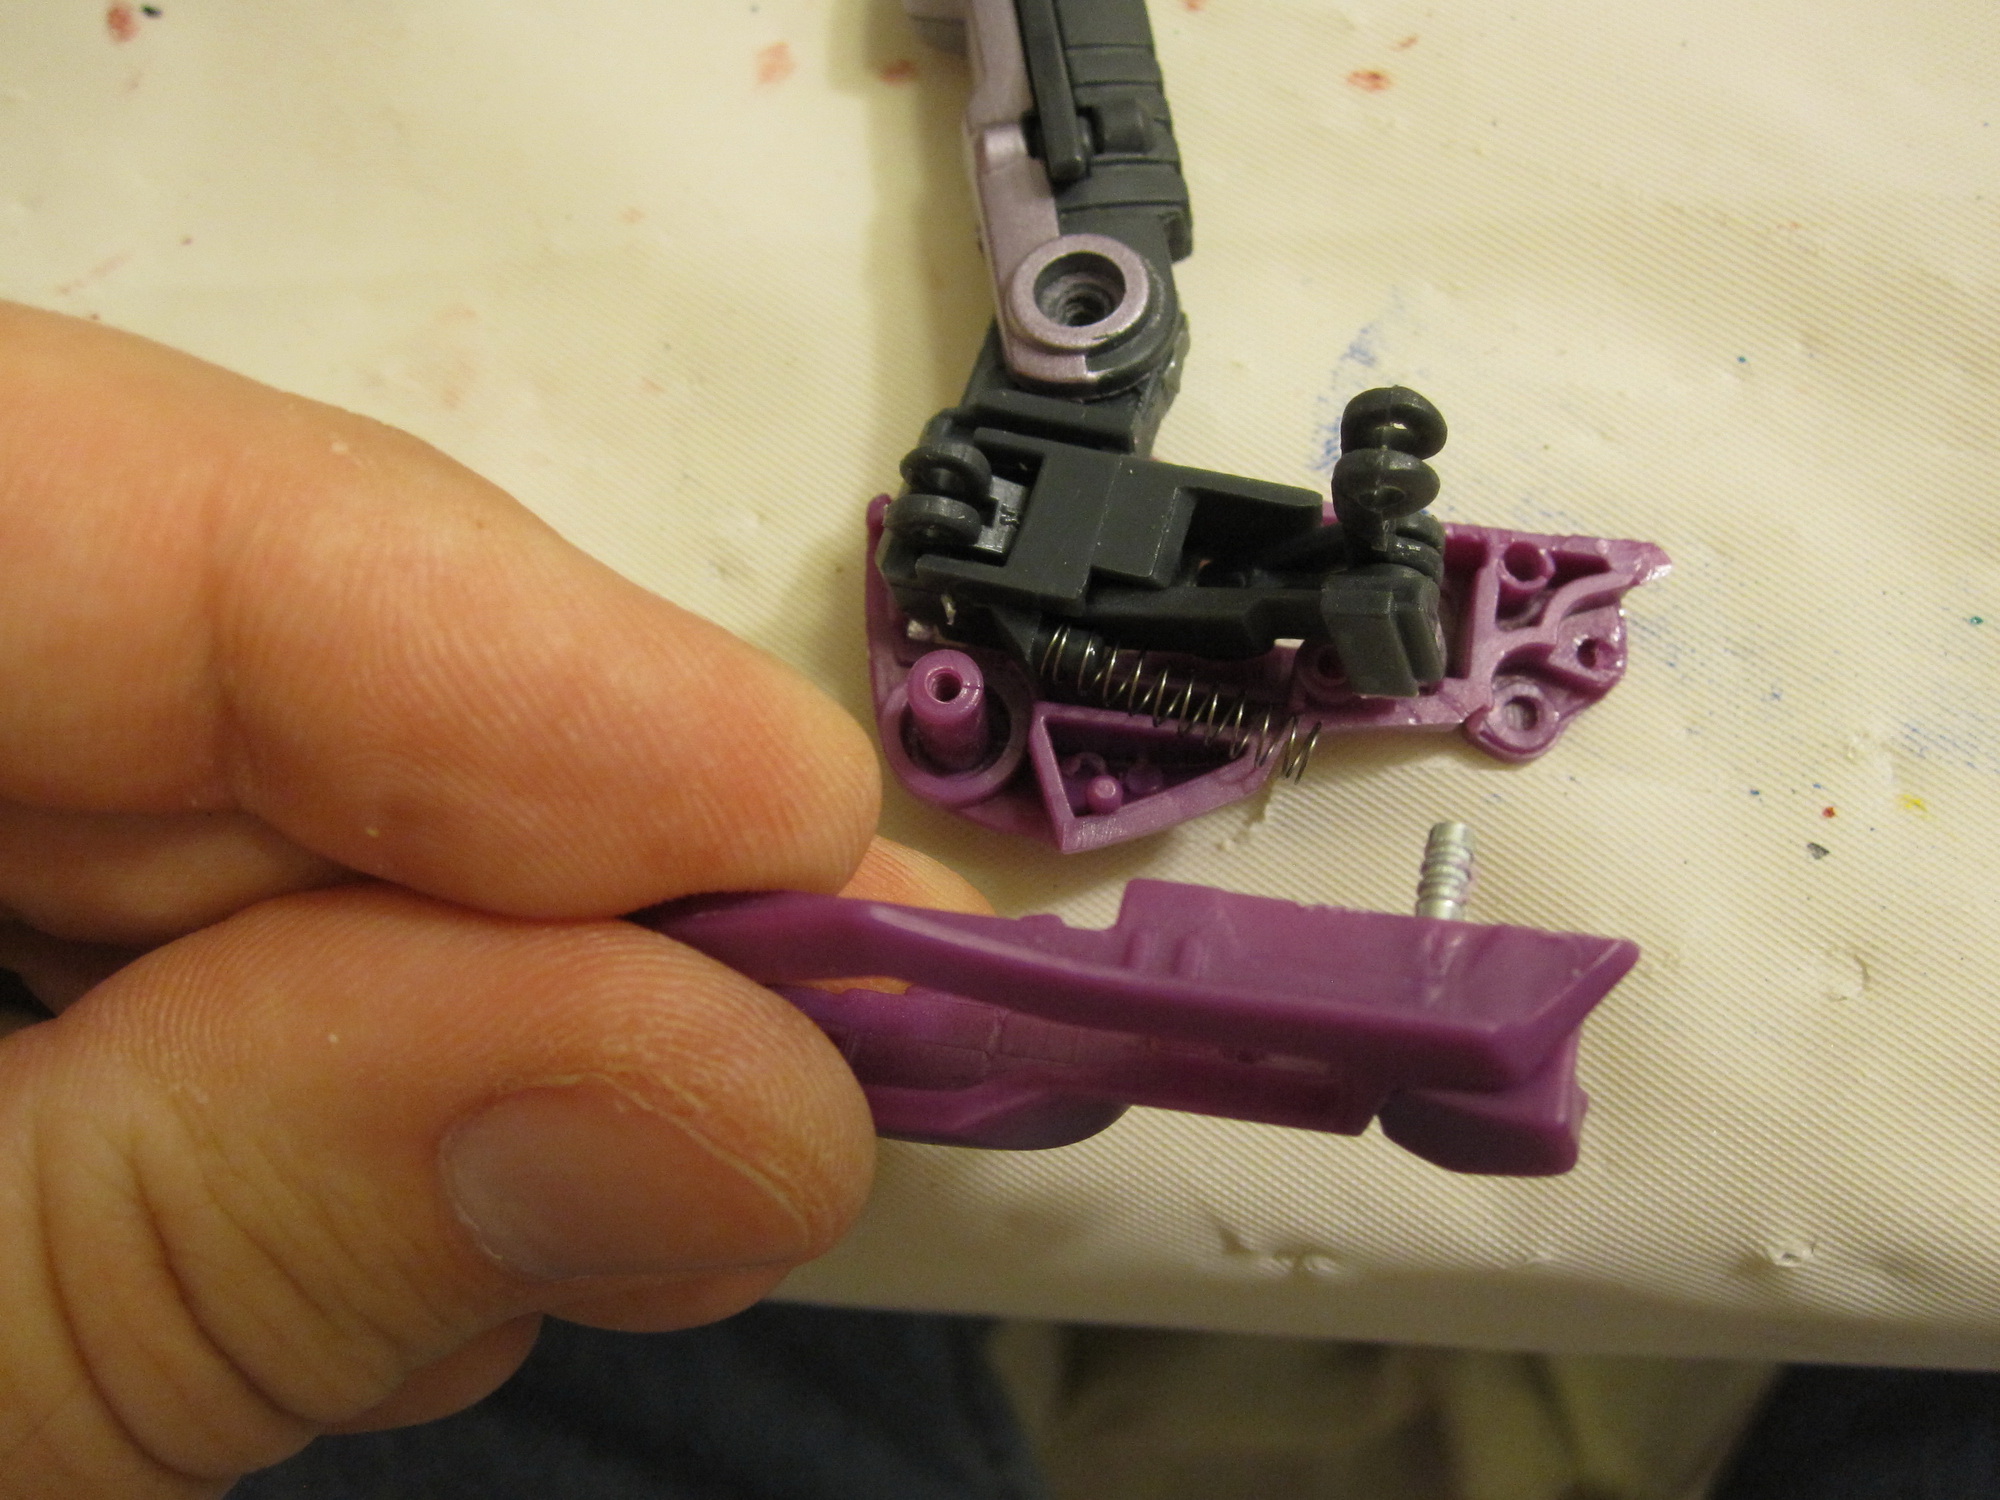
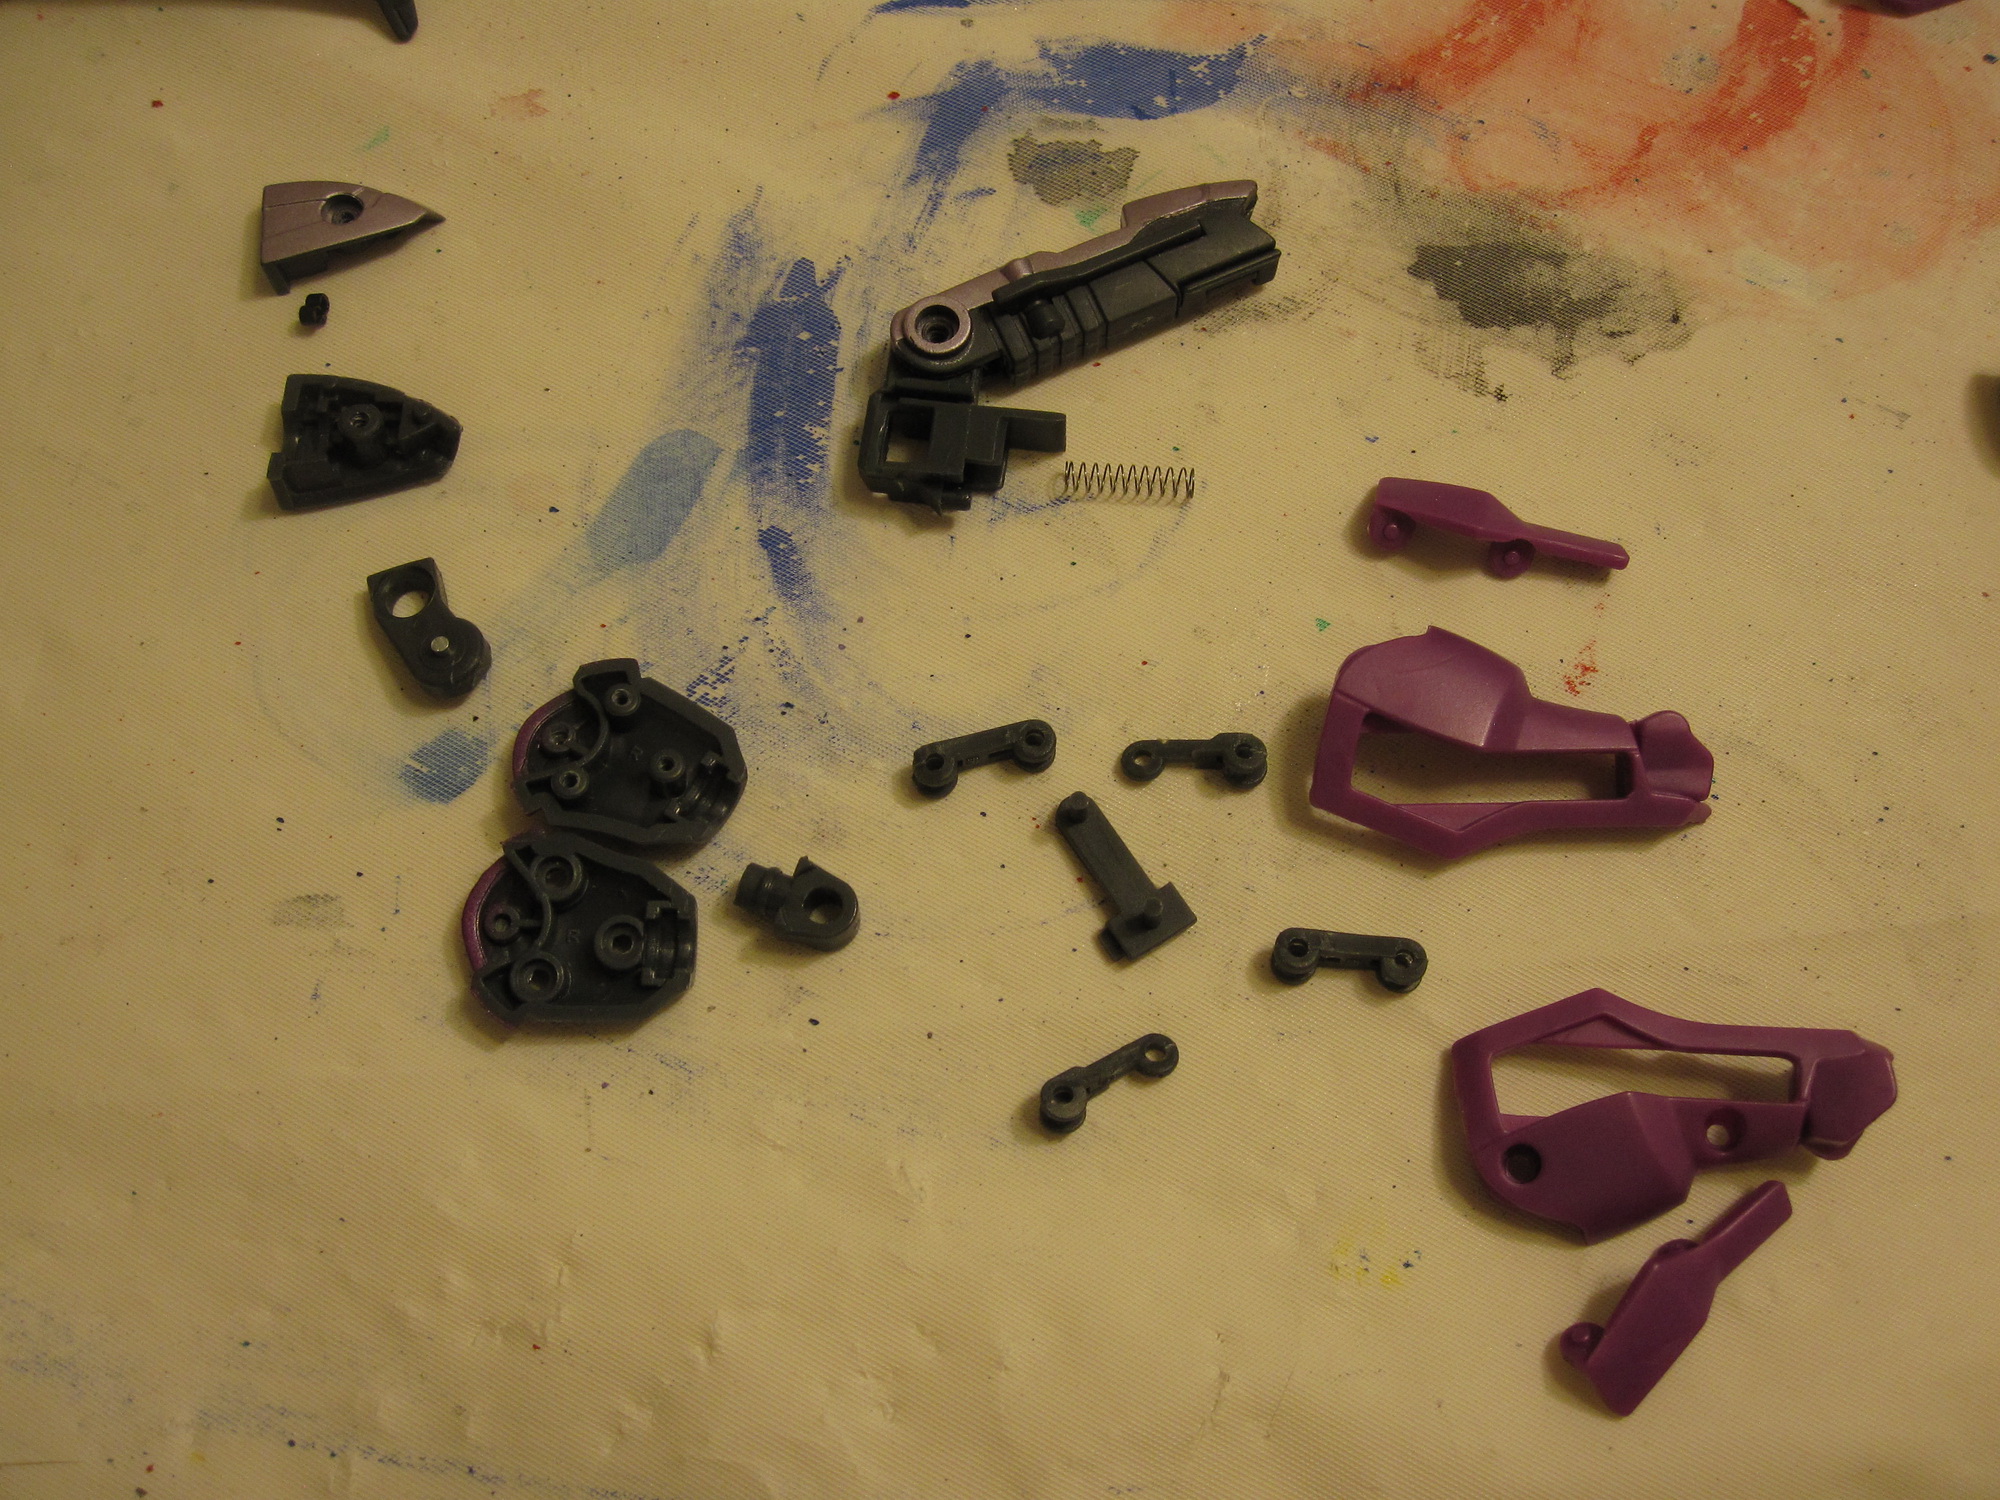
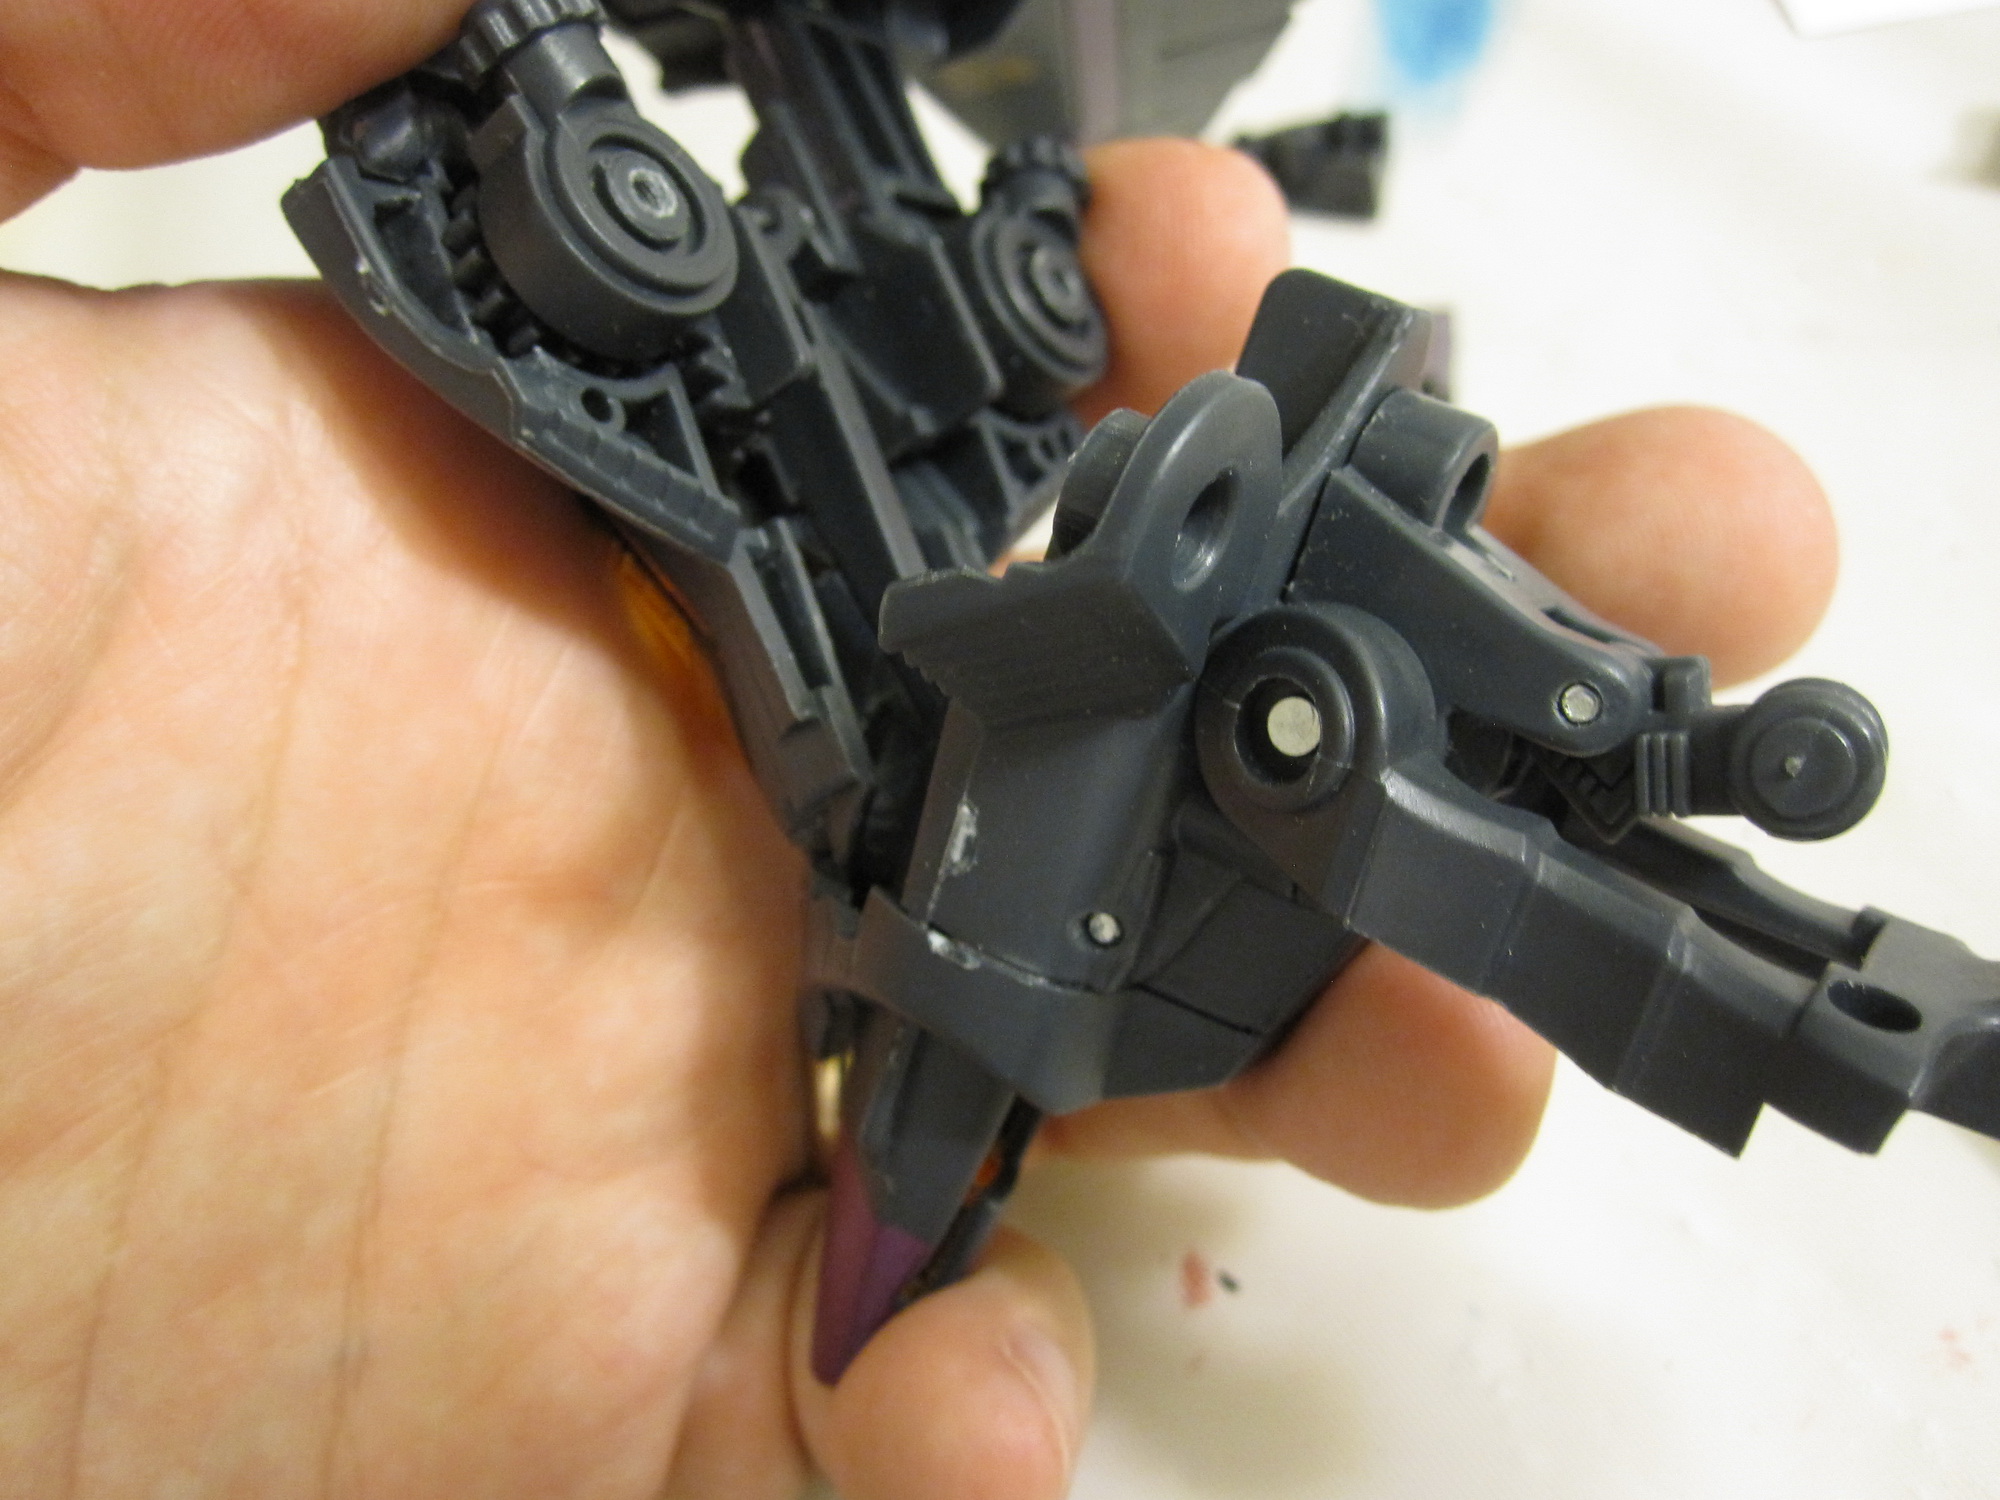
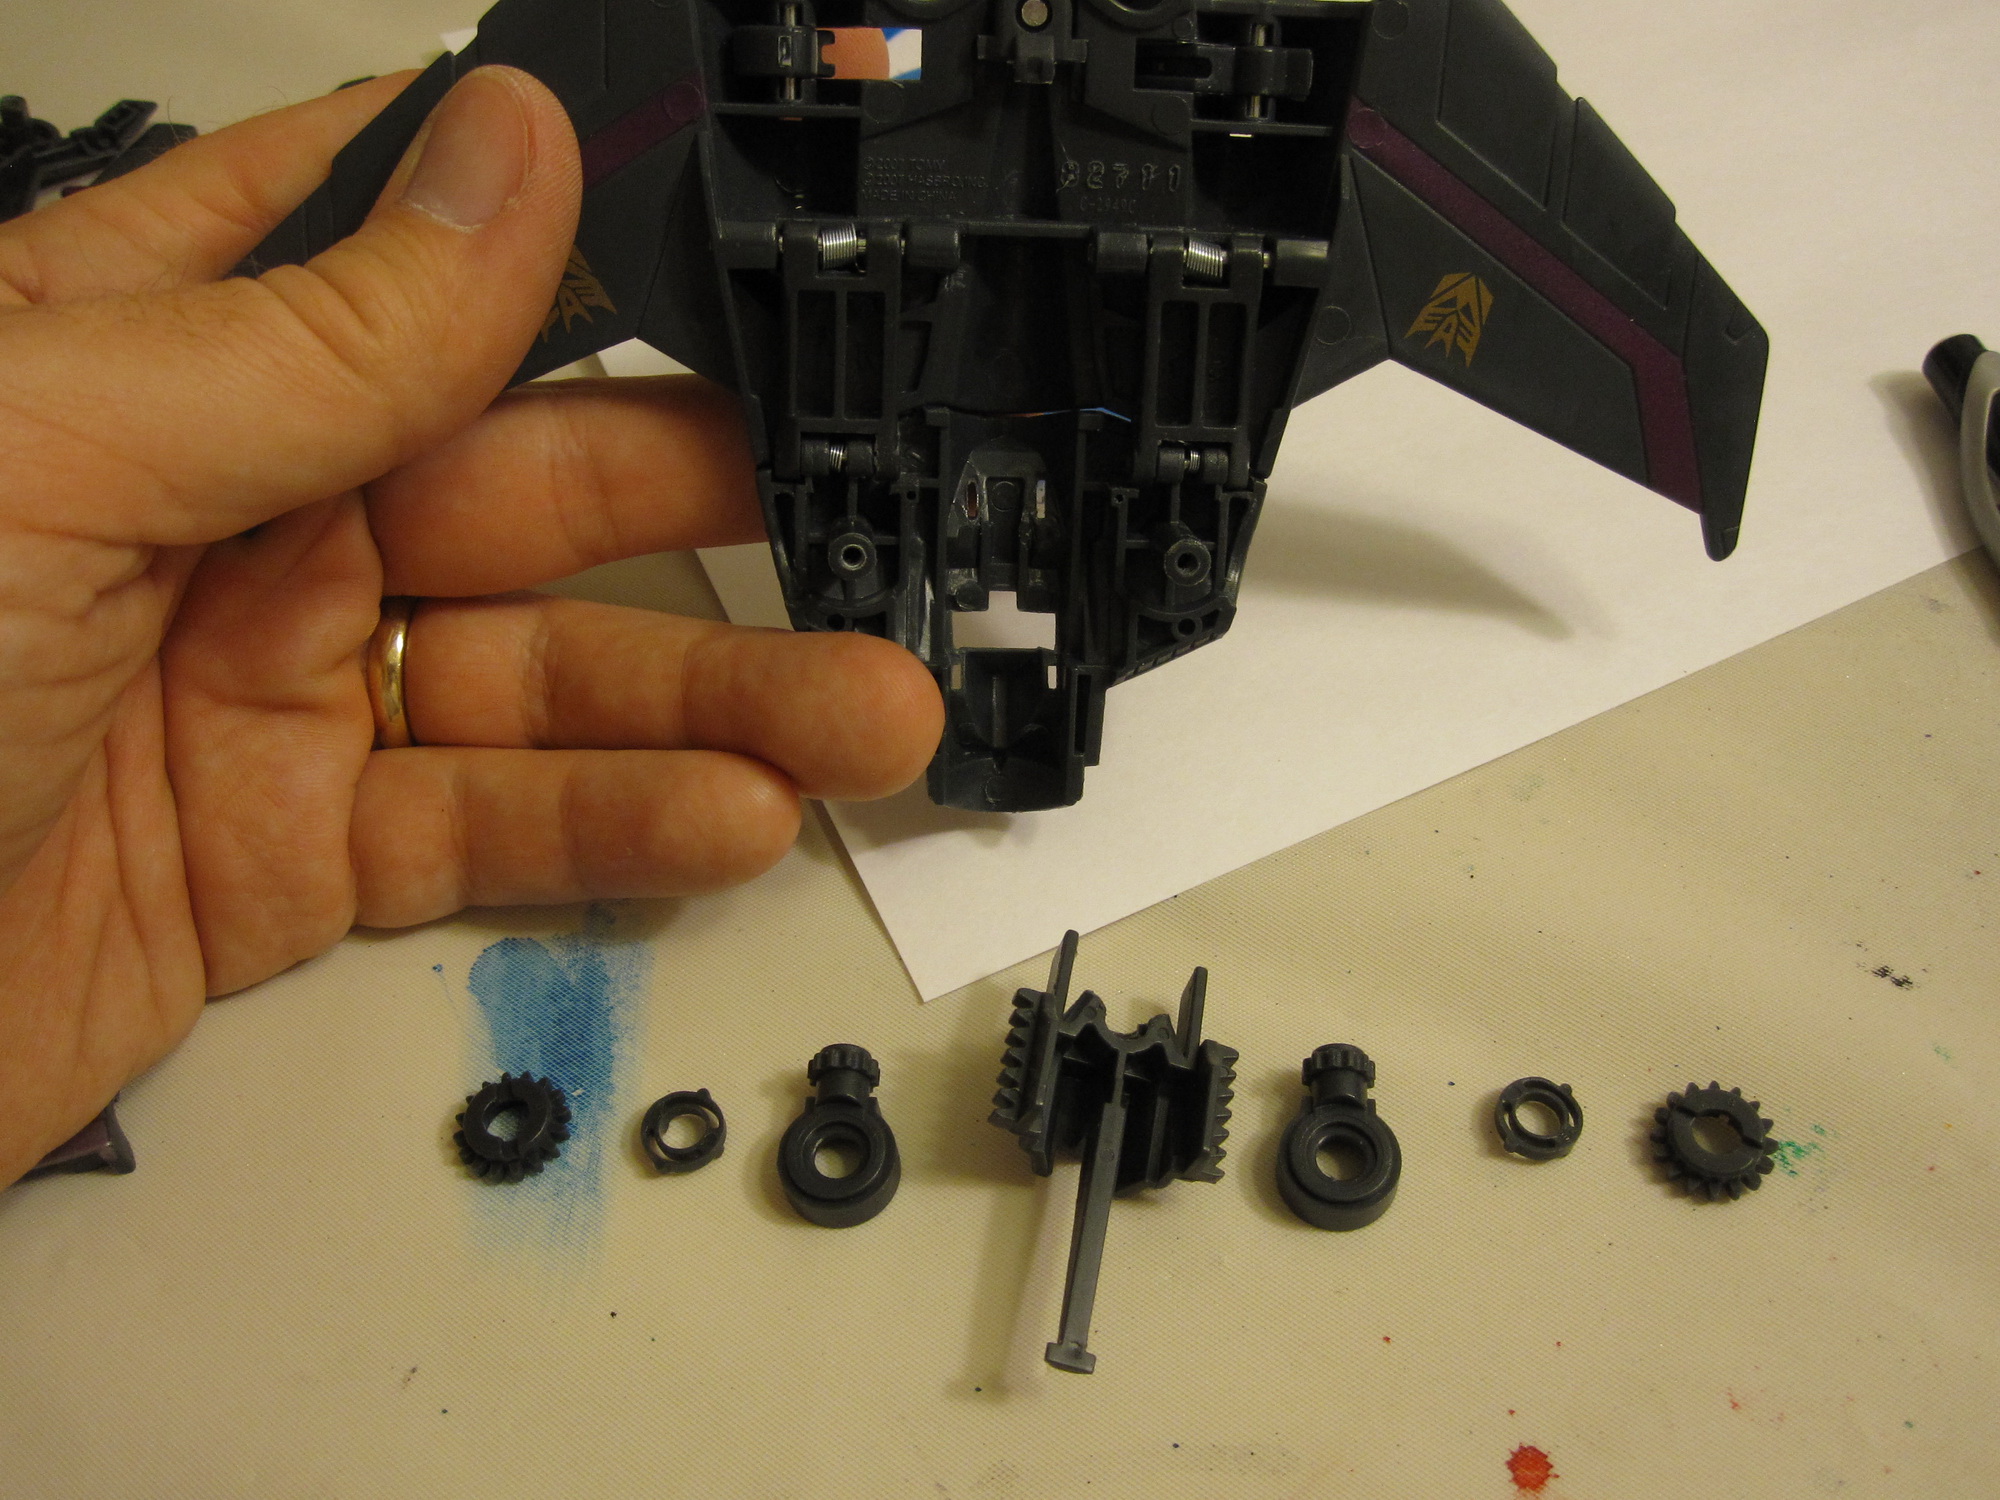
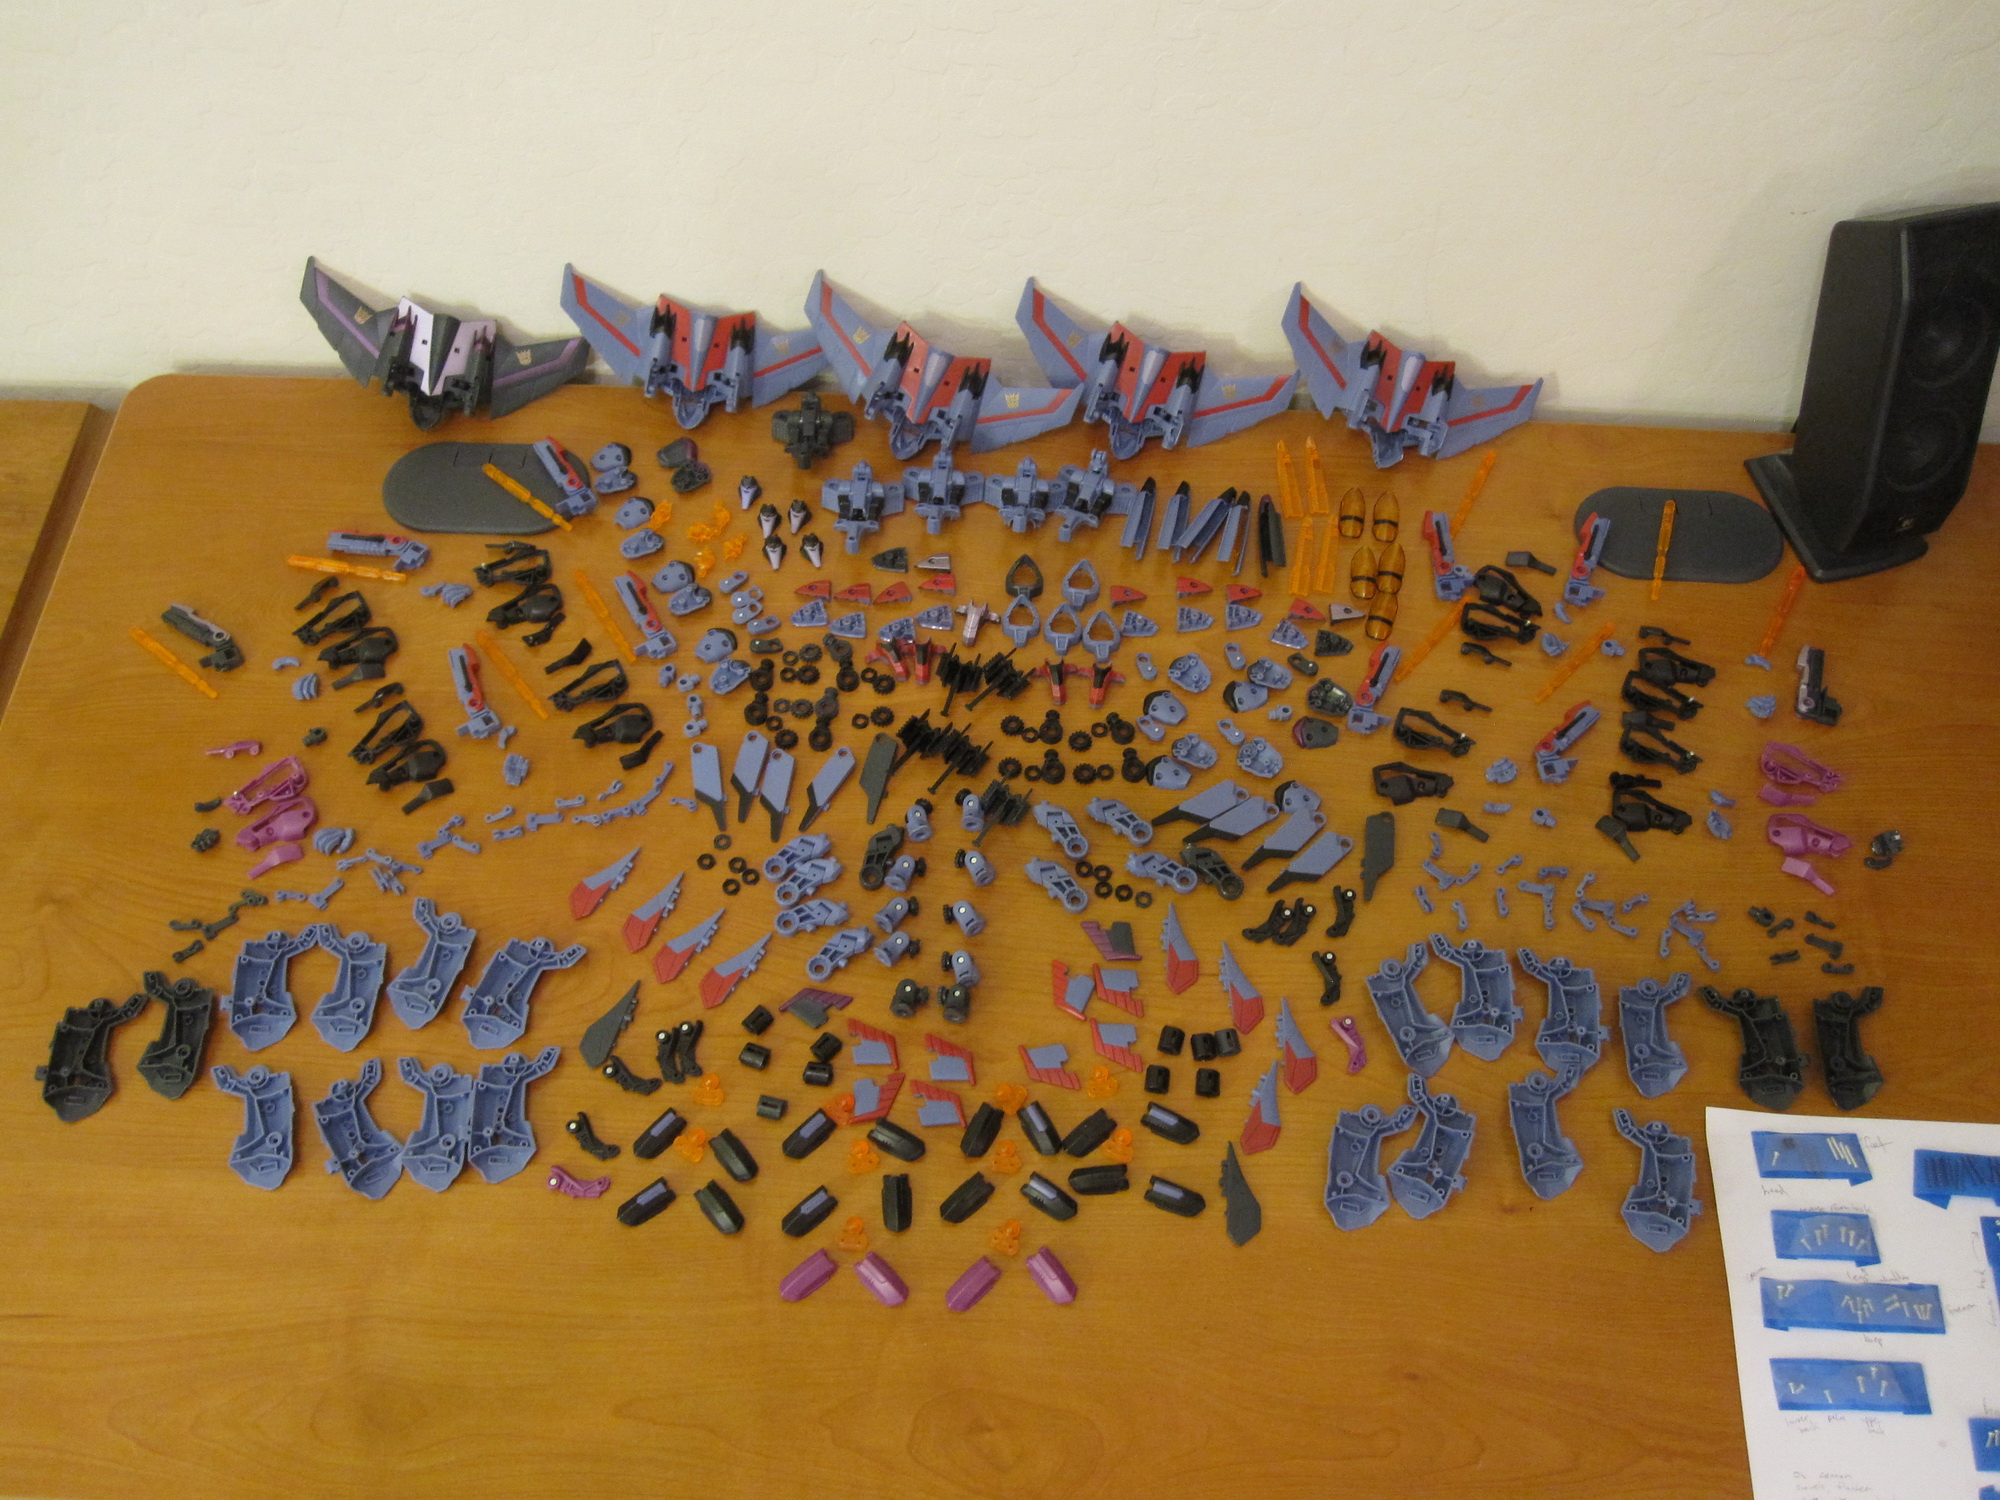
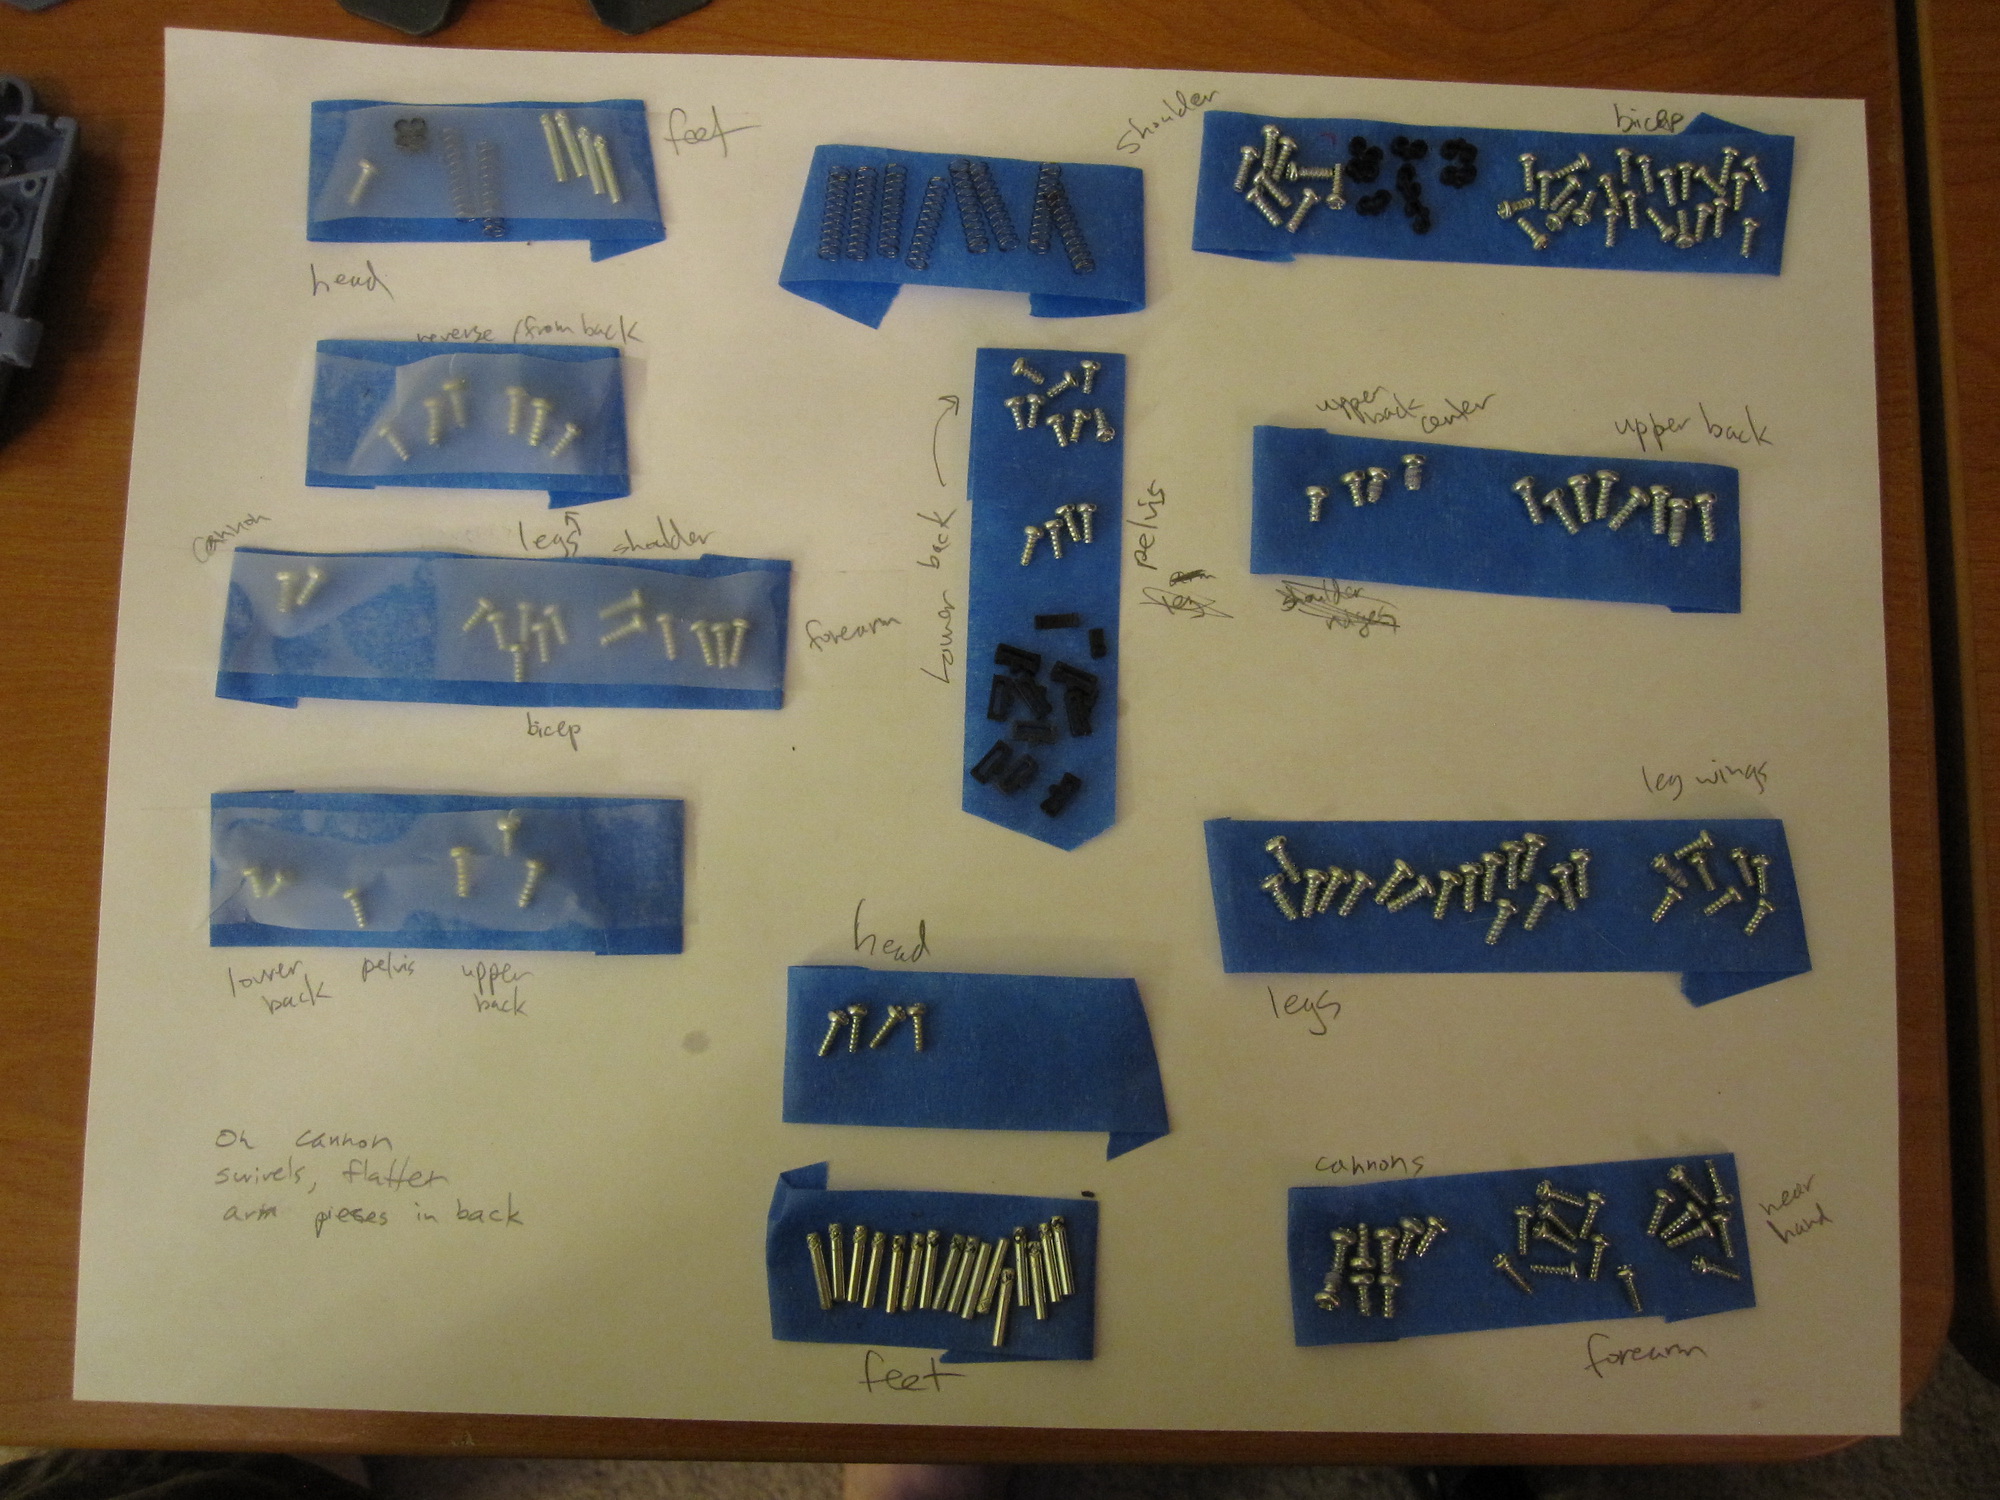
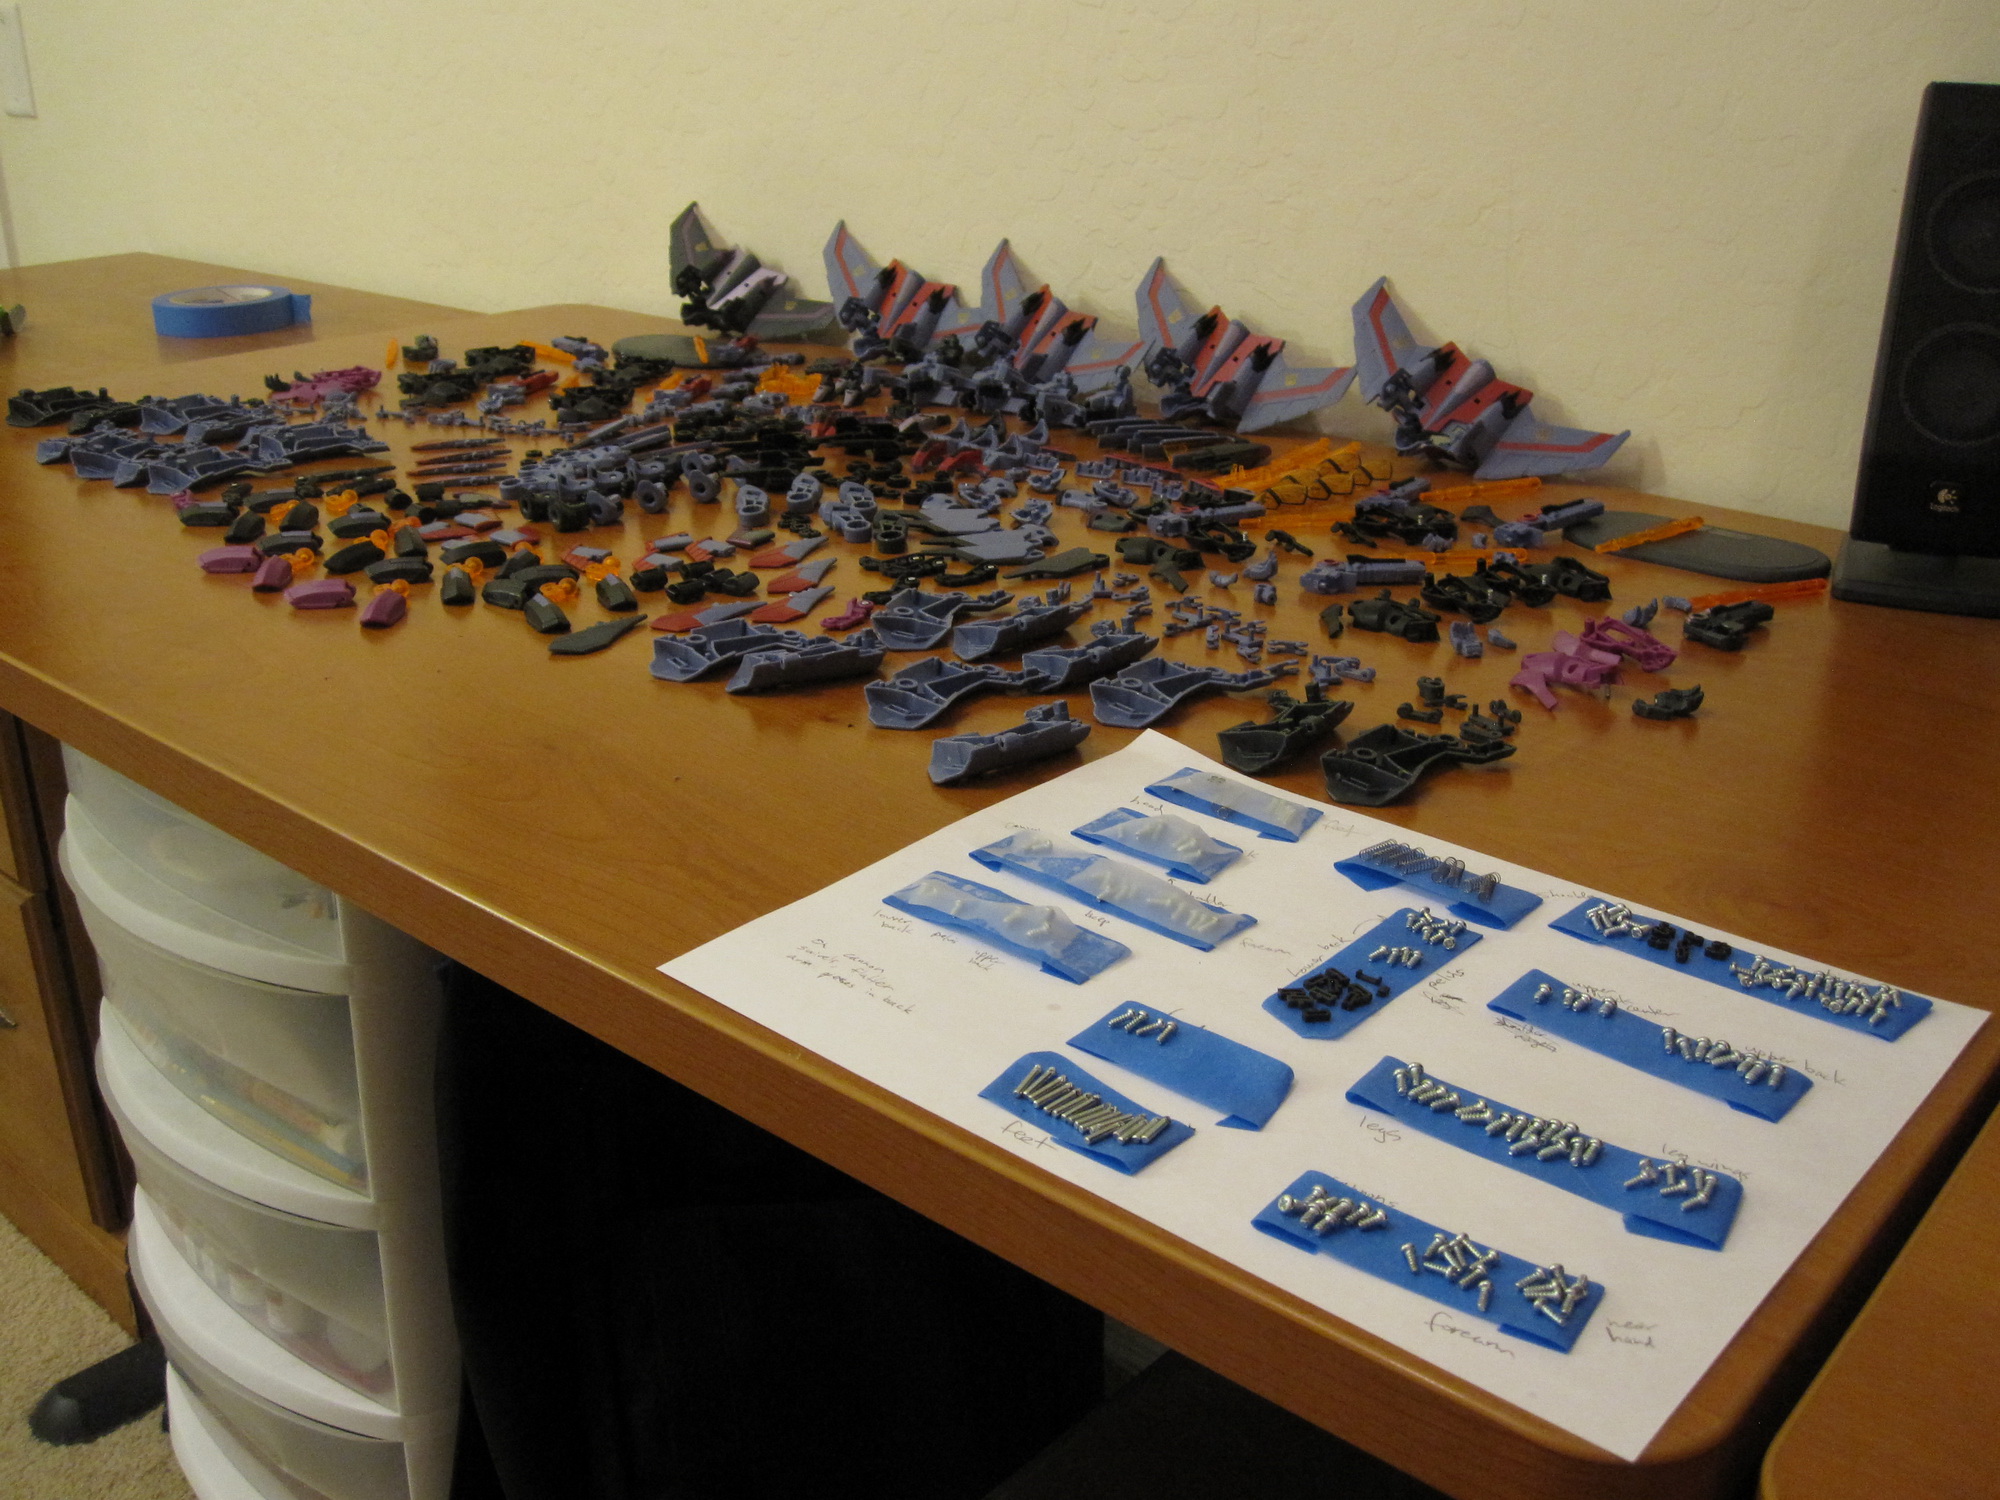
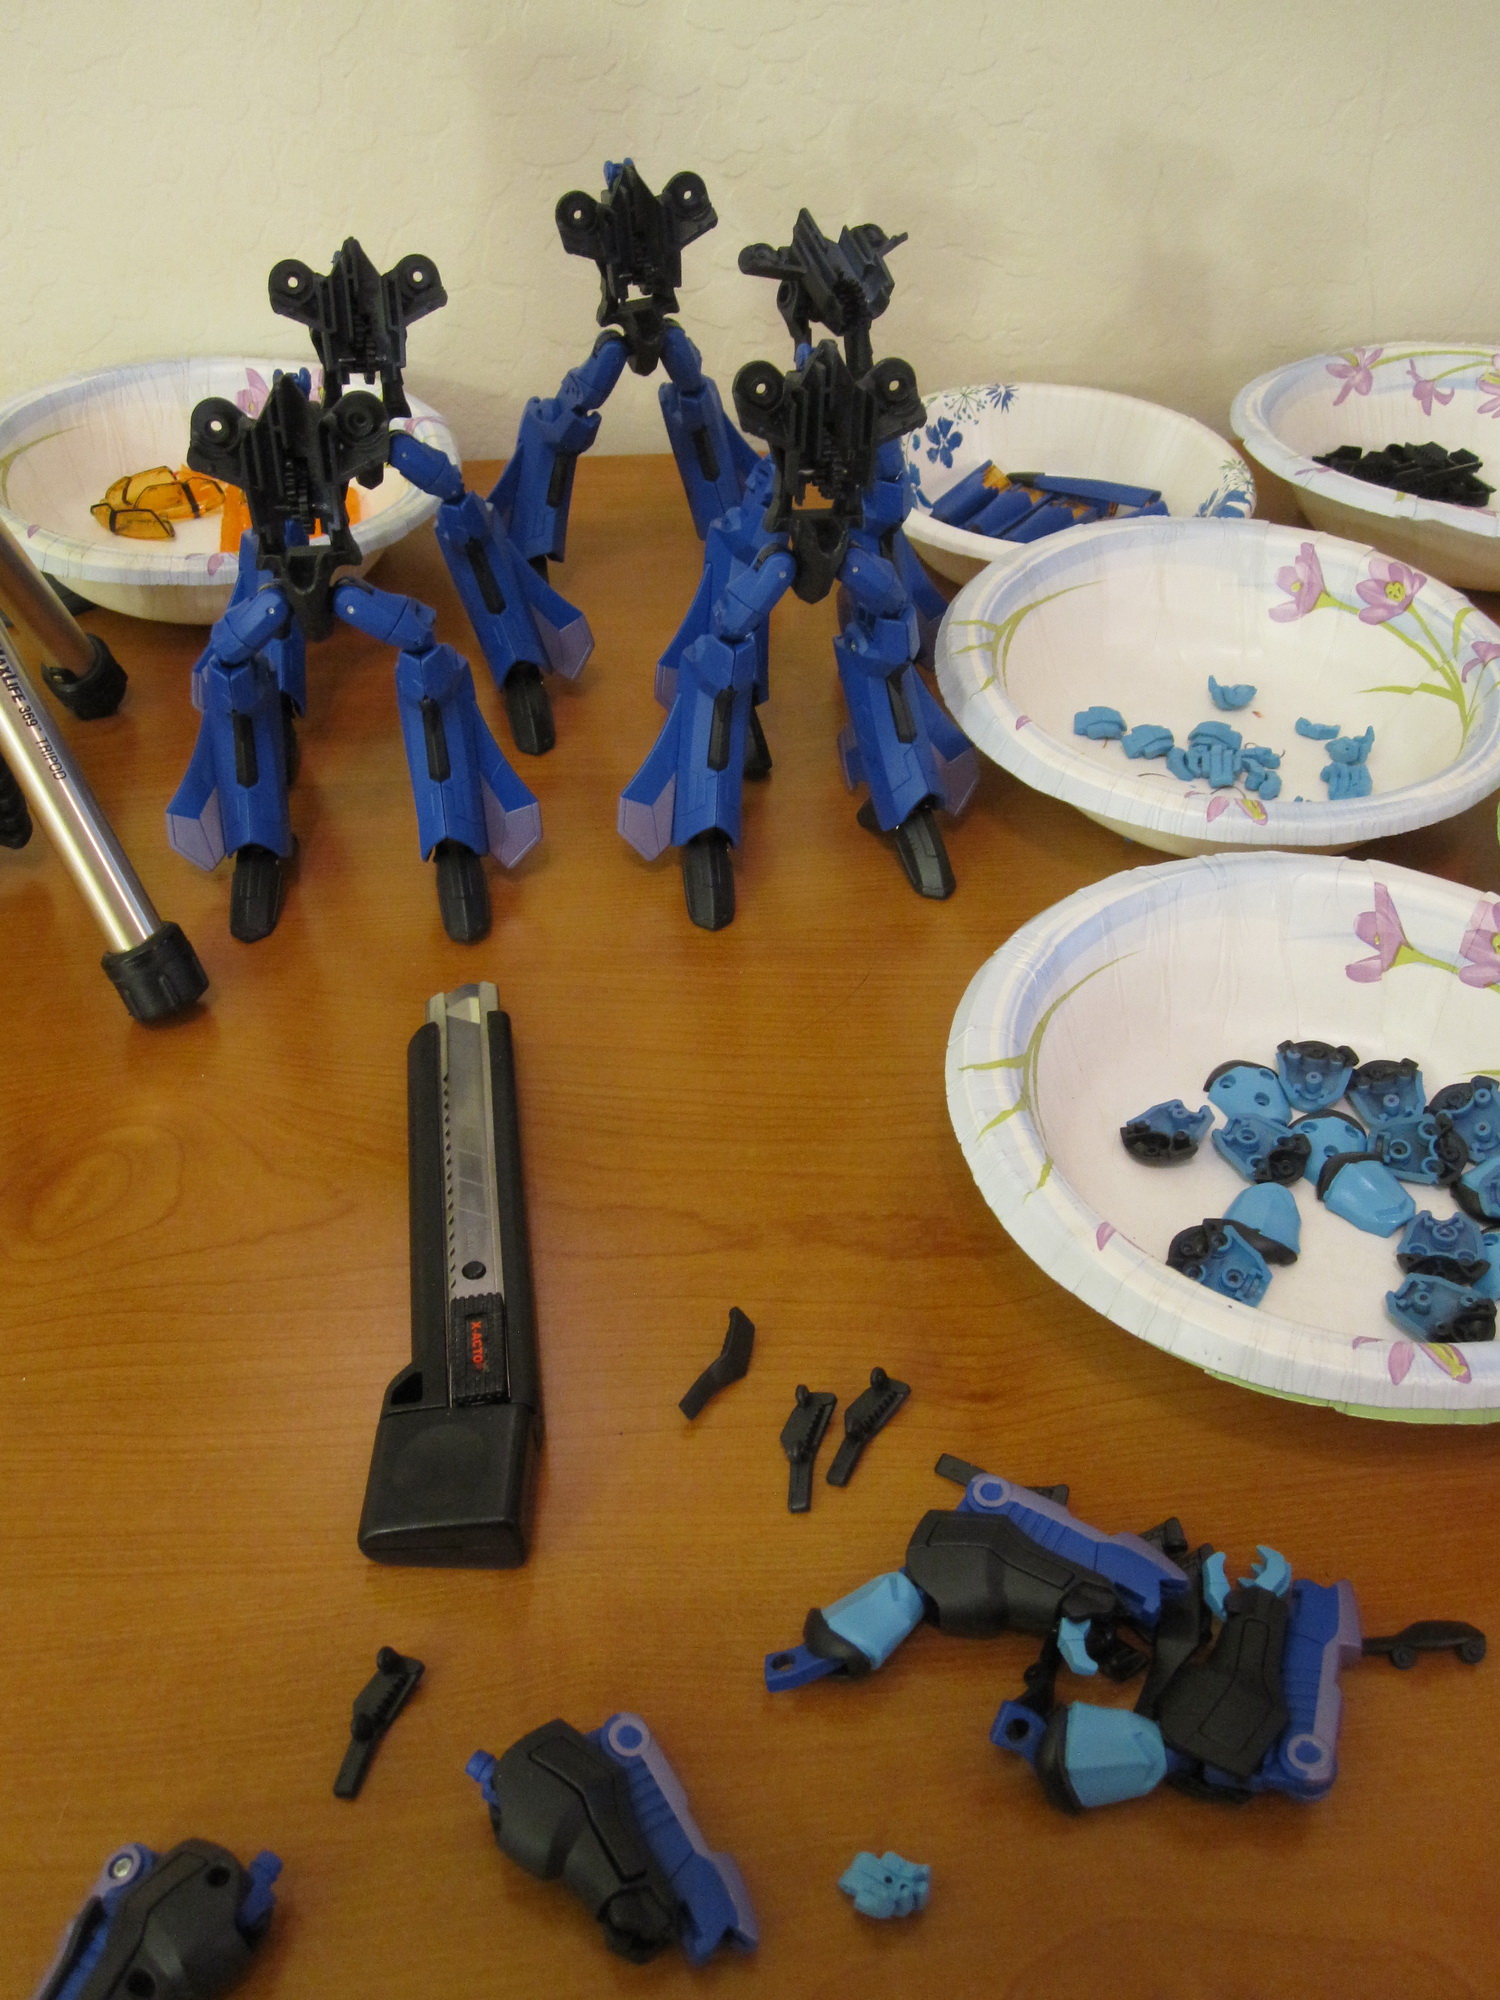
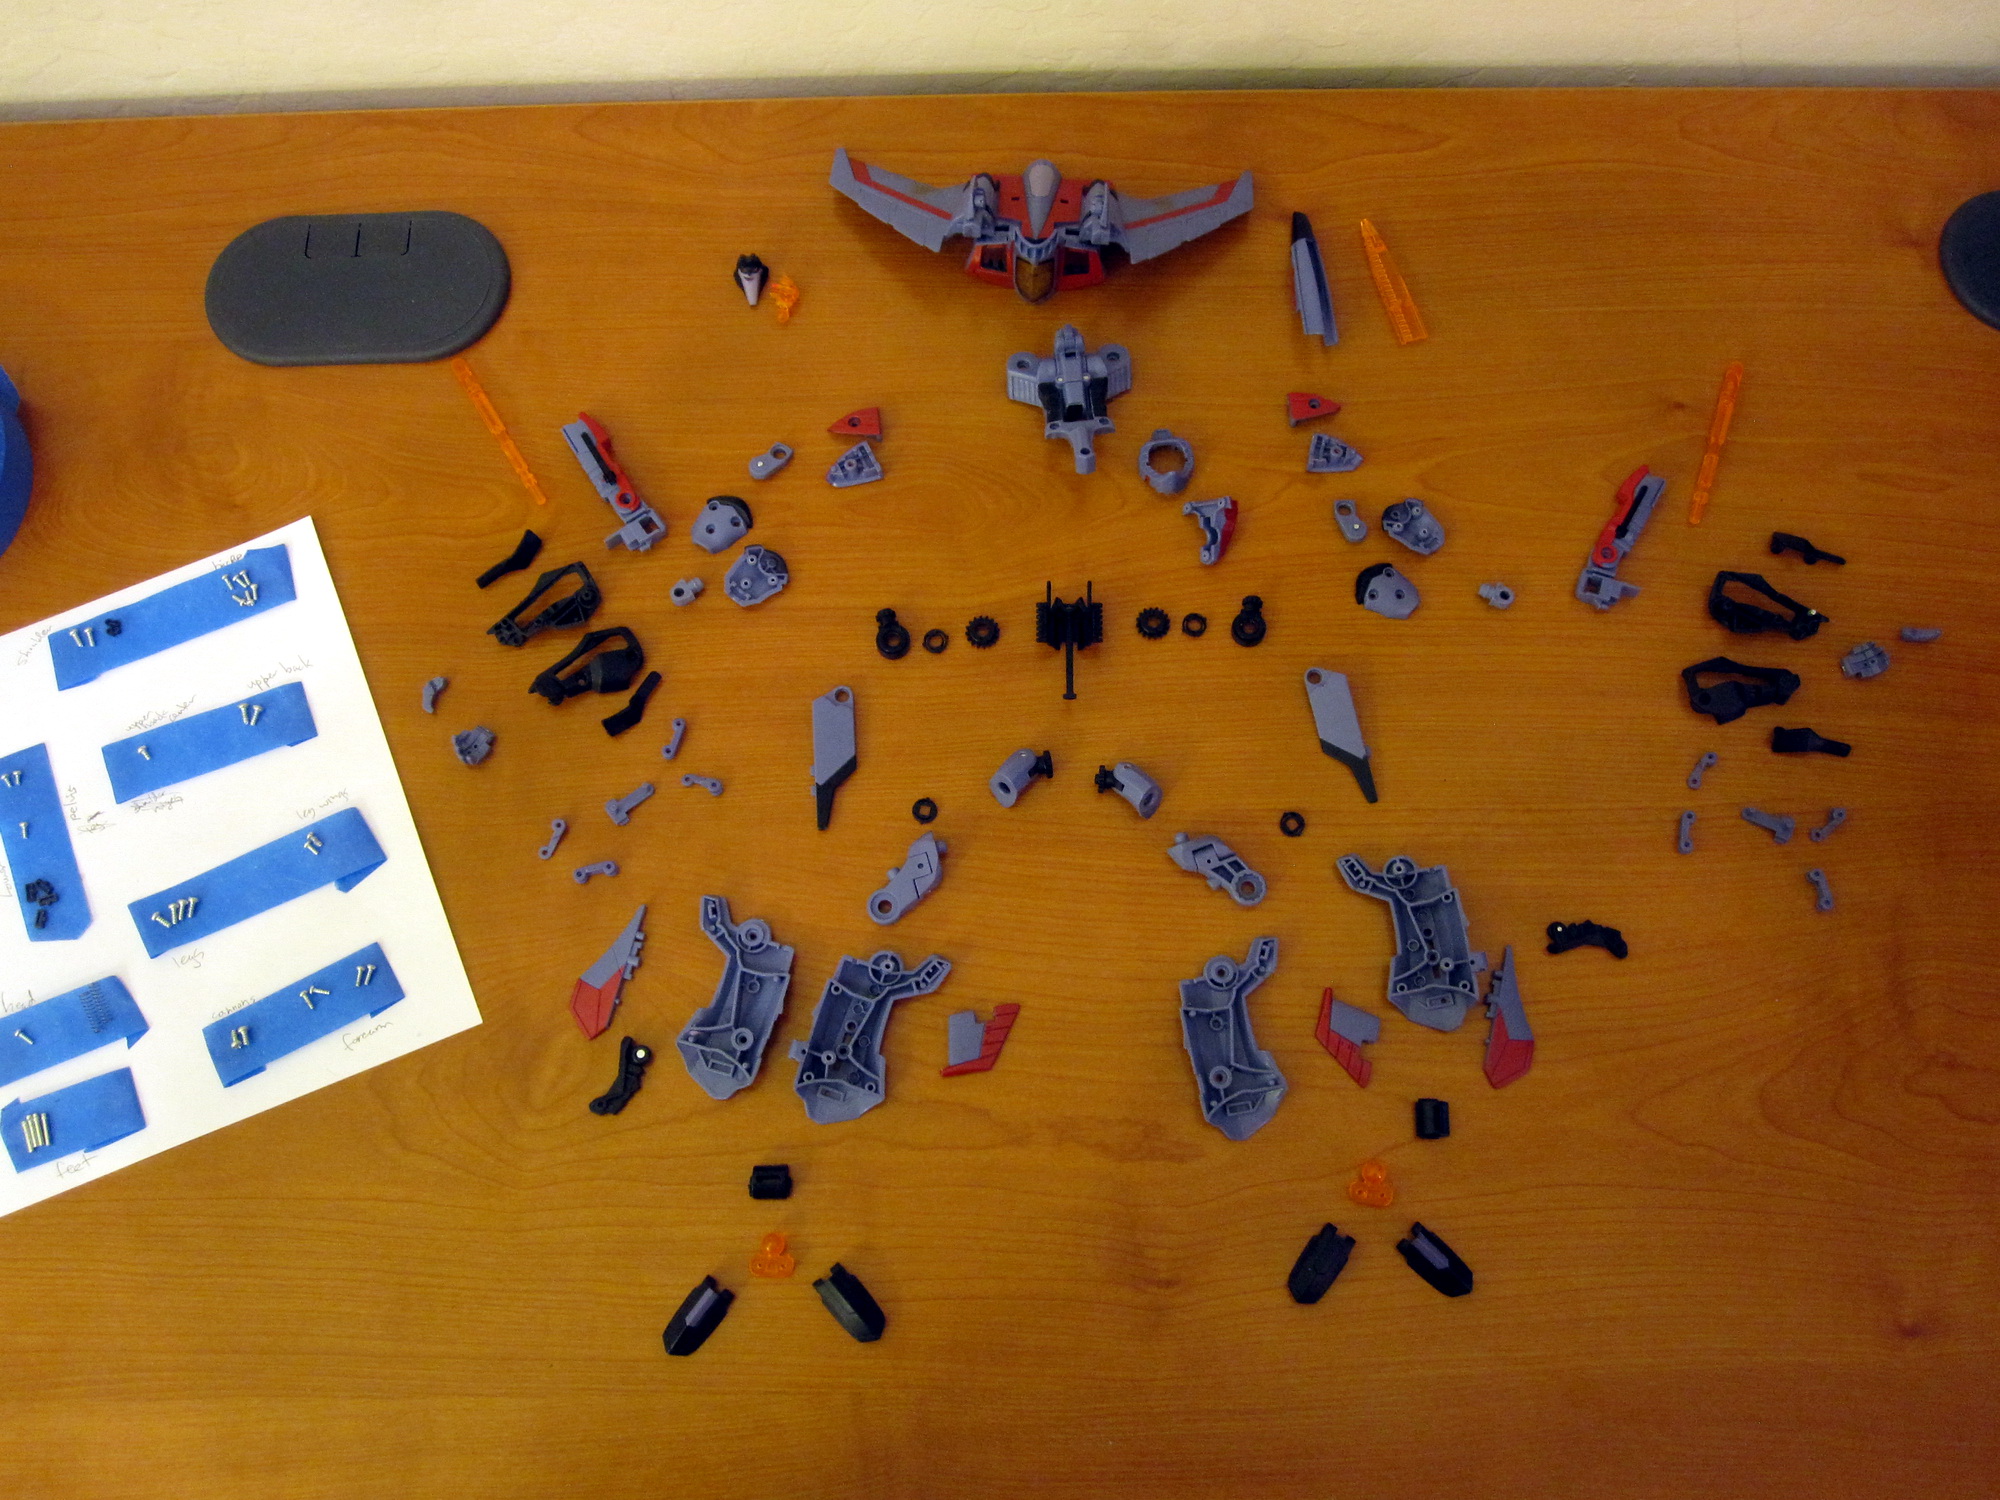
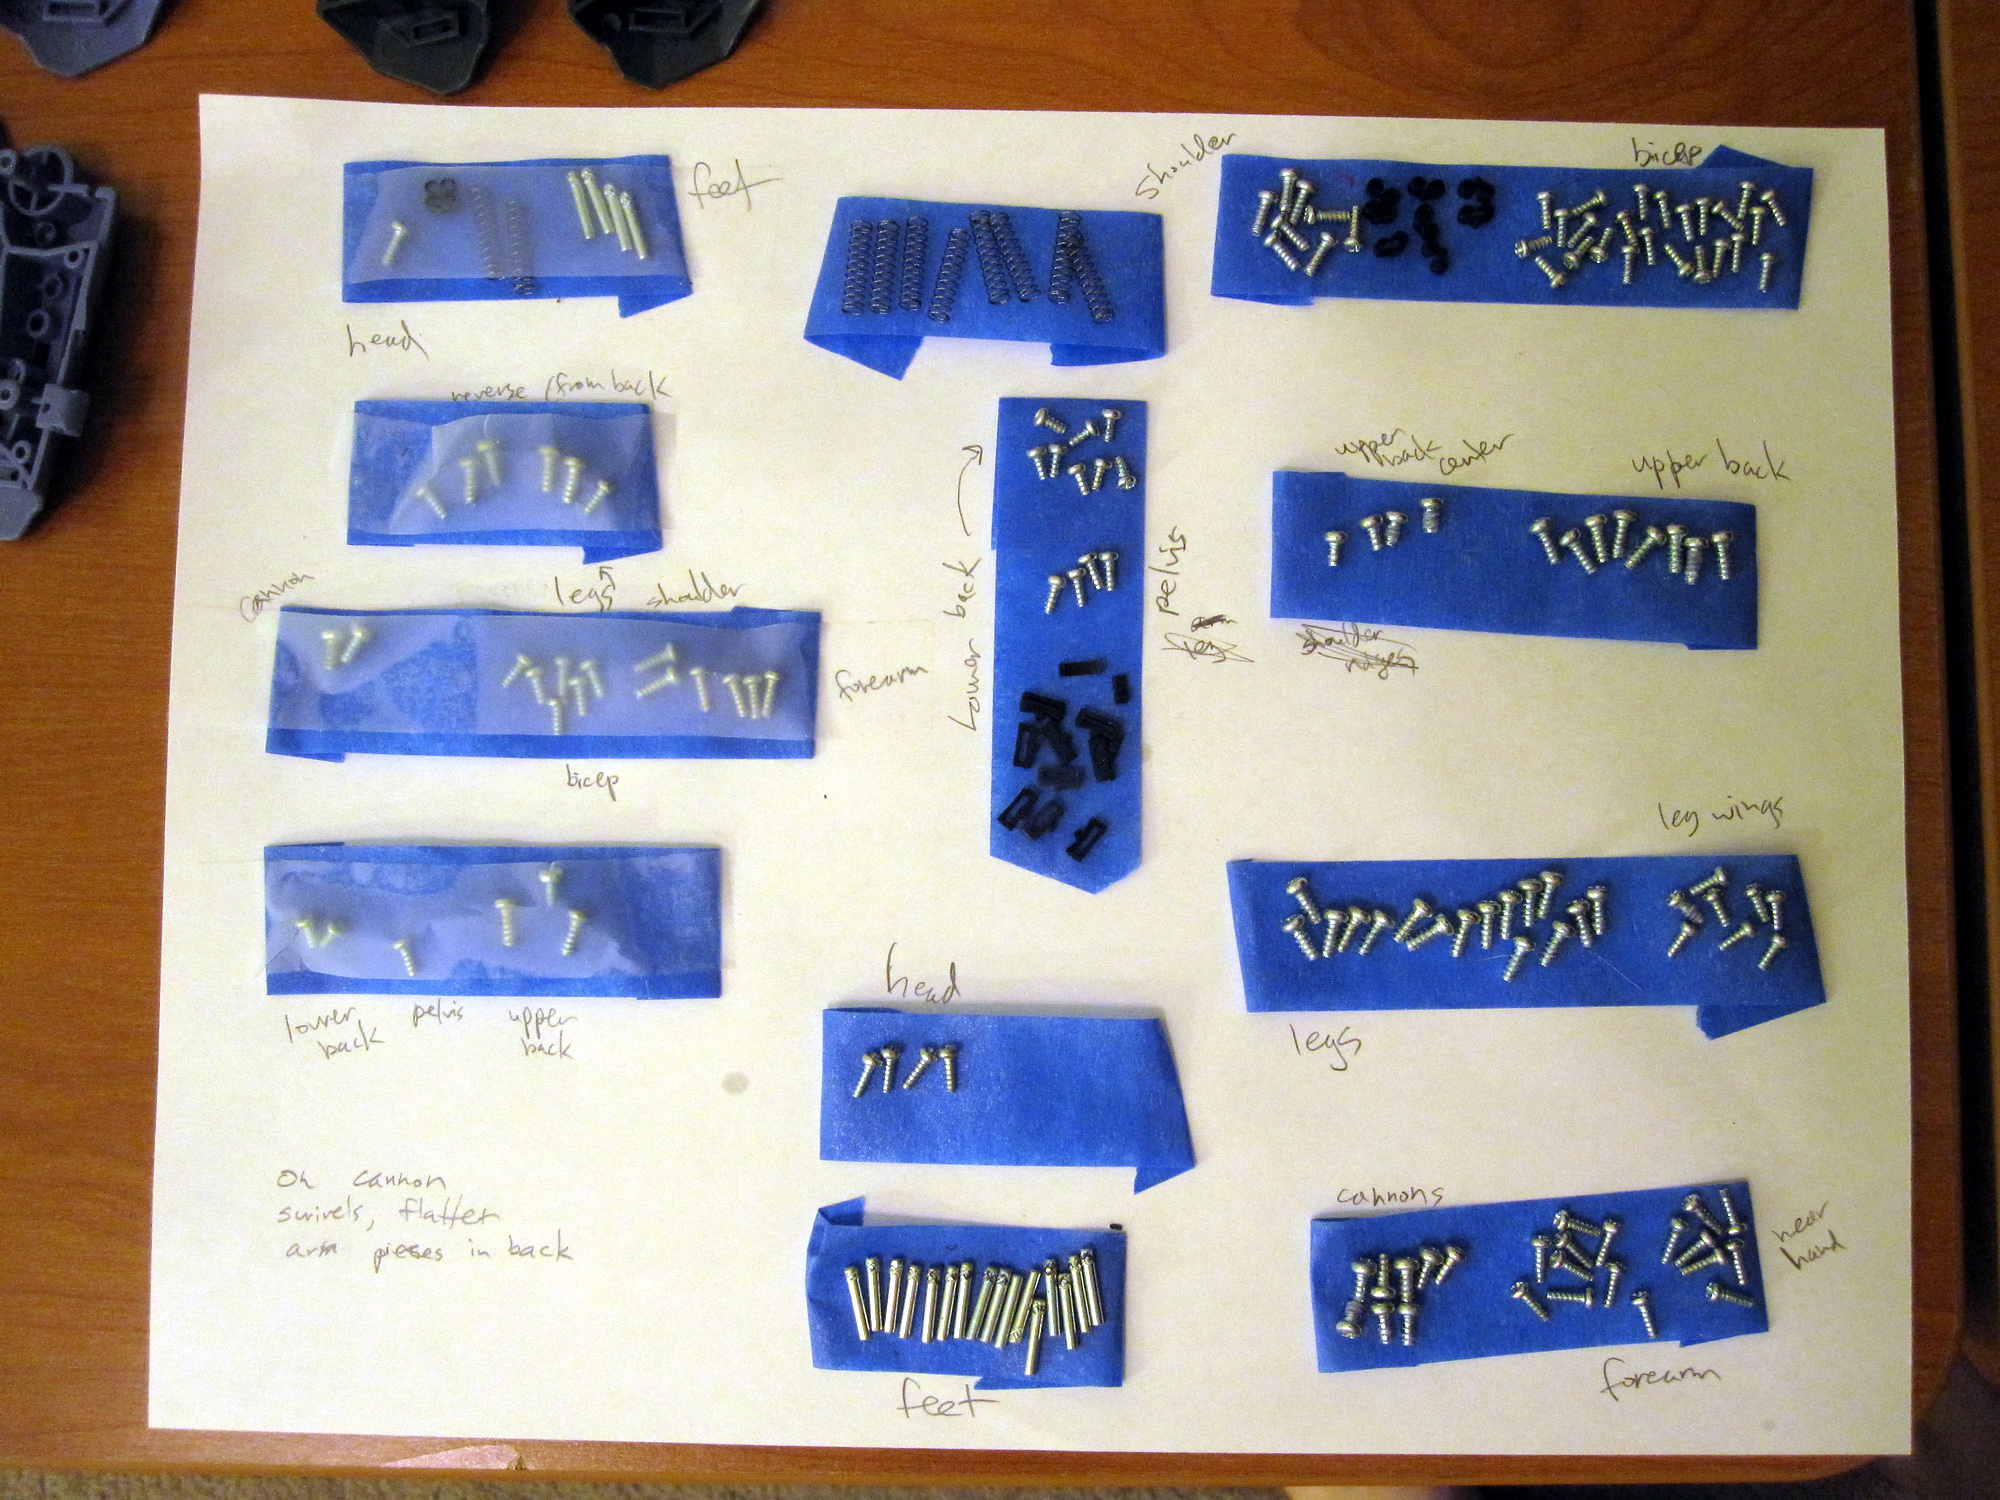
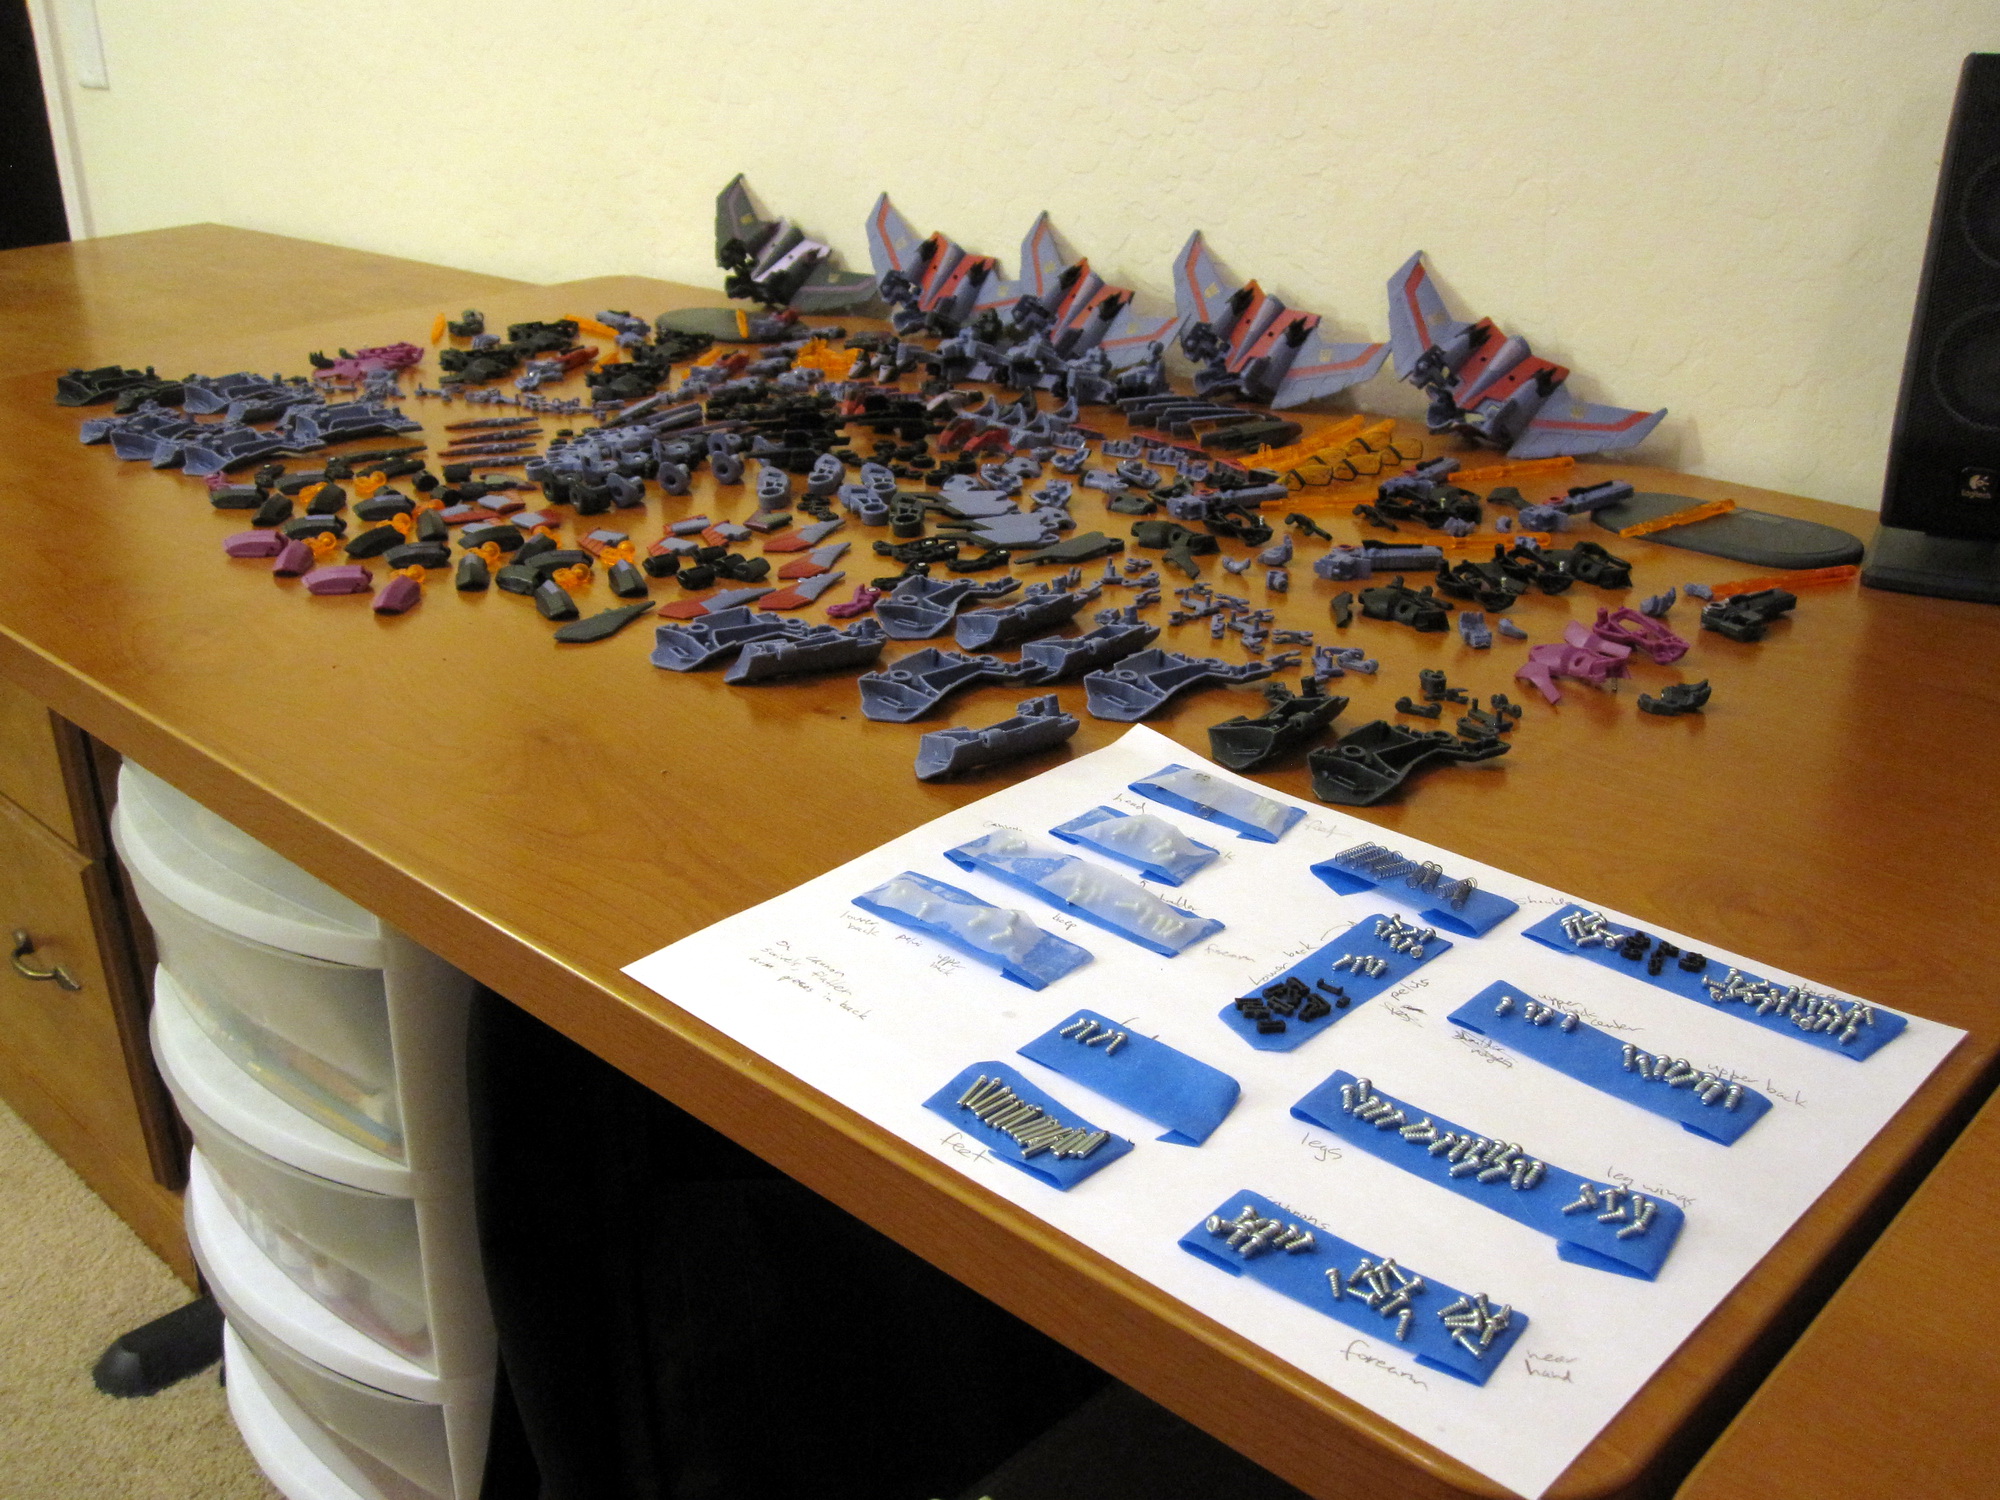
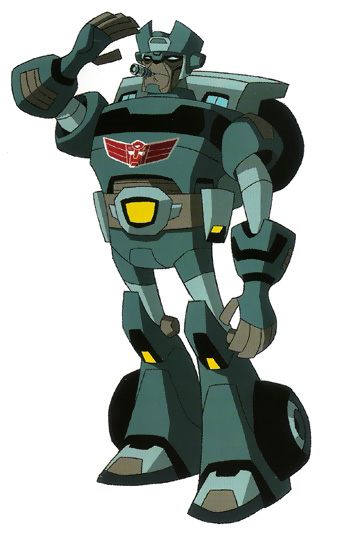
I began by disassembling a loose deluxe-class Elite Guard Bumblebee that I had (which has a ton of parts and pins by the way), and then began sanding down his base head. I knew that I wanted to give him his large mandible-esque chin and to match the control artwork I had as close as possible. So I began to add Apoxie Sculpt to build up the shapes of his head.
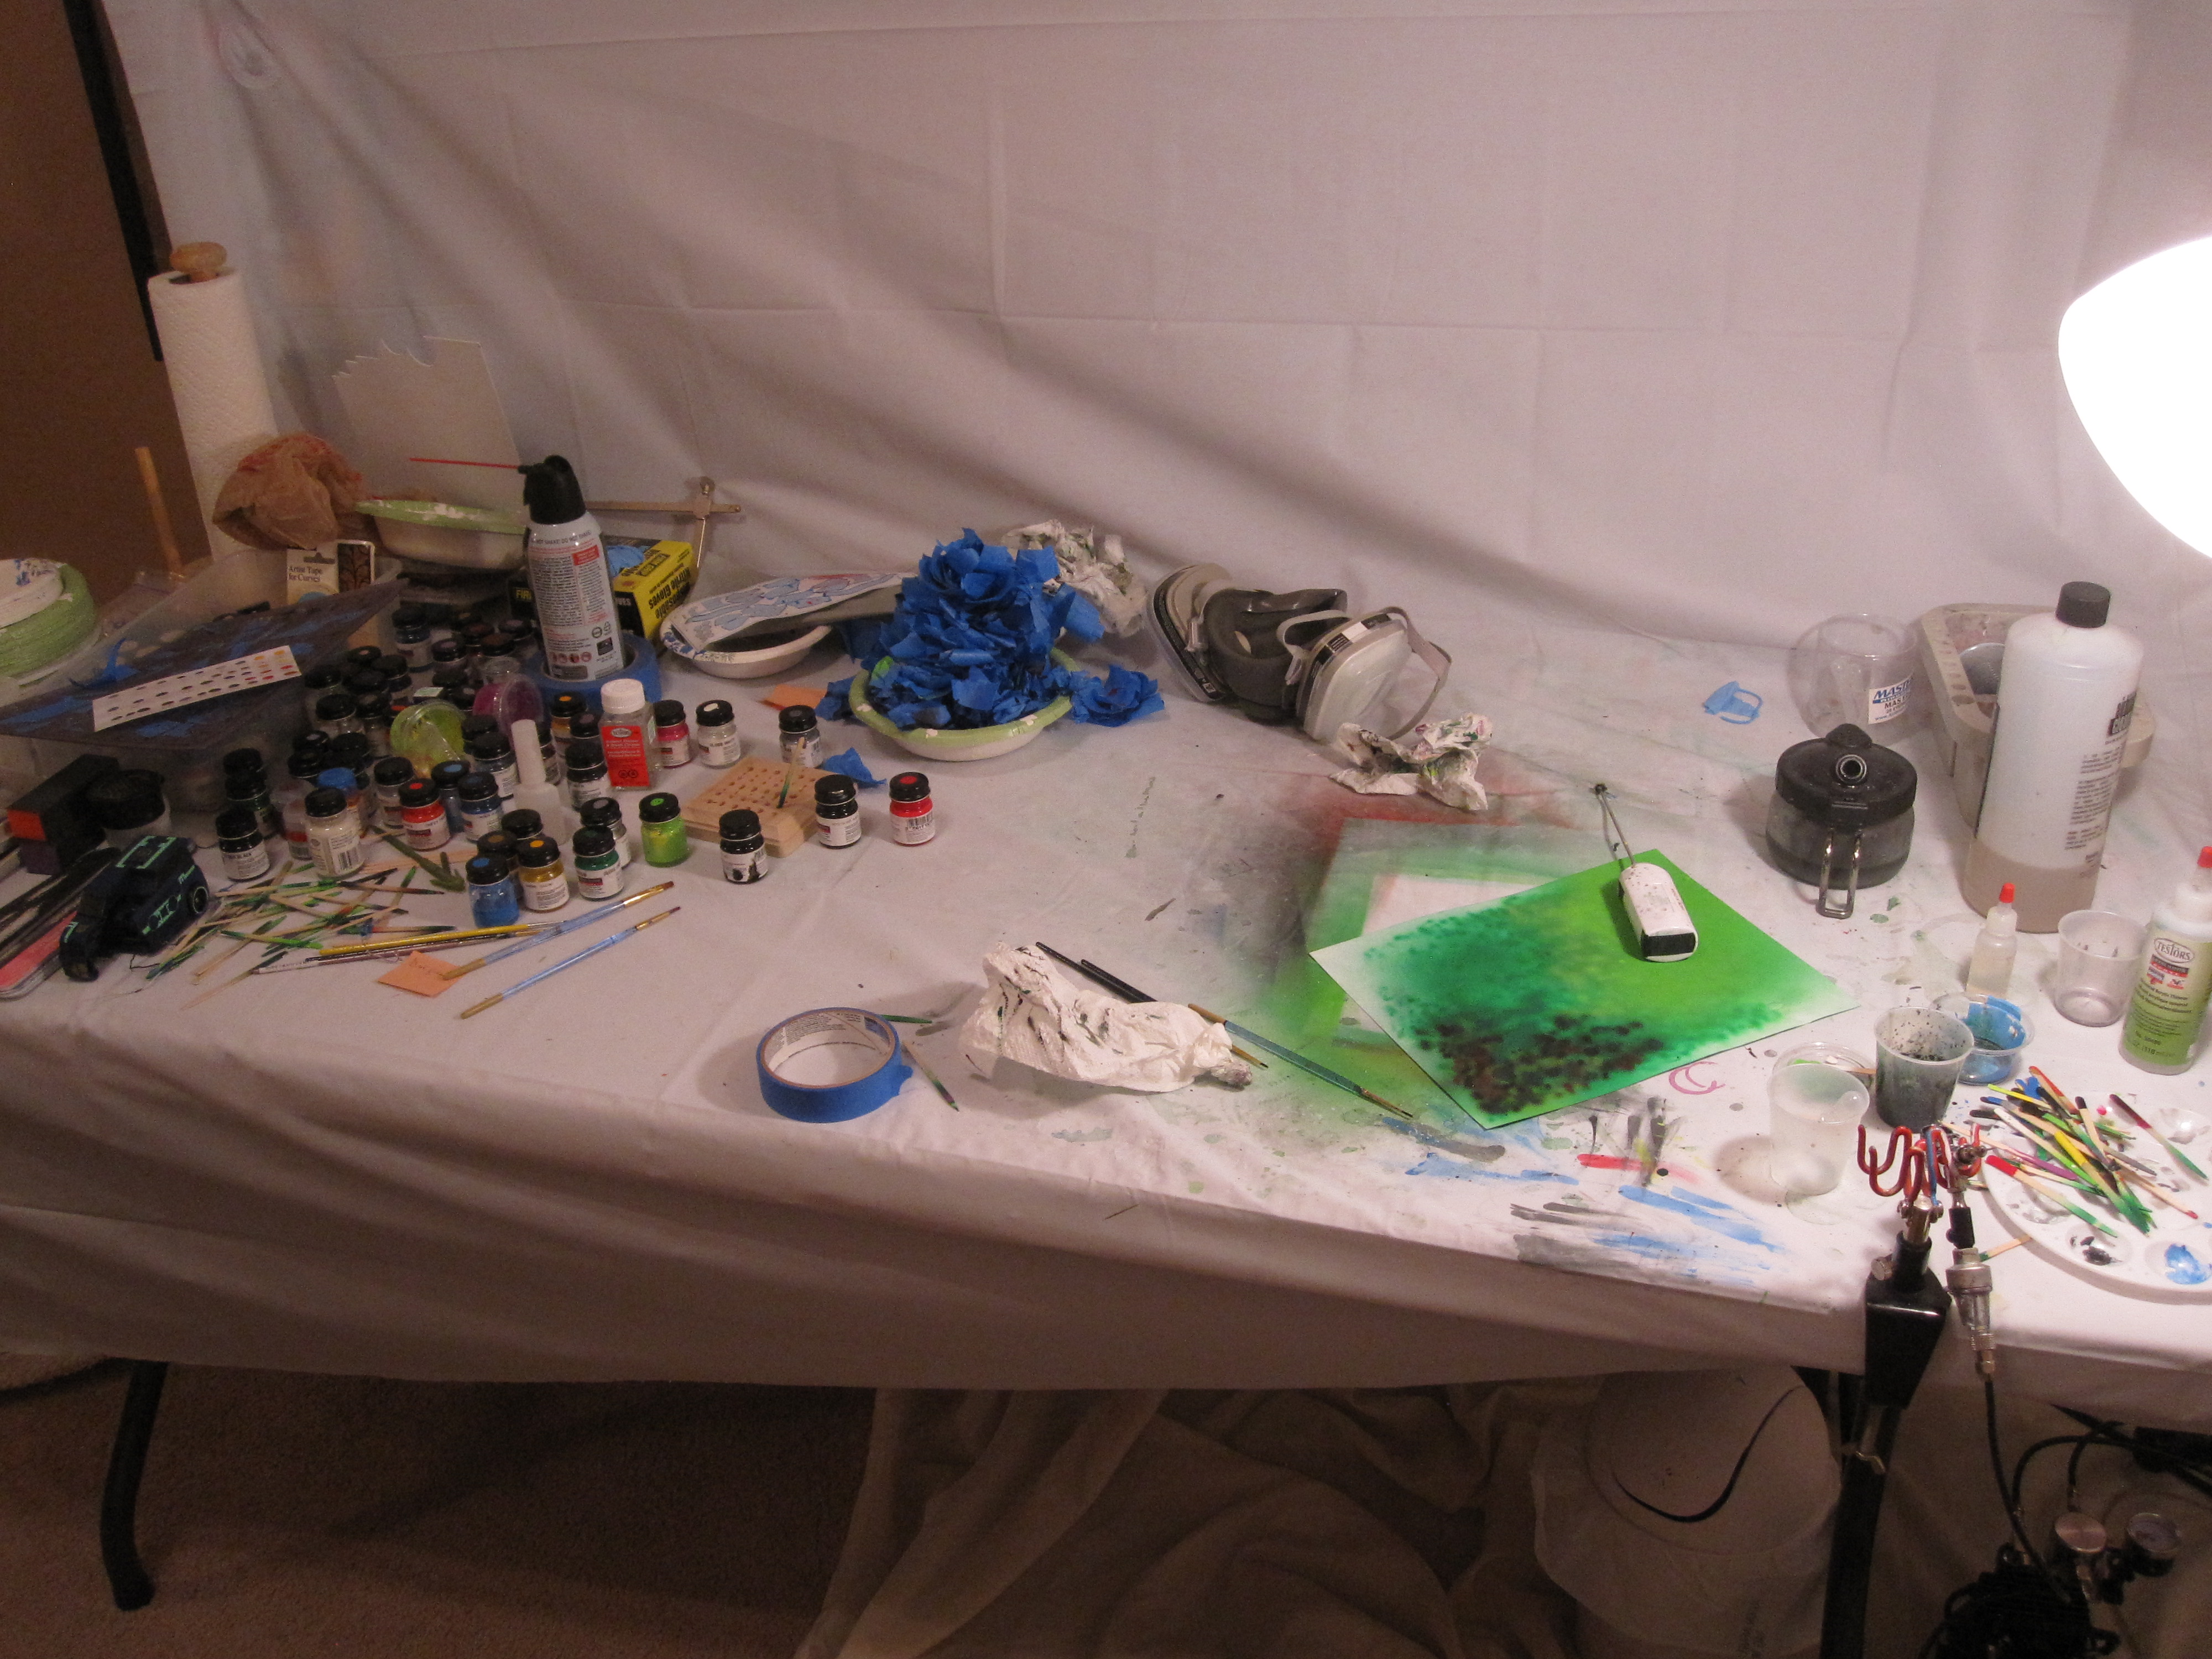
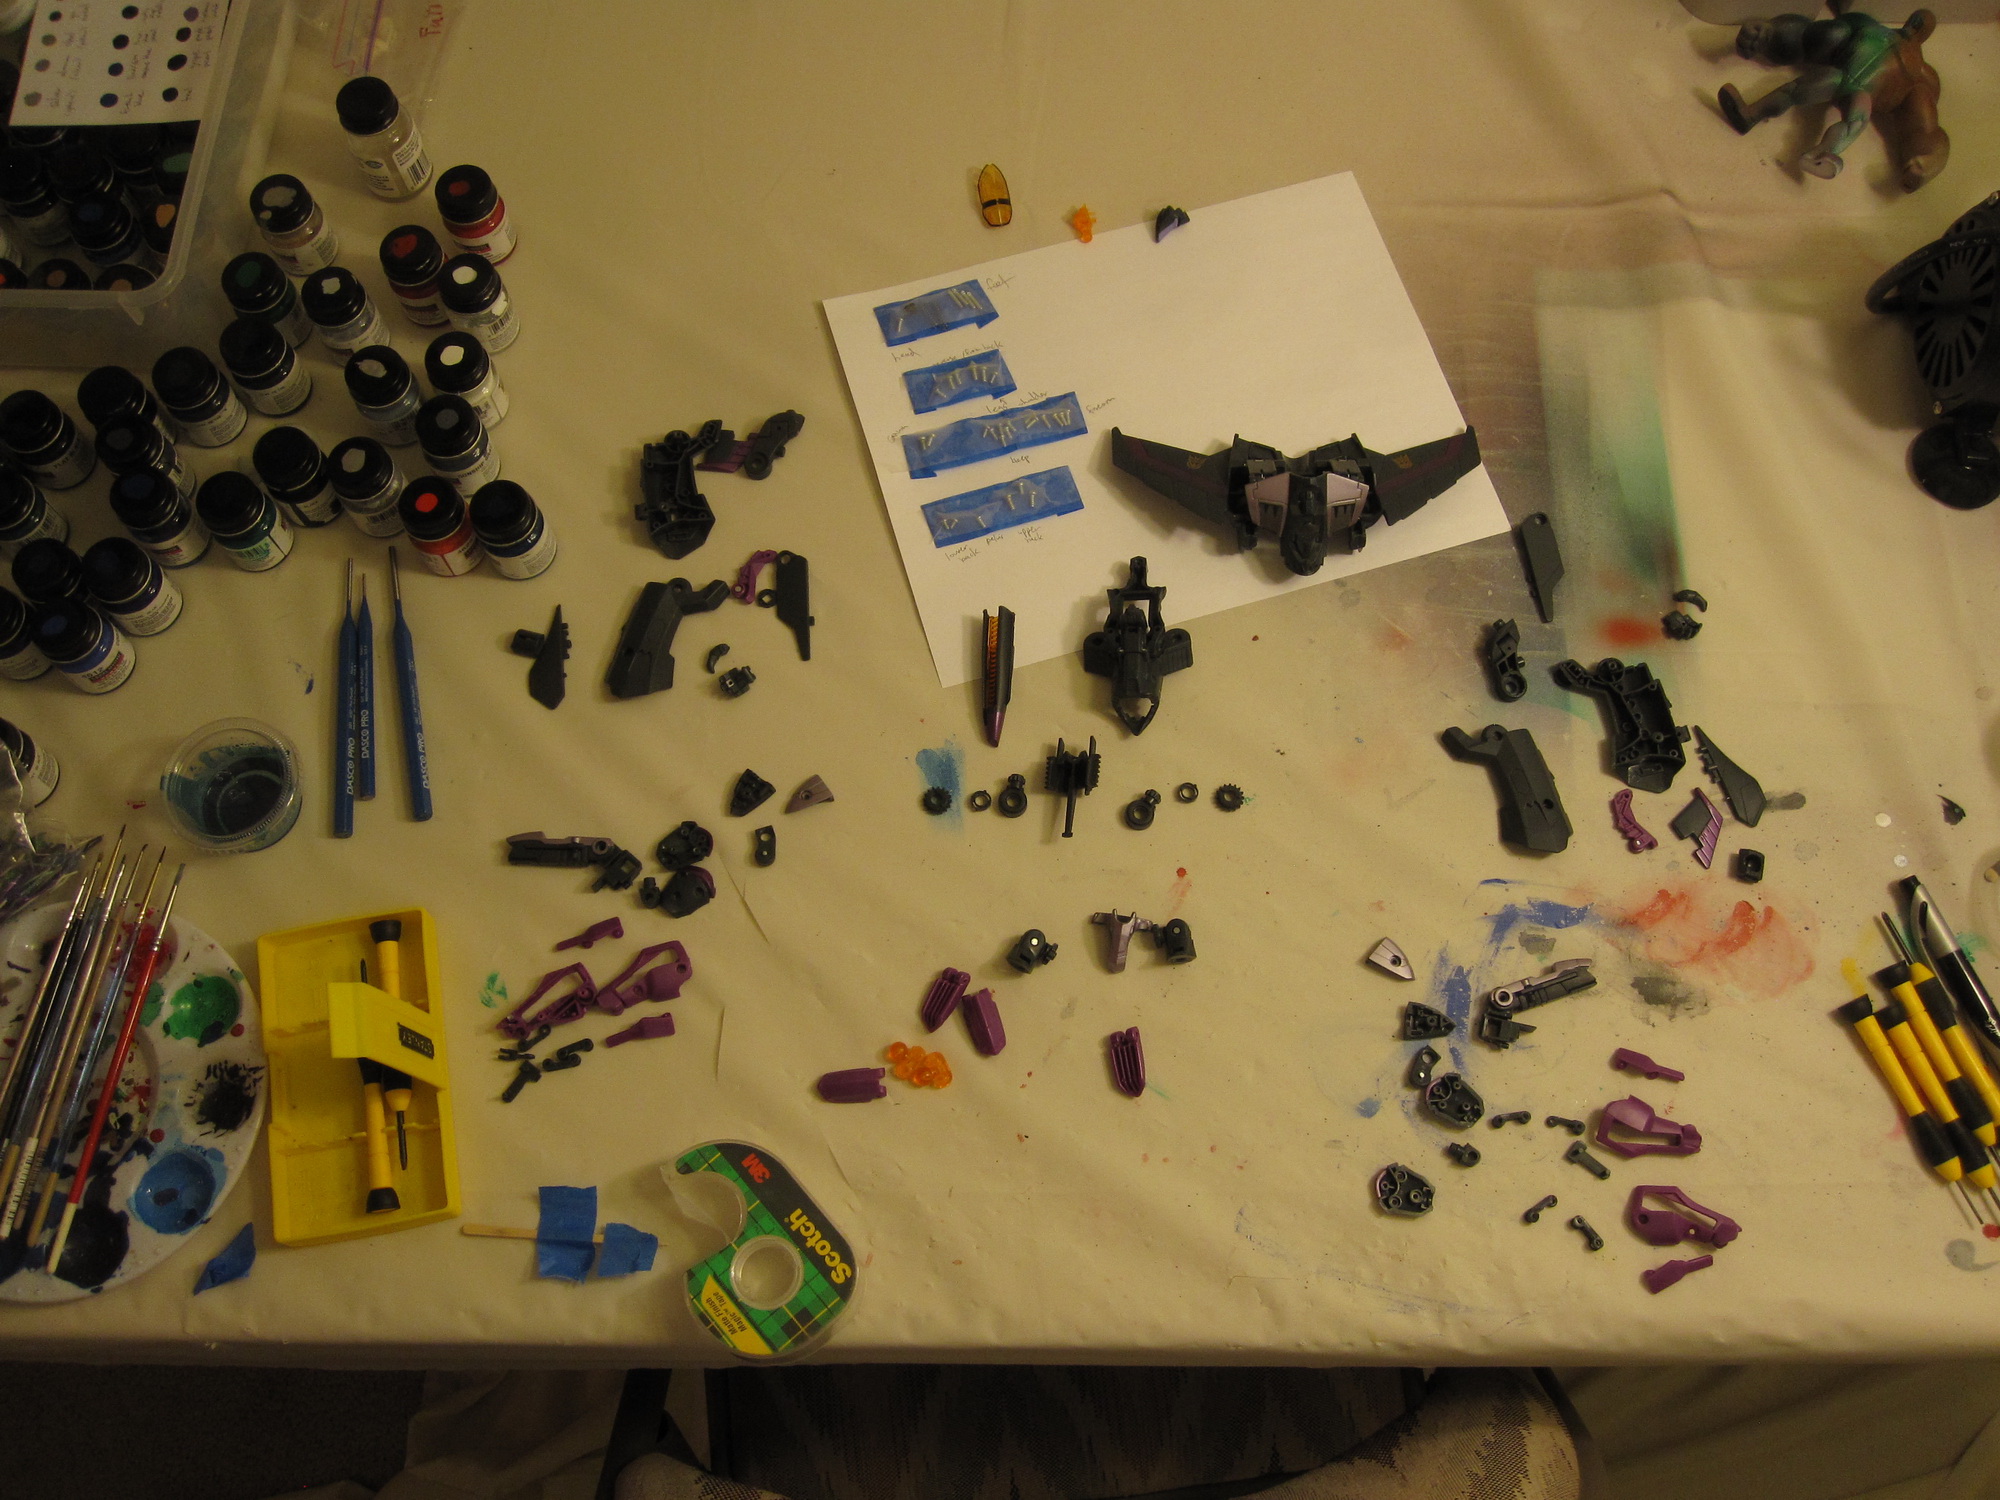
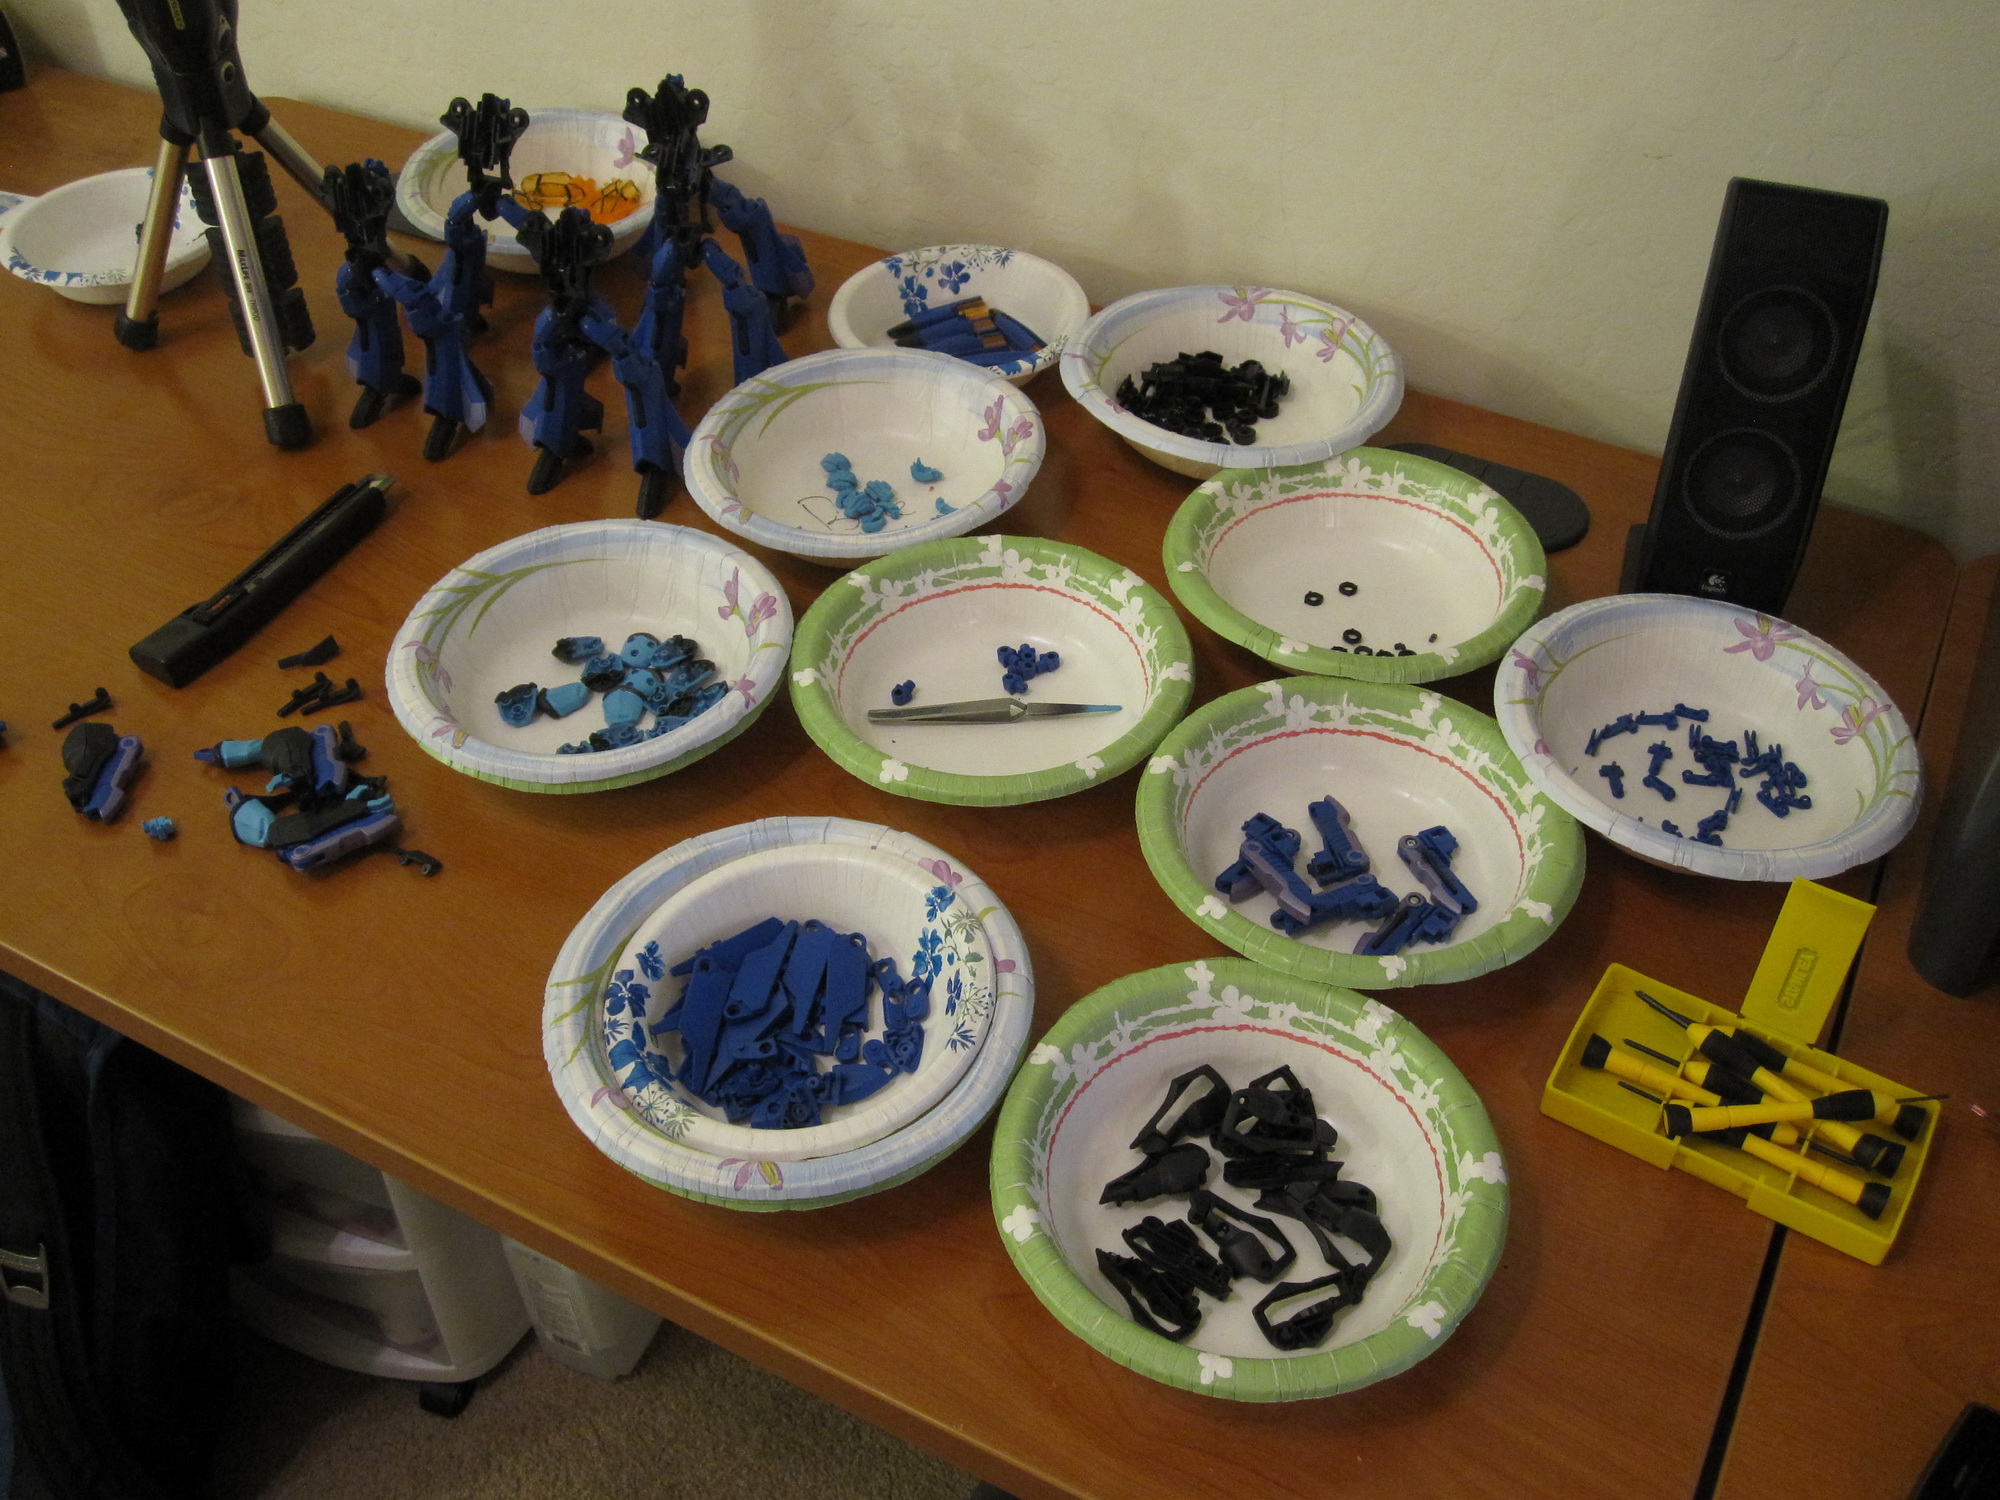
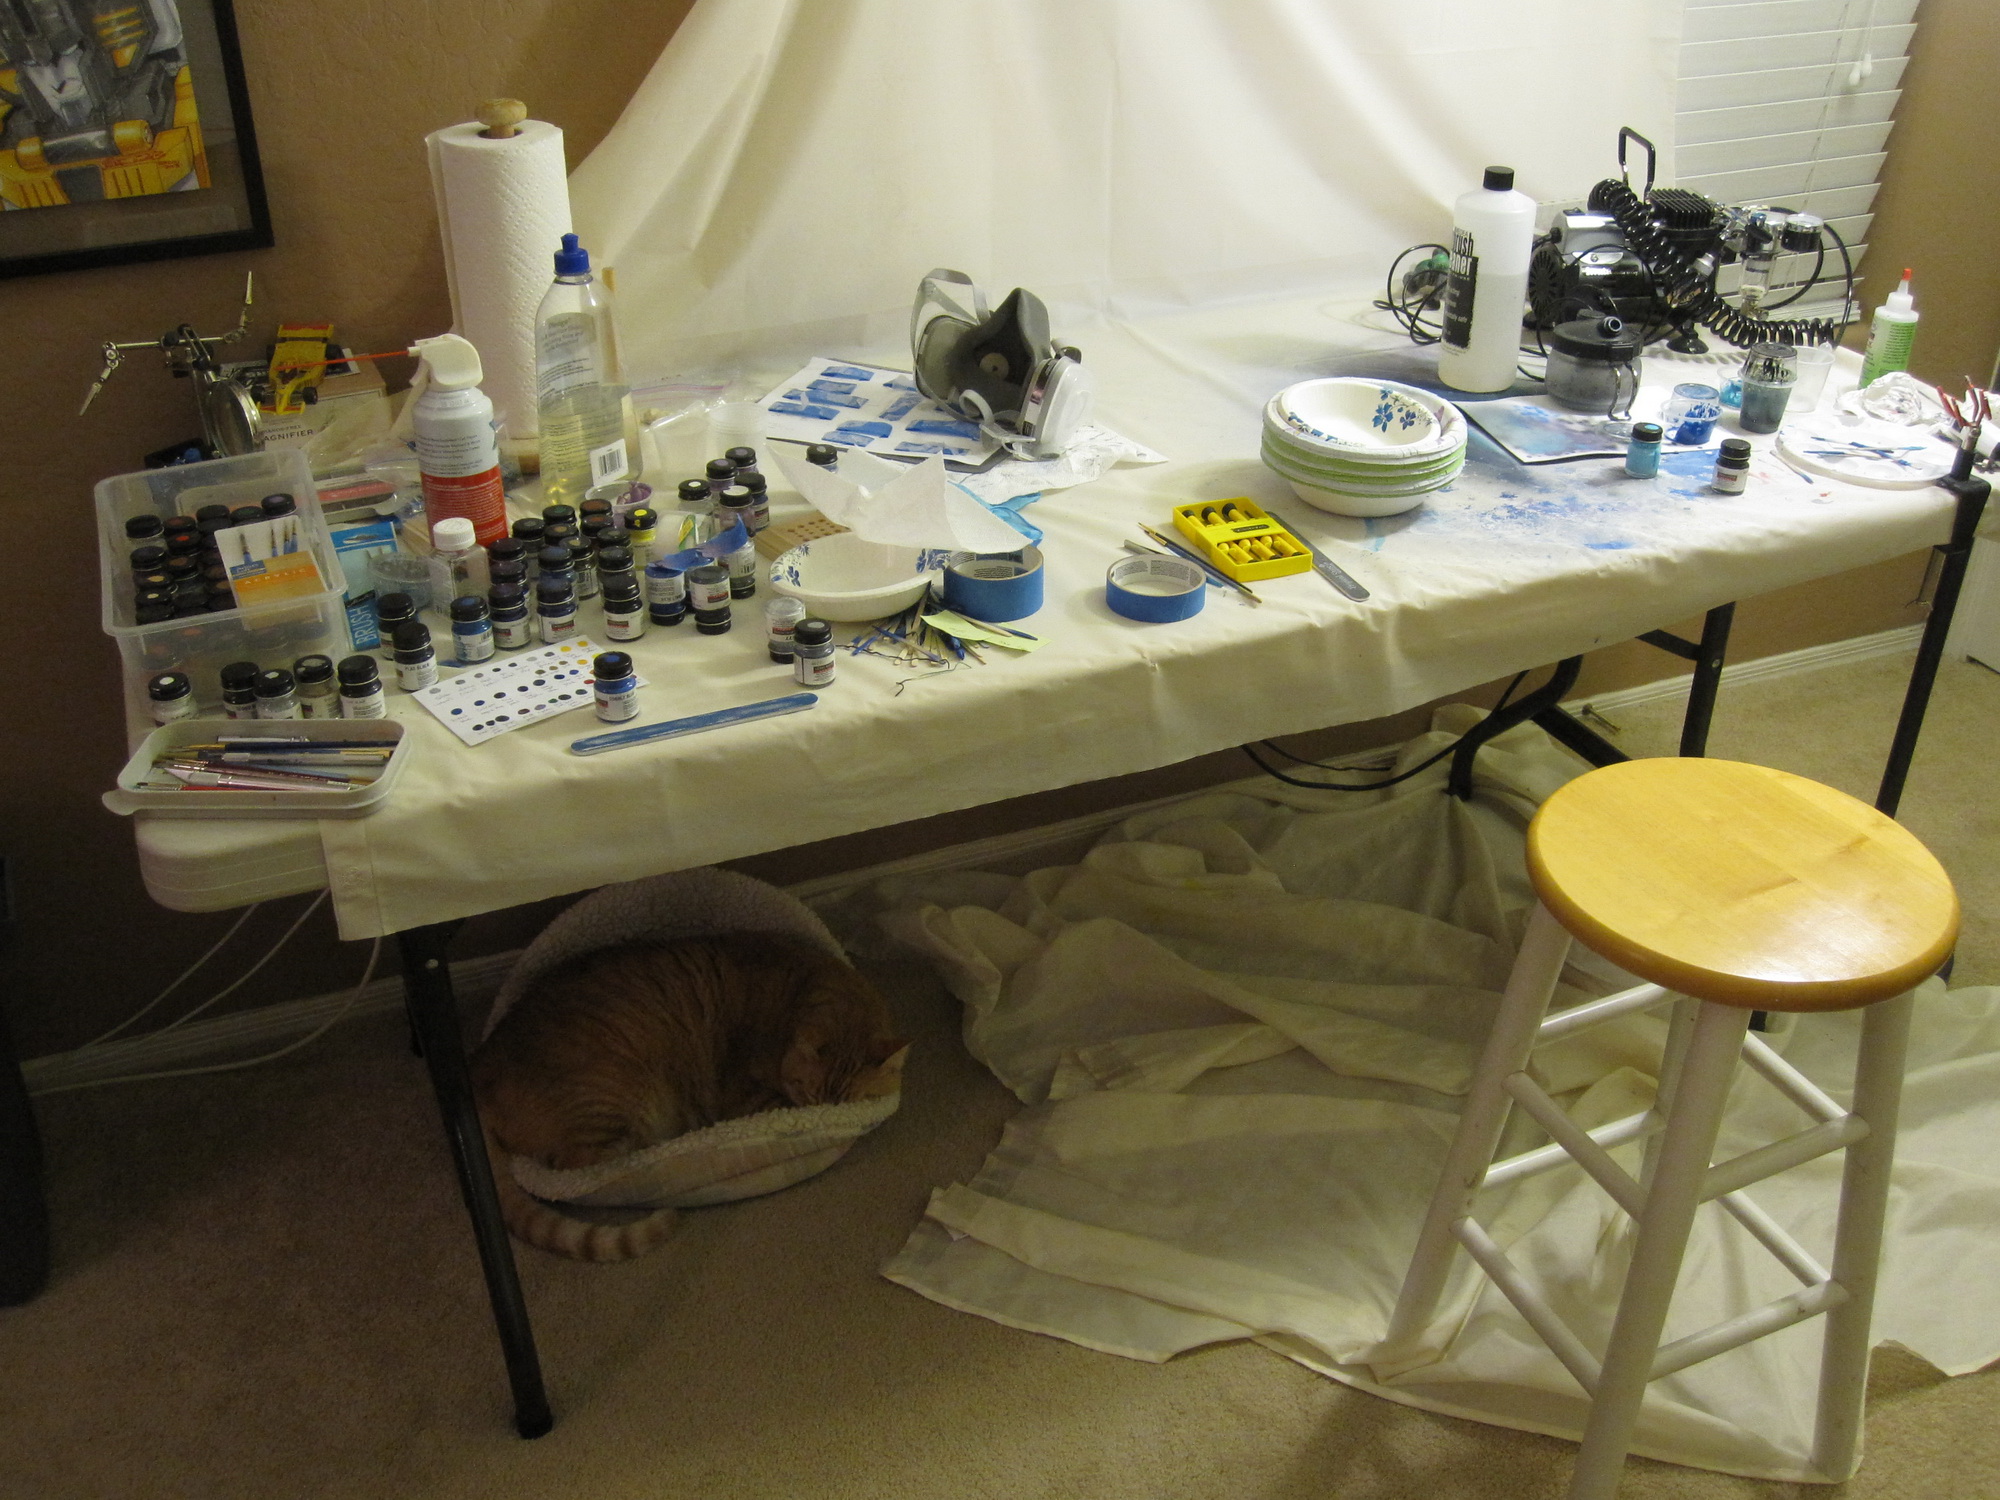
I would work on this head in between working on Windblade. I’d mold quite a bit of extra material on to the head, knowing that I’d sand it way down to get the shapes I wanted. I’d then let it cure while sanding the other custom. It took a lot of sanding to get the chin to look as good as it did. My customizing desk was covered in dust and plastic particles. I’d use differing grit levels of sanding sticks to get as smooth of a surface as possible on each contour.

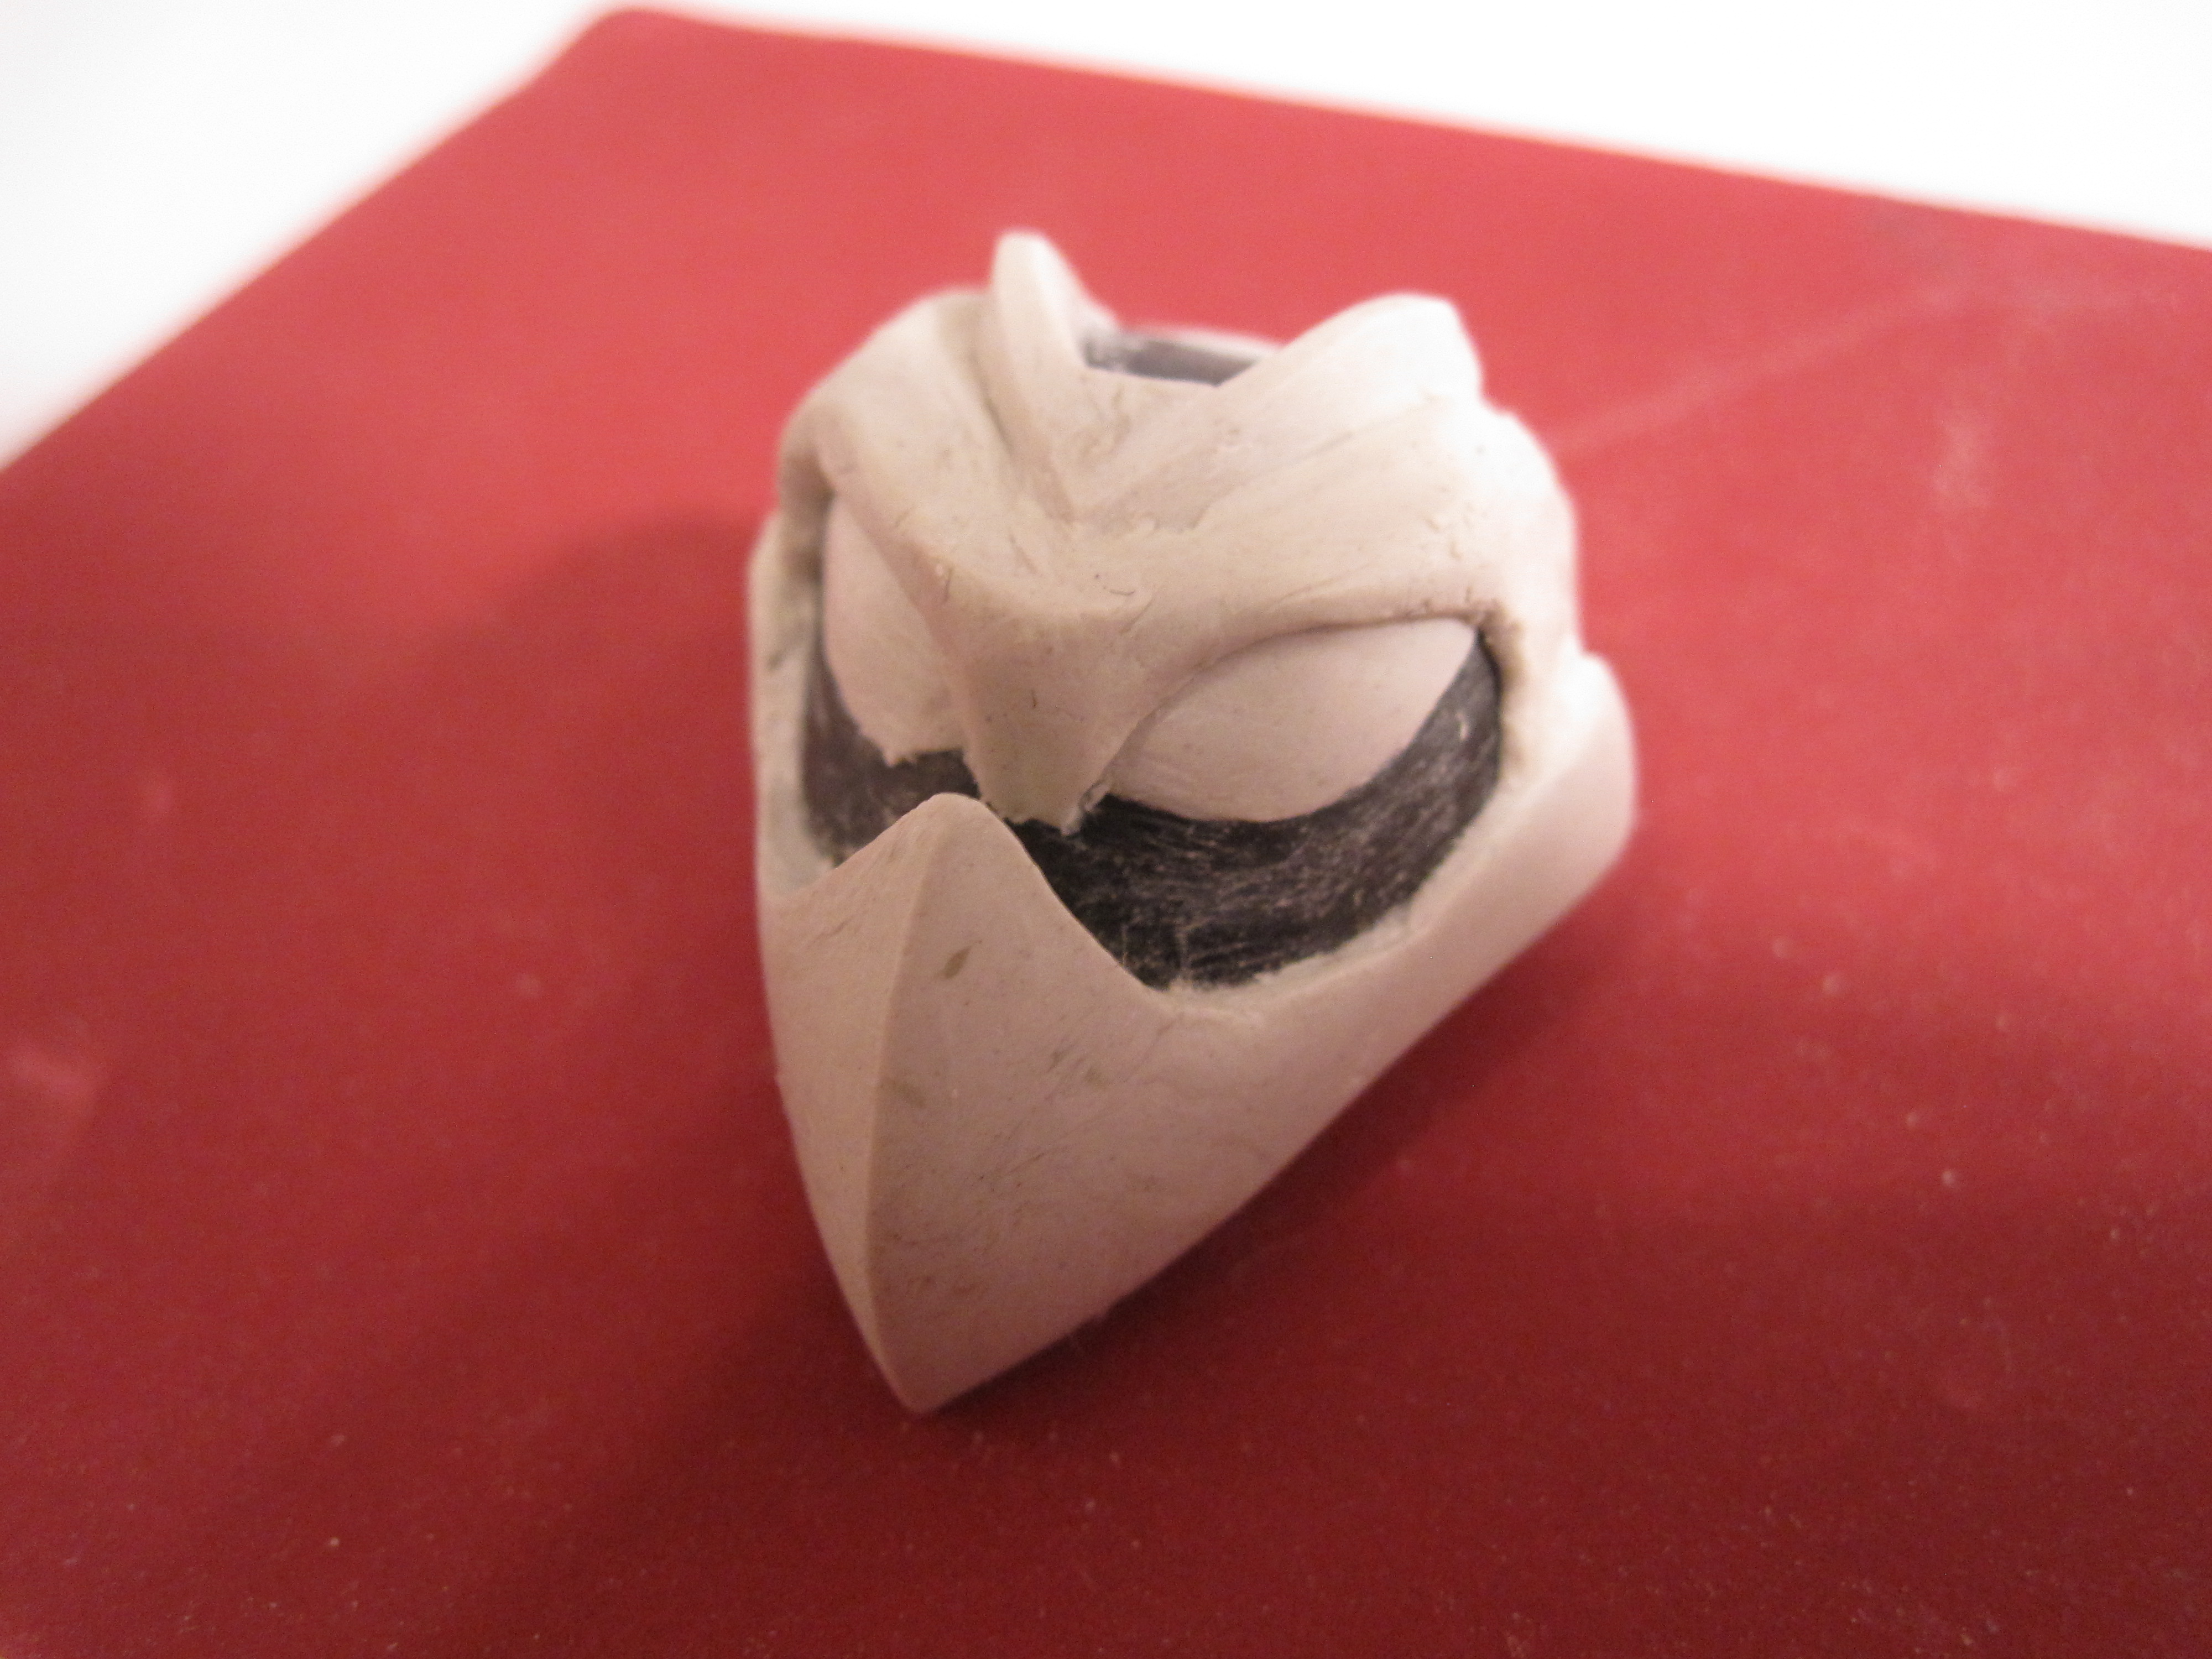
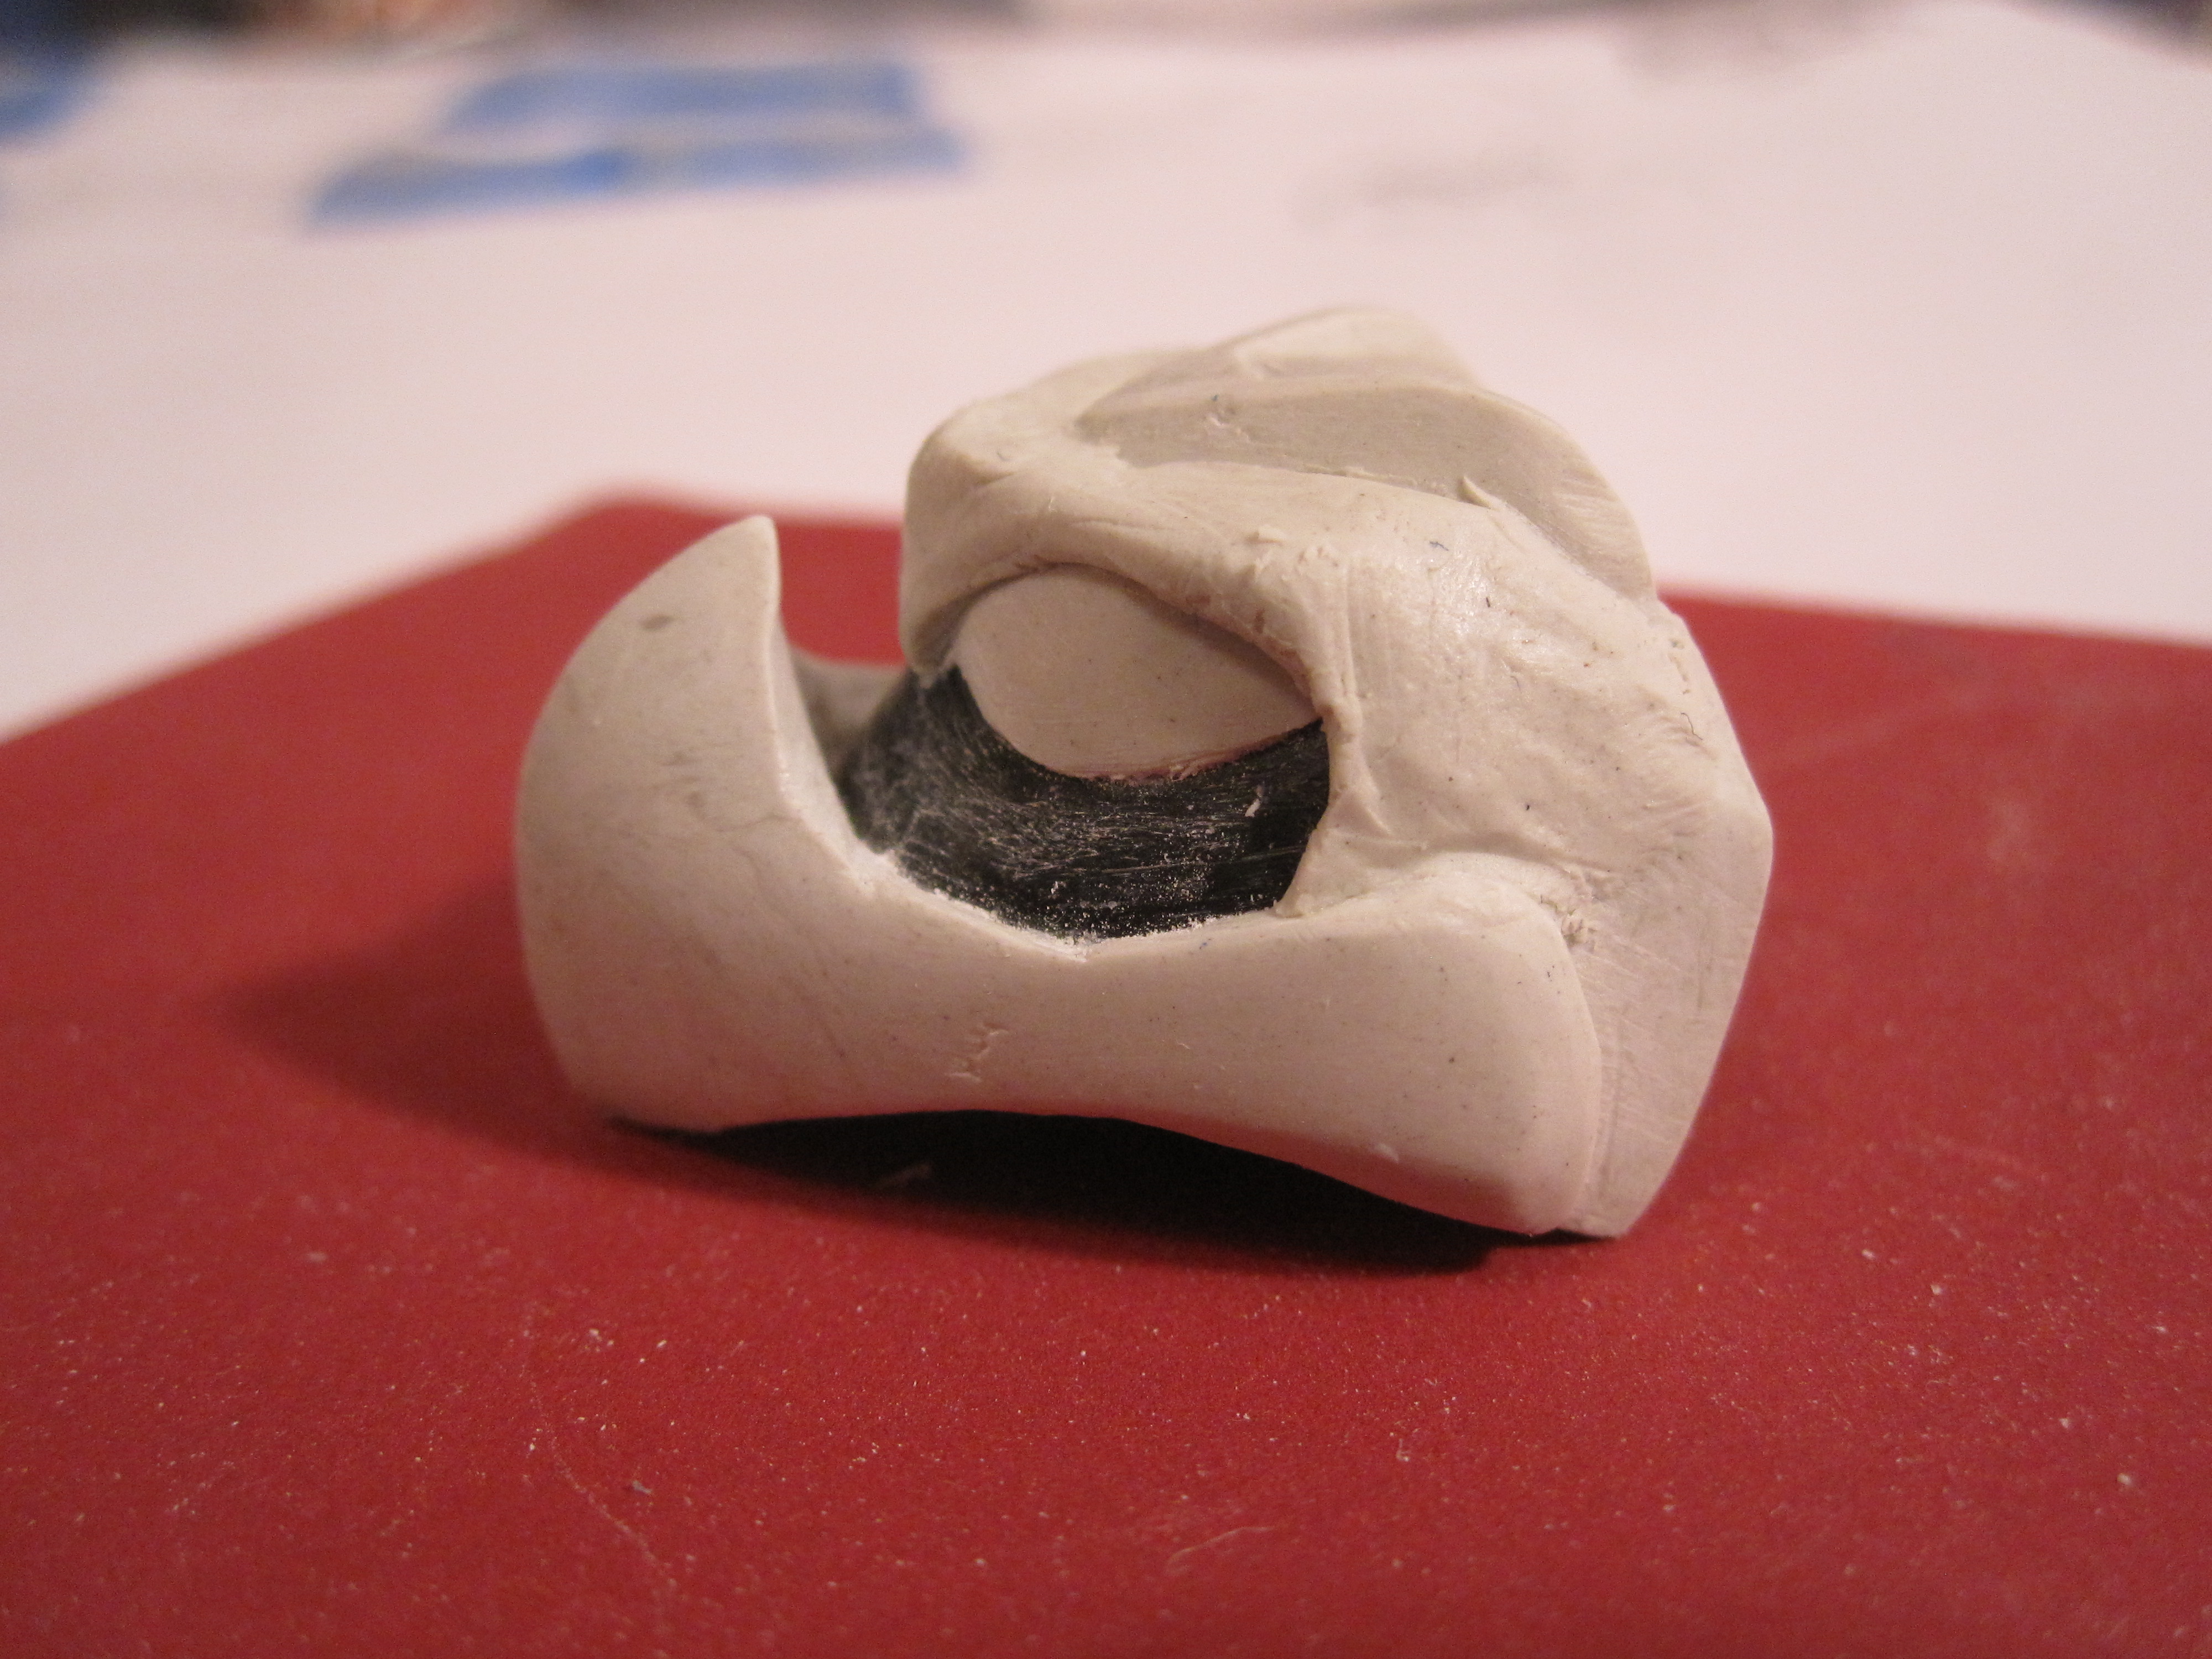
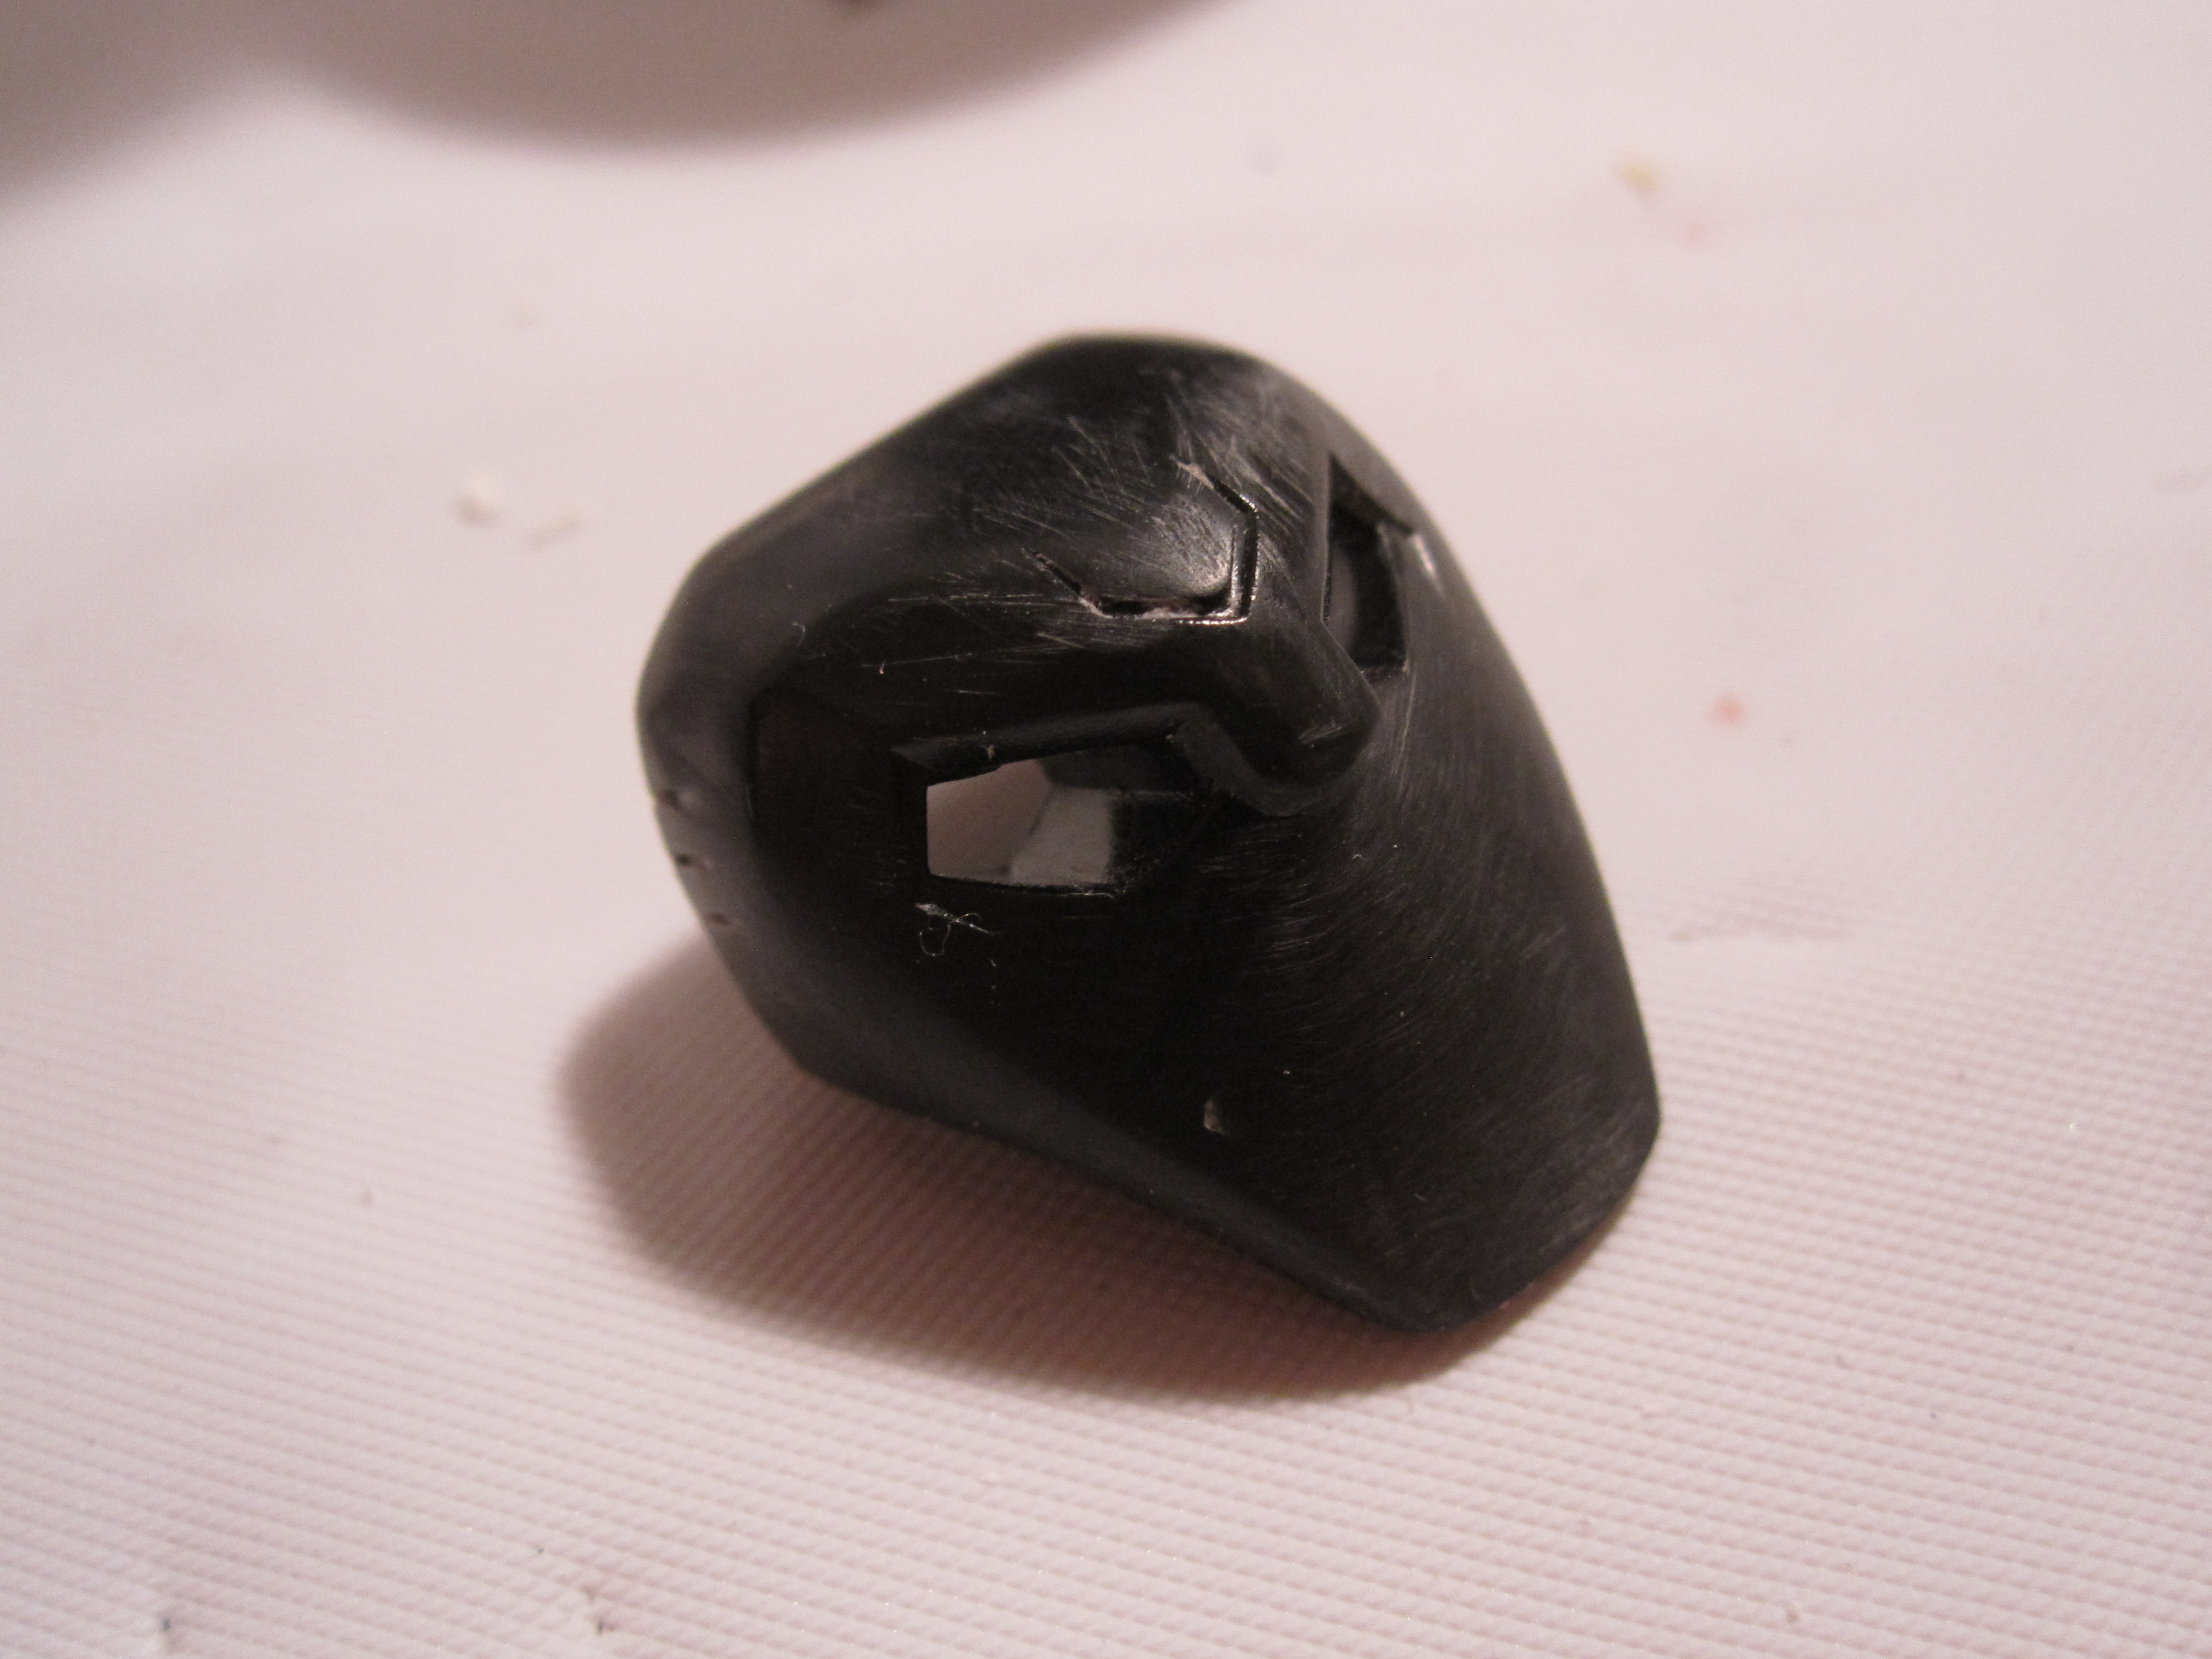
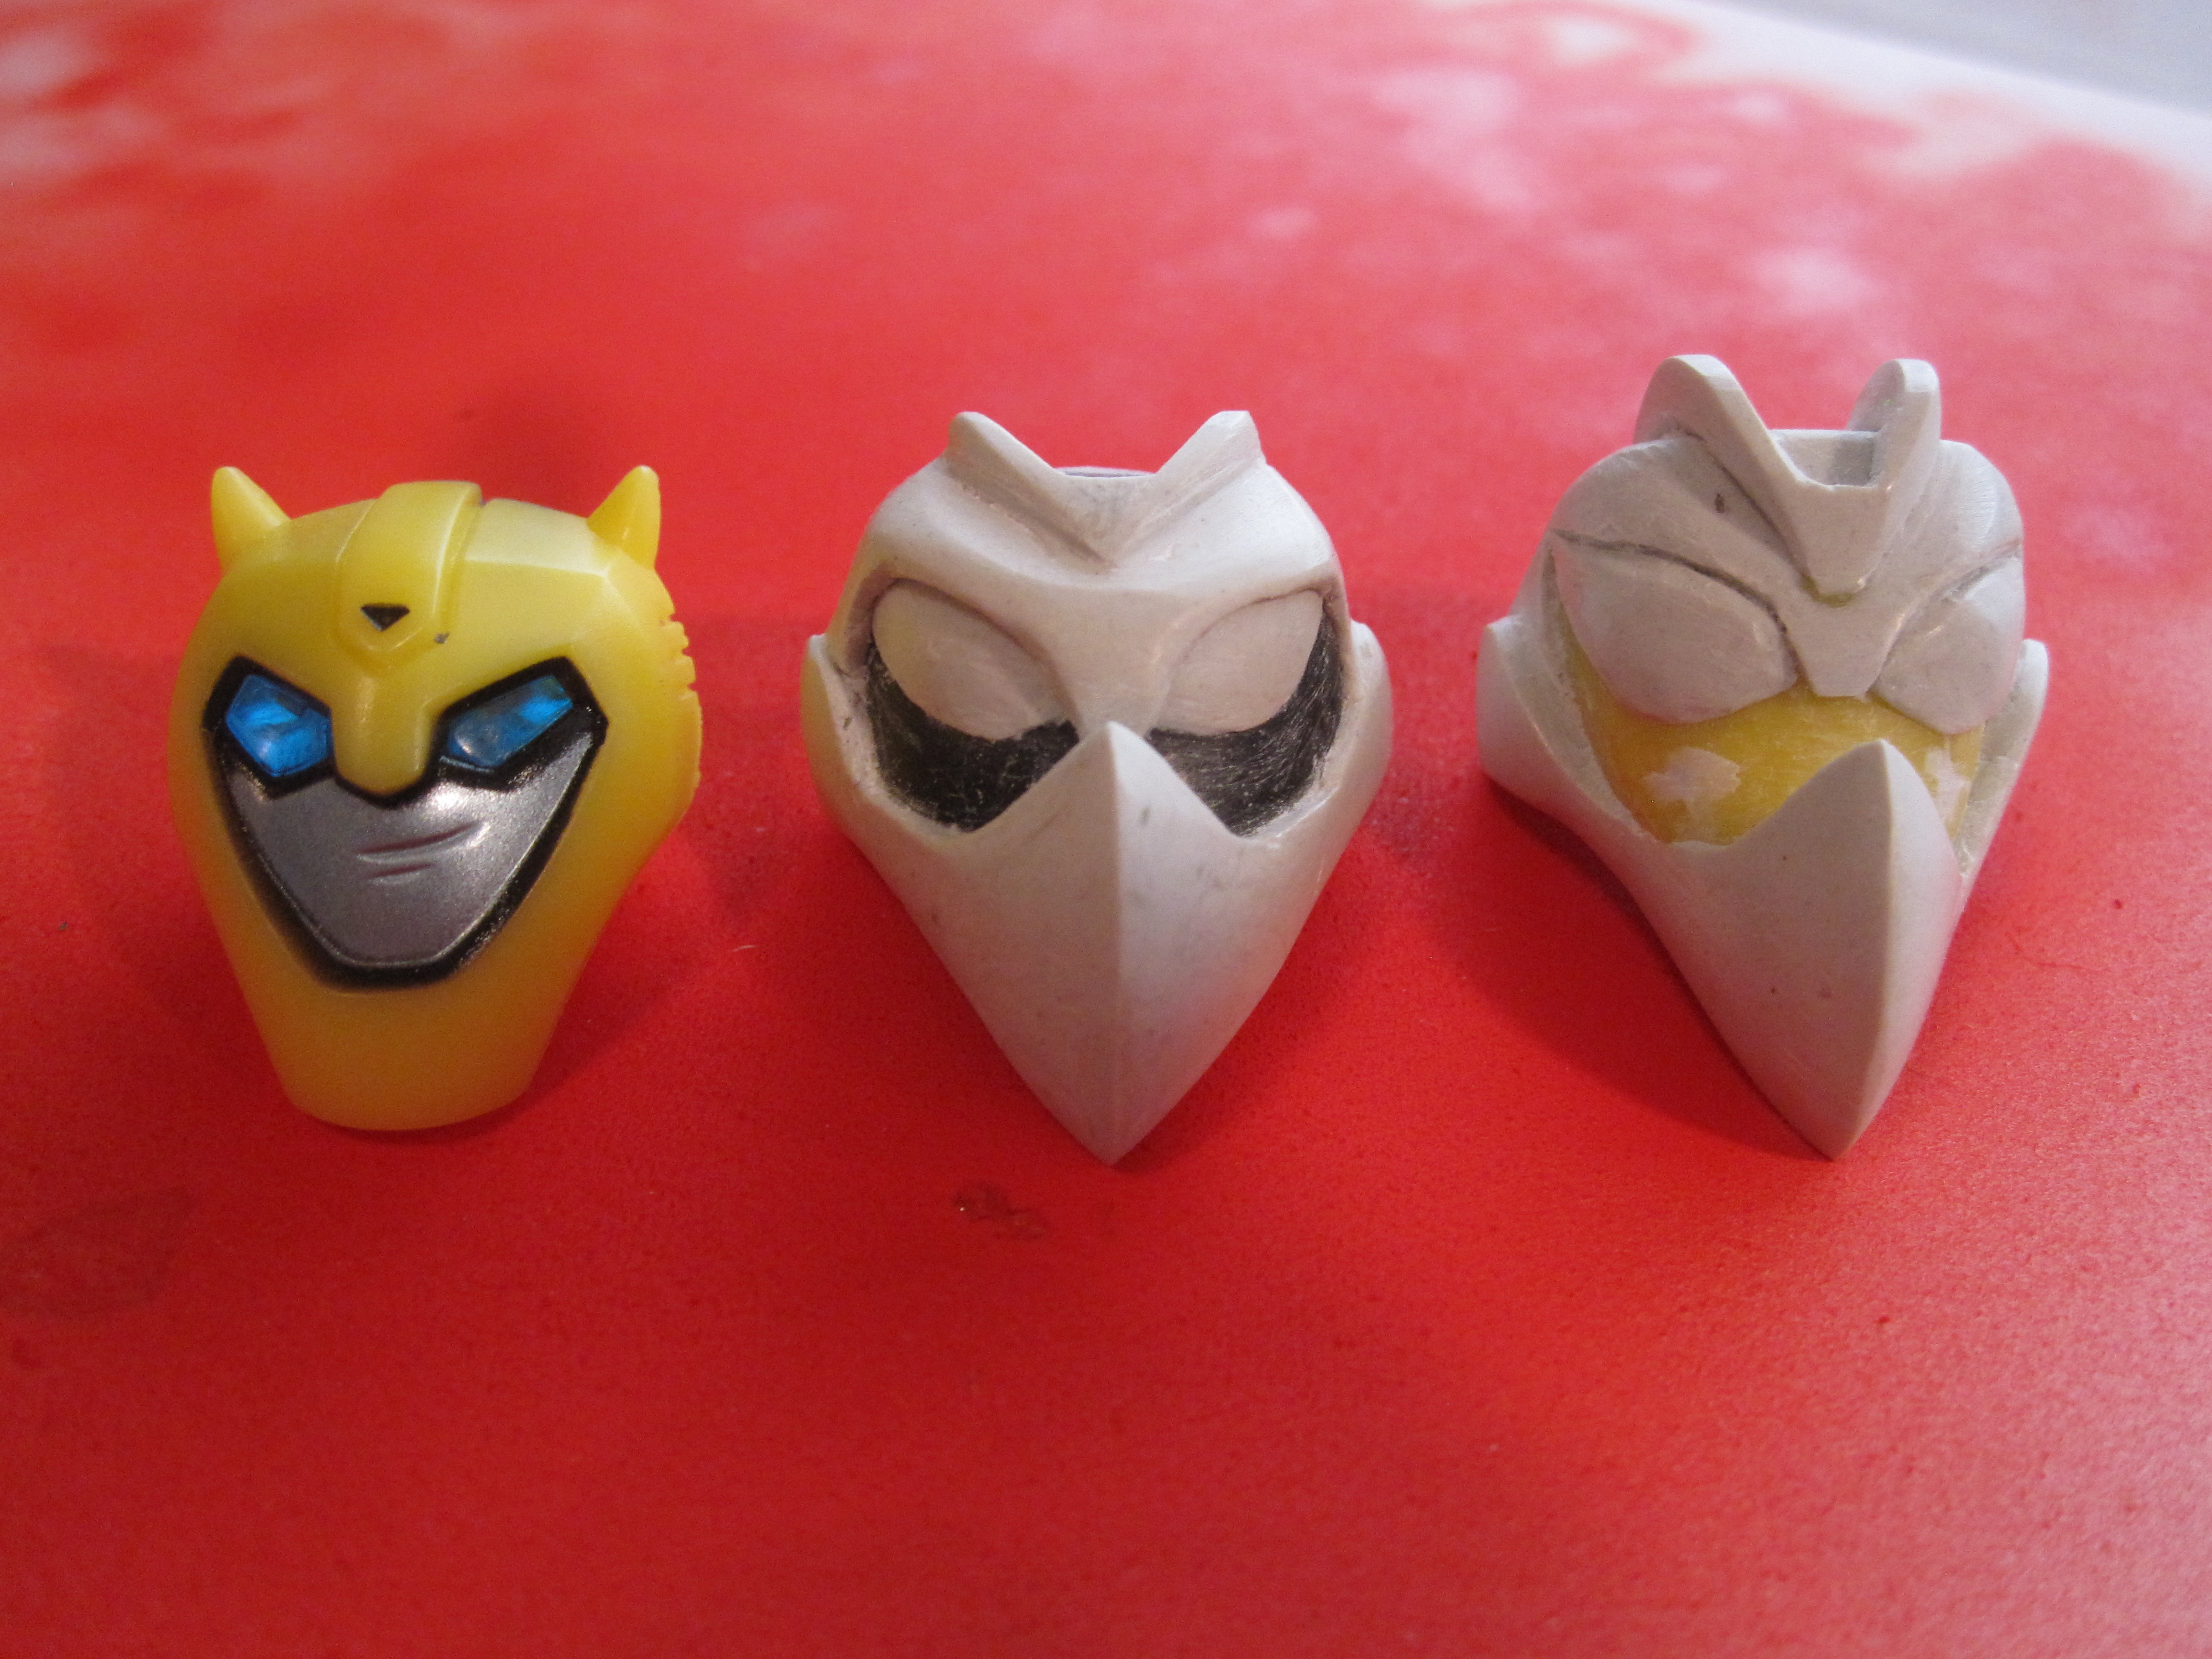
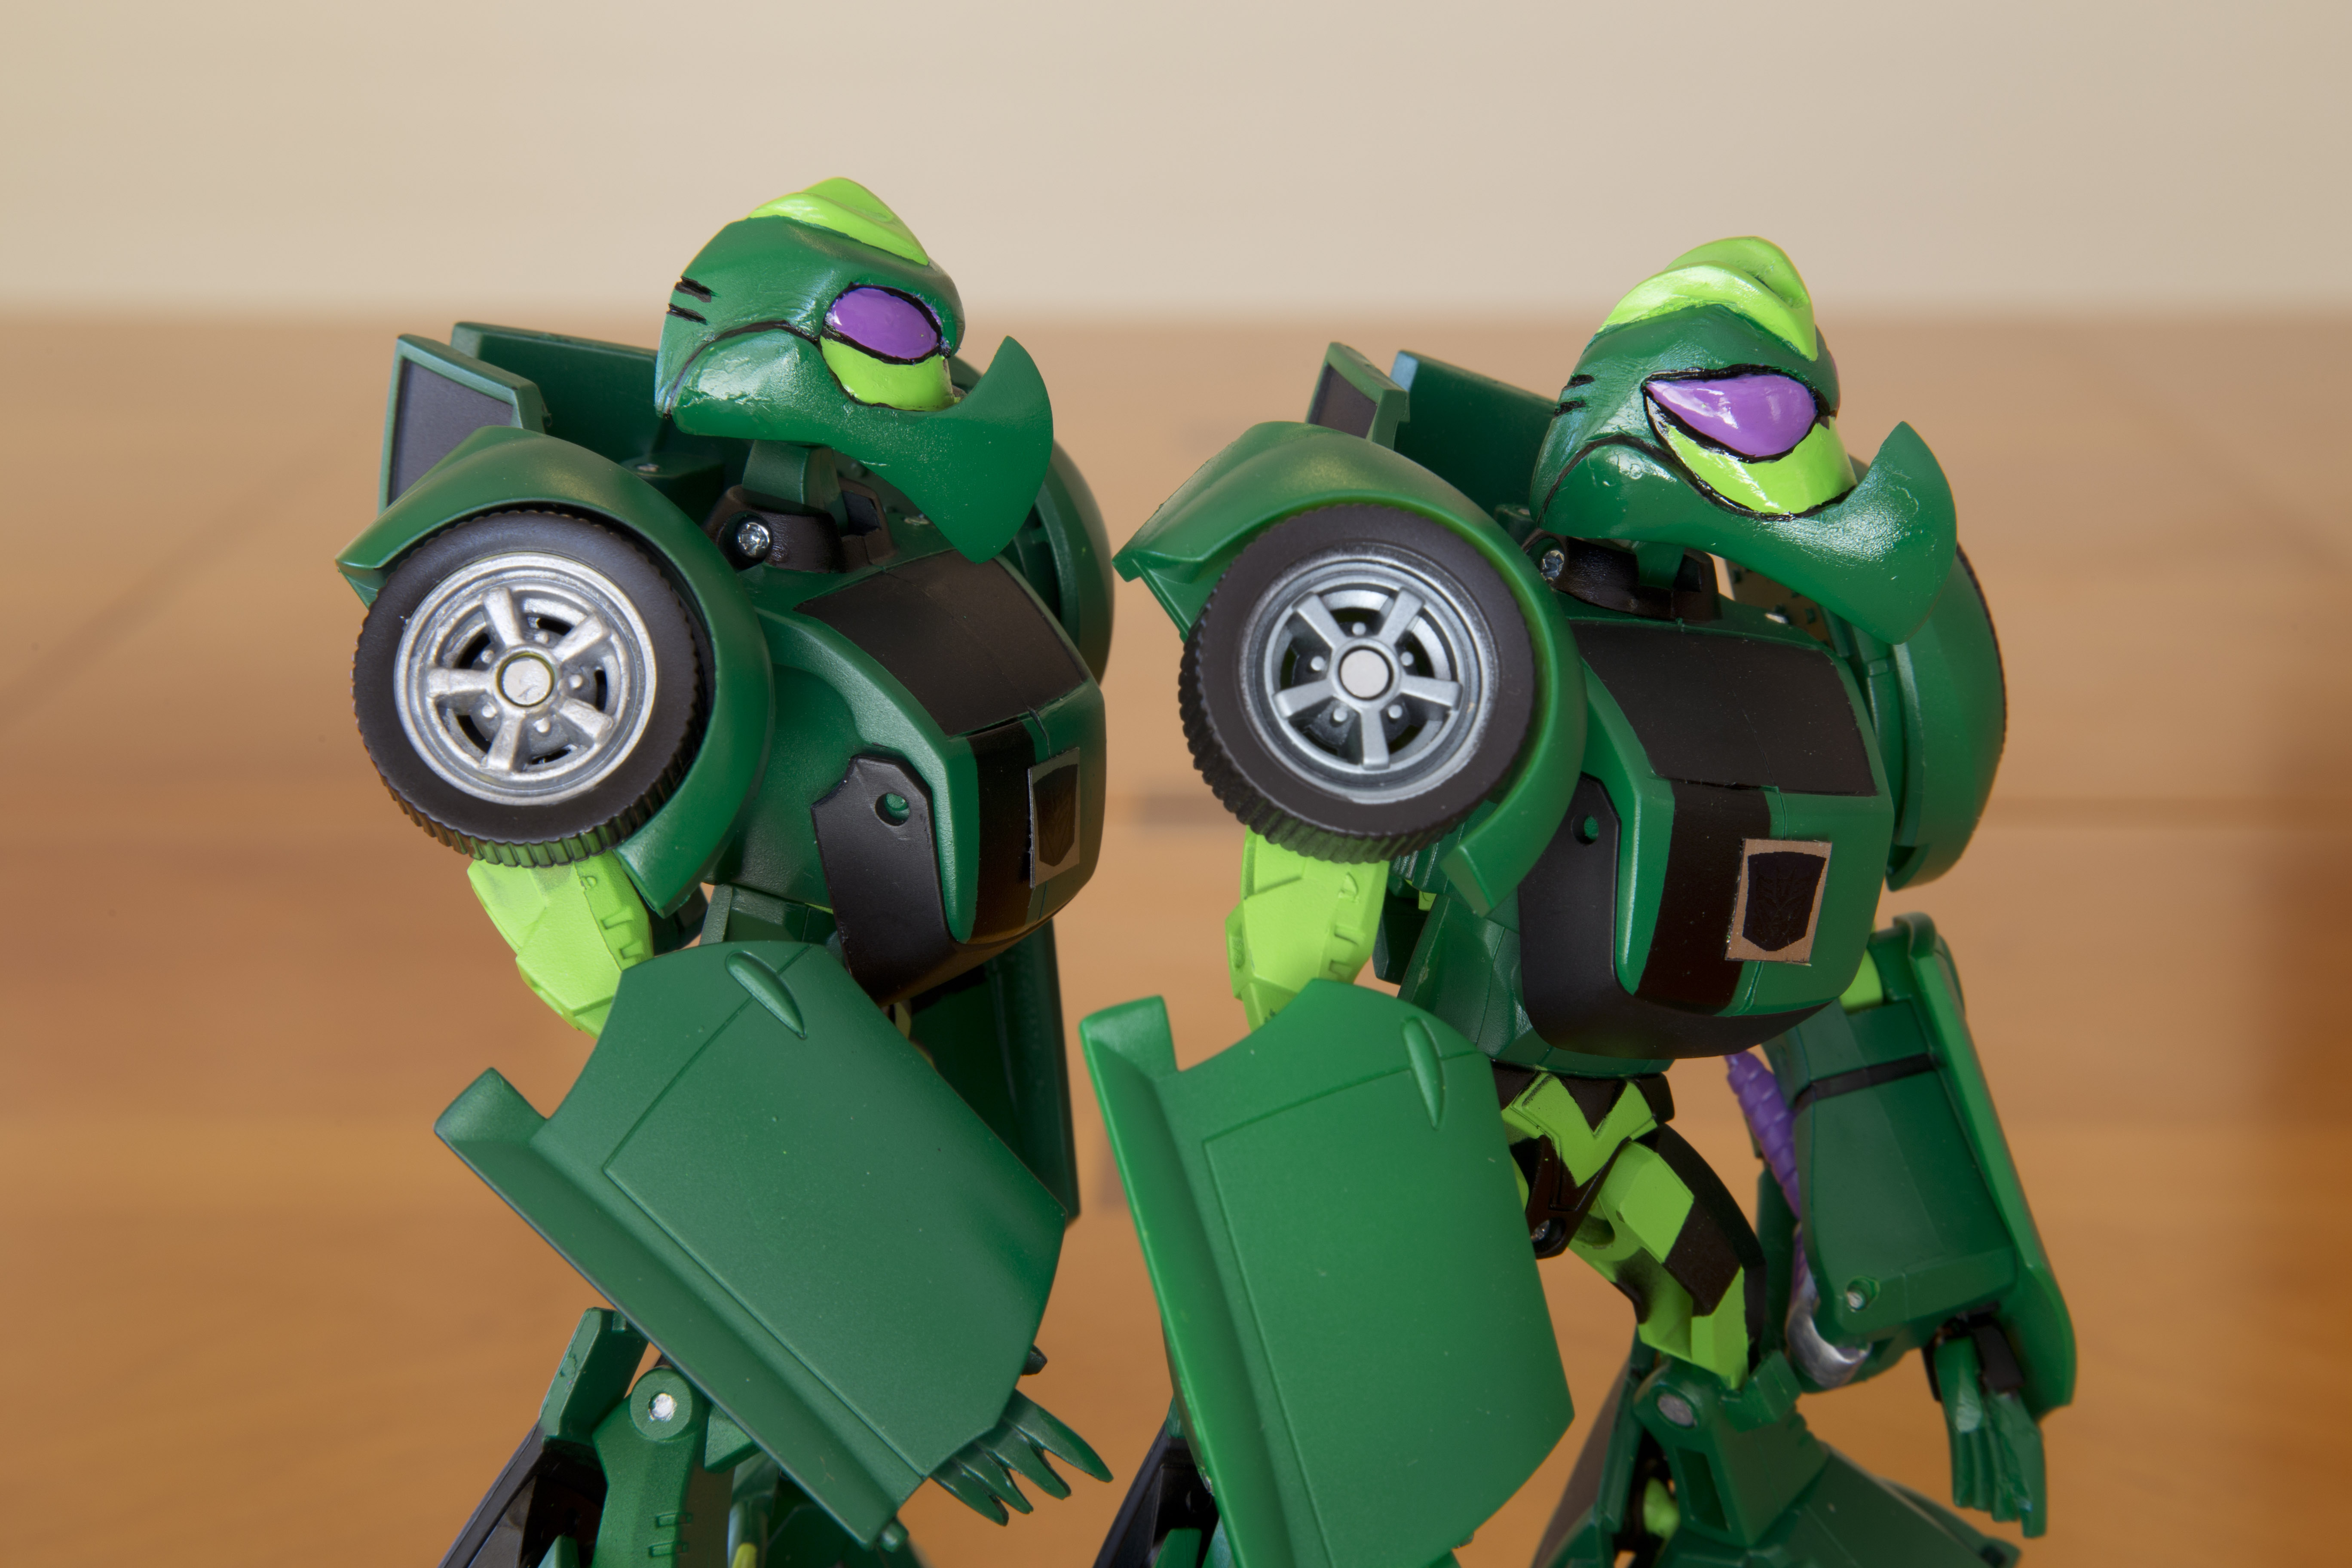
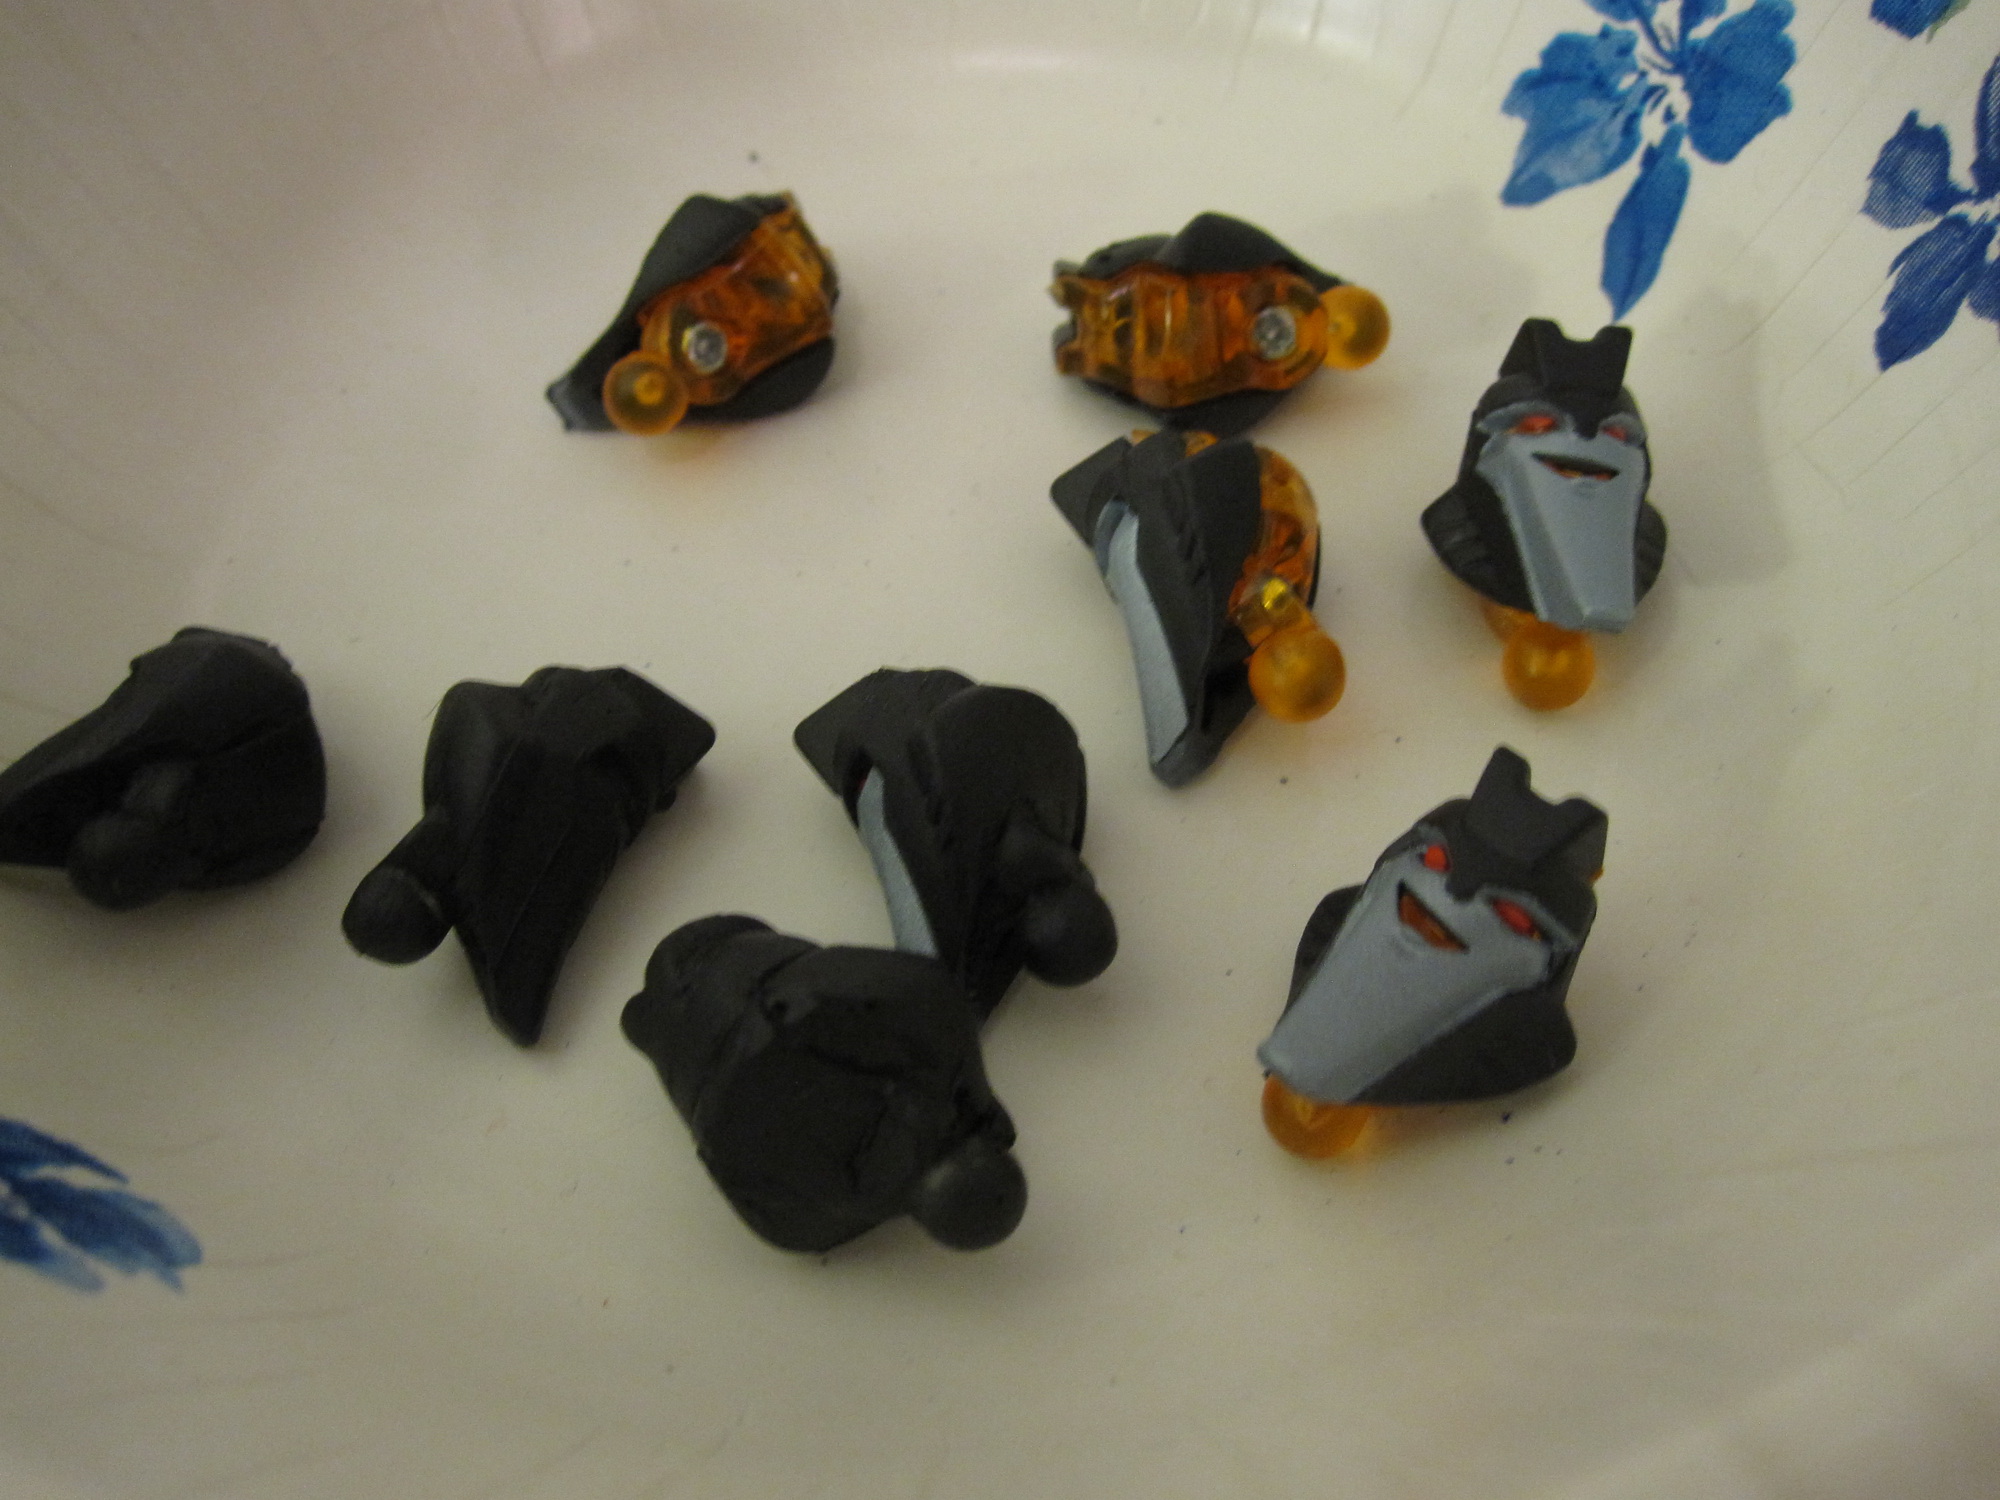
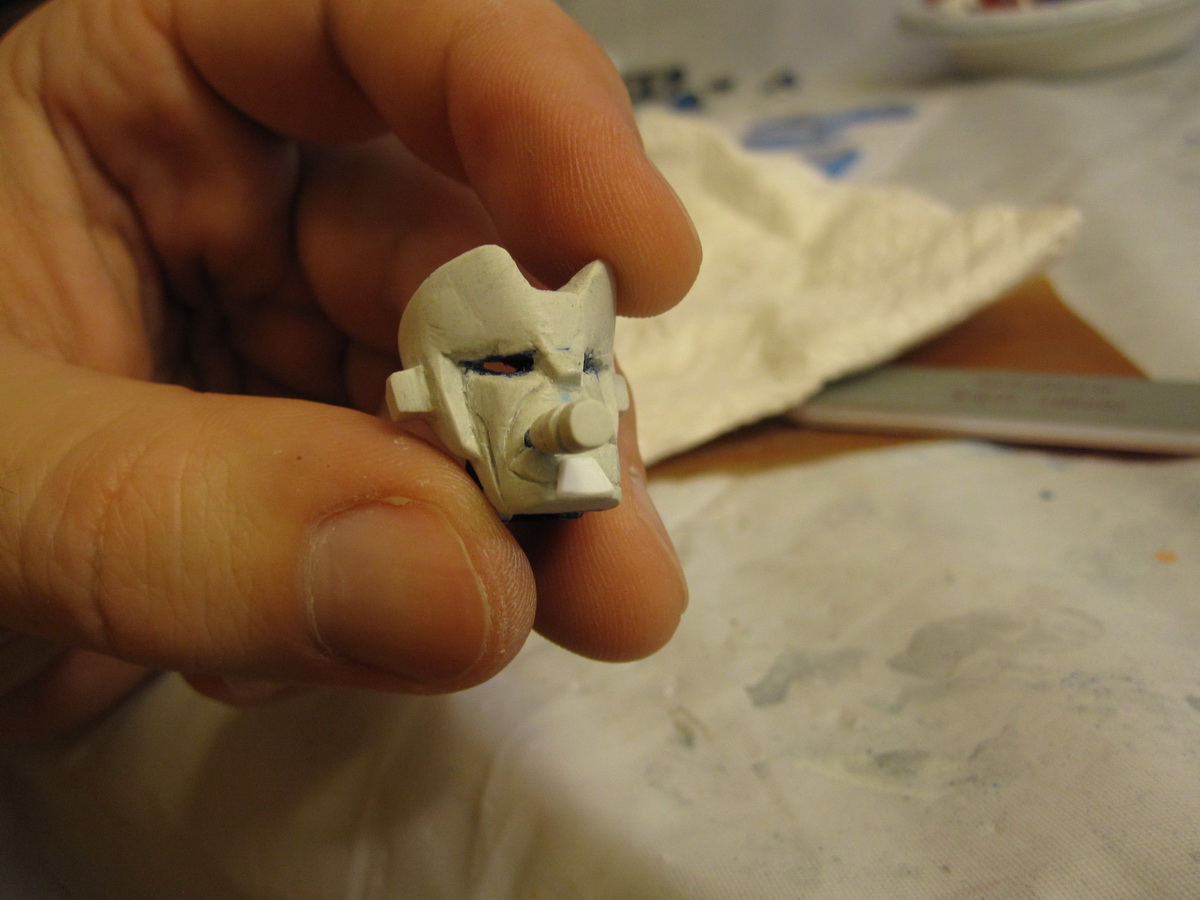
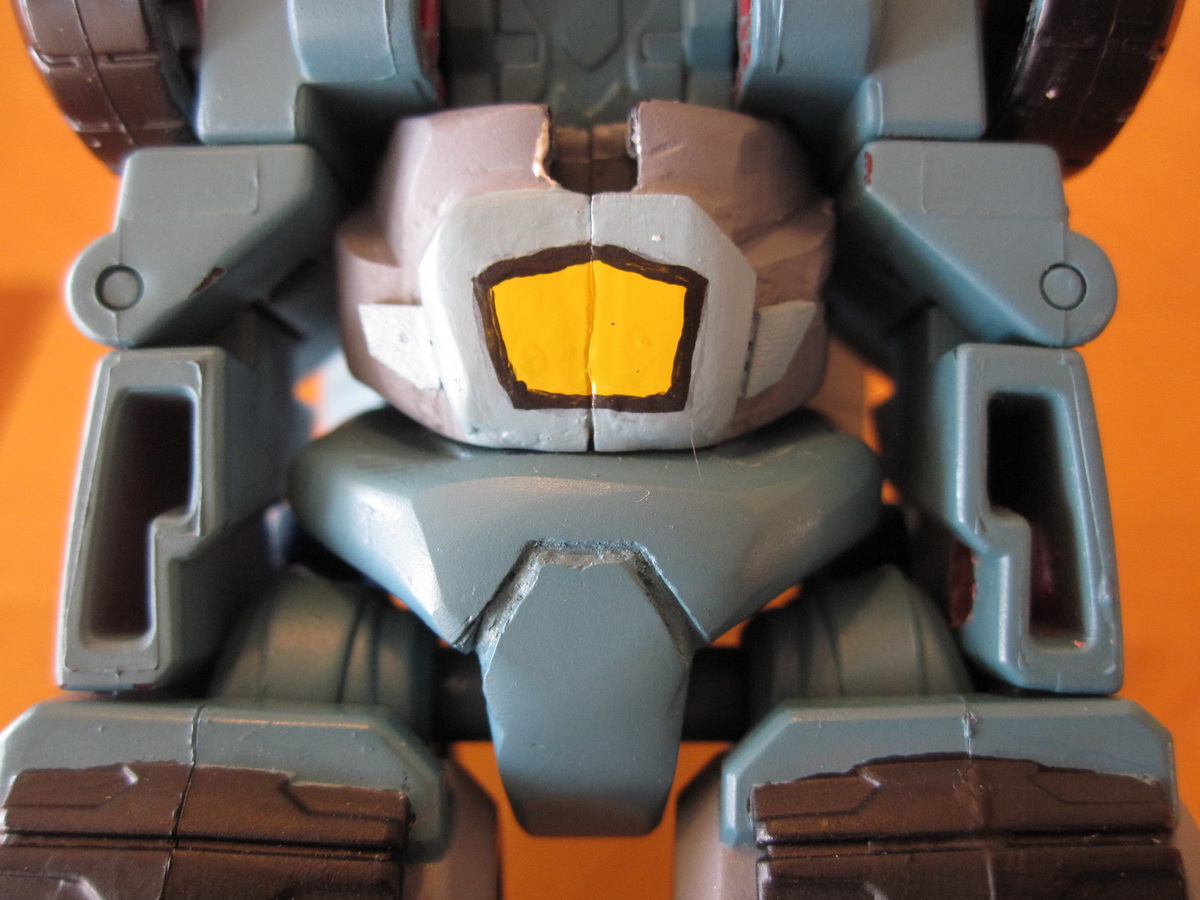
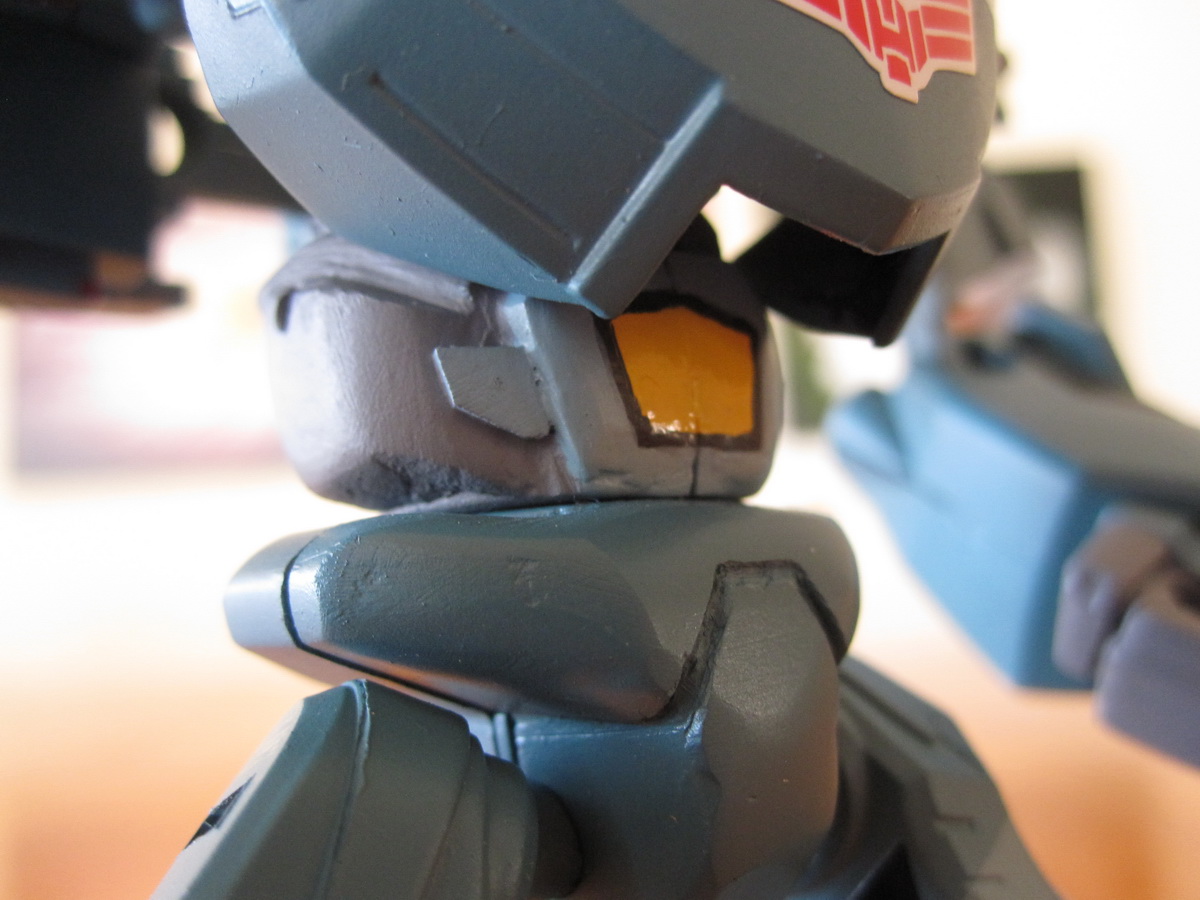
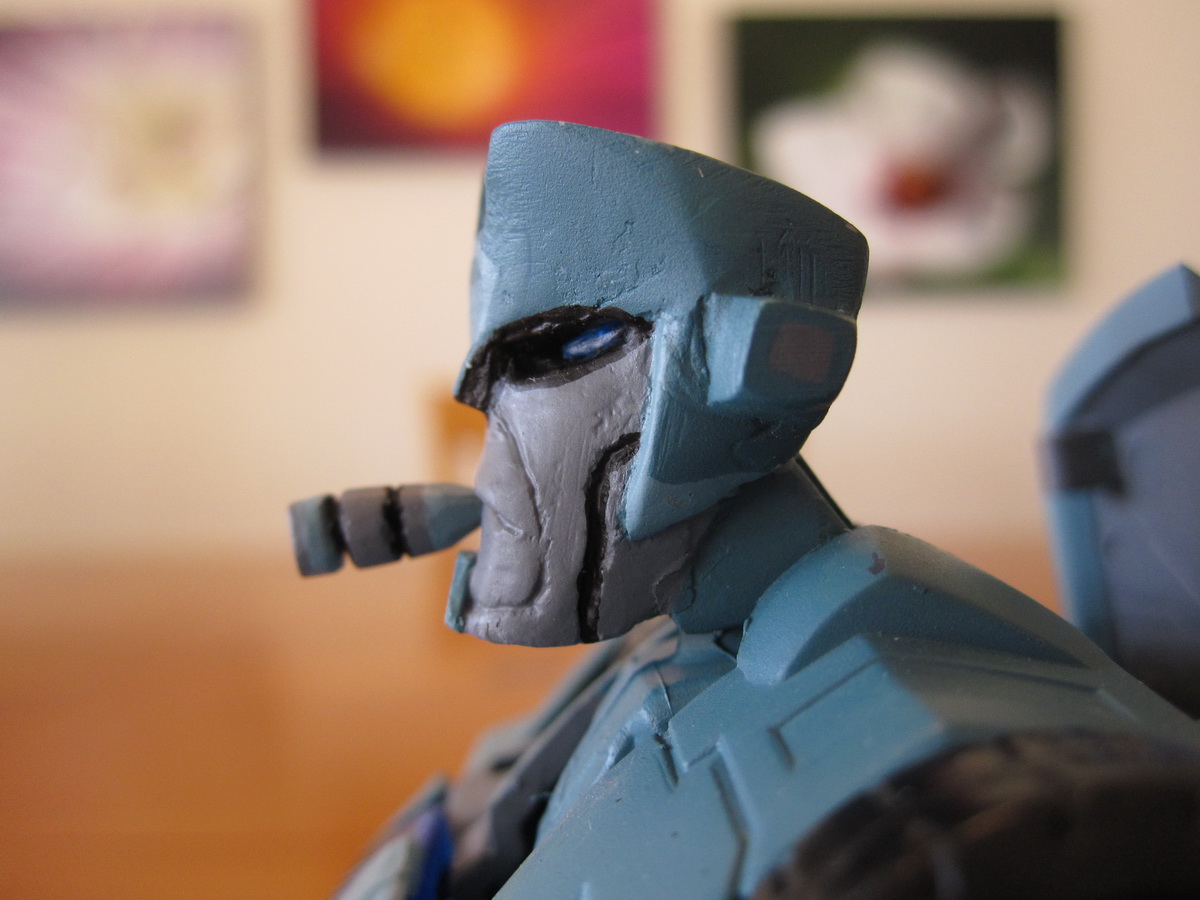
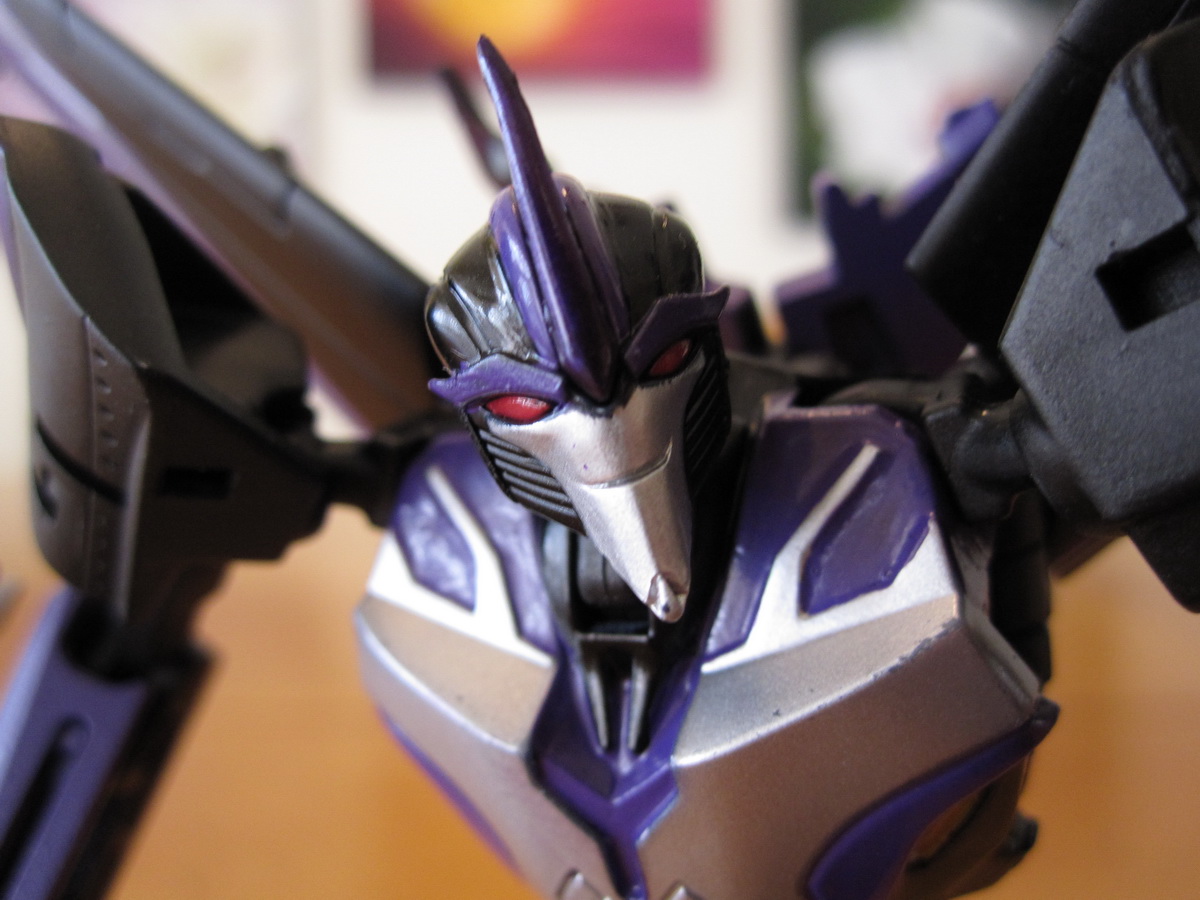
My initial intention was to try to keep the light piping from the original Bumblebee eyes as well. Unfortunately I realized that those eyes would have been too small, so I decided to go ahead and sculpt in some bug eyes in those cavities. But that meant since I already had the chin done, the eyes couldn’t be as big as I wanted.
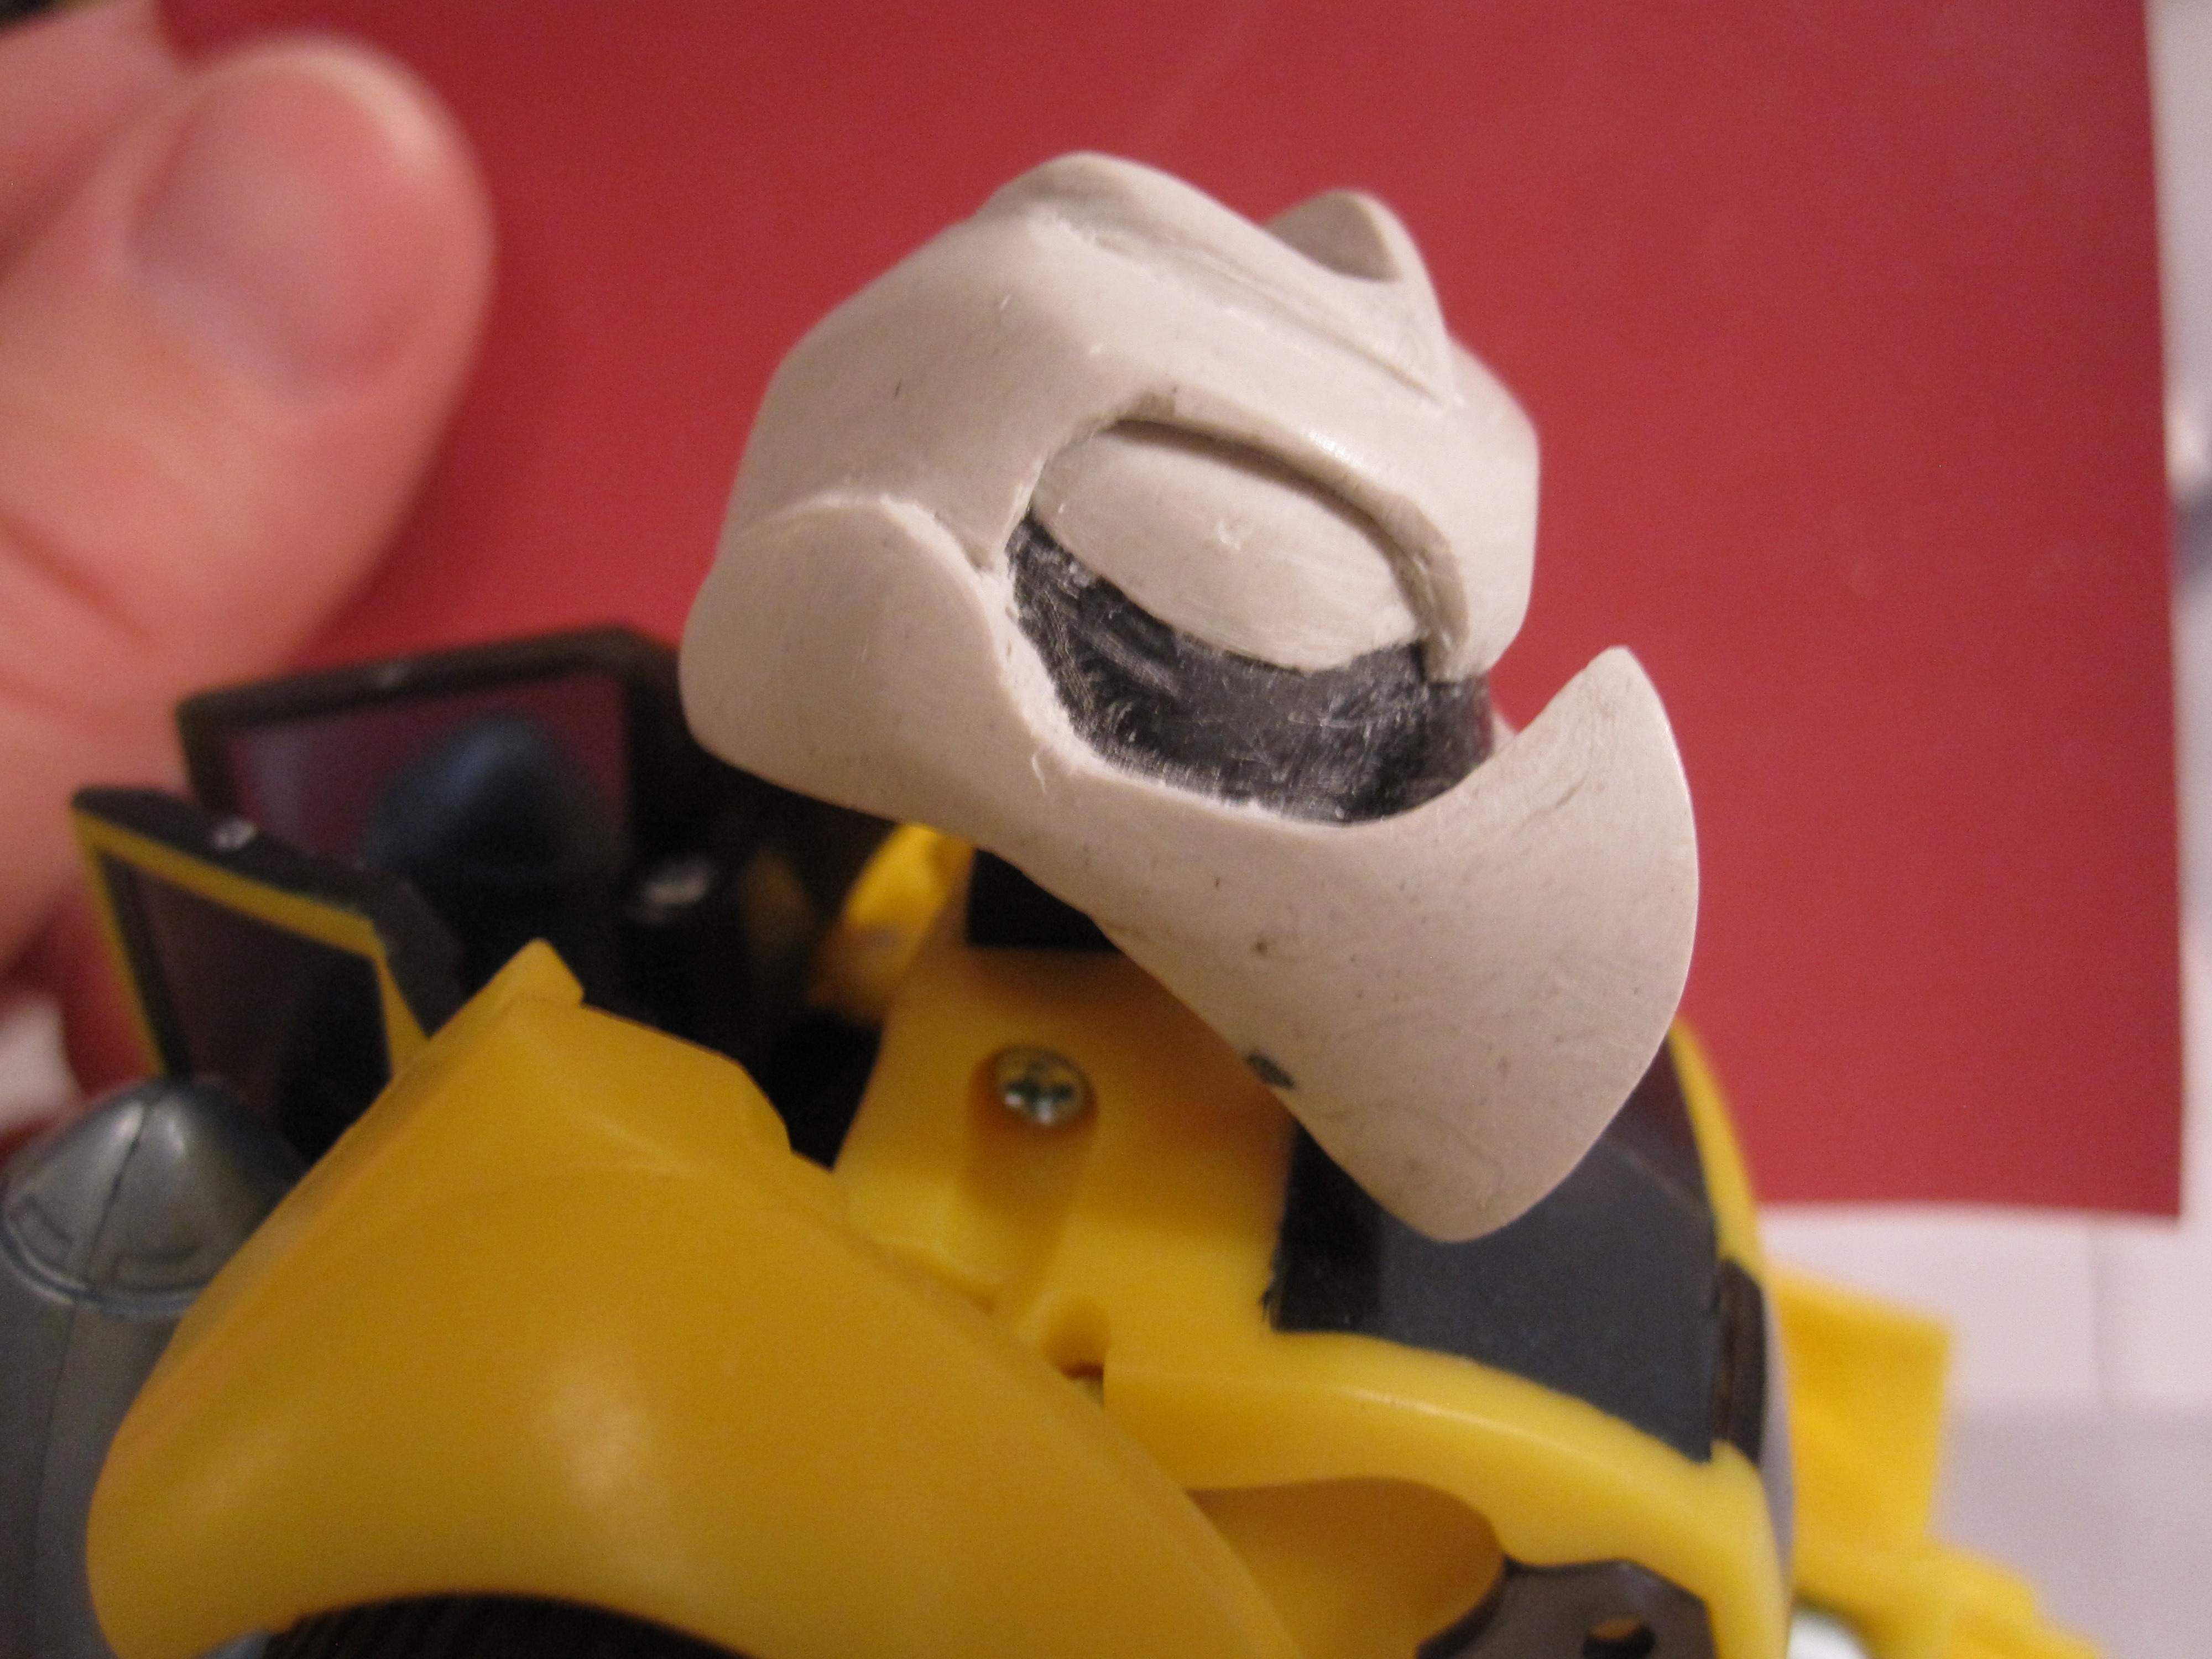
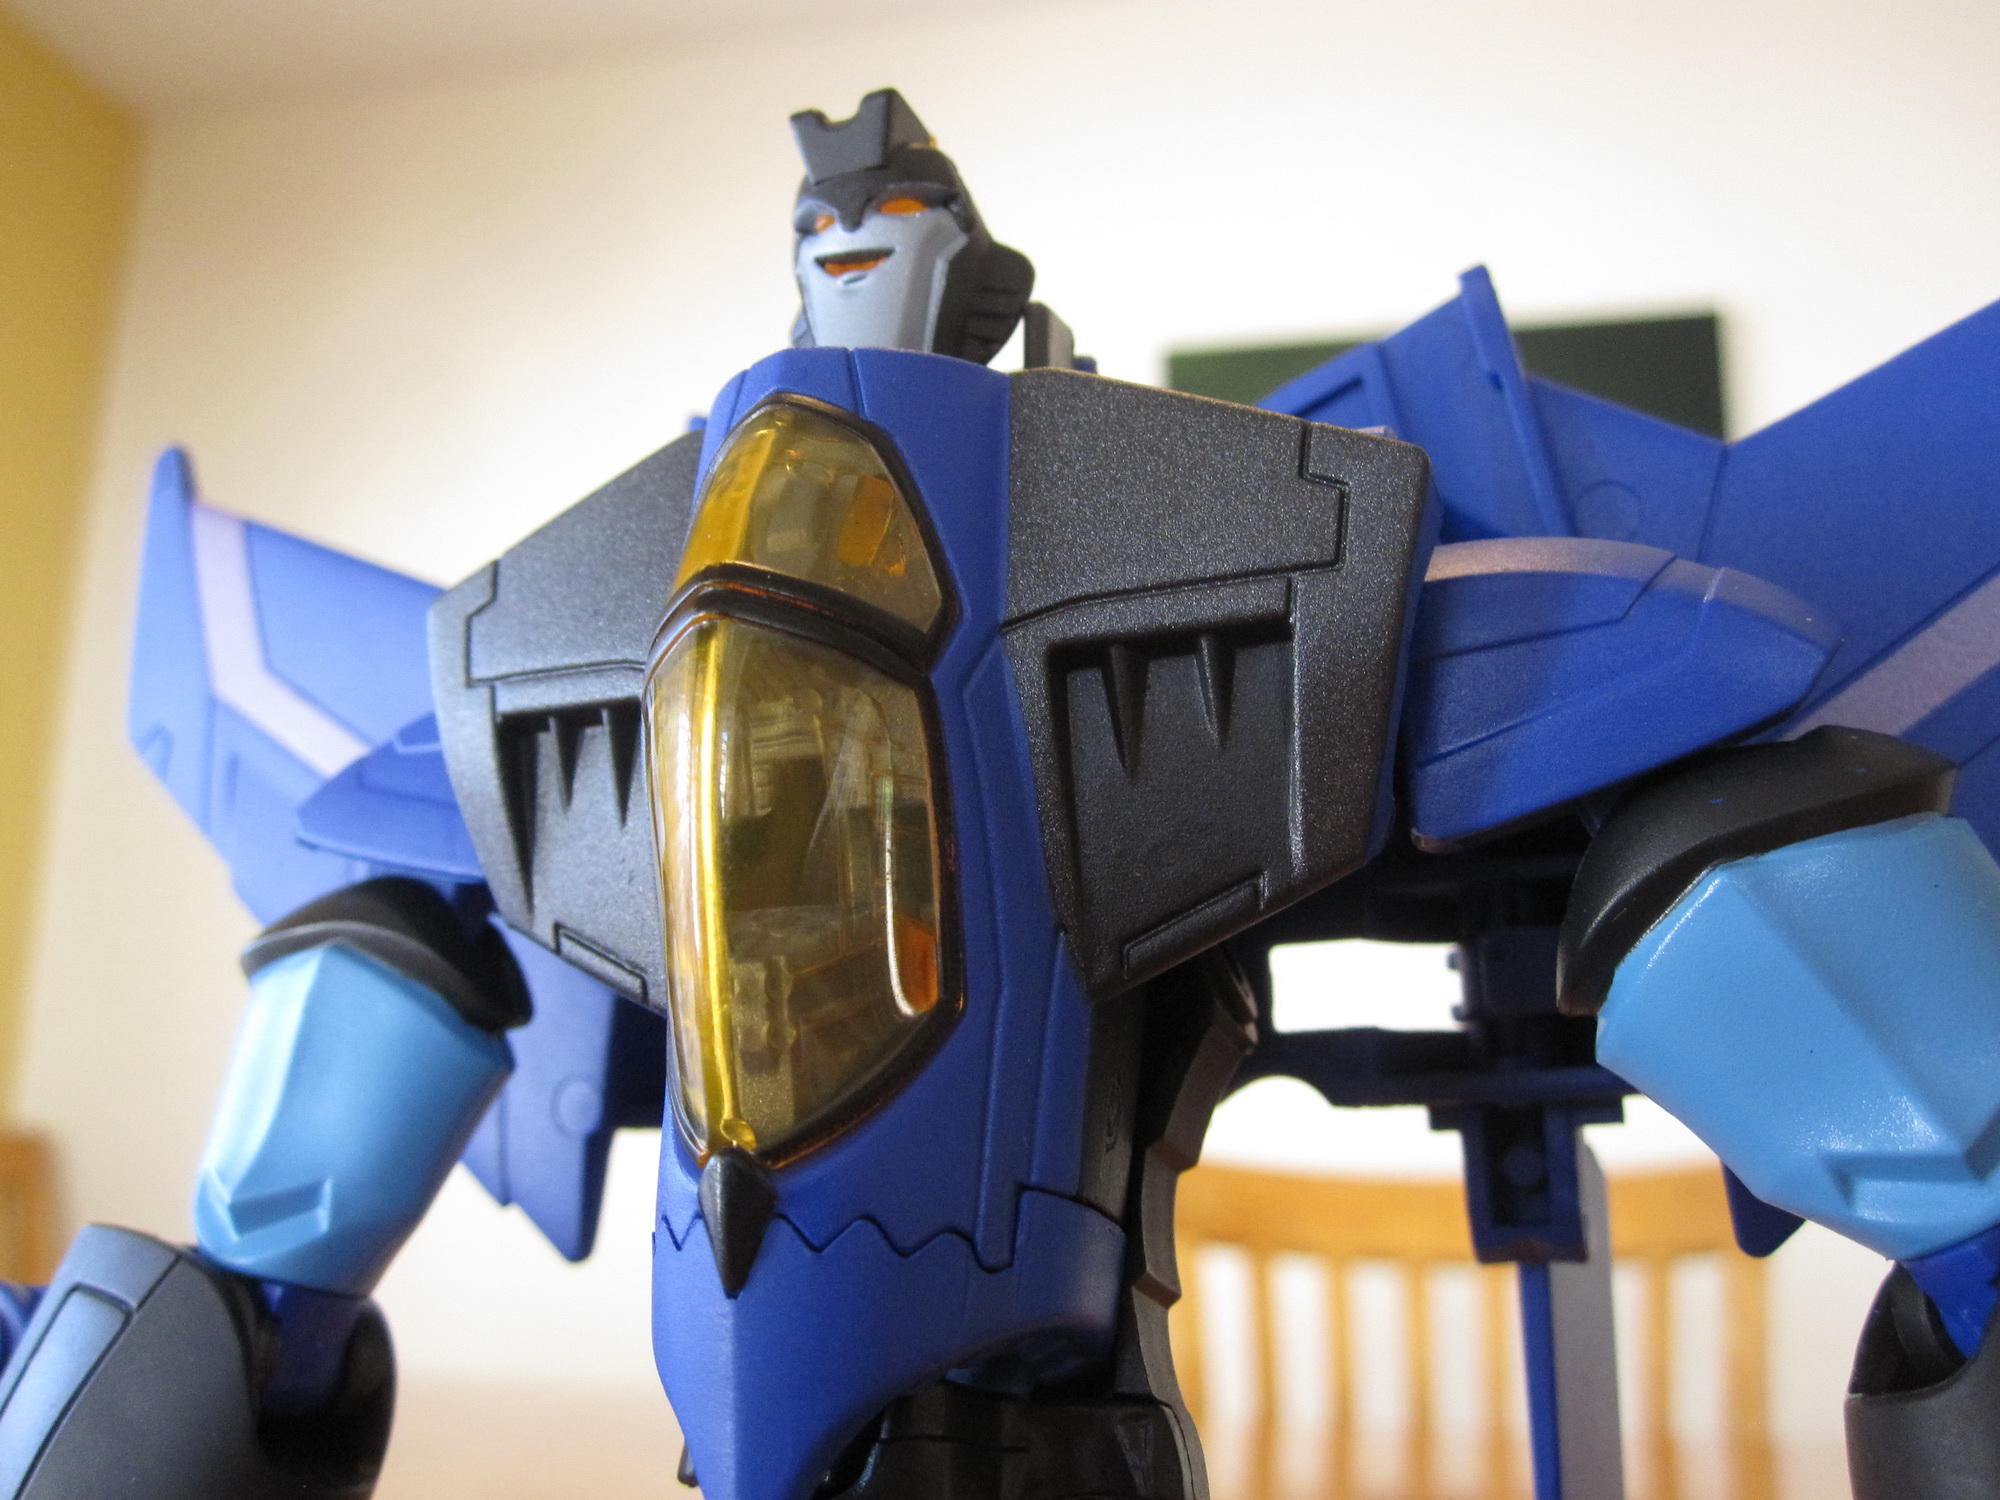
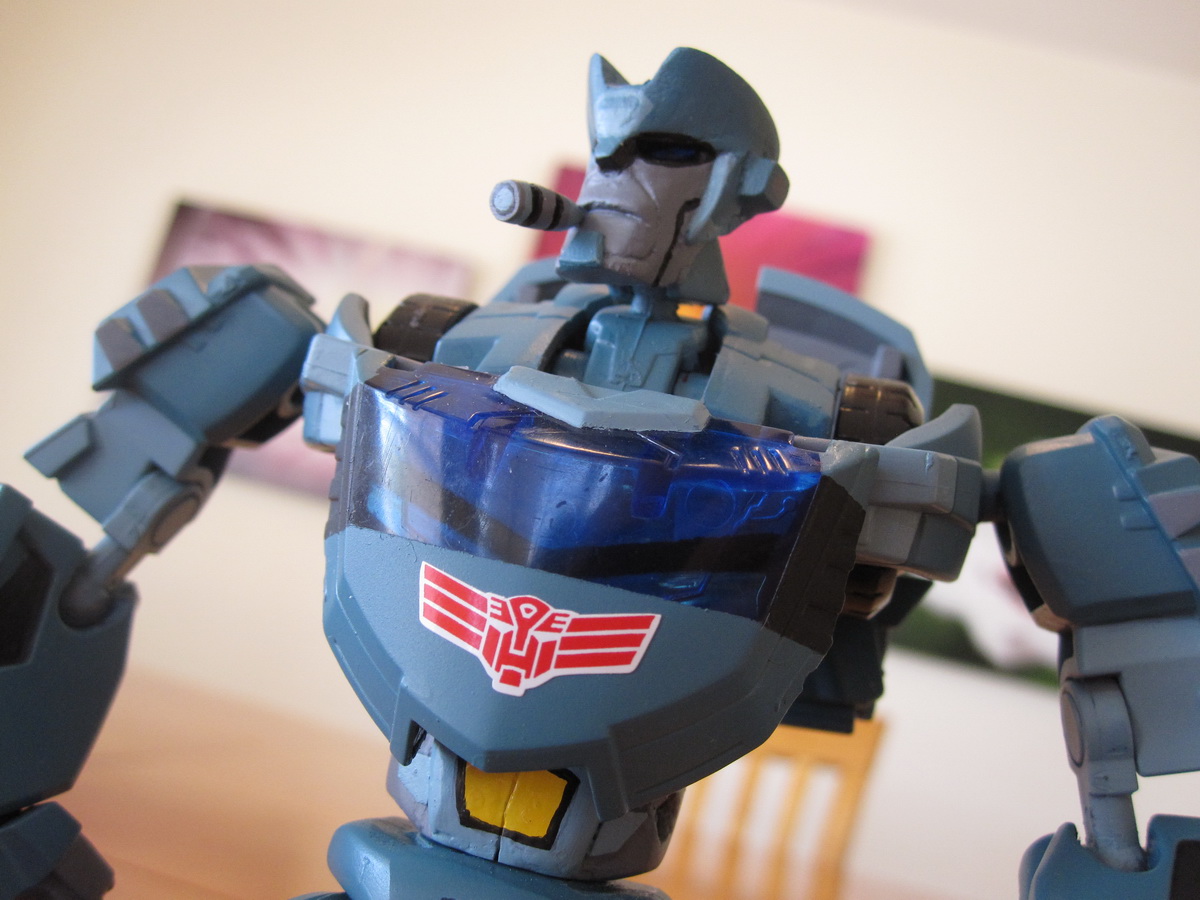
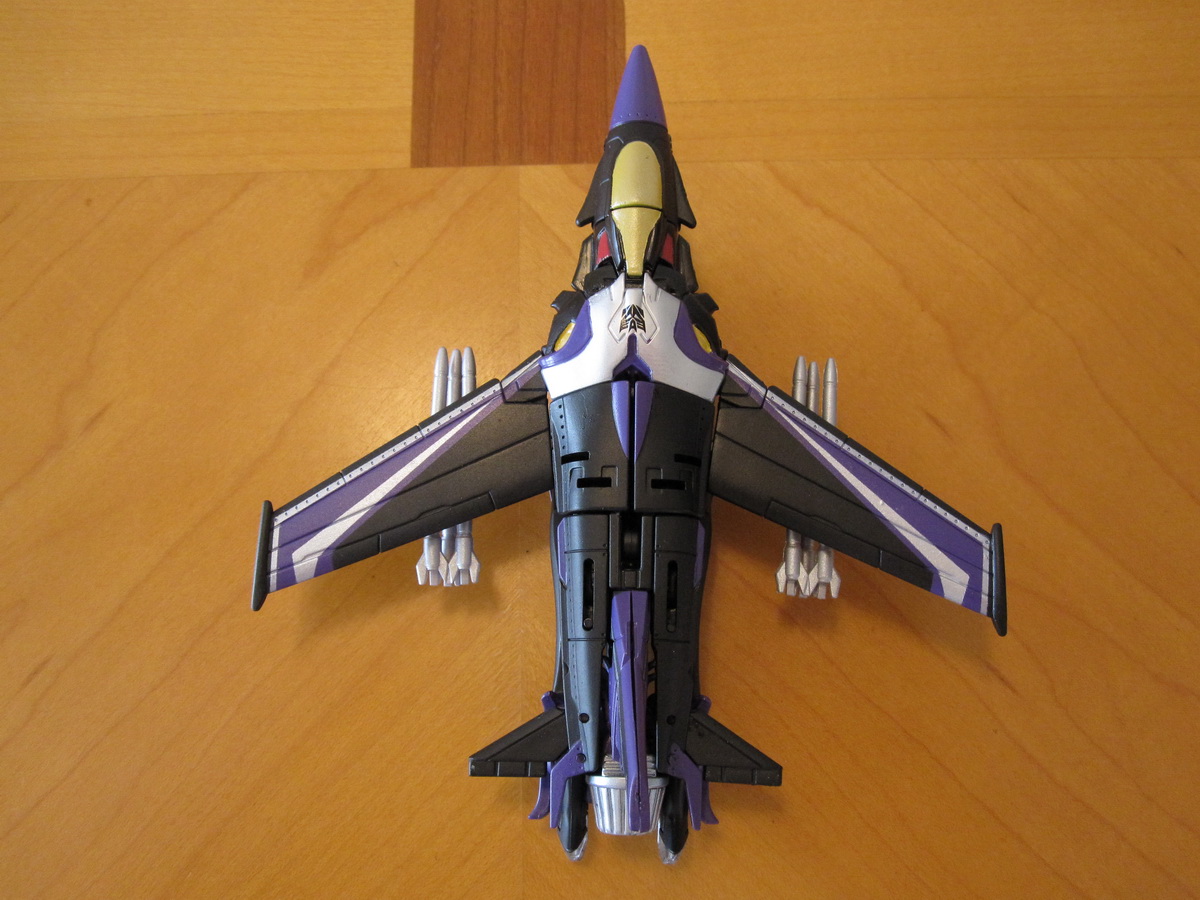
At least I could add a pretty menacing brow above the eyes, and I really like that feature. I also added to his chin/cheeks so that the mandible would be a bit more distinct. Finally, I tweaked the “antenna” shape on his head and sanded it all down. Test fitting it on the loose Bumblebee I had looked good, and I found that the new head did transform fine in vehicle mode.
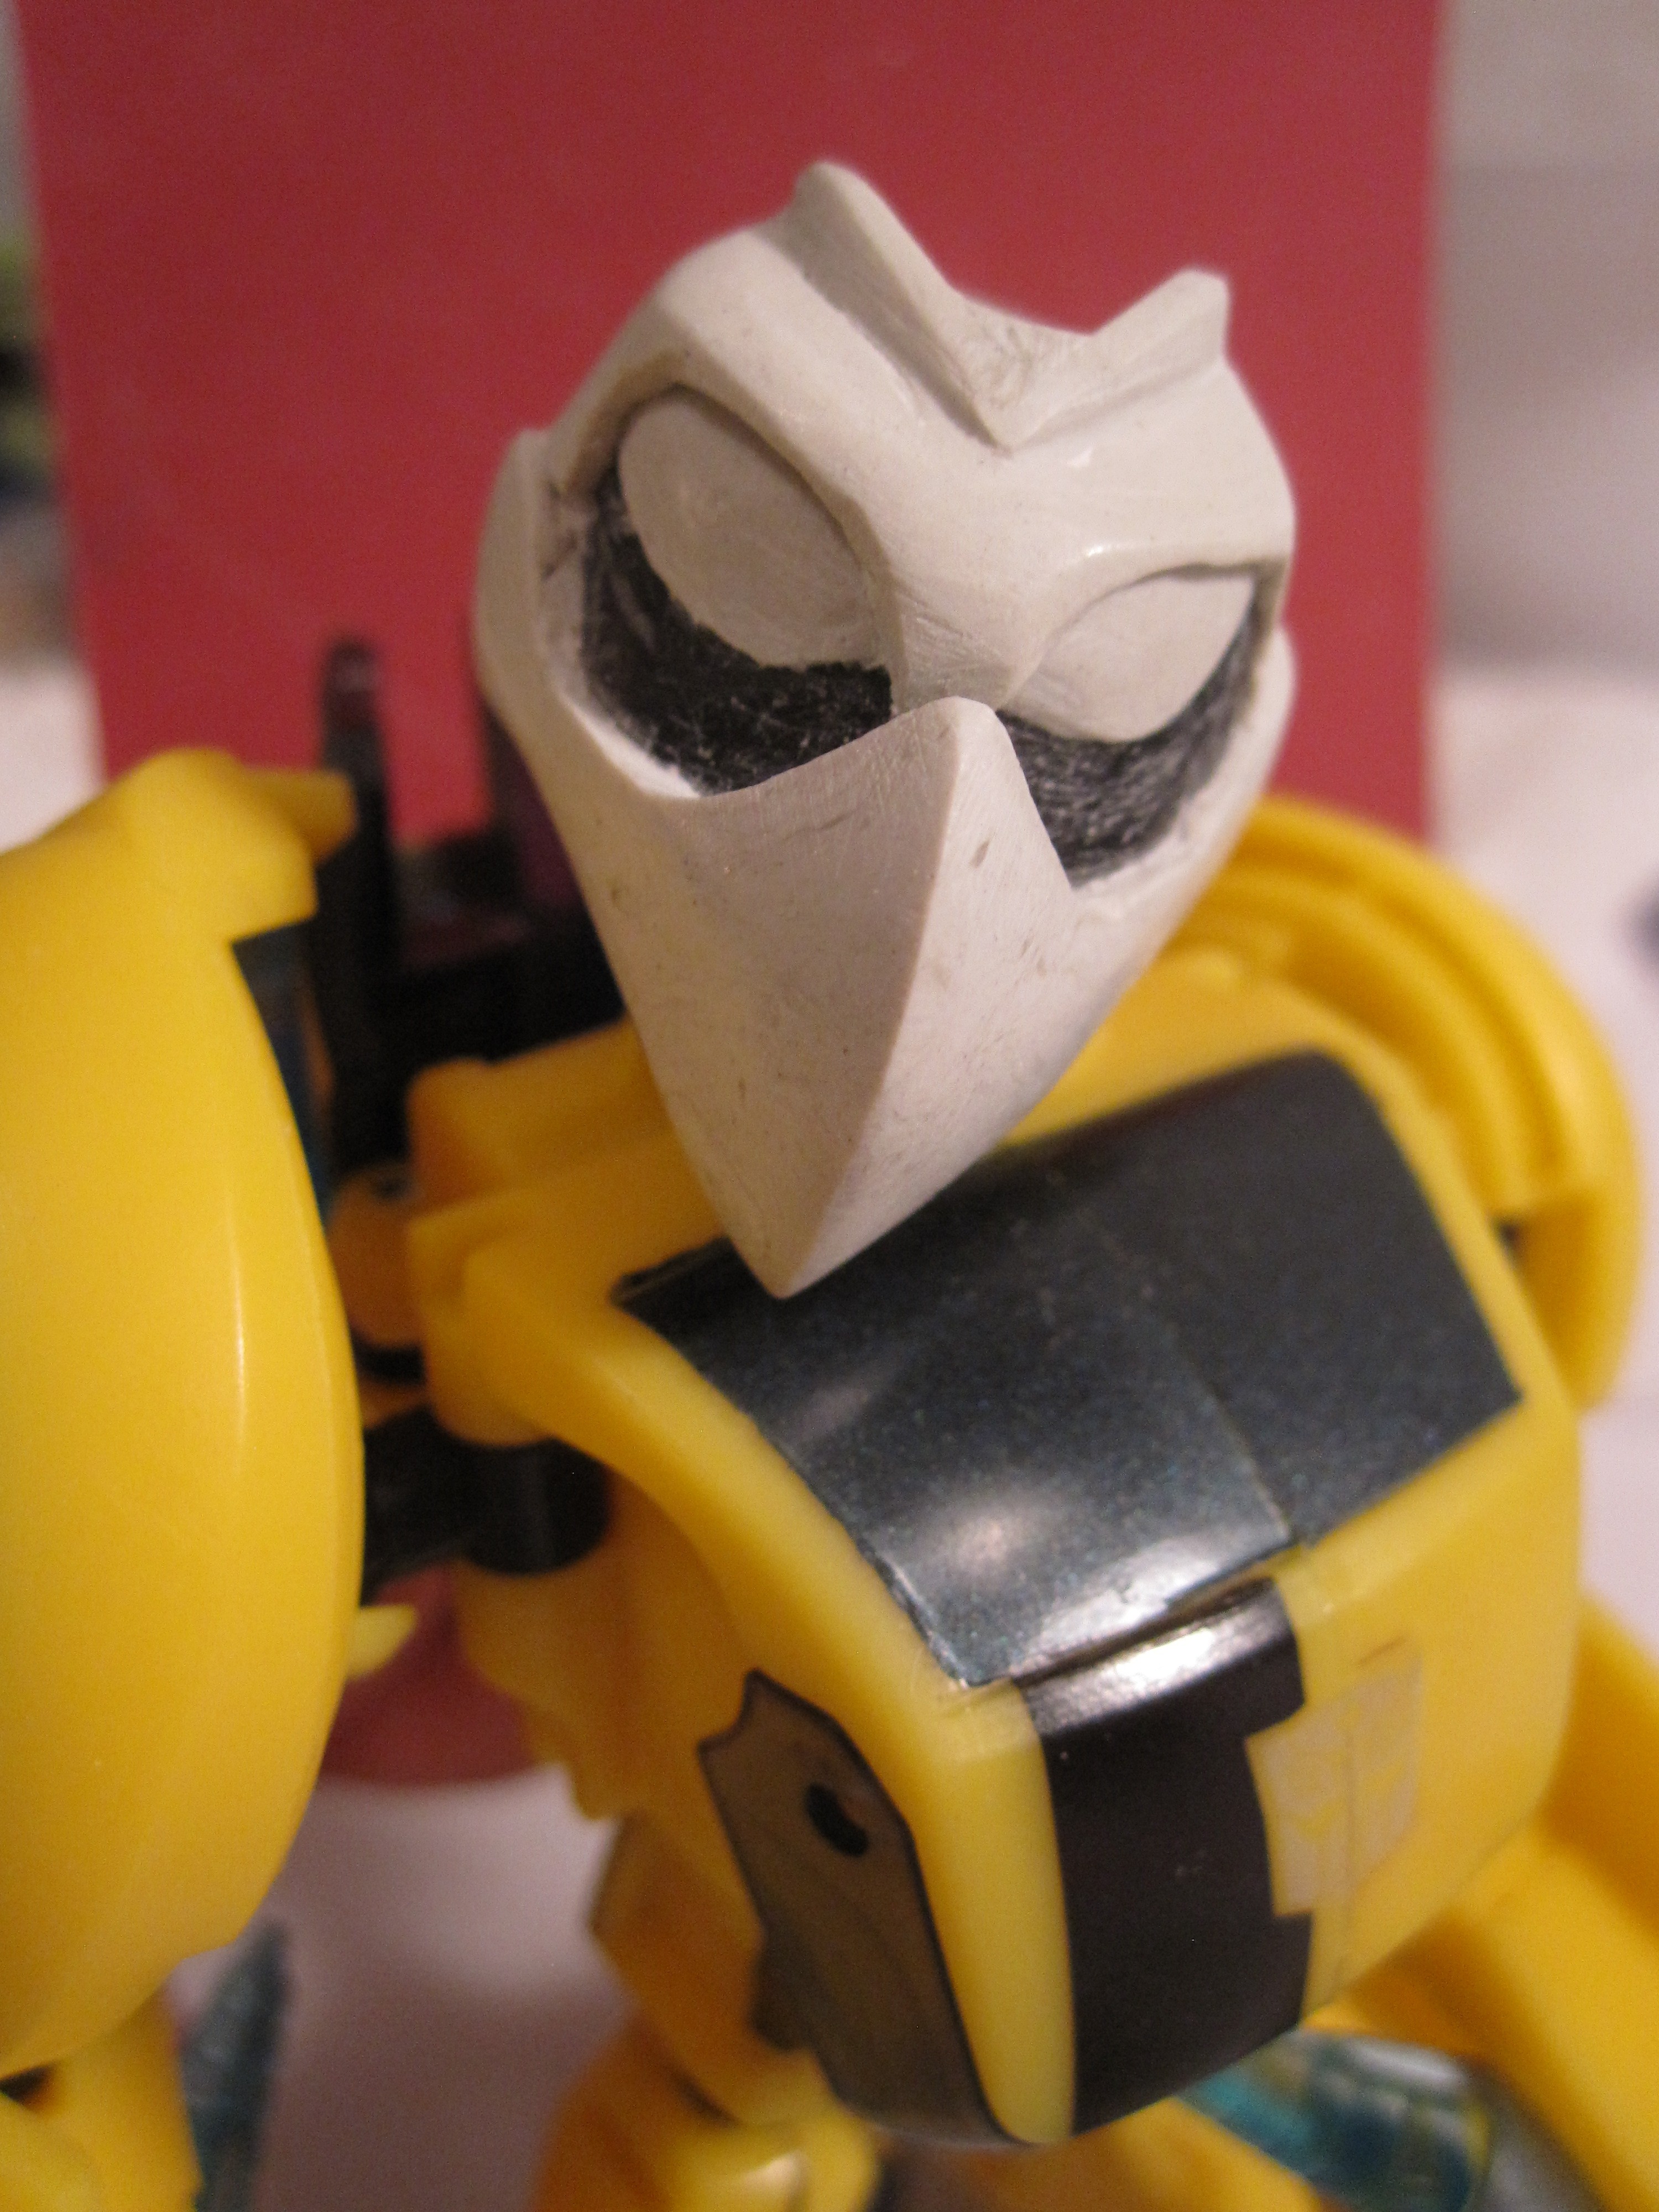
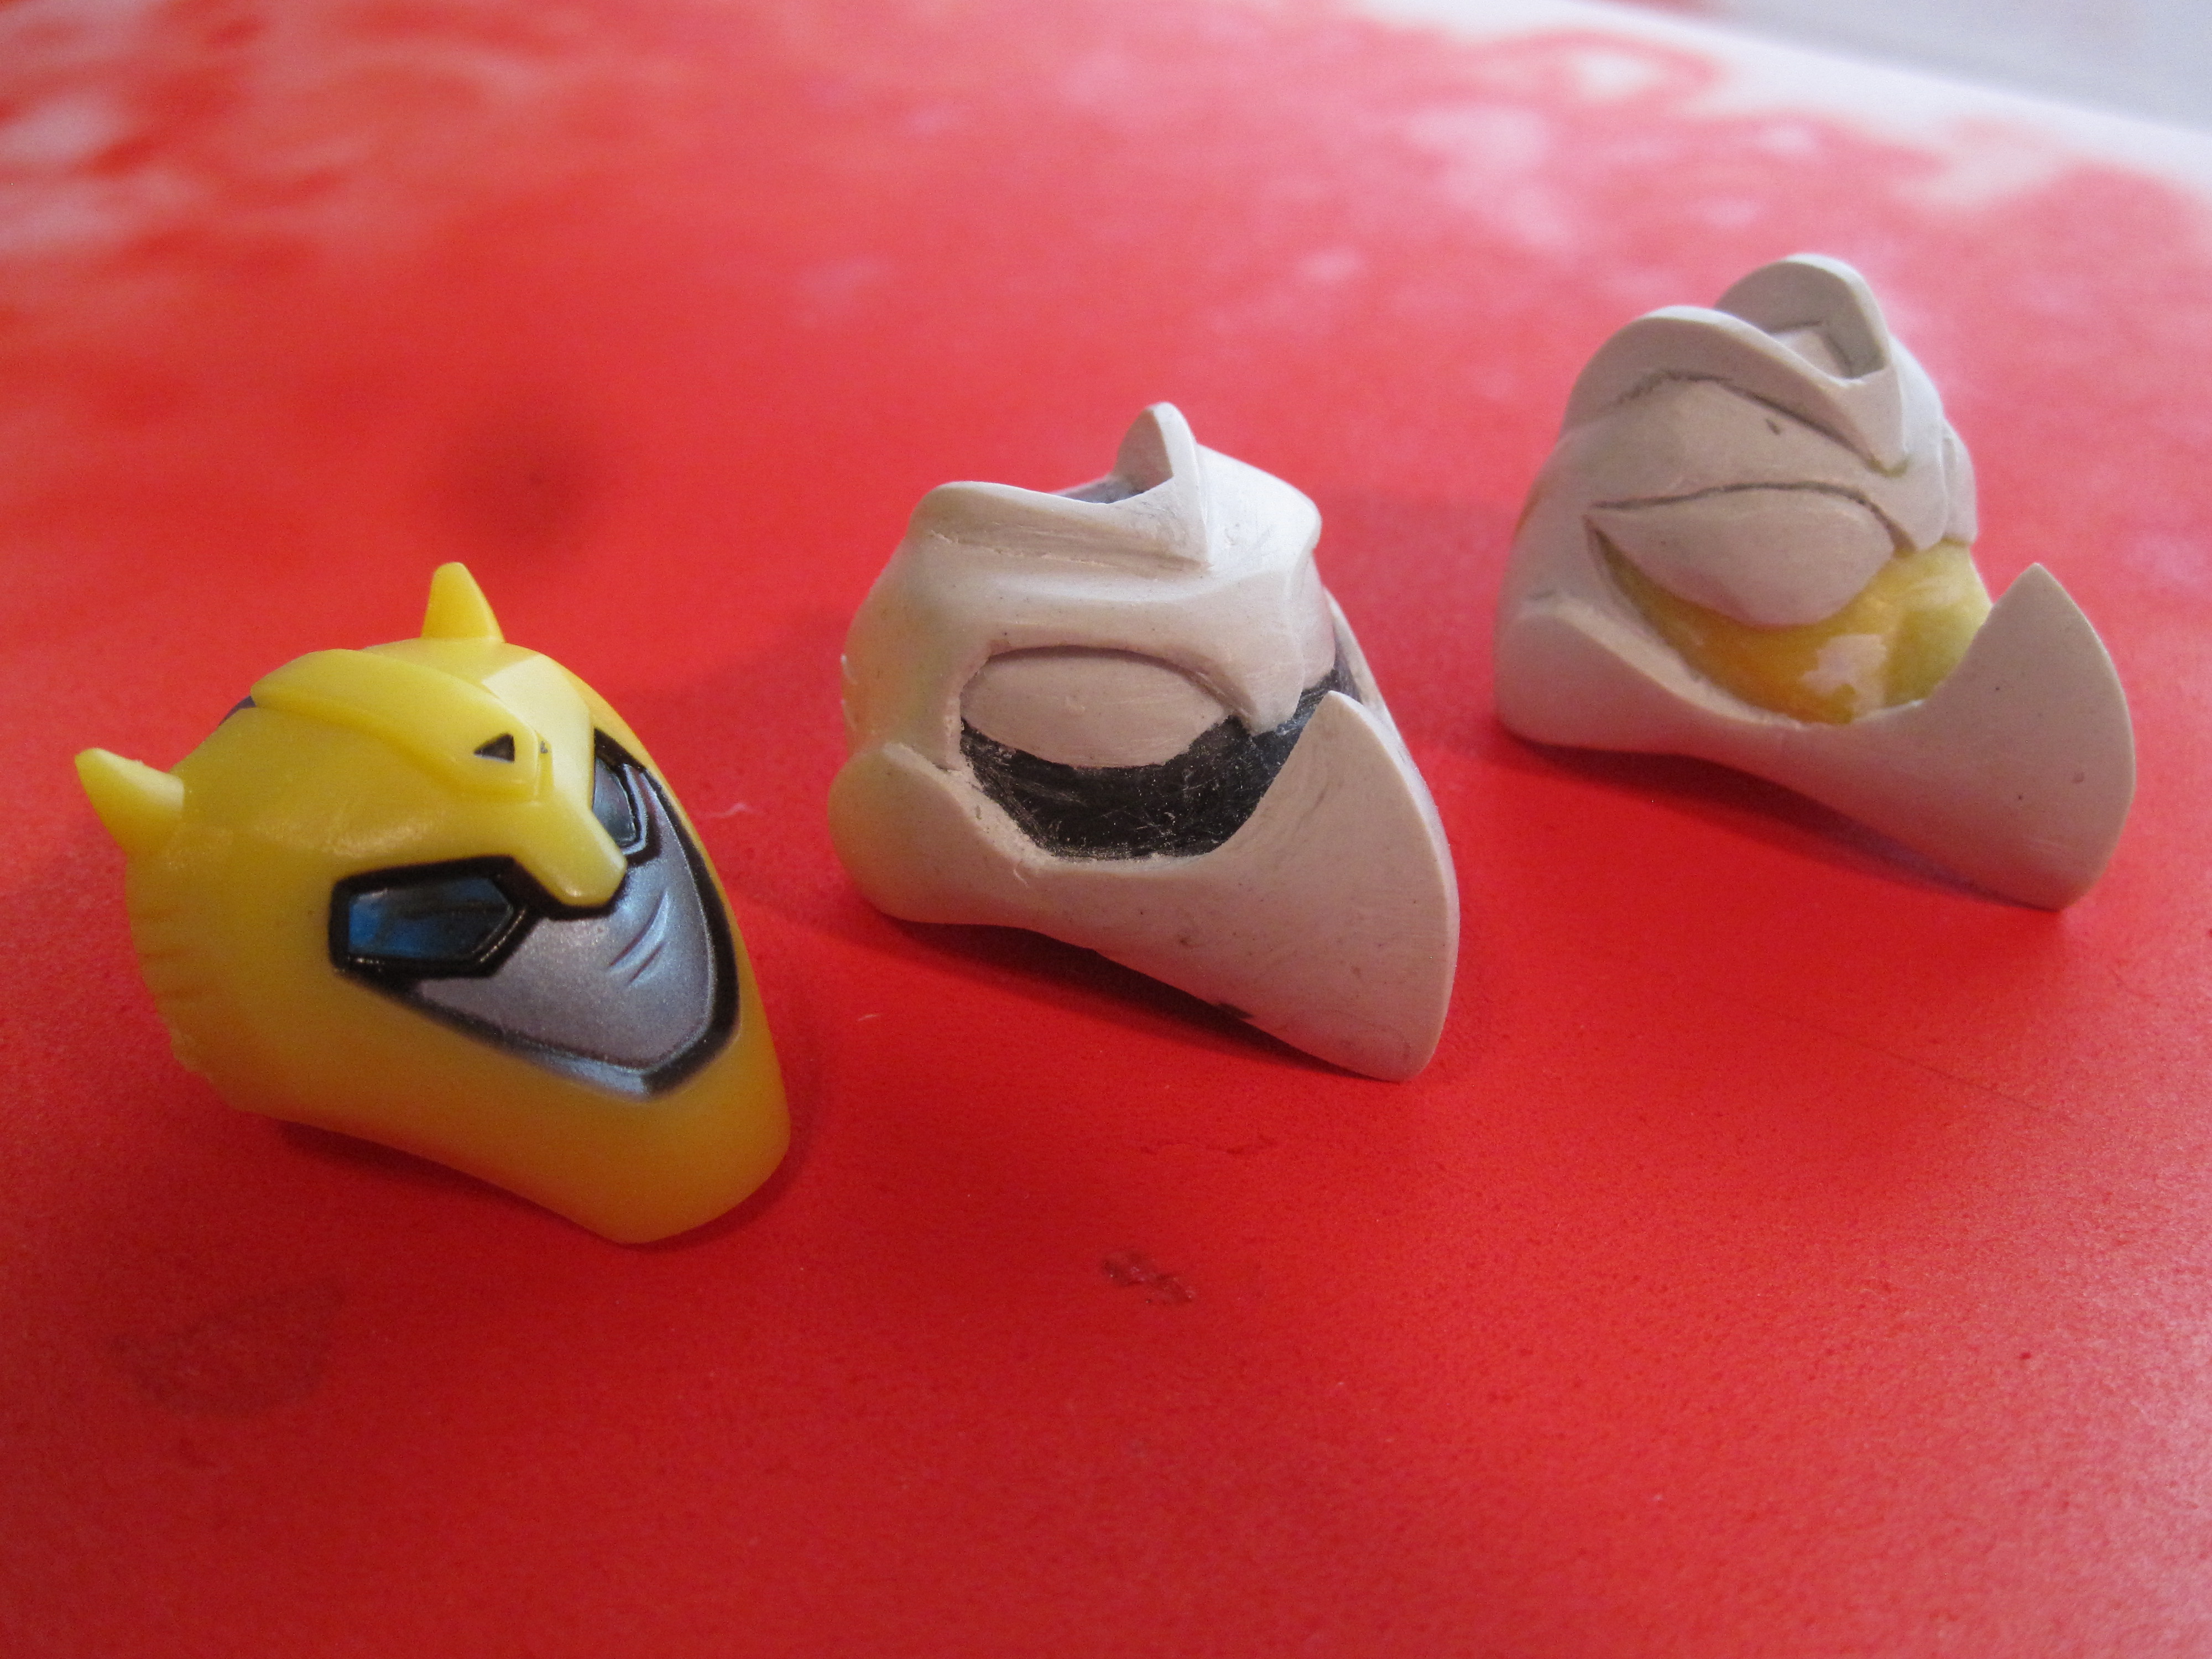
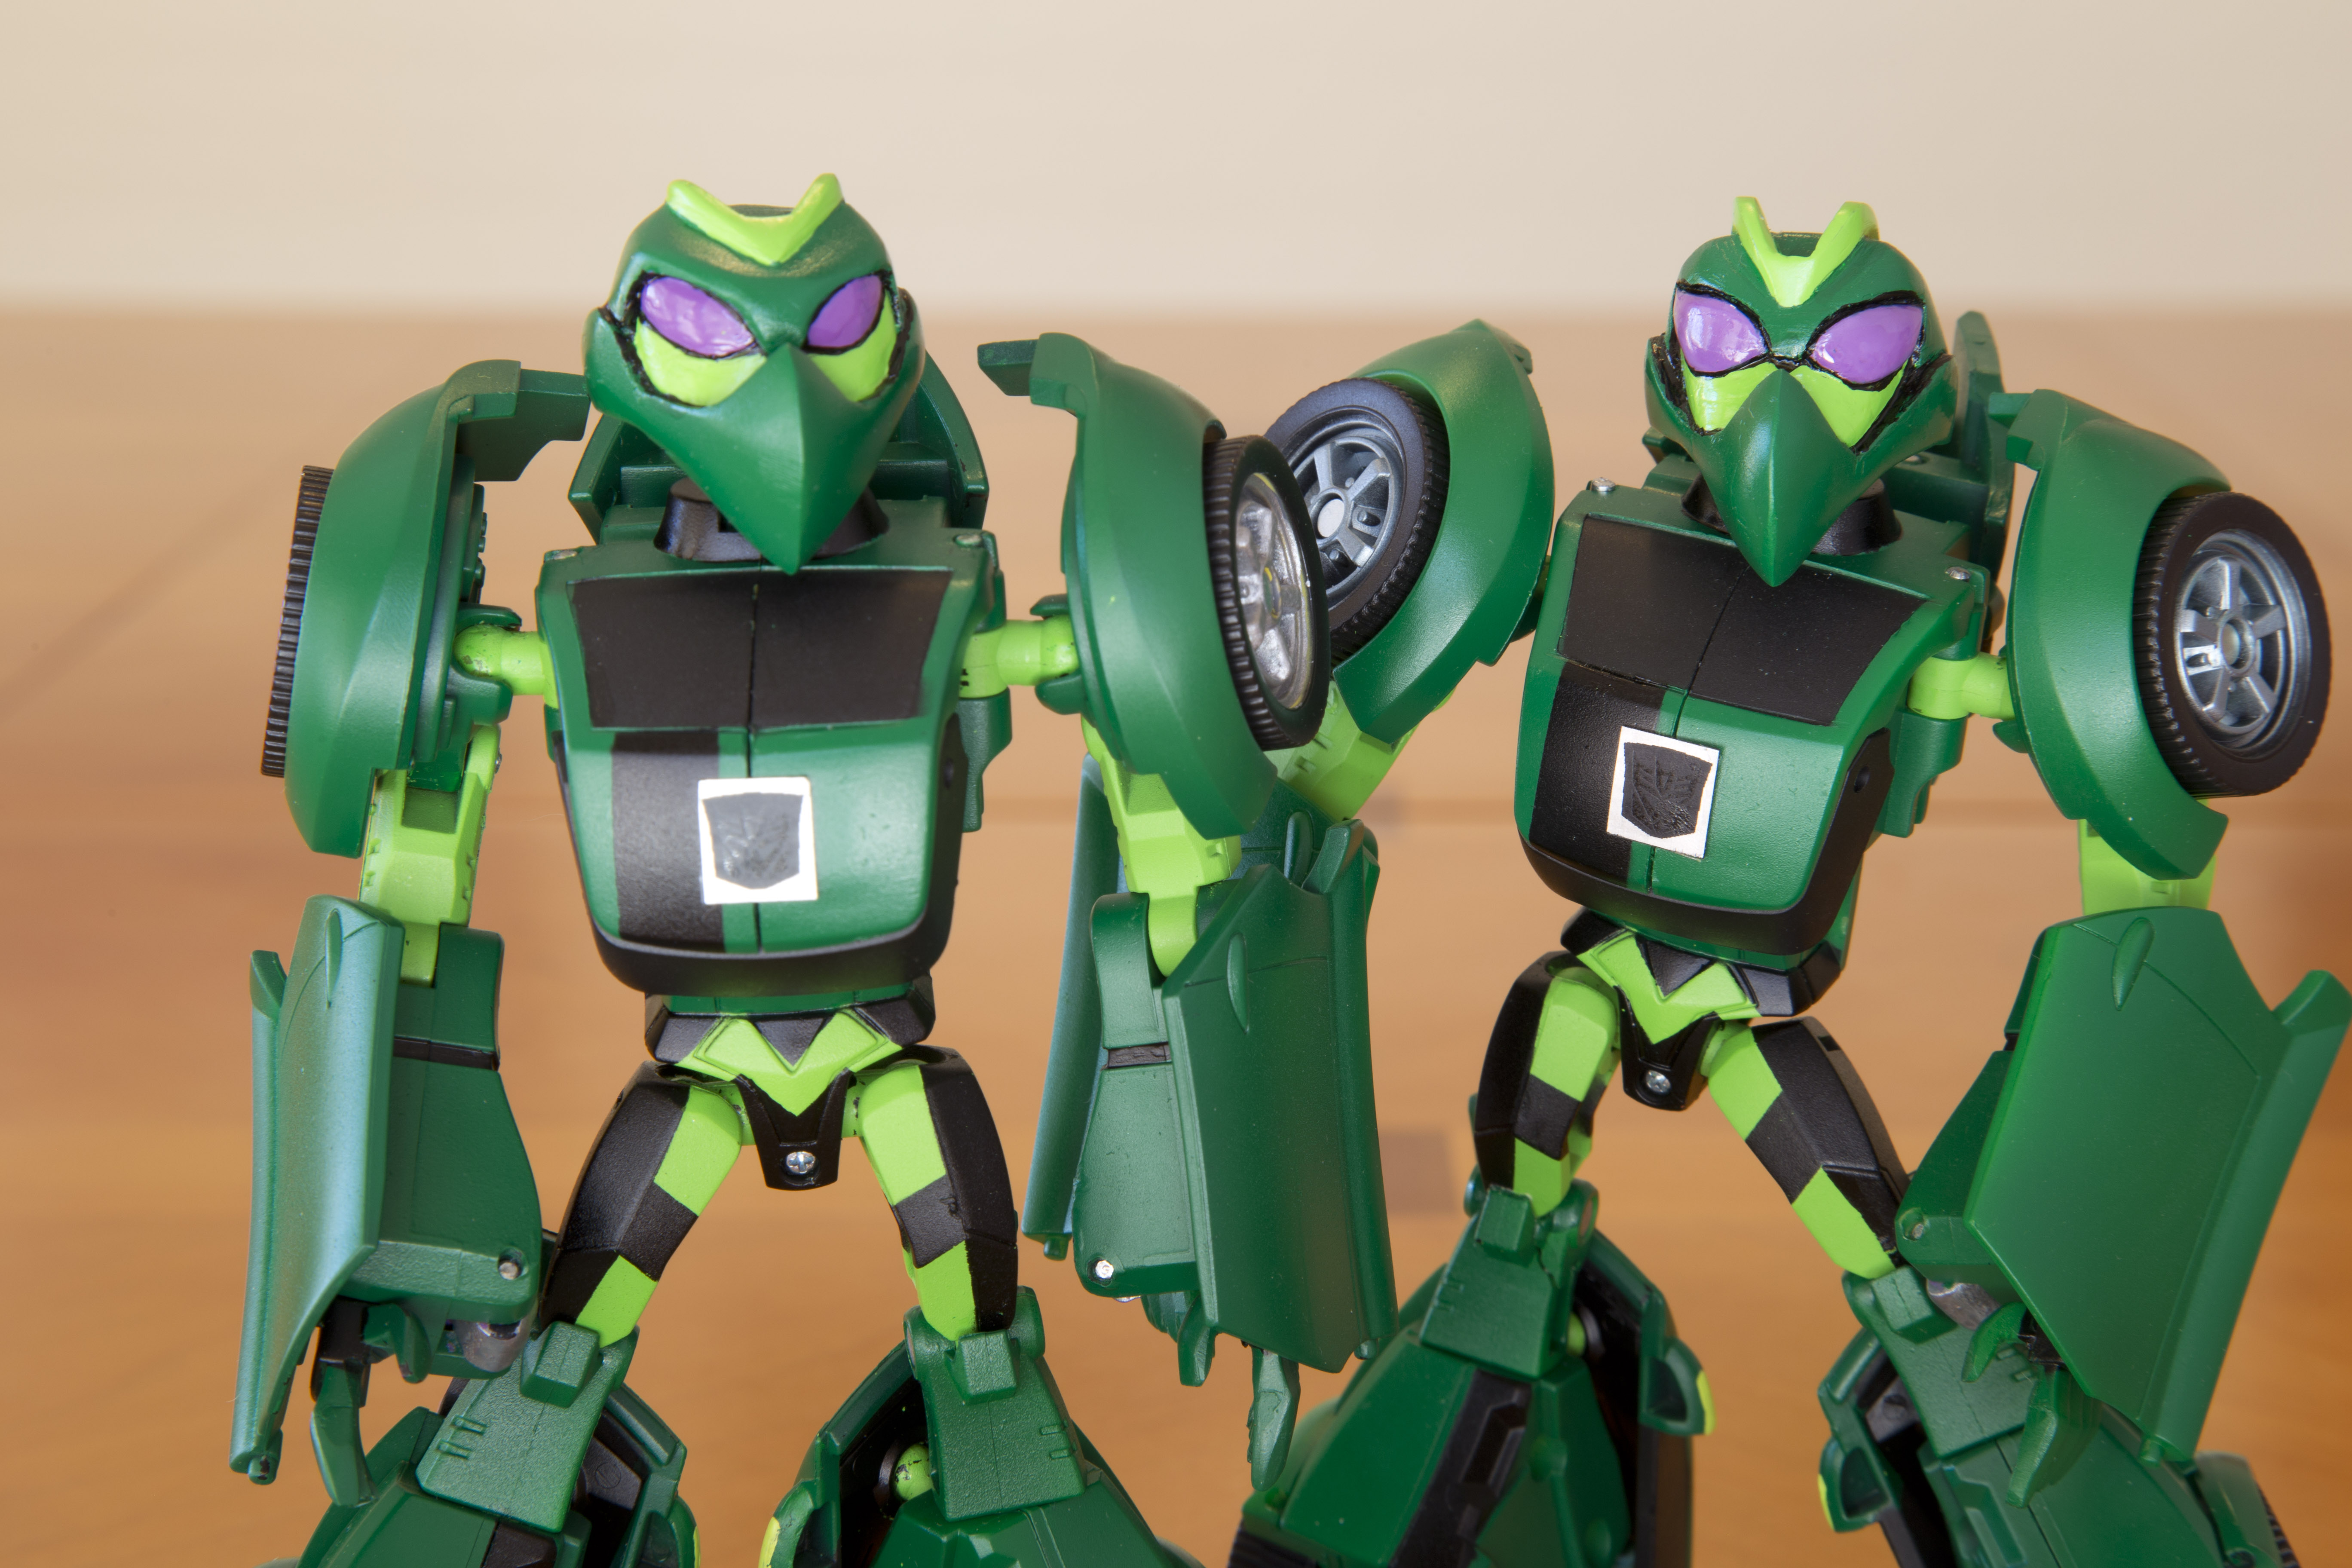
With one head done after about 2 weeks of on-and-off work, I started on #2. I knew that while #1 was good, I wanted more buggy eyes, a longer/deeper chin, and for his cheeks to suck in a bit. So I went about creating the second one a bit differently.
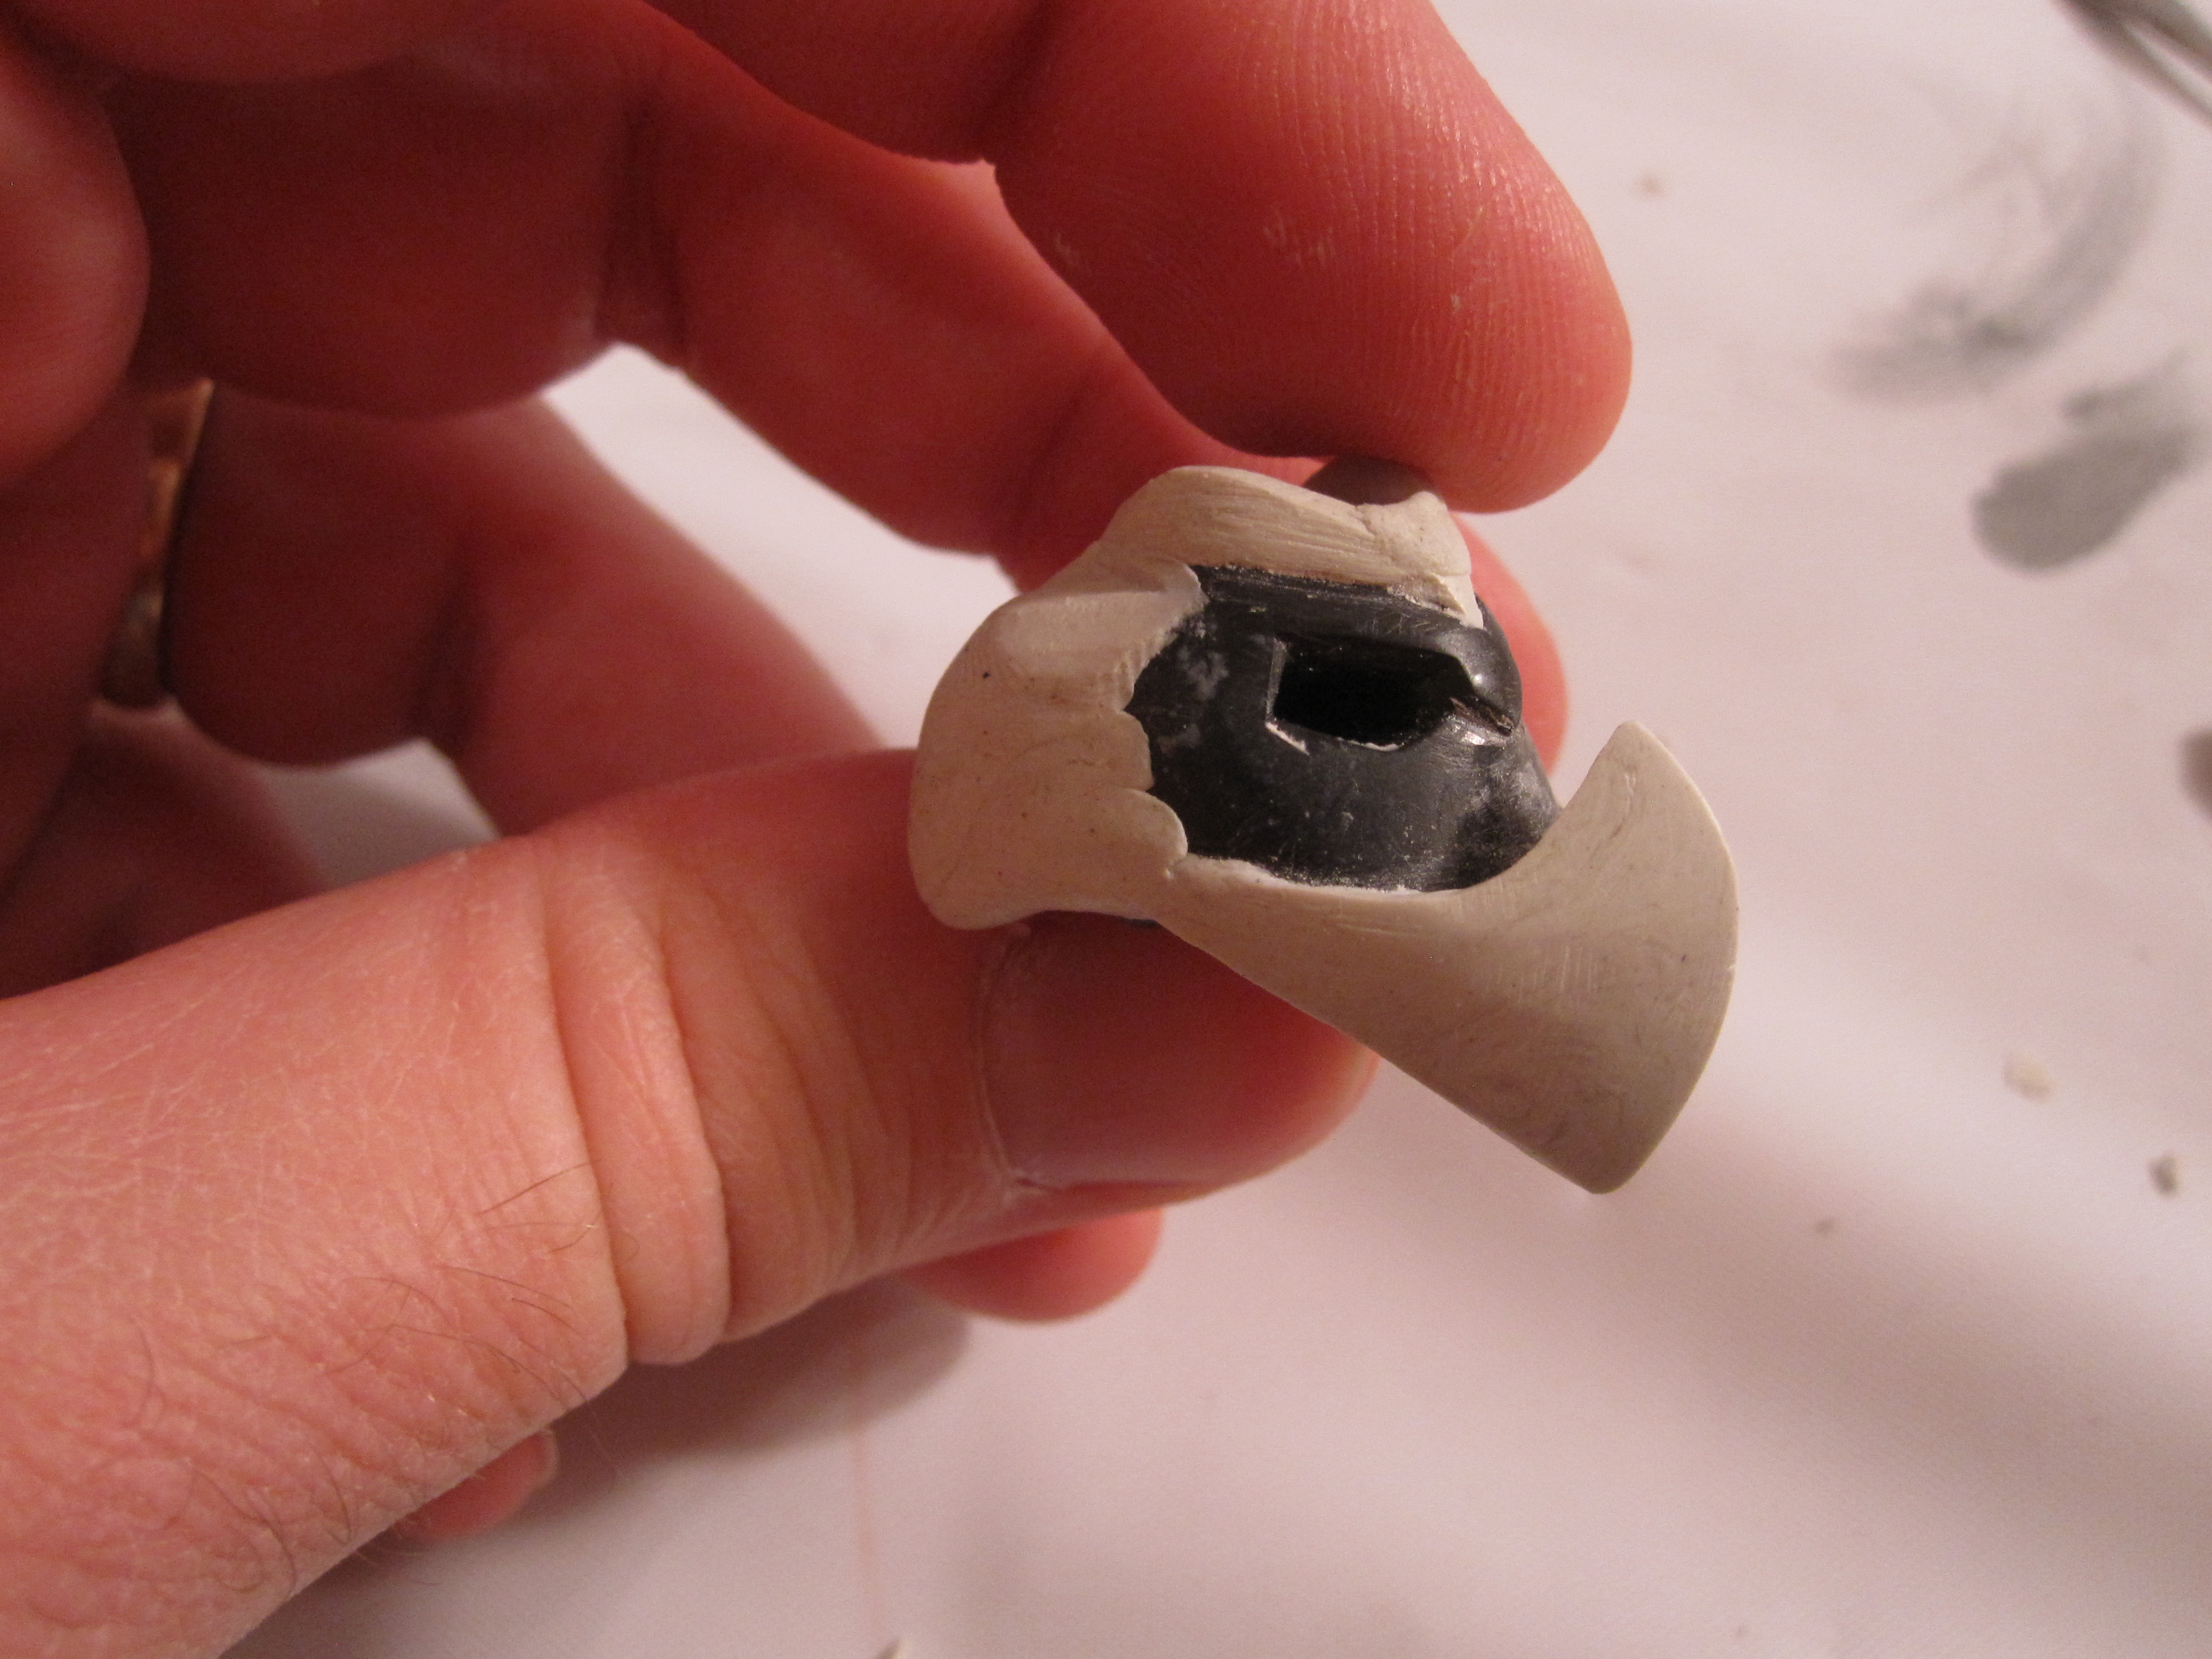
I began by really sanding down Bumblebee’s original chin. I wanted a straight and vertical flat mouth. I also wanted to completely remove BB’s horns and crest. Unfortunately I went a bit too far and began to sand through the plastic until there were gaps or holes. Whoops. “I’ll fix it in post…”
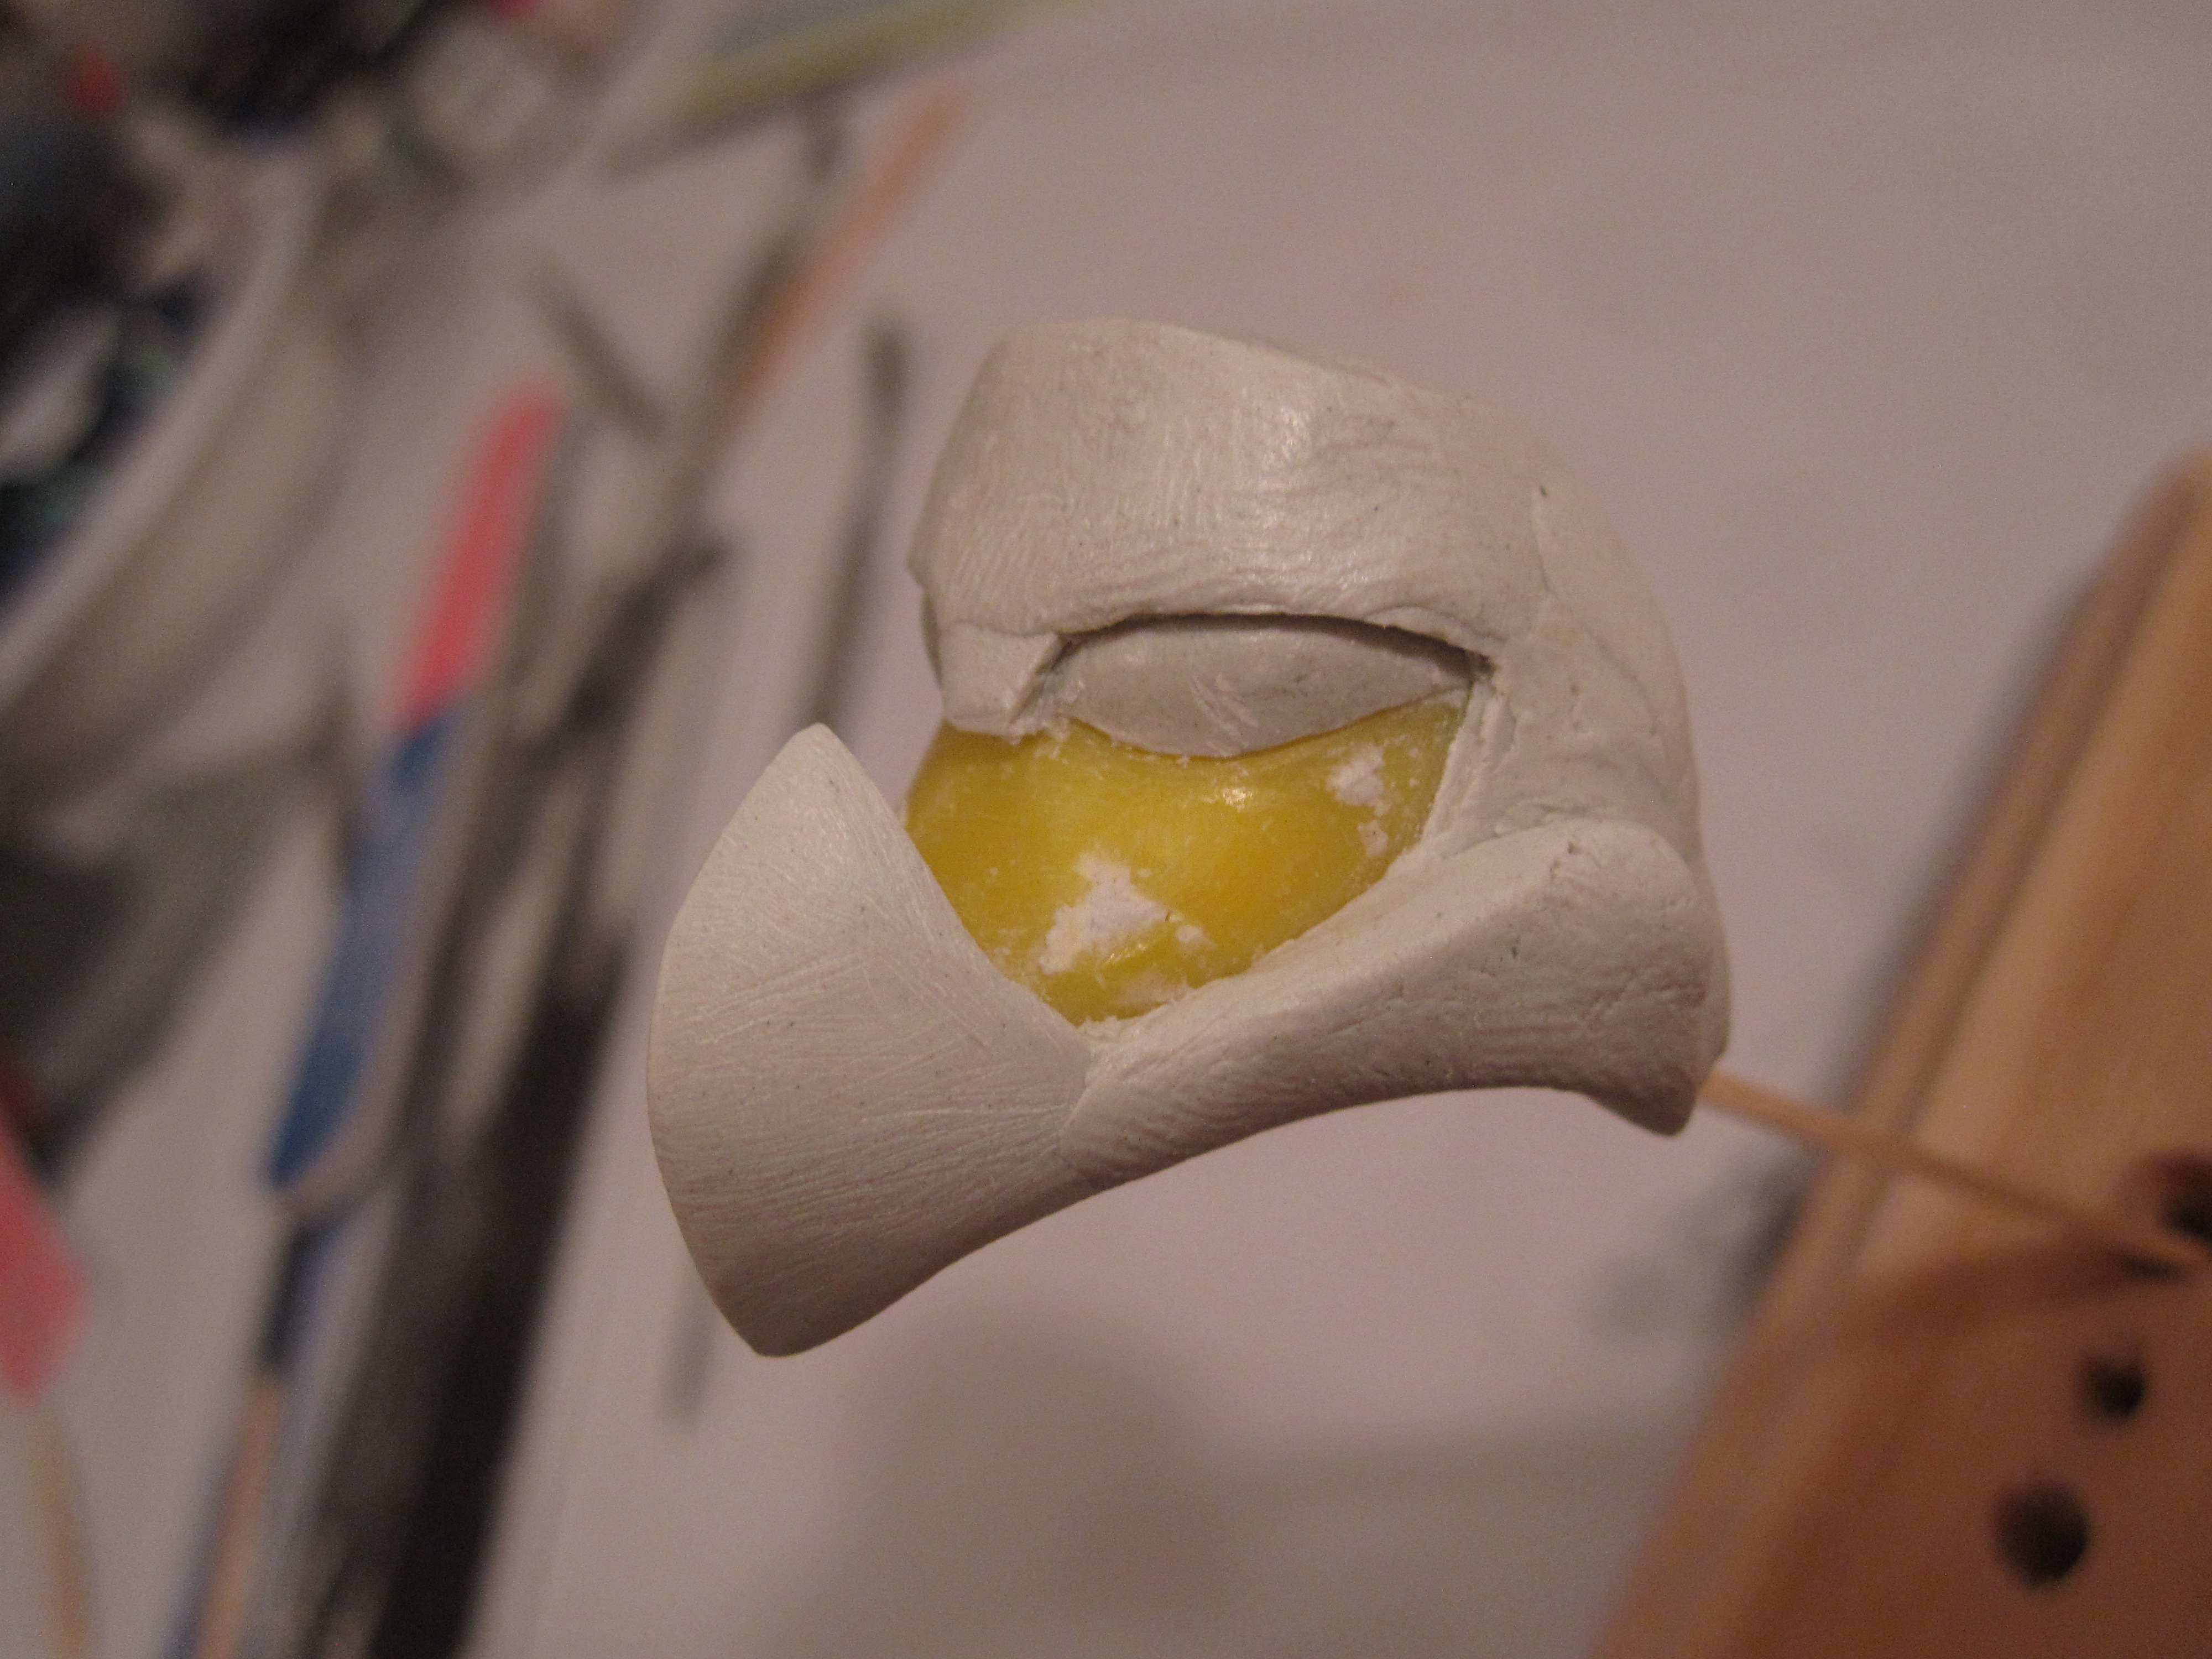

I began by sculpting bulging bug eyes. I initially thought they were big enough, but after I made the new chin and brow, I realized they were too small. At this point I had also realized that the new brow I built was made from material that hadn’t been mixed properly and therefore never cured. I had to tear off the soft material and start again, adding another day and a half of work.
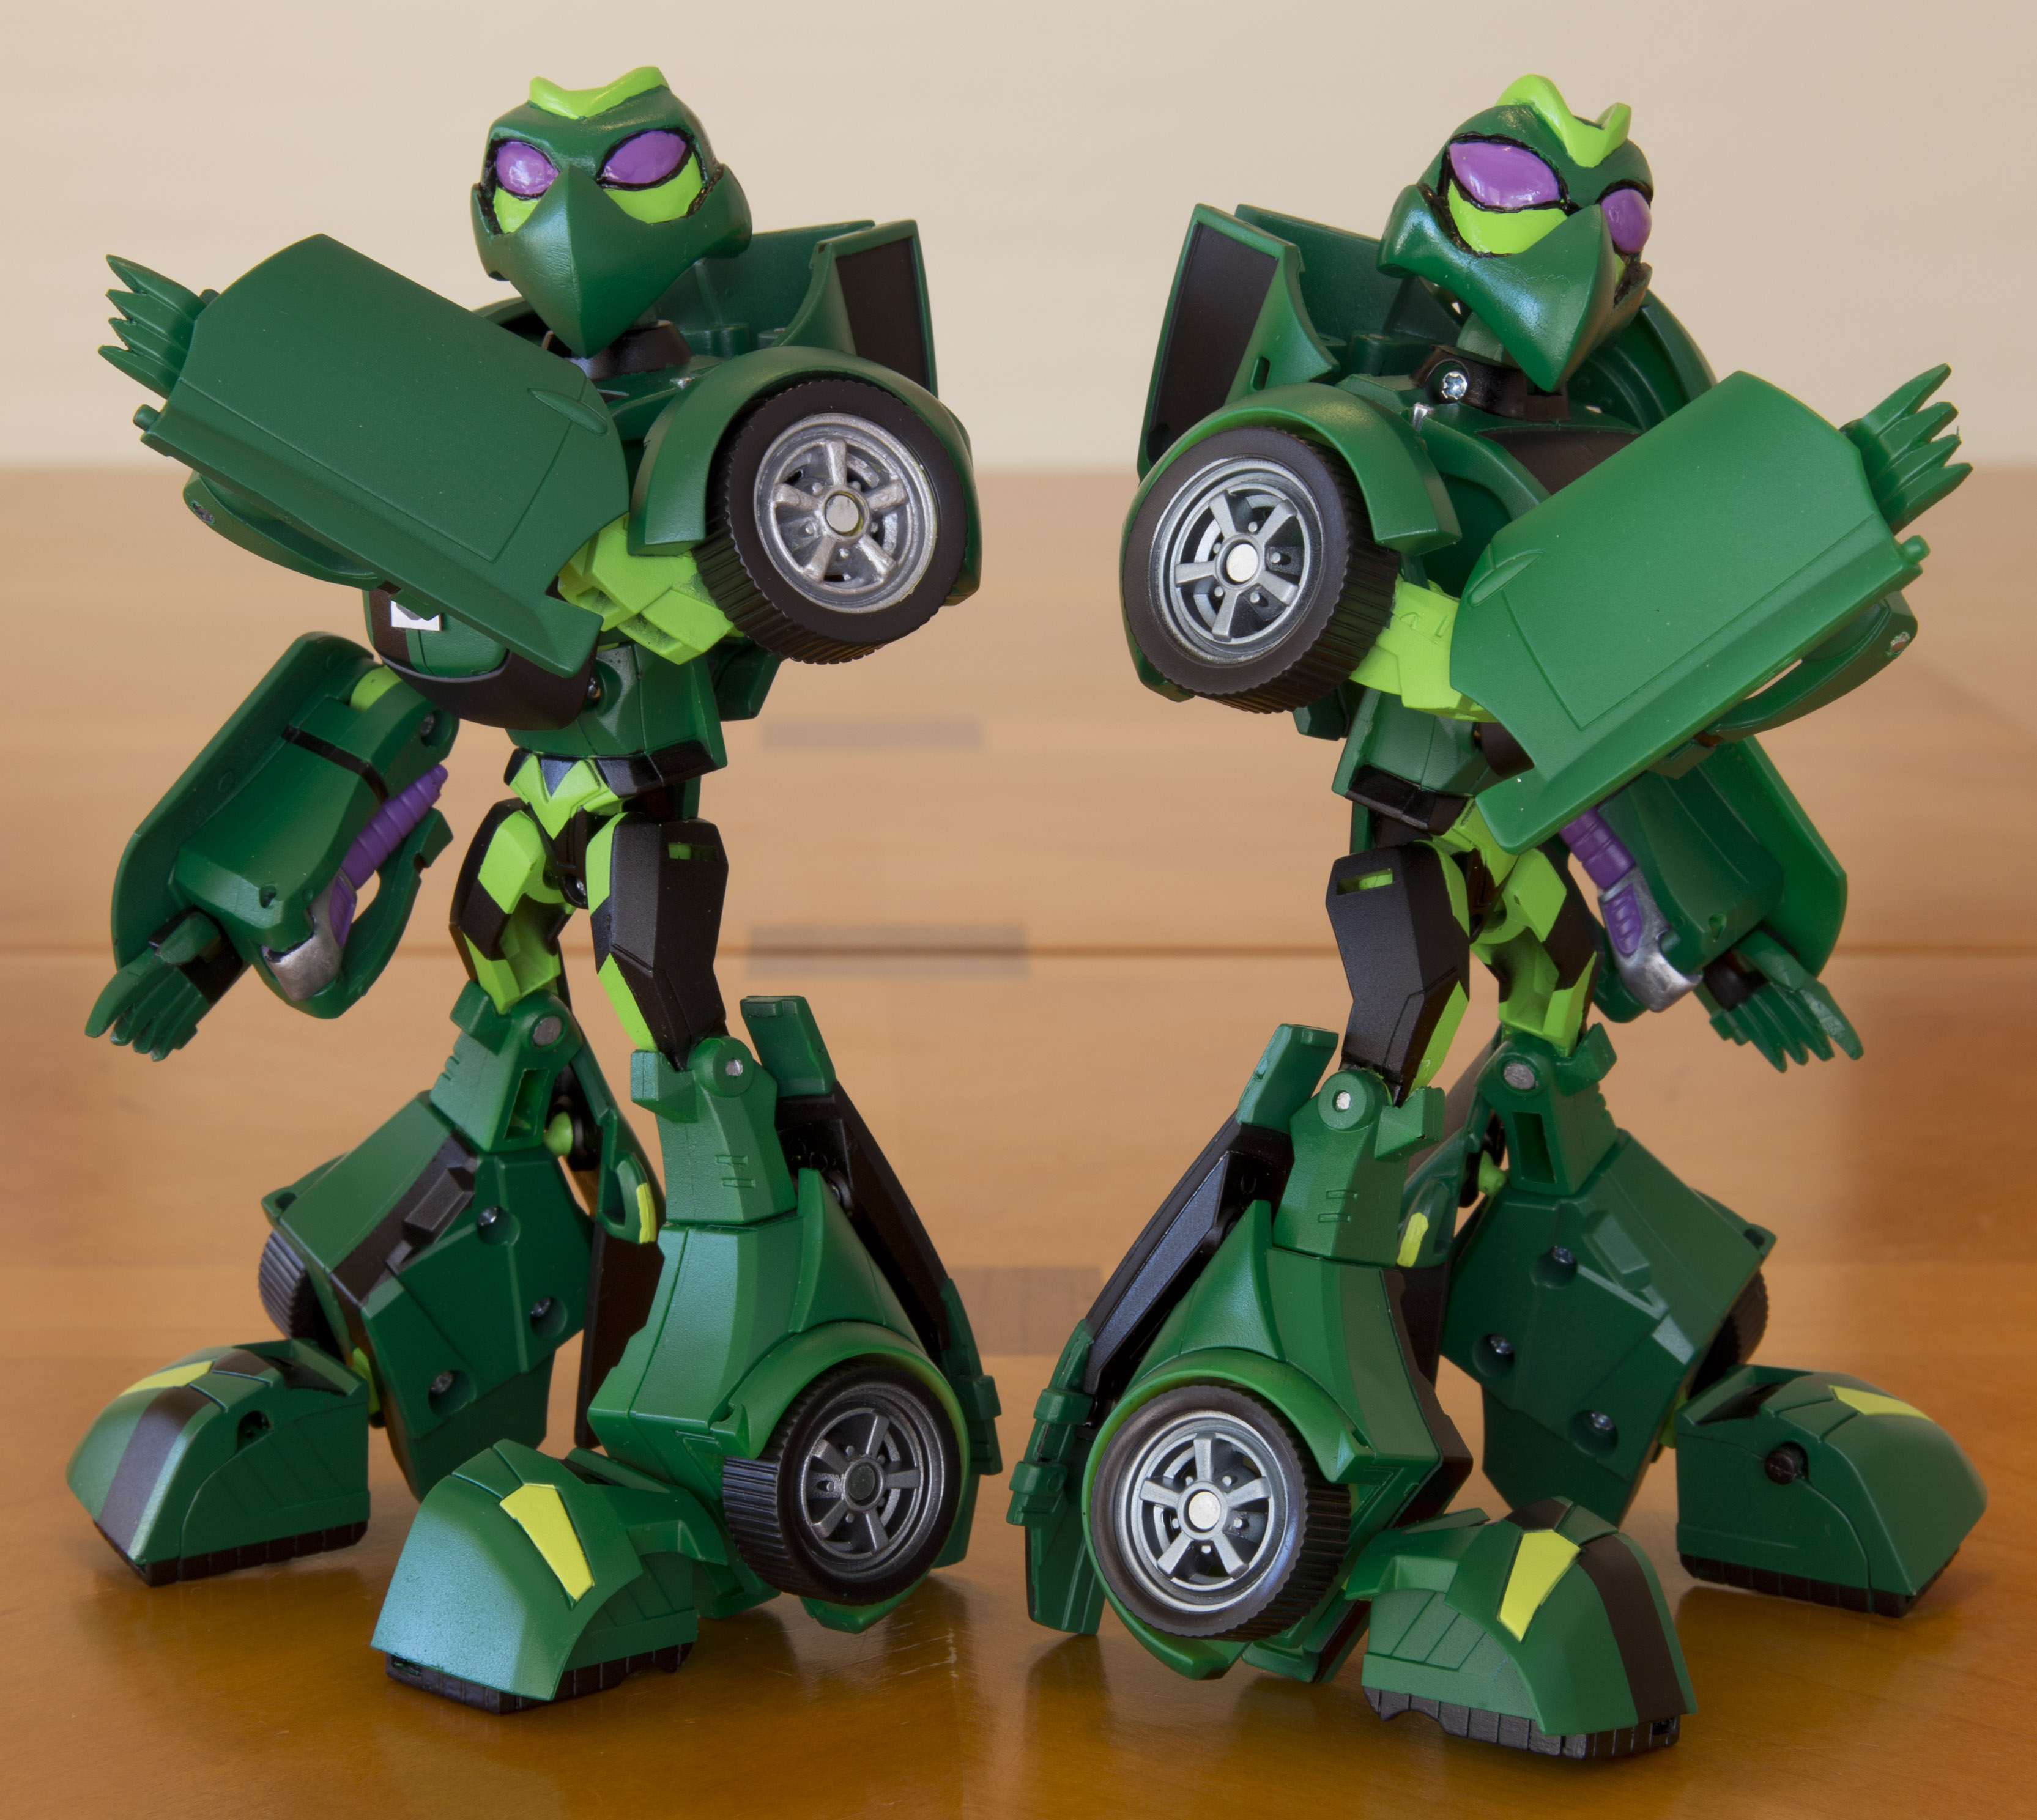
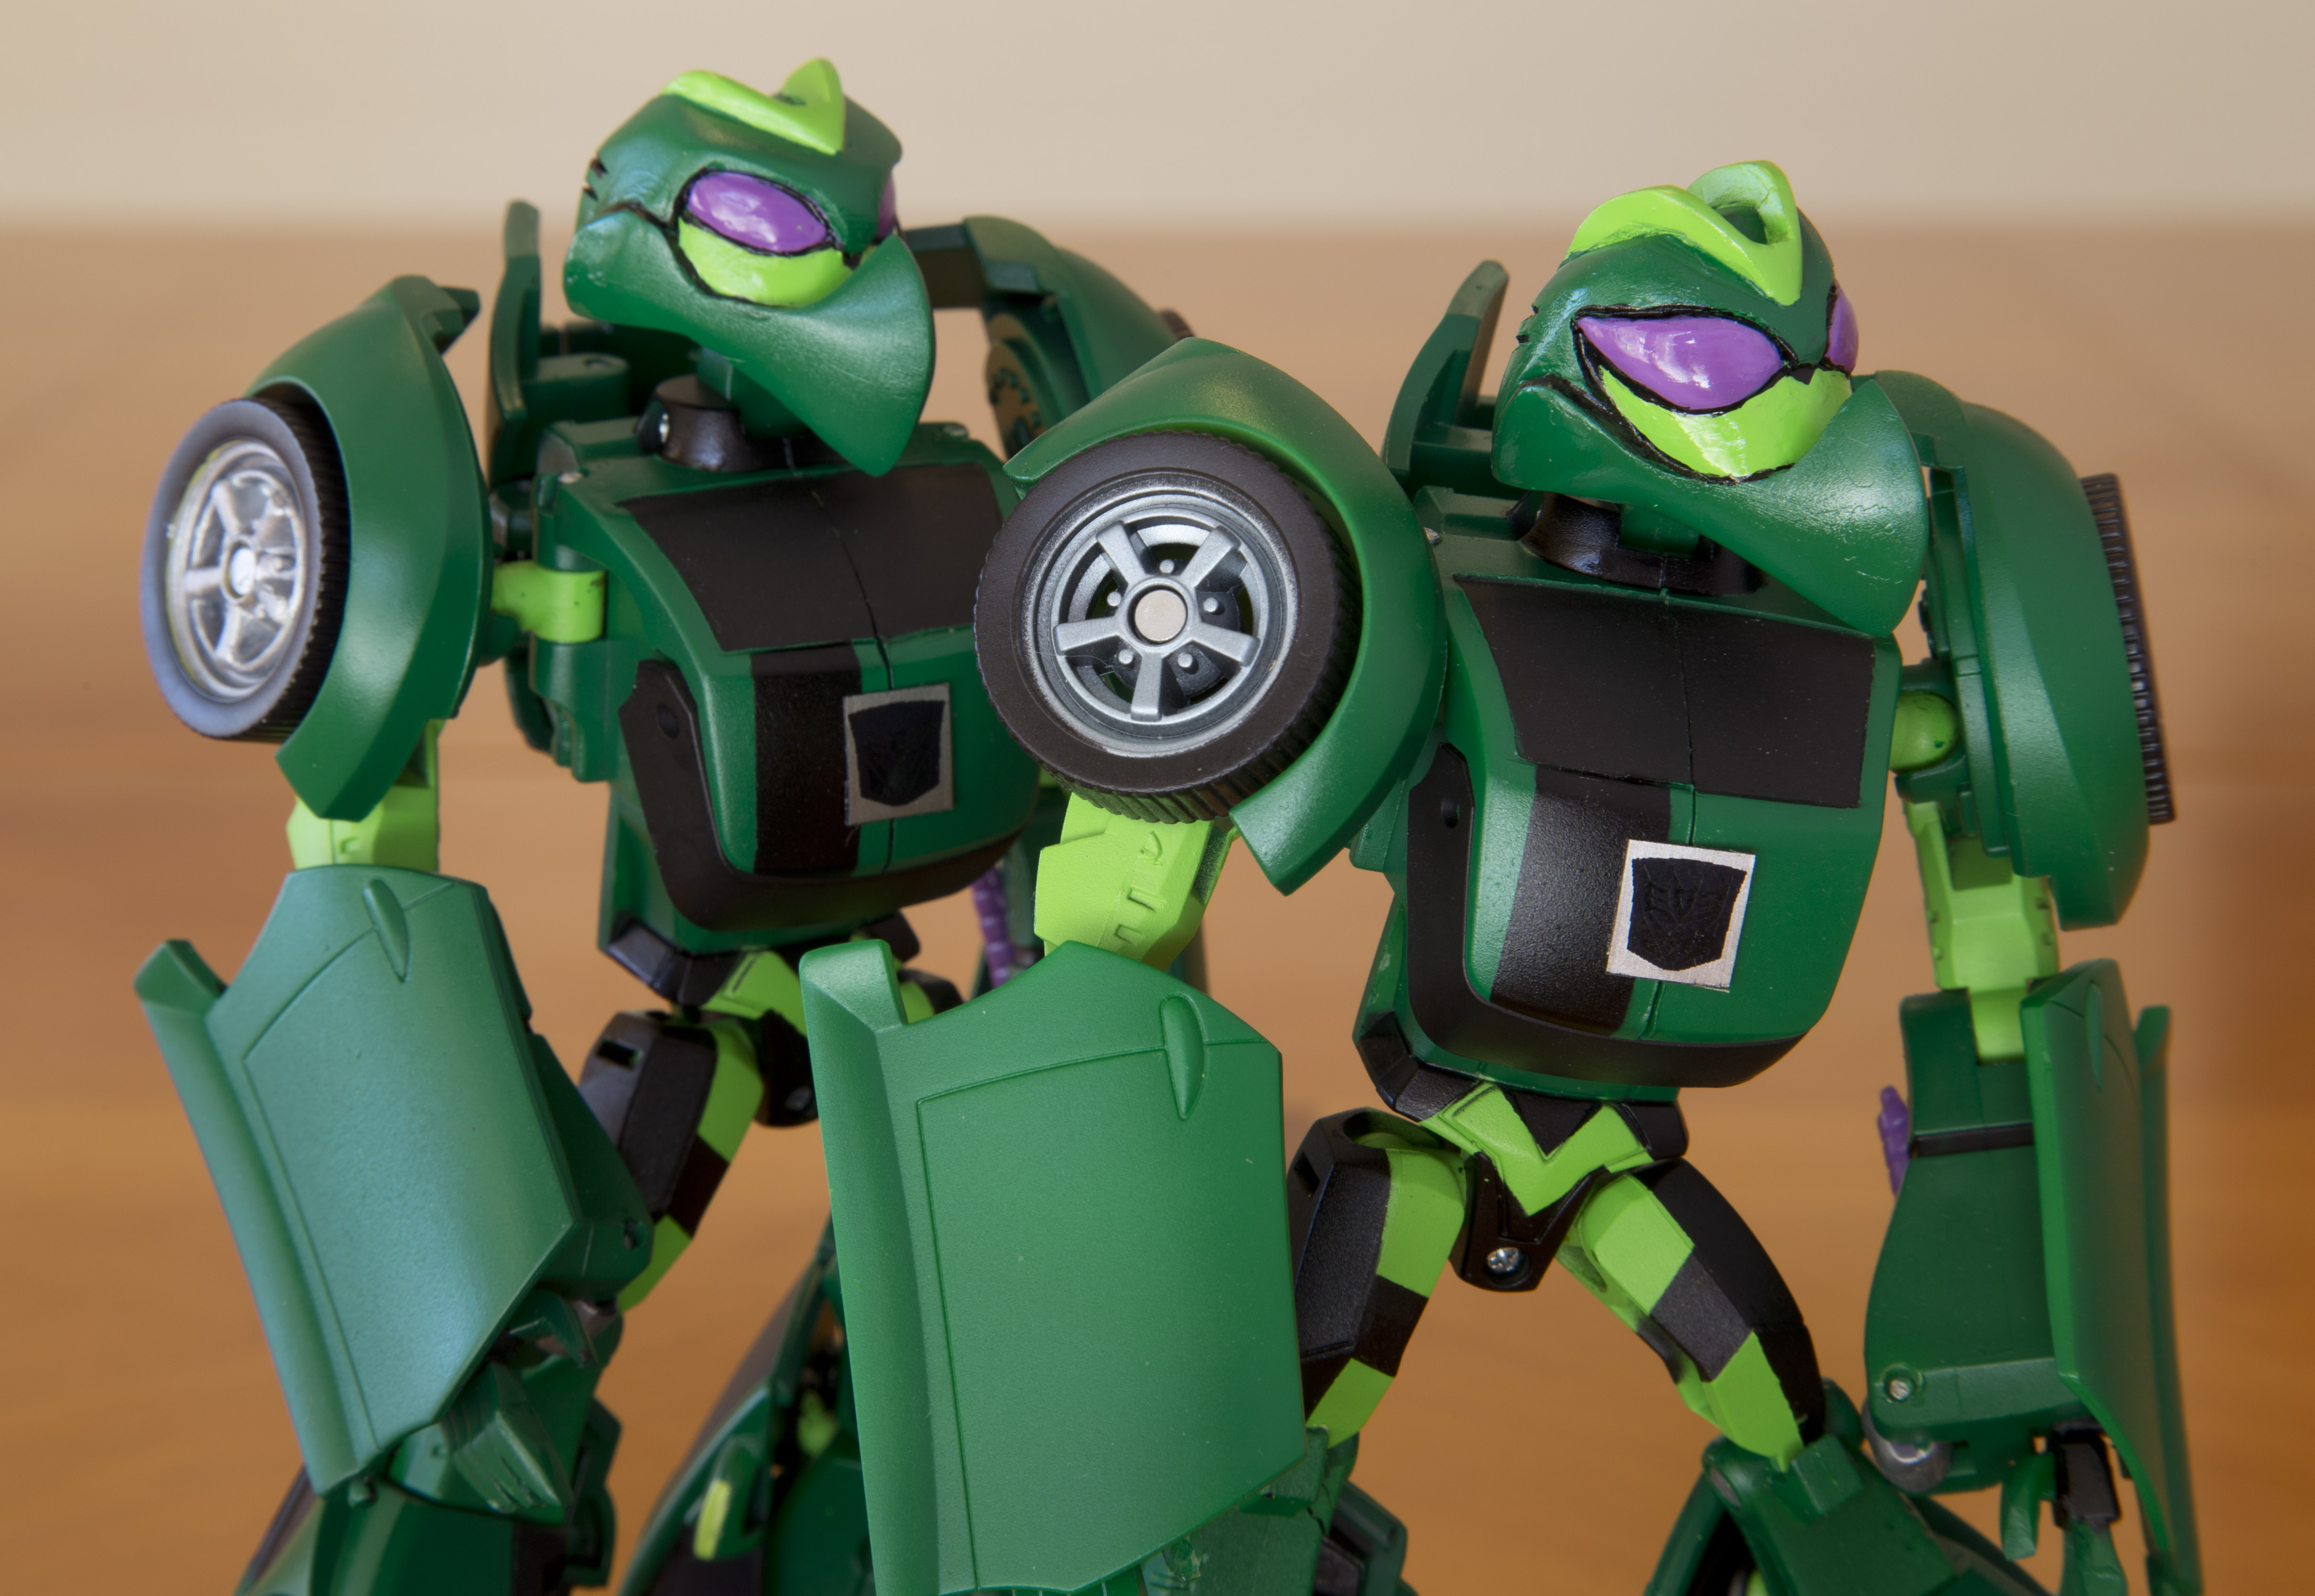
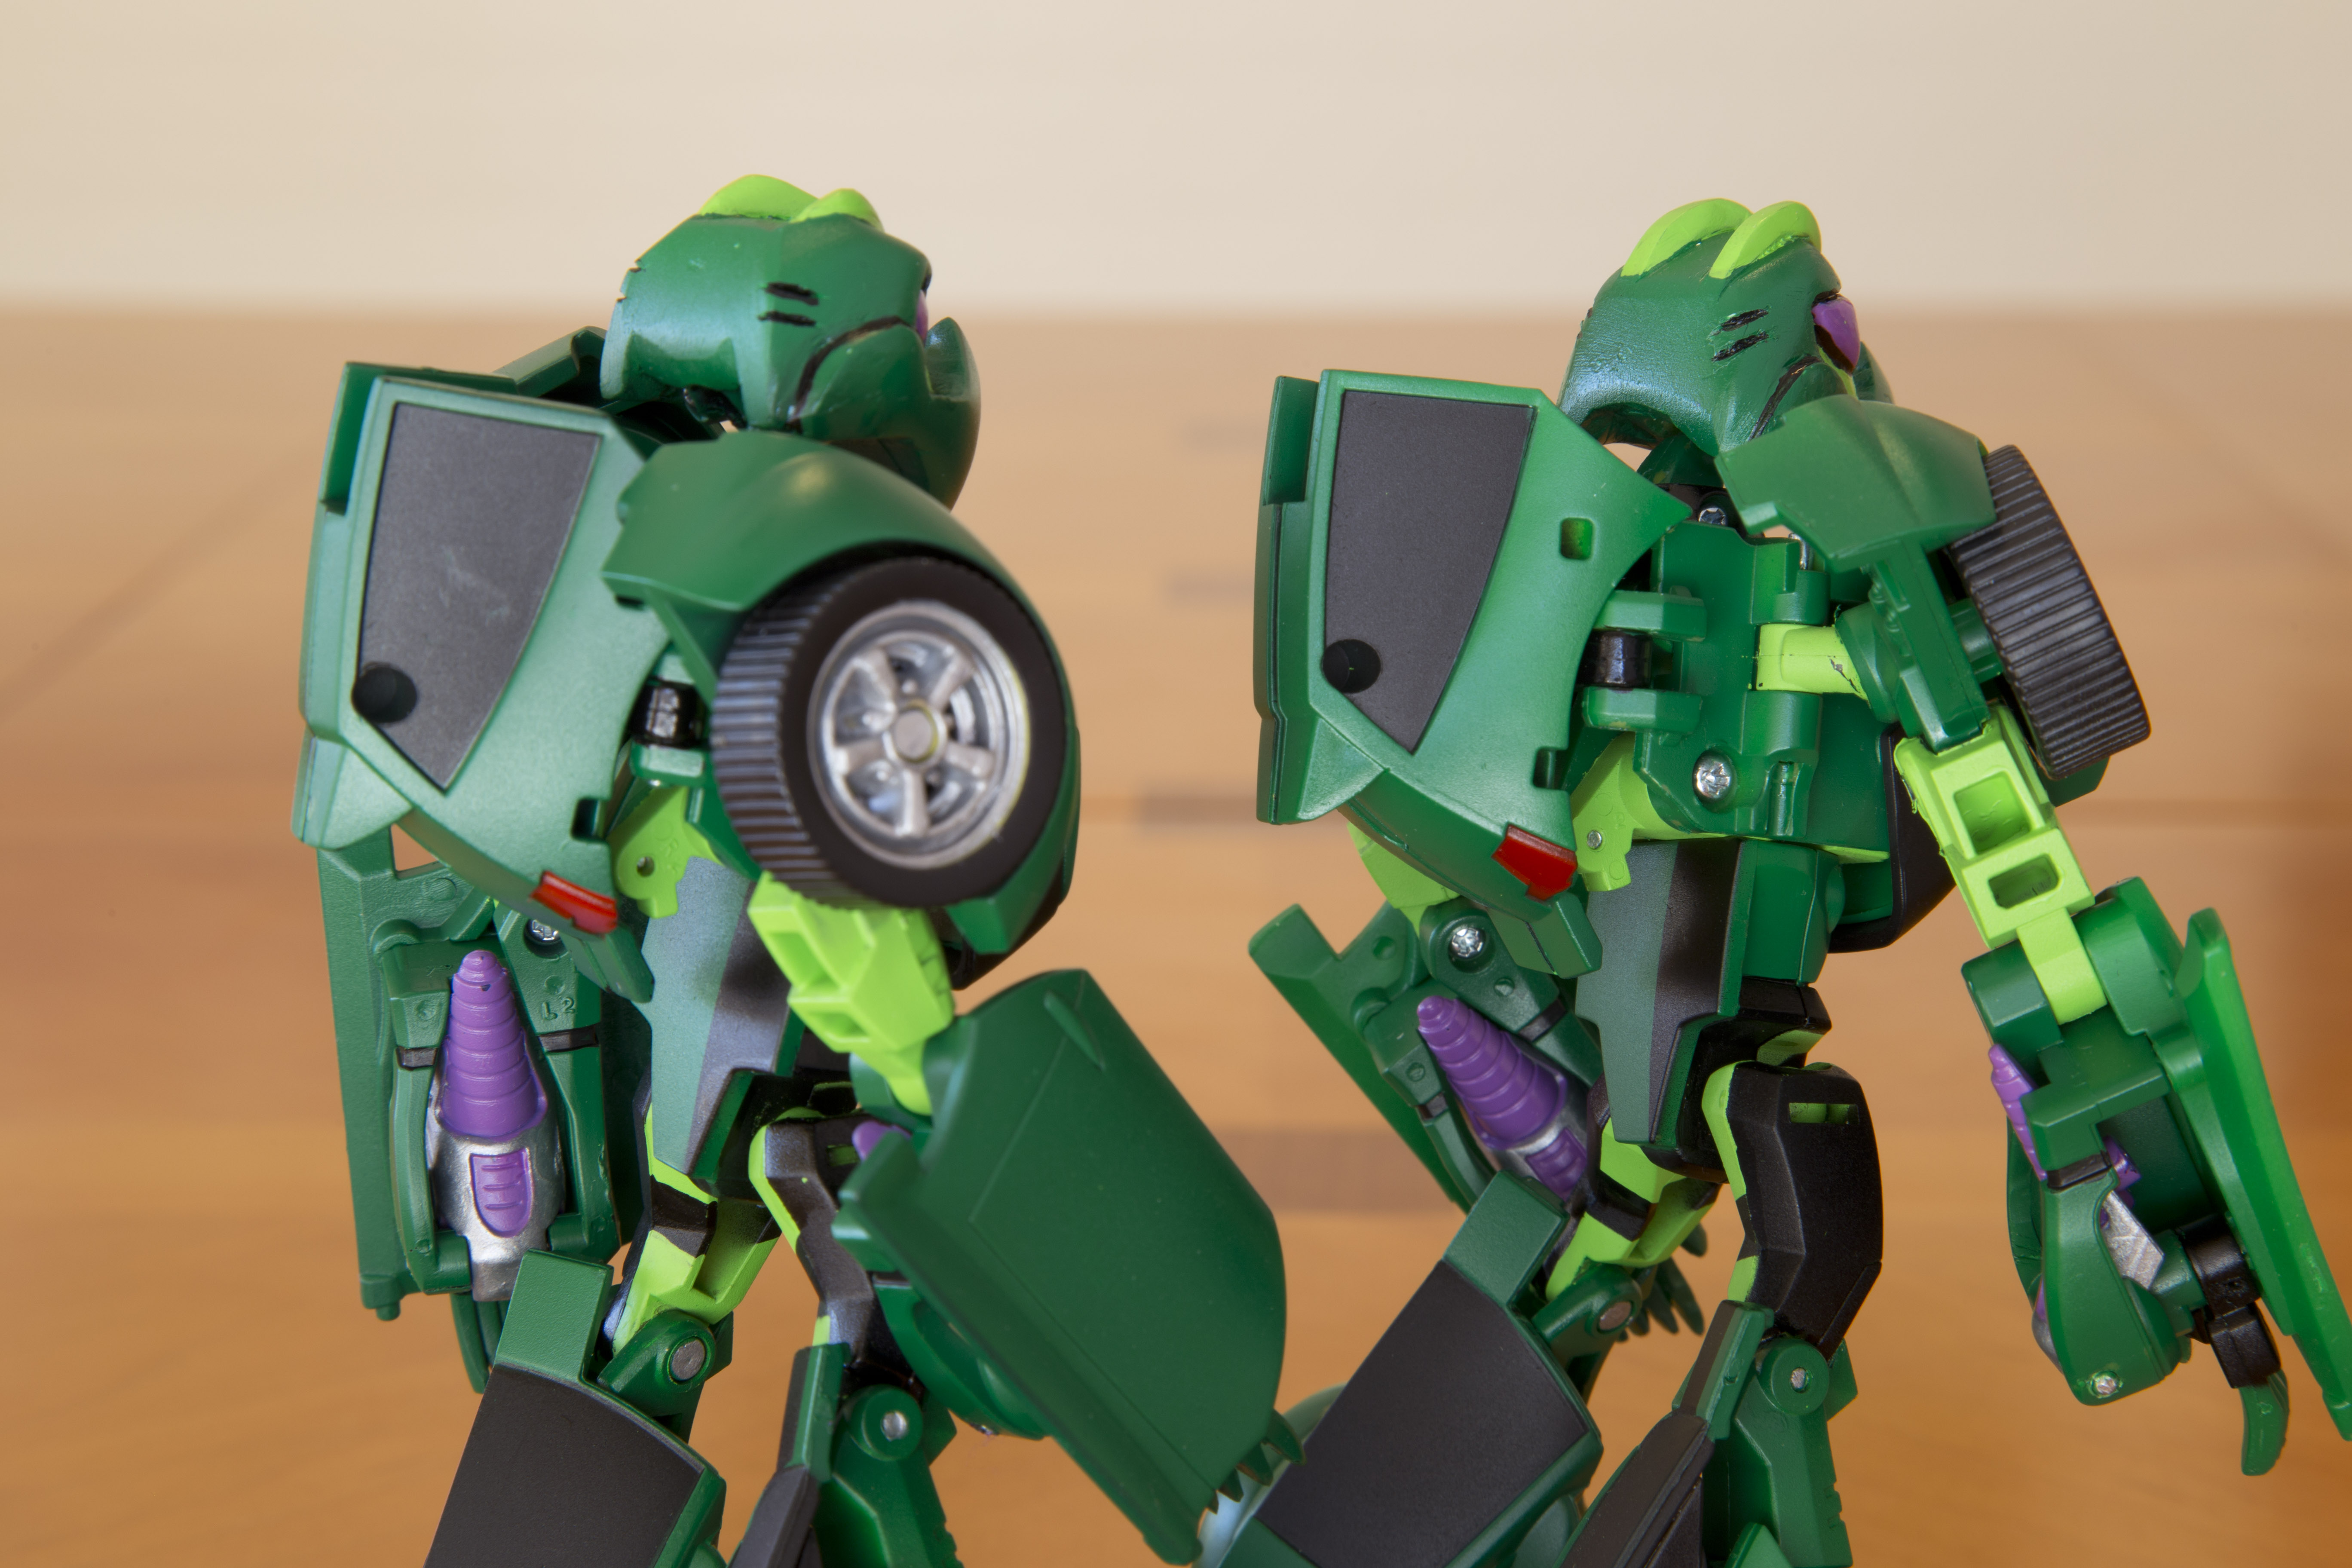
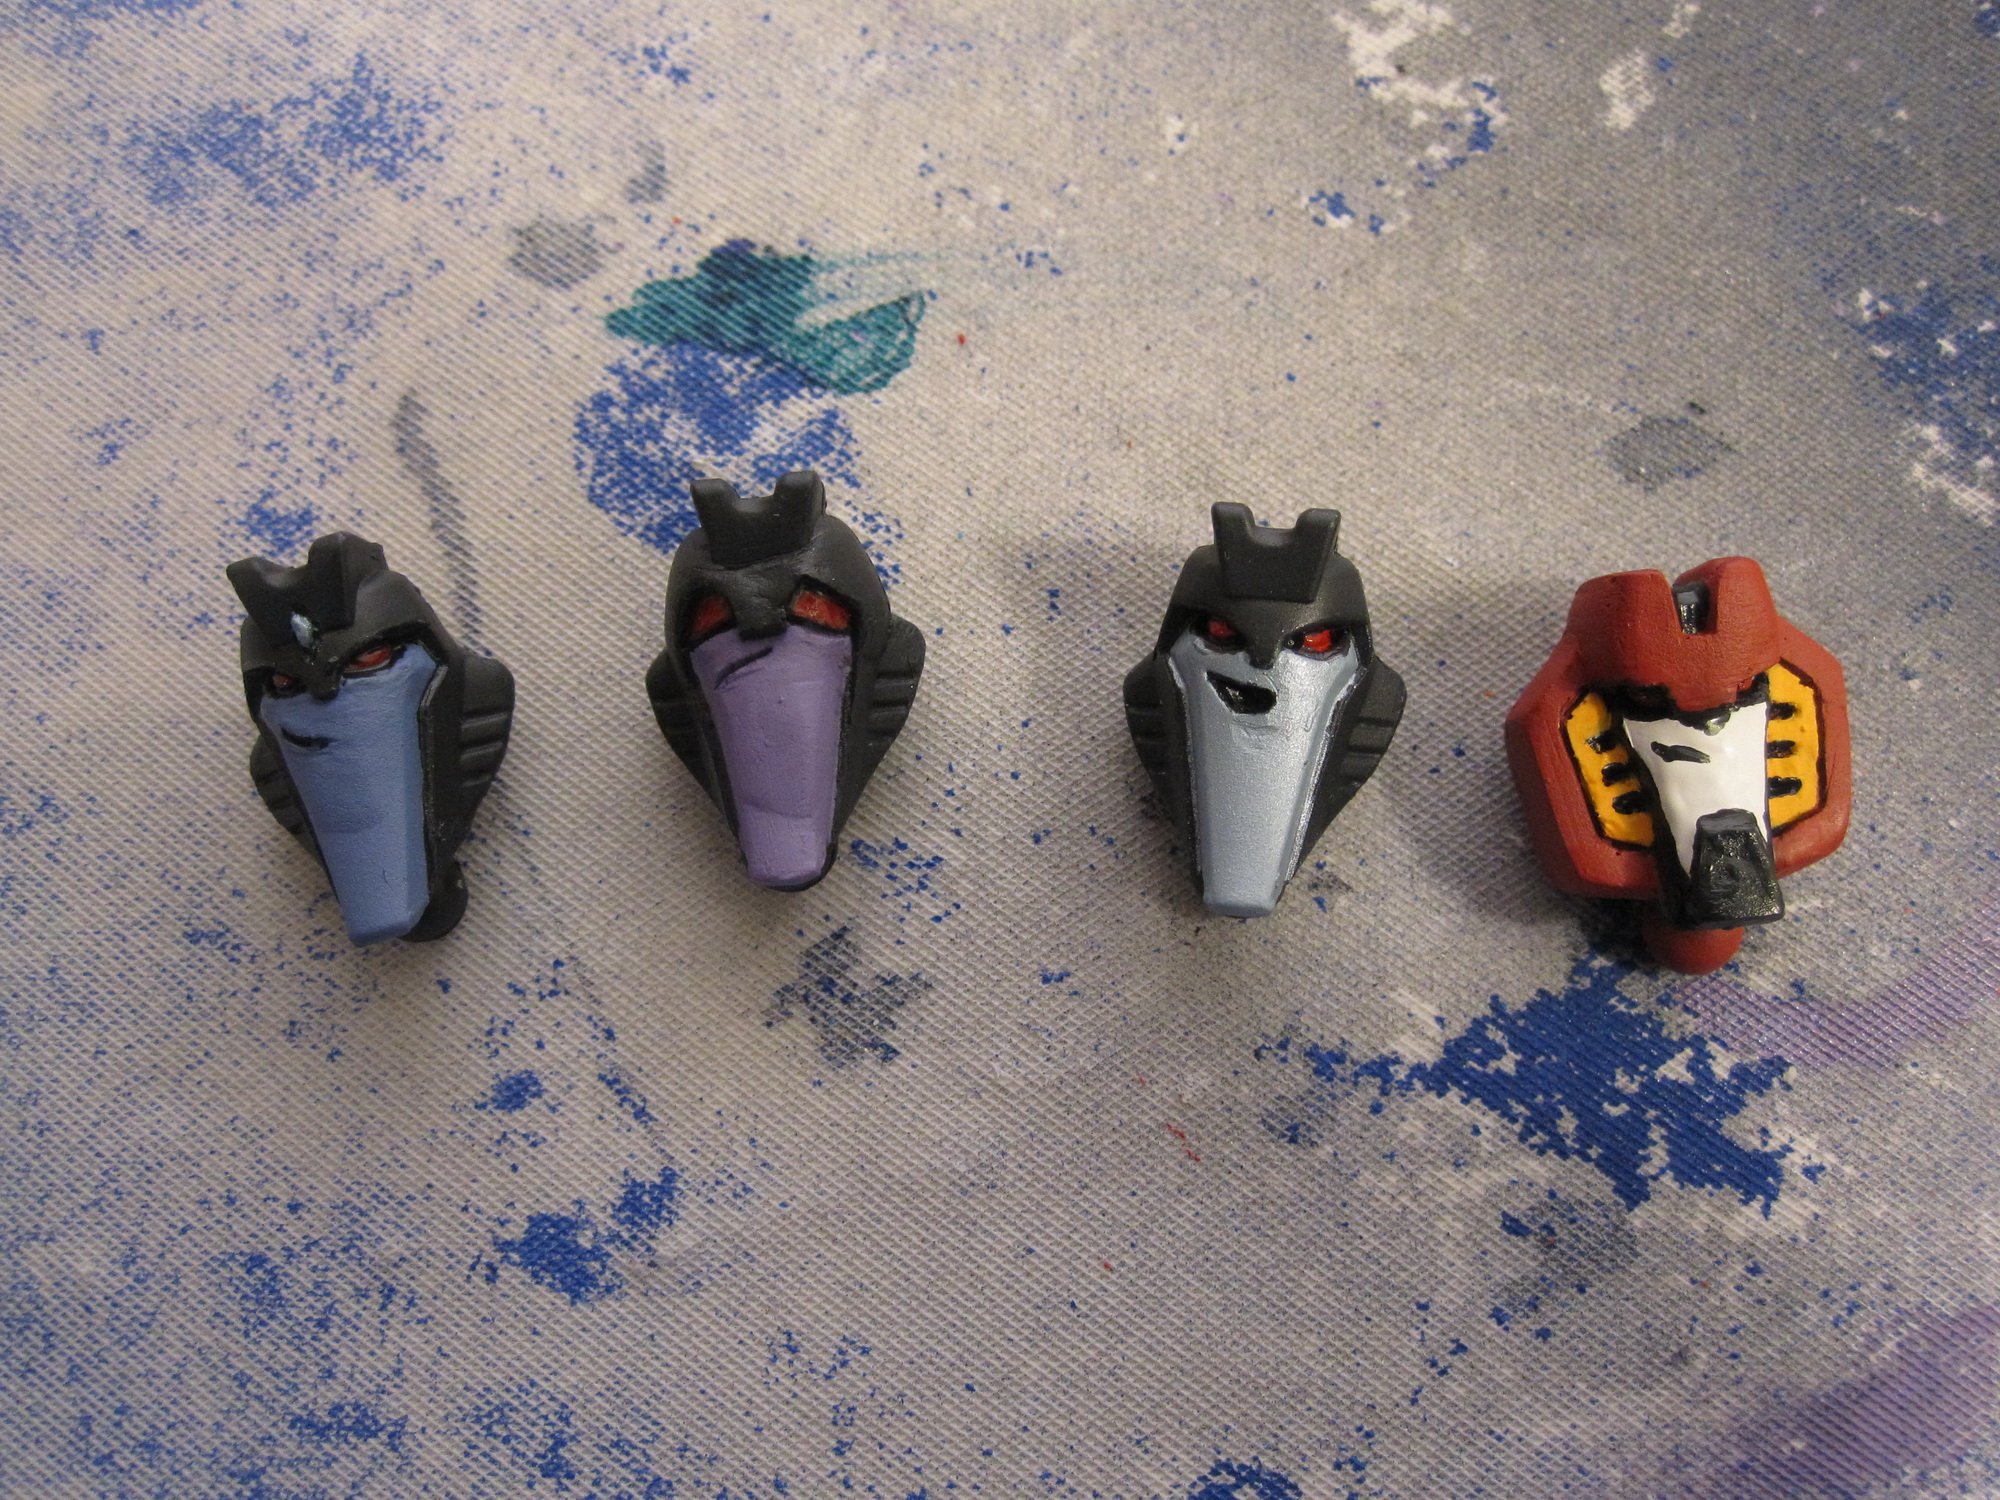
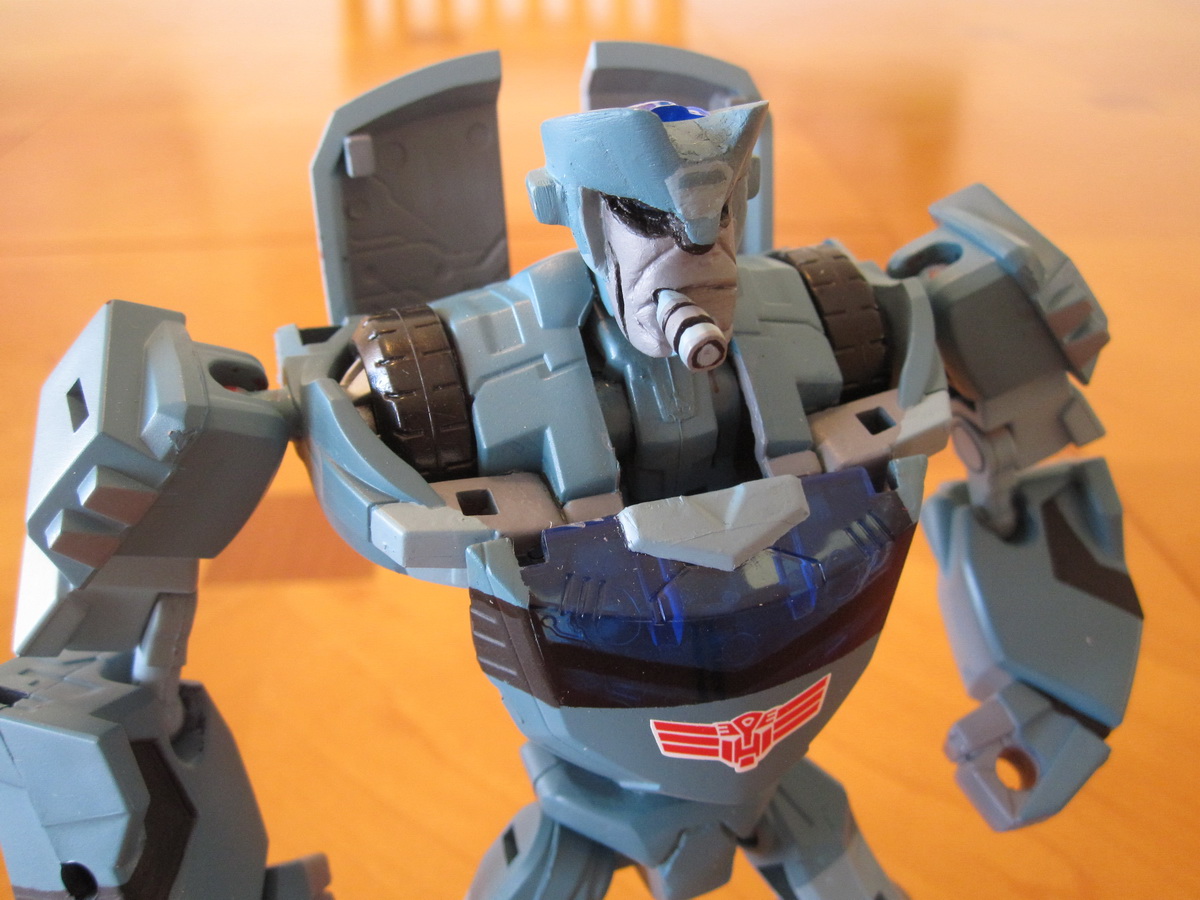
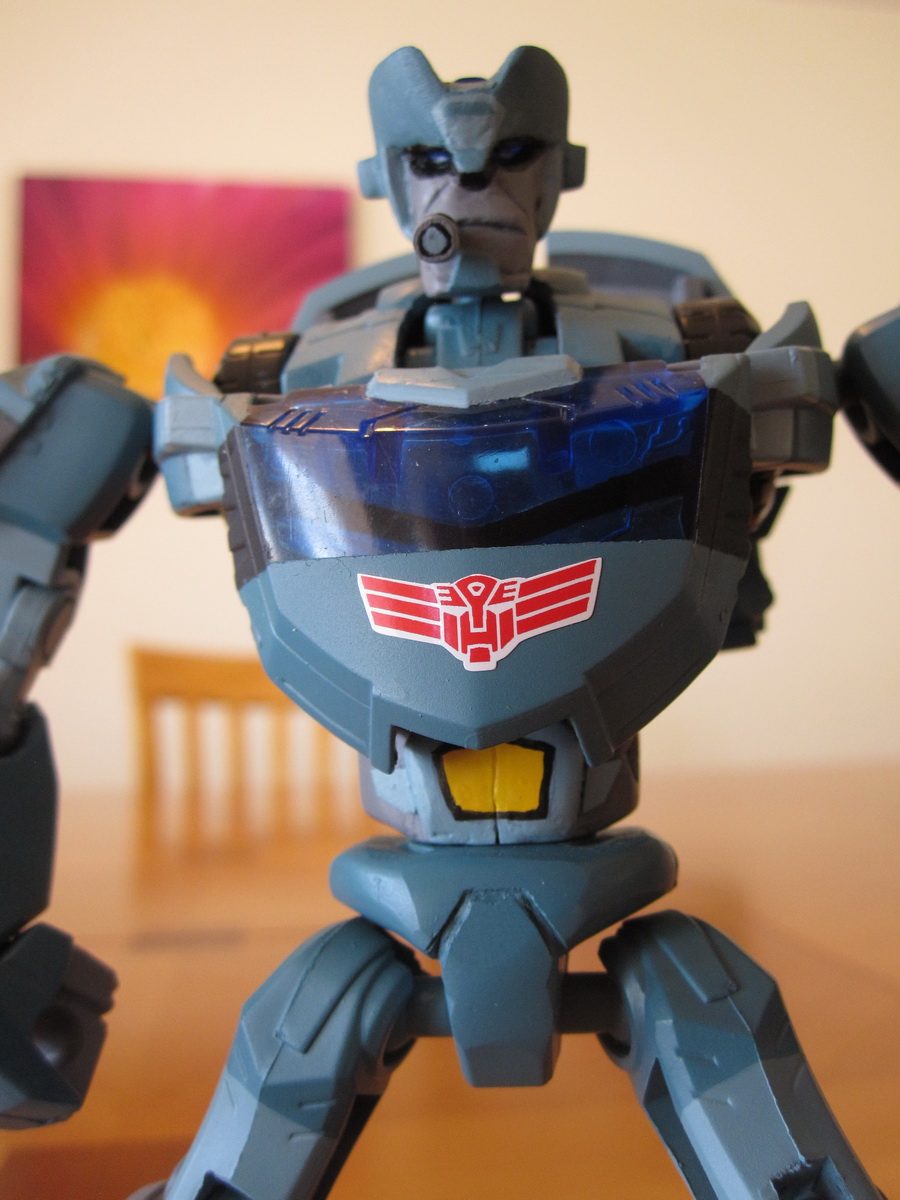
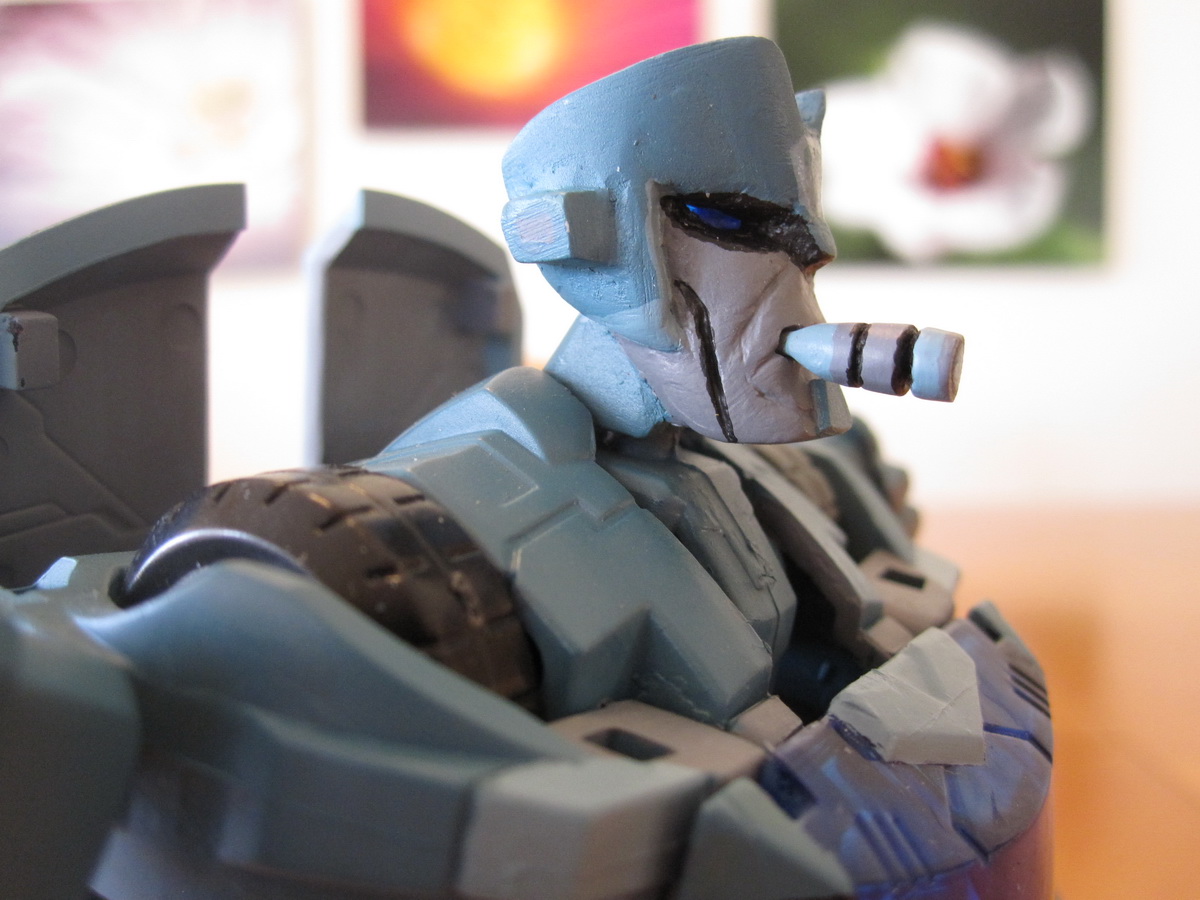
Finally I got to a point where I was happy with the second head. The chin had the shape I wanted, his mouth area was wider, his eyes were “buggier”, and his head crest was more pronounced. Overall both heads looked great, and they looked like Wasp.
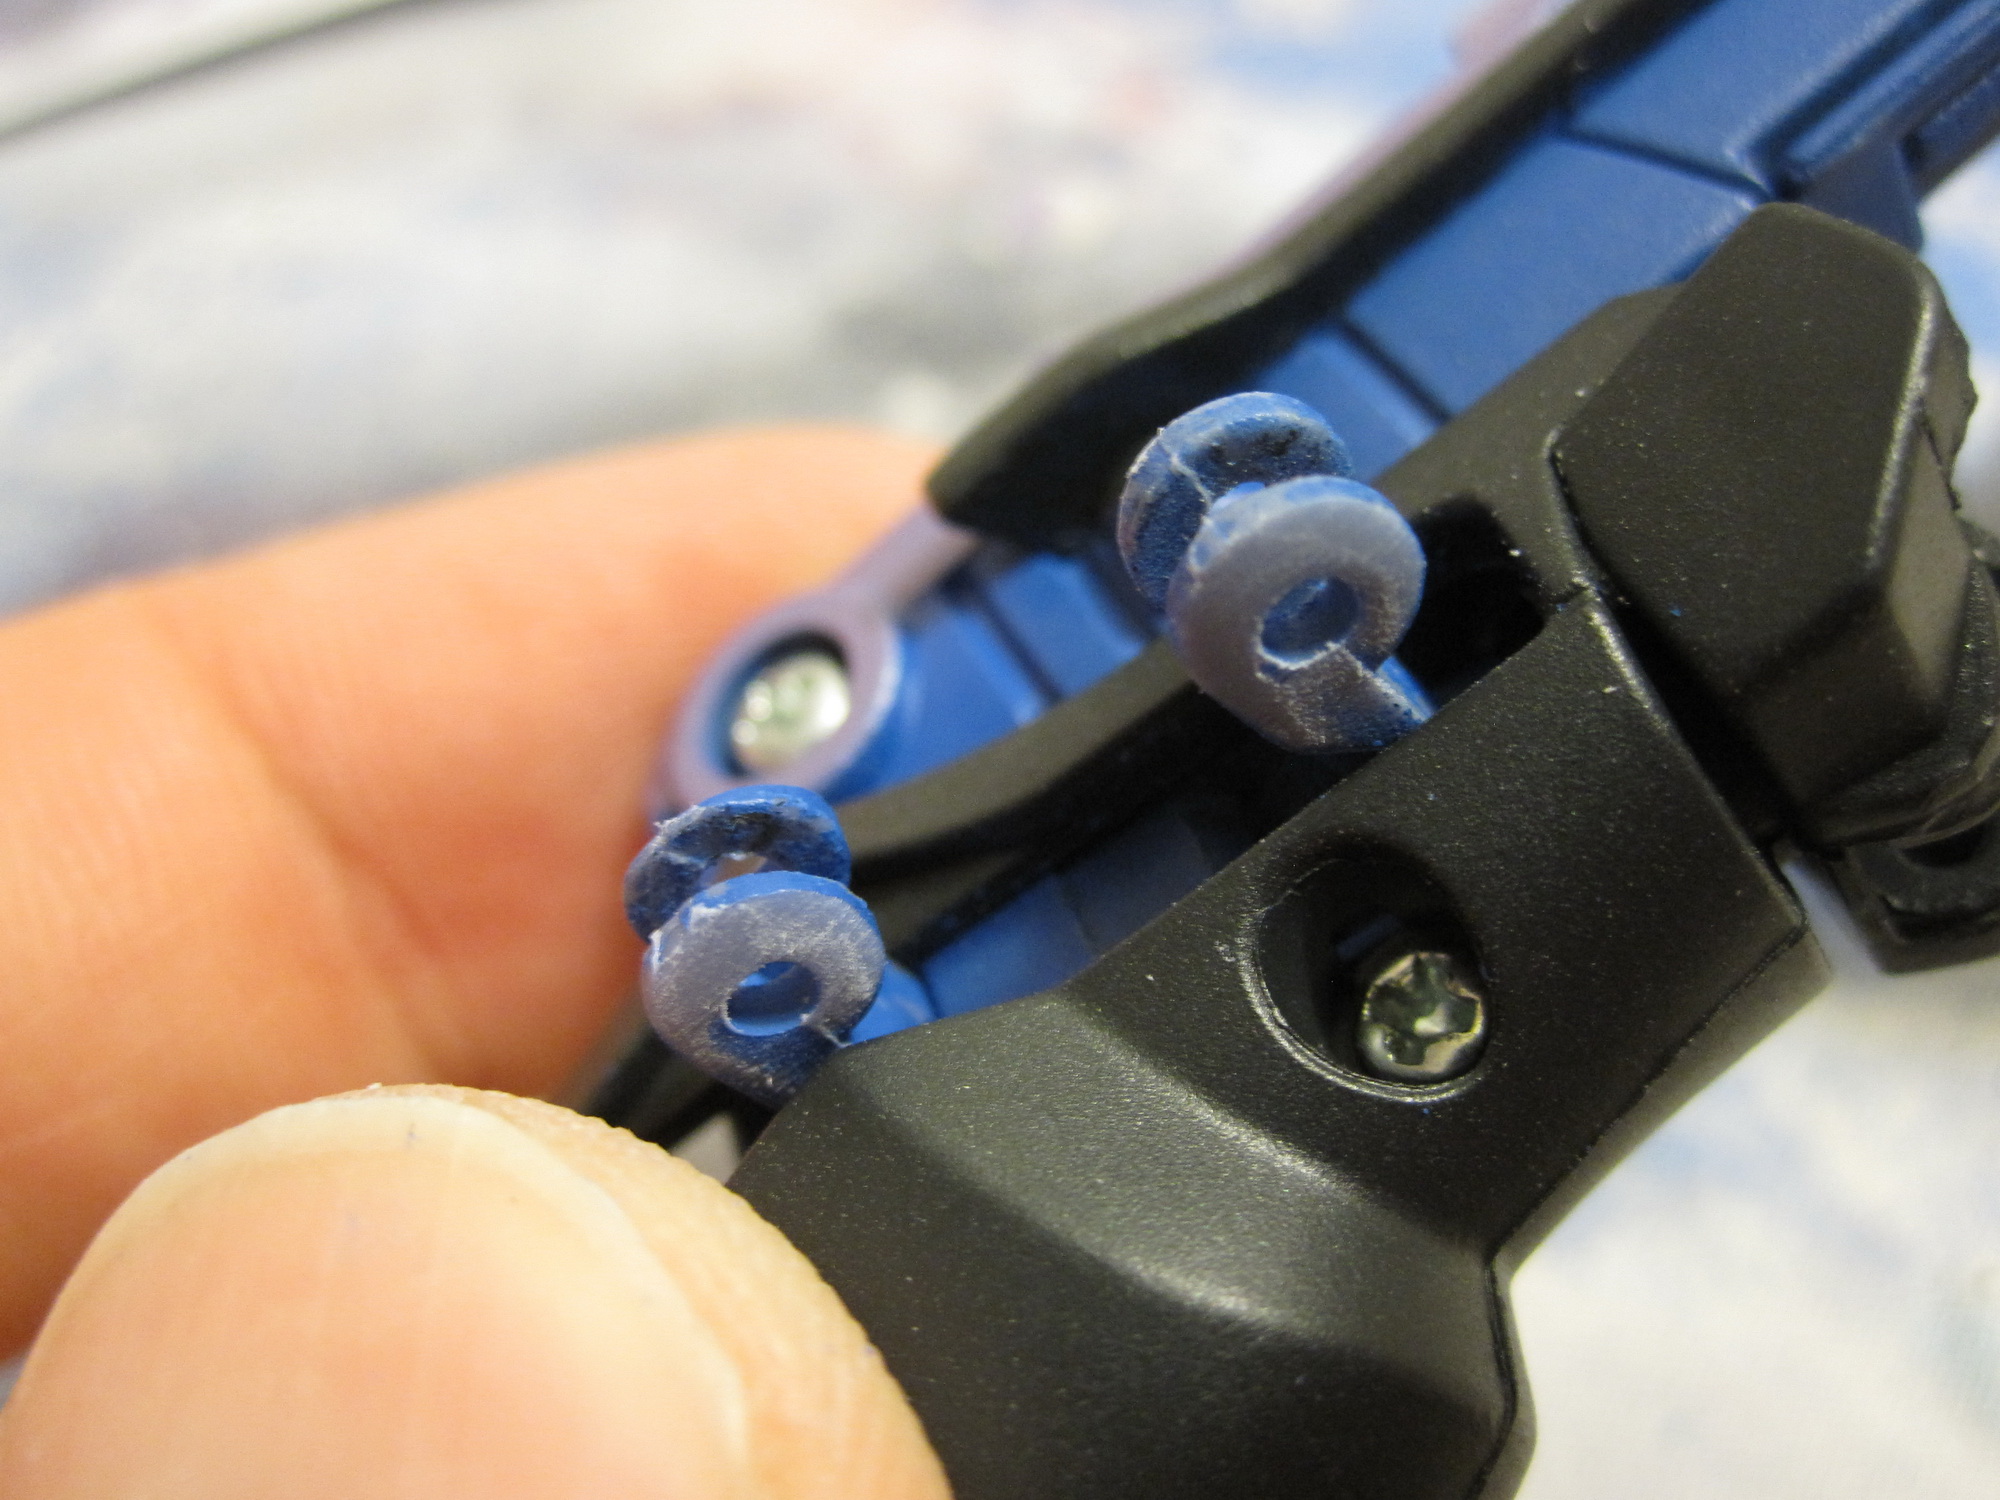
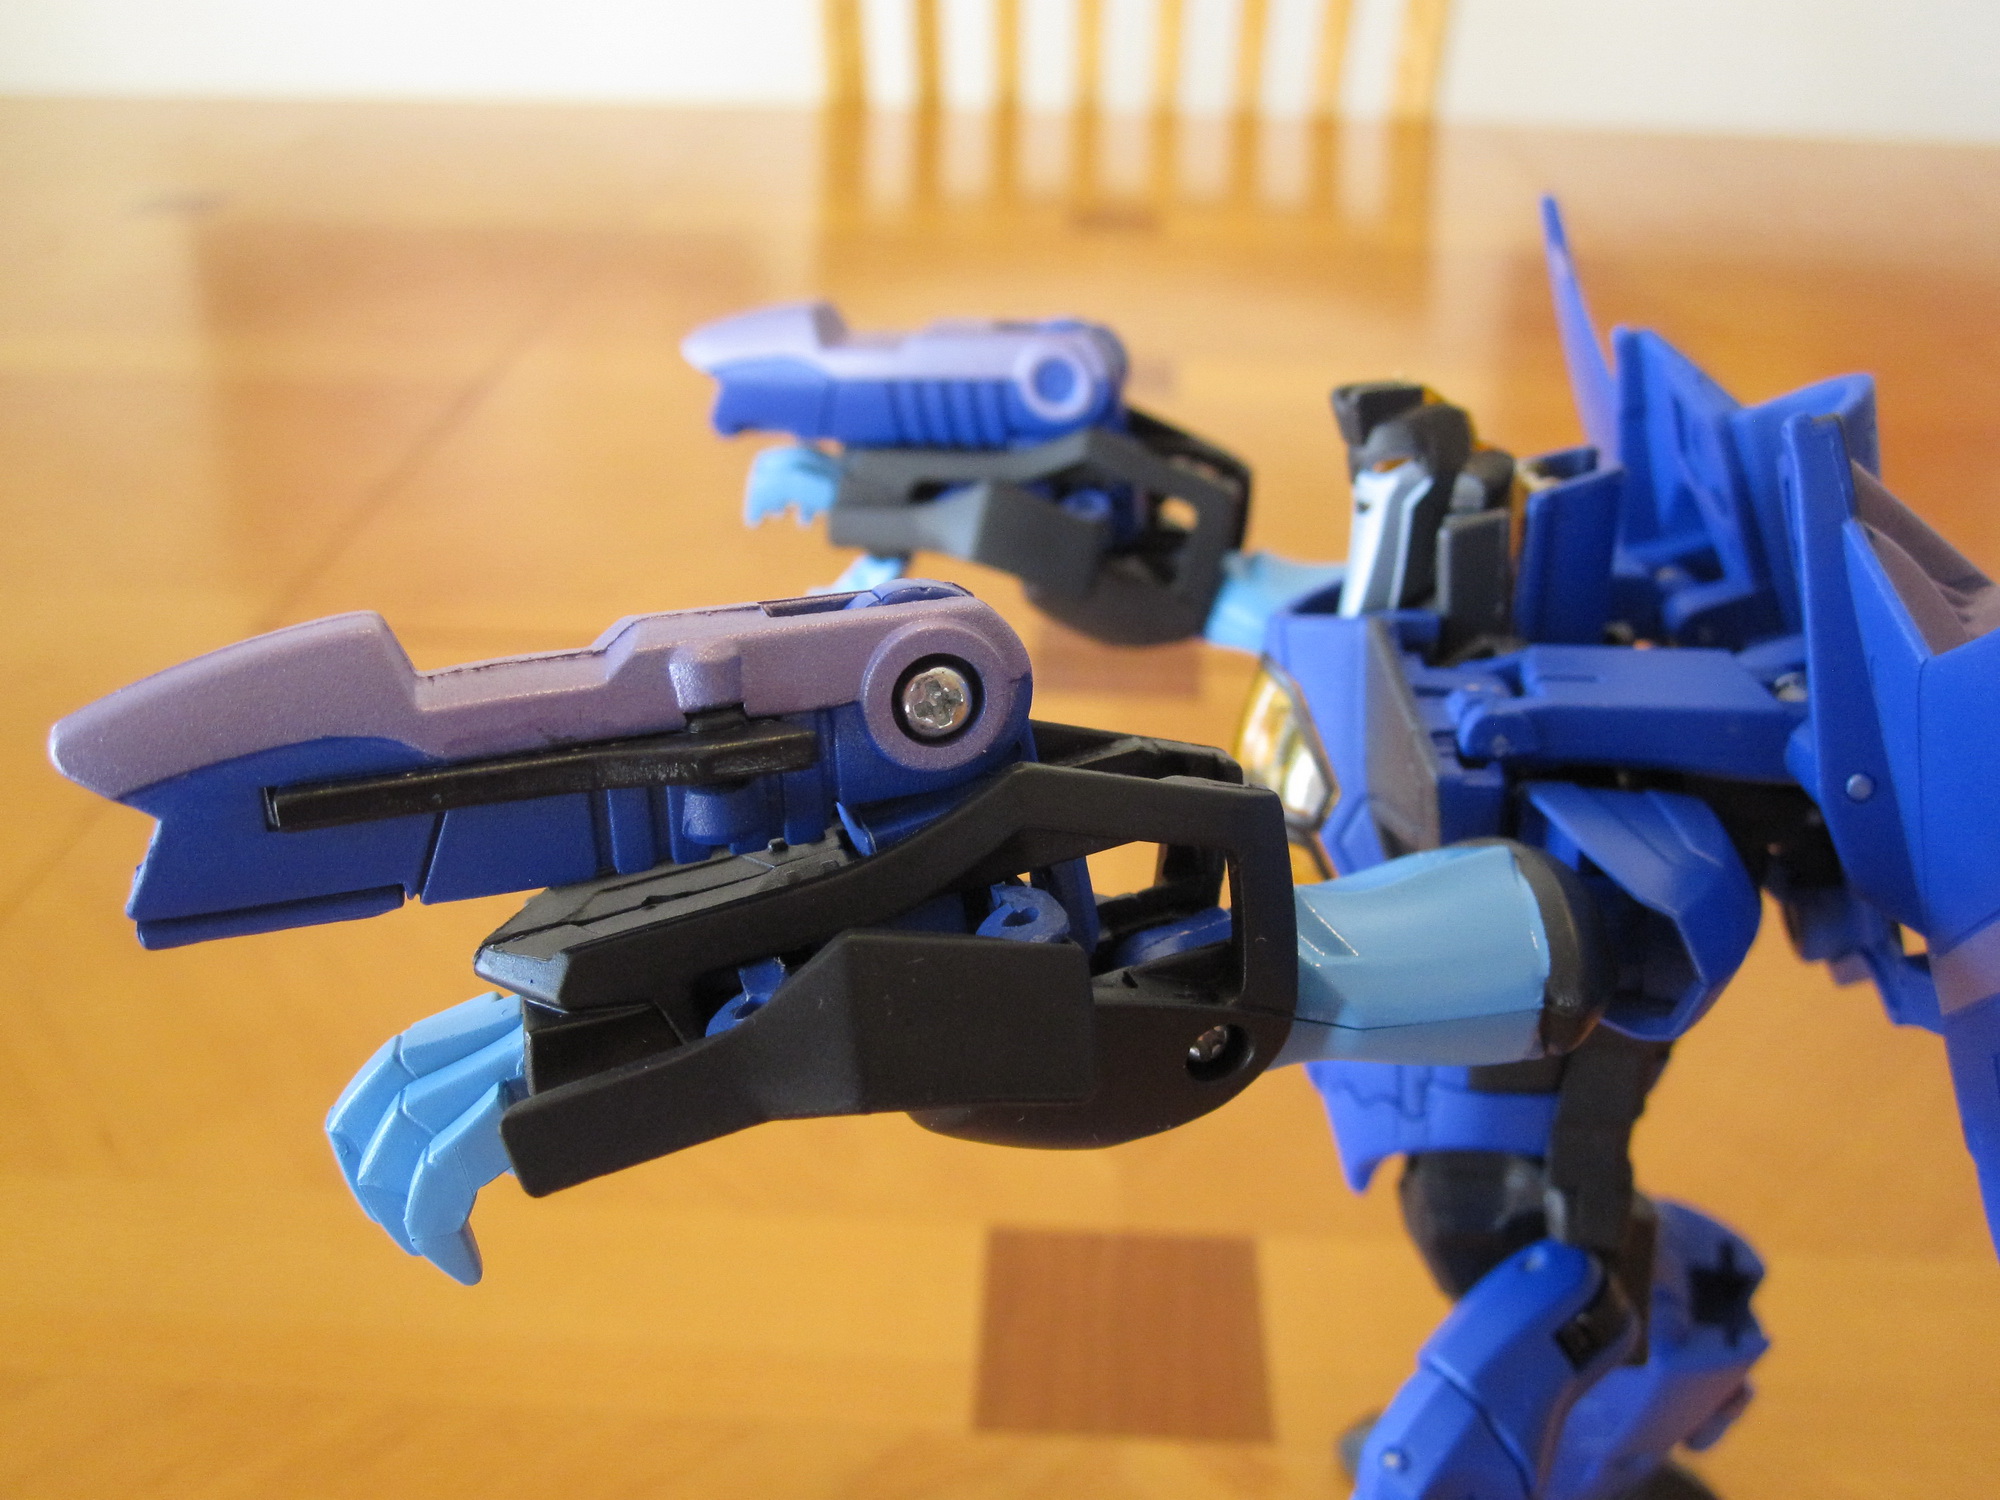
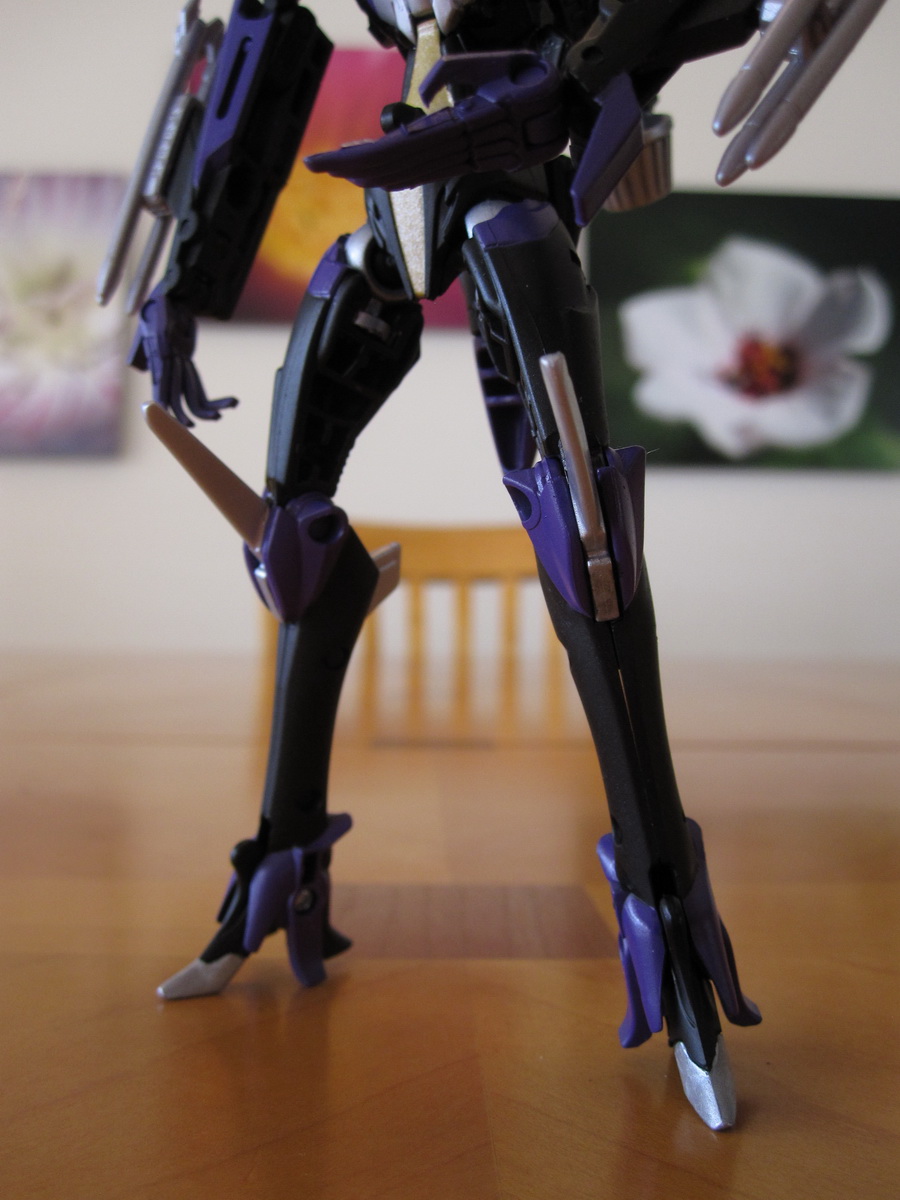
I detoured briefly and decided to carve out their hands so they would have claw-ish hands instead of Bumblebee’s square fingers. Using sanding sticks and a hobby knife, I trimmed down the hands until I was happy with them.
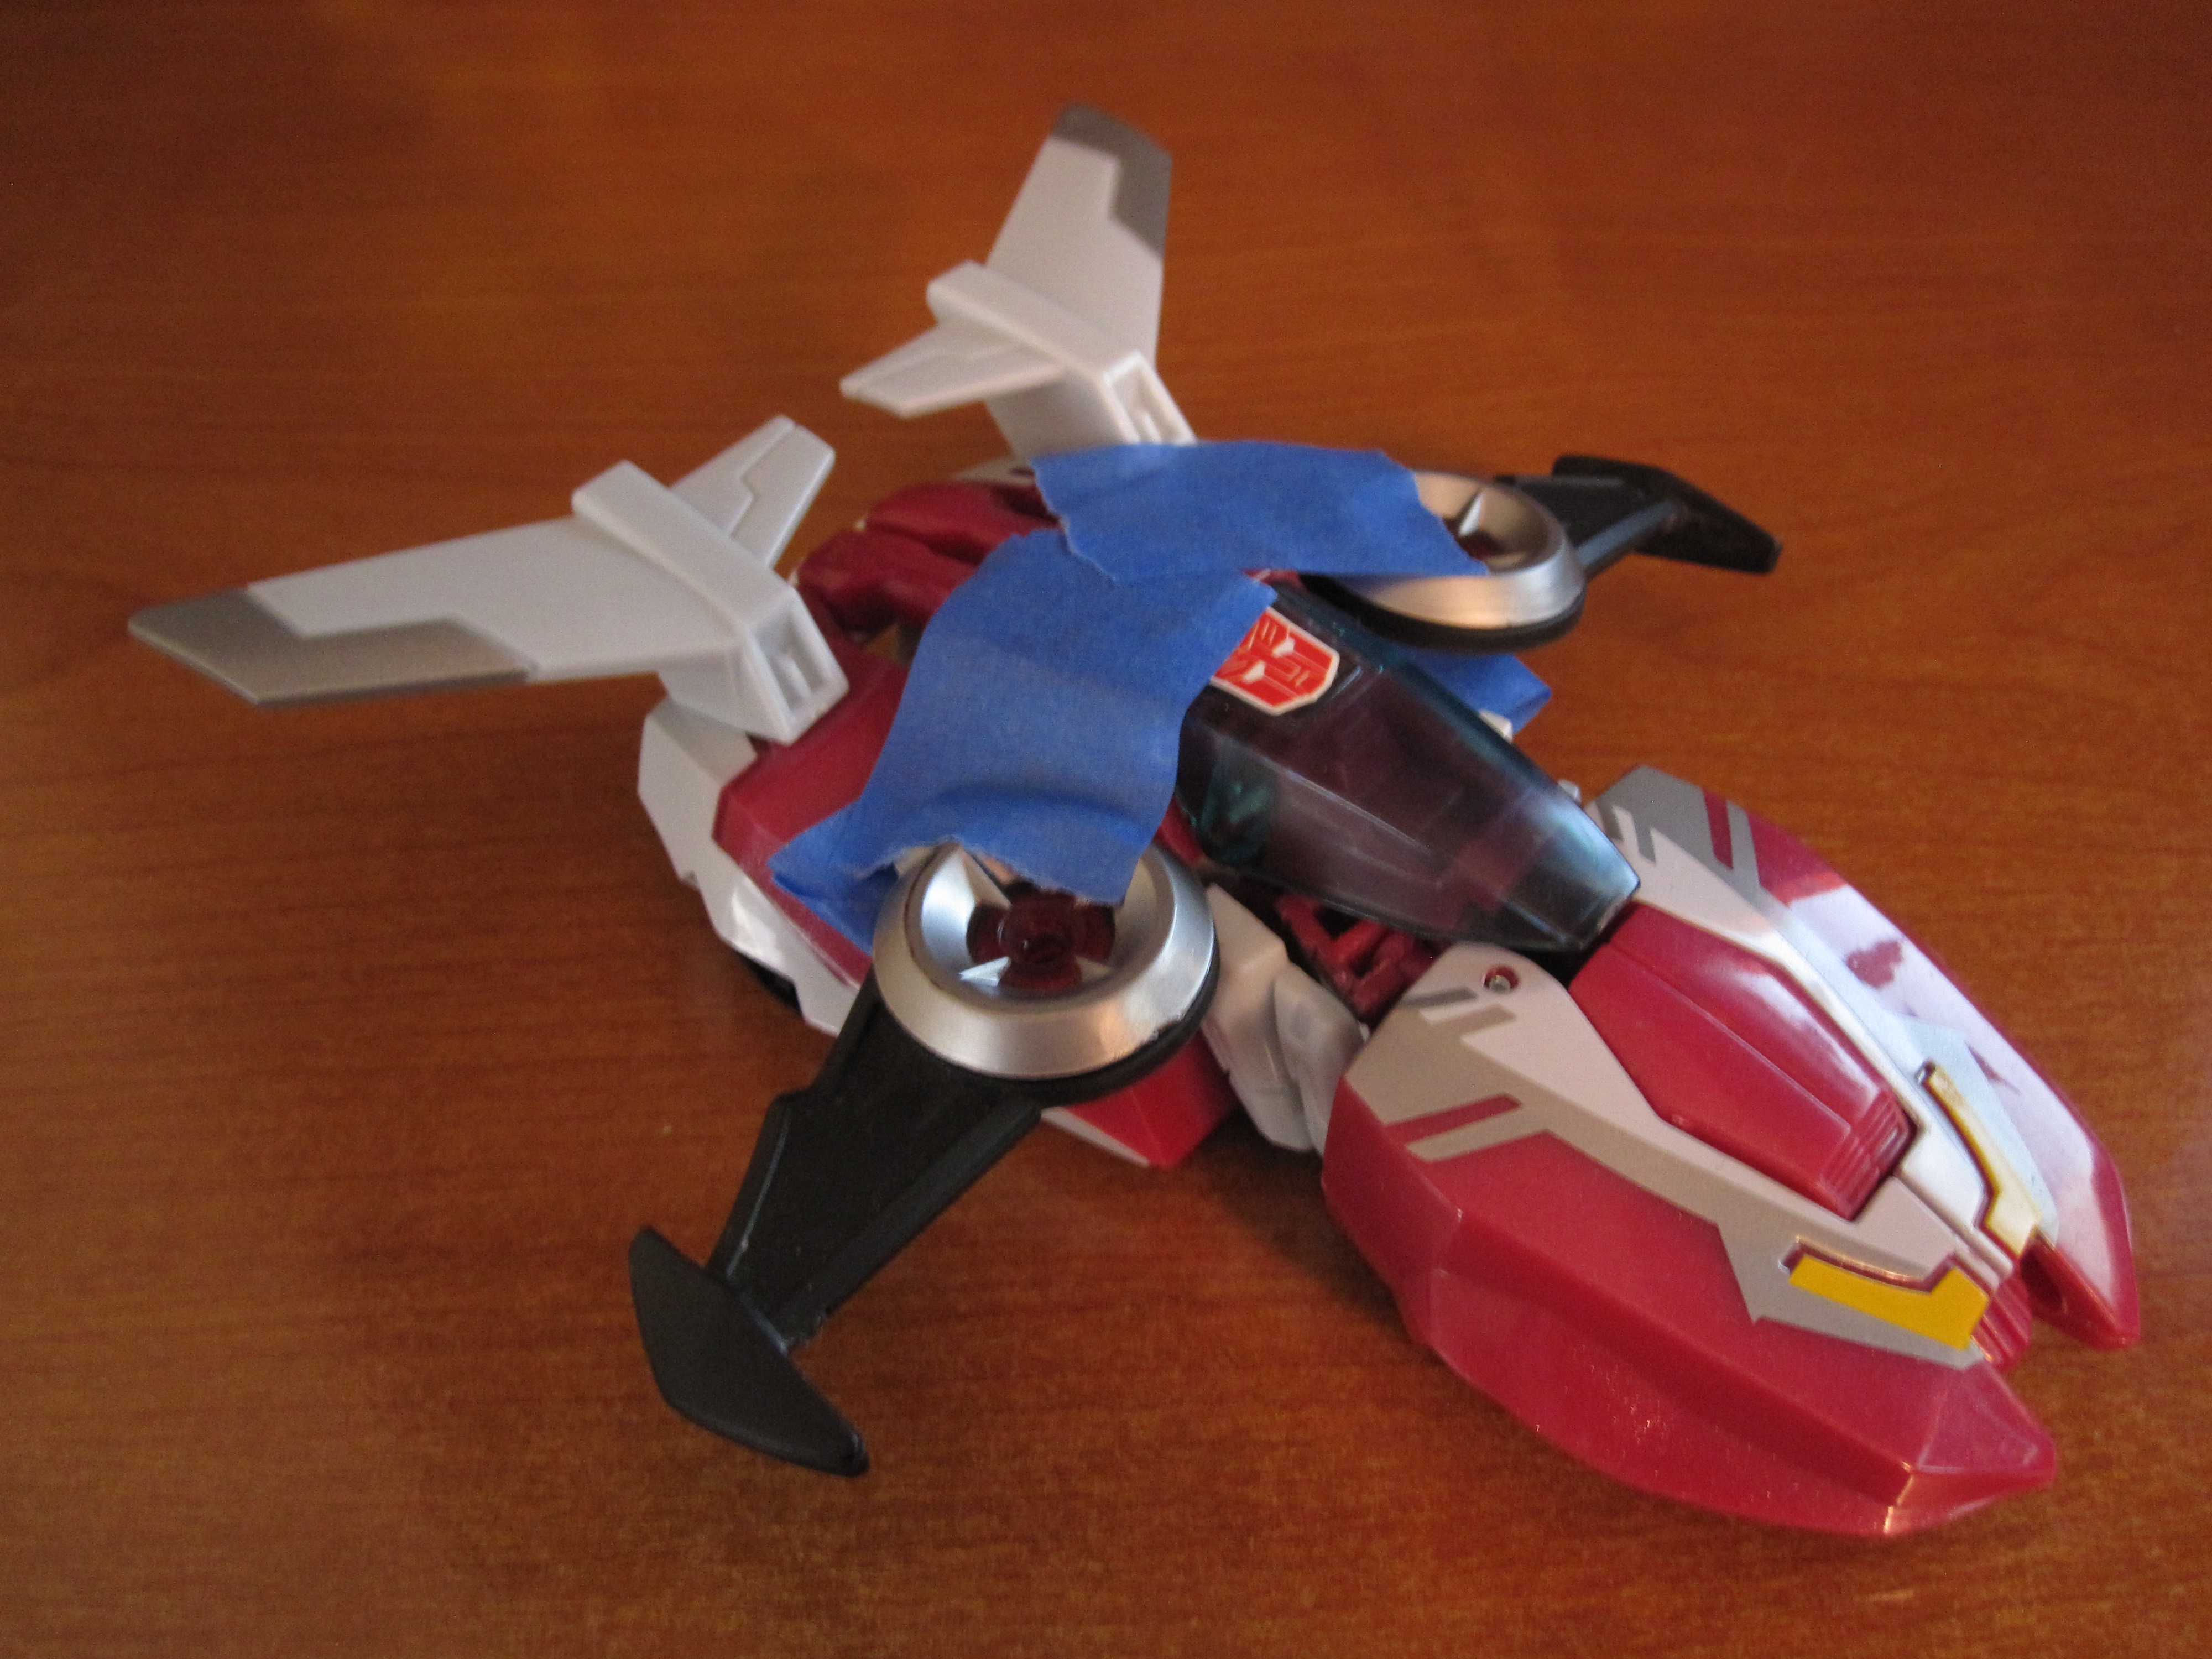
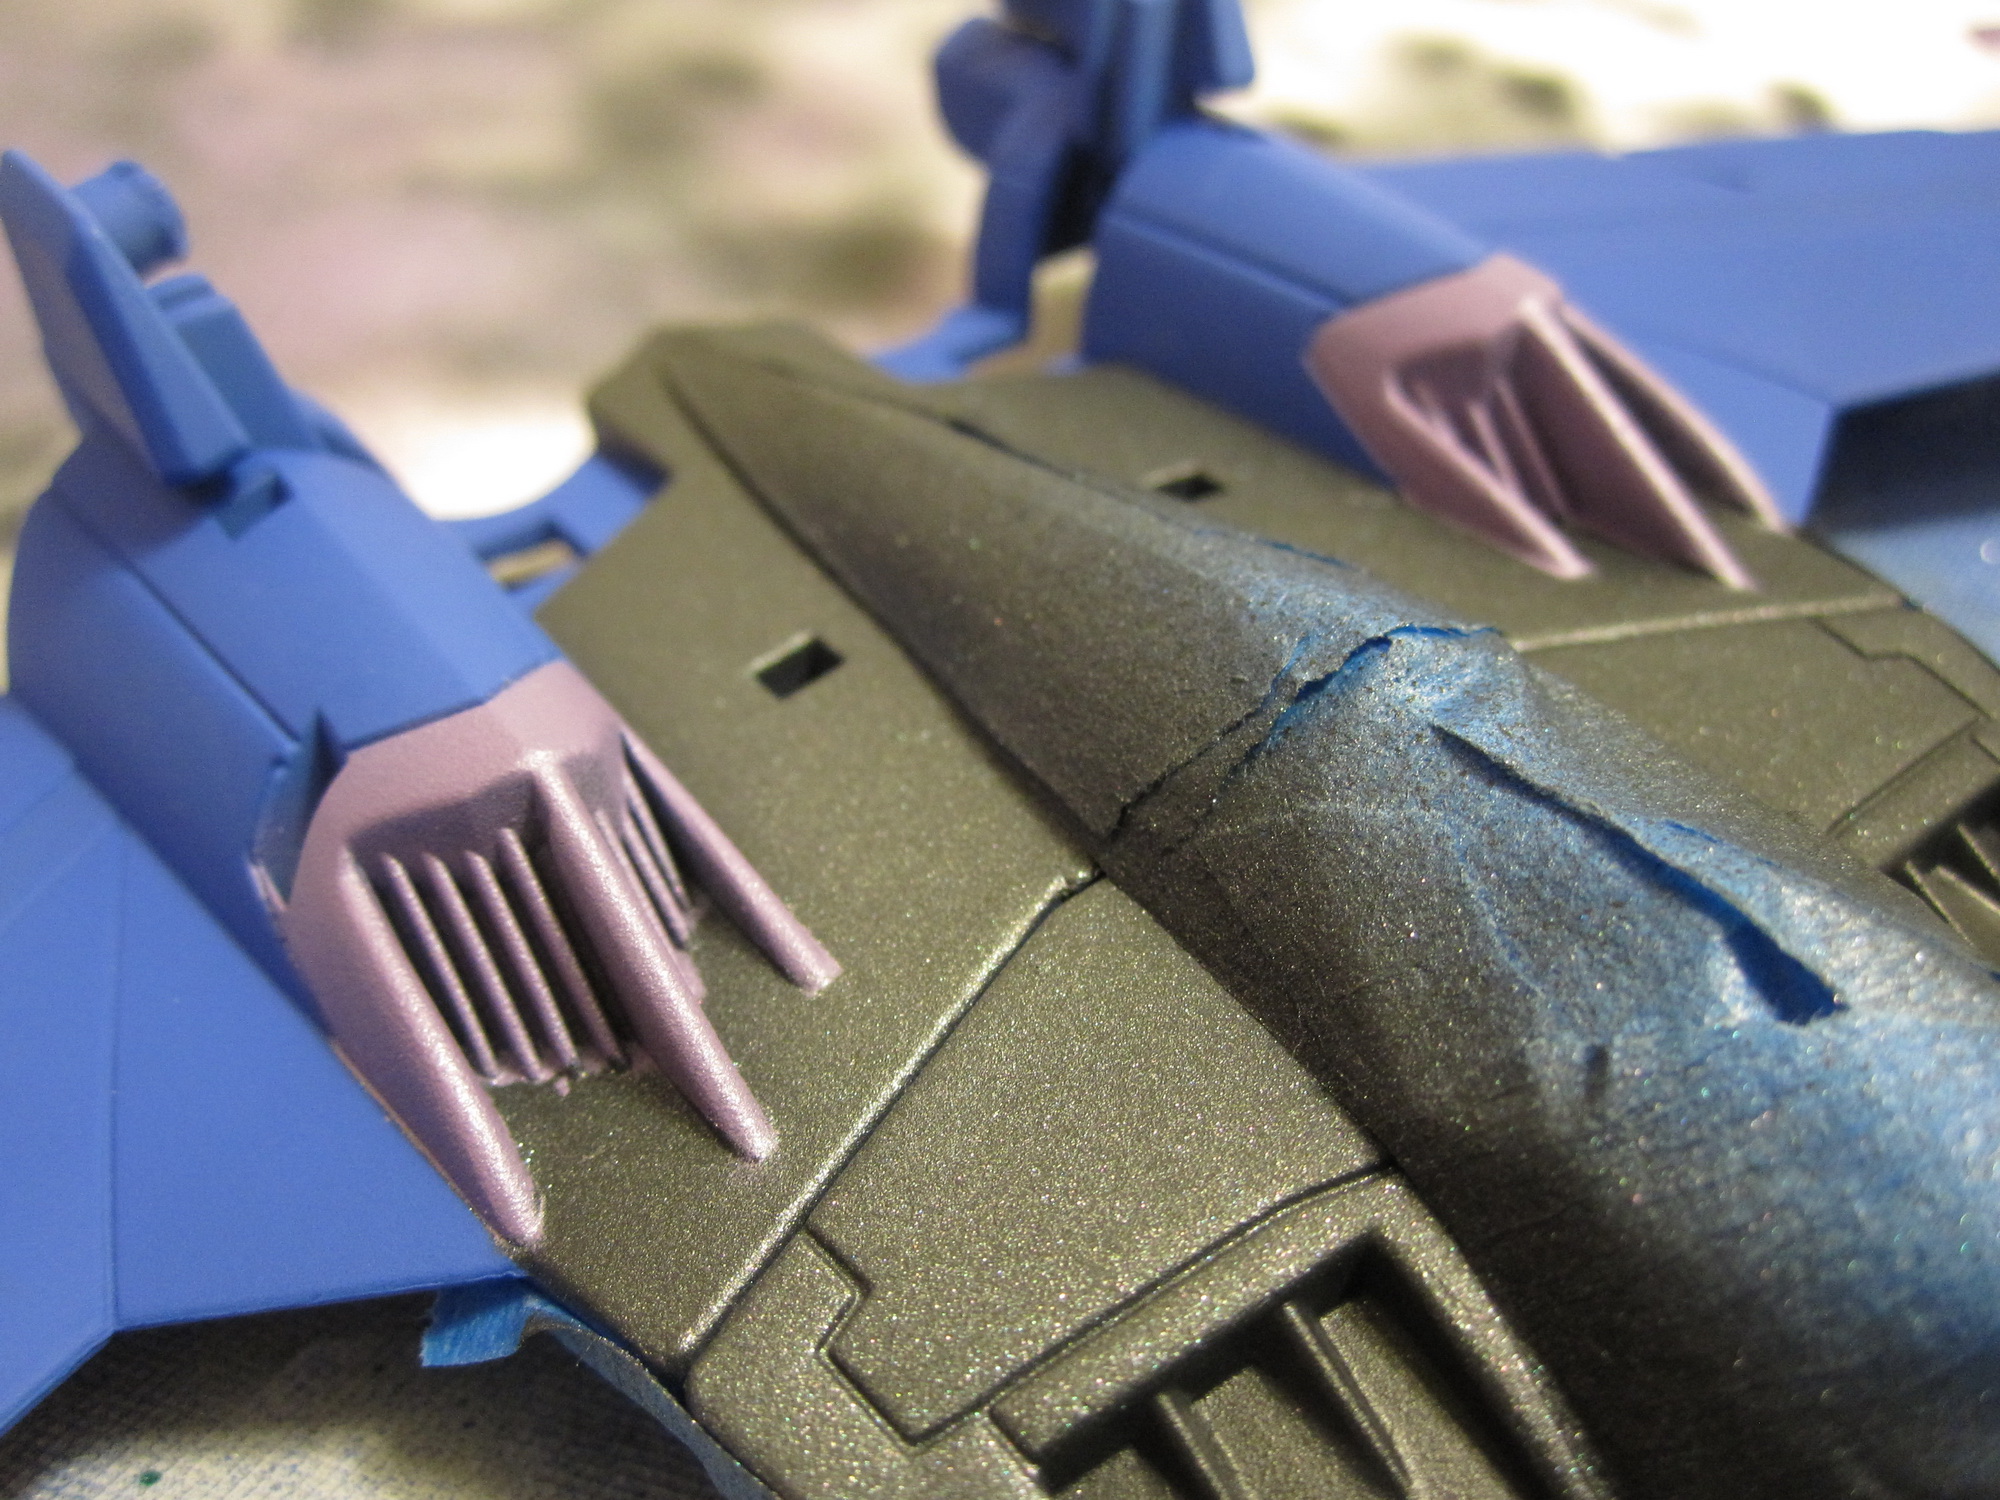
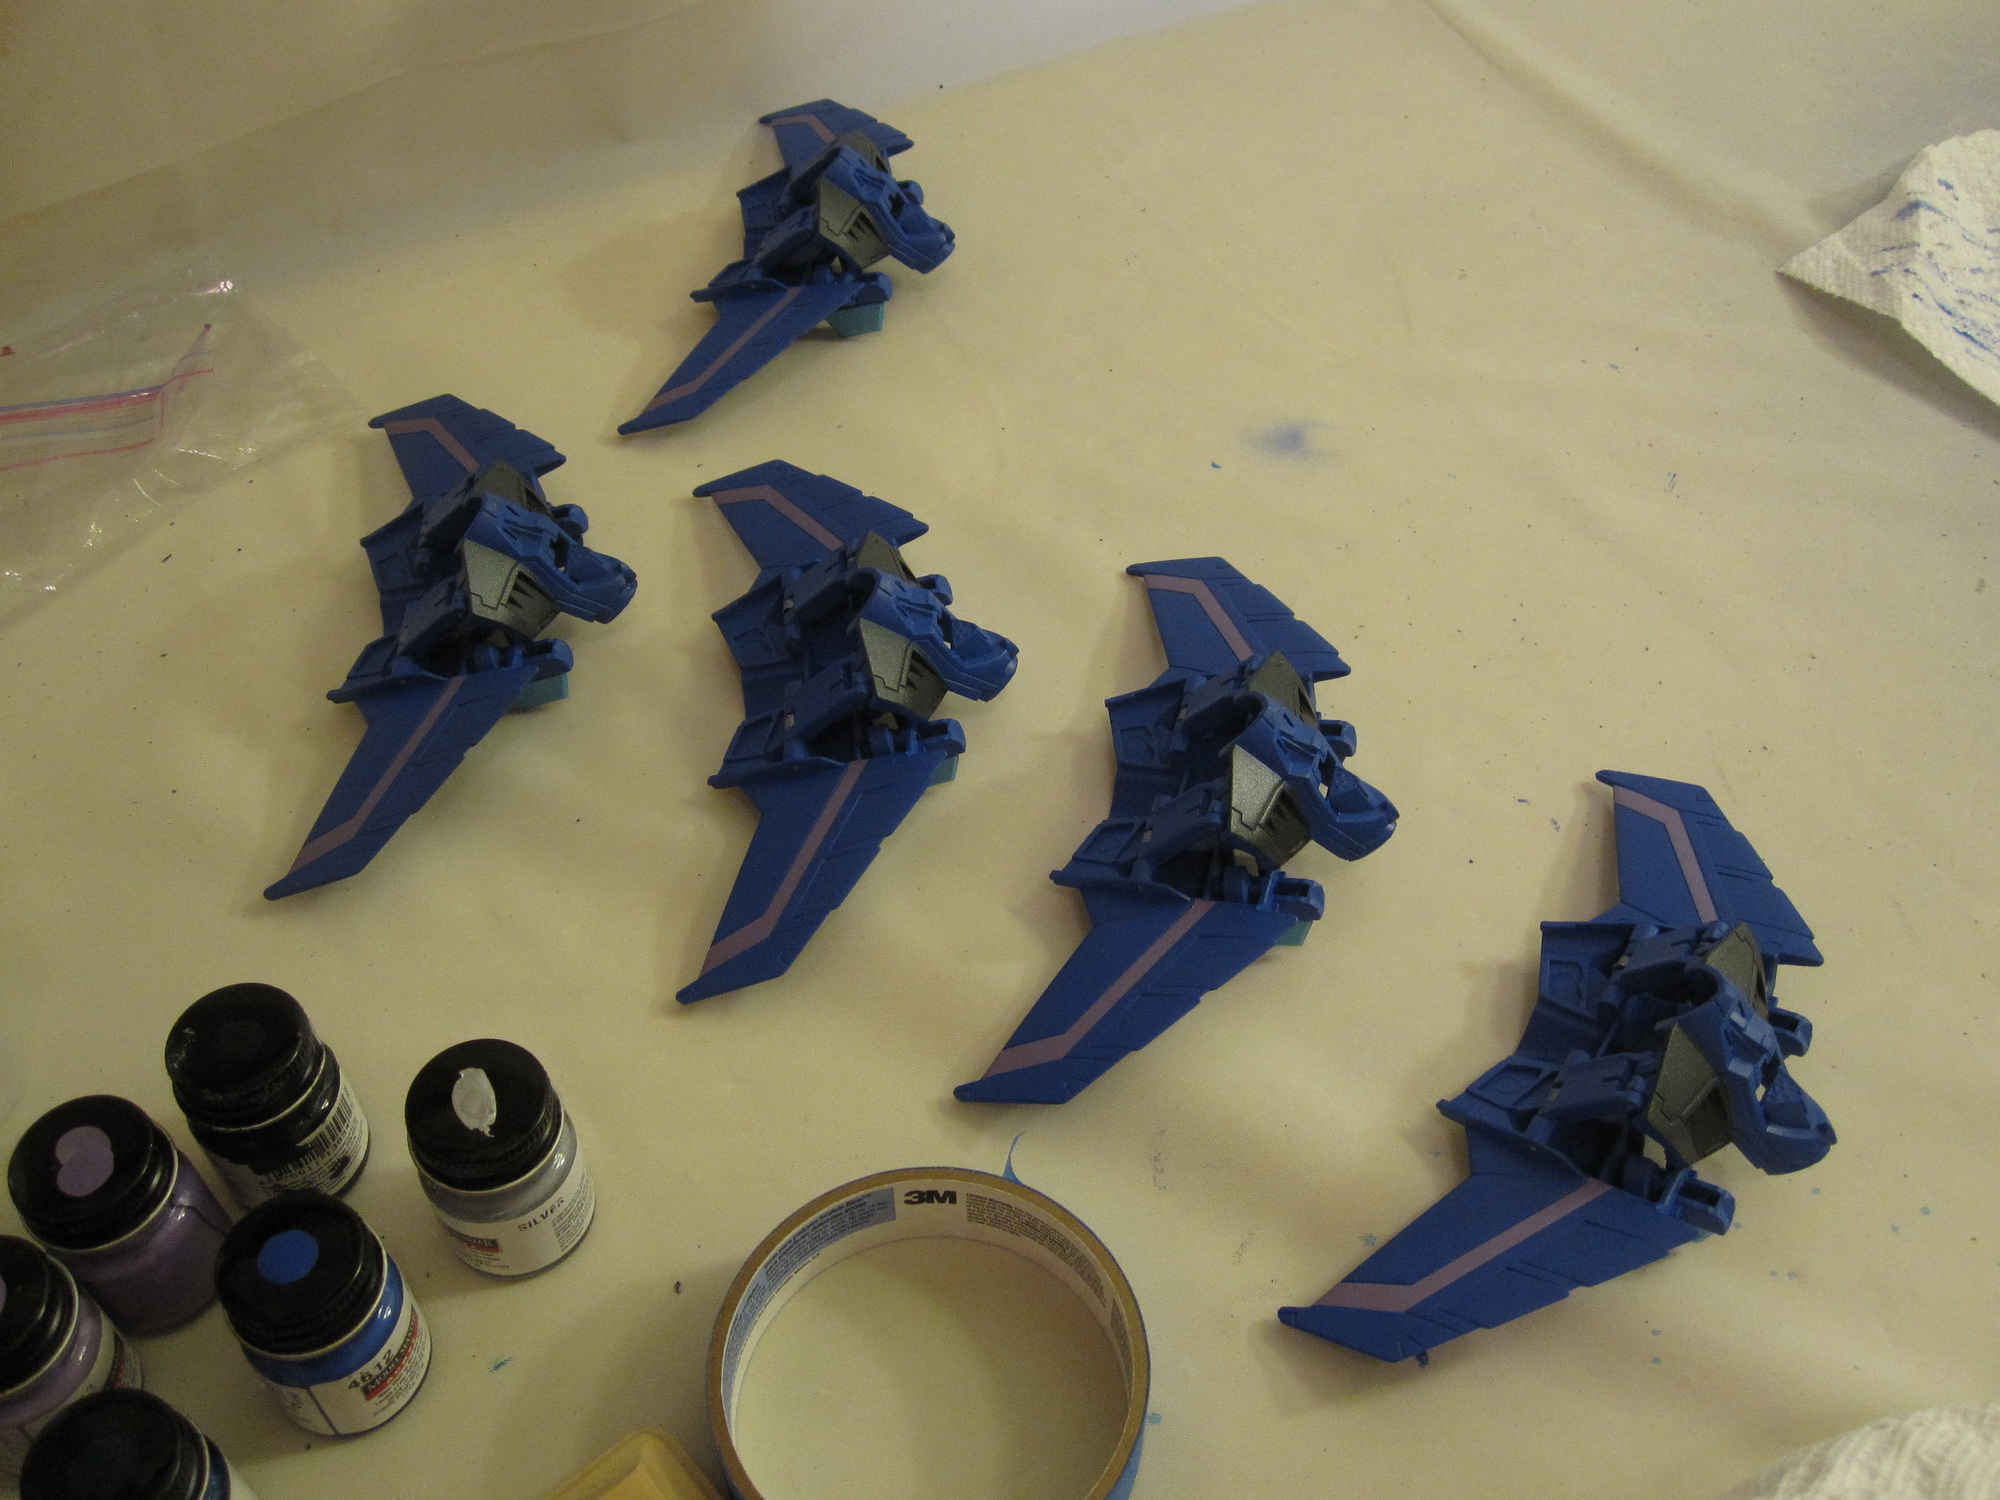
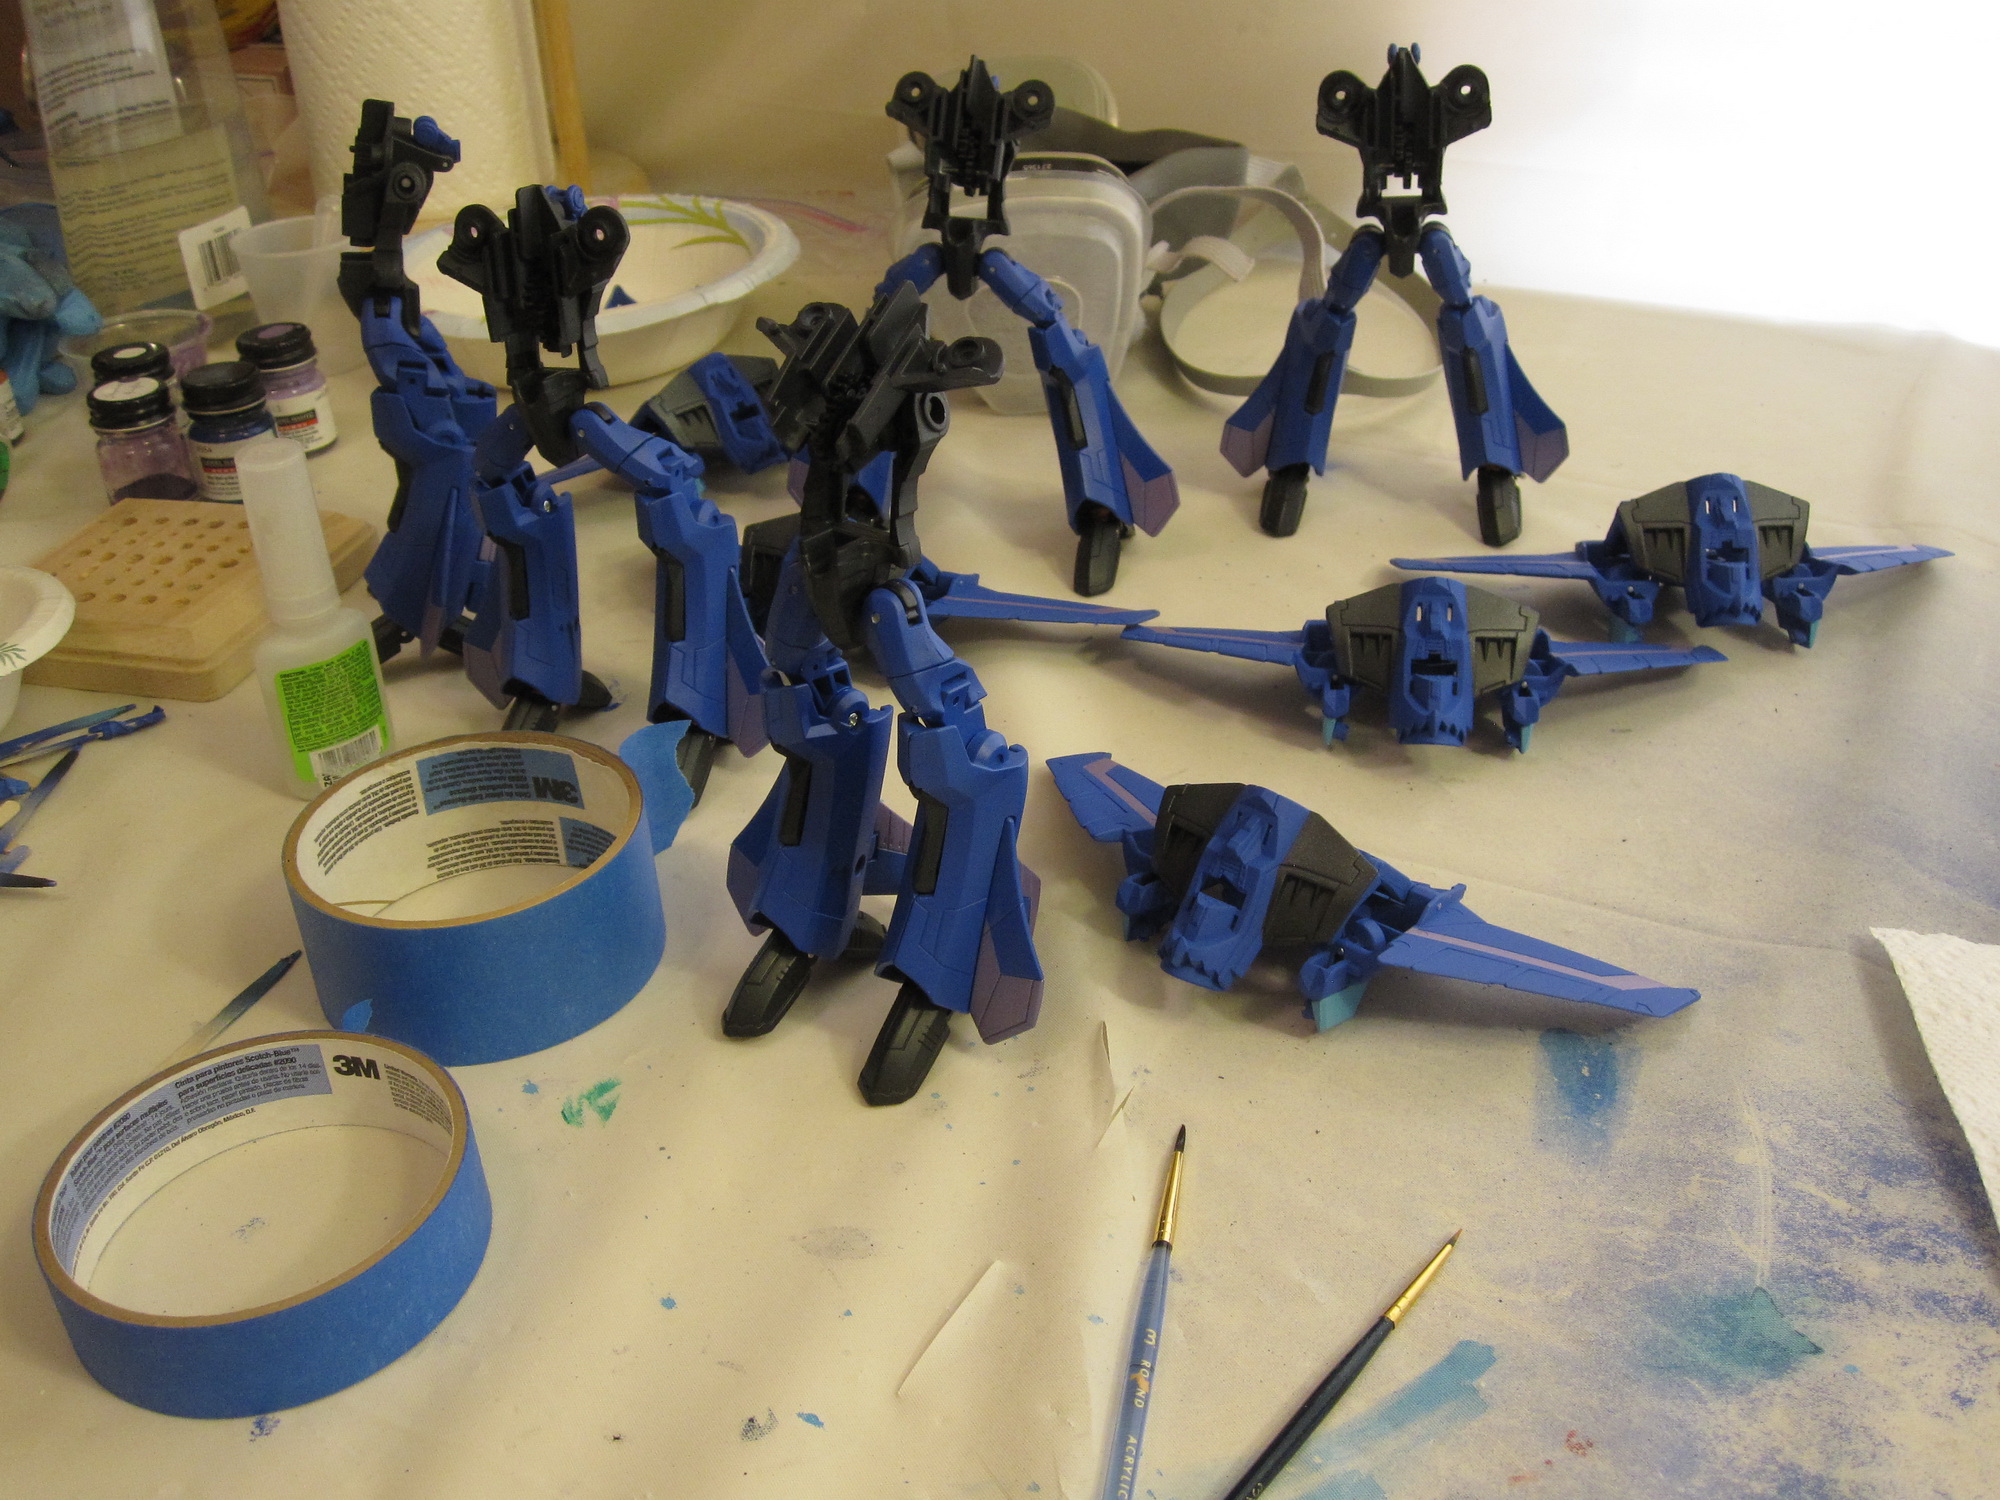
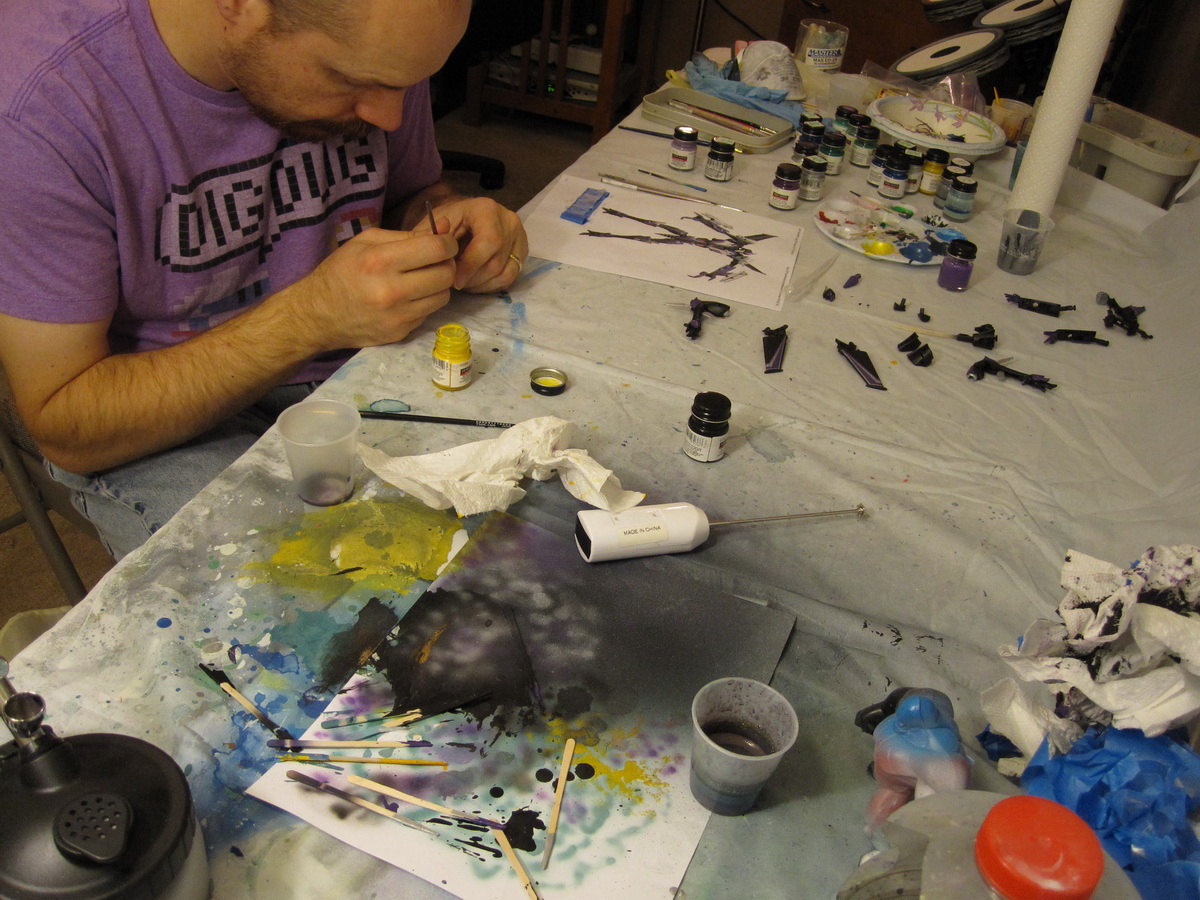
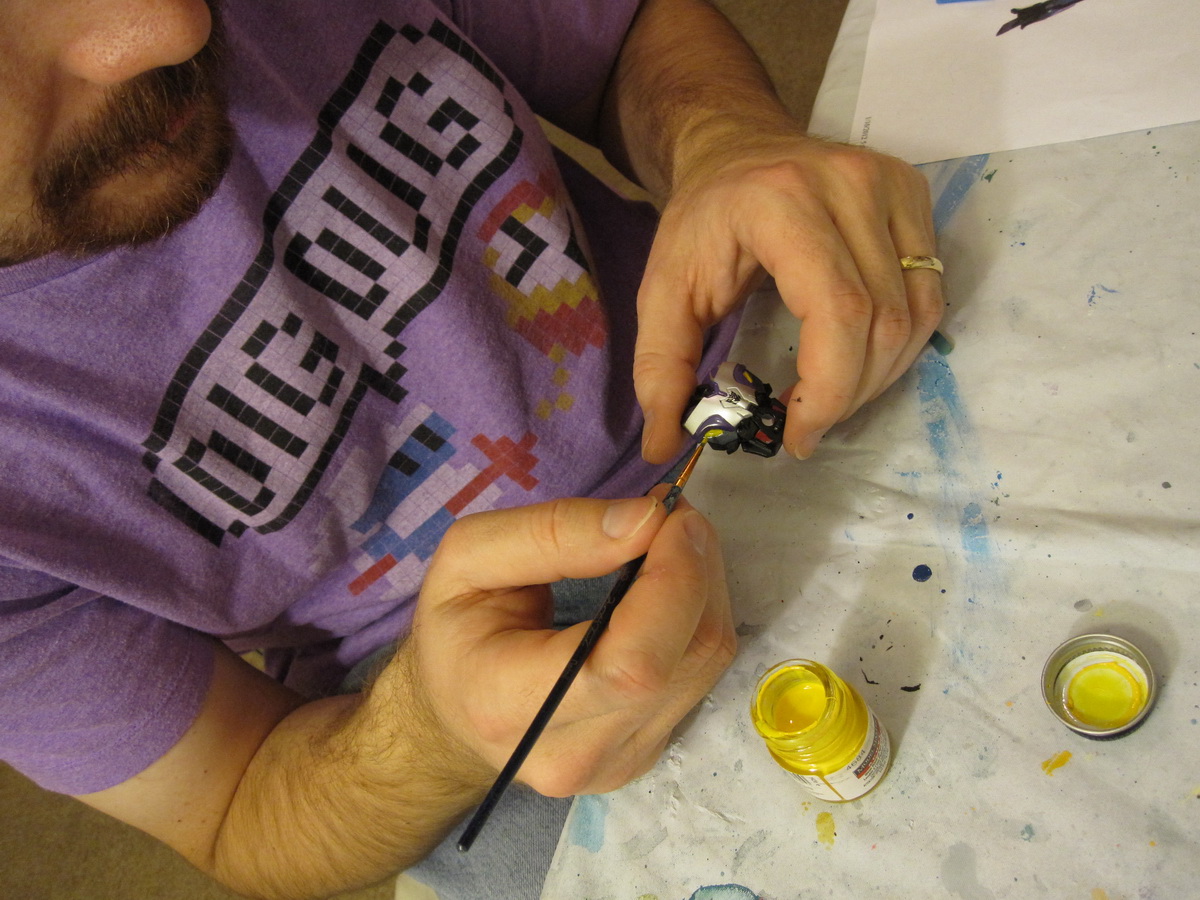
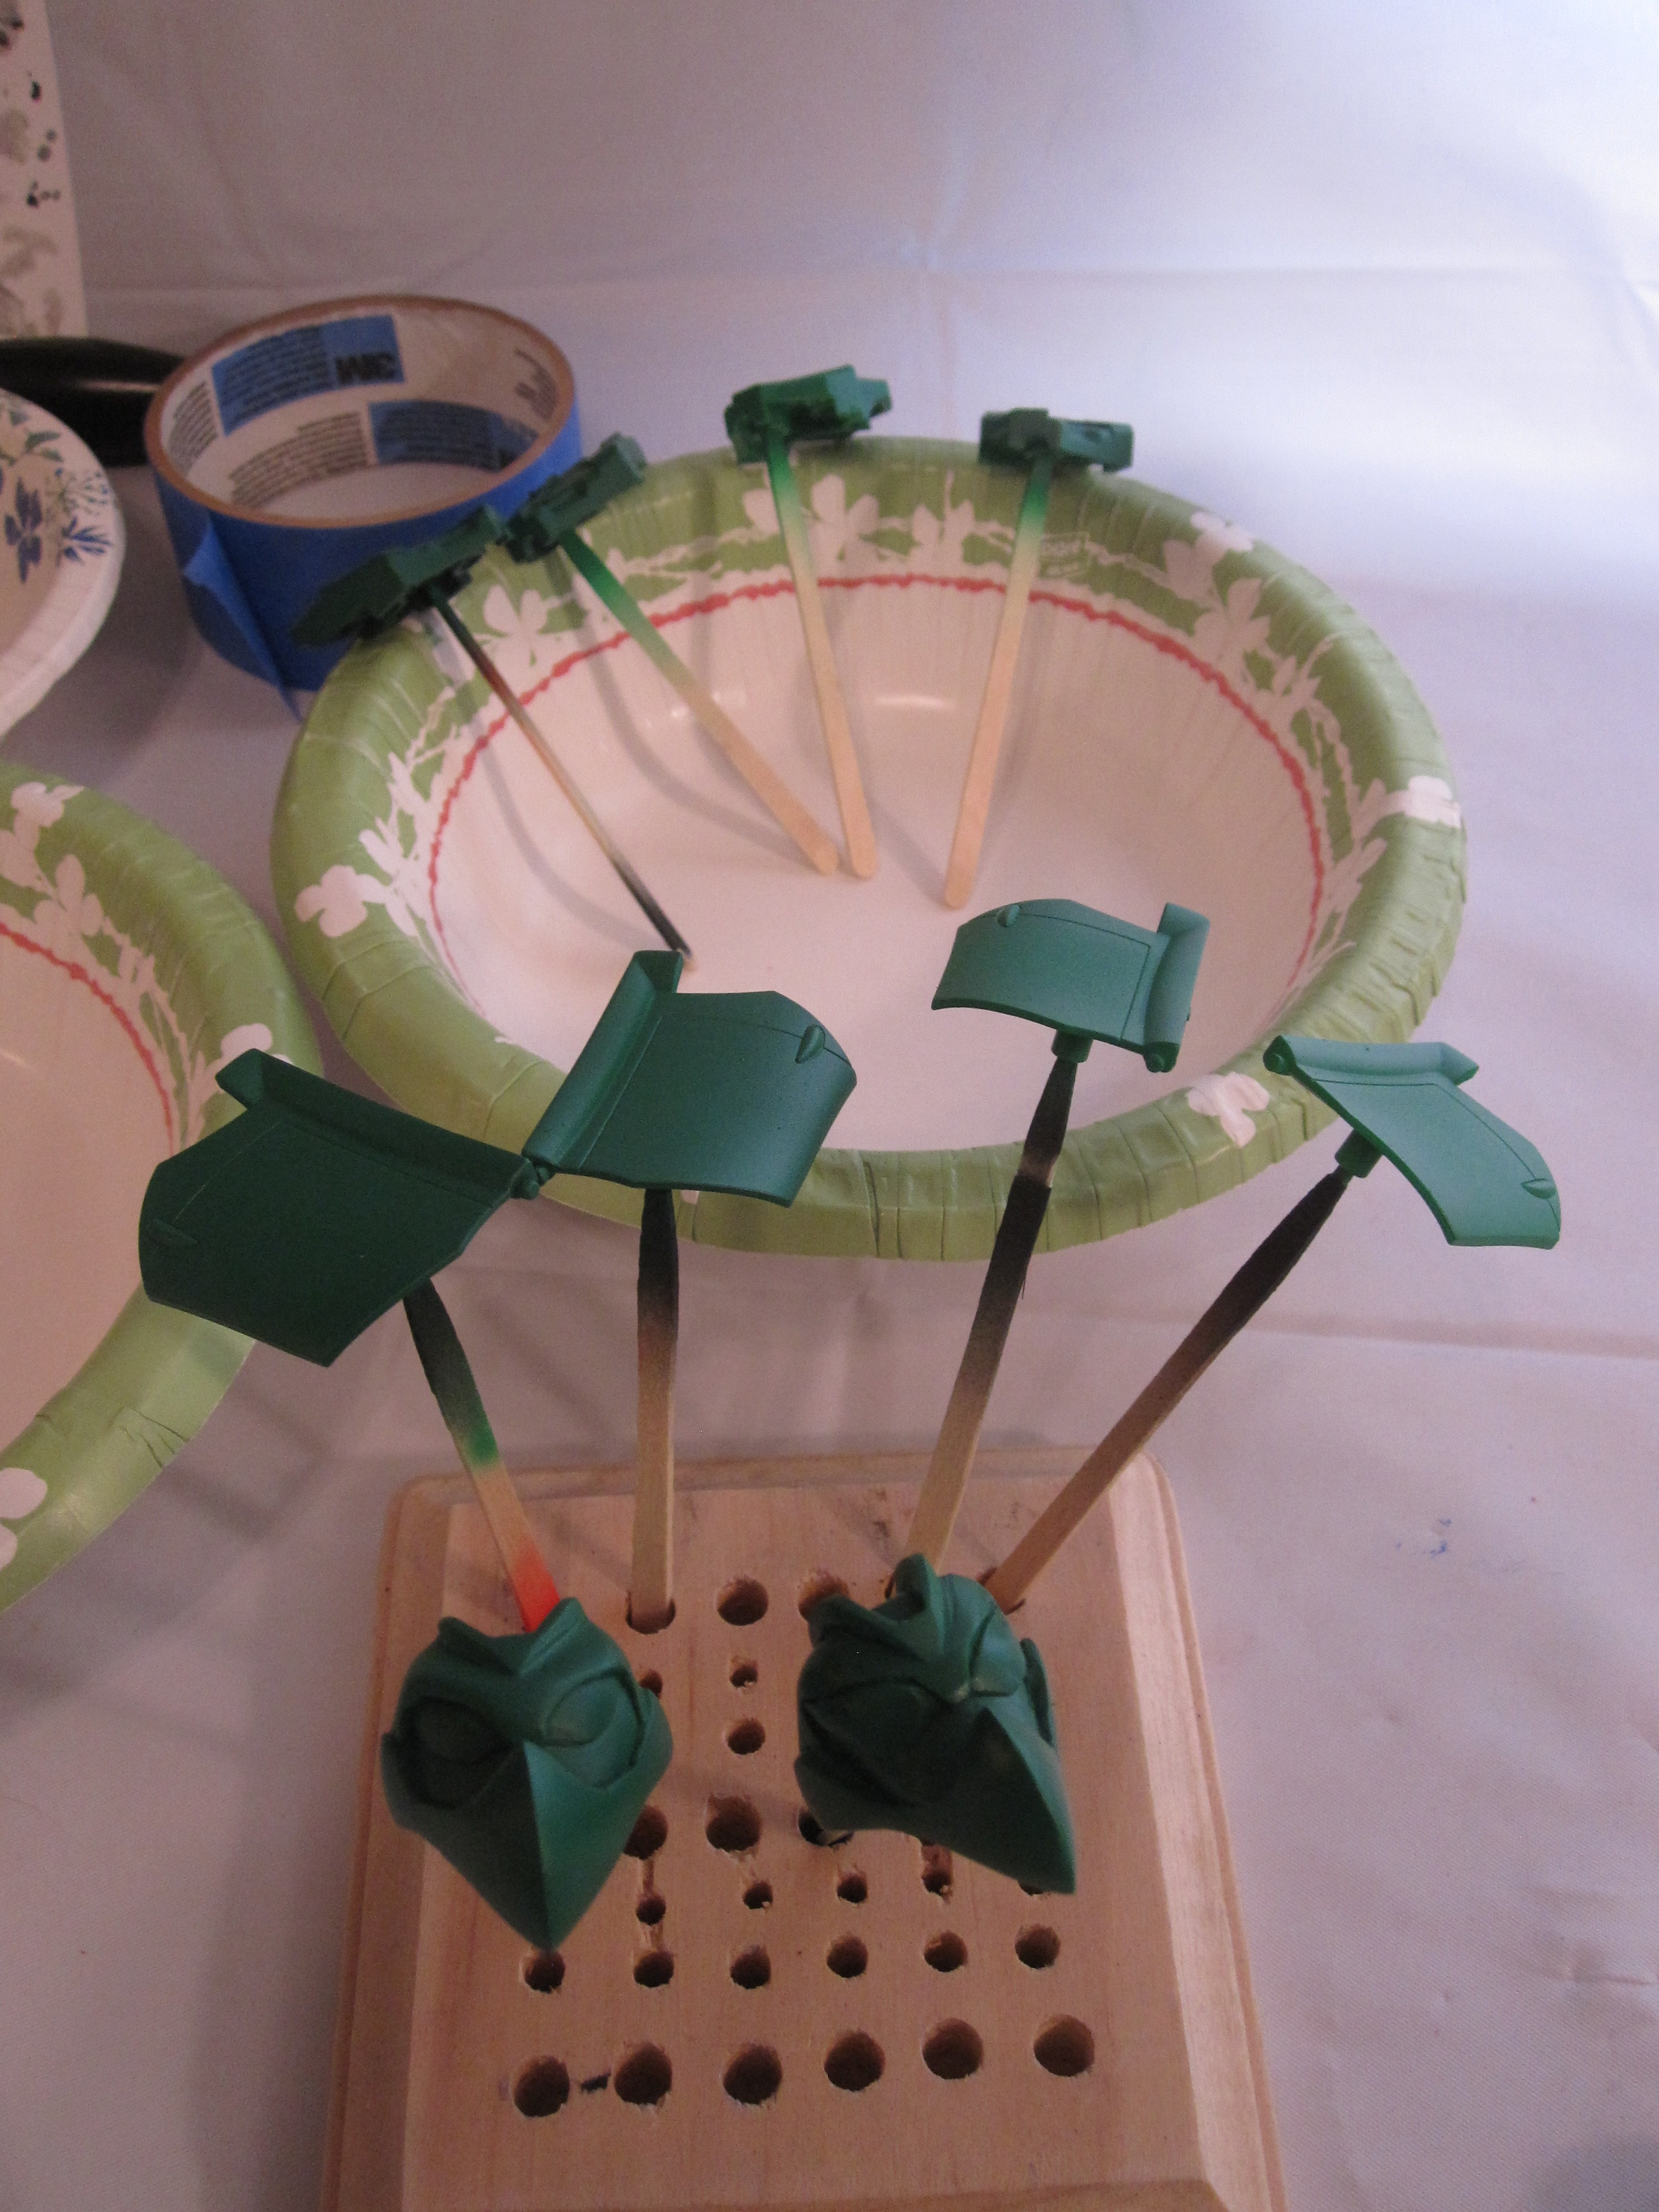 Then it was off to start painting. I started with the heads and the door panels, and everything looked fine at first. It seemed as though the Model Master Acryl Gloss Green I chose would work.
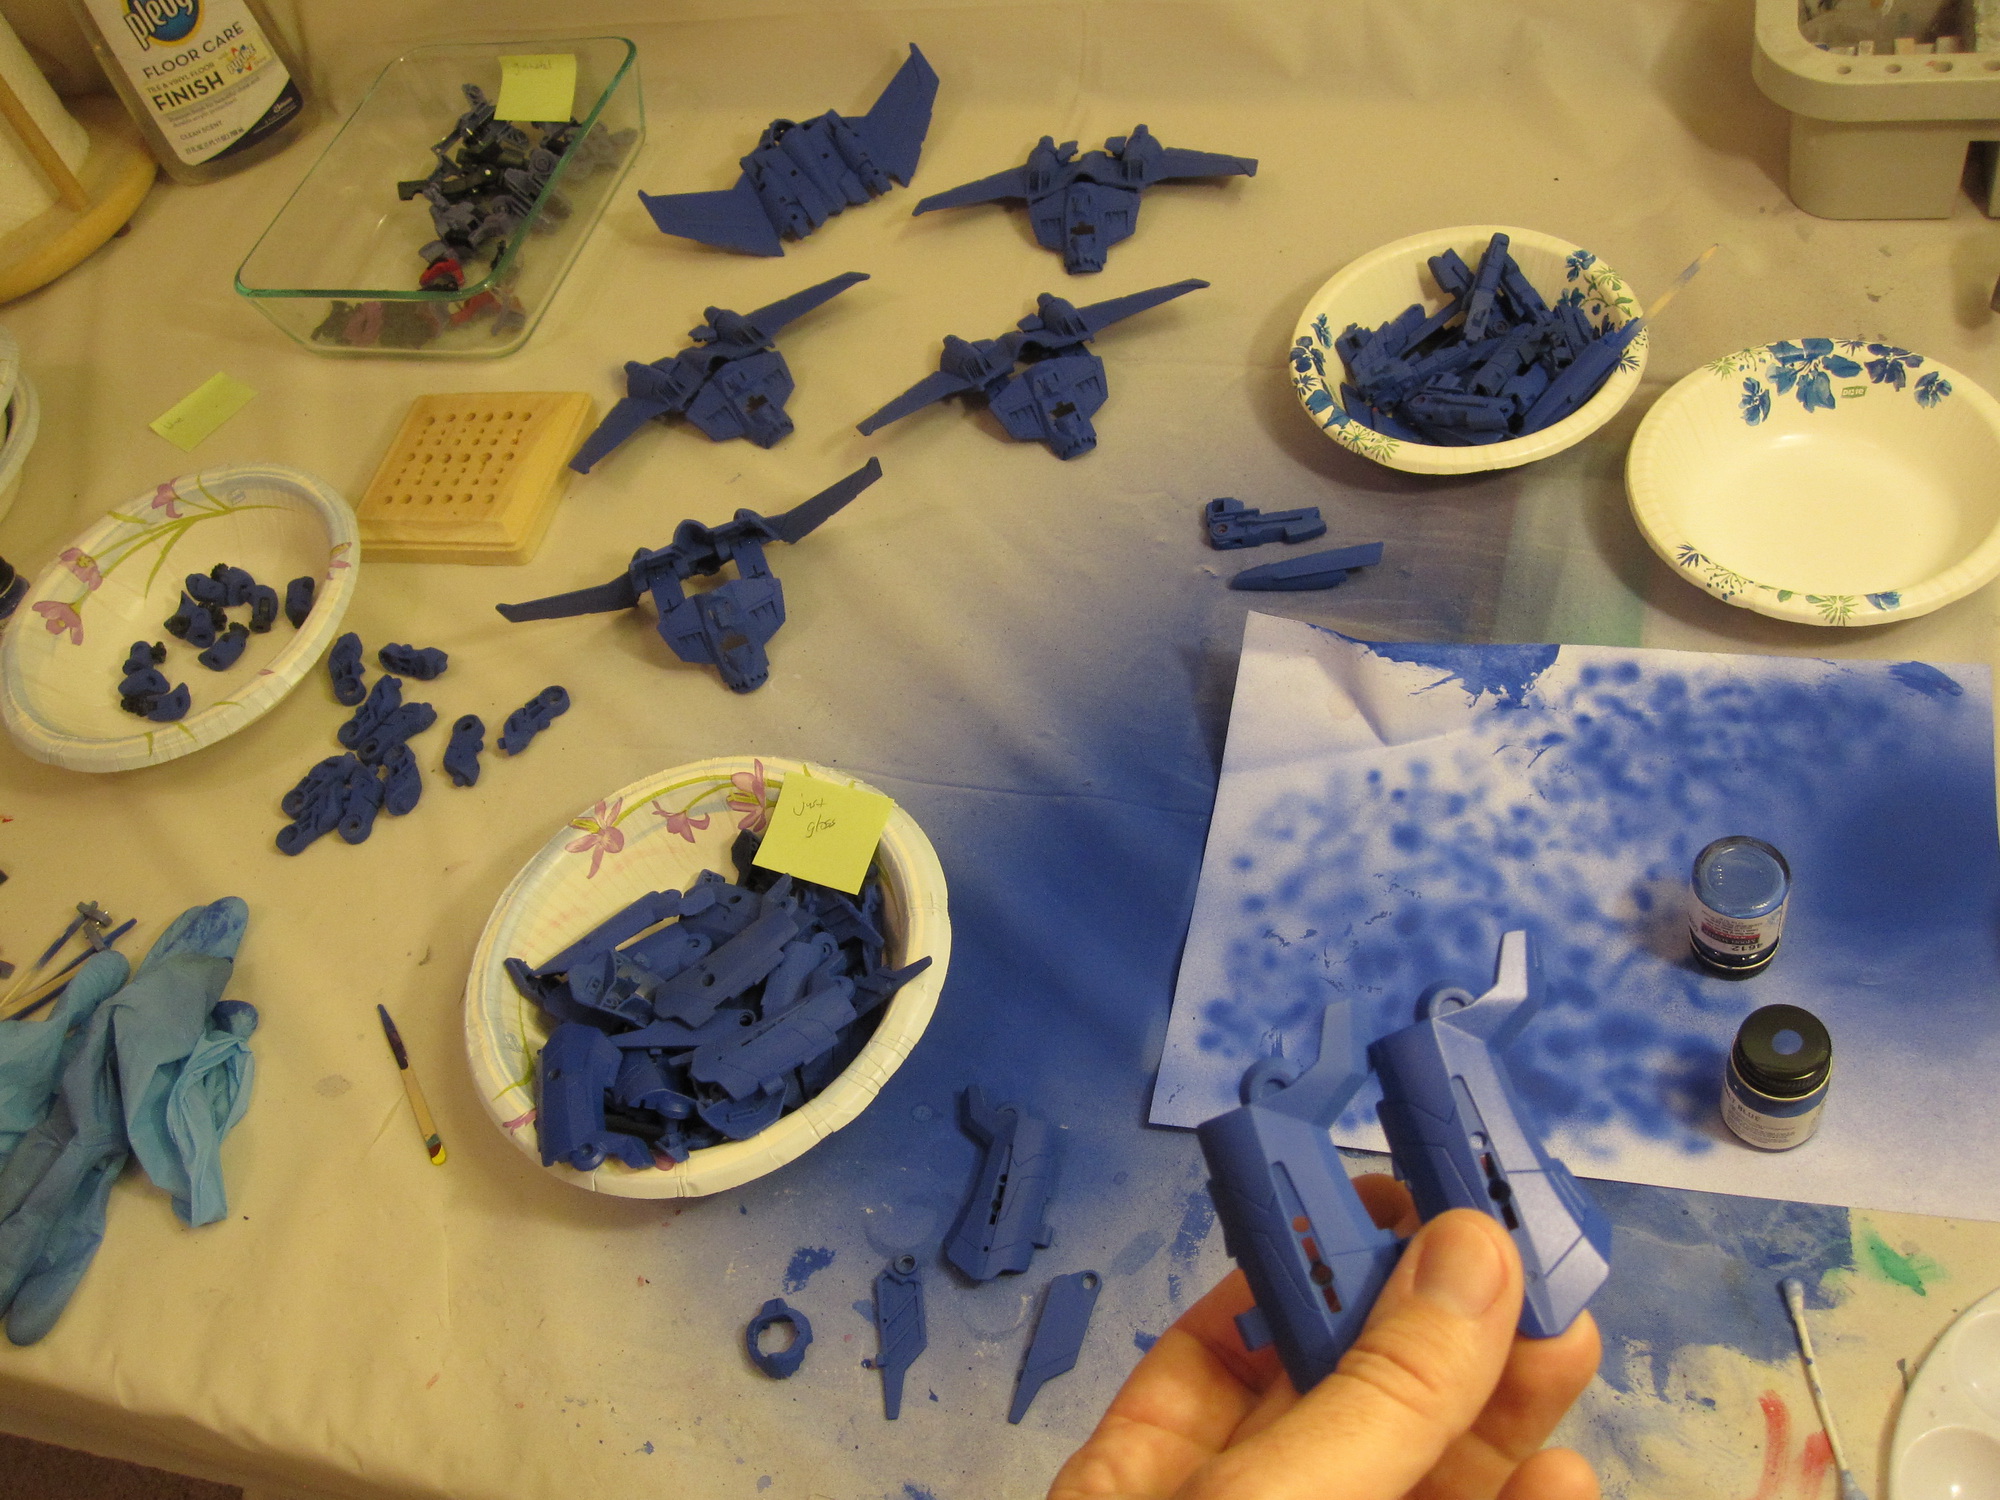
Sadly, that didn’t end up being the case, as it took forever to paint the base green. Both the black plastic of Elite Guard Bumblebee and the bright yellow of regular Bumblebee ended up being a challenge. Very quickly I got sick of painting green…
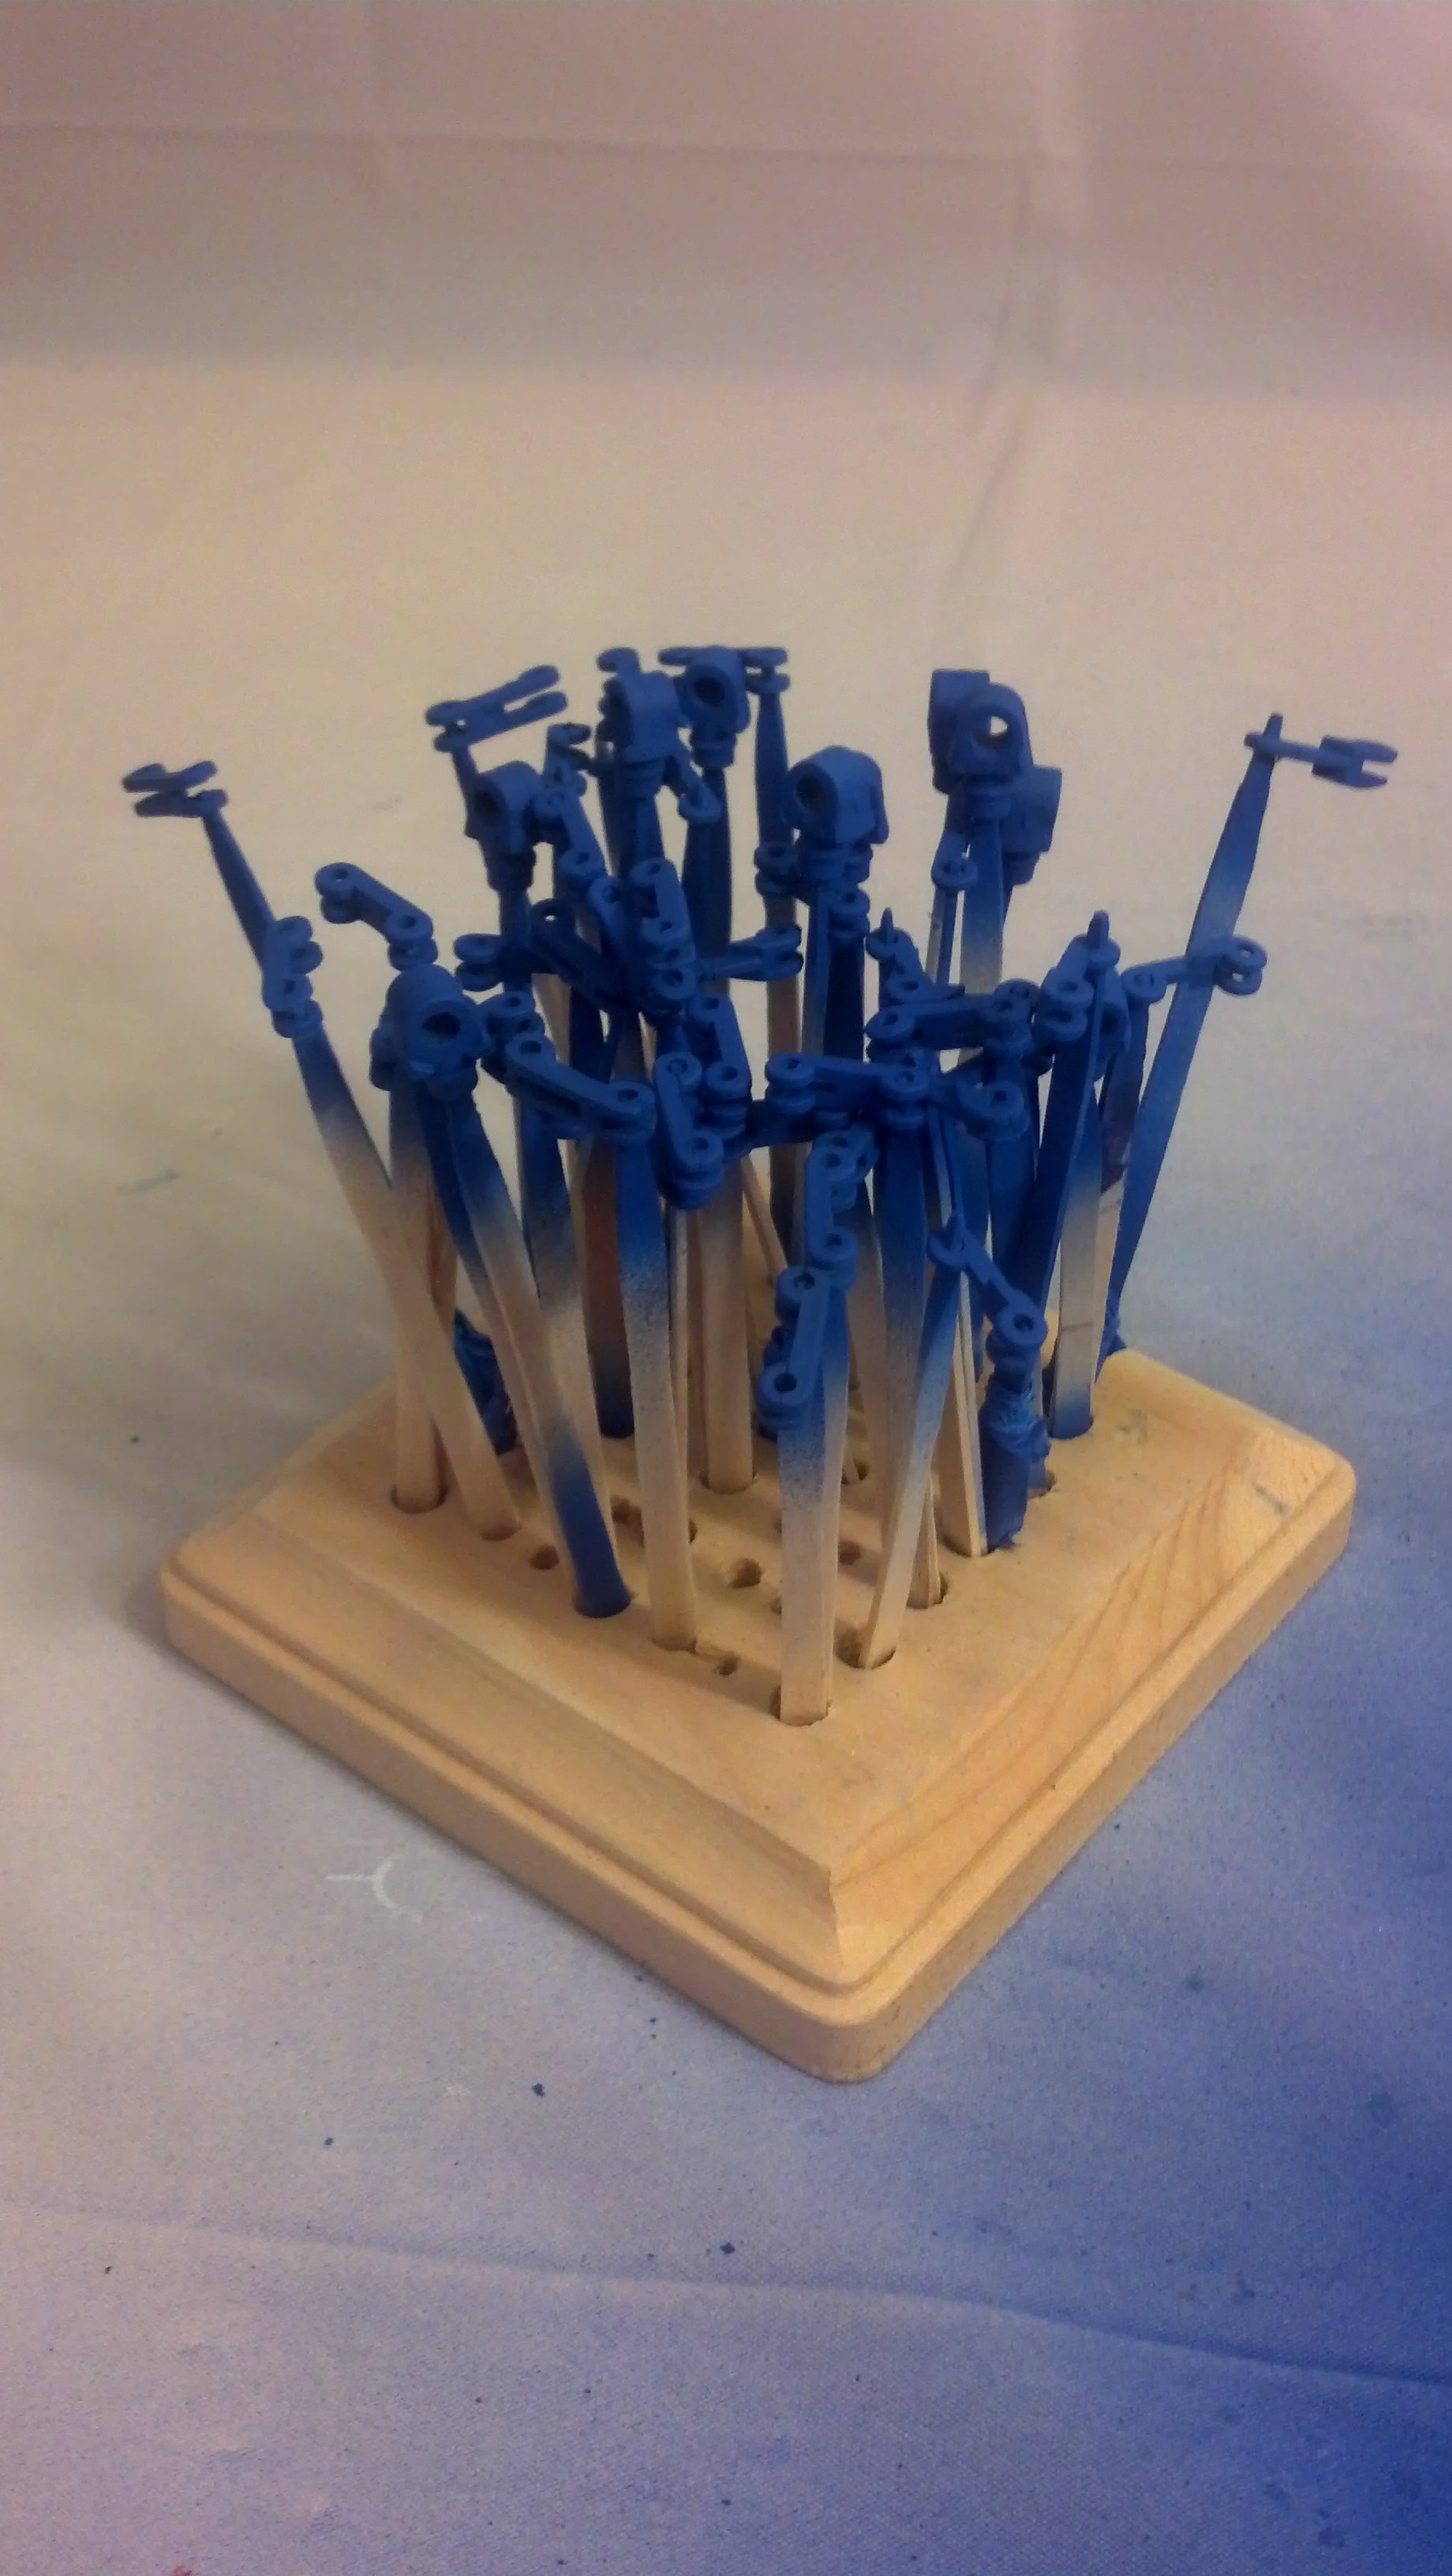
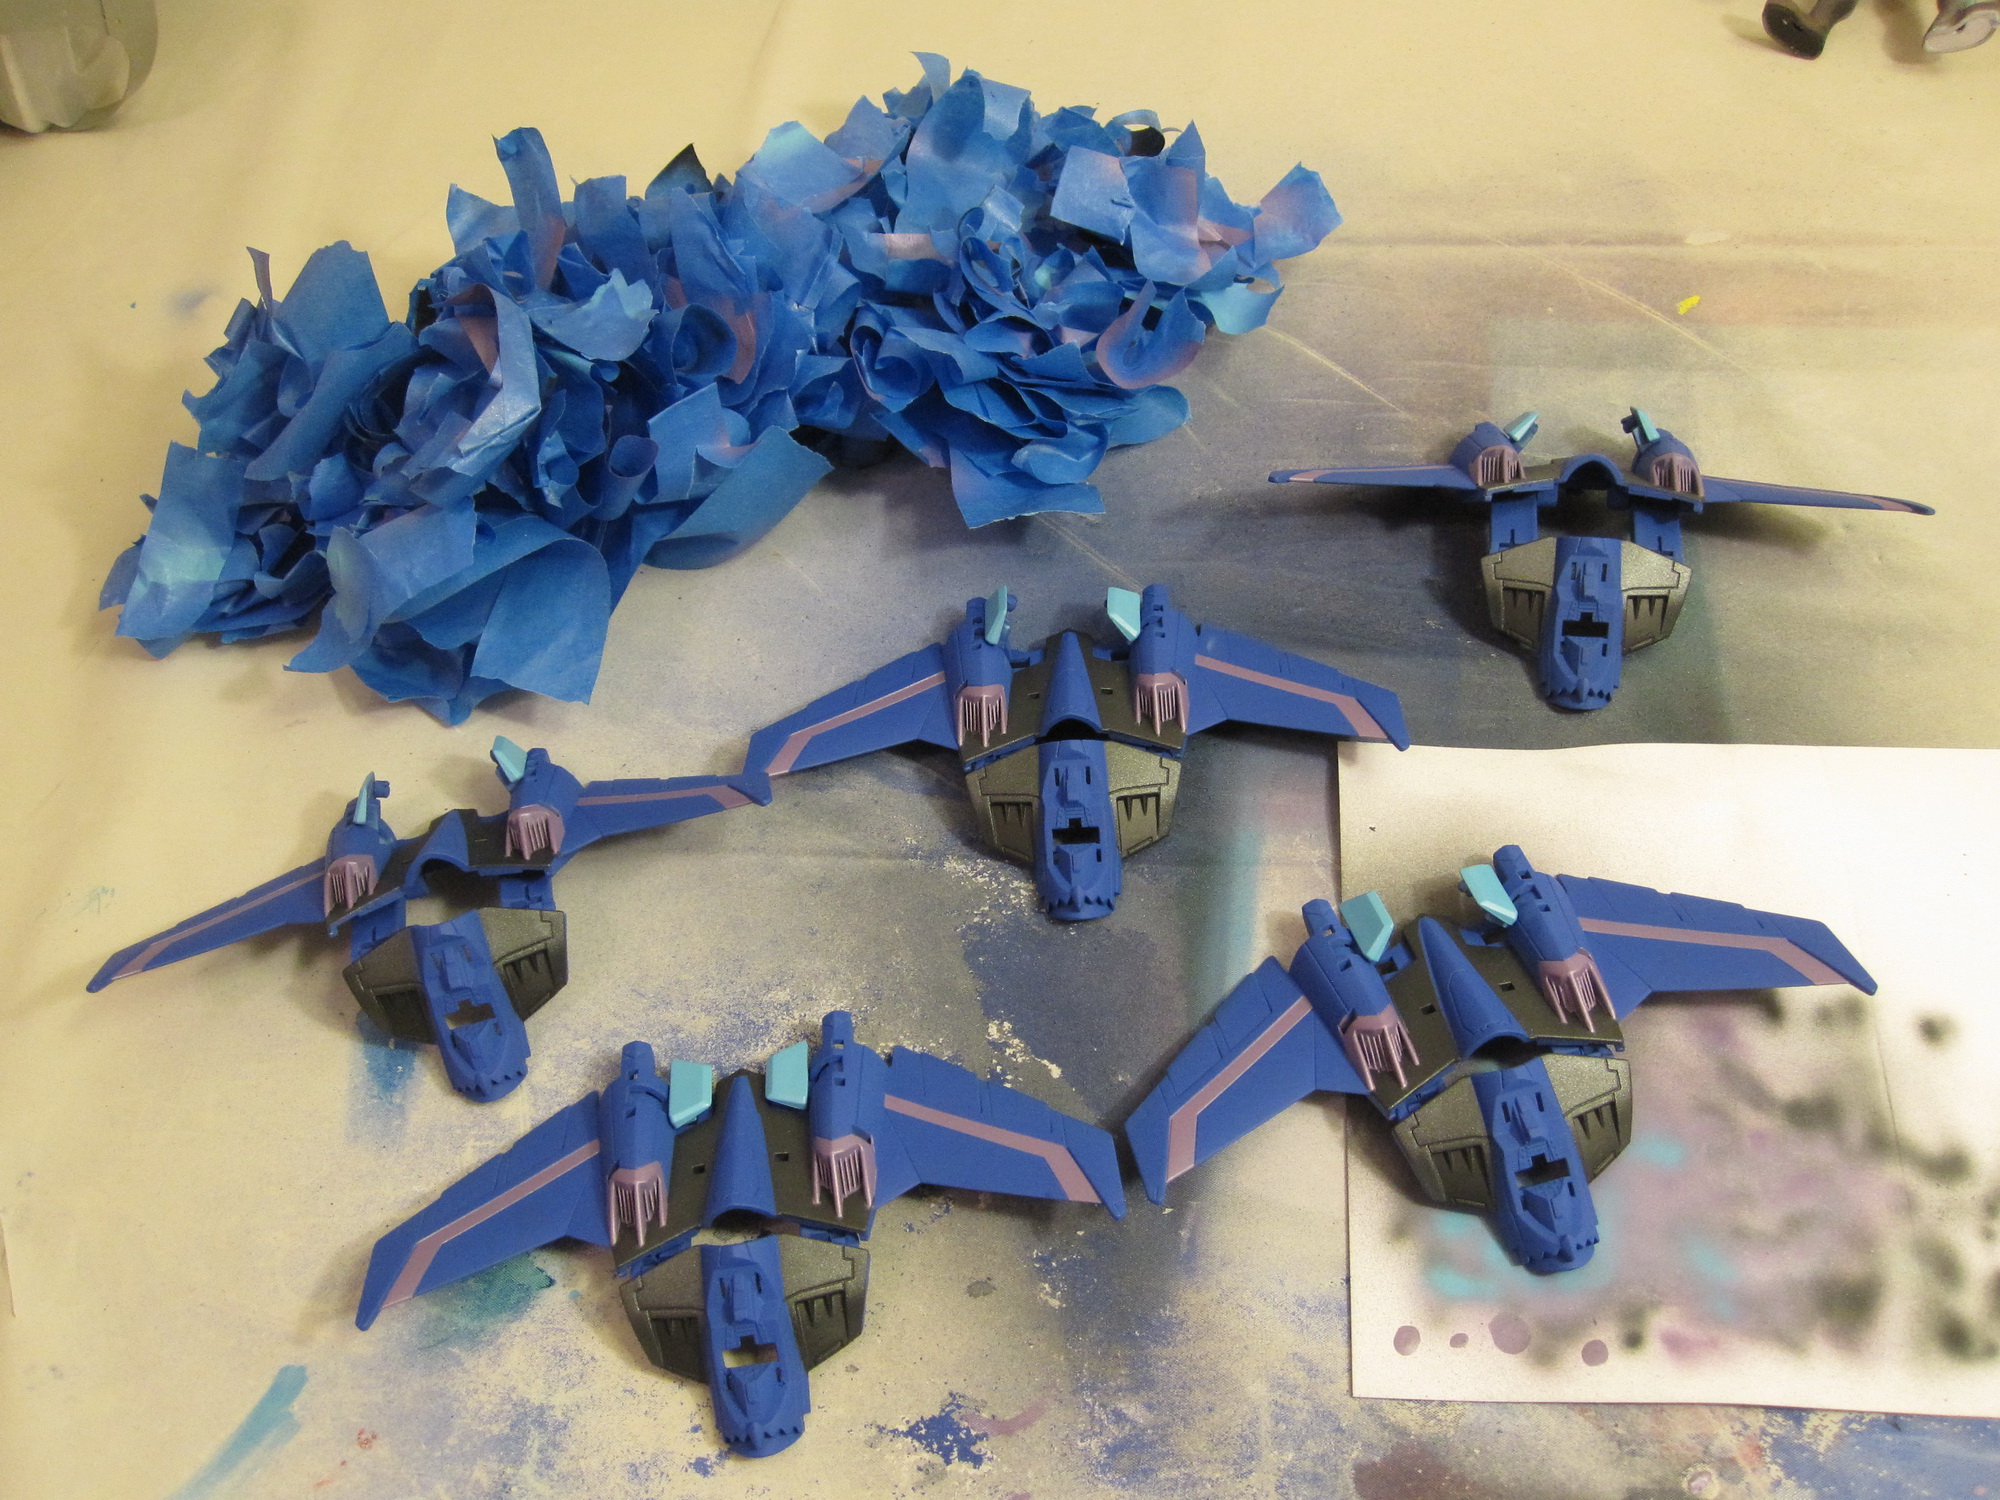
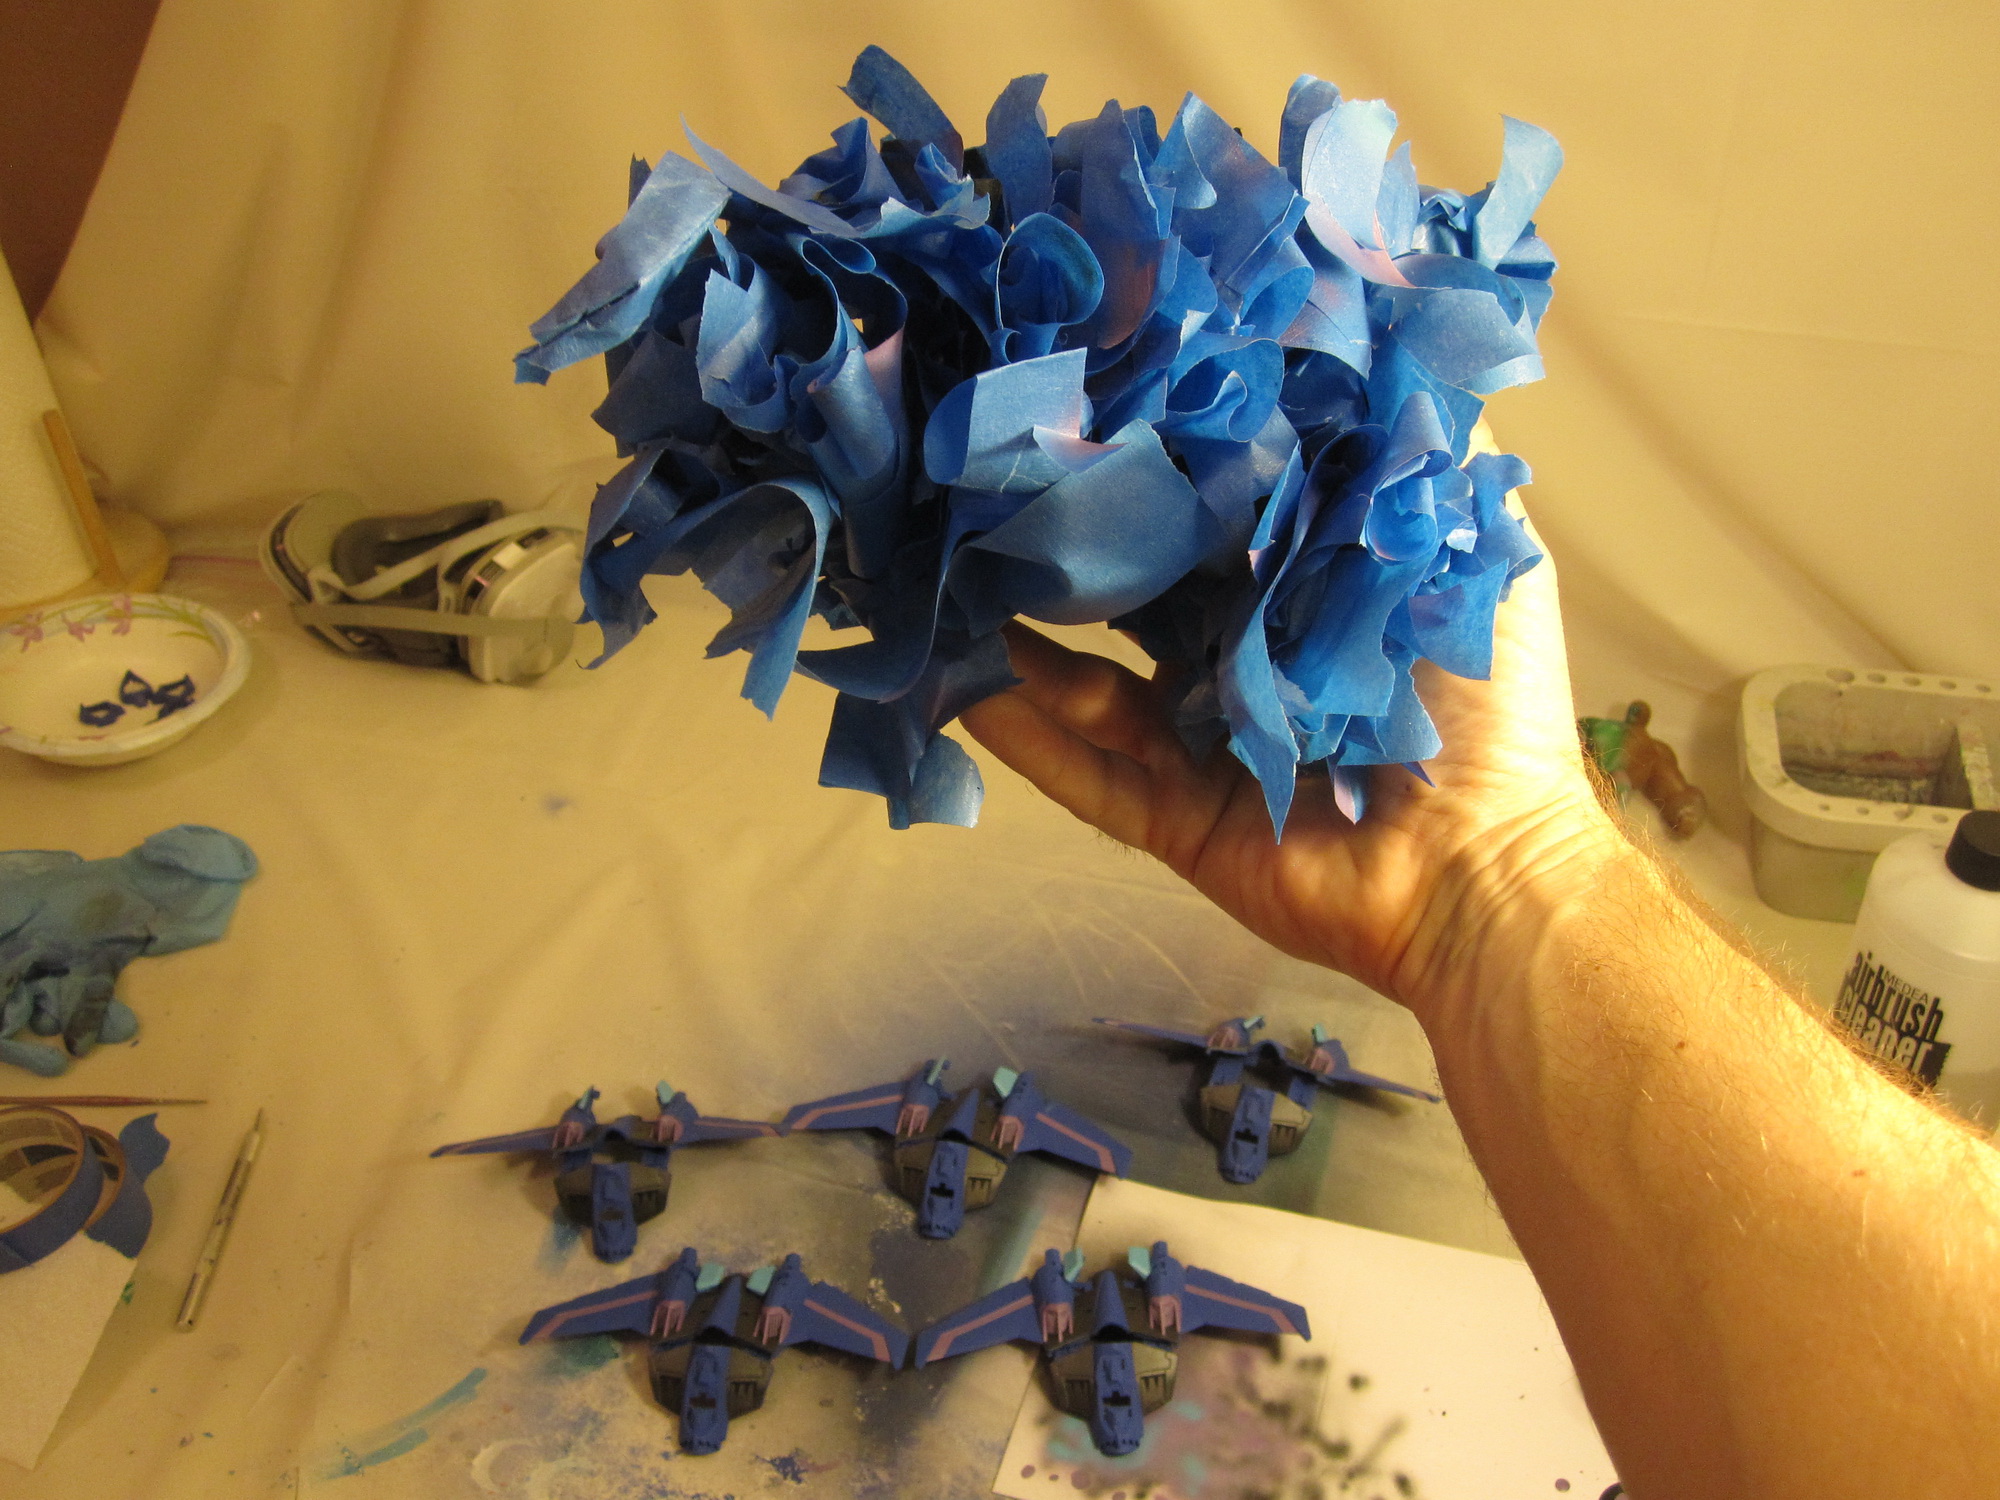
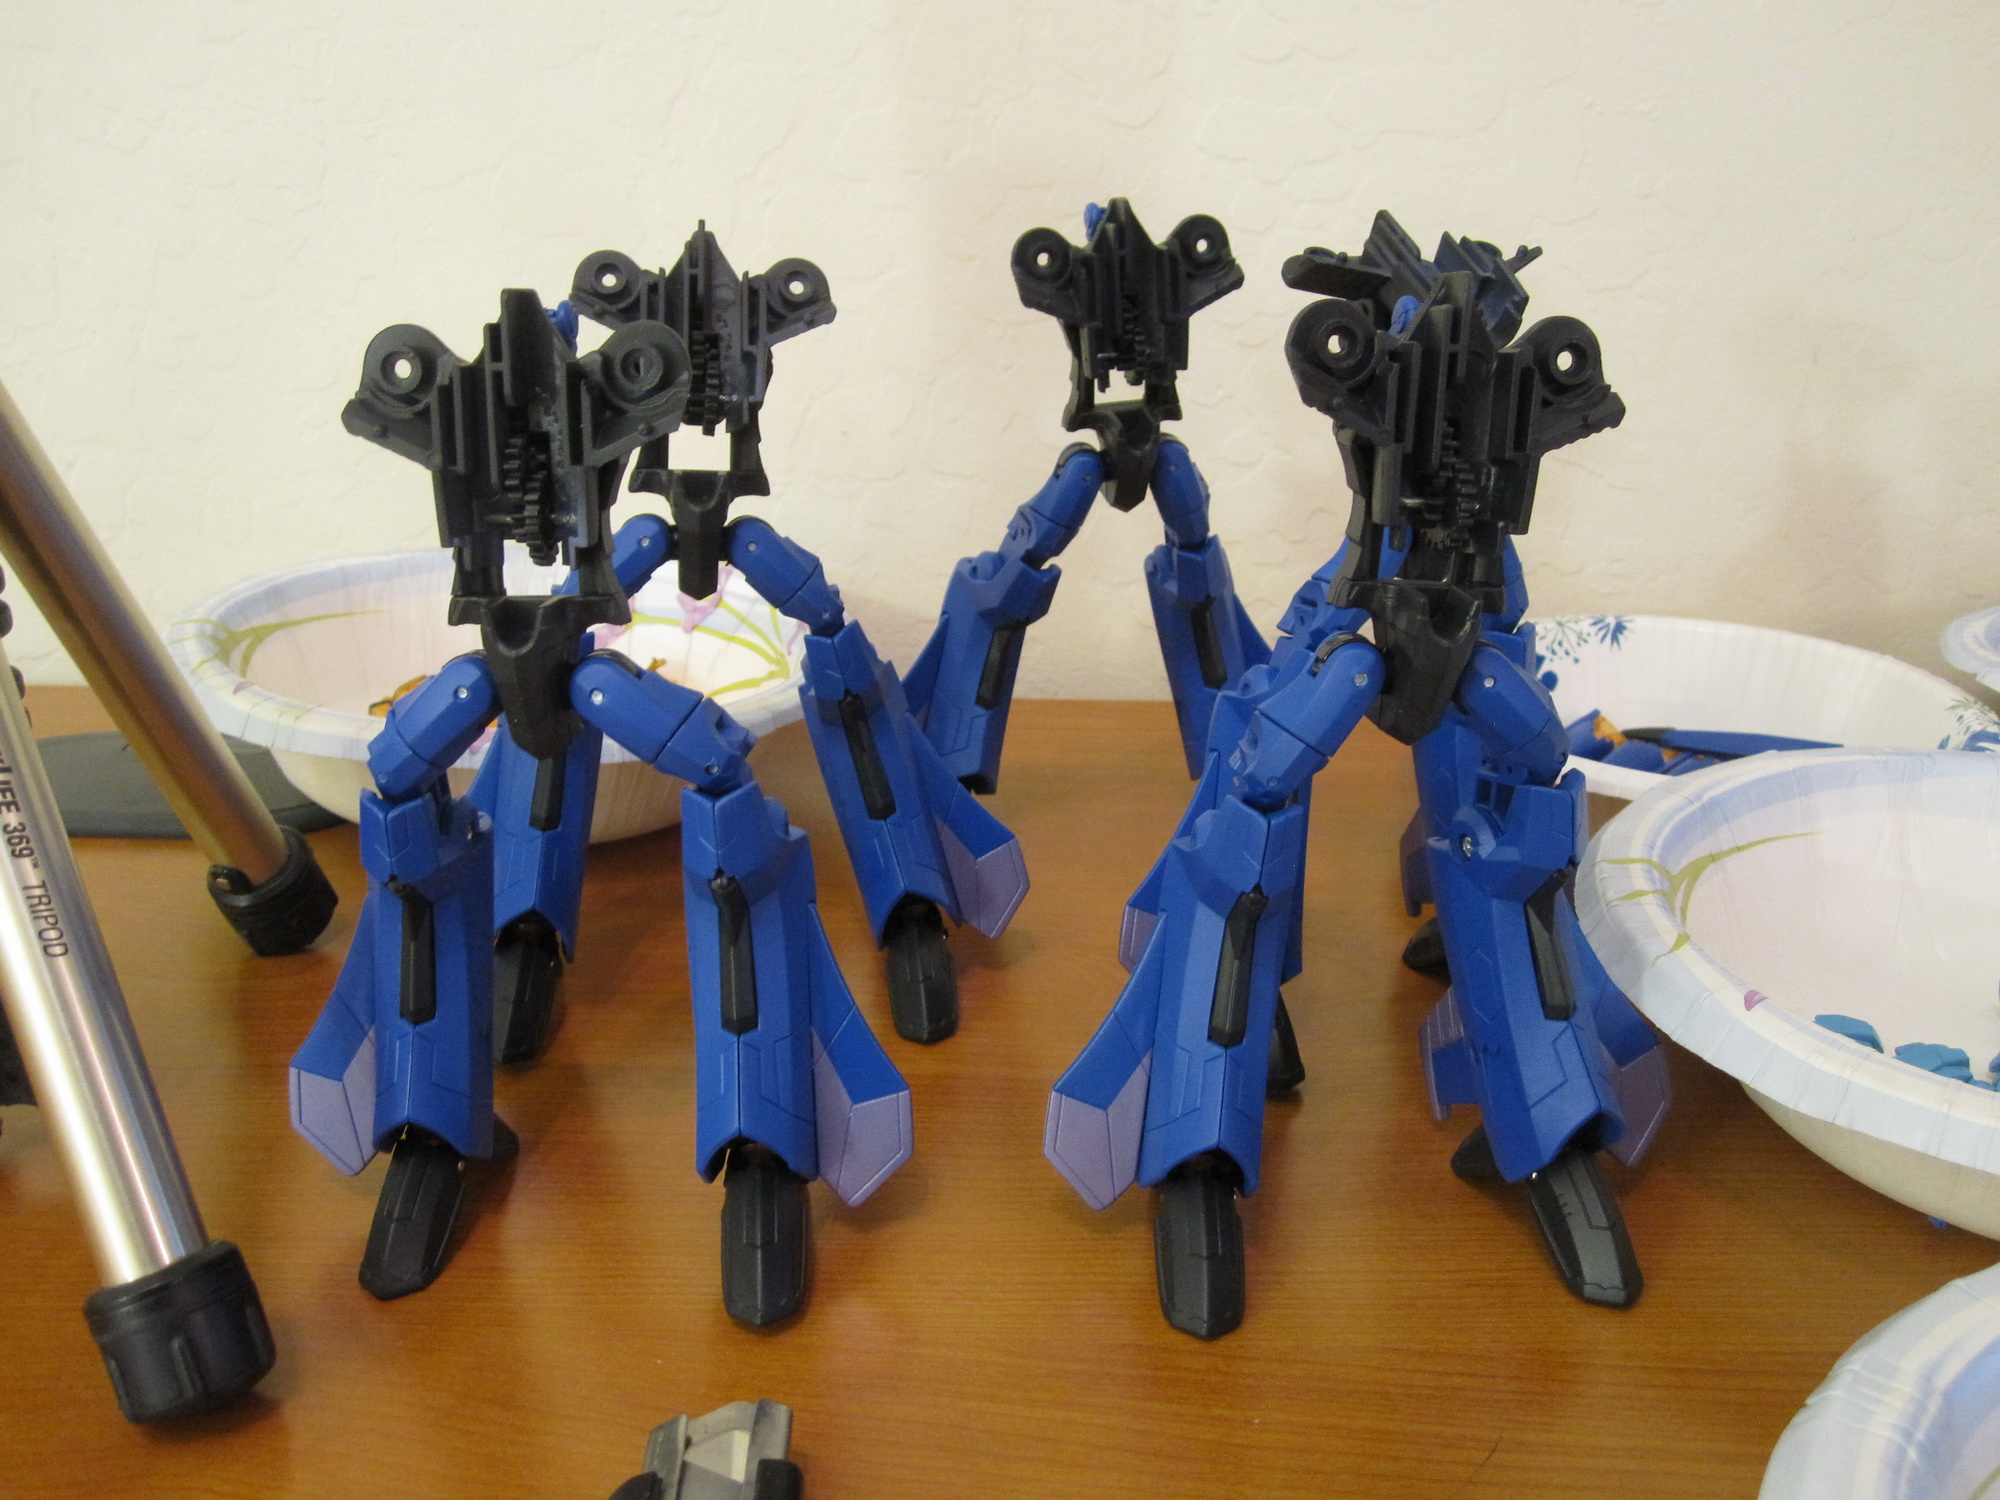
Fast forward a couple of days, and a couple of diversions to work on Windblade instead, and I got almost all of the parts for the pair of Wasps completed. The underlying blacks and lime greens were easy. I decided to use a flat black for the windows, and gloss black for detail parts.
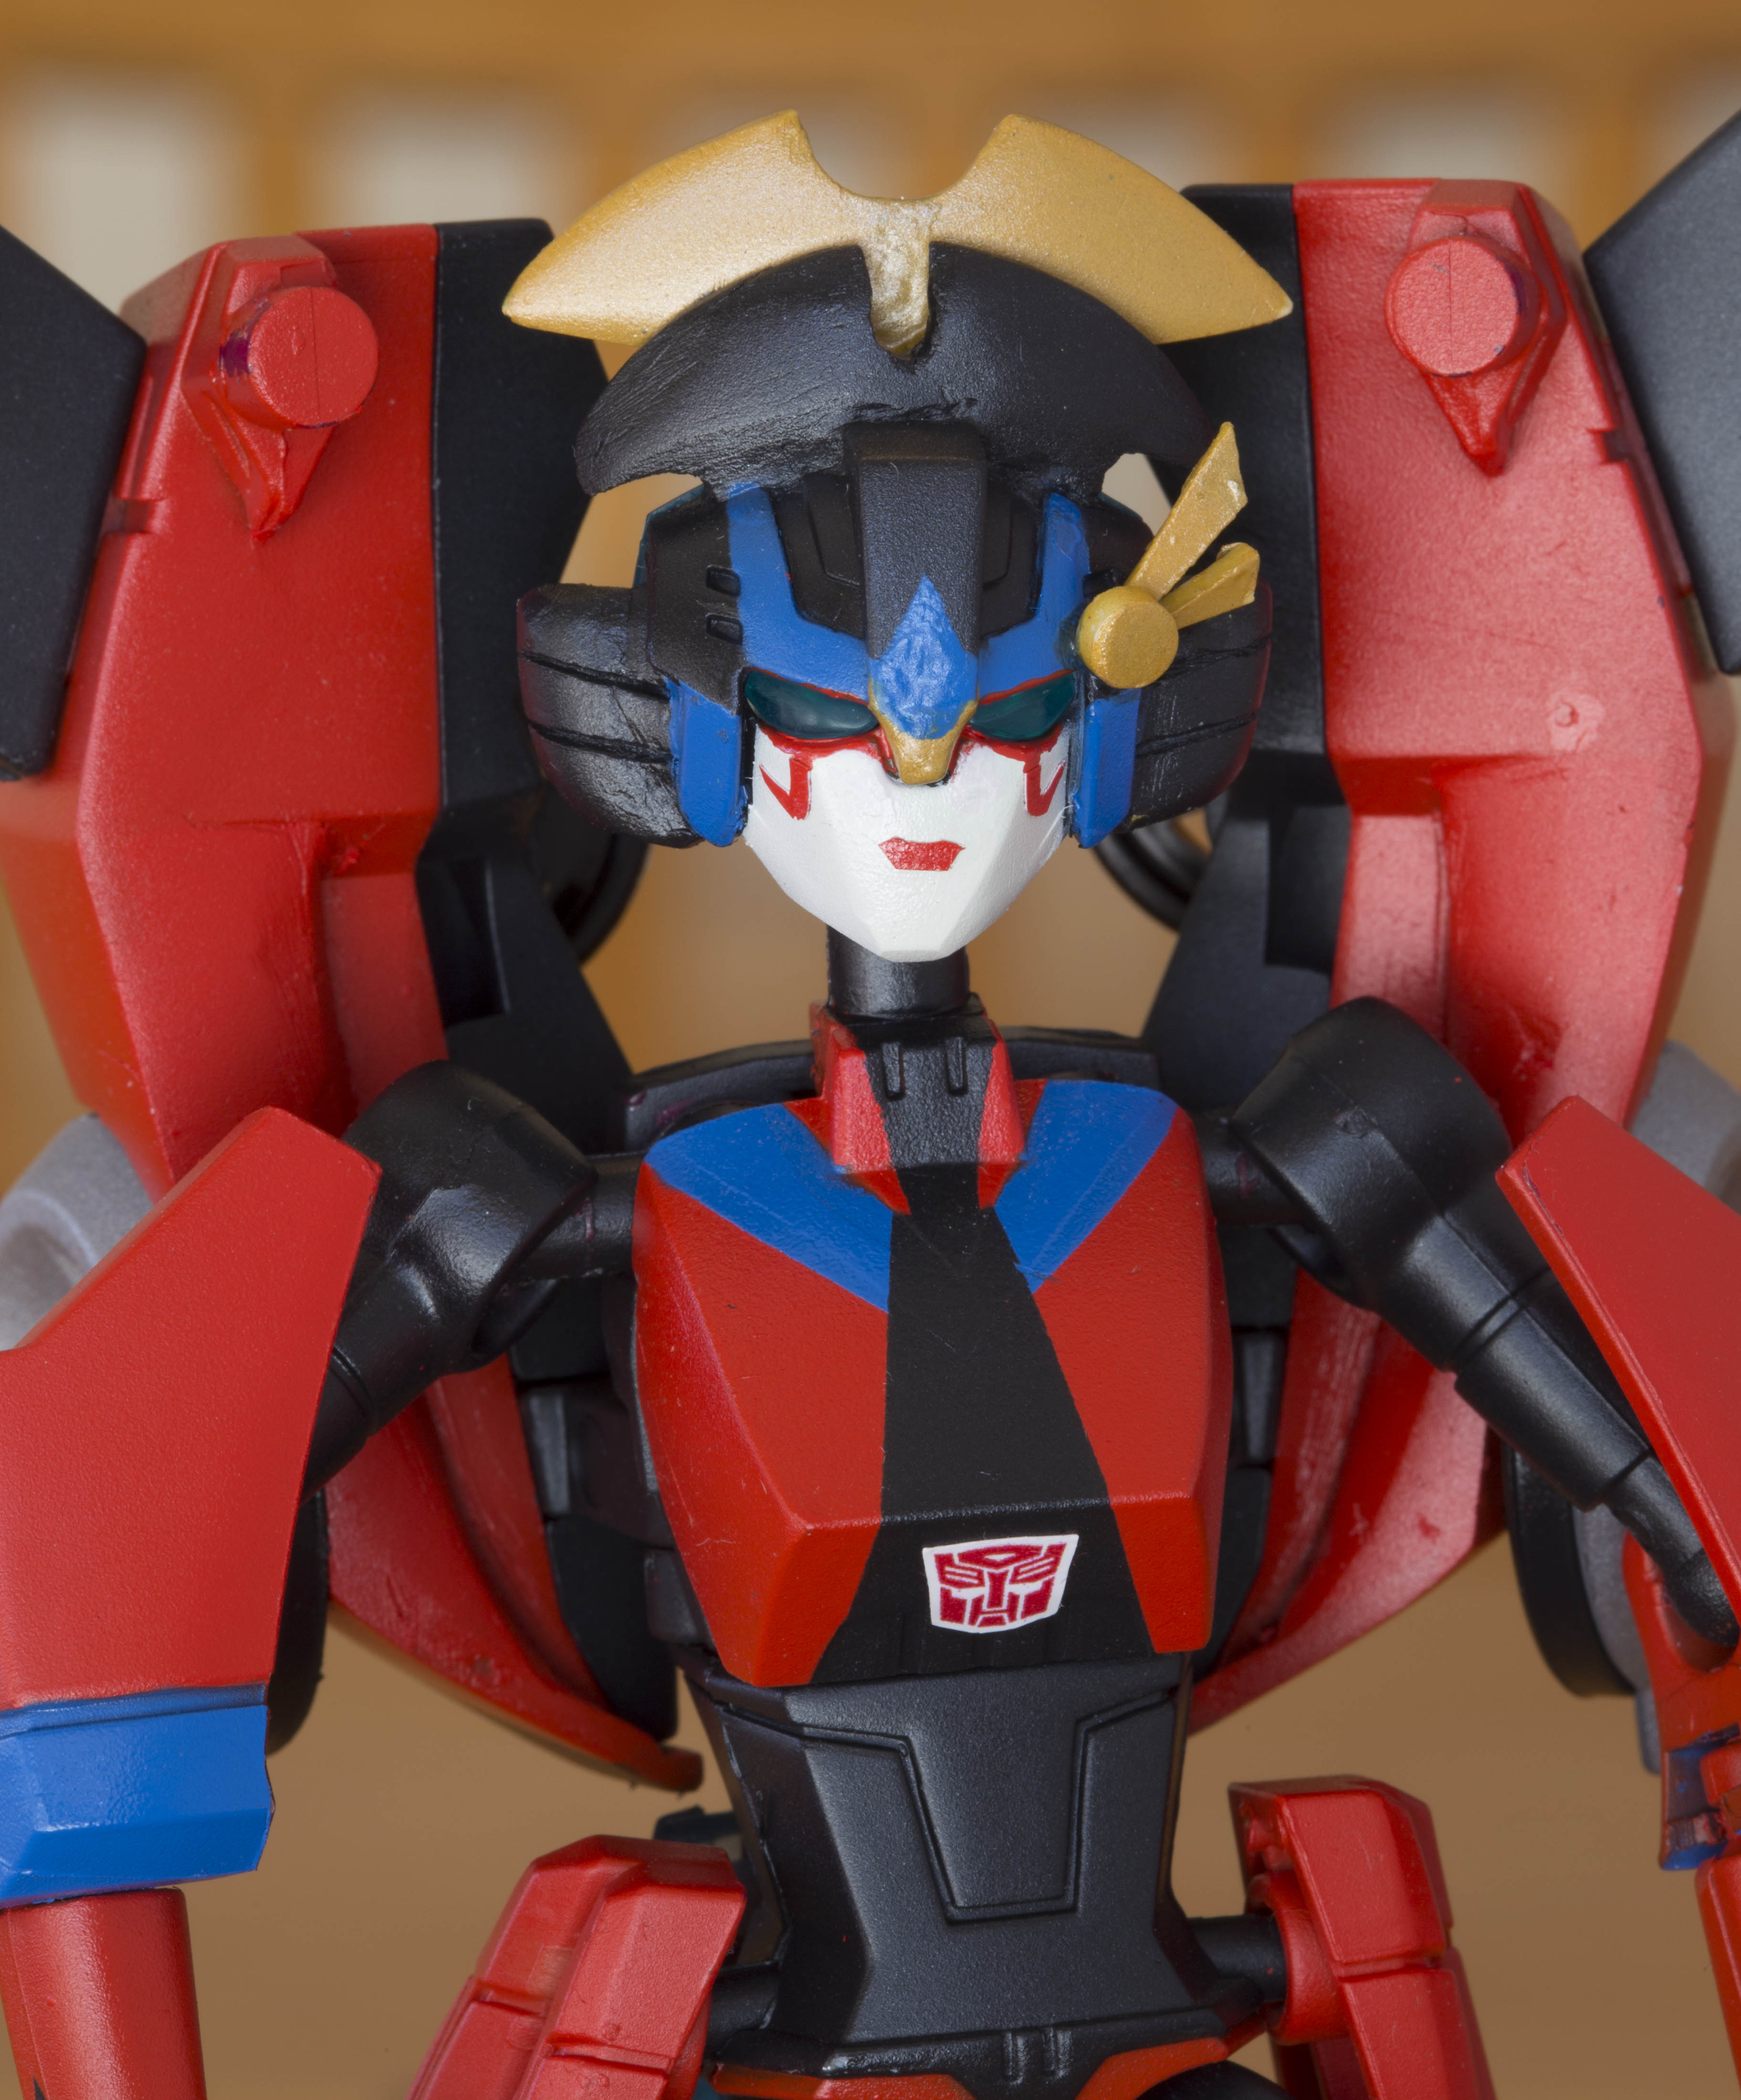
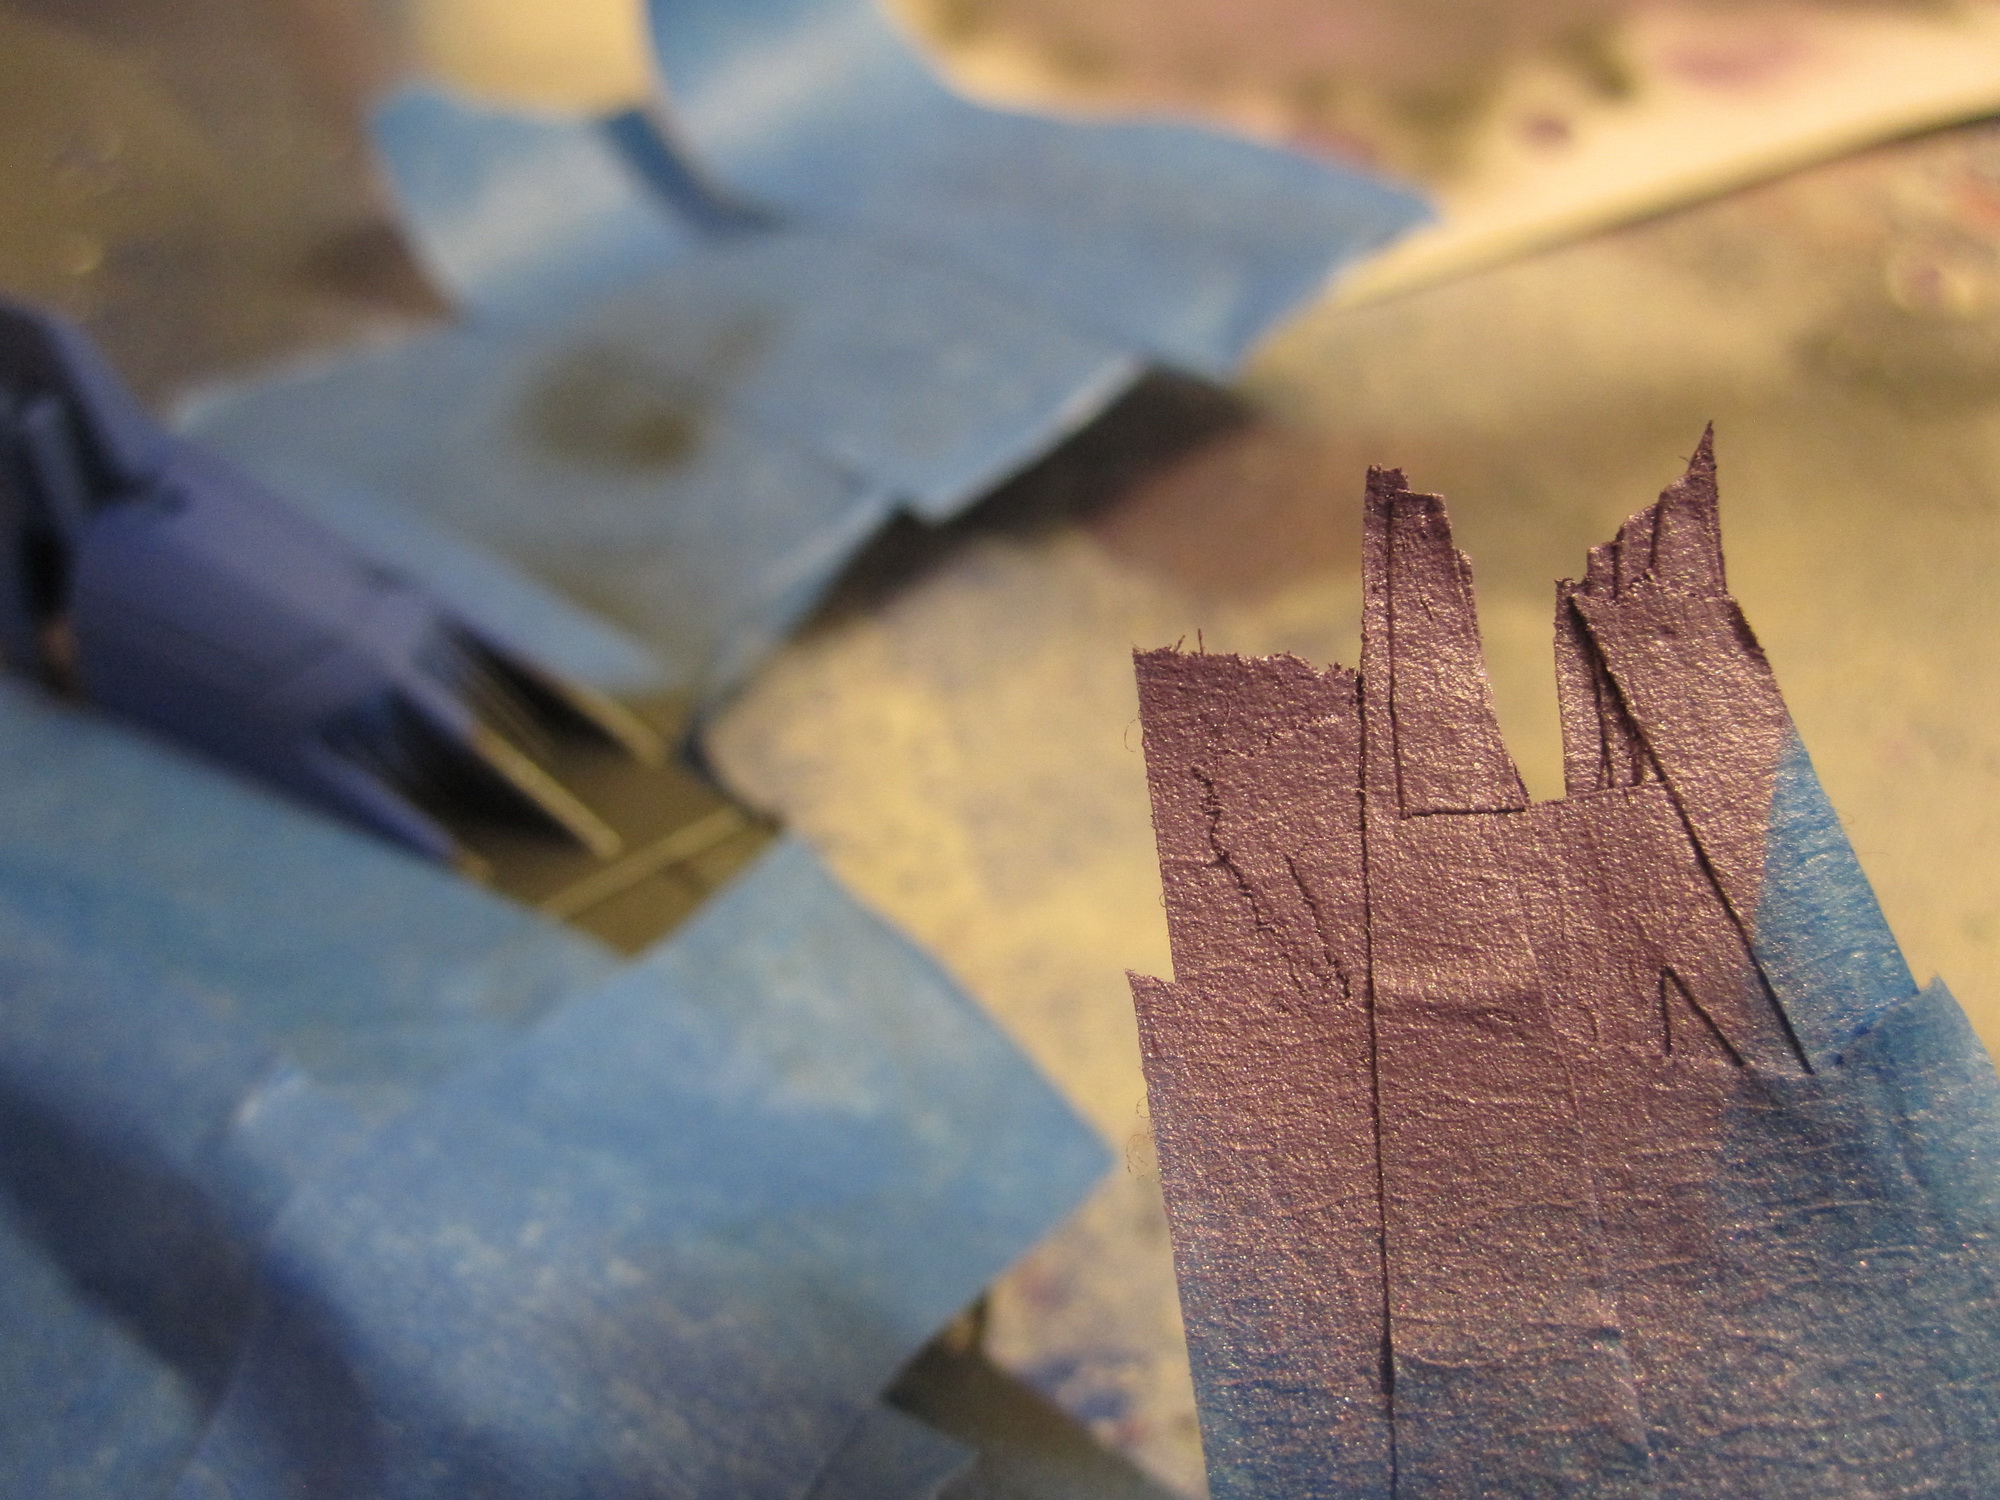
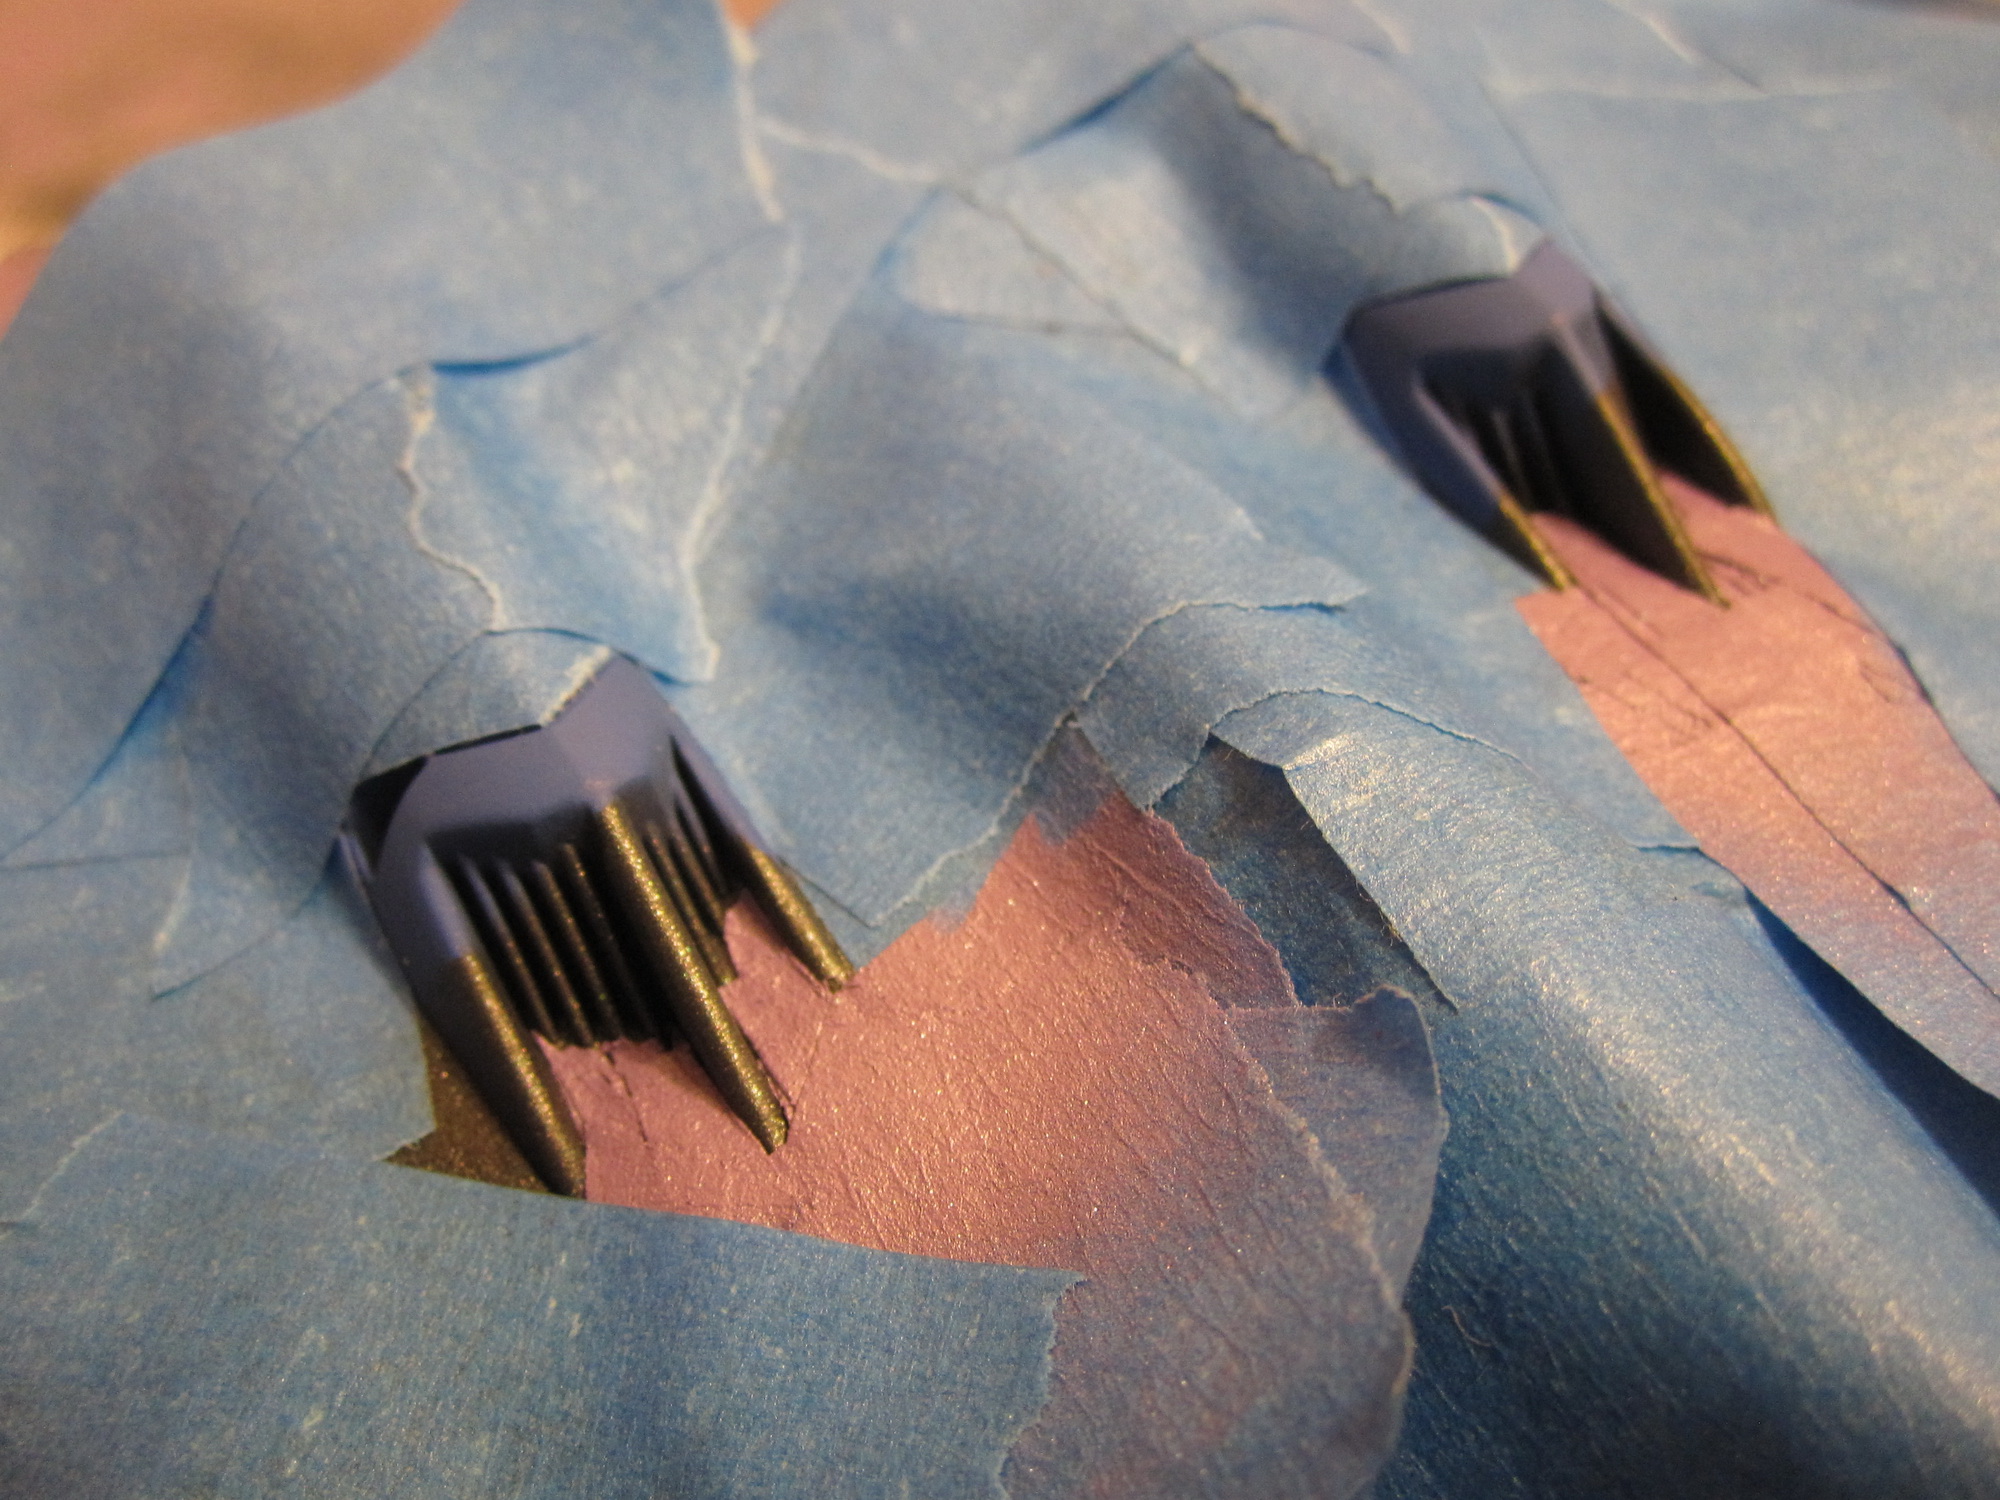
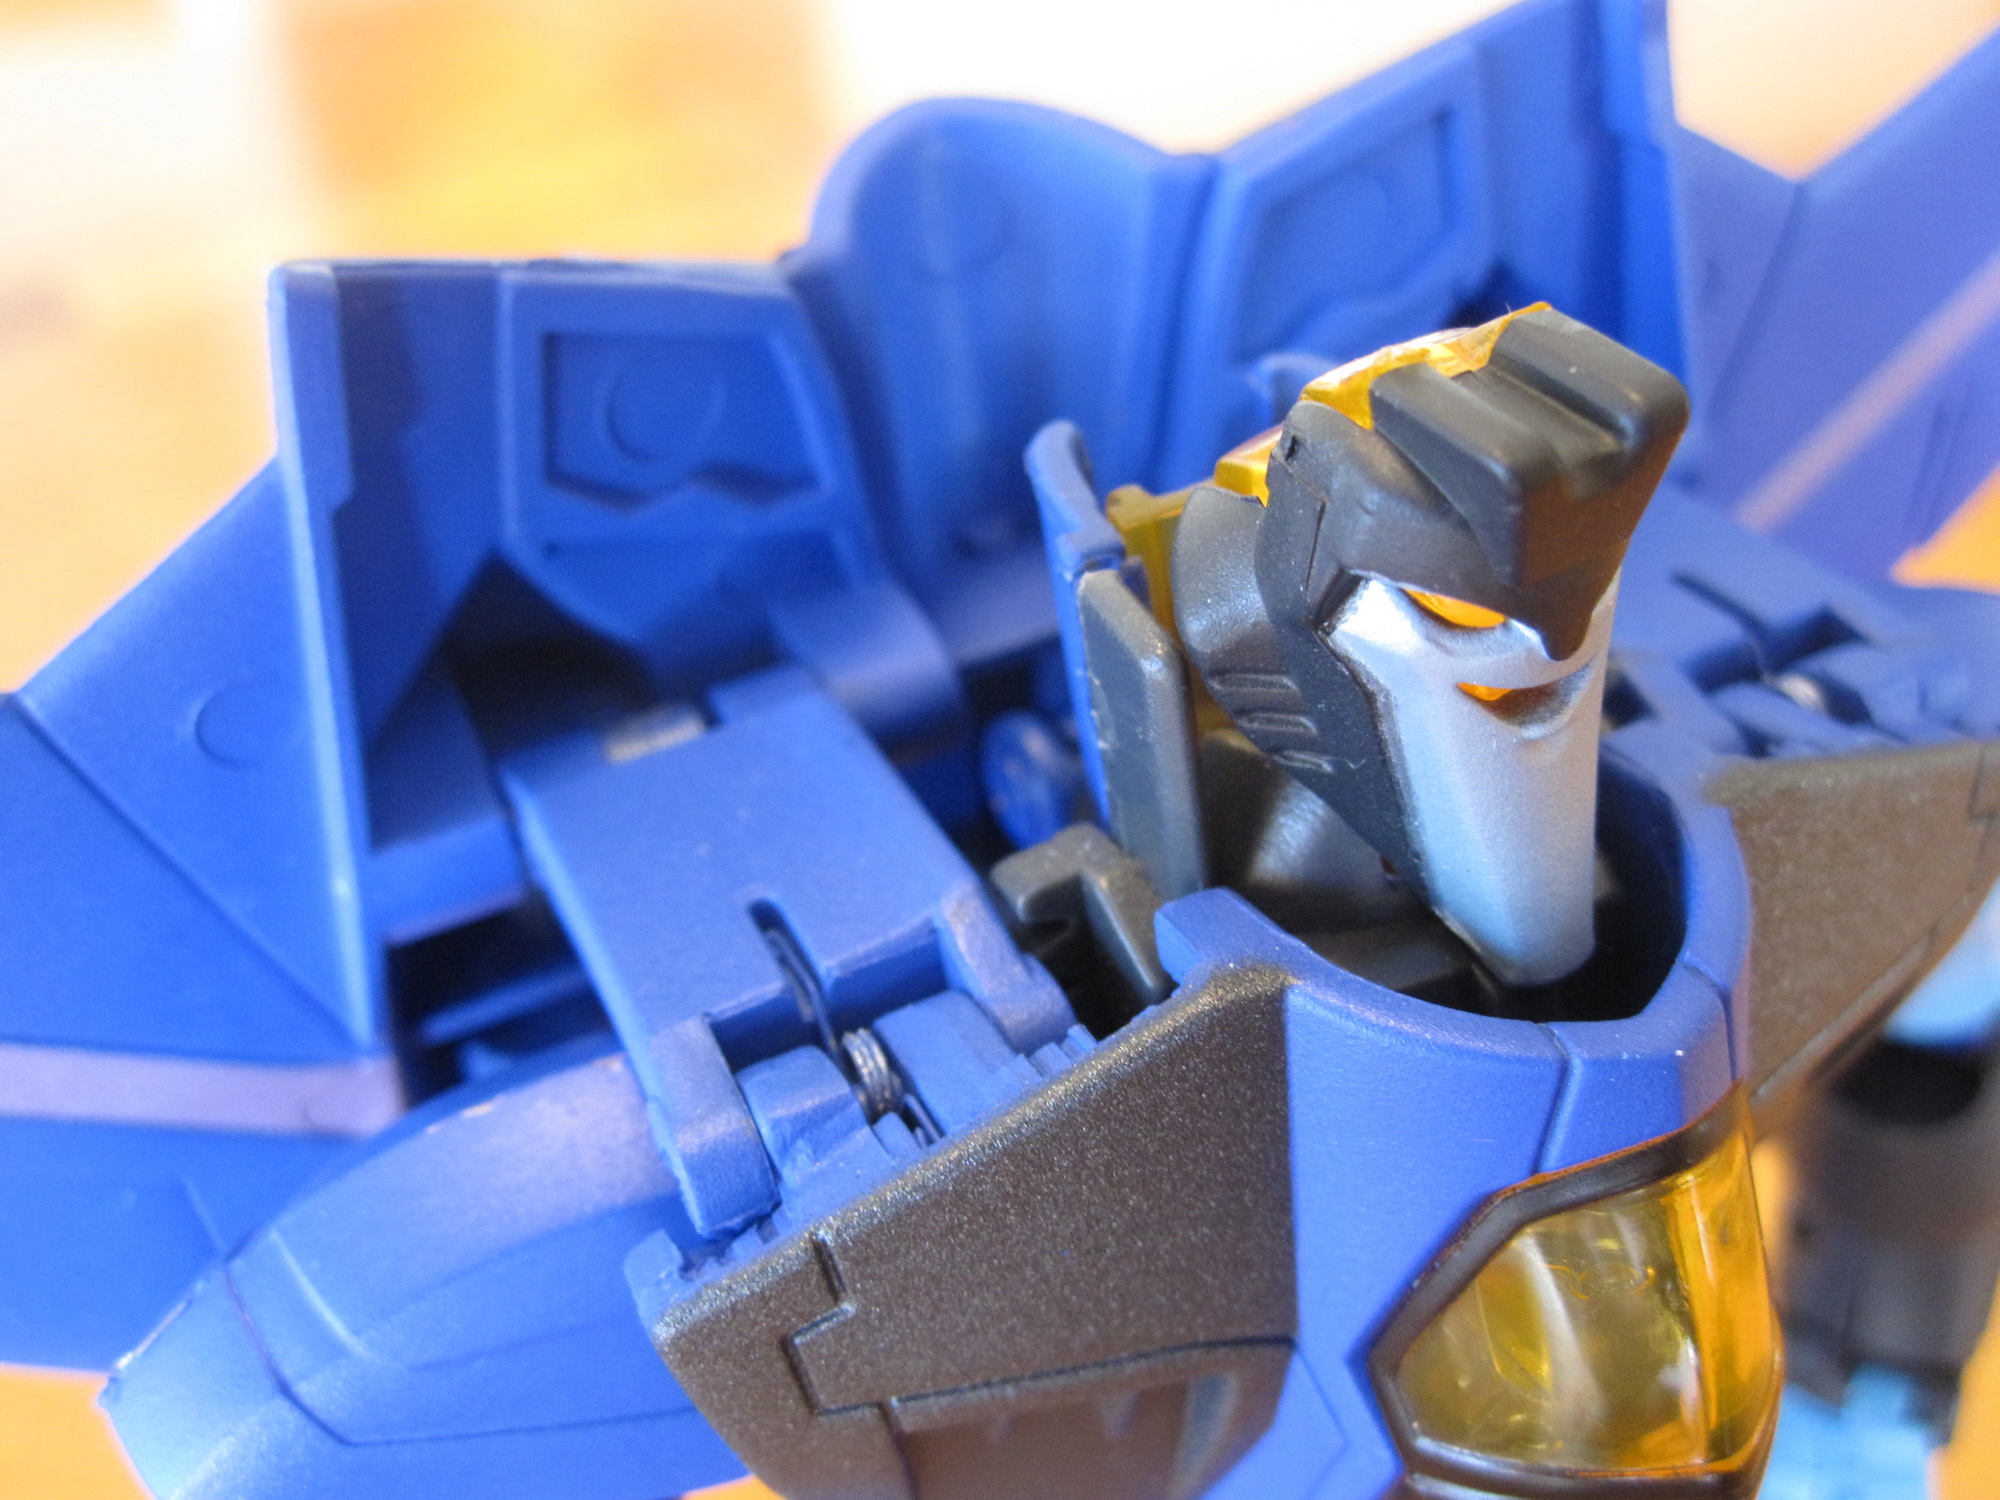
 I ended up hand painting the head details since I couldn’t mask off the indented areas or eyes. Even though they are hand-painted in the end, they still look pretty good.
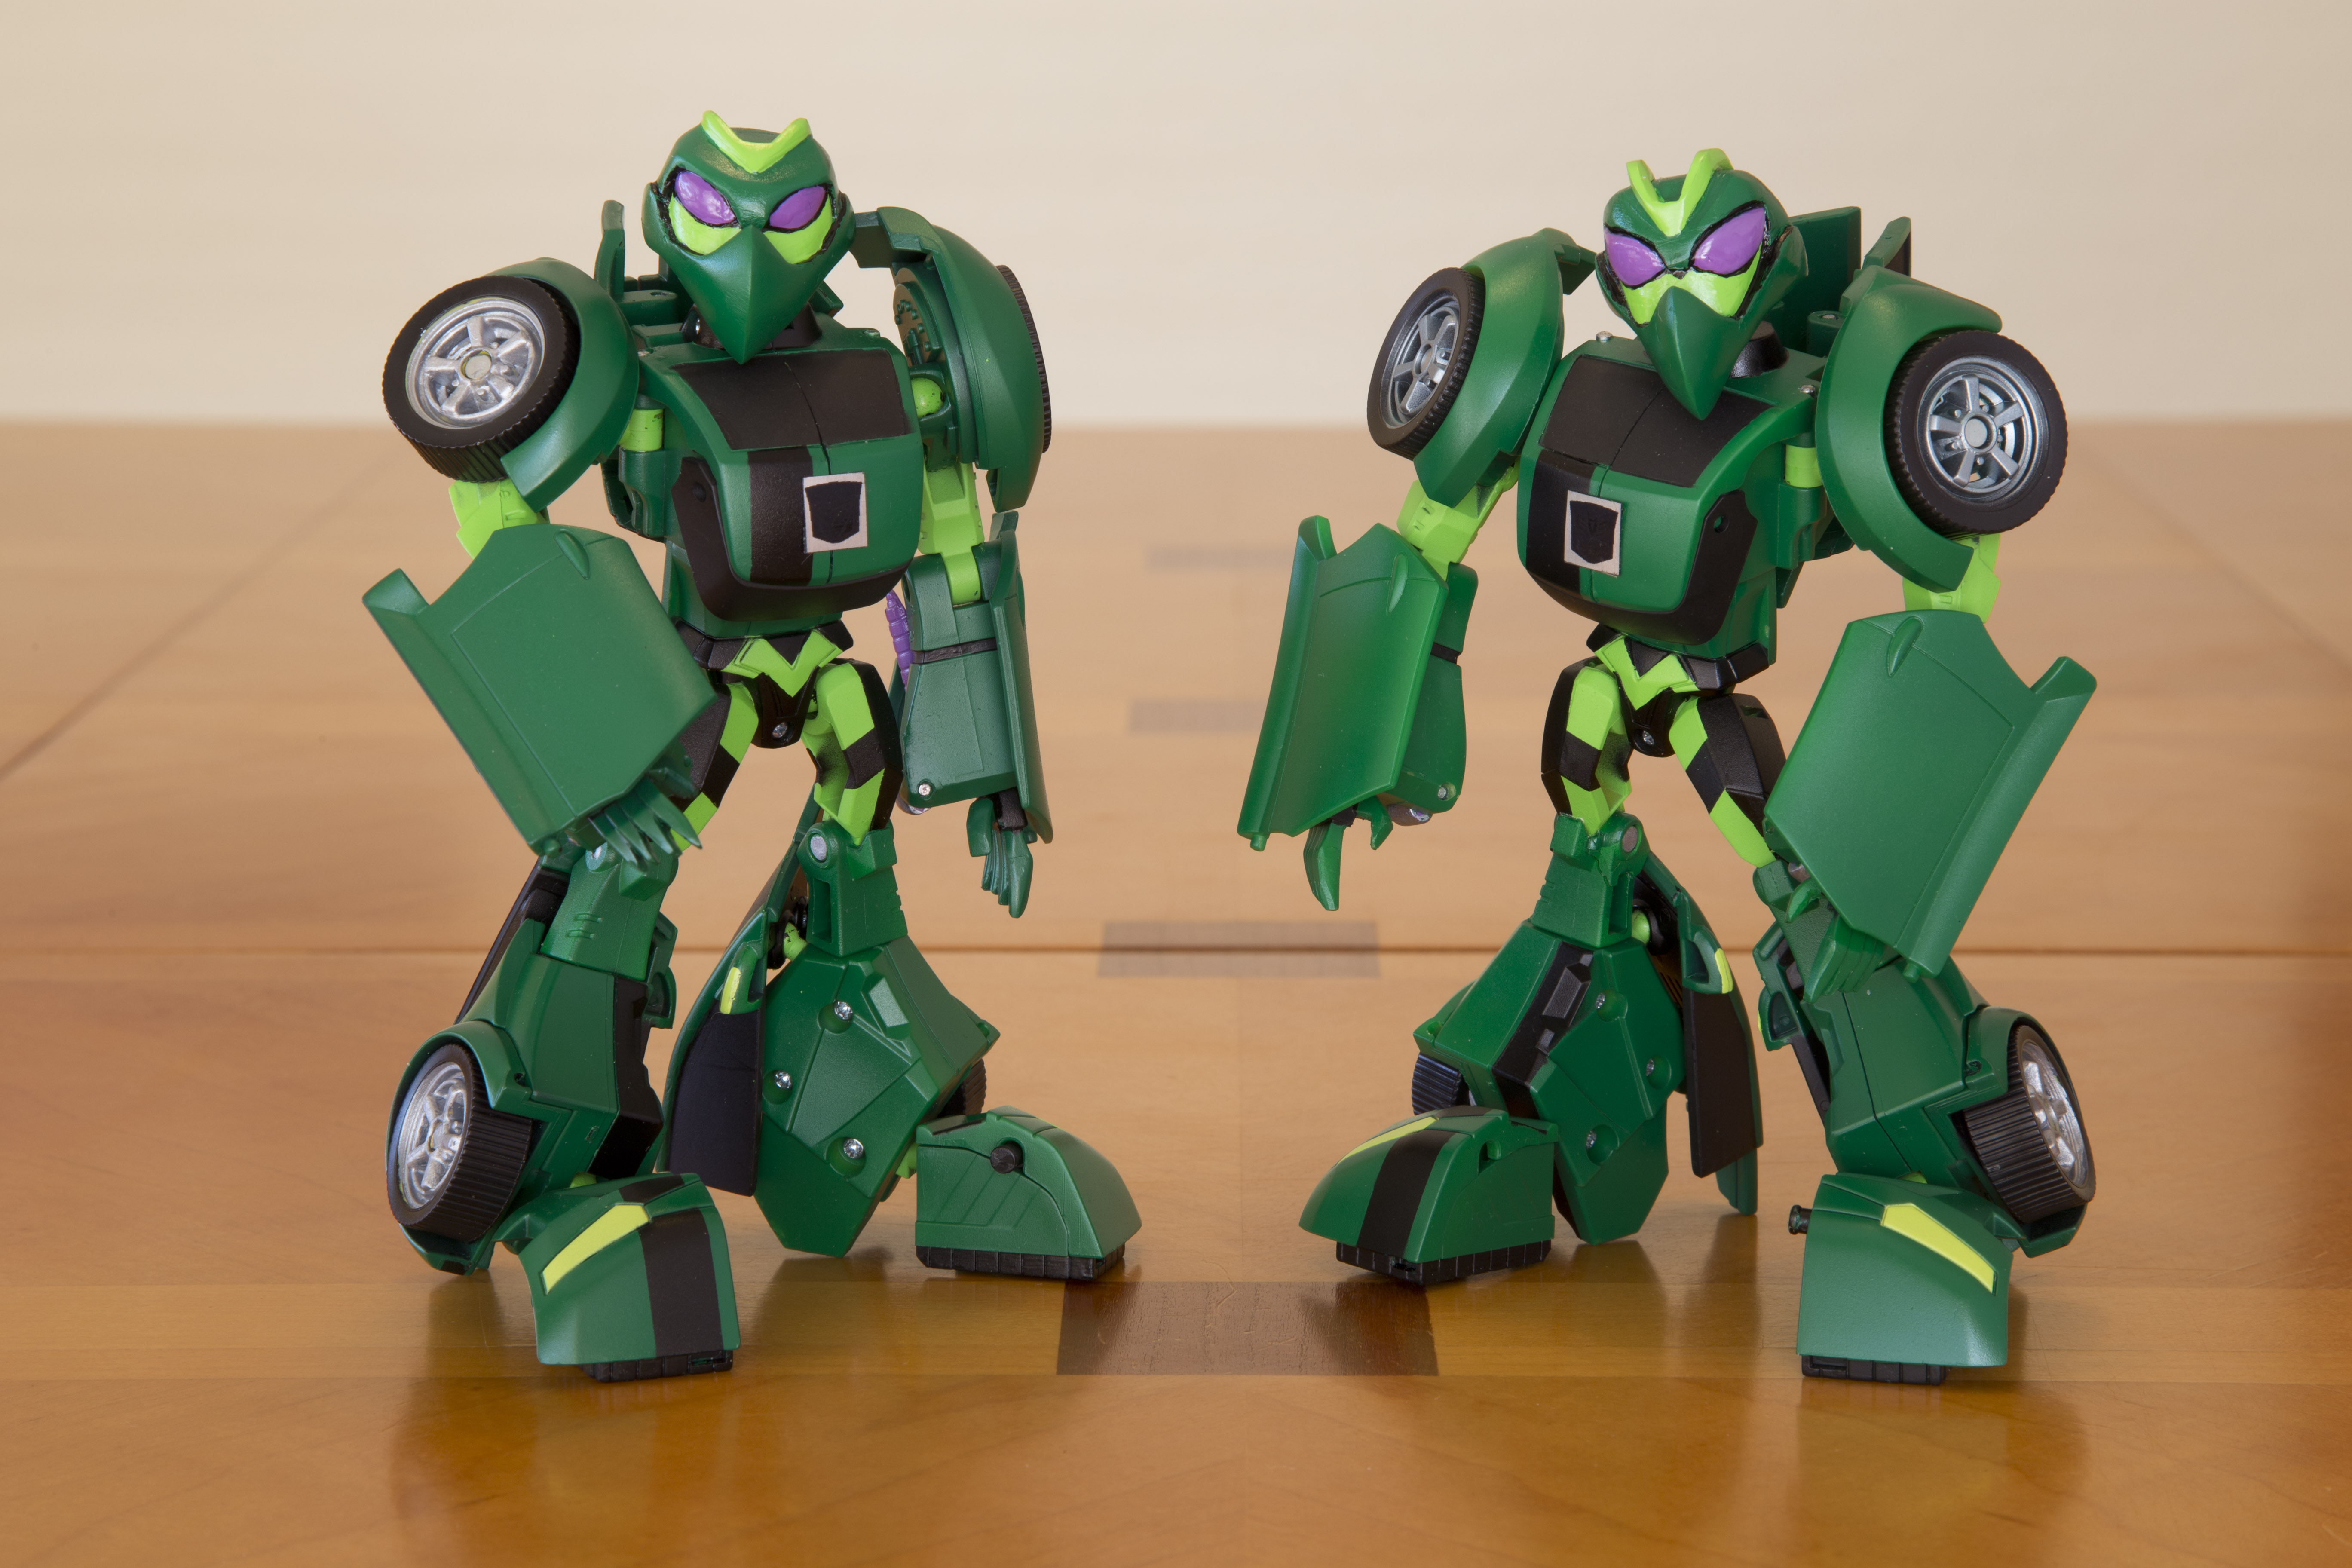
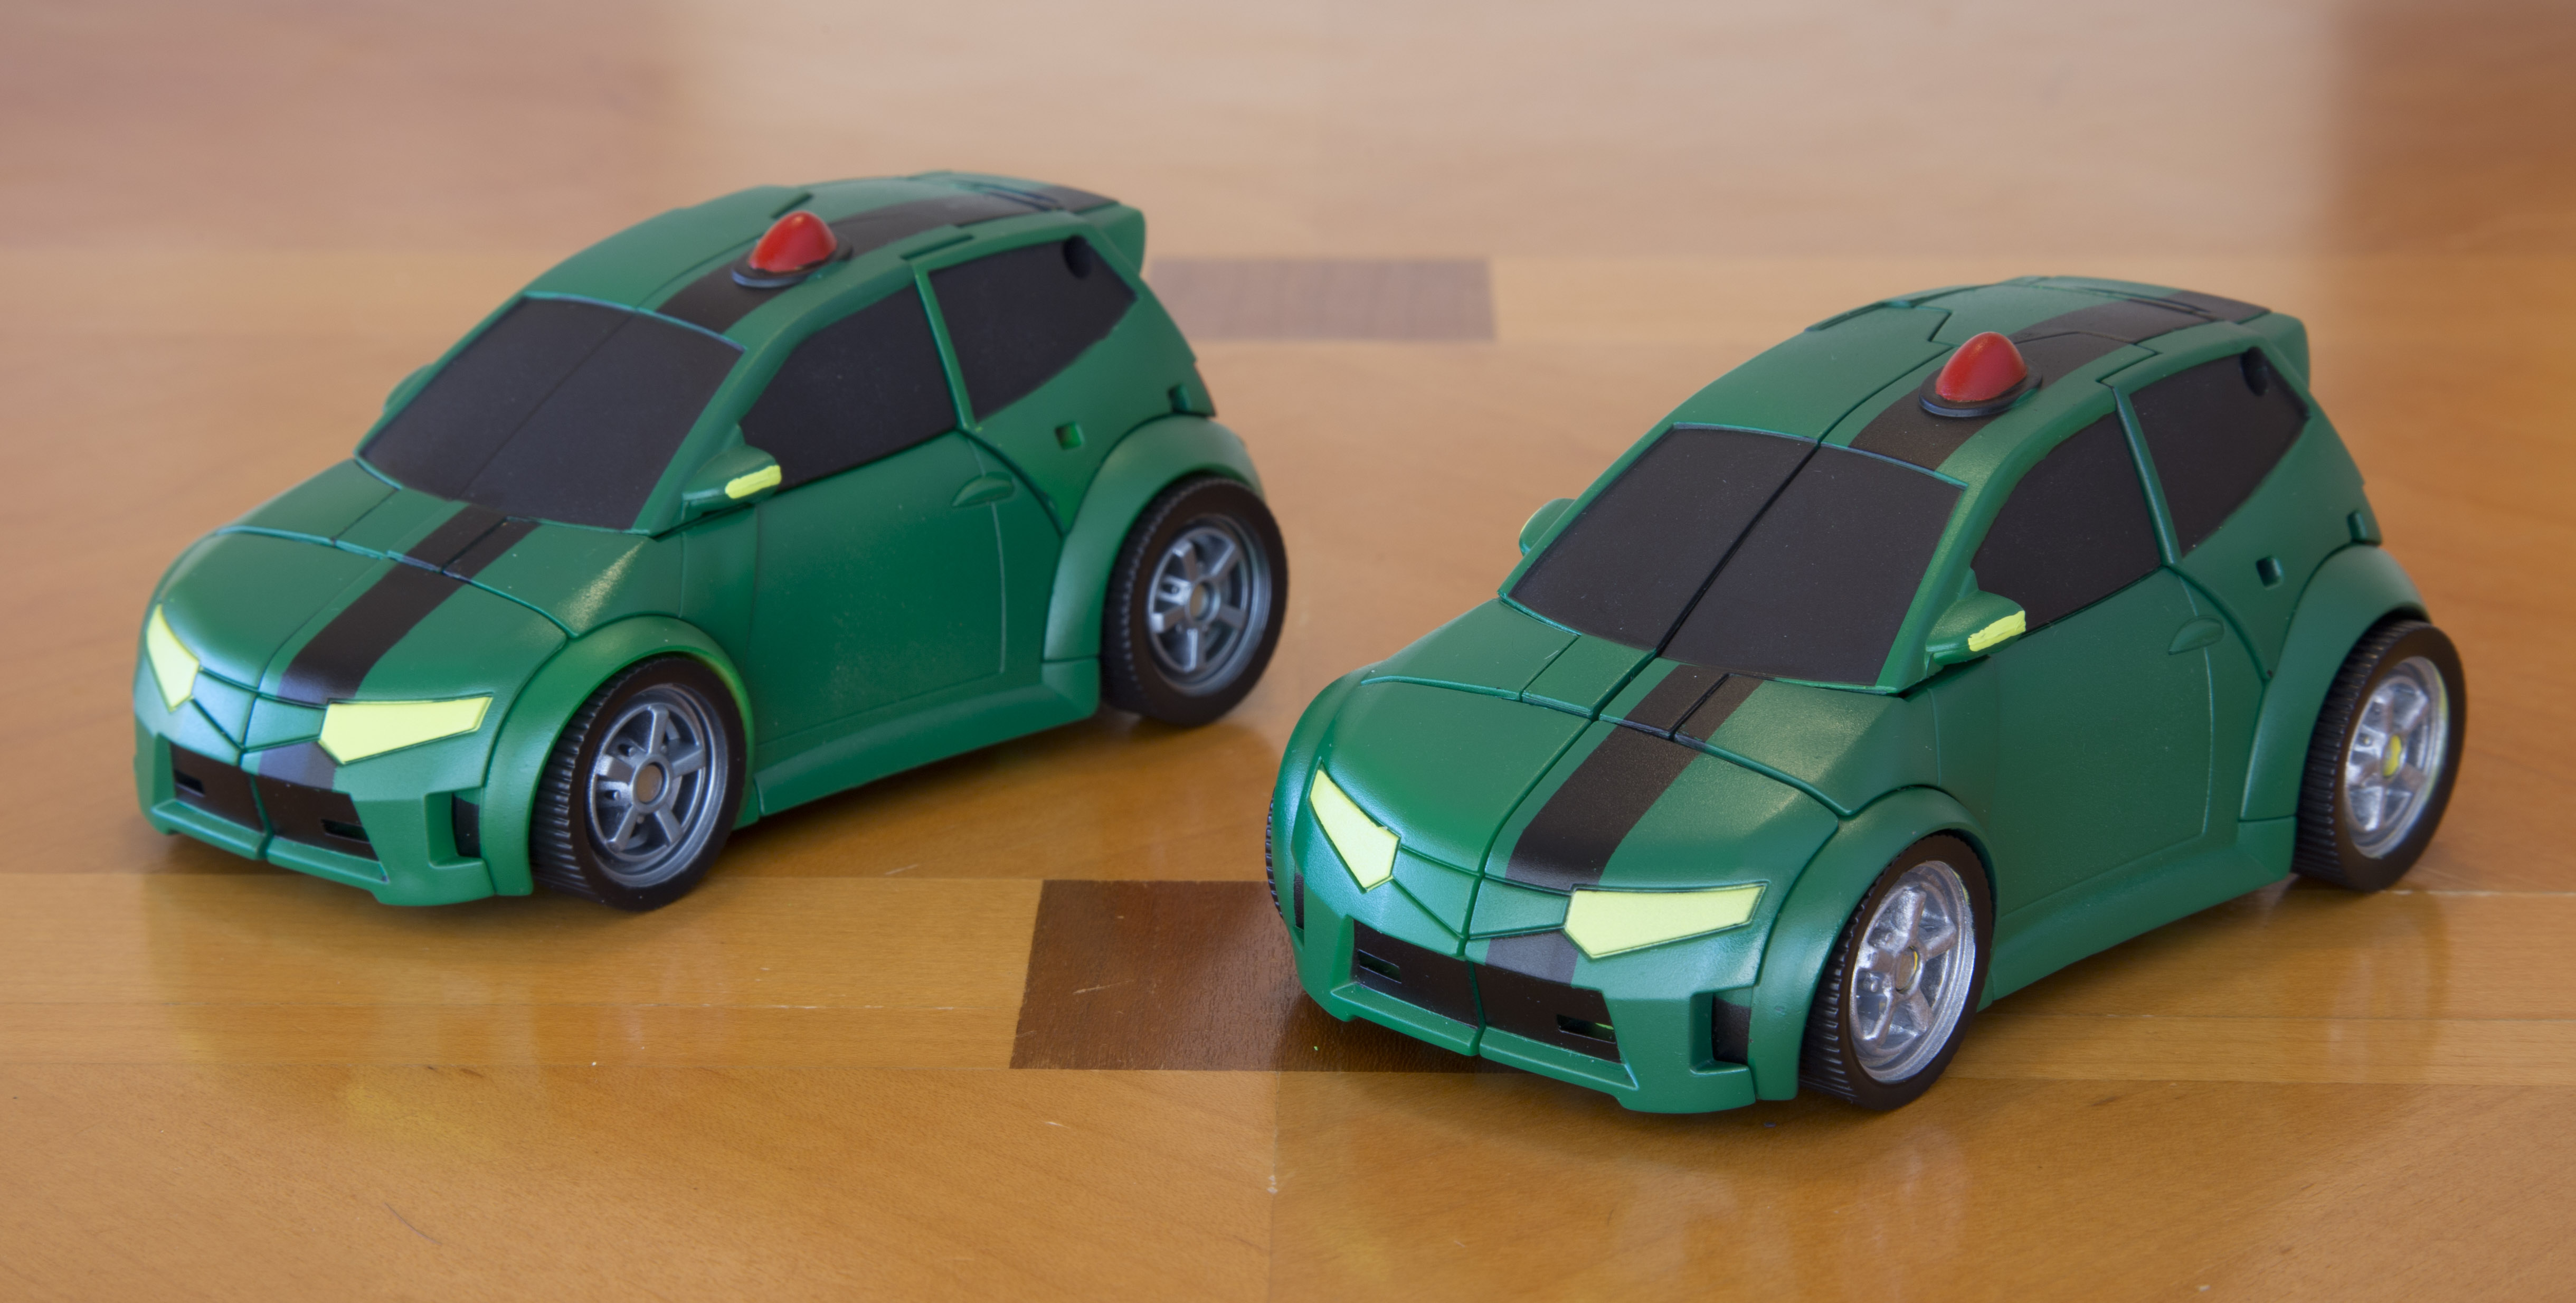
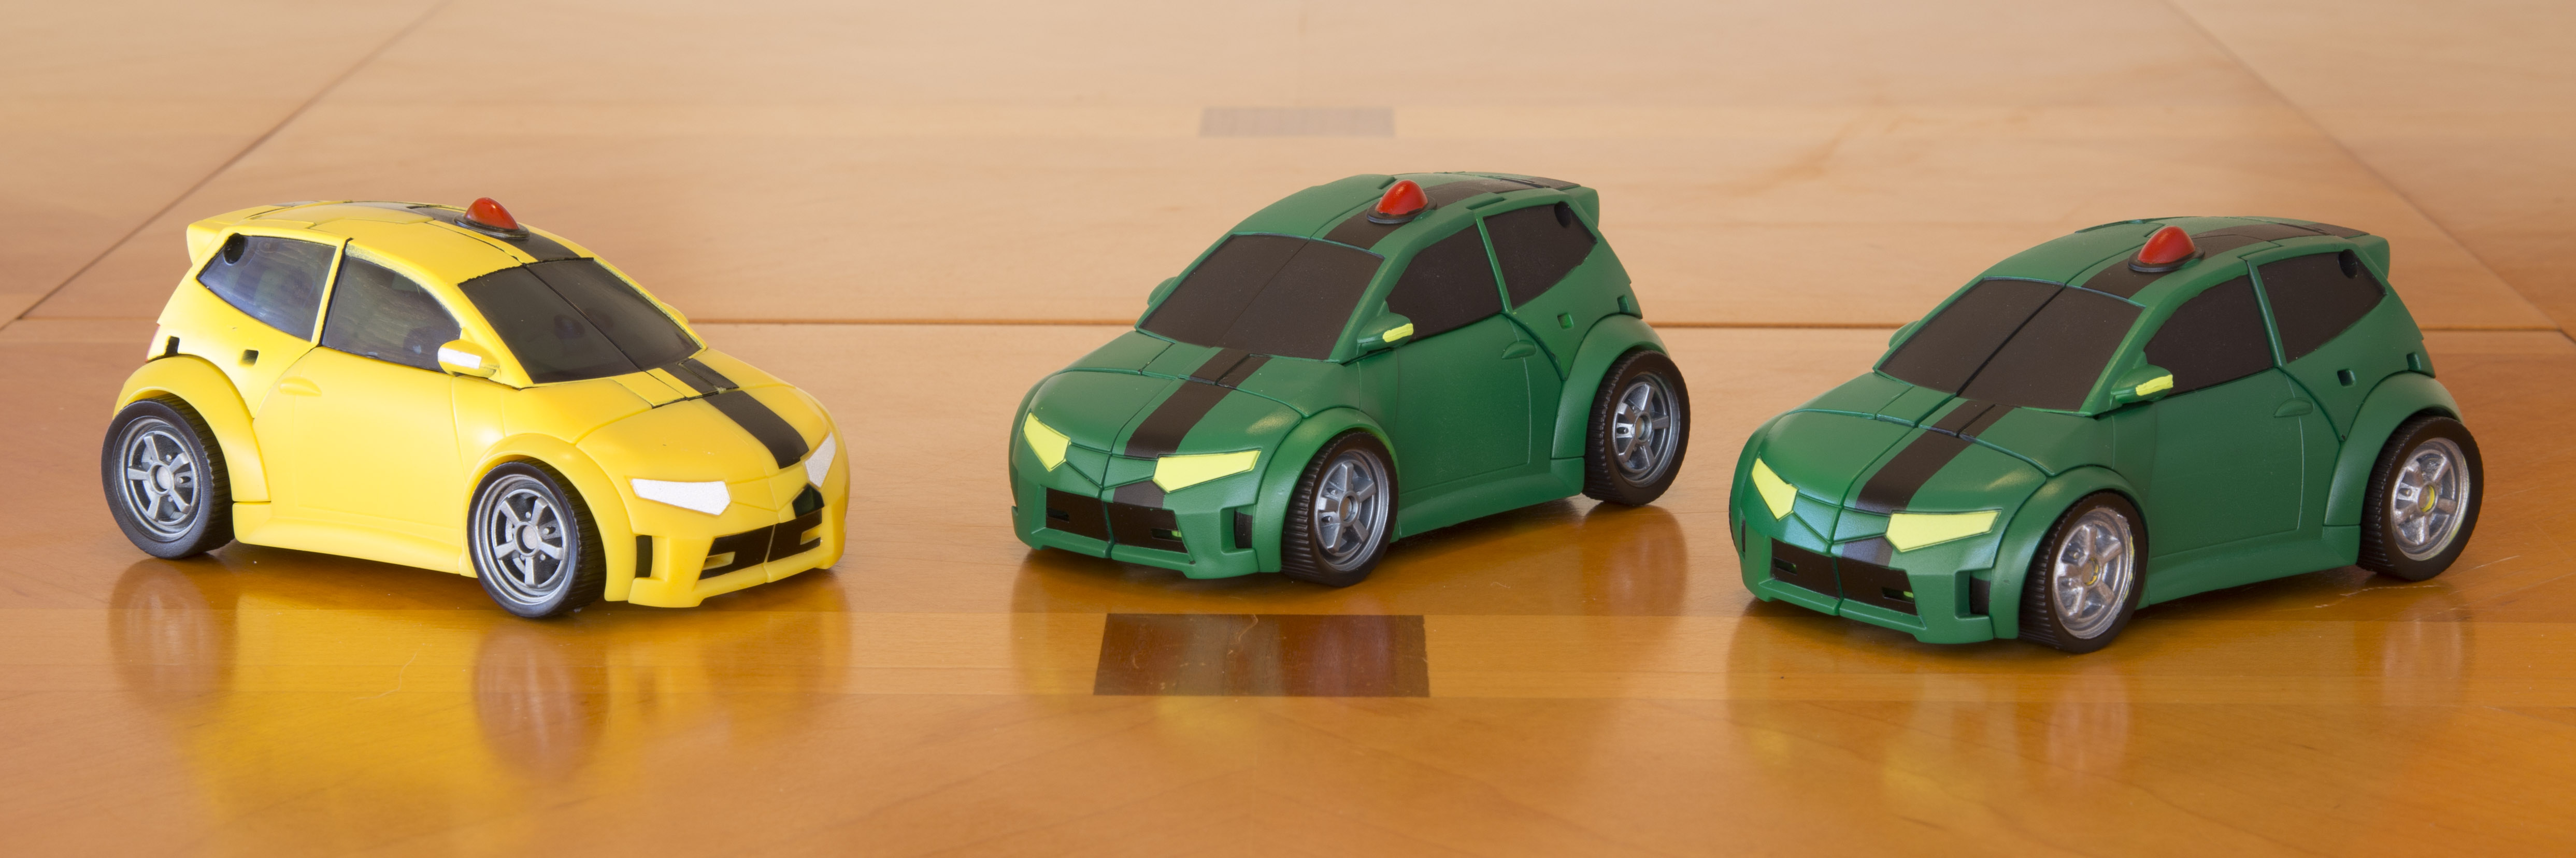
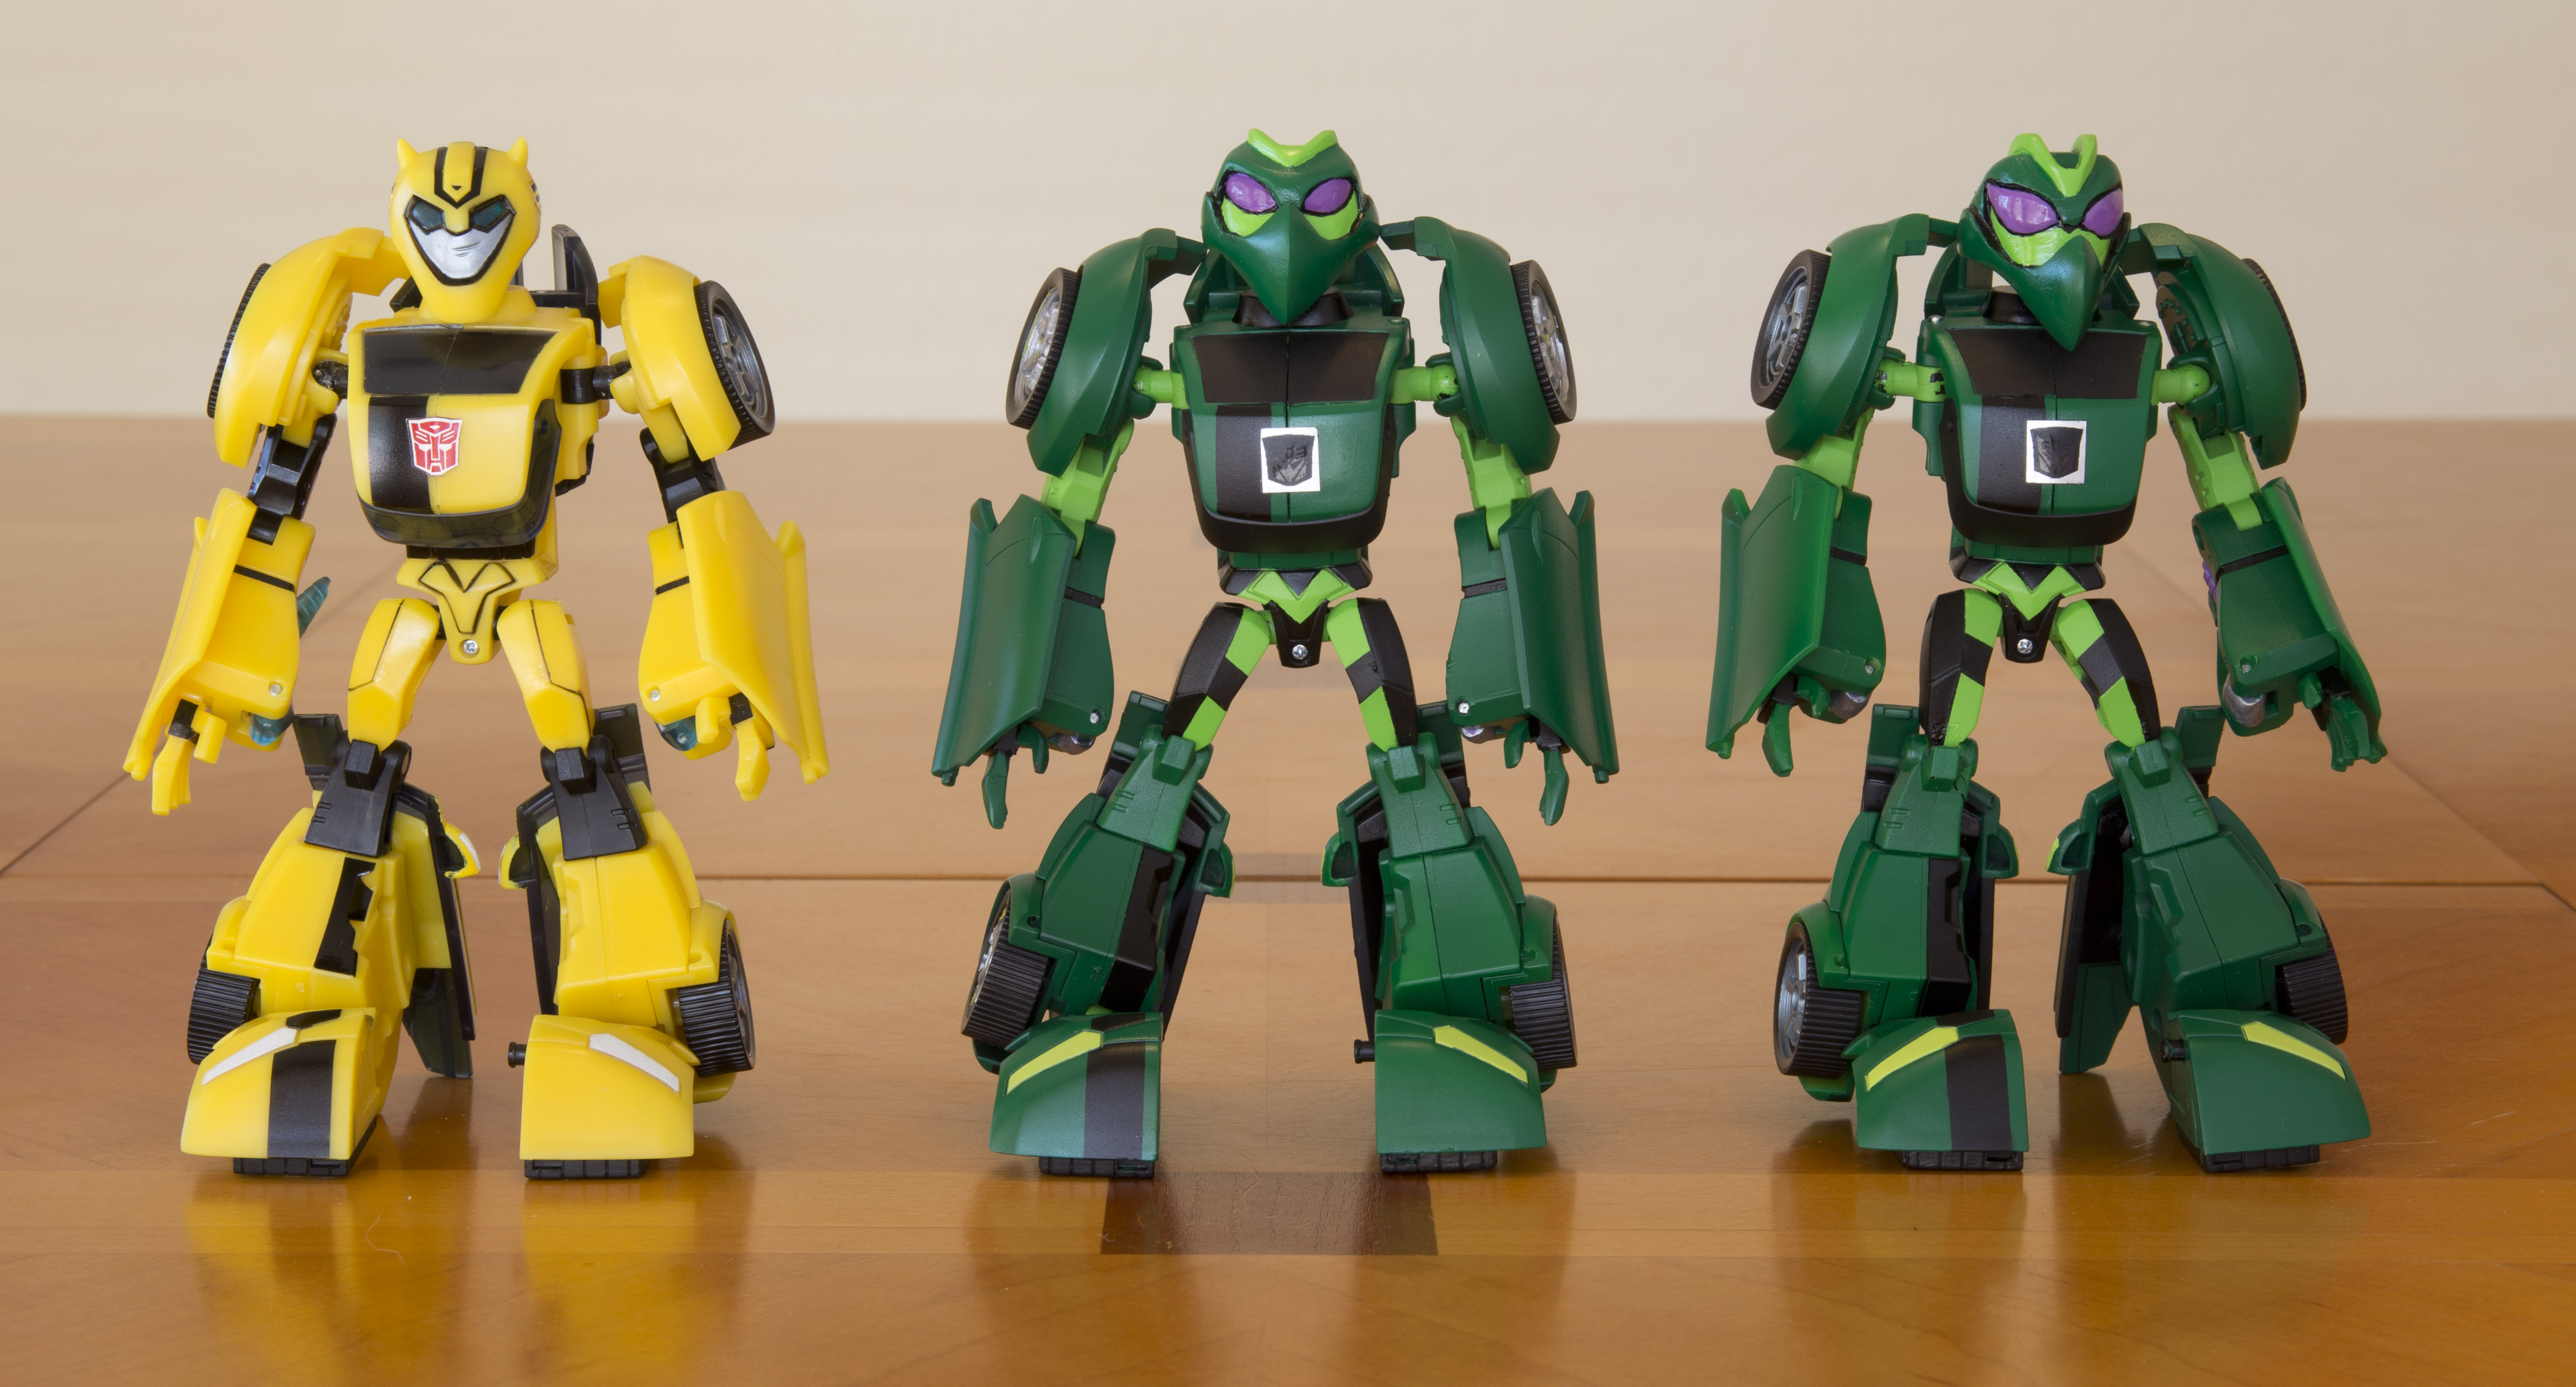
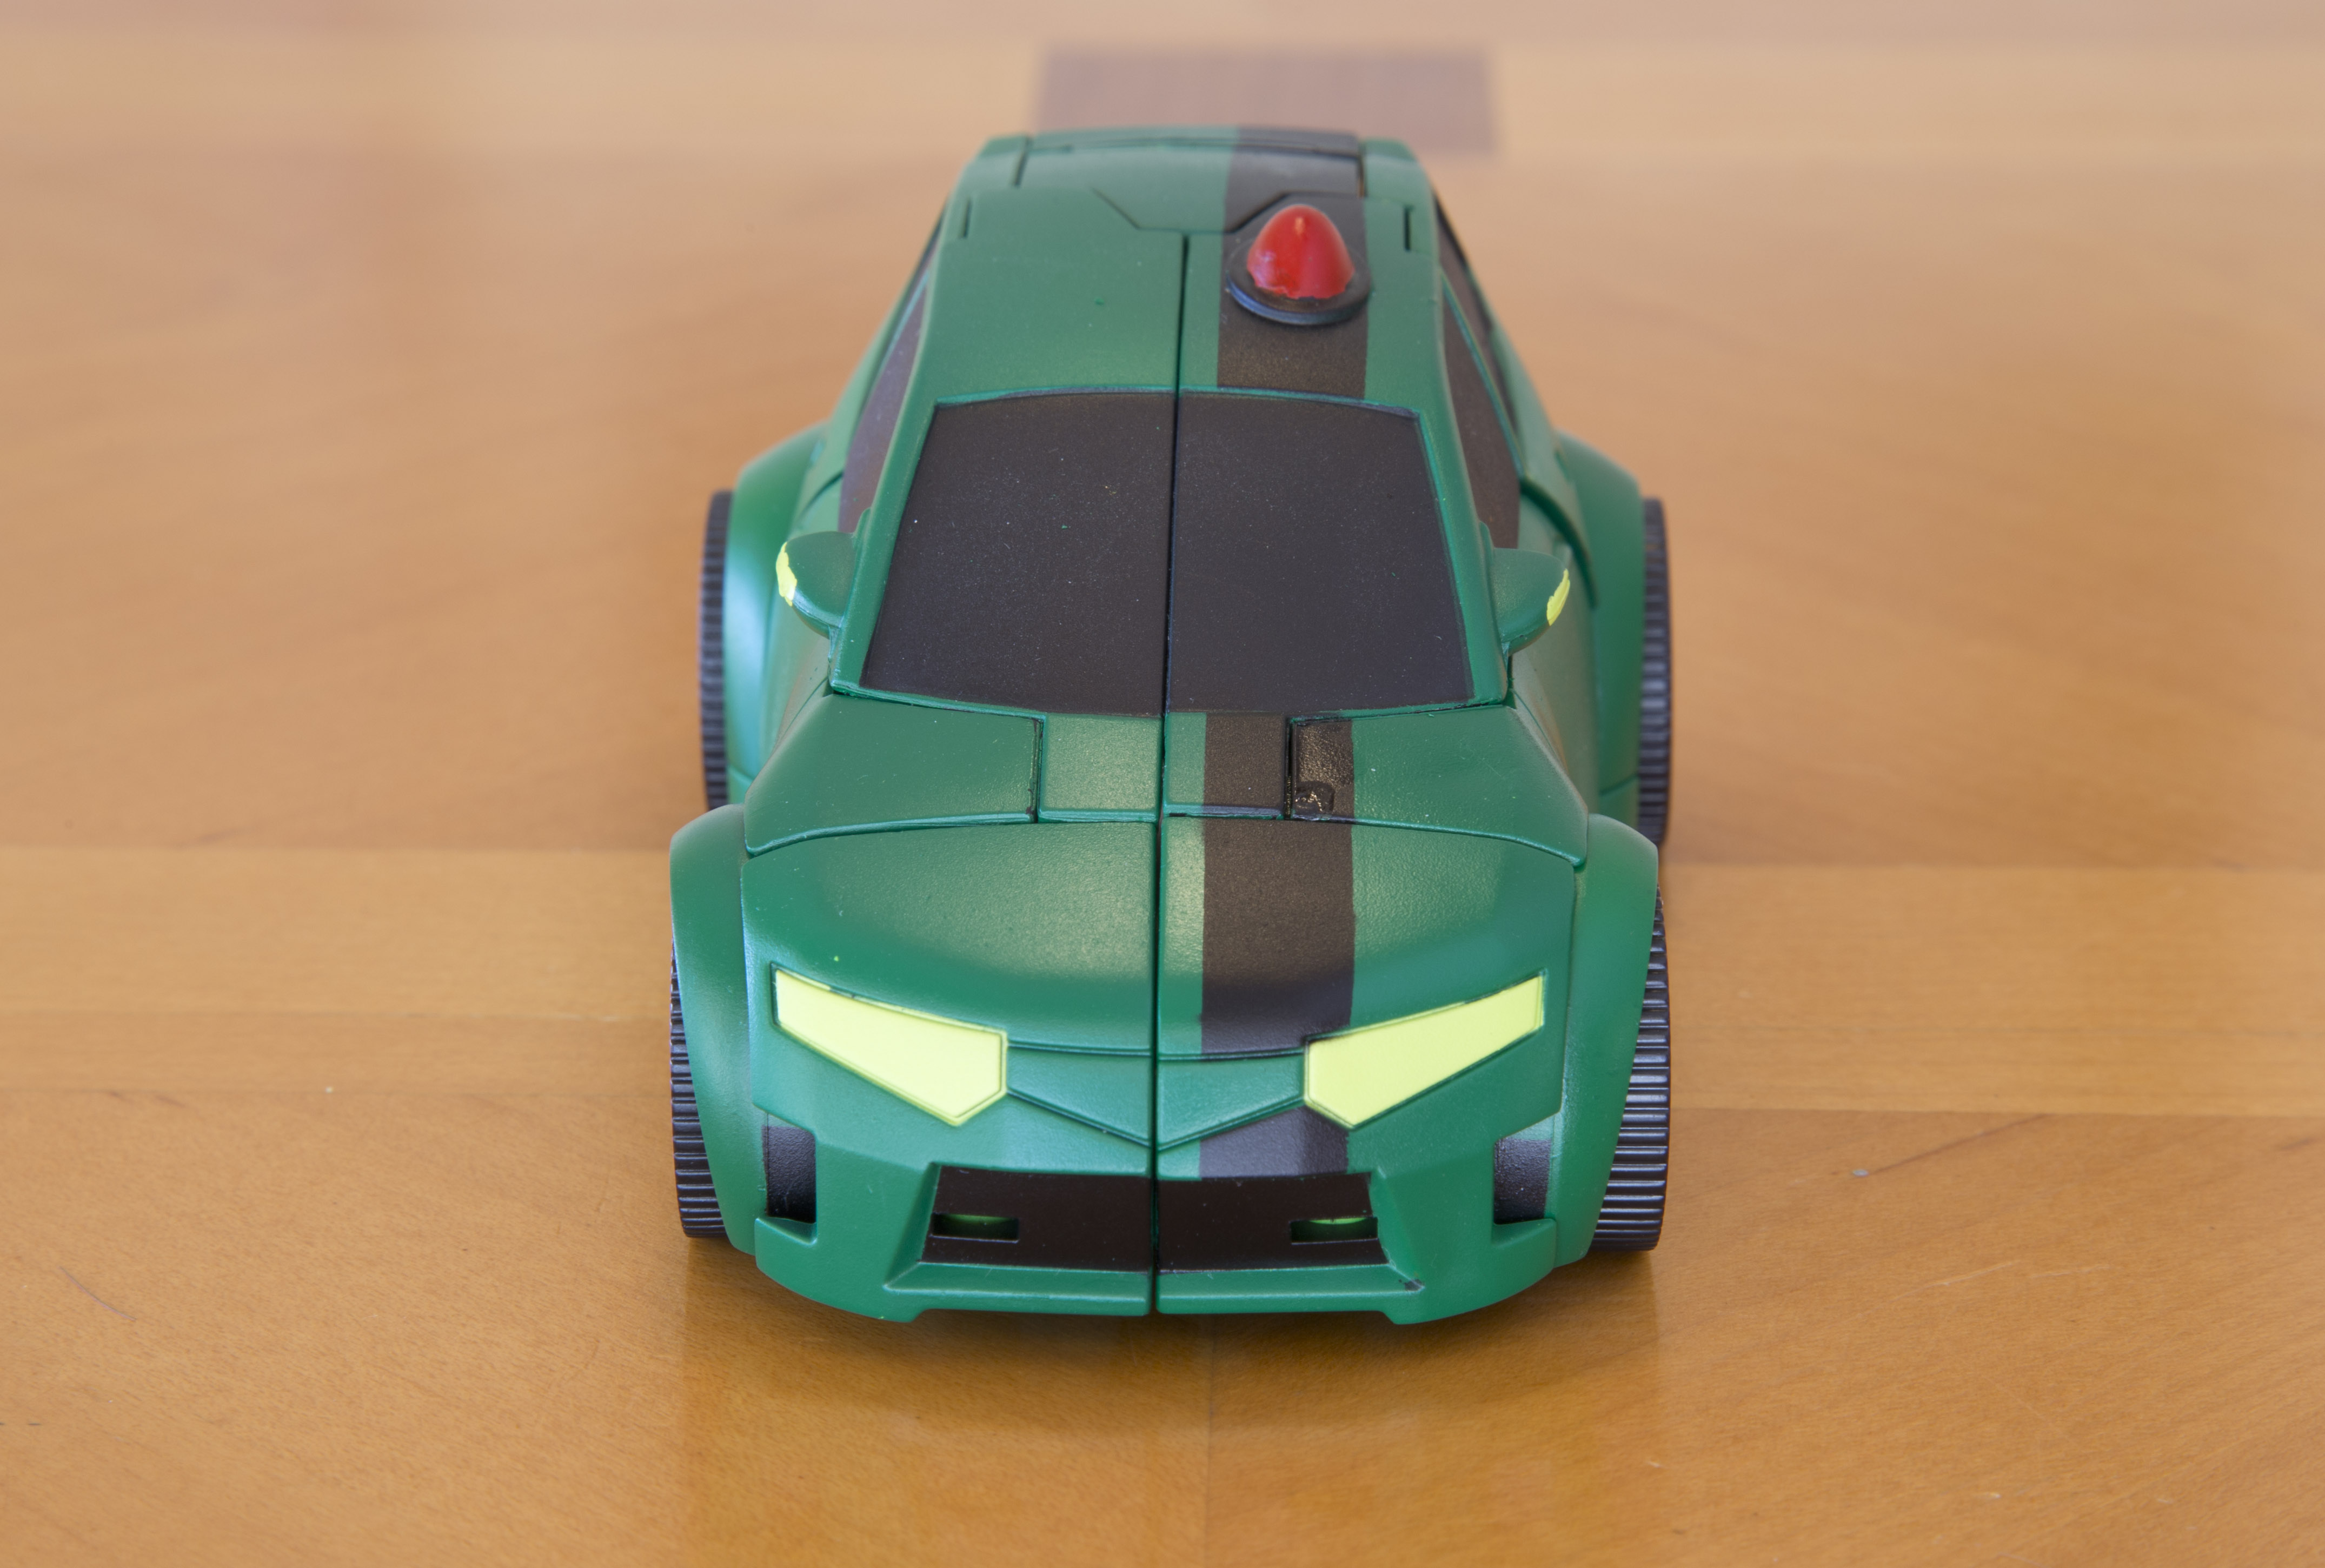
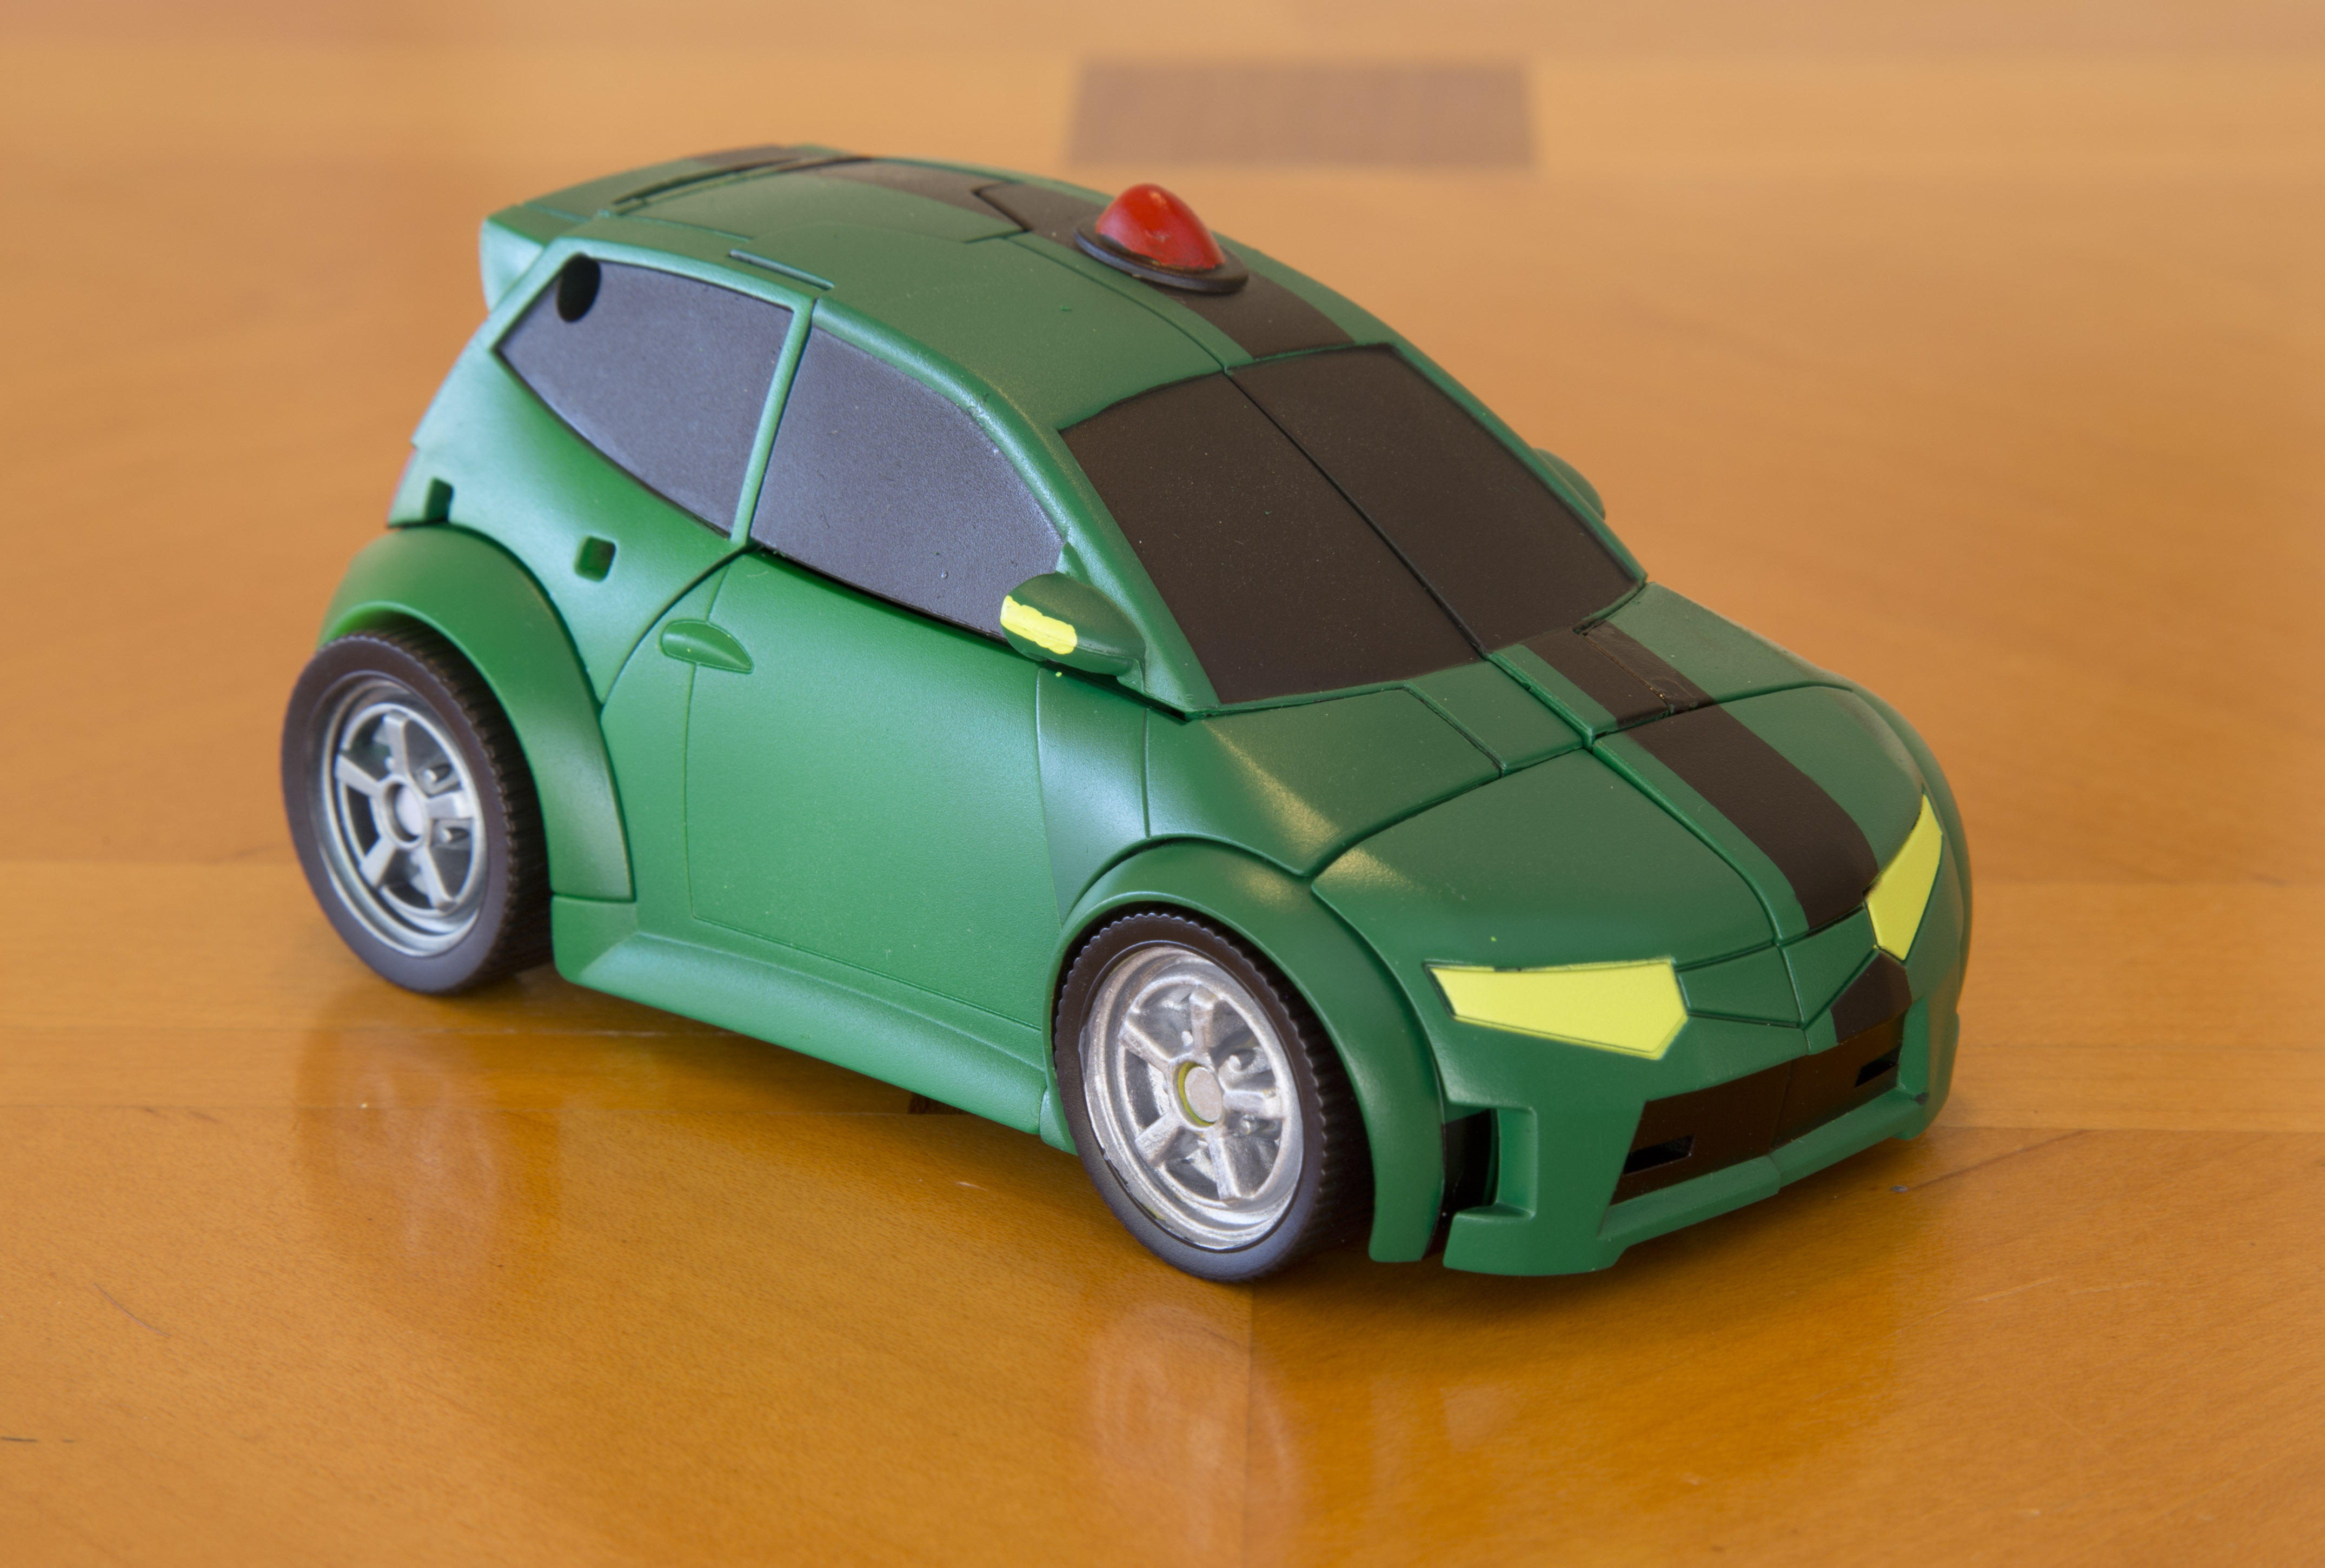
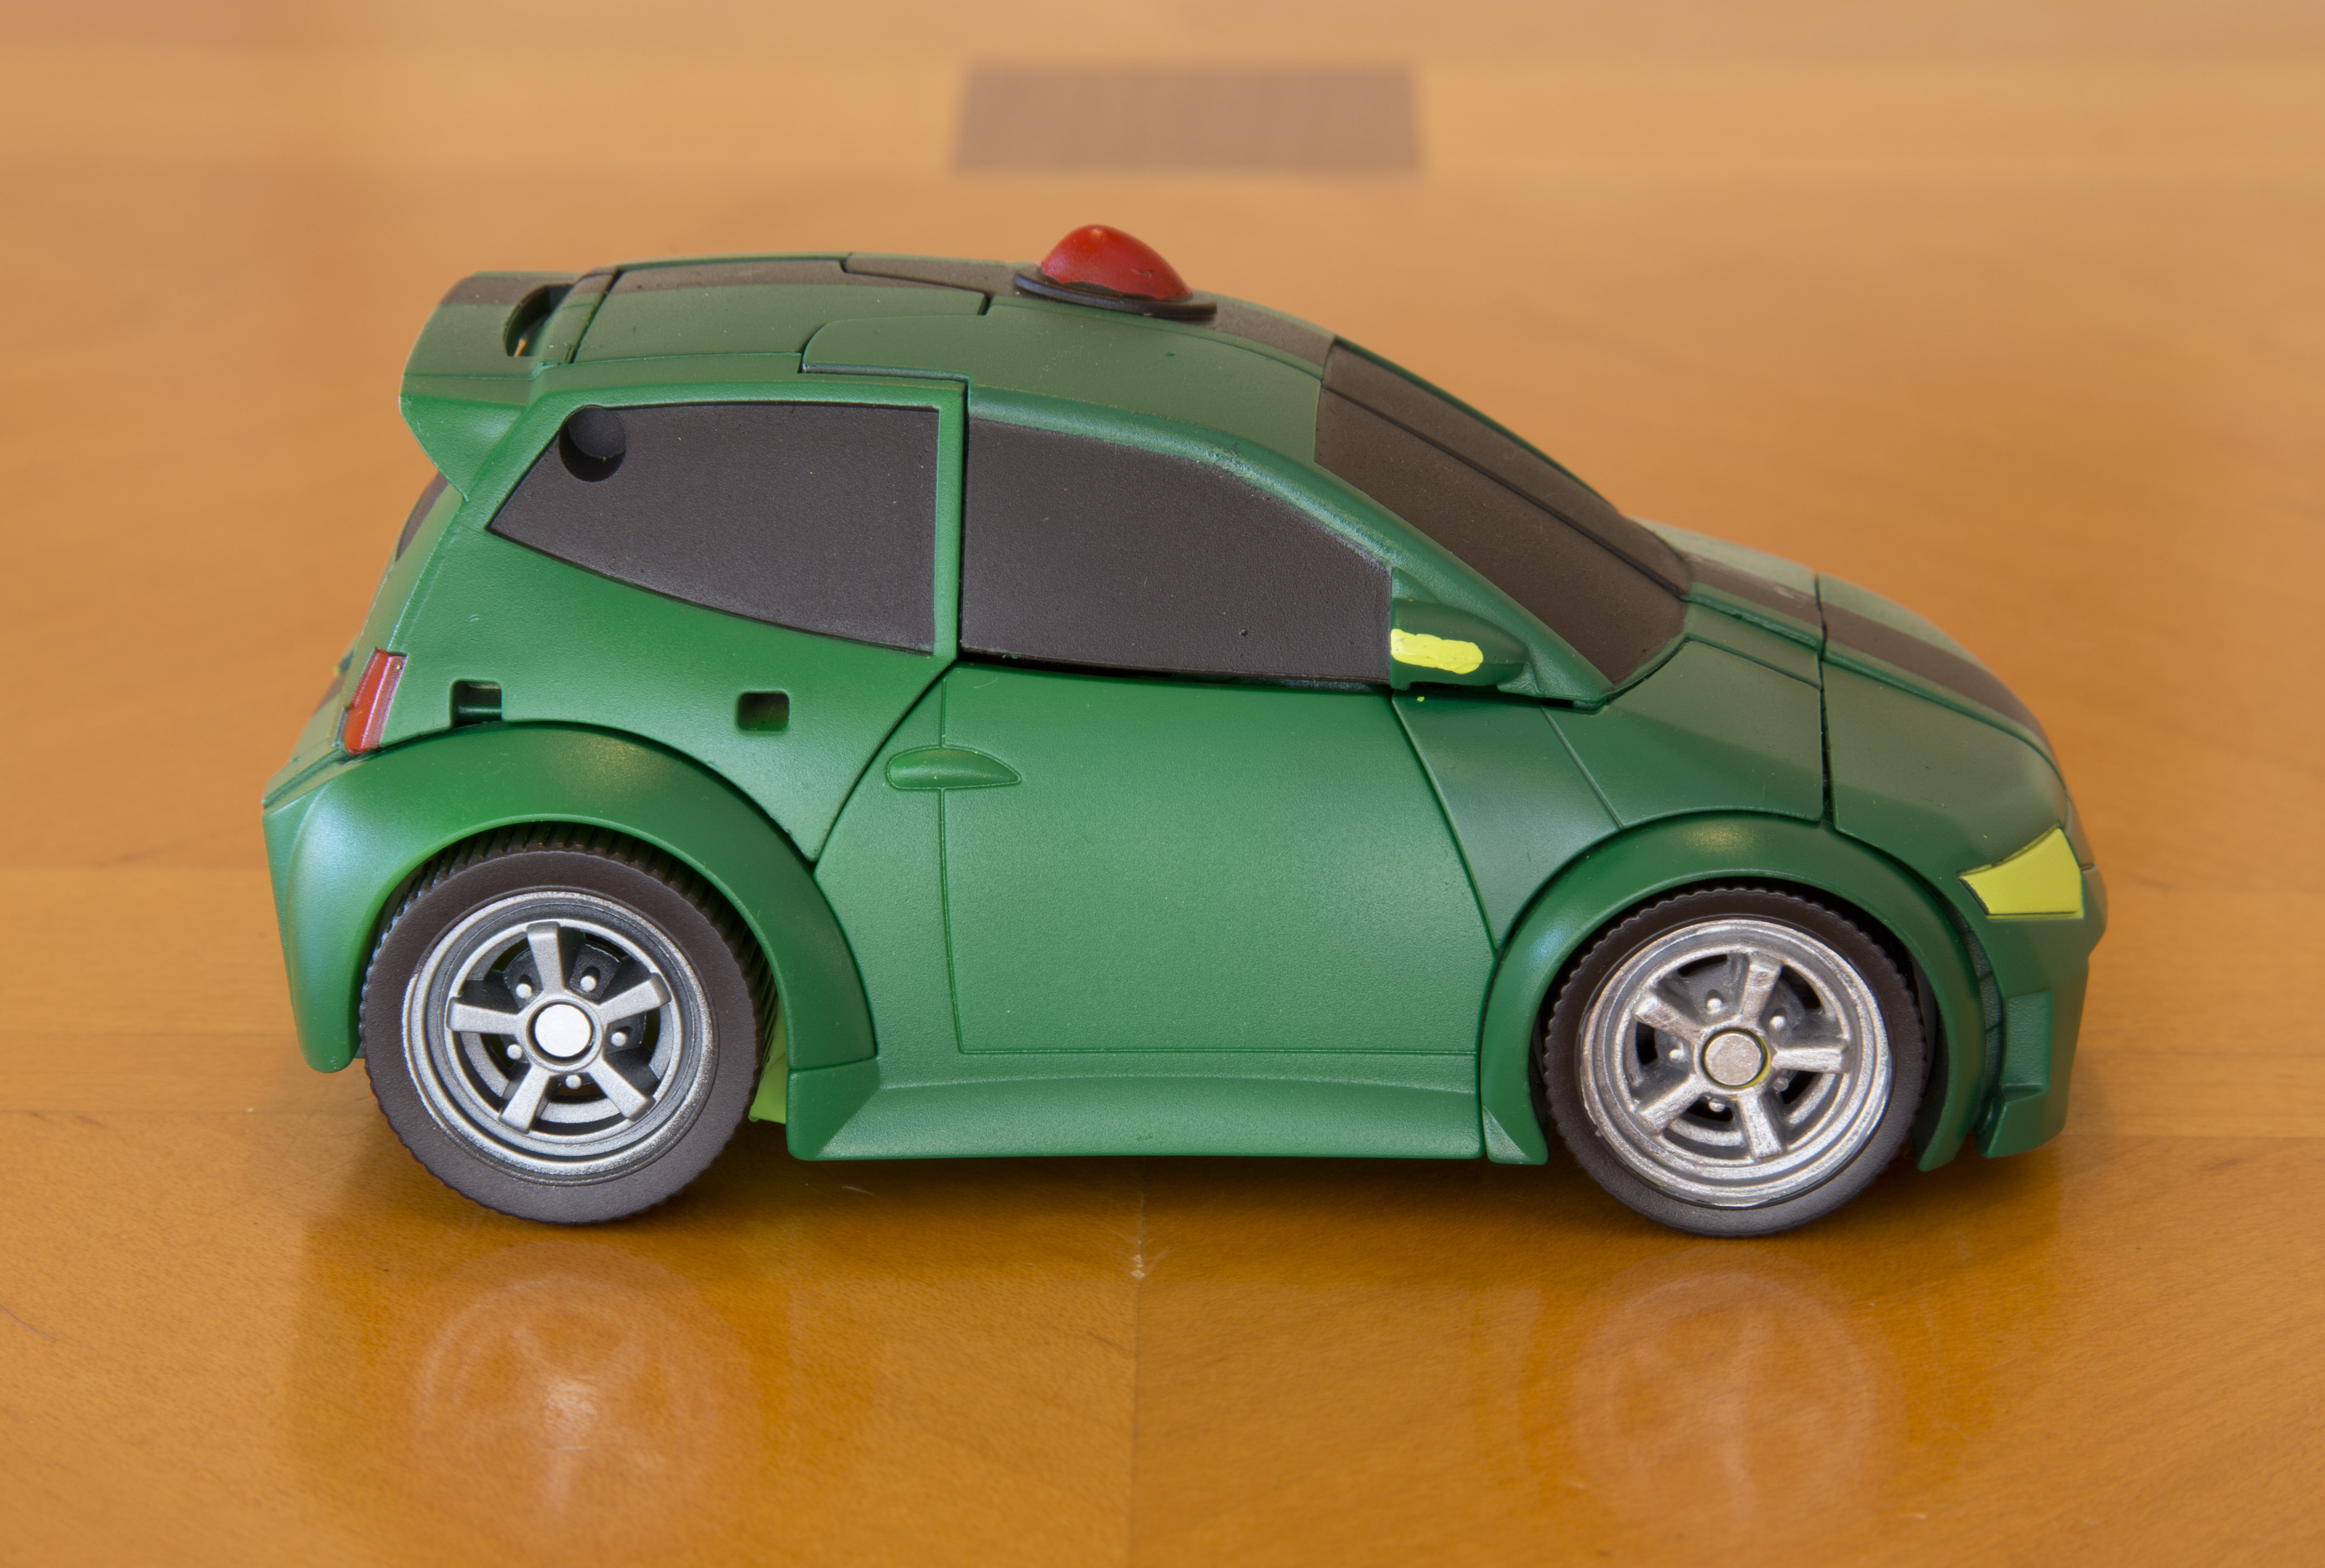
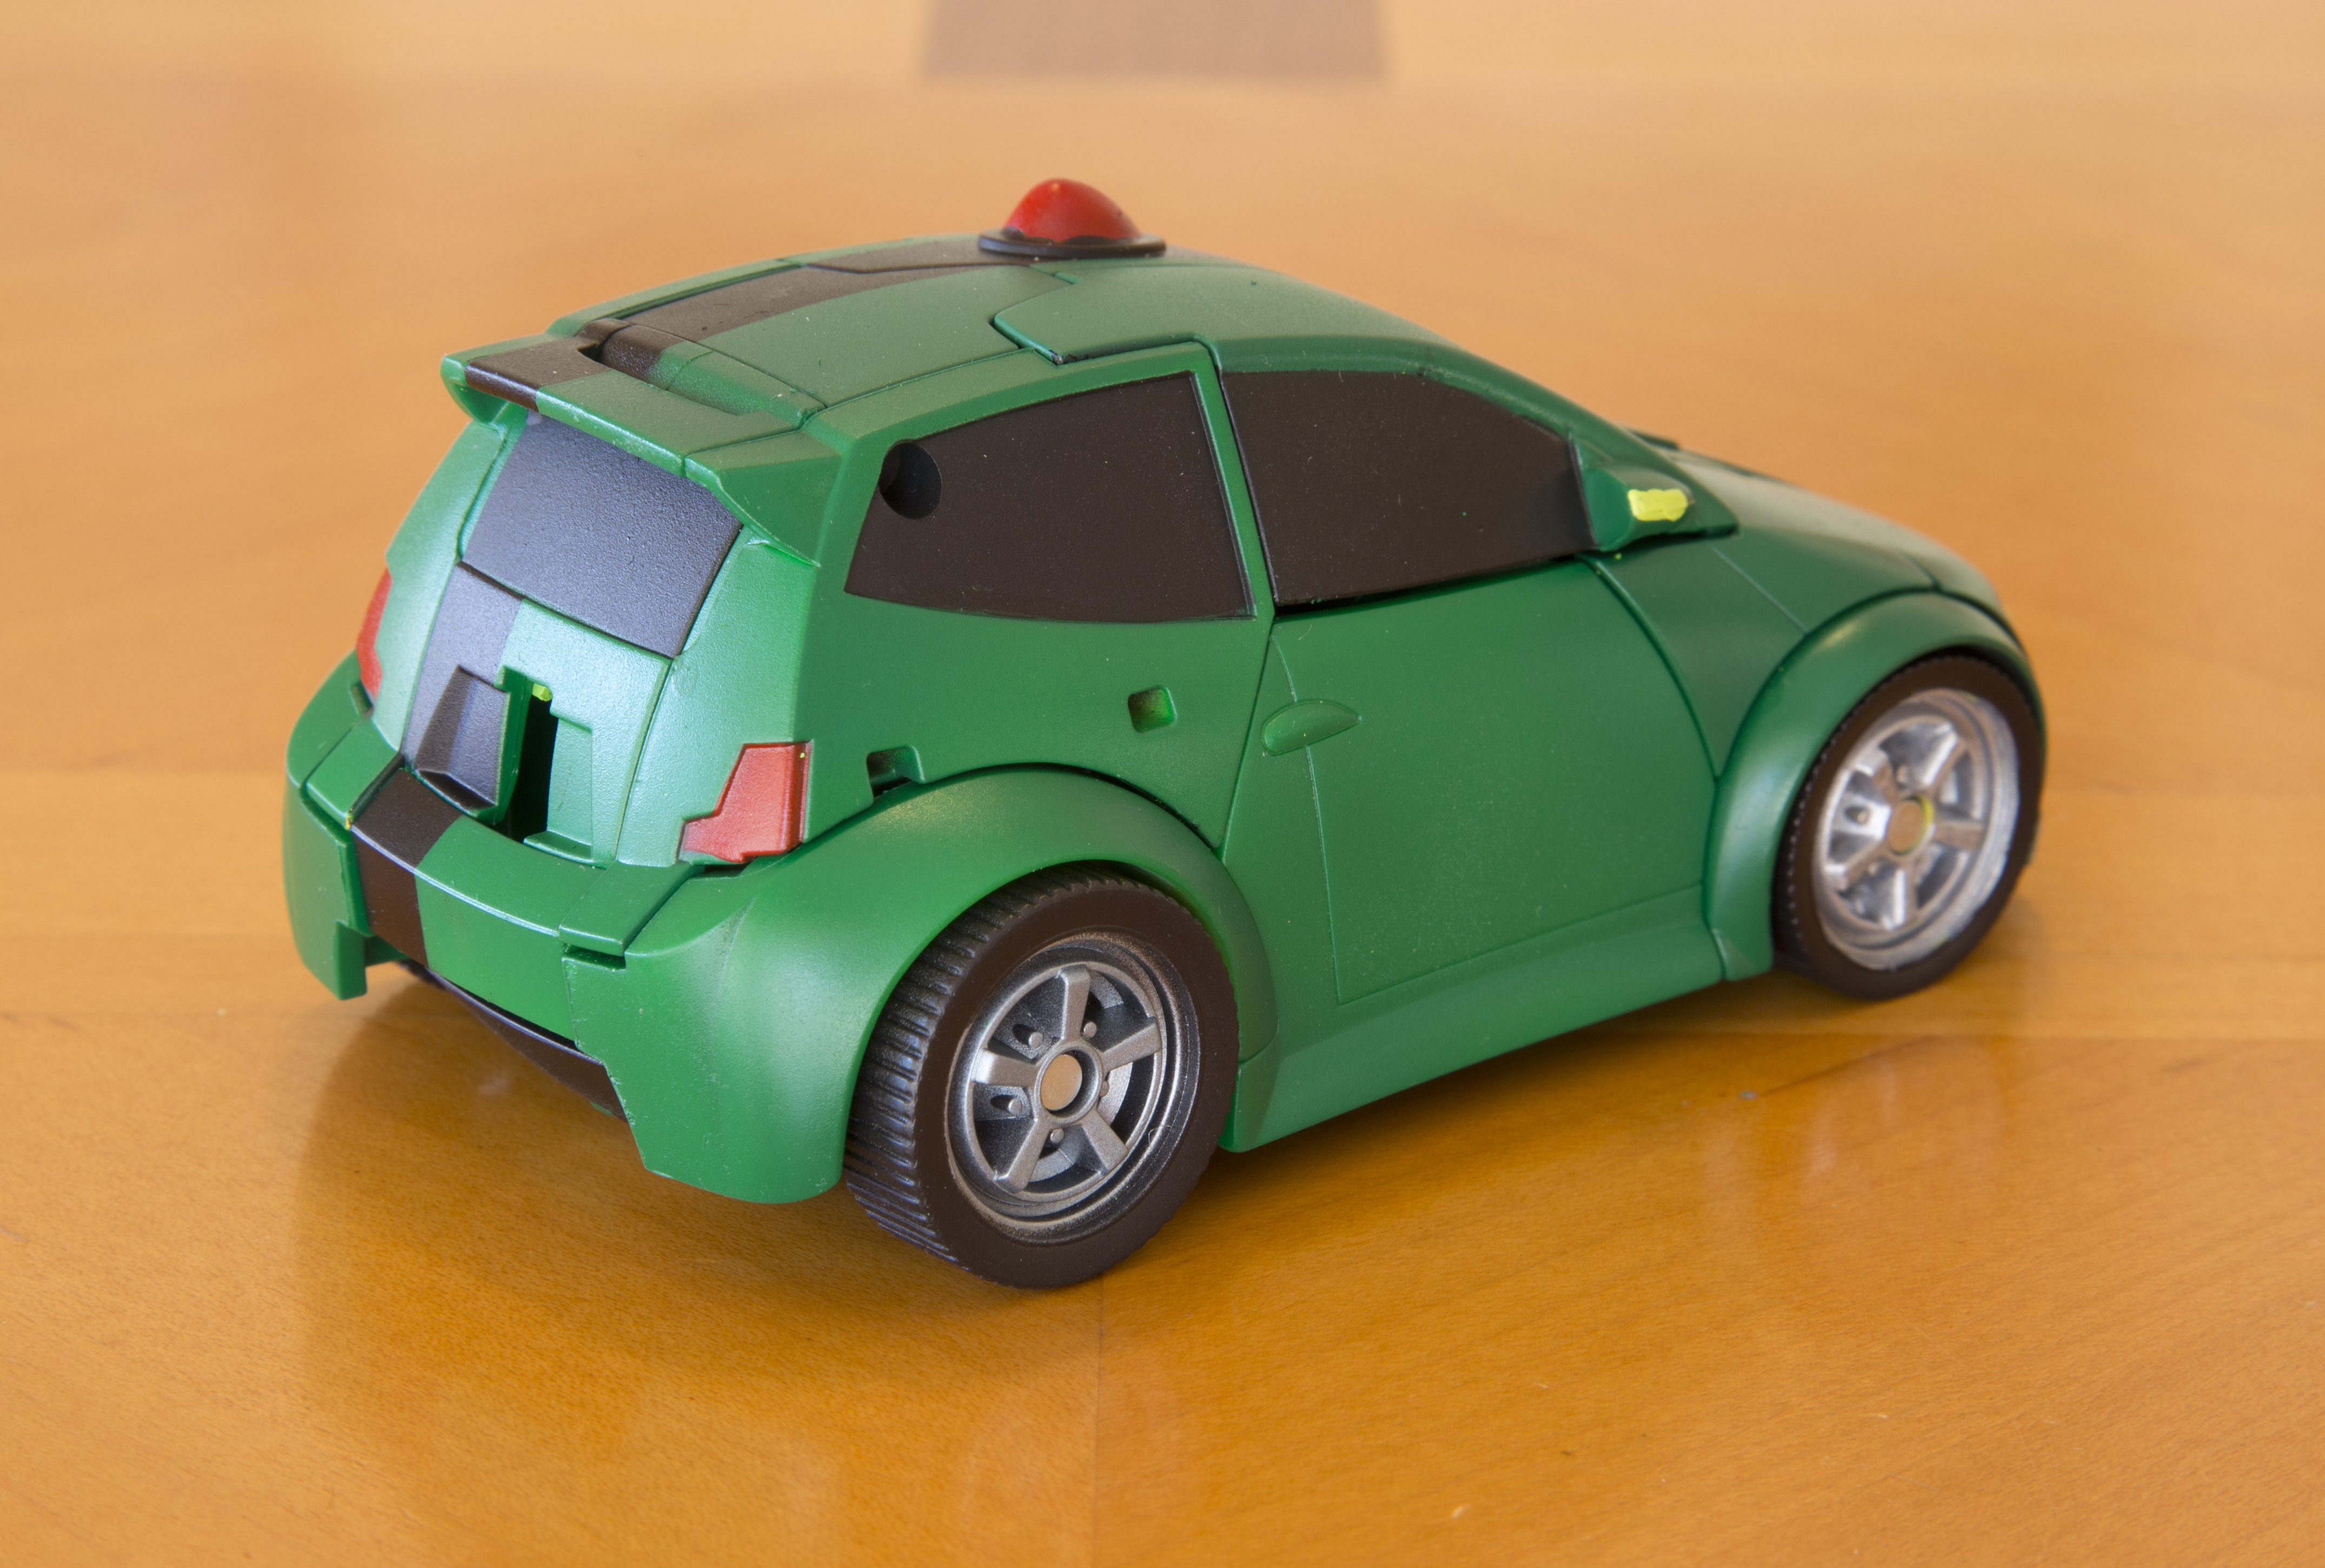
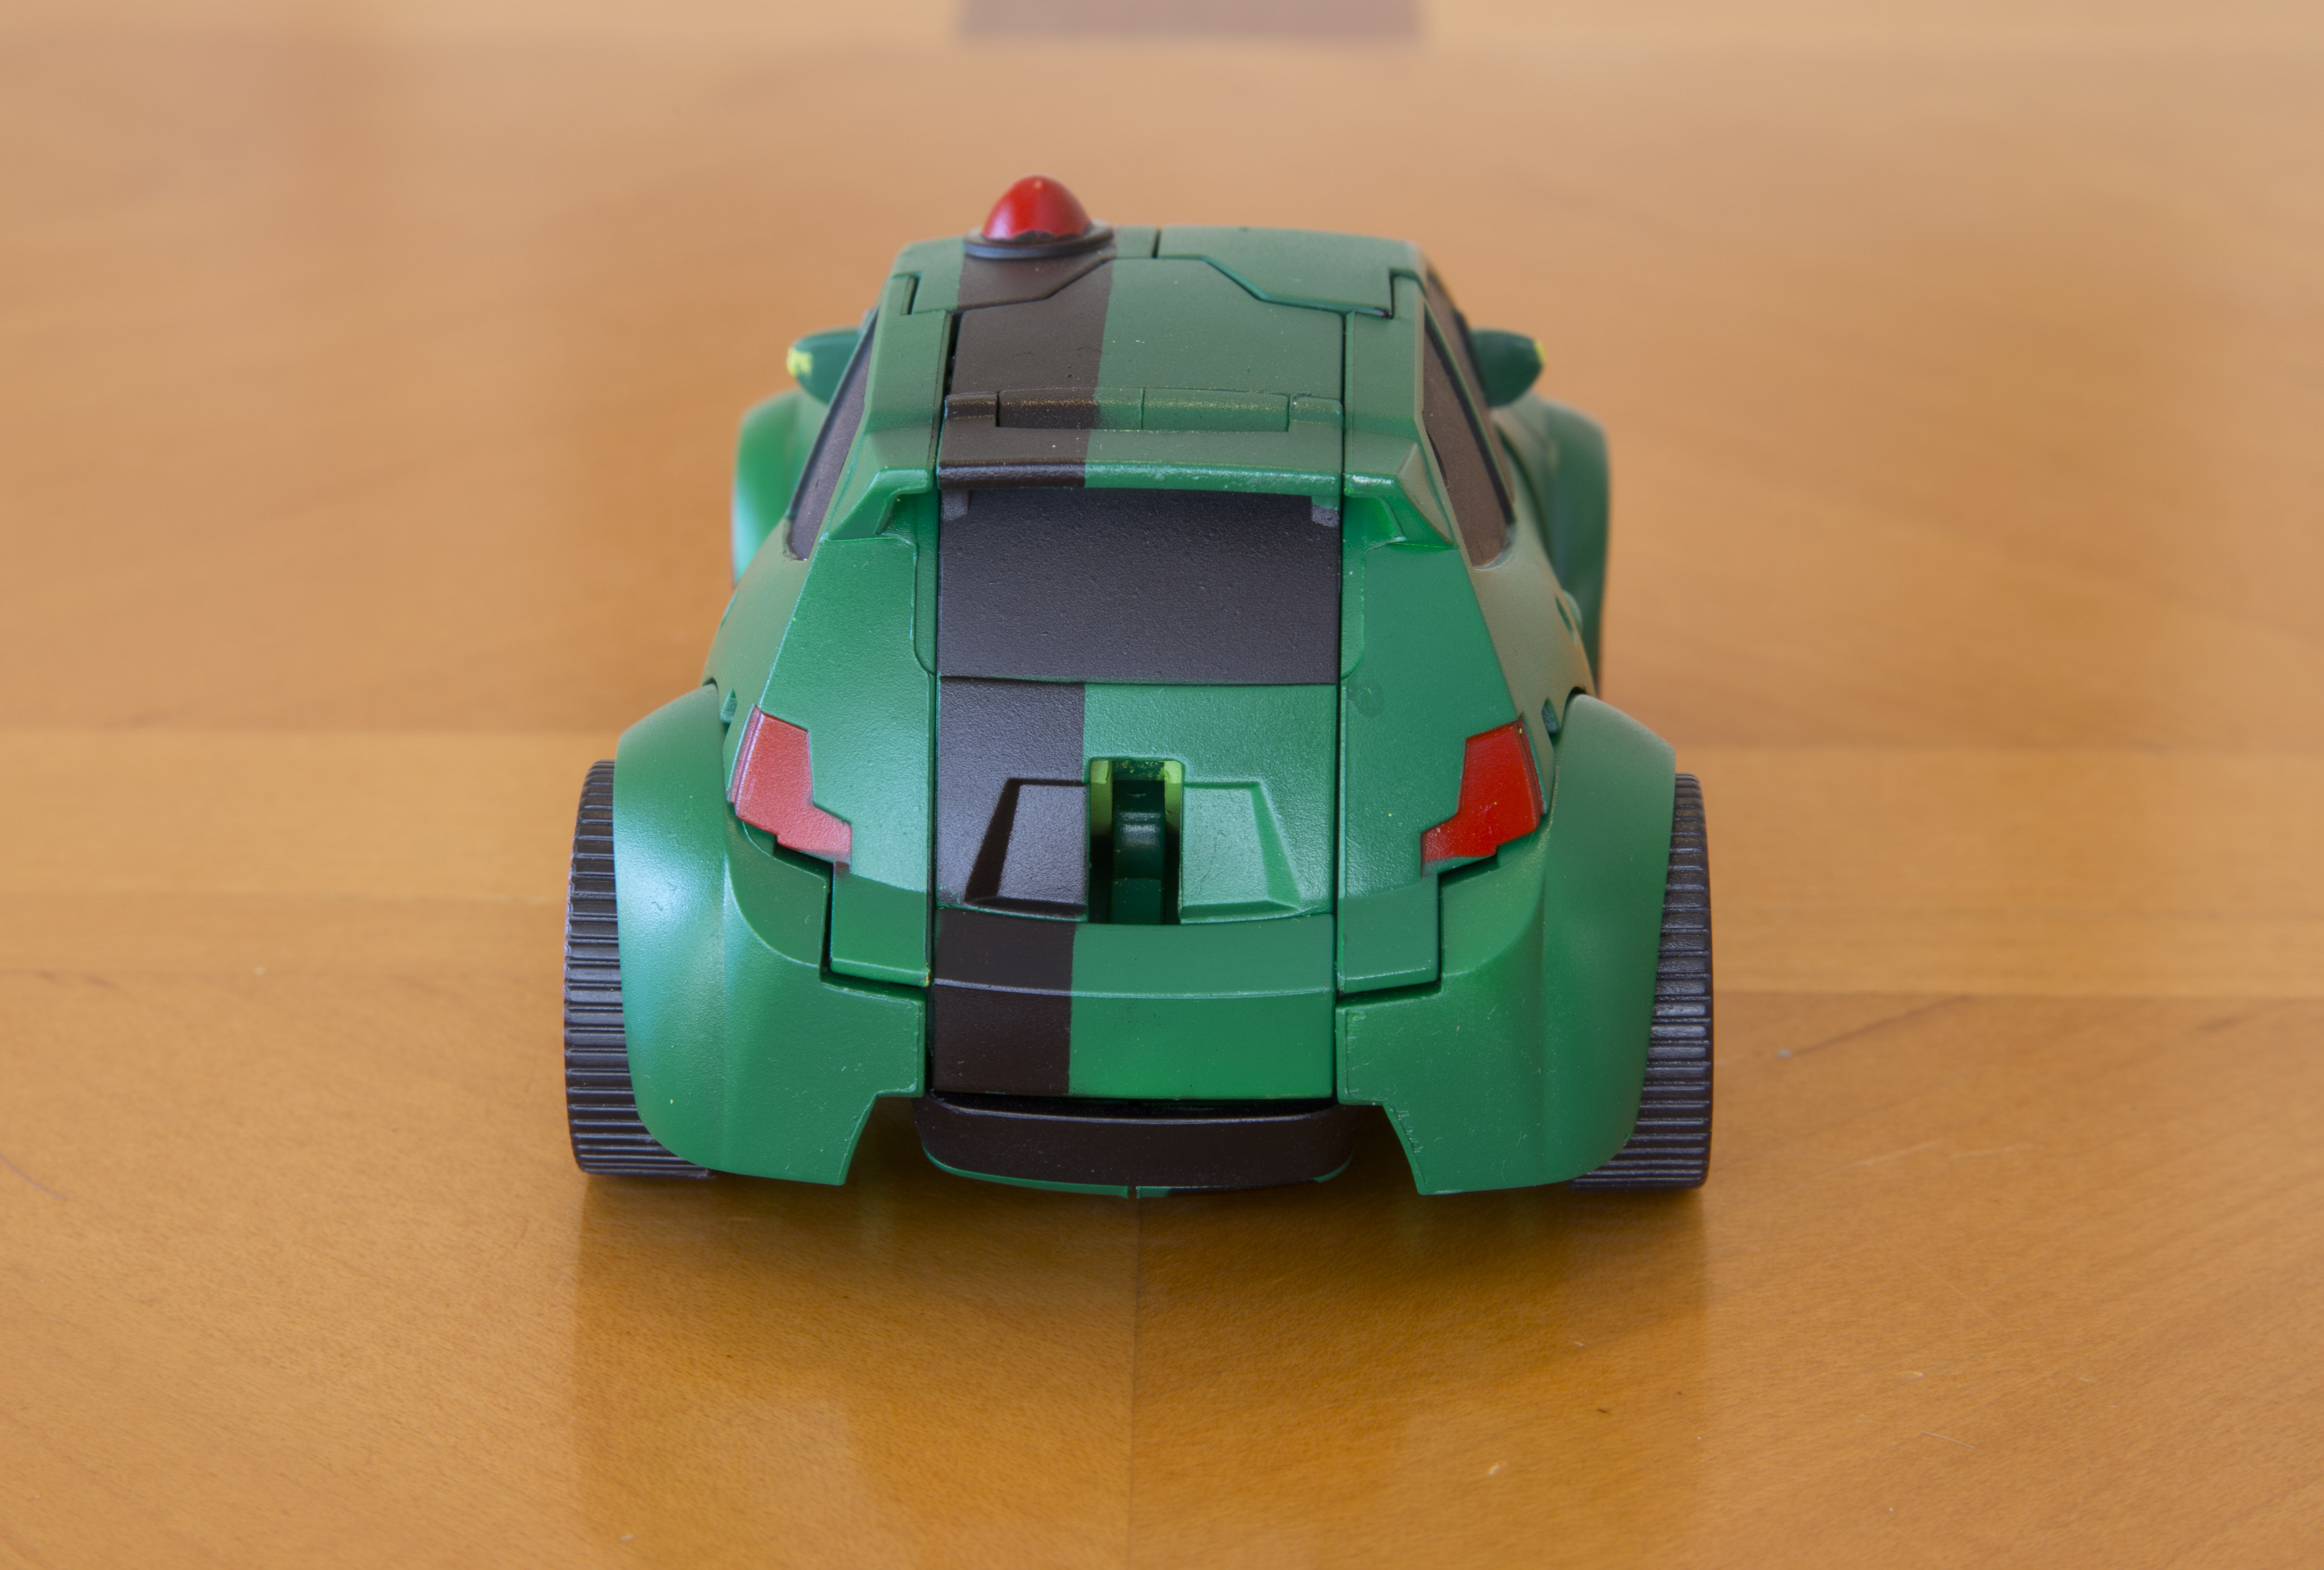
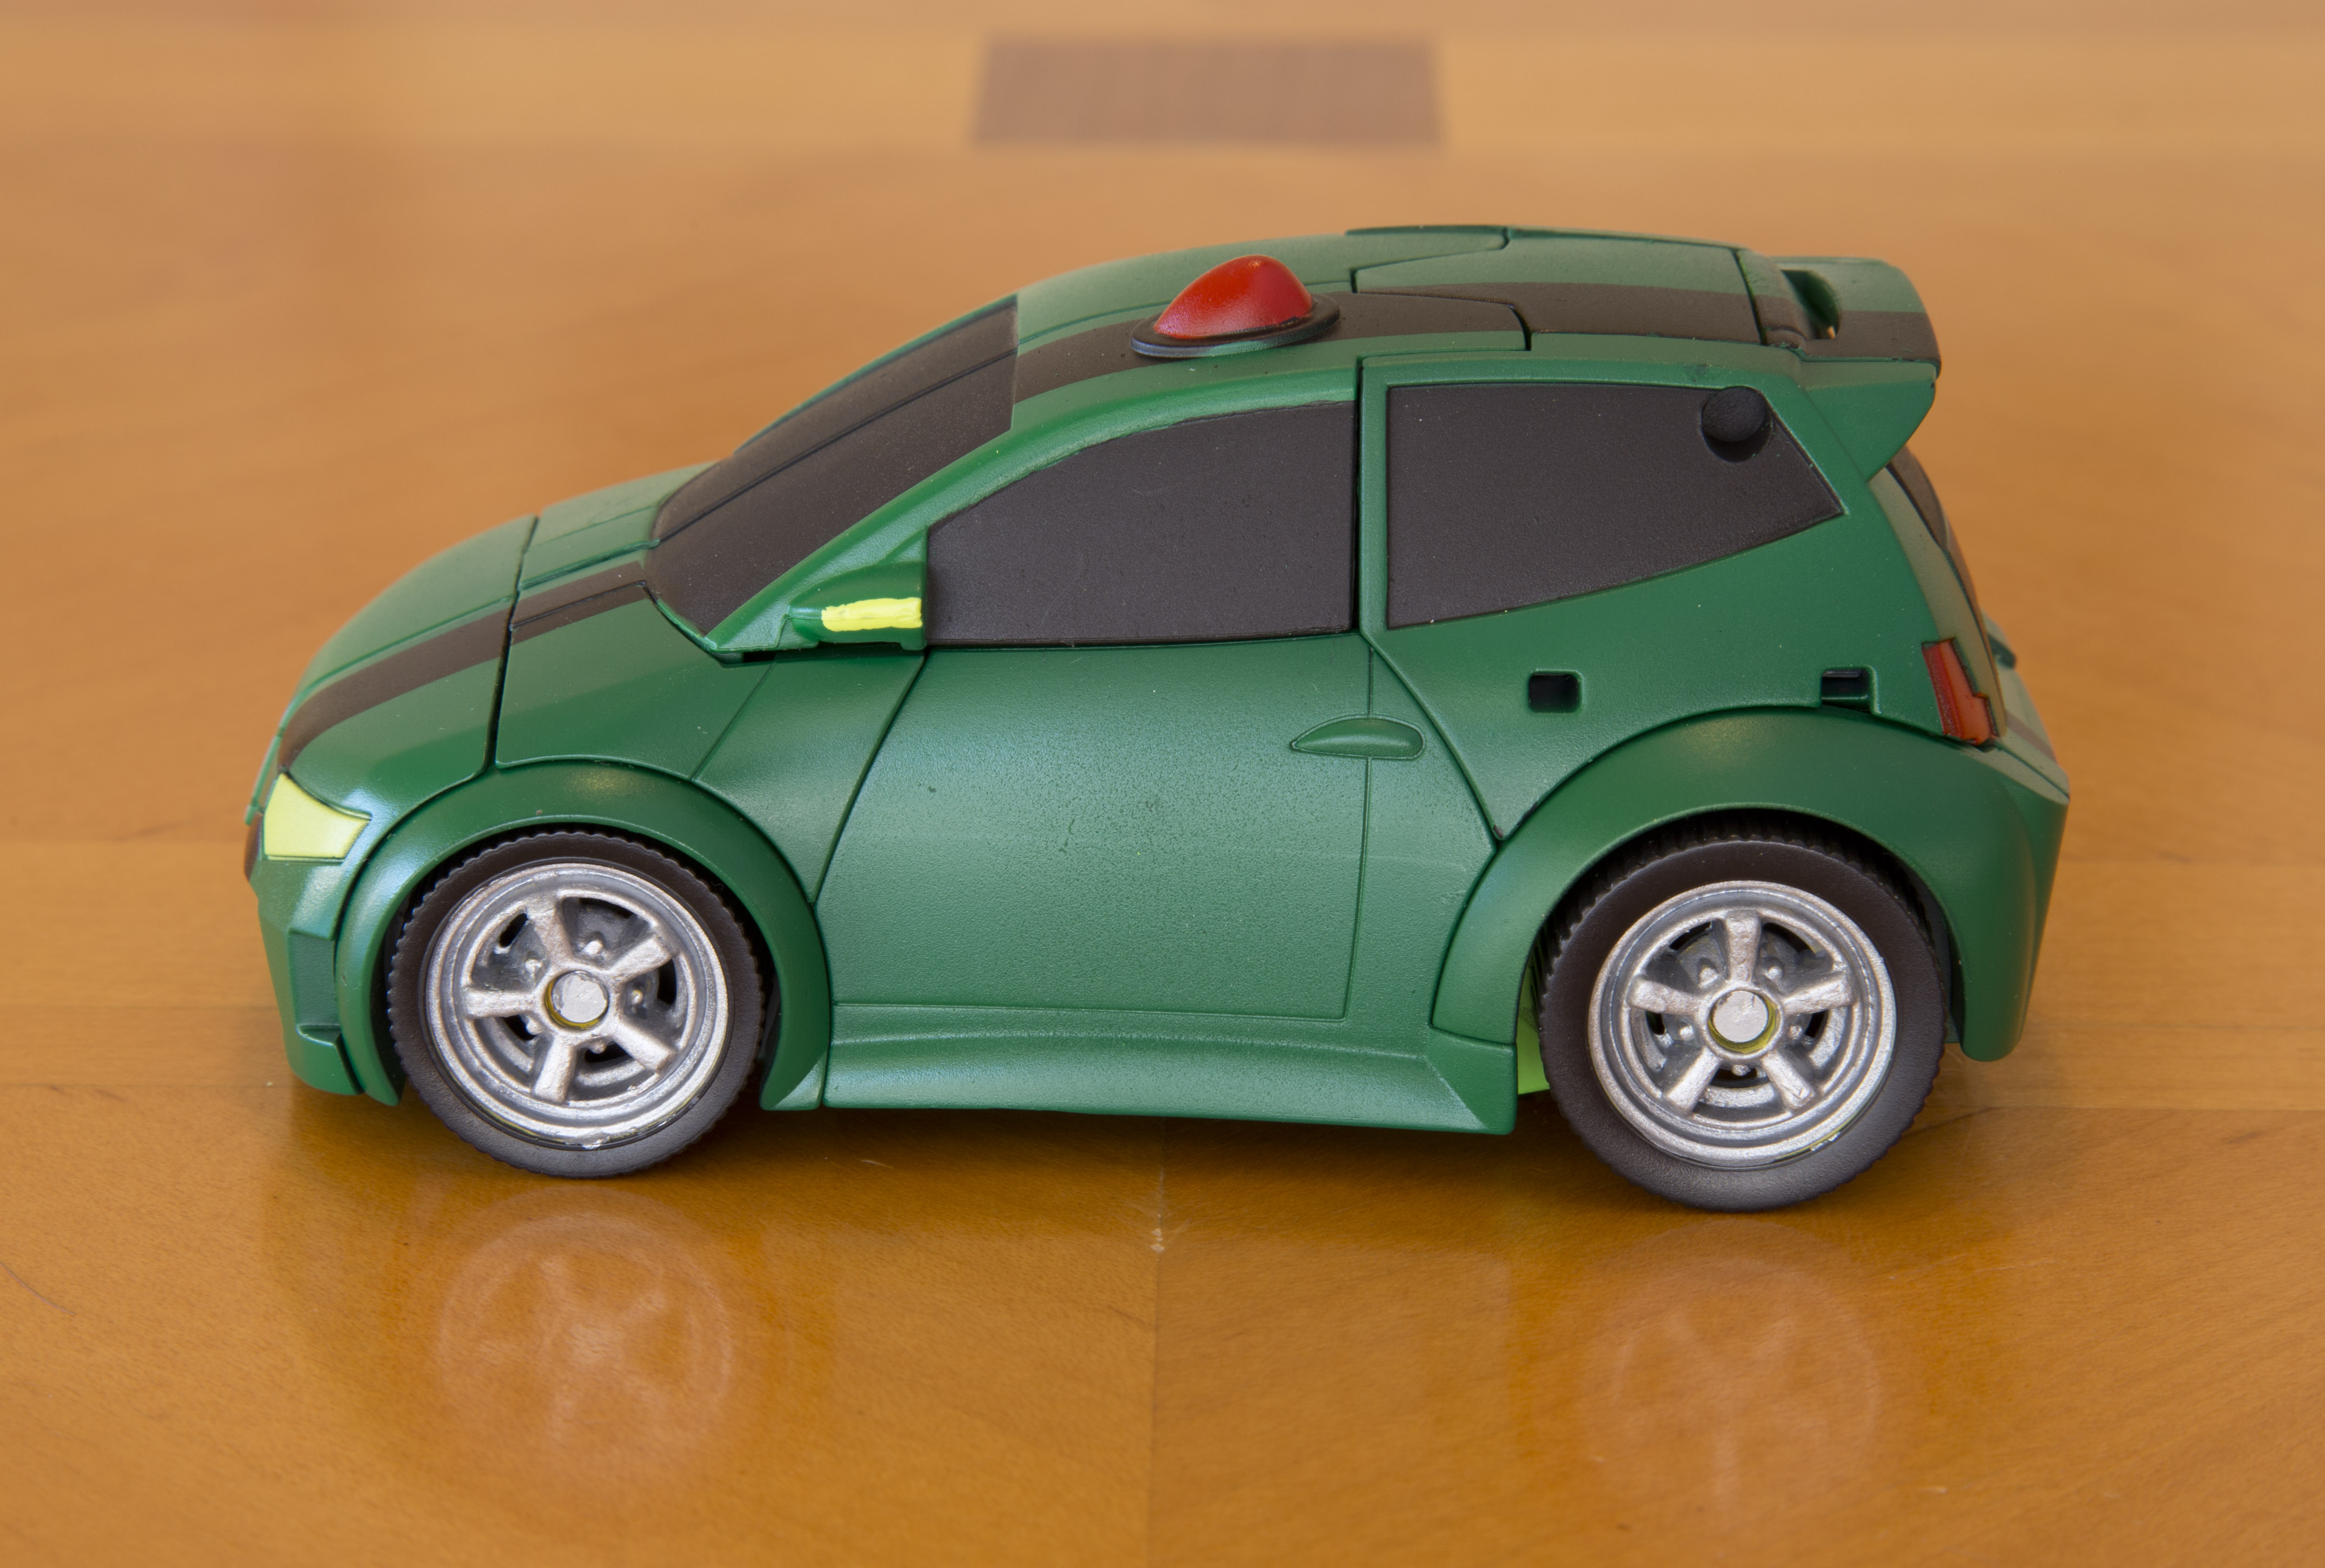
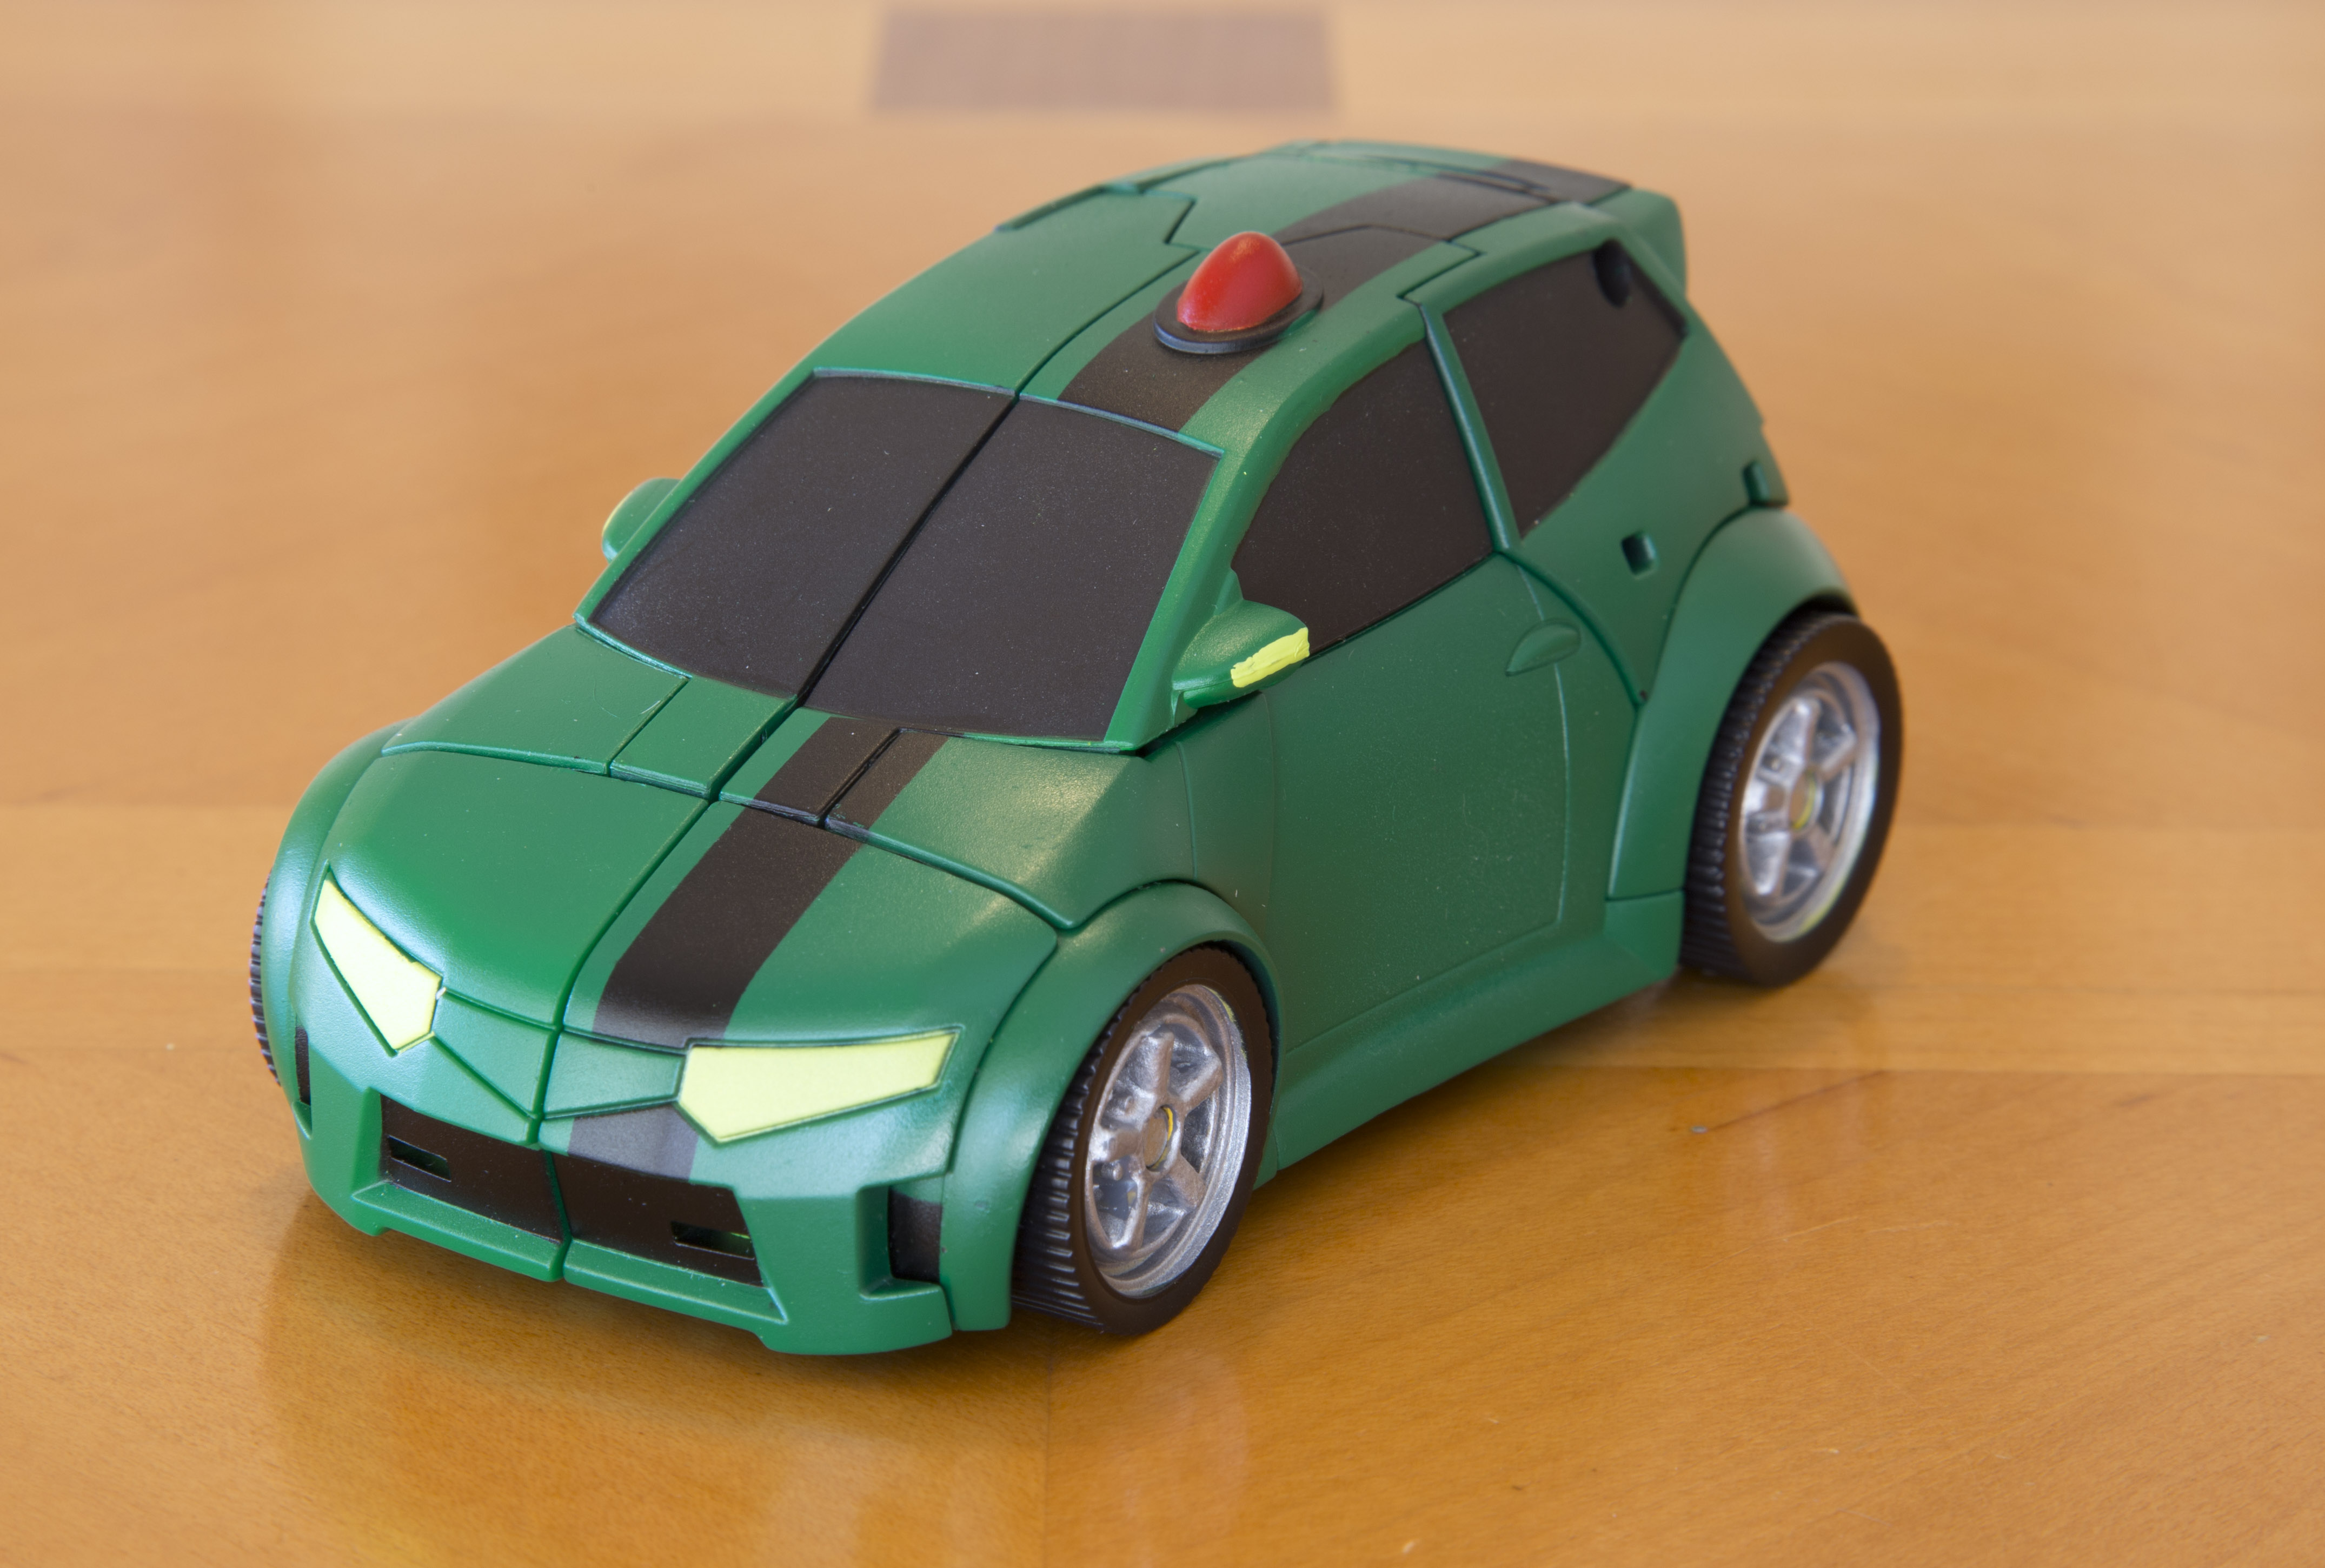
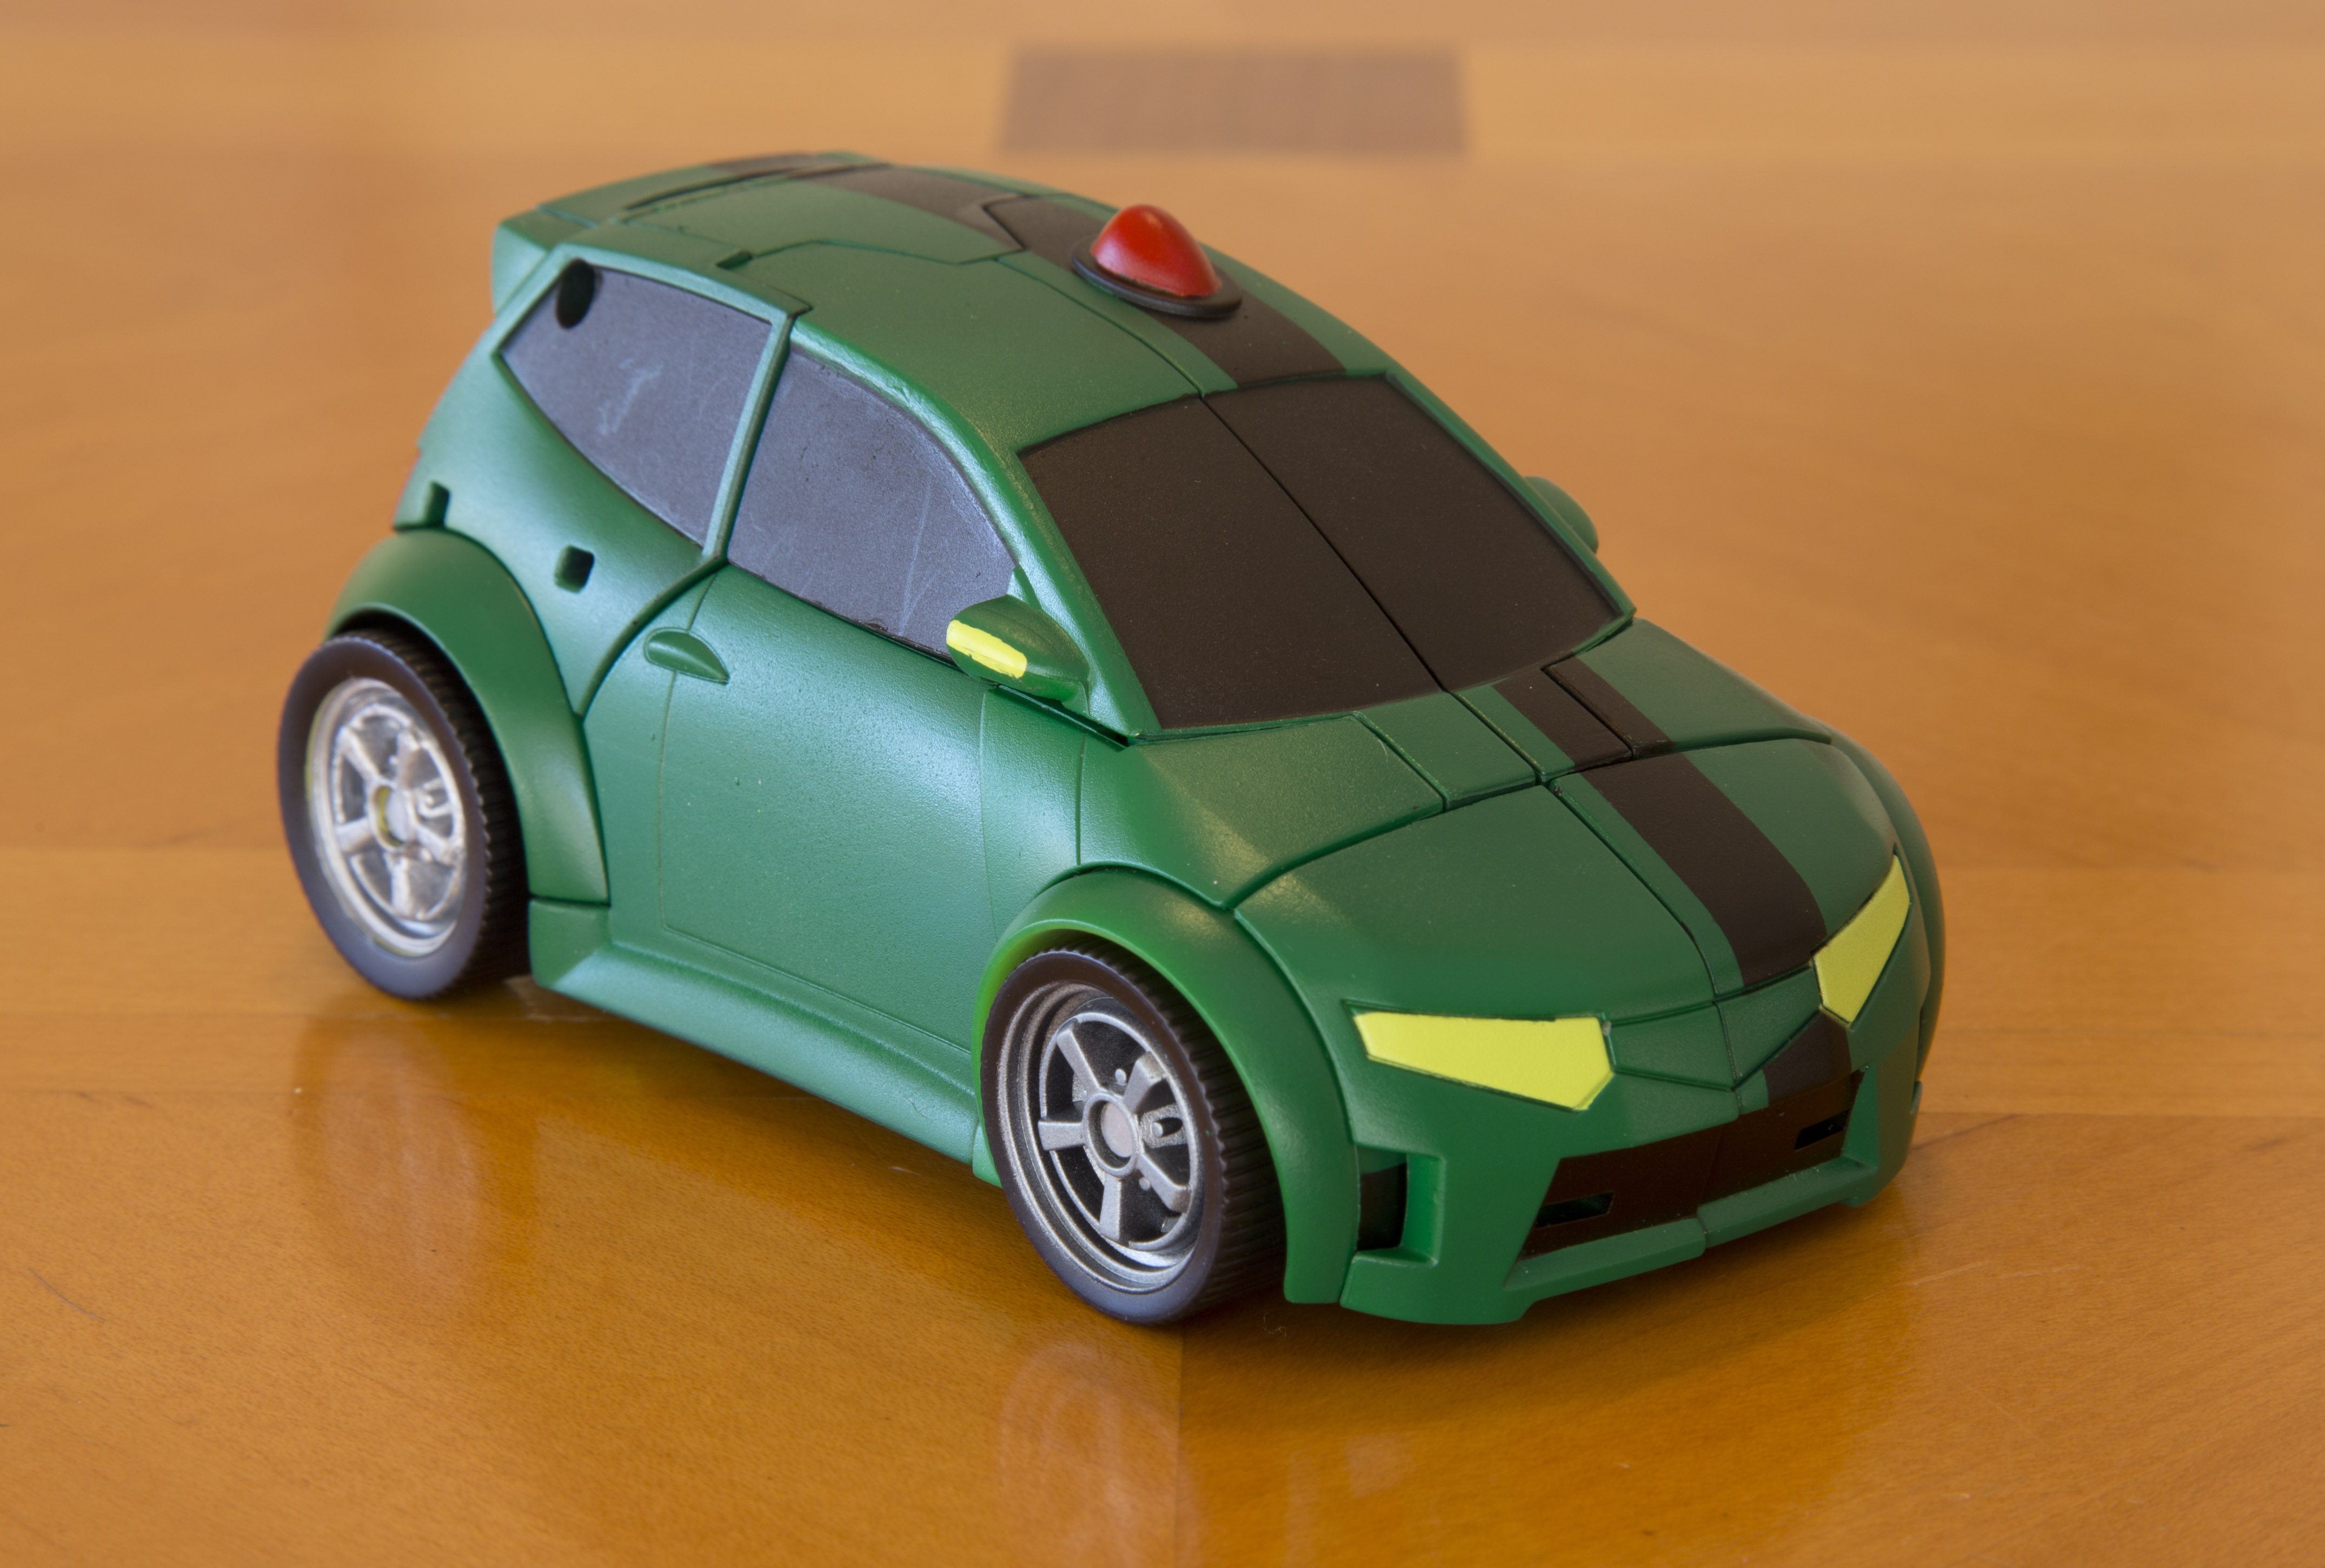
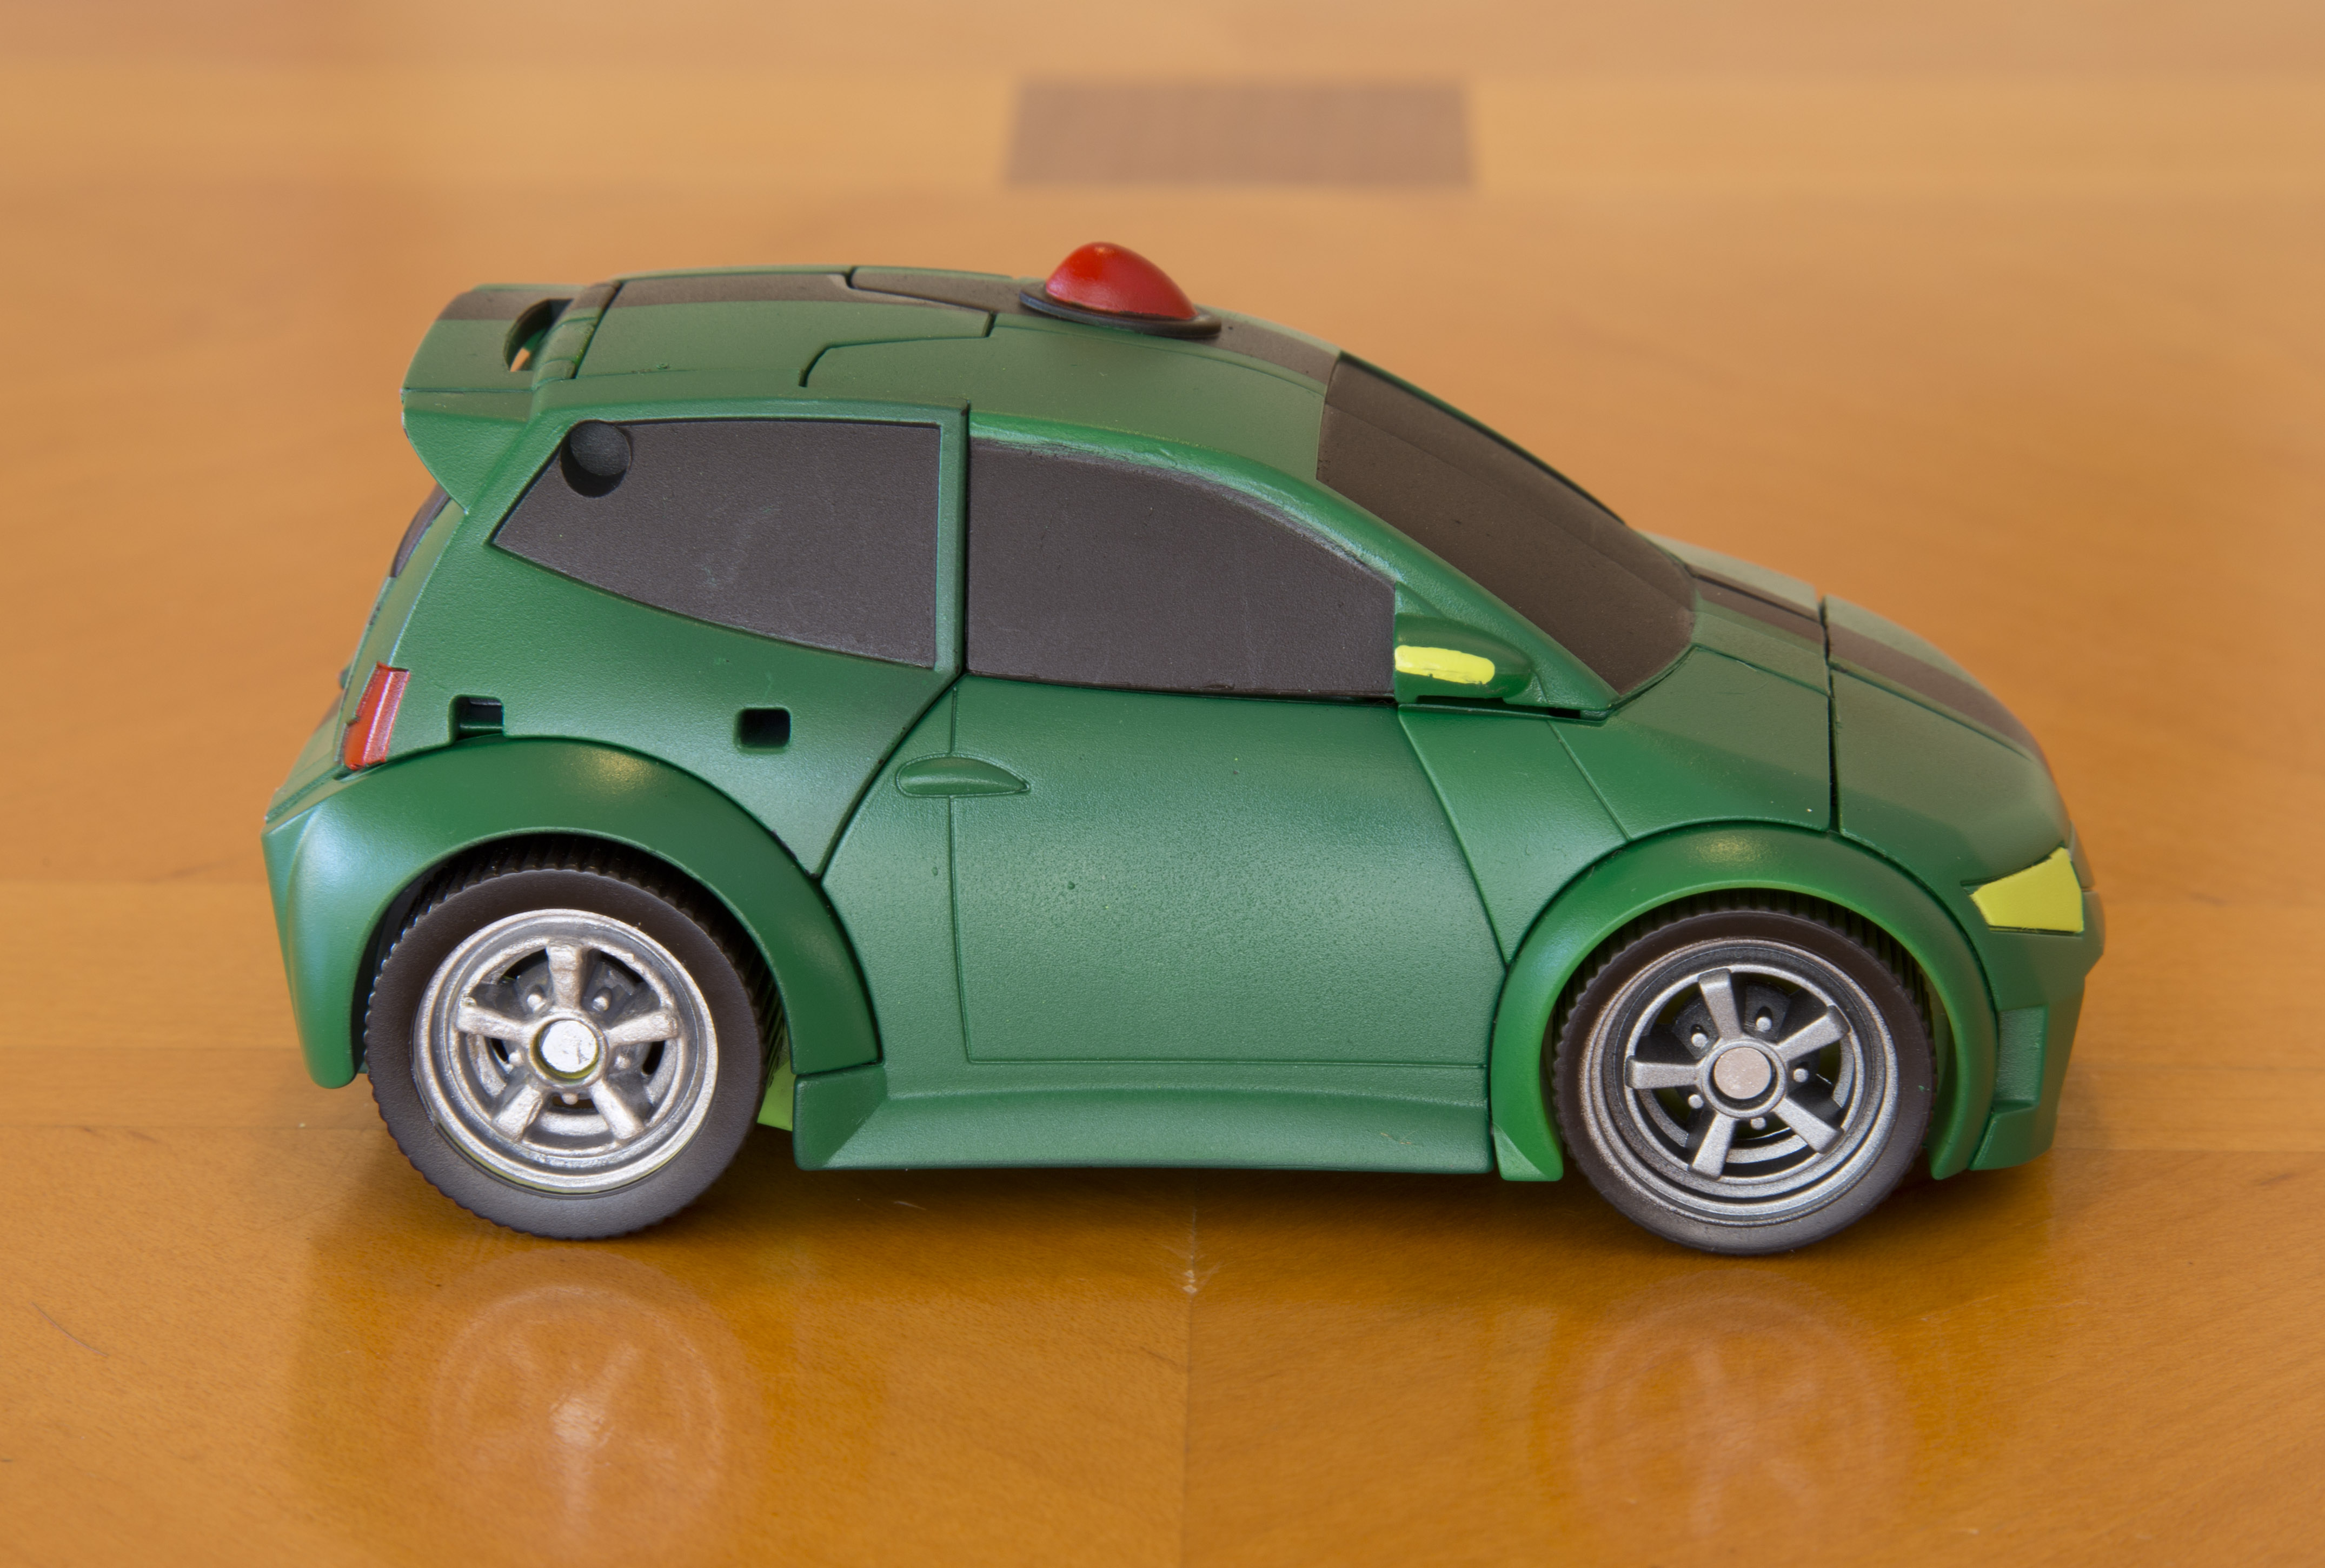
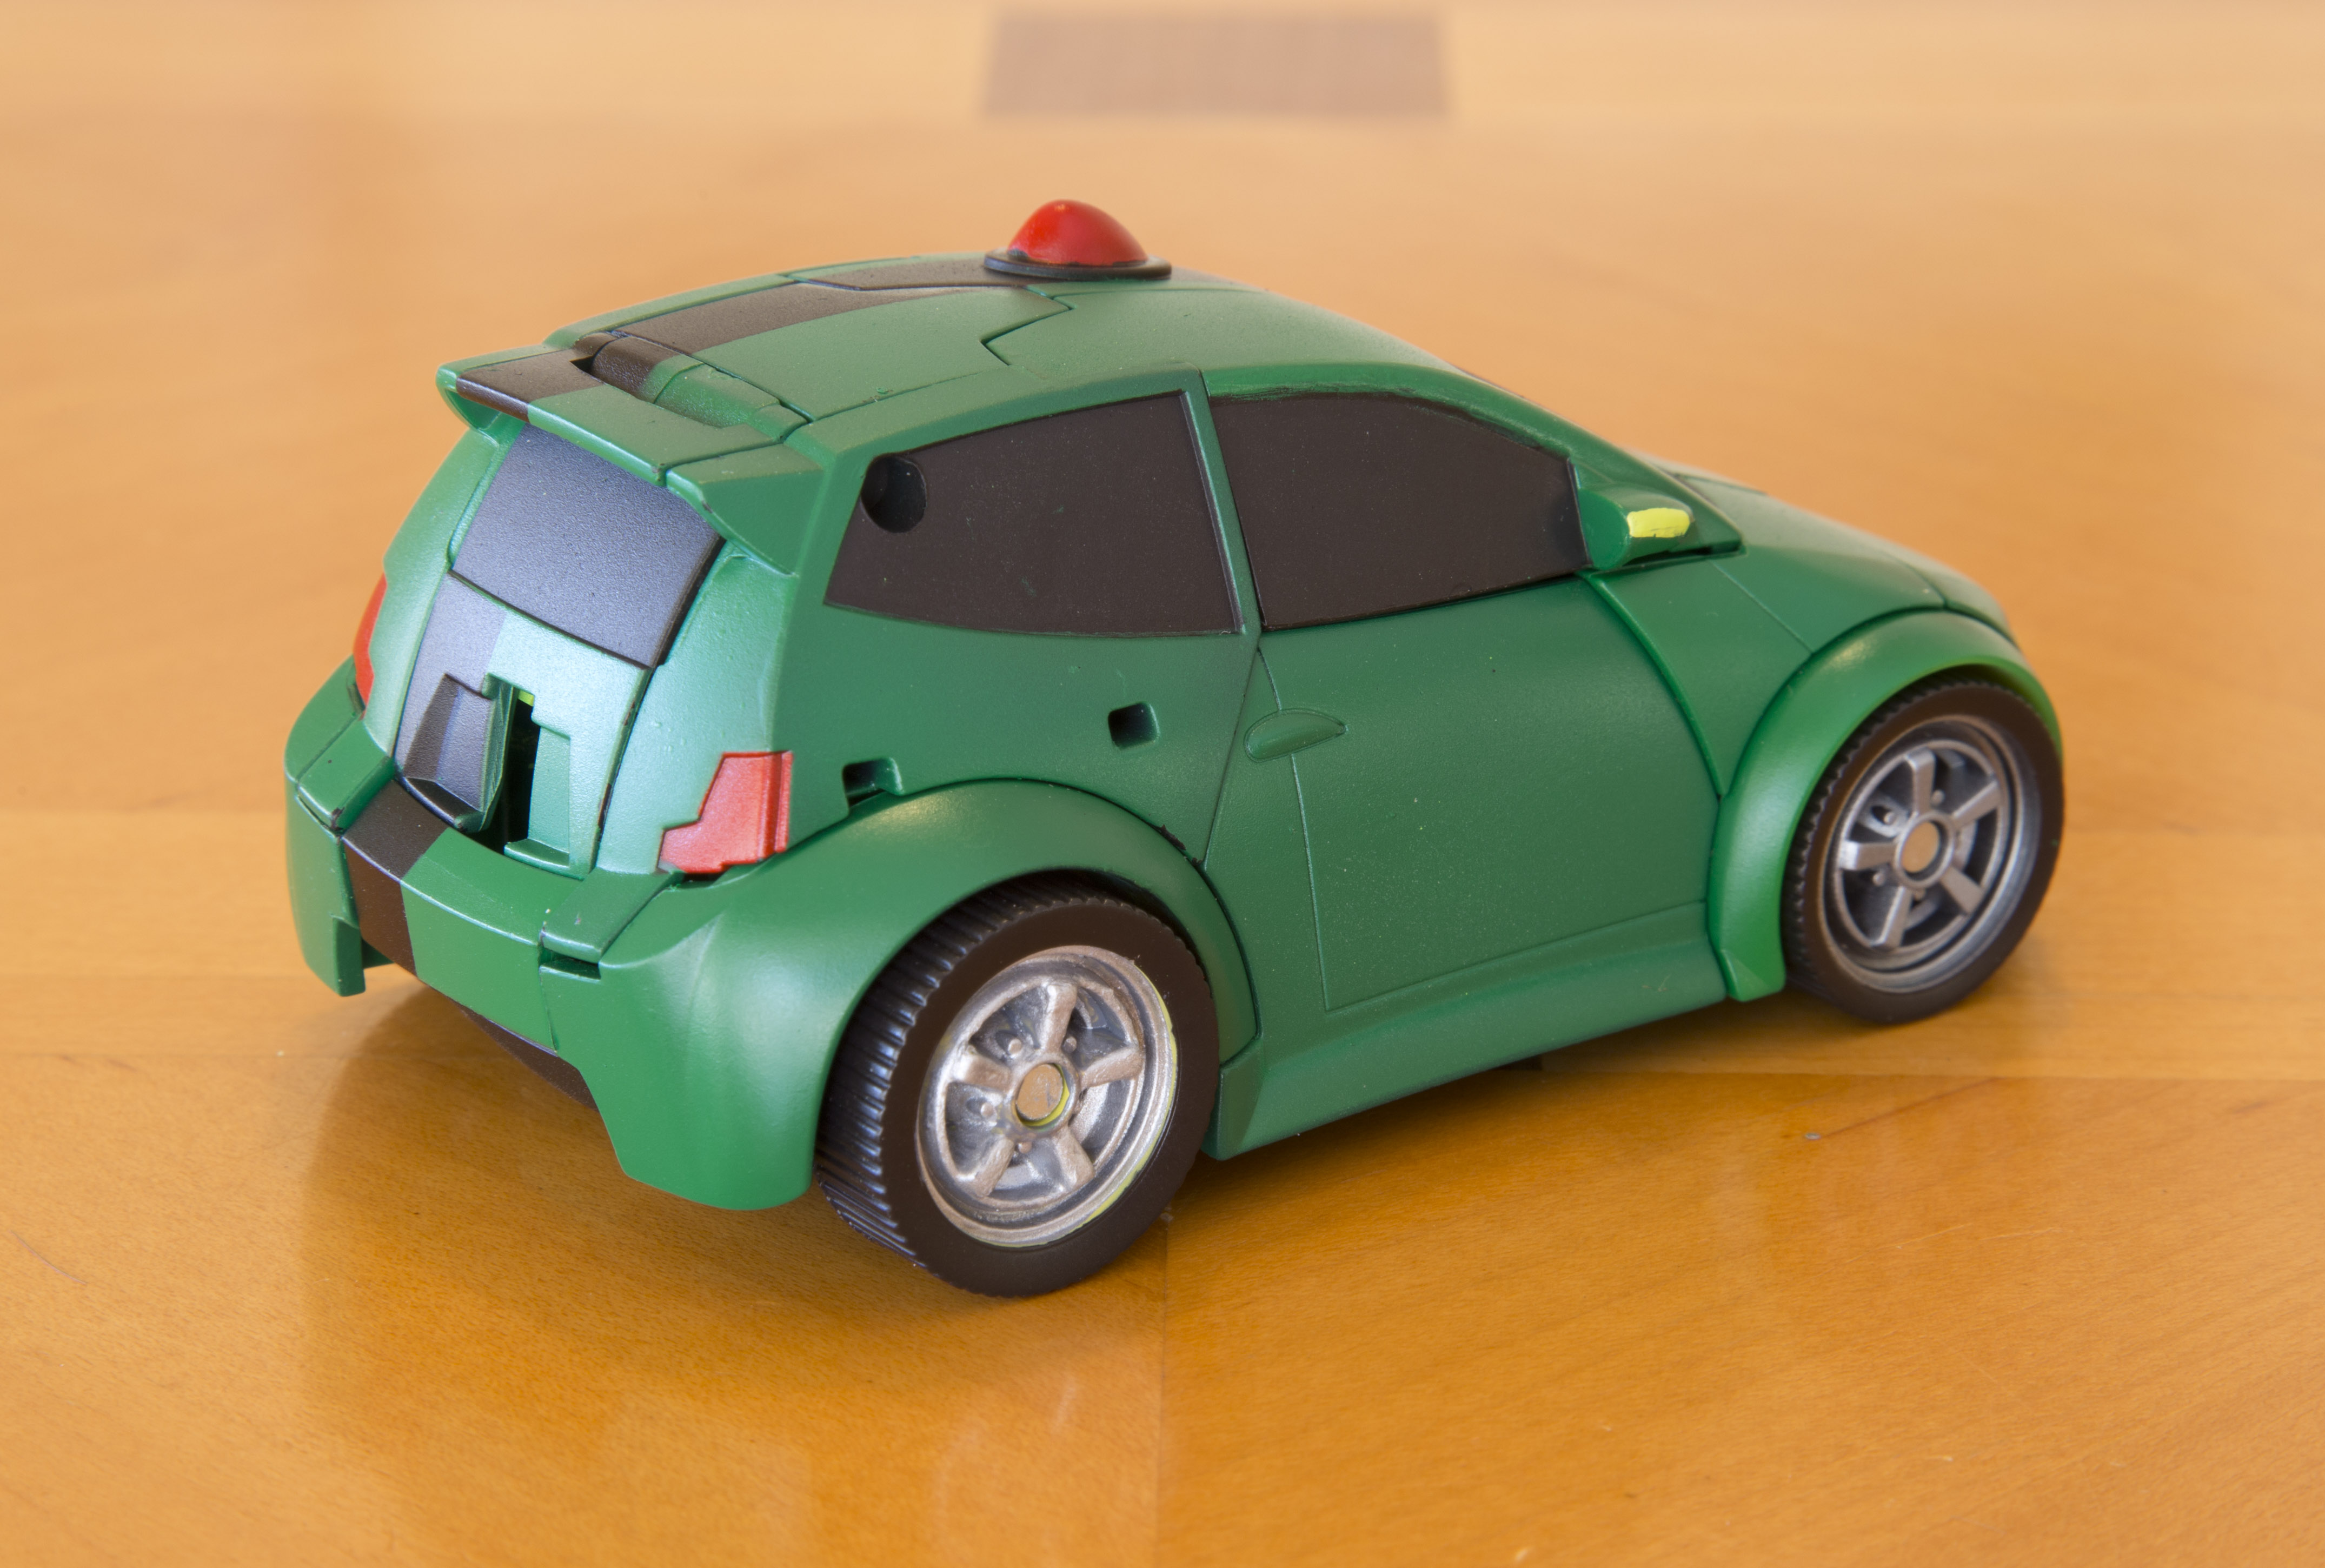
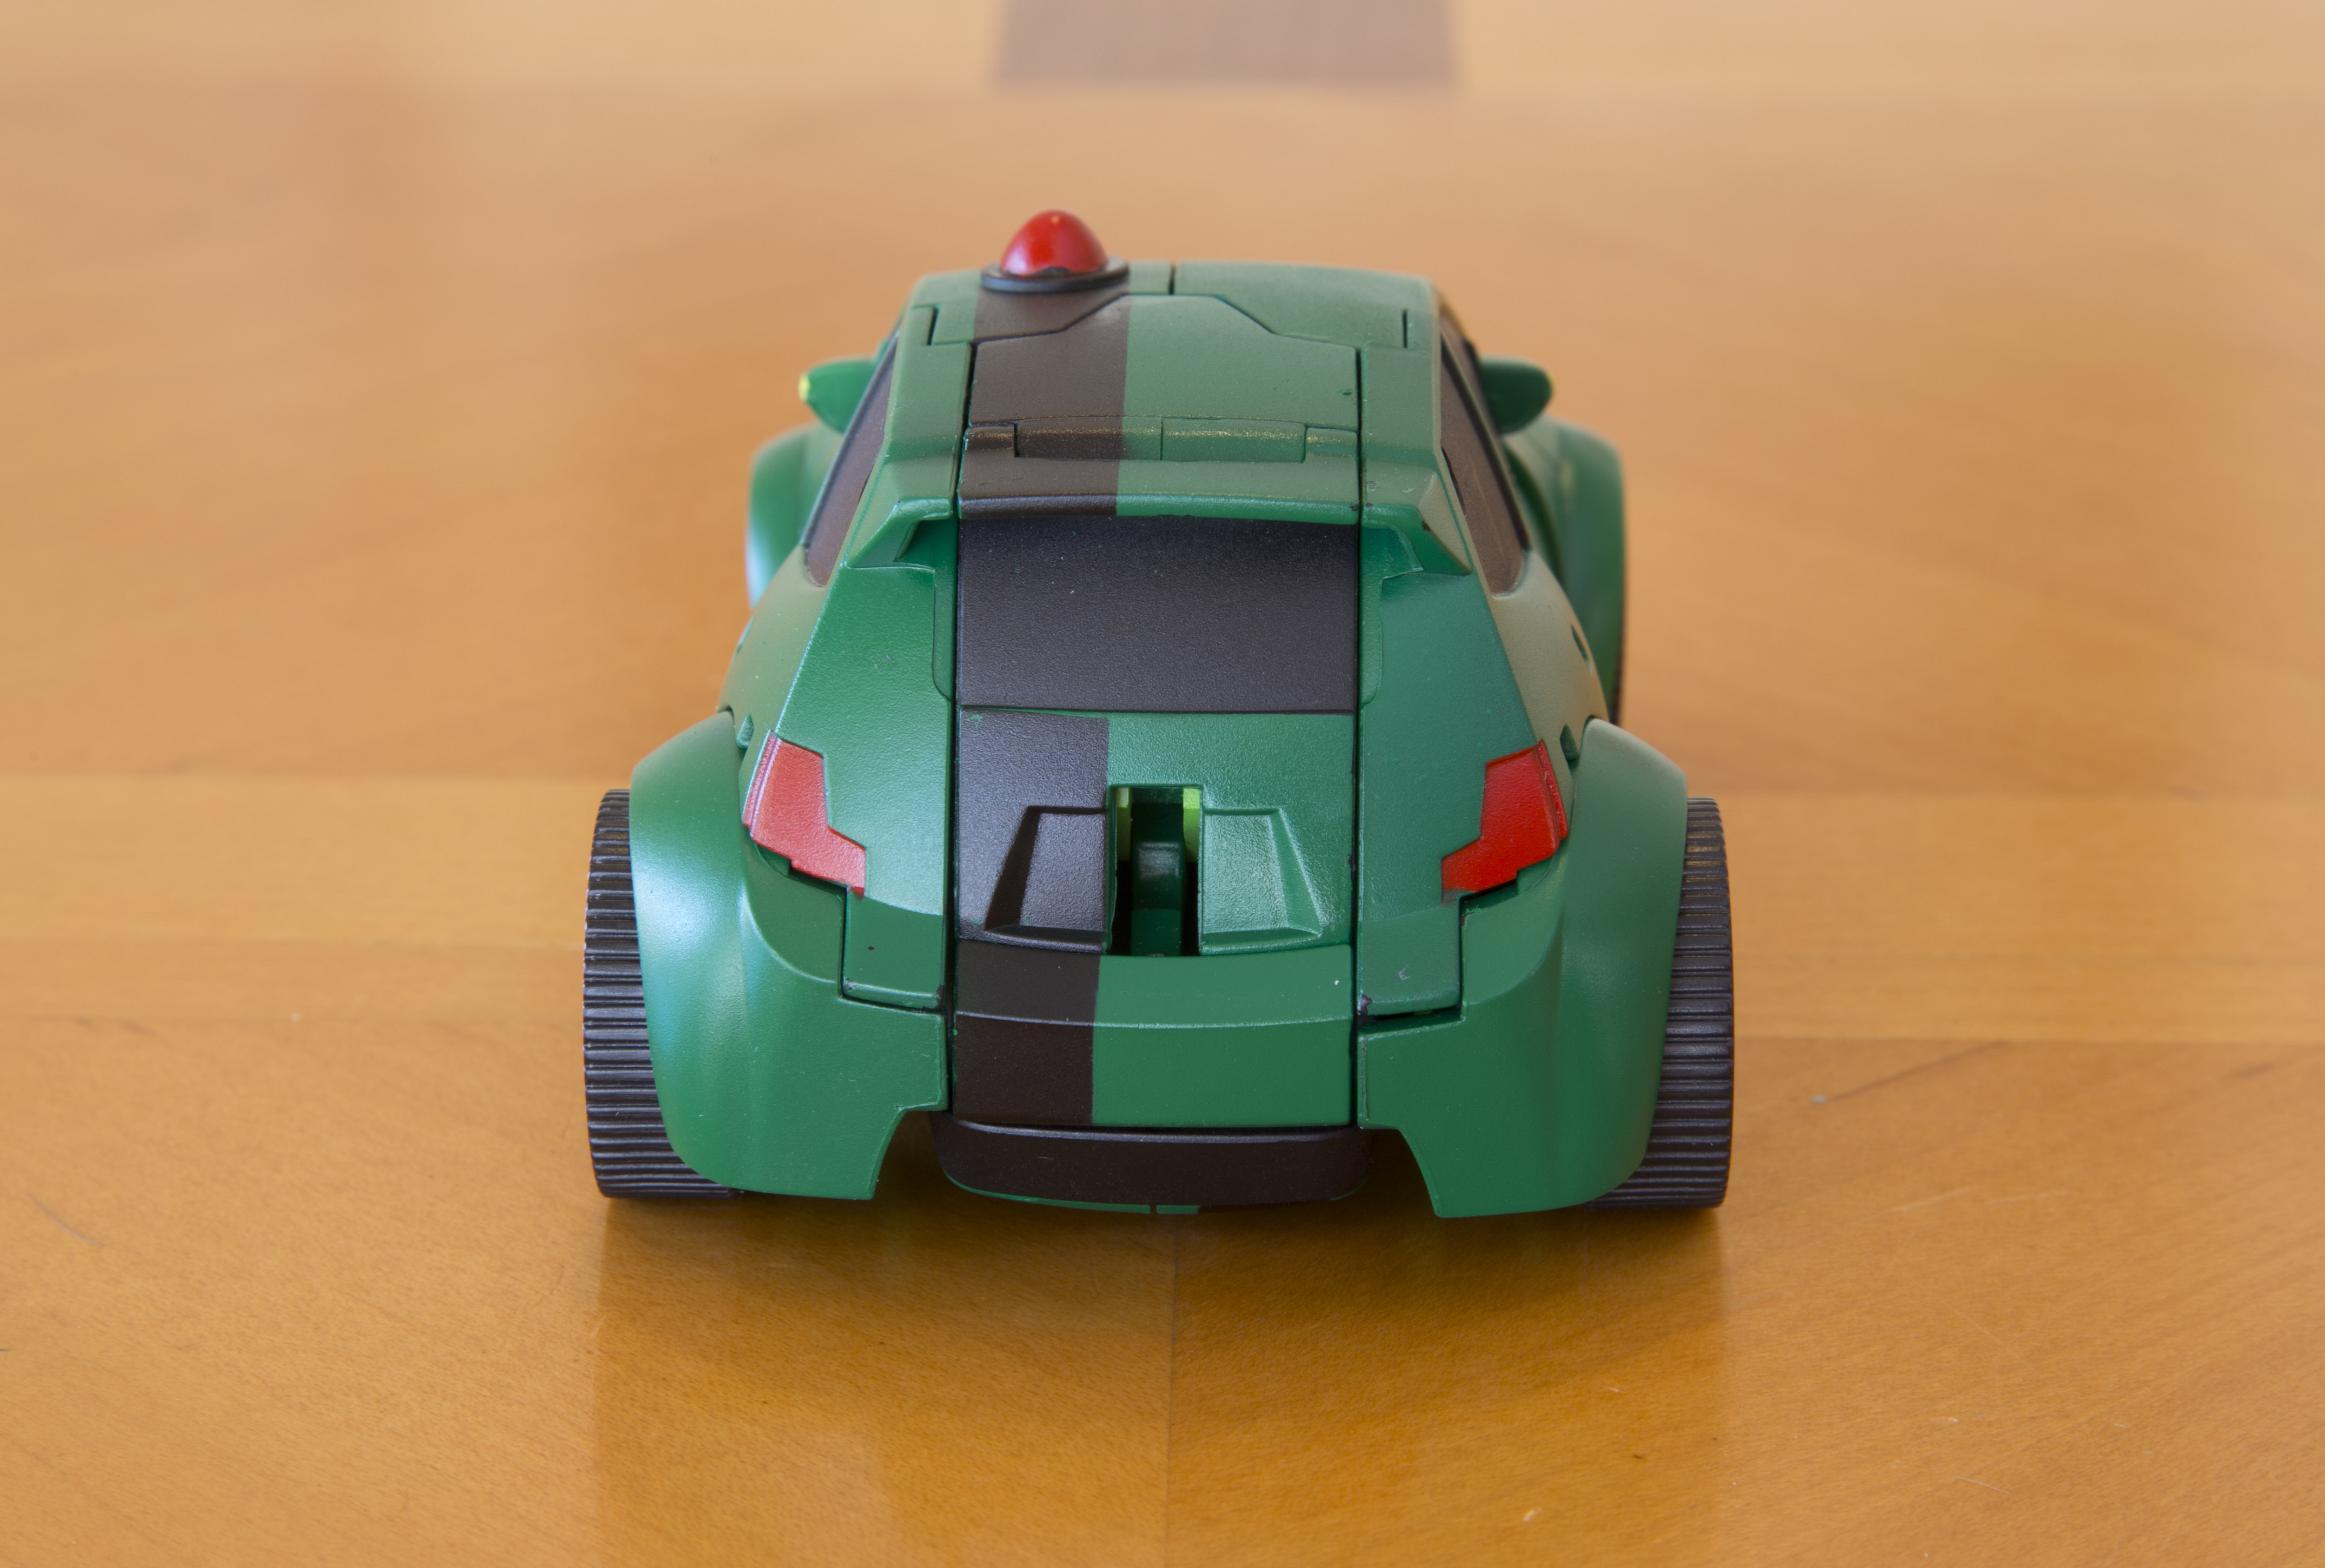
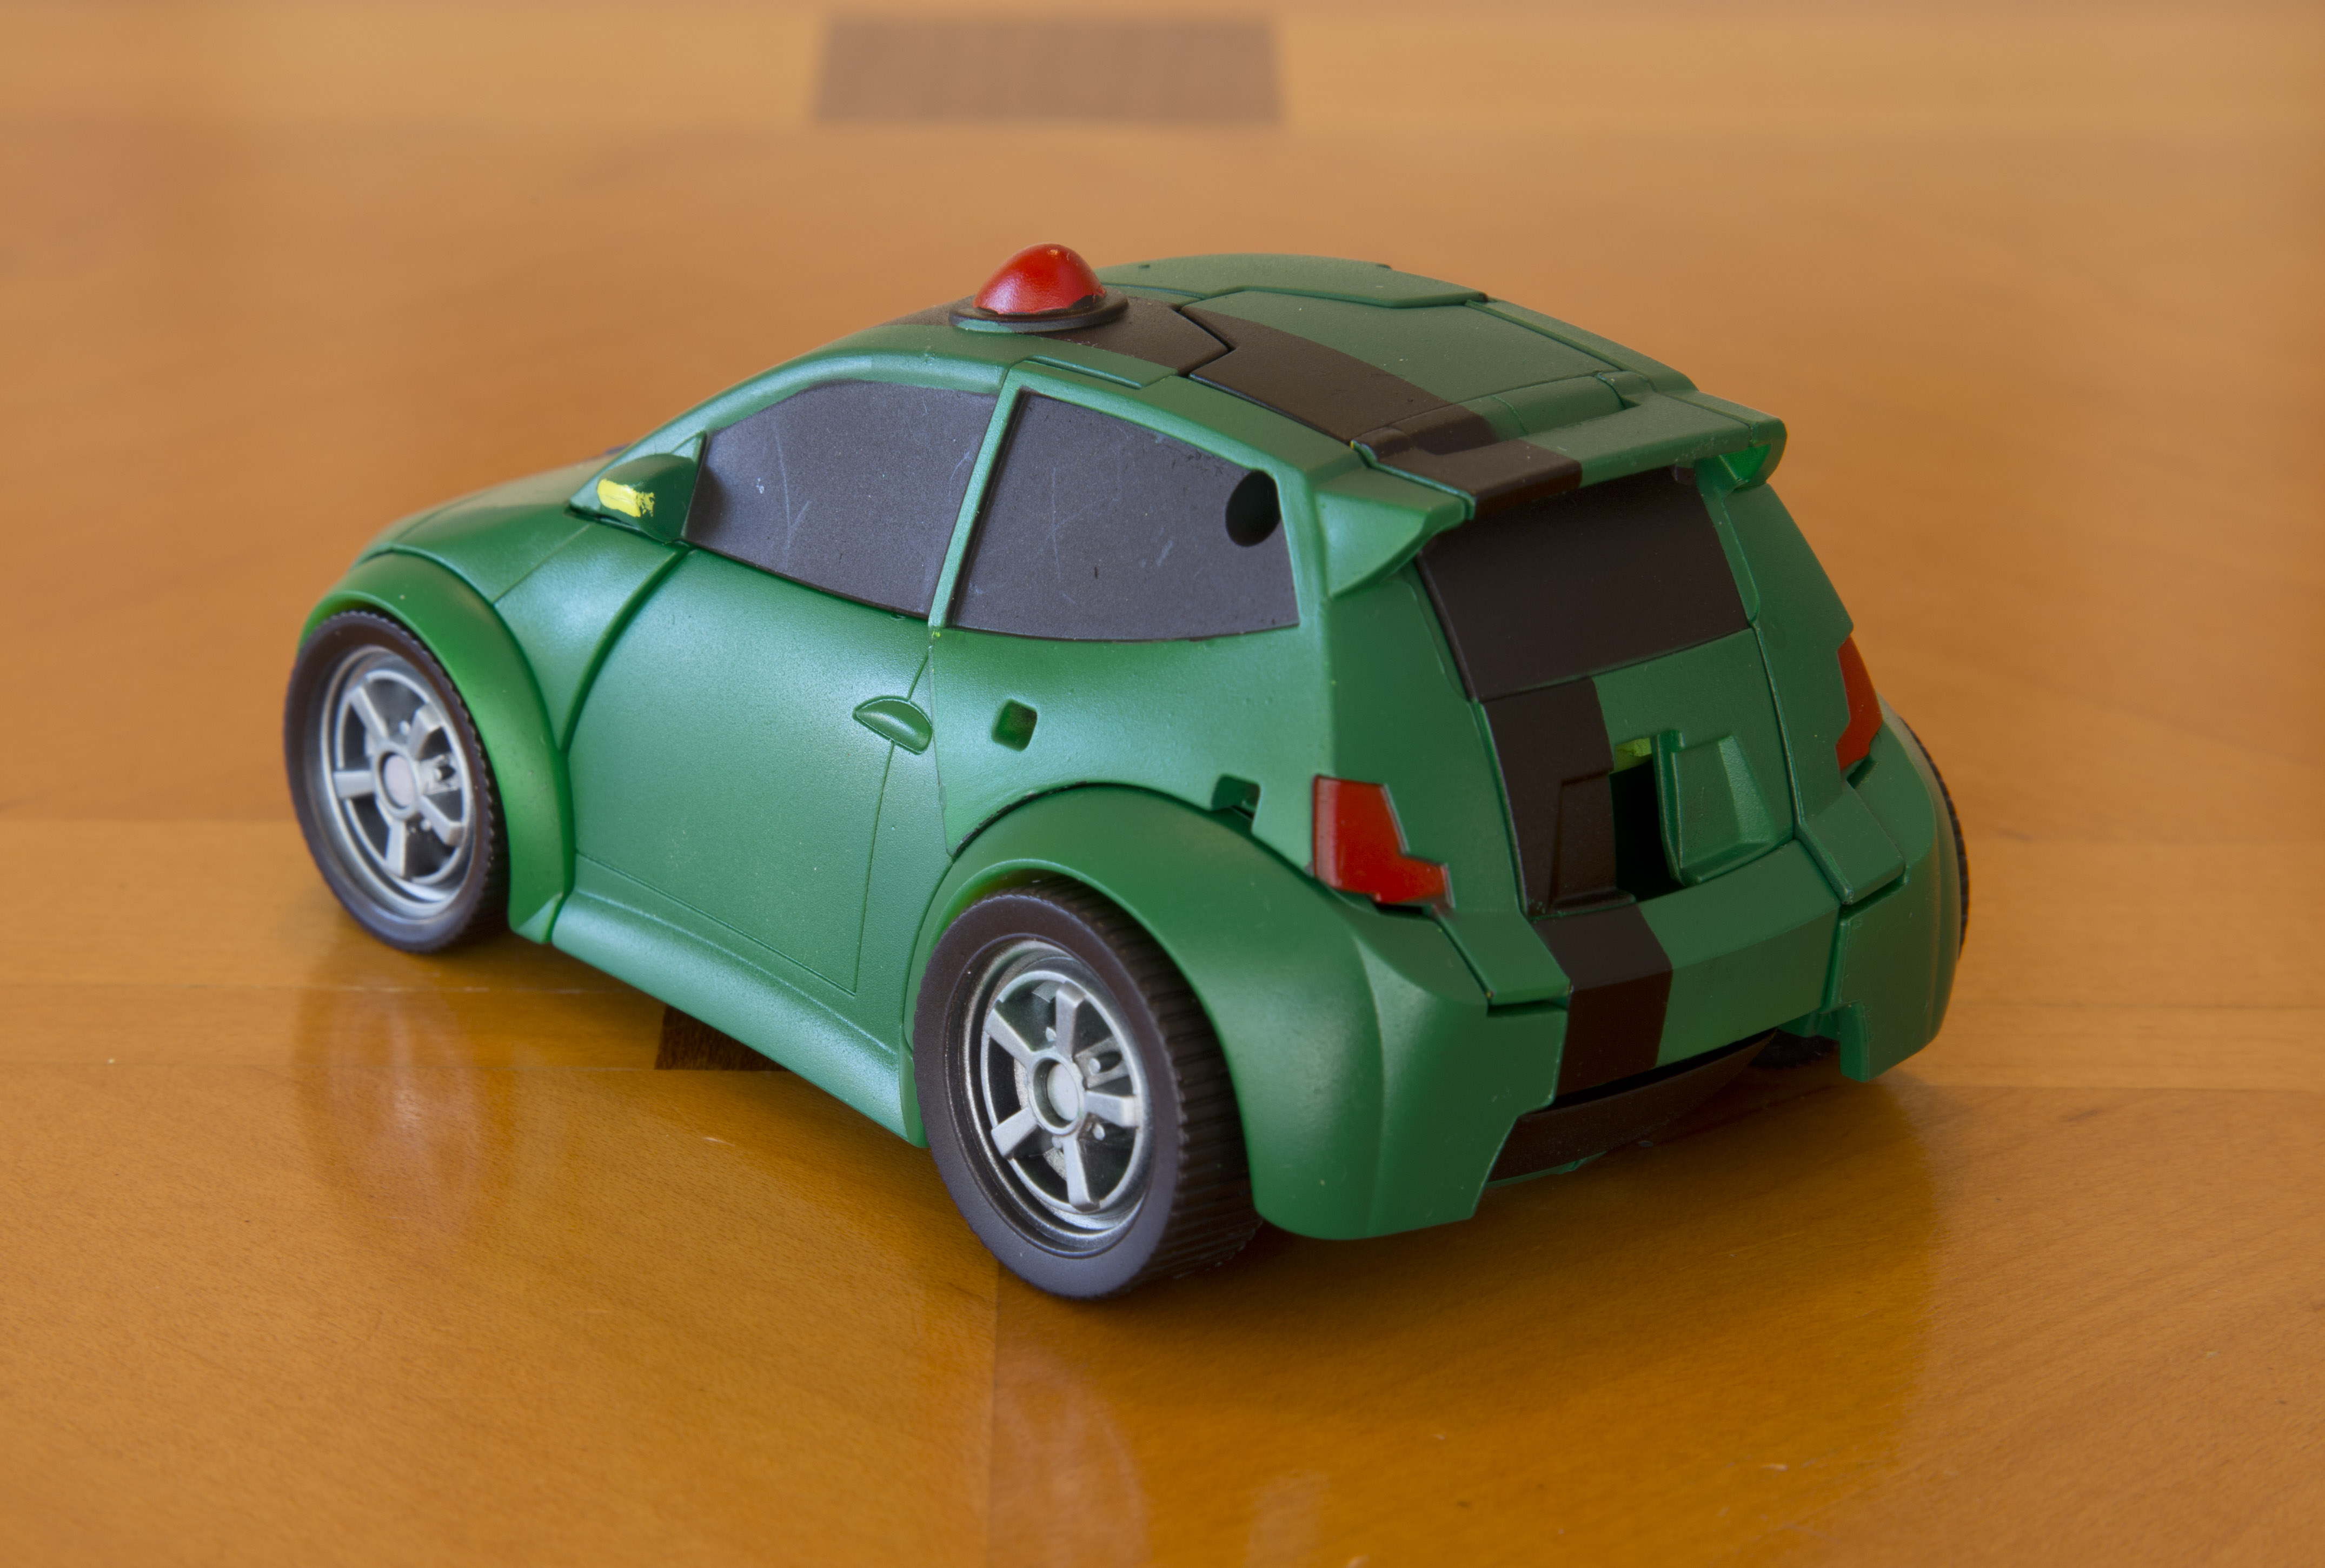
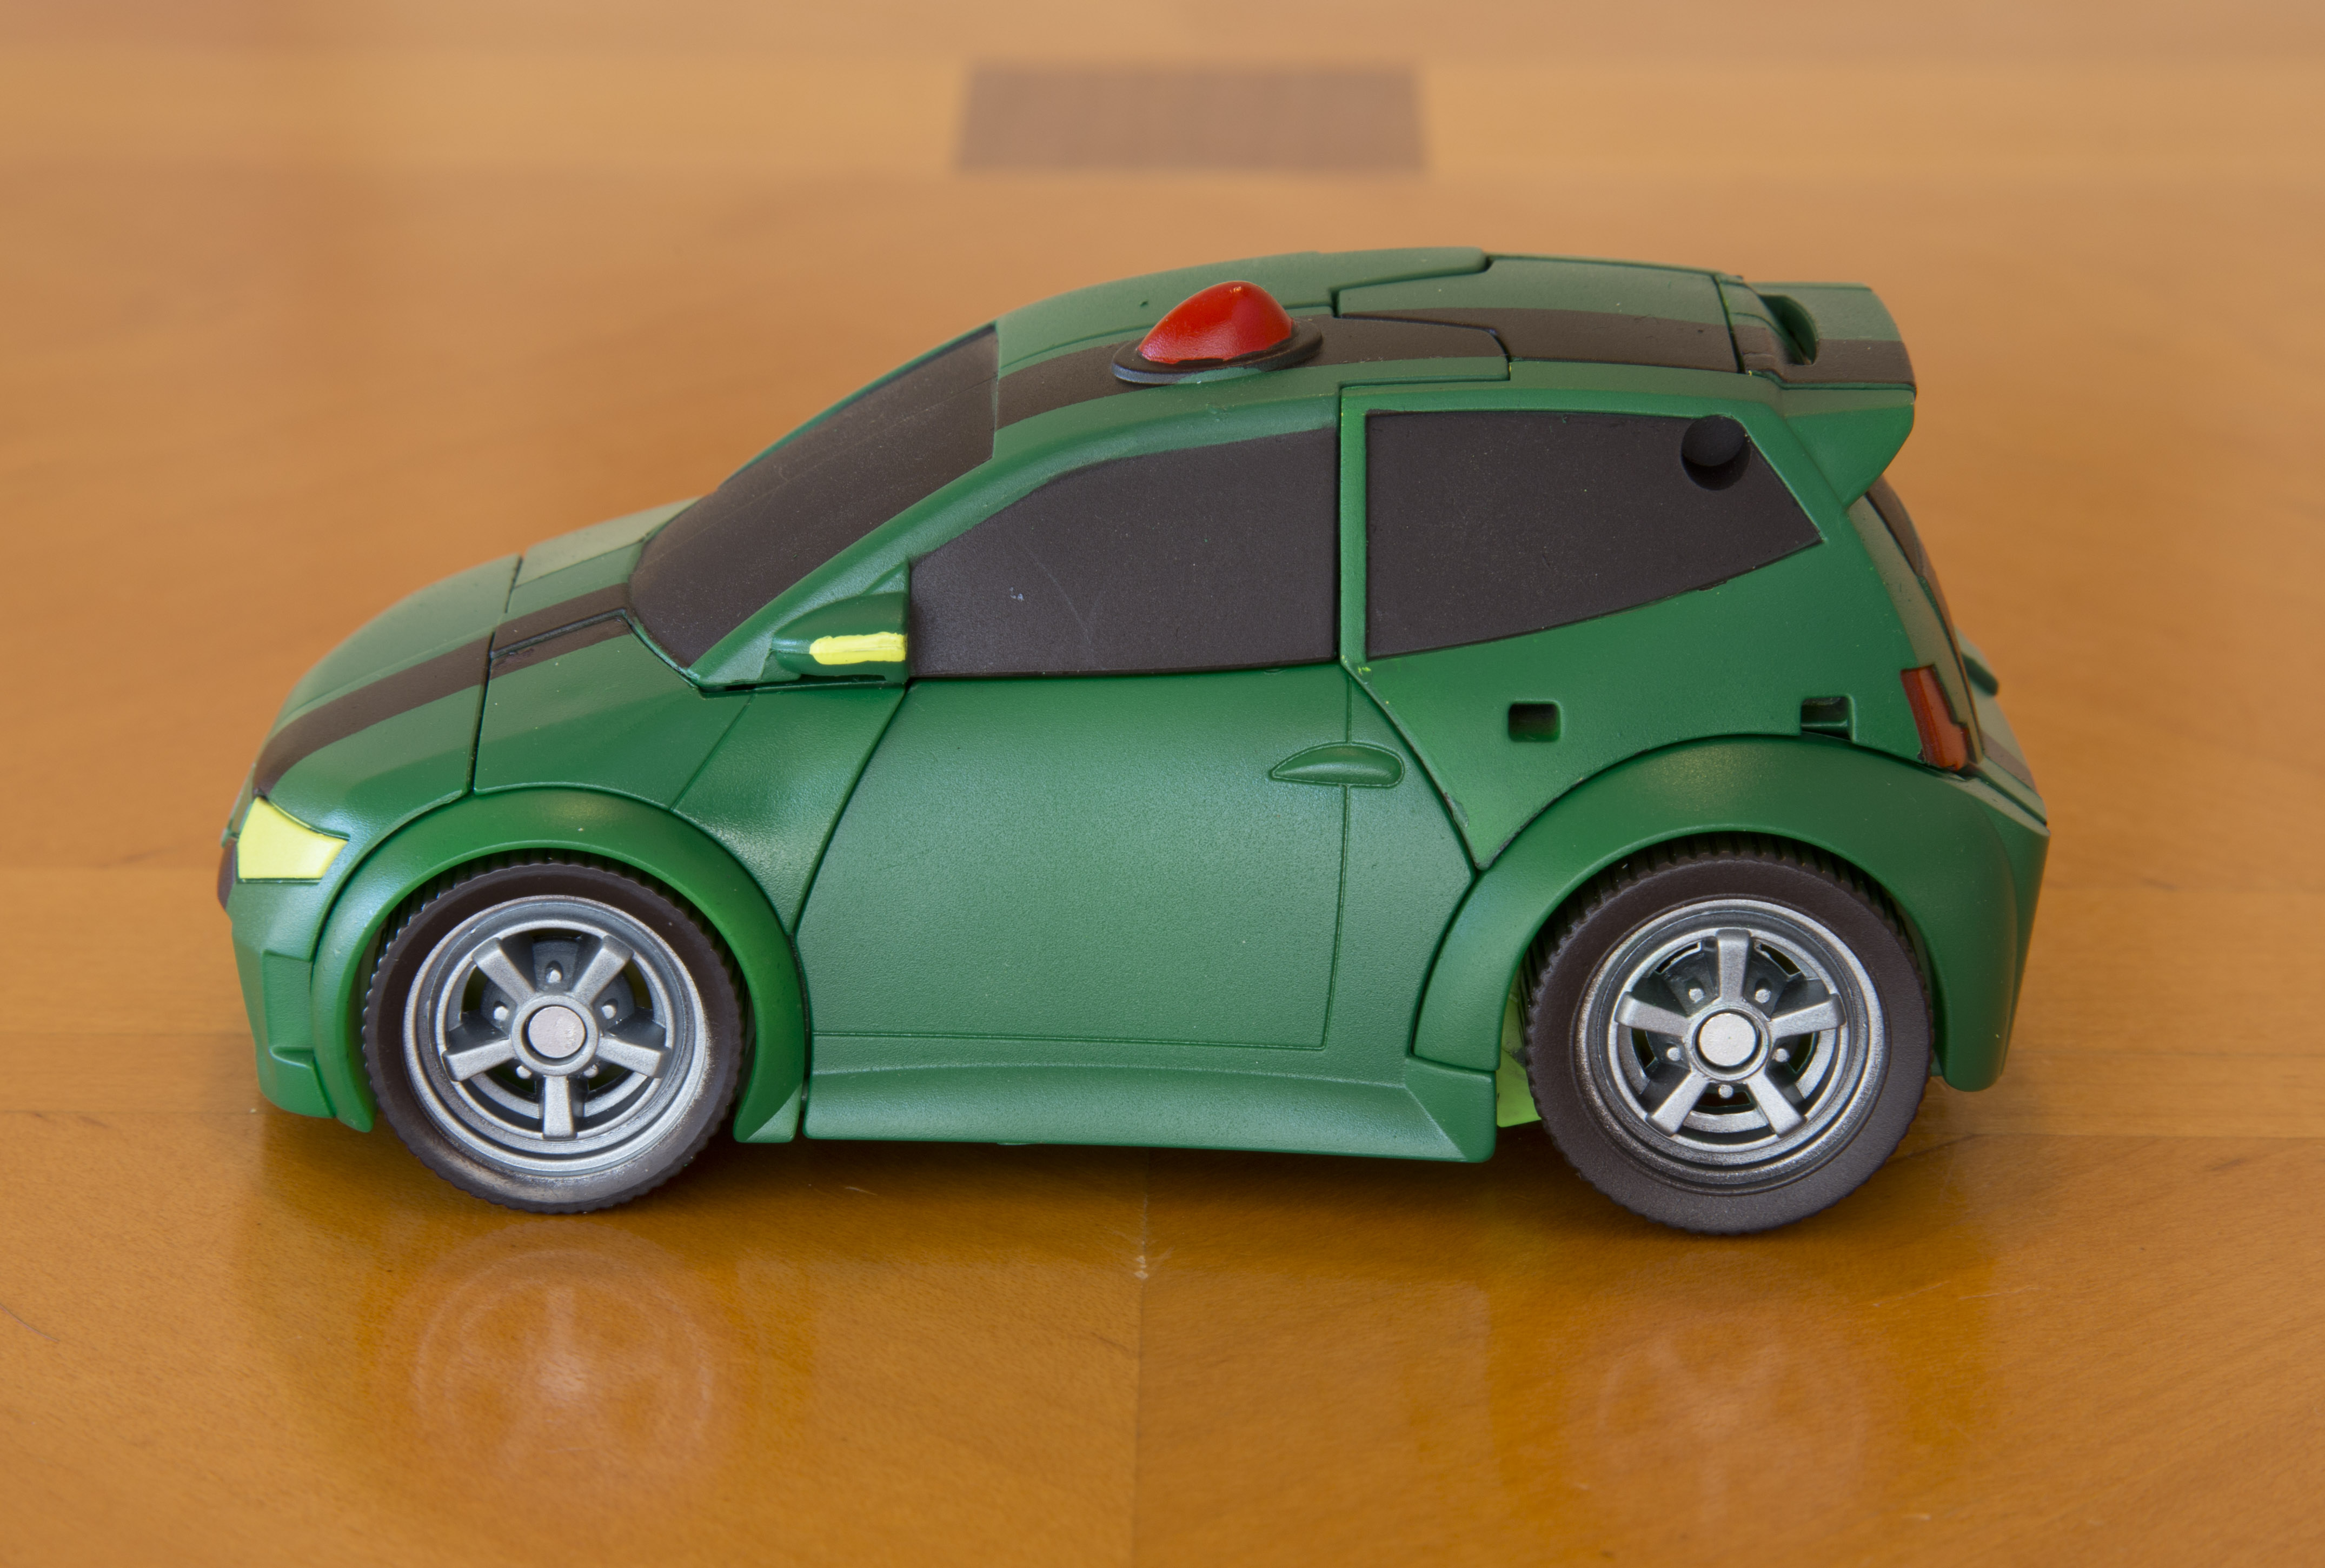
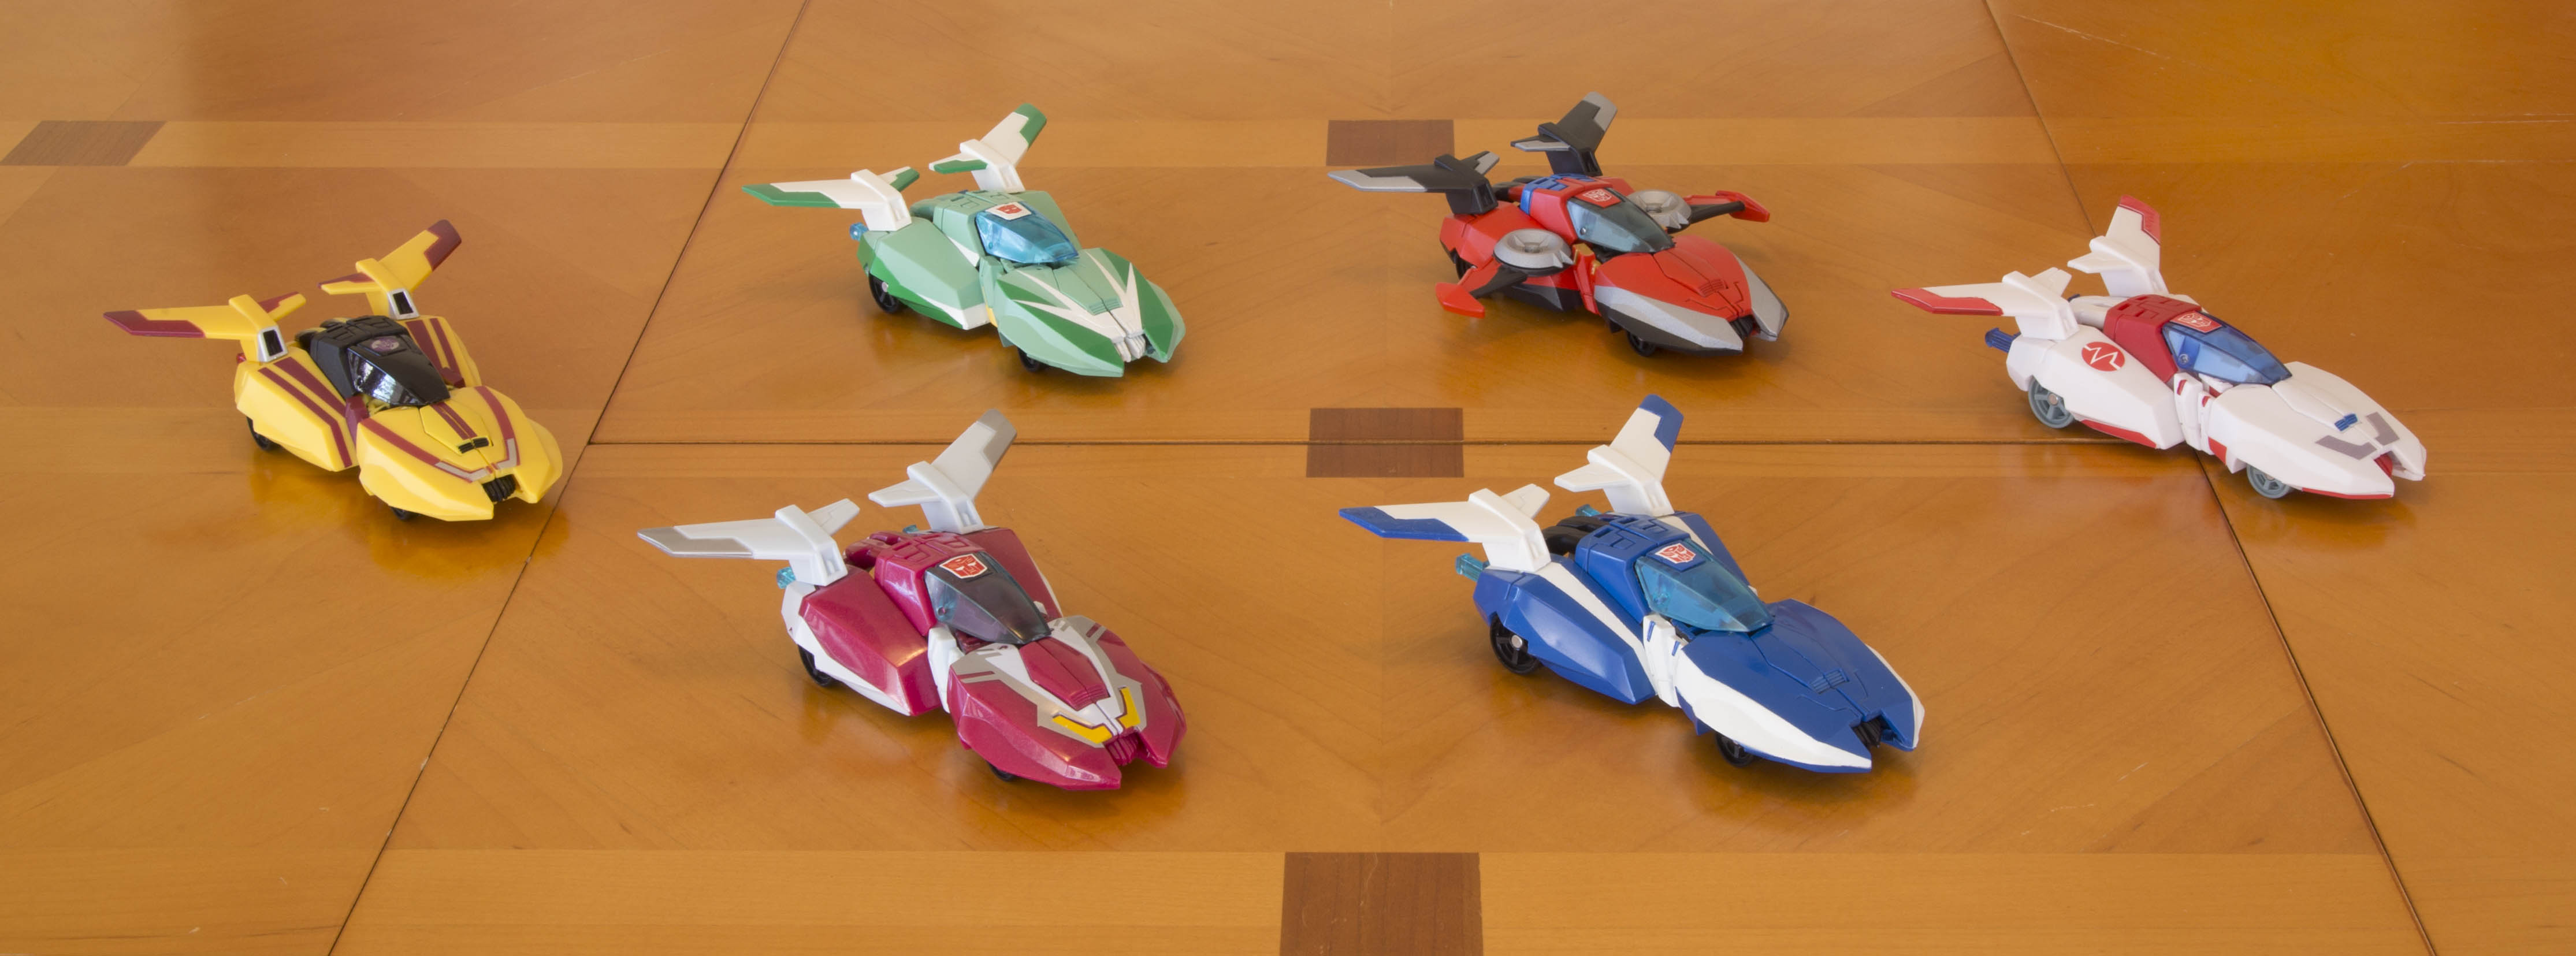
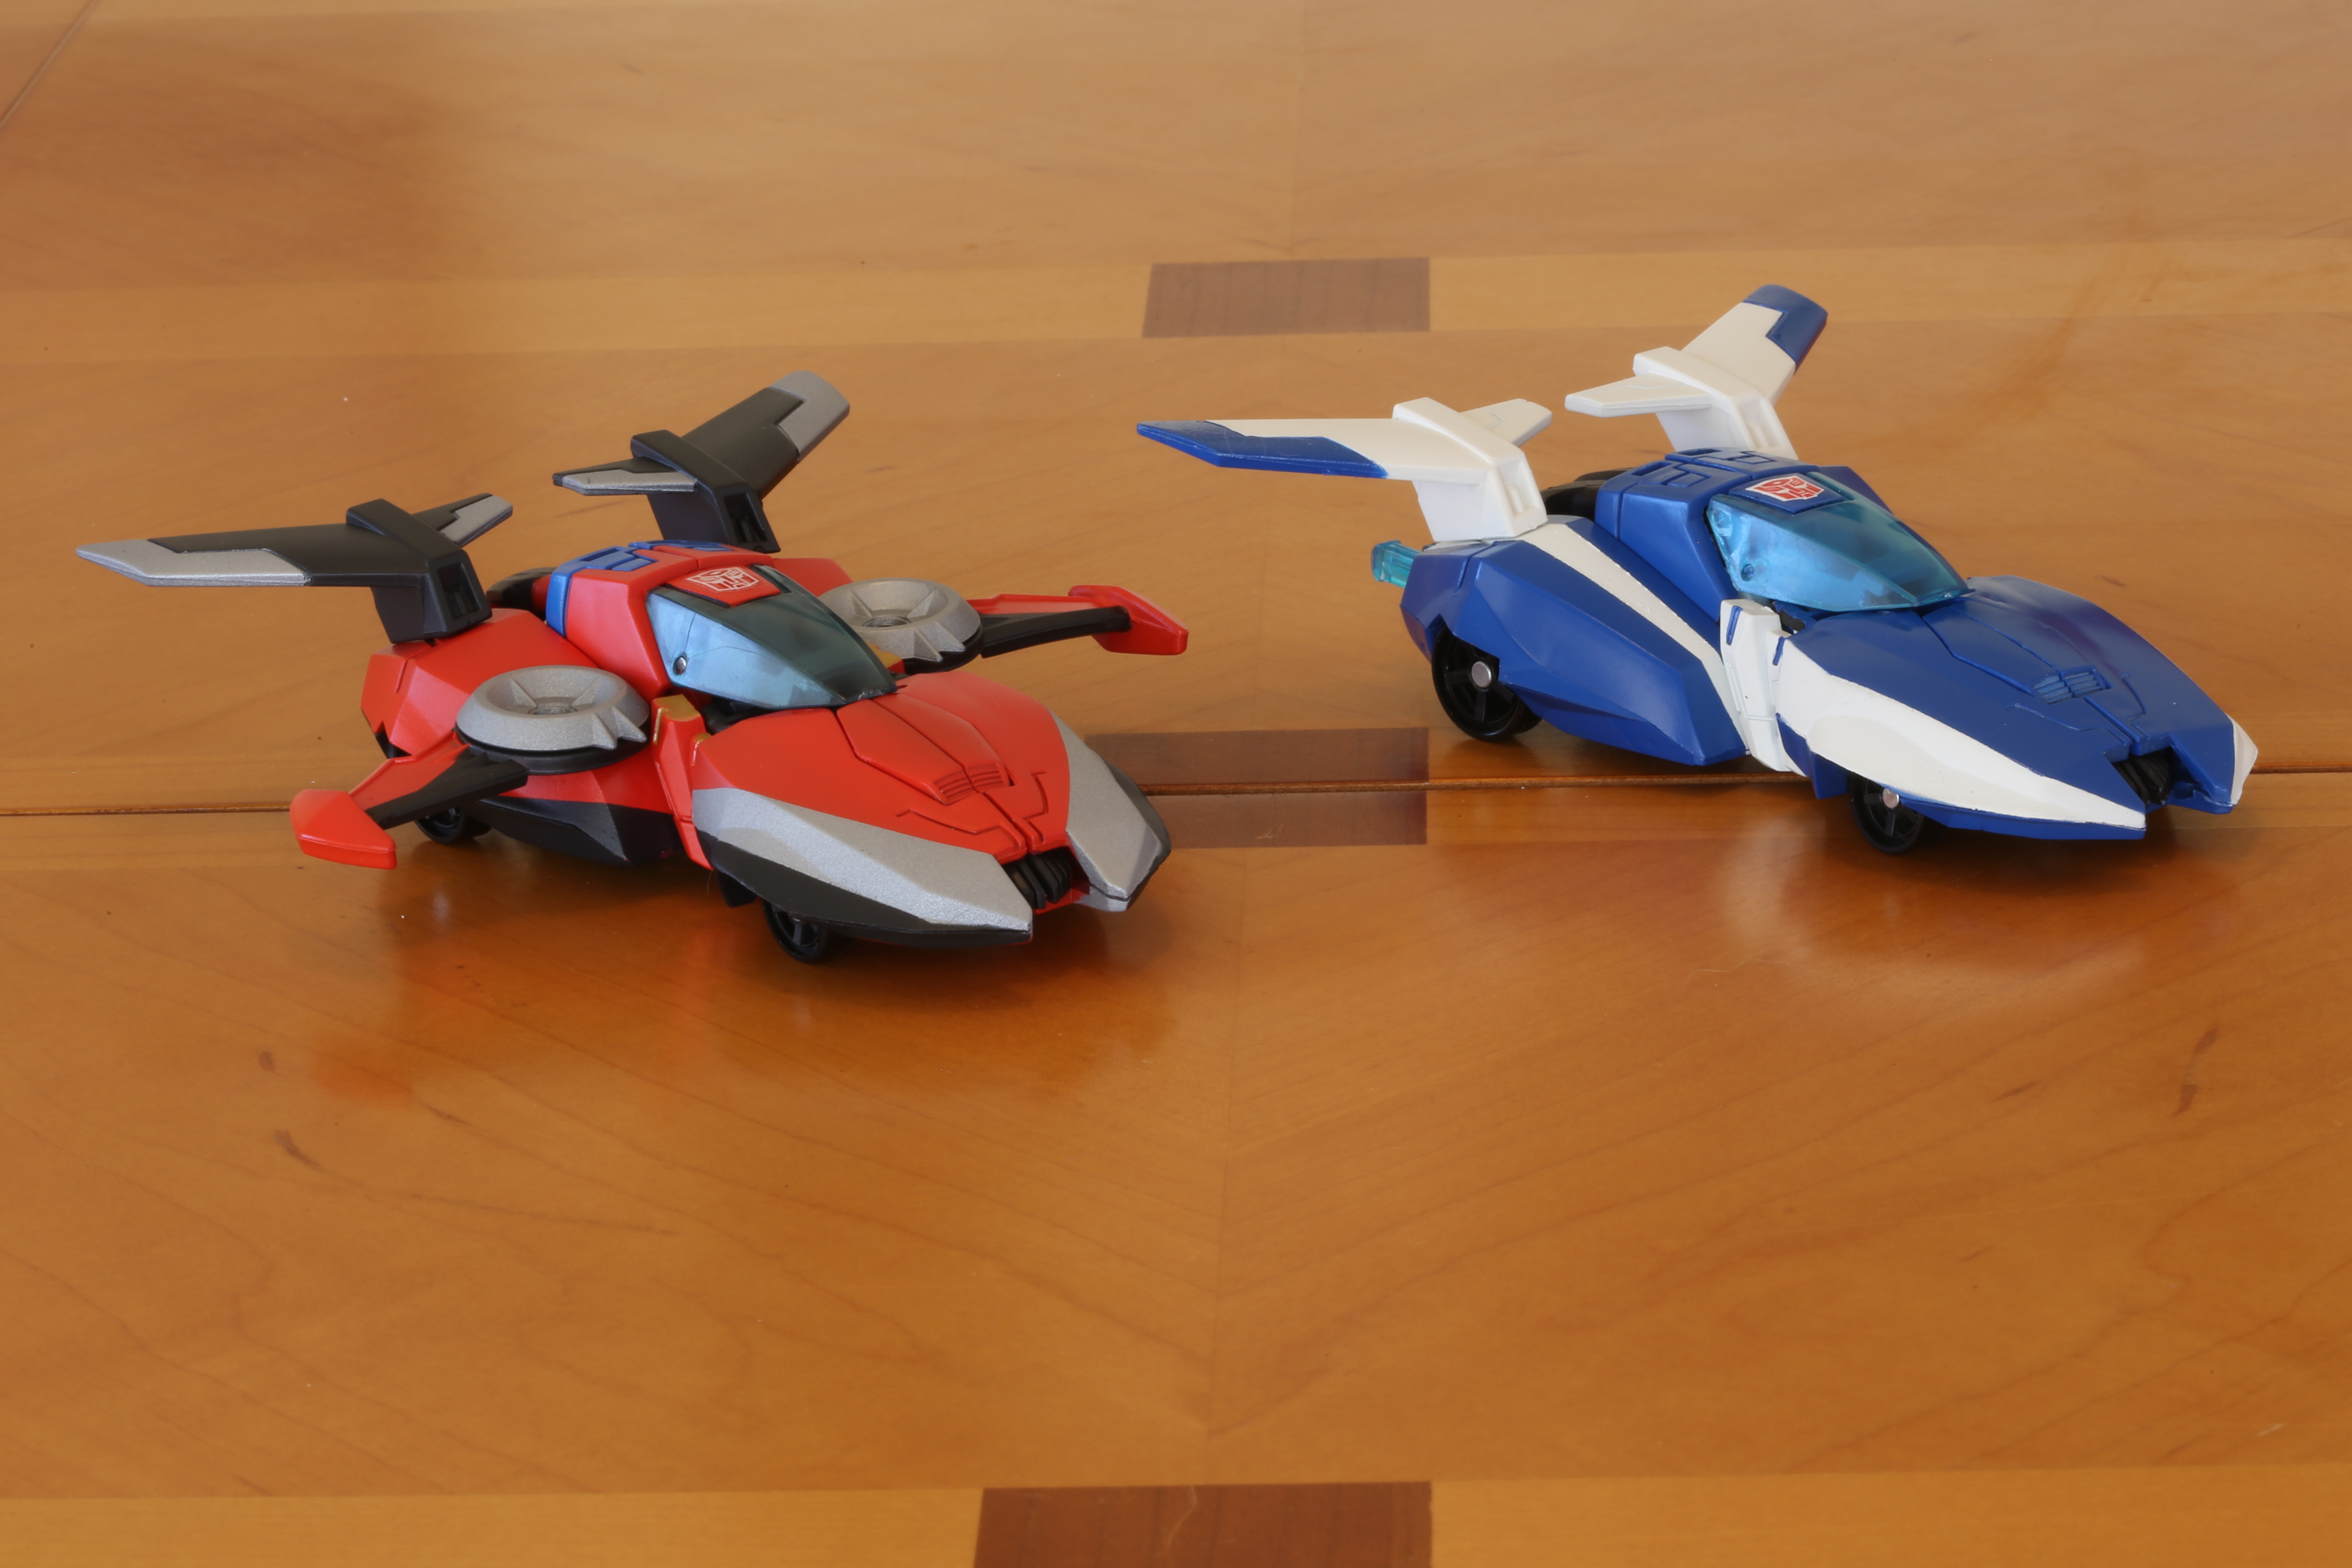
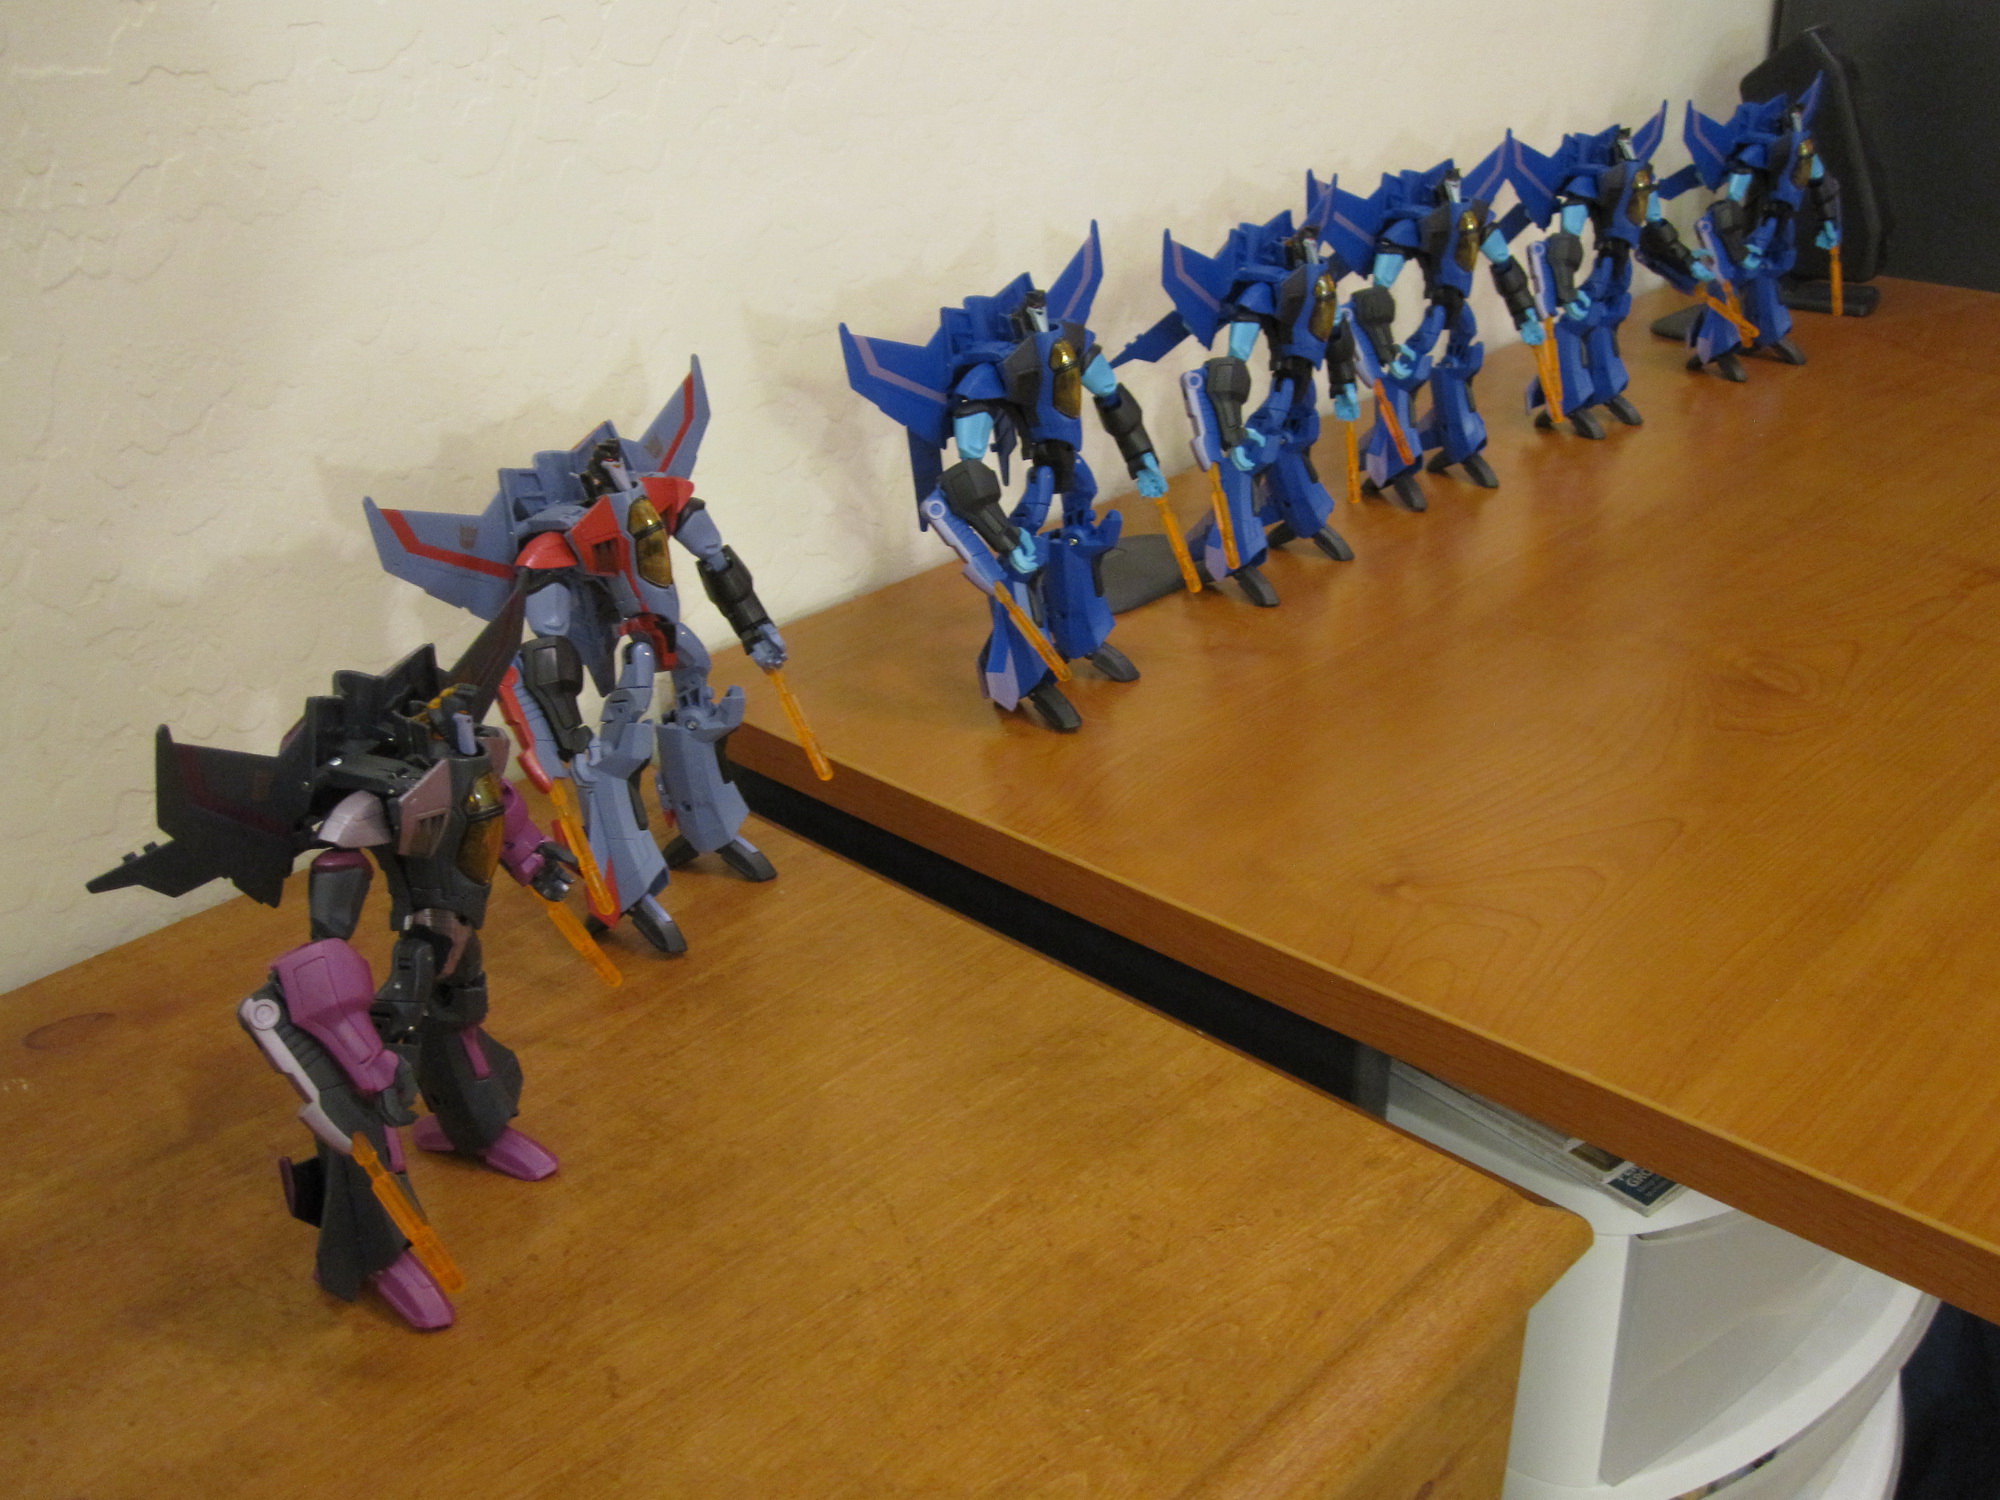
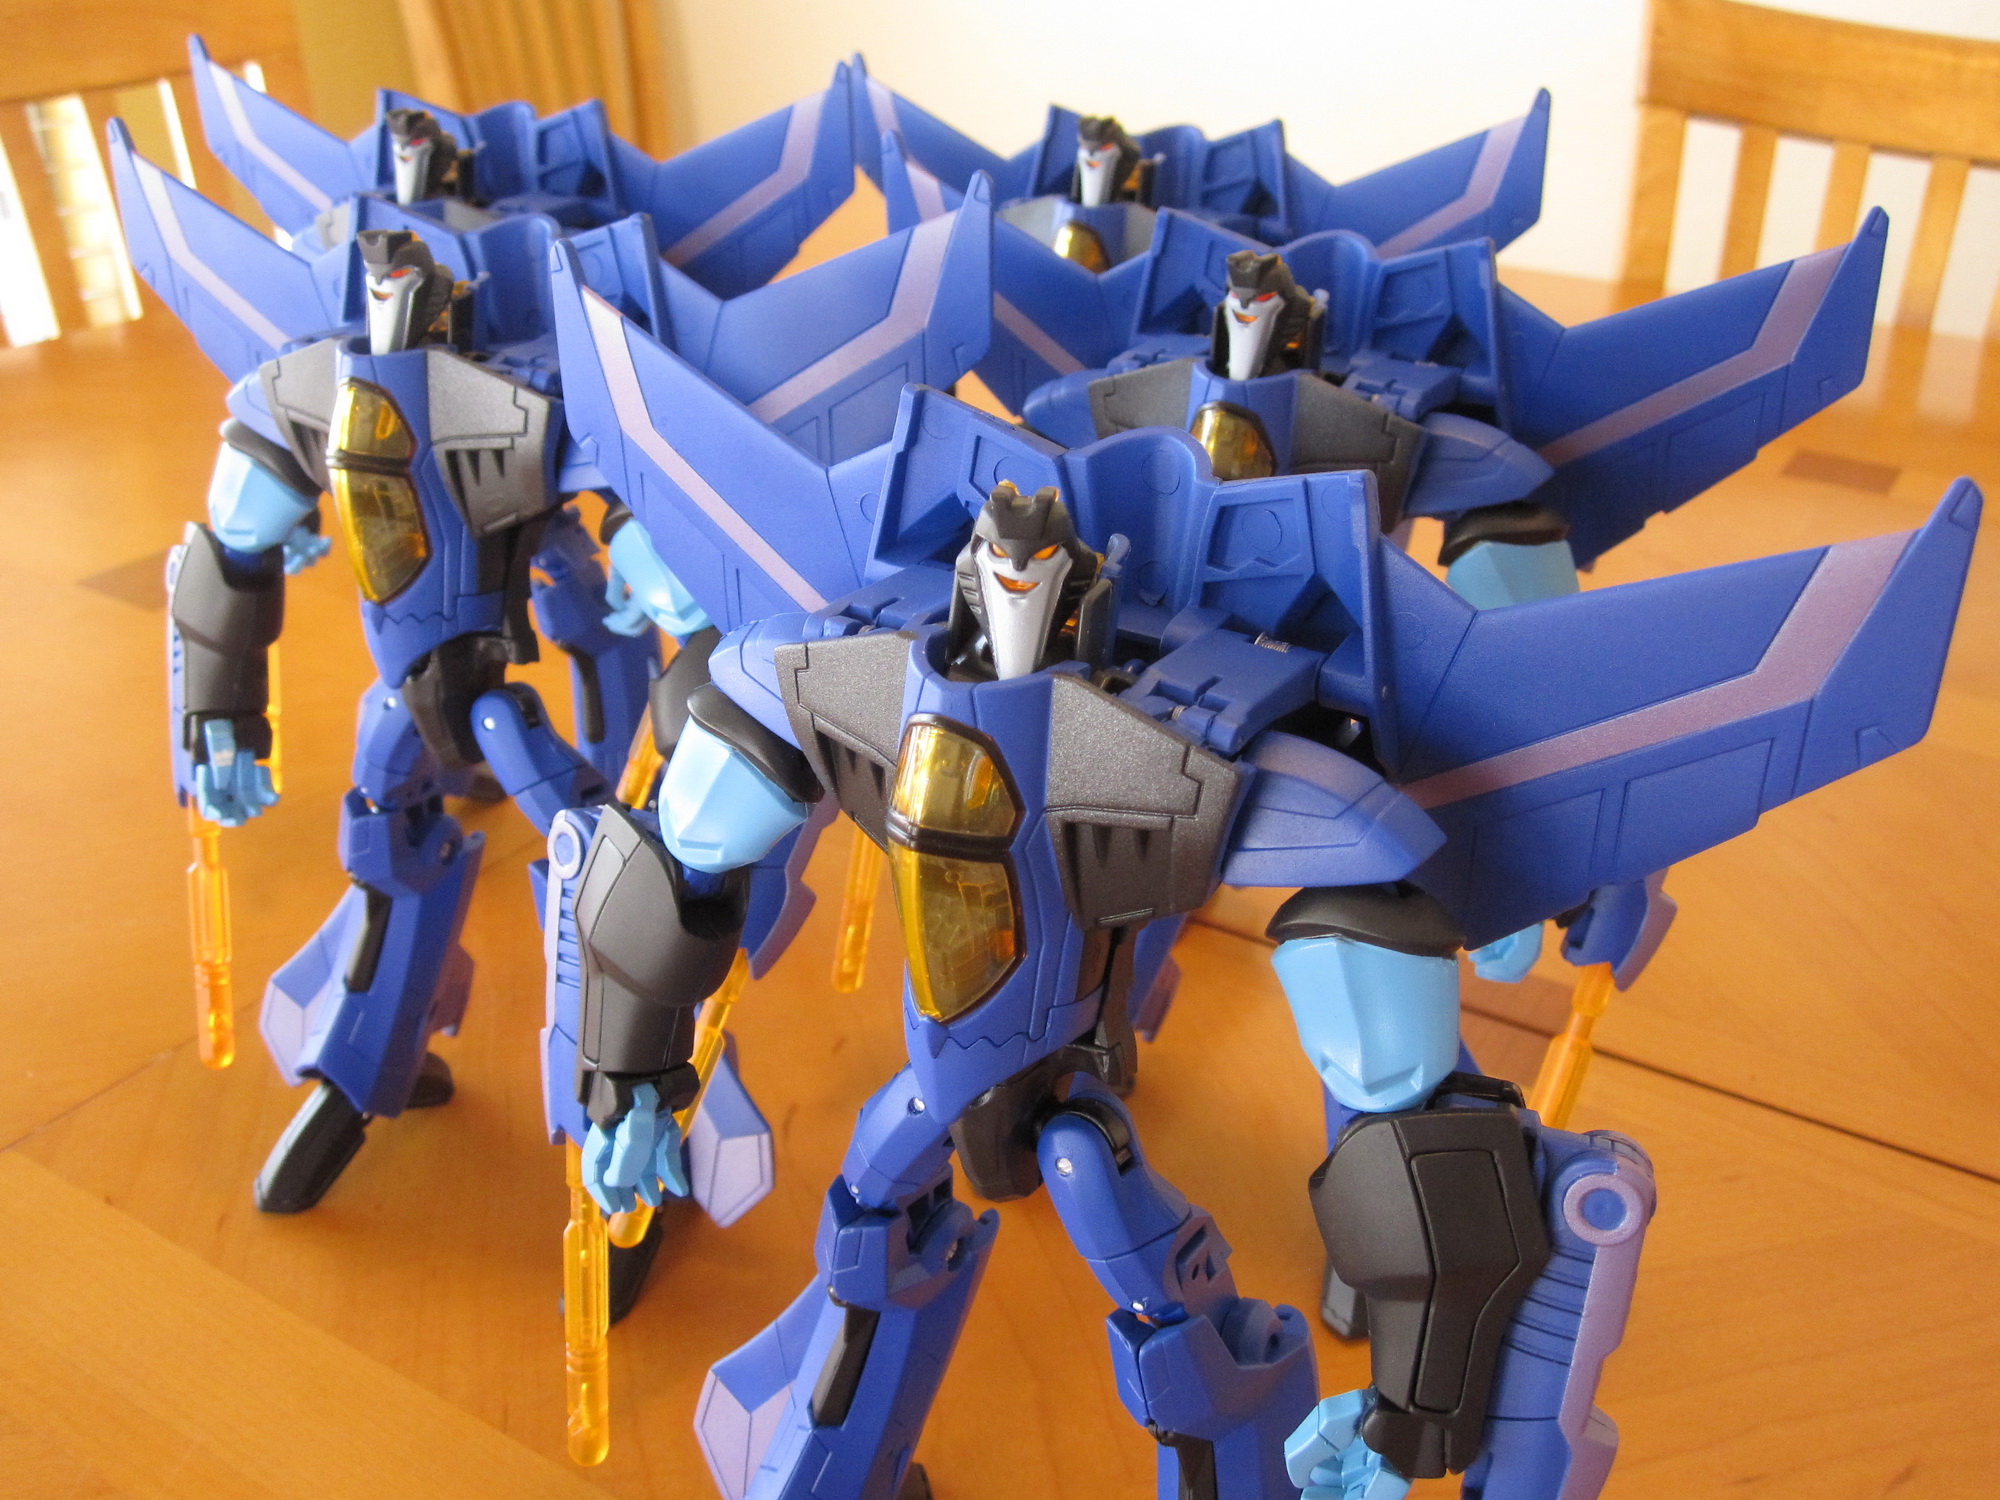
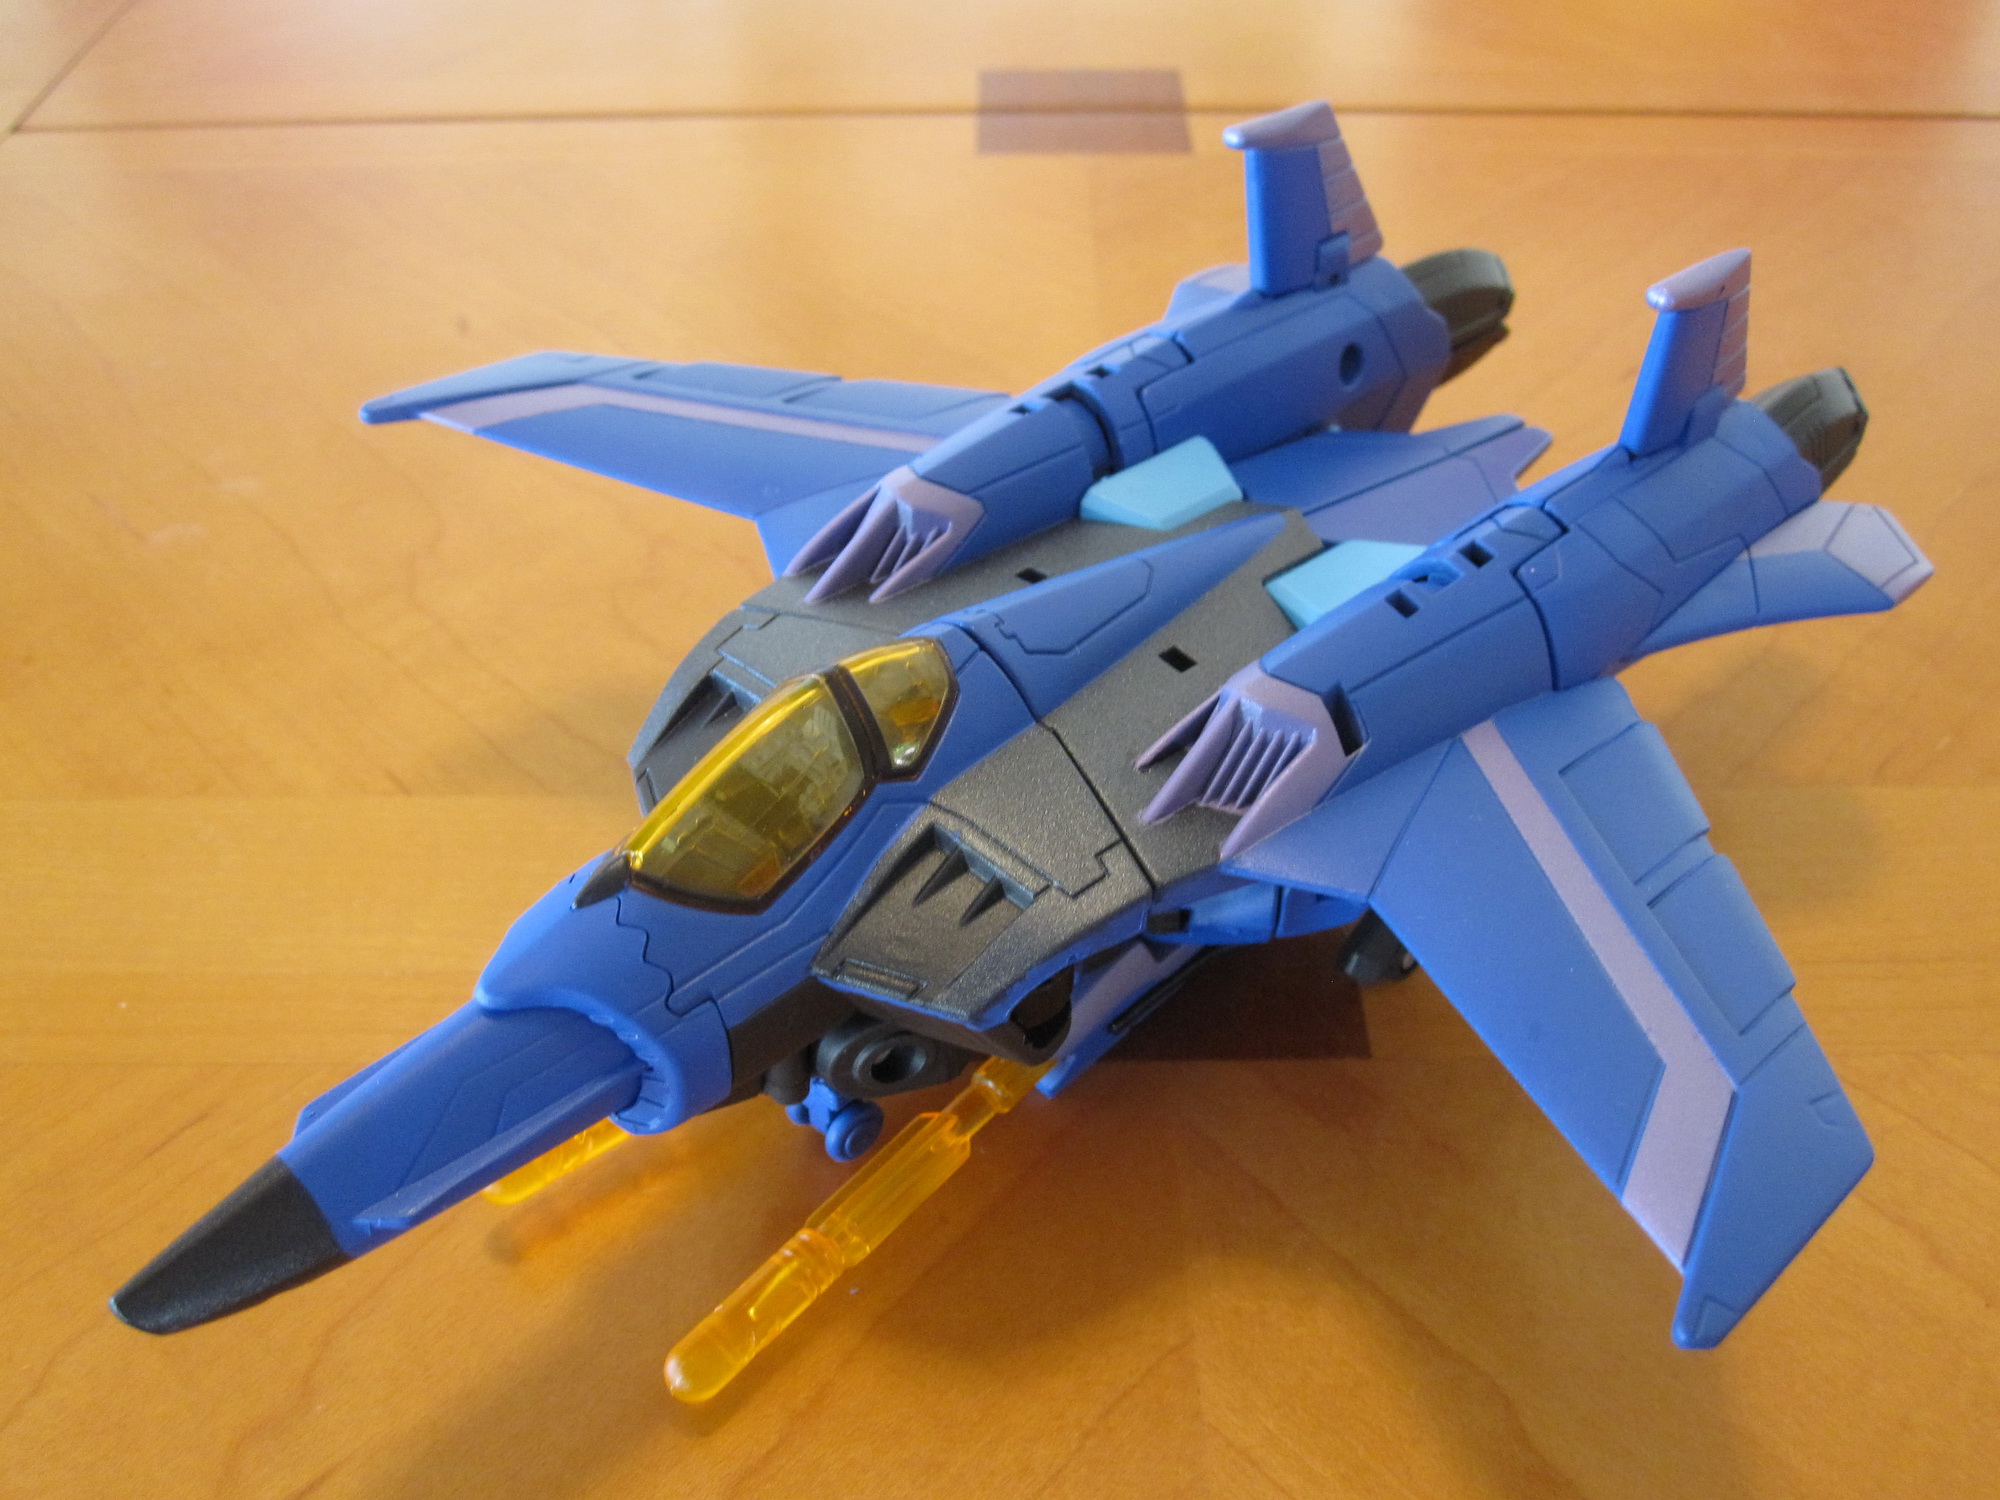
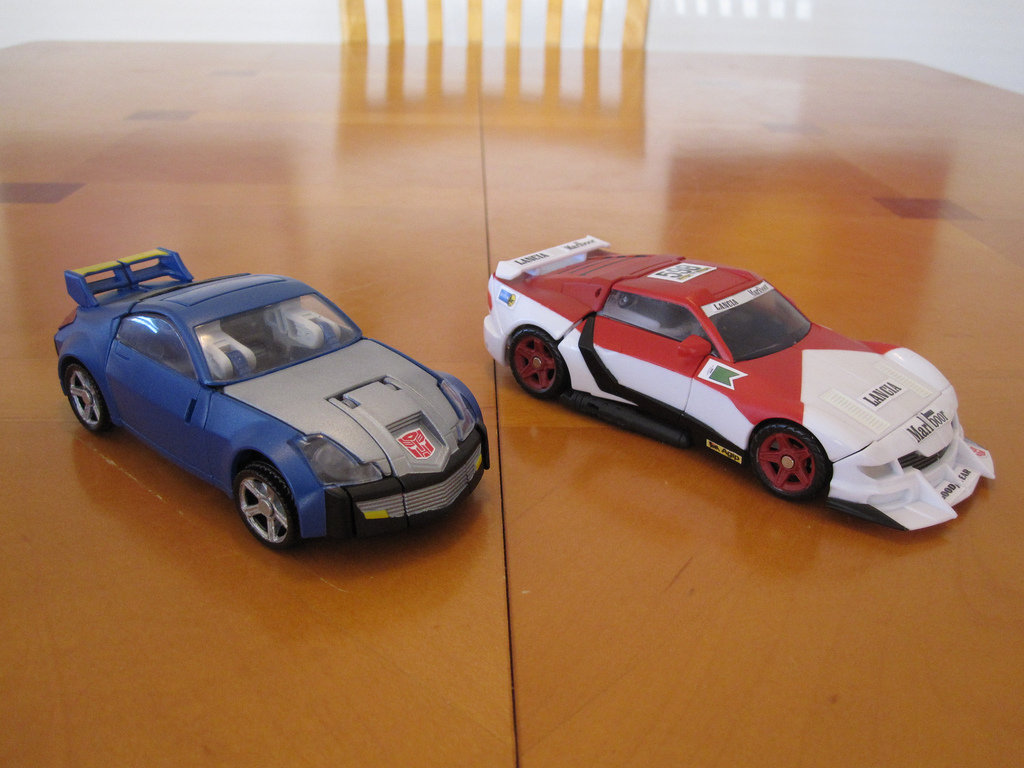
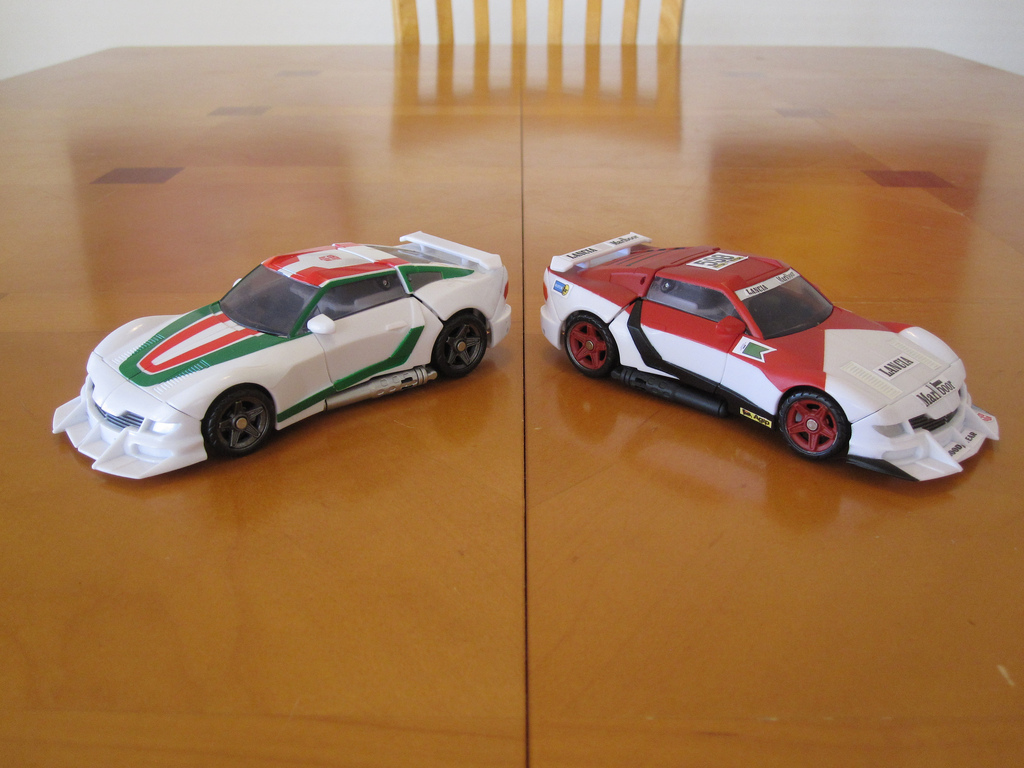
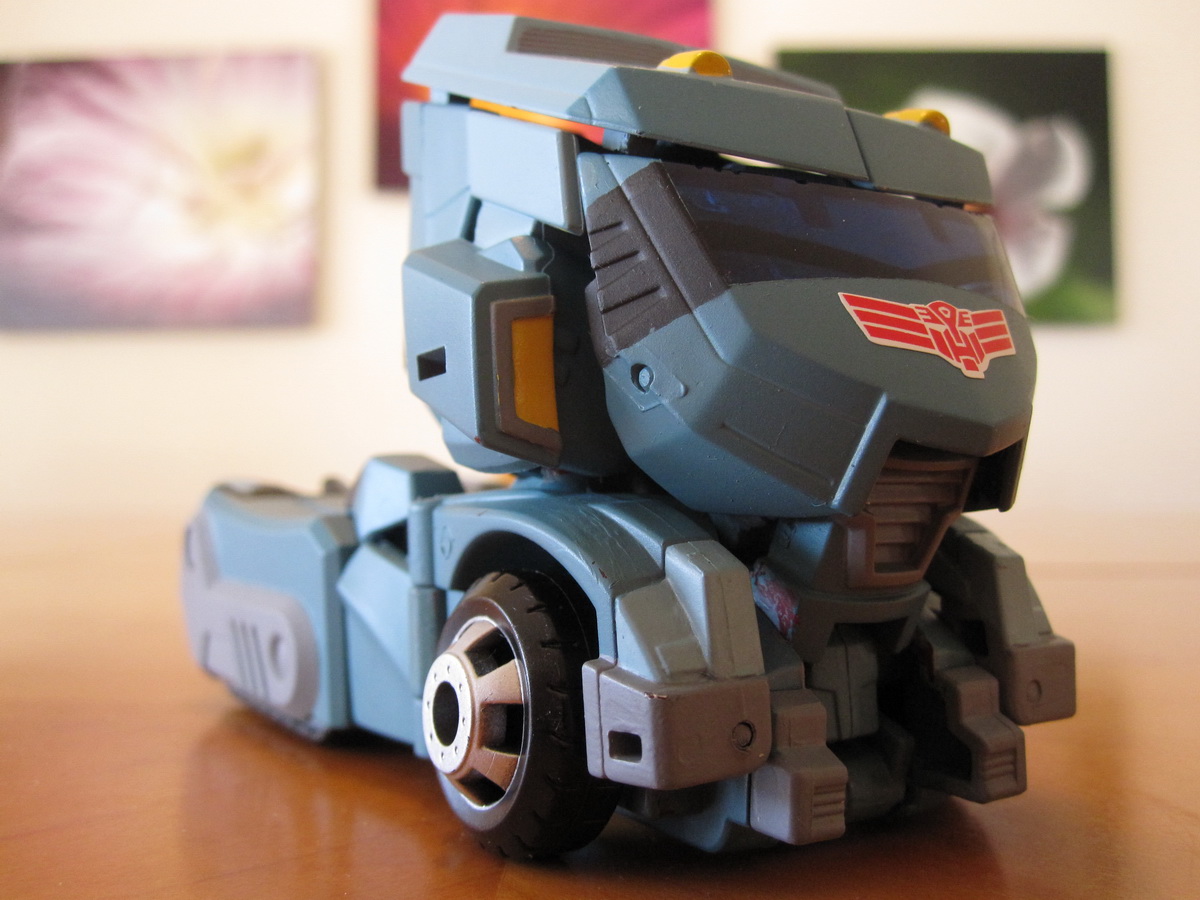
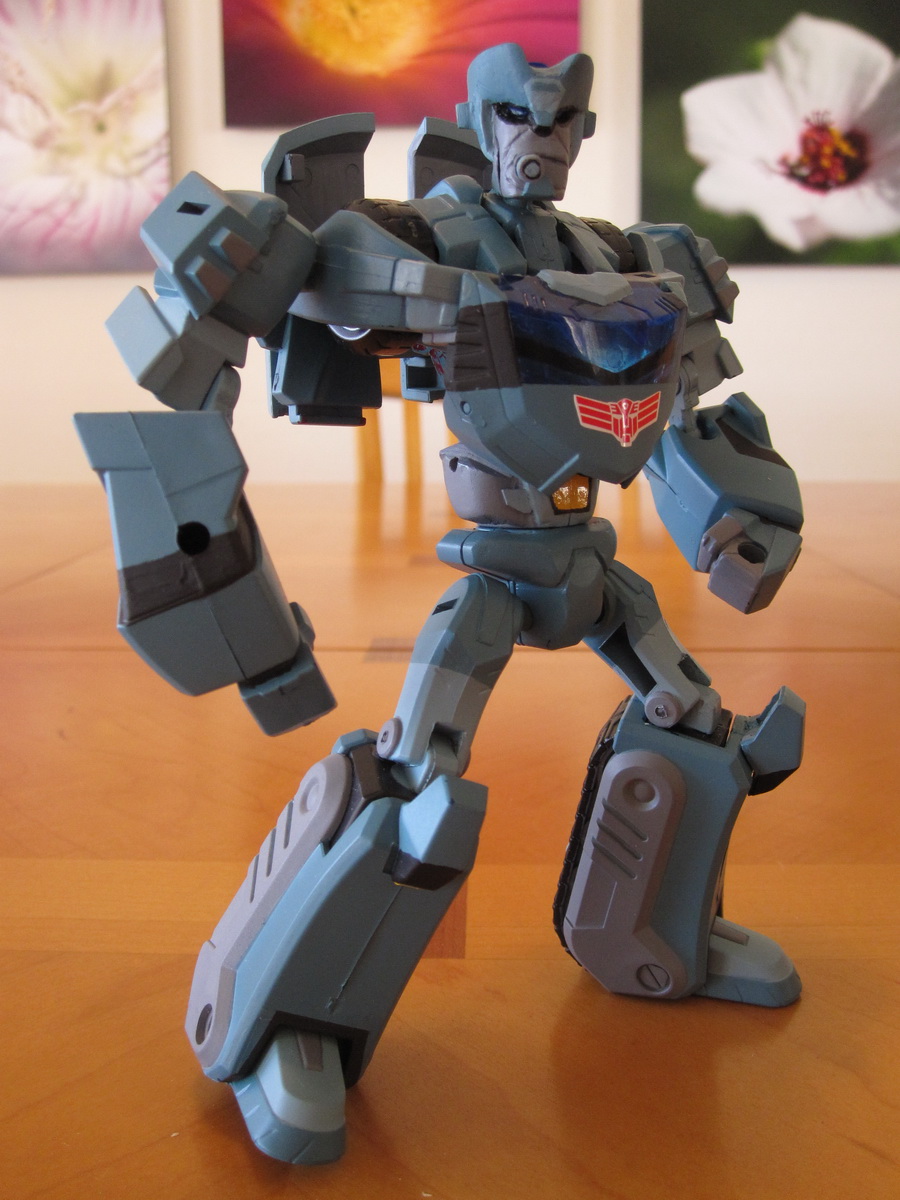
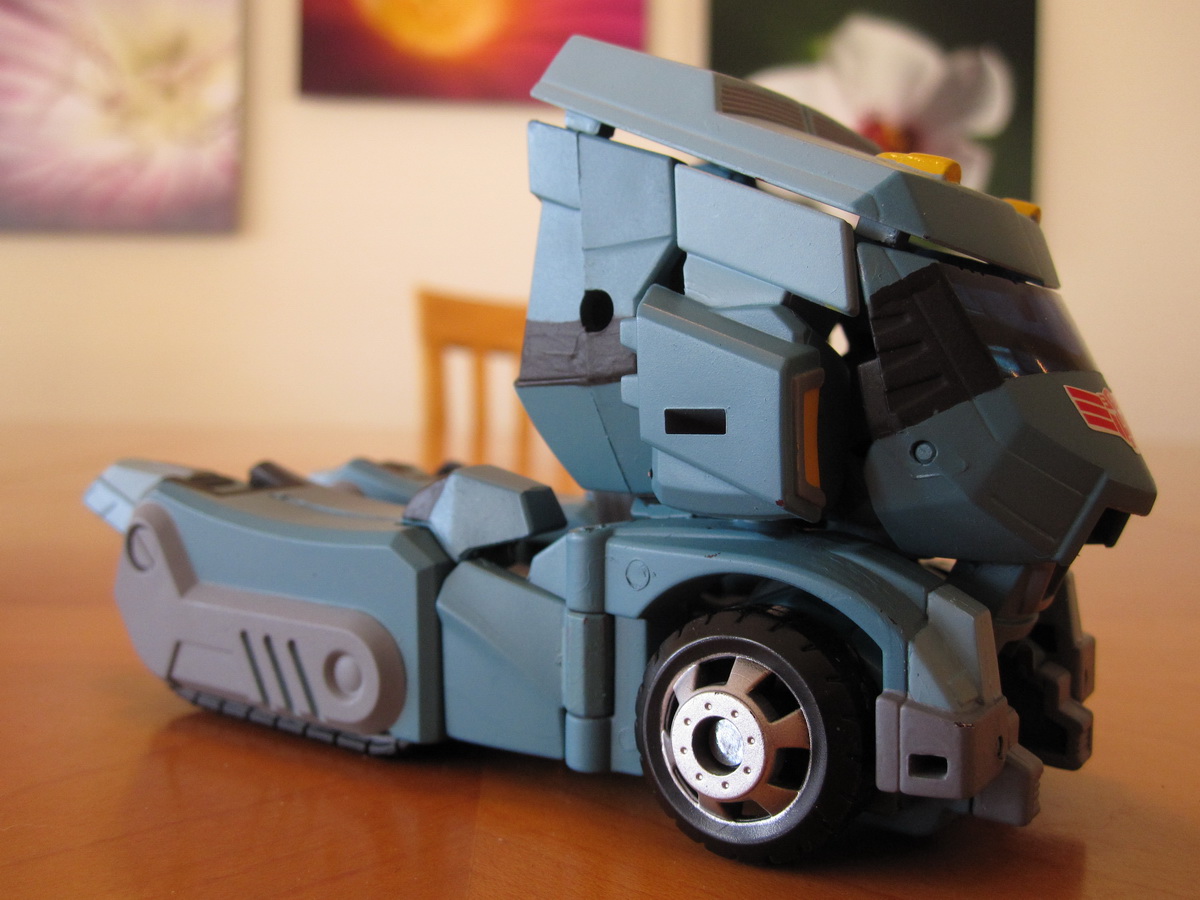
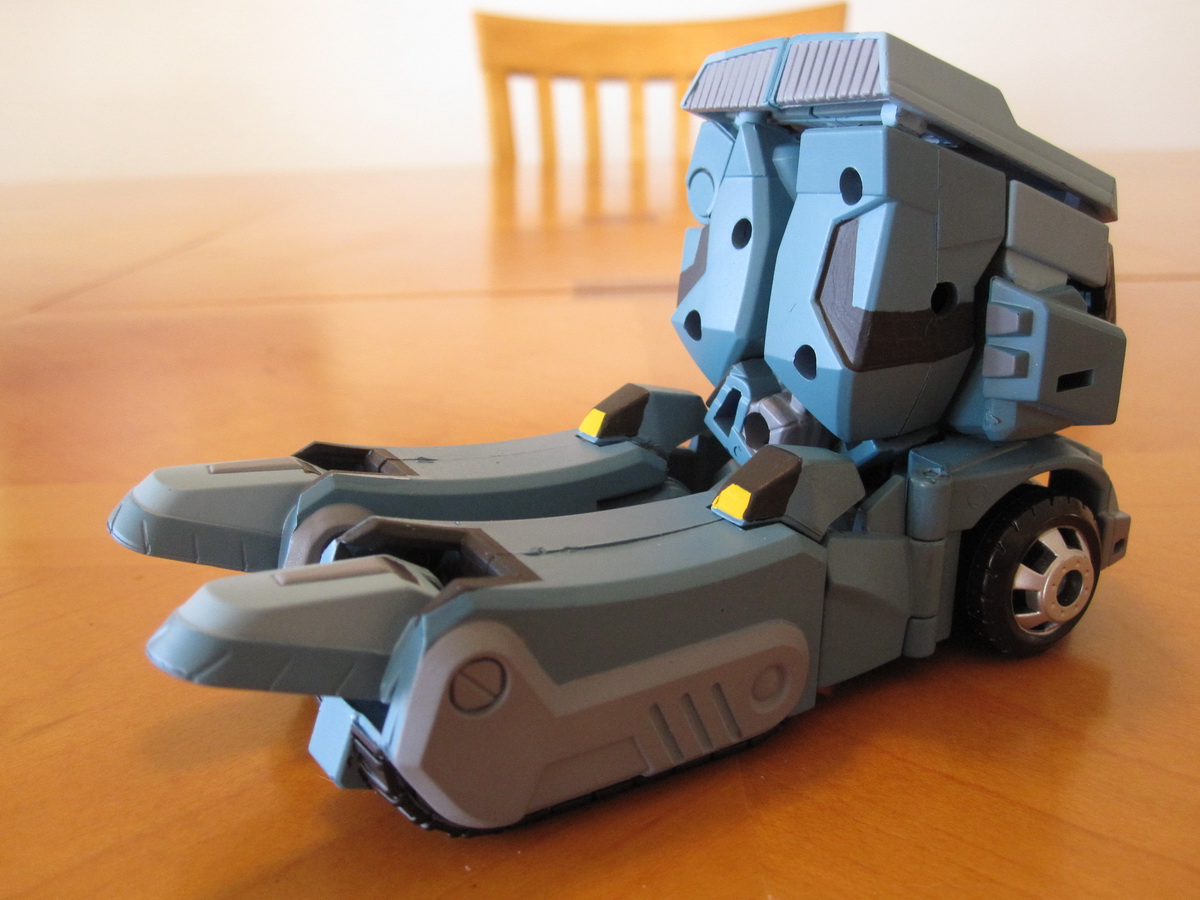
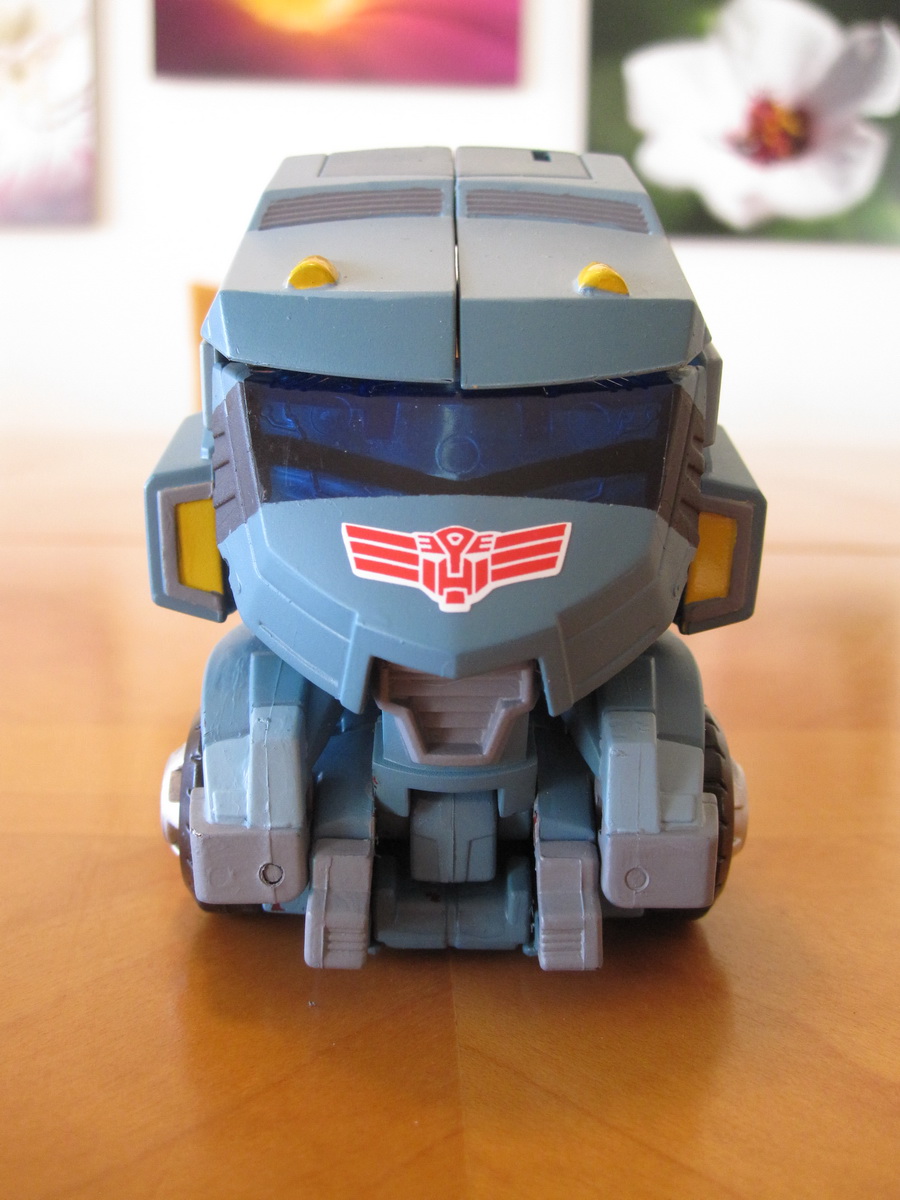
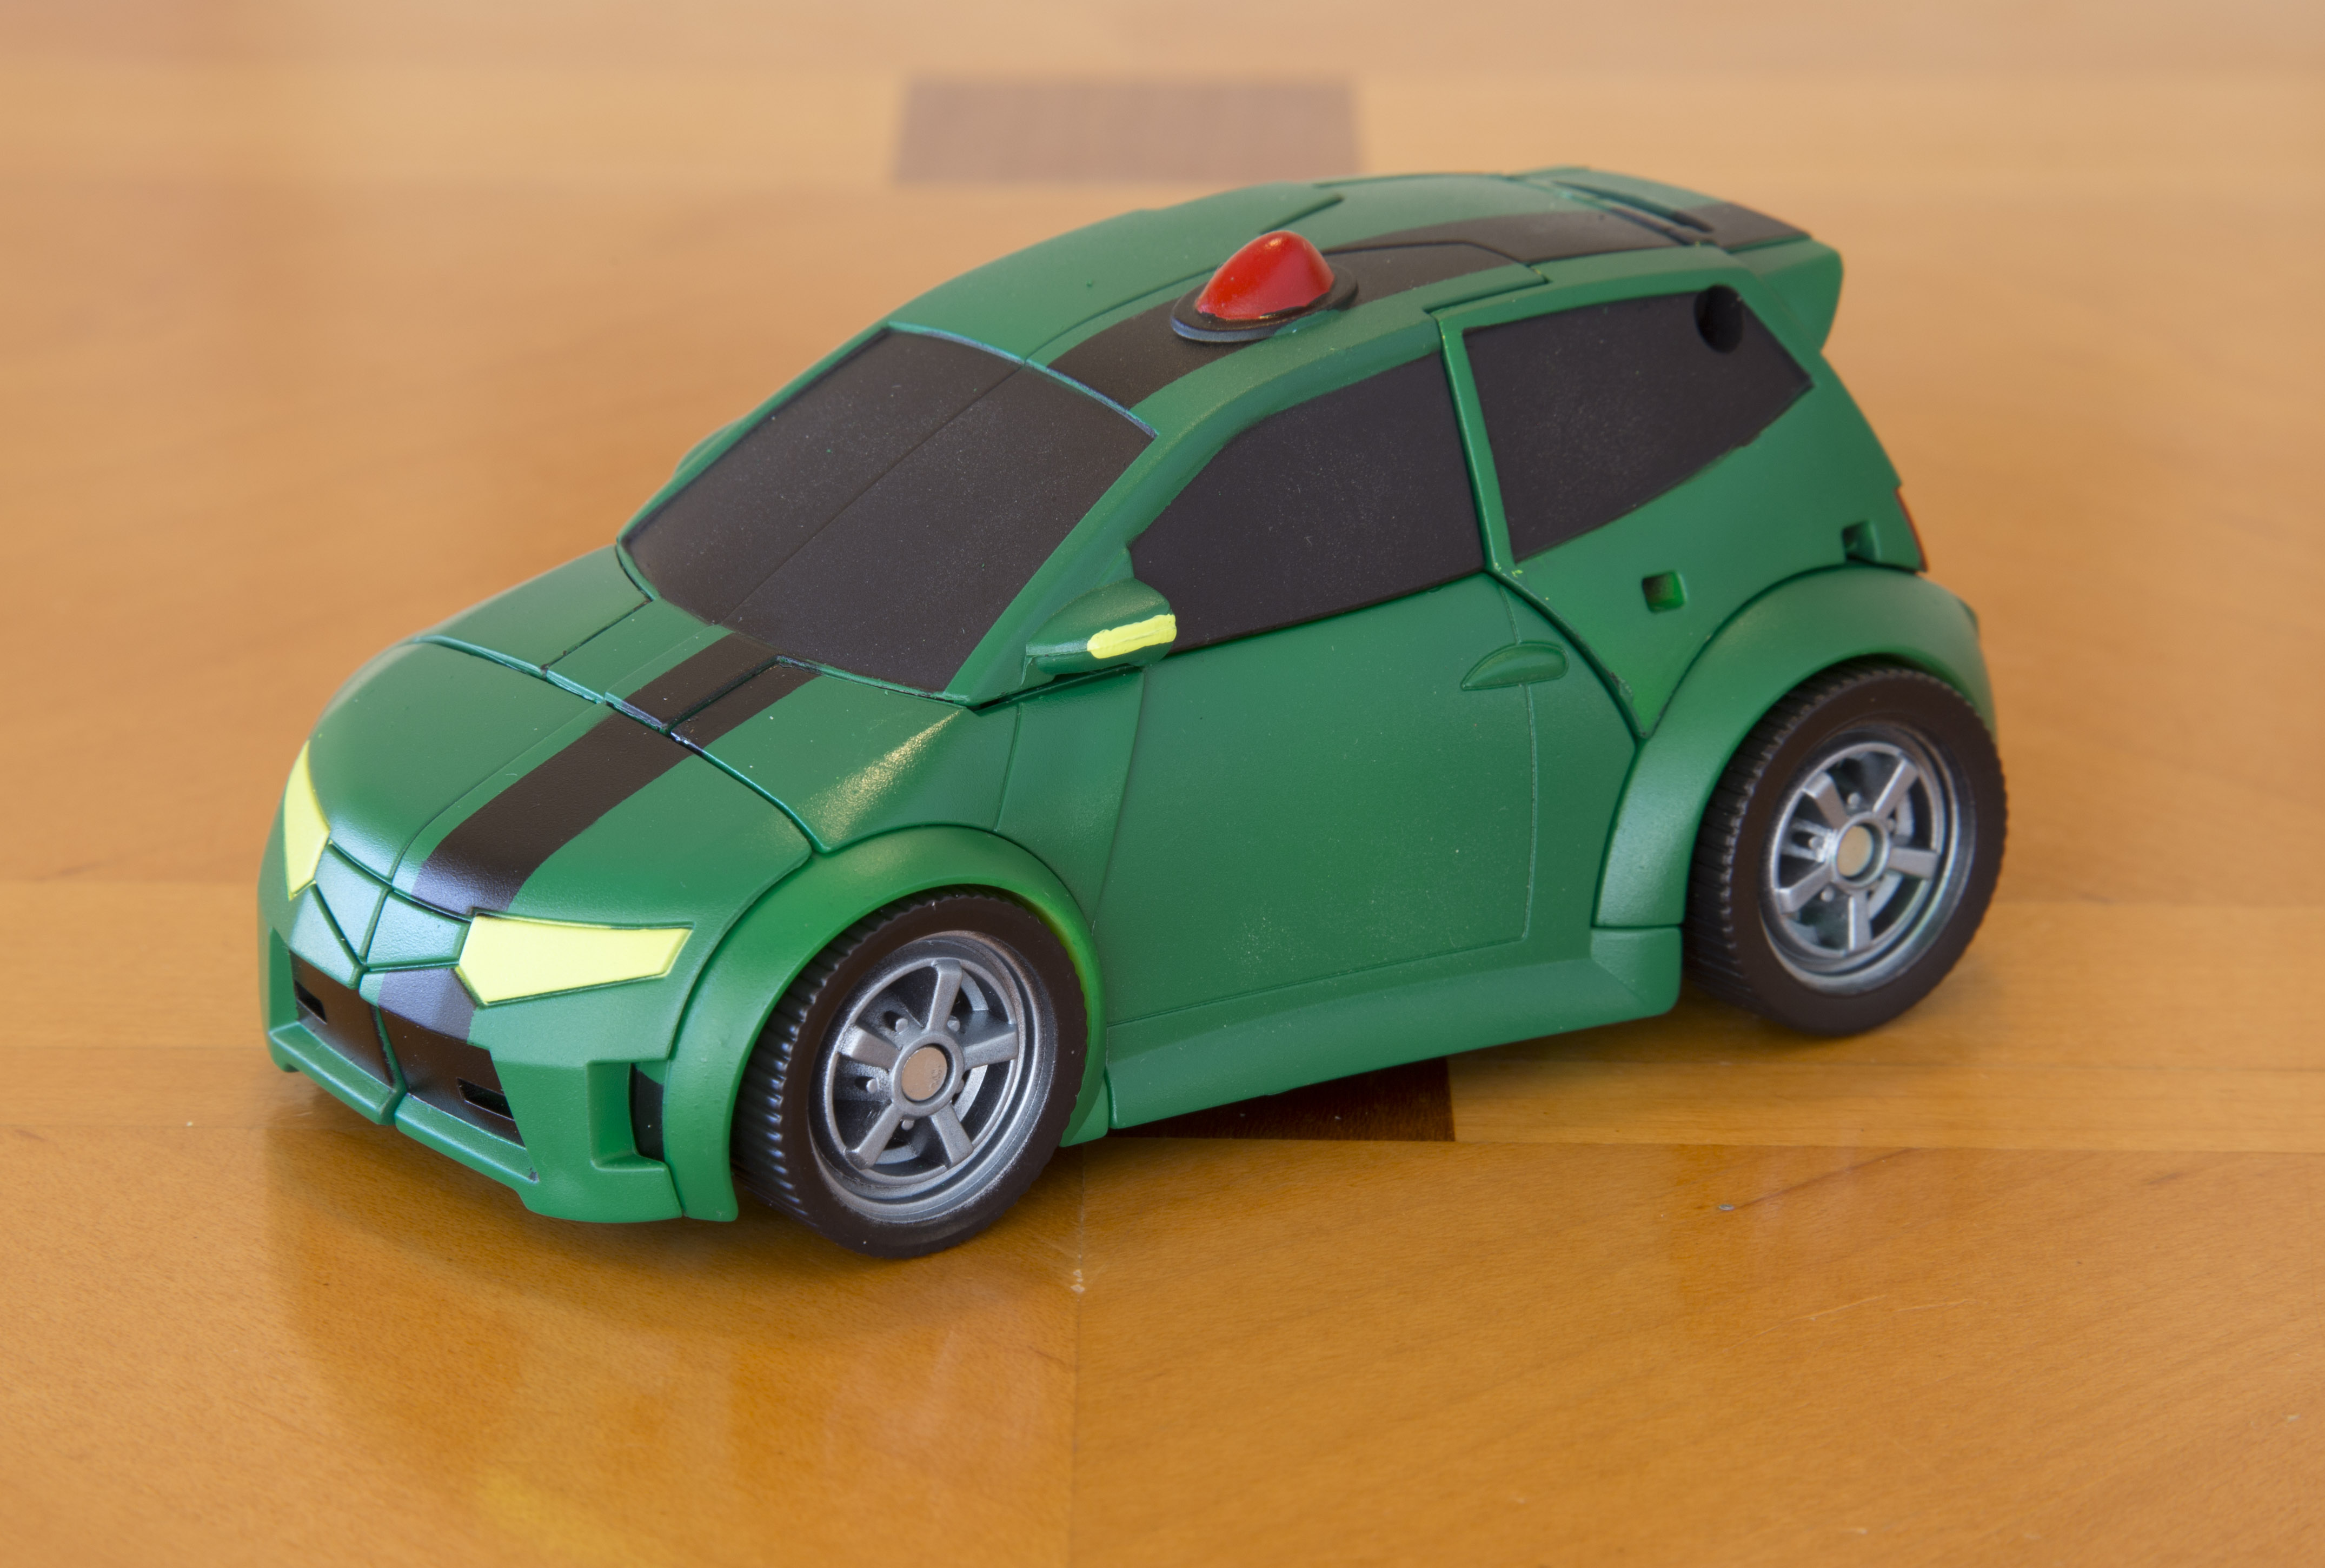
They both got reassembled into car mode so I could do the detail hood stripe, I added a few more details, a quick clear coat to even out the dark green, and voila: I had two finished Transformers Animated Wasps.
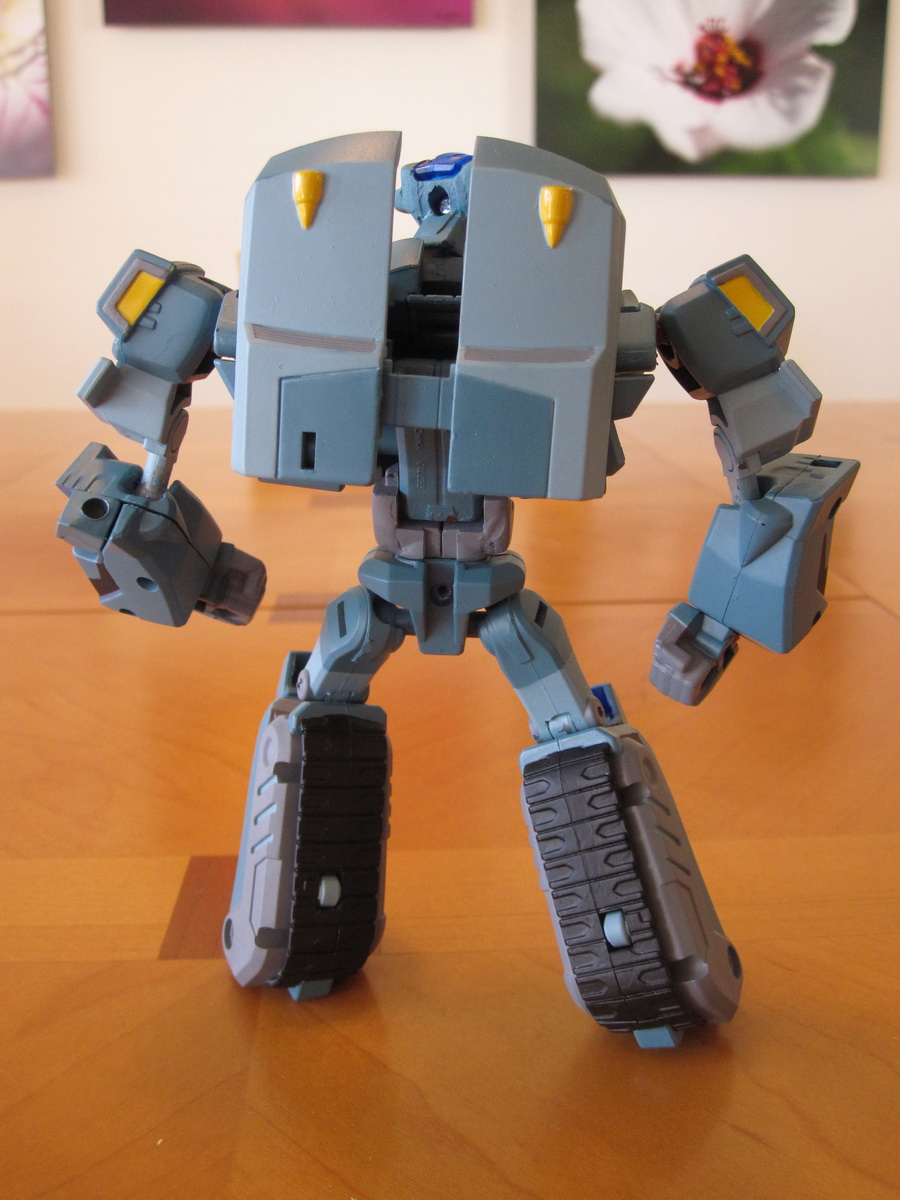
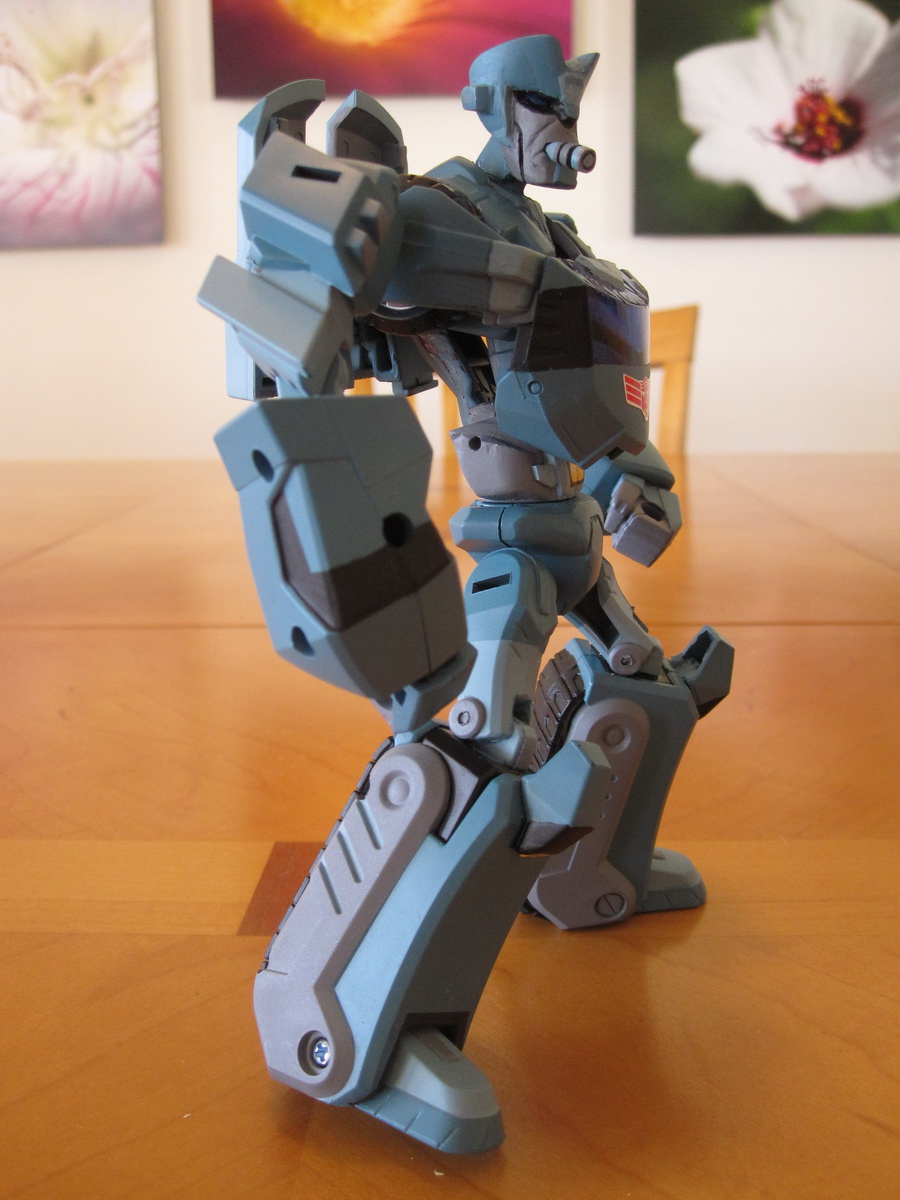
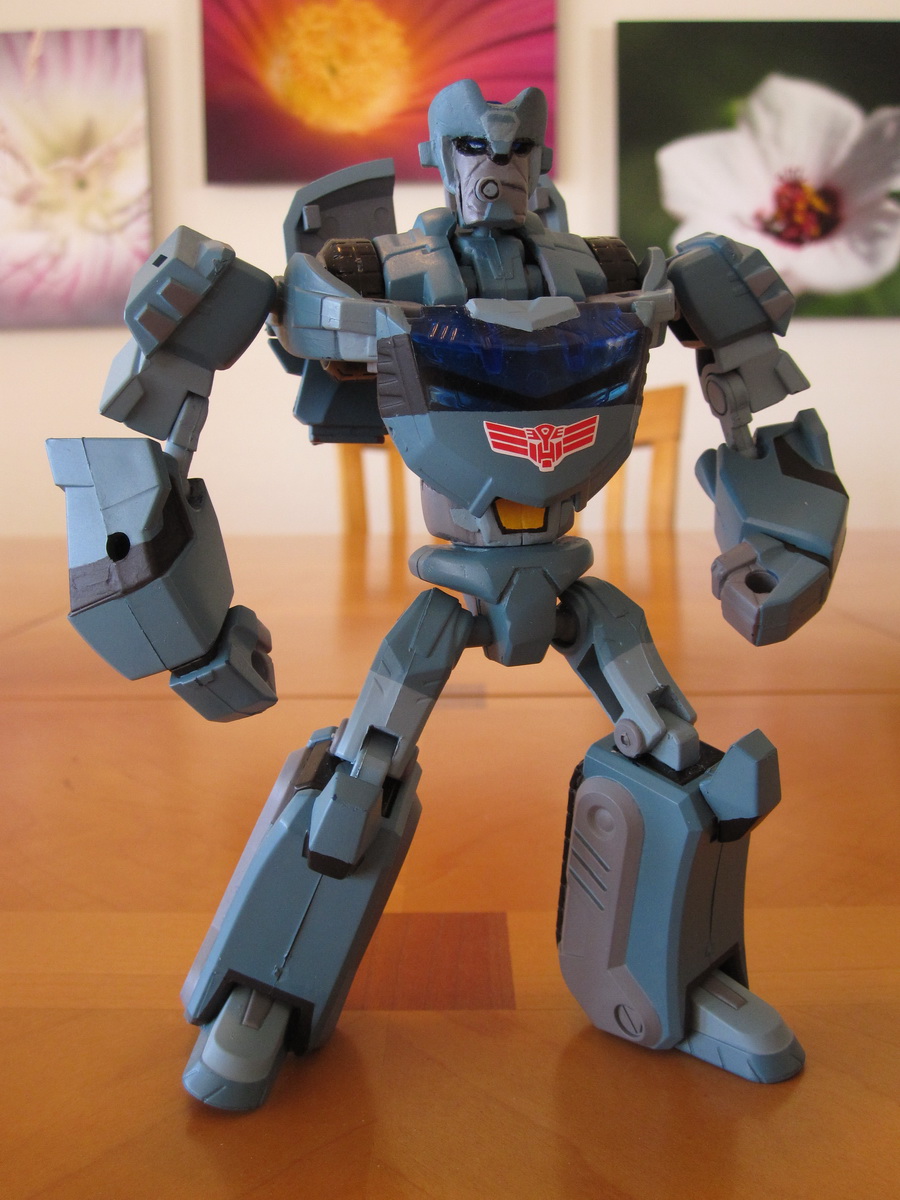
In the end, the overall effort isn’t as impressive, or notable, as something like Windblade; but they are still a pretty cool achievement. The heads are nicely sculpted and unique. The paint jobs looks pretty spiffy, and both Nick and I now have deluxe-class Wasps for our Transfomers Animated collections.

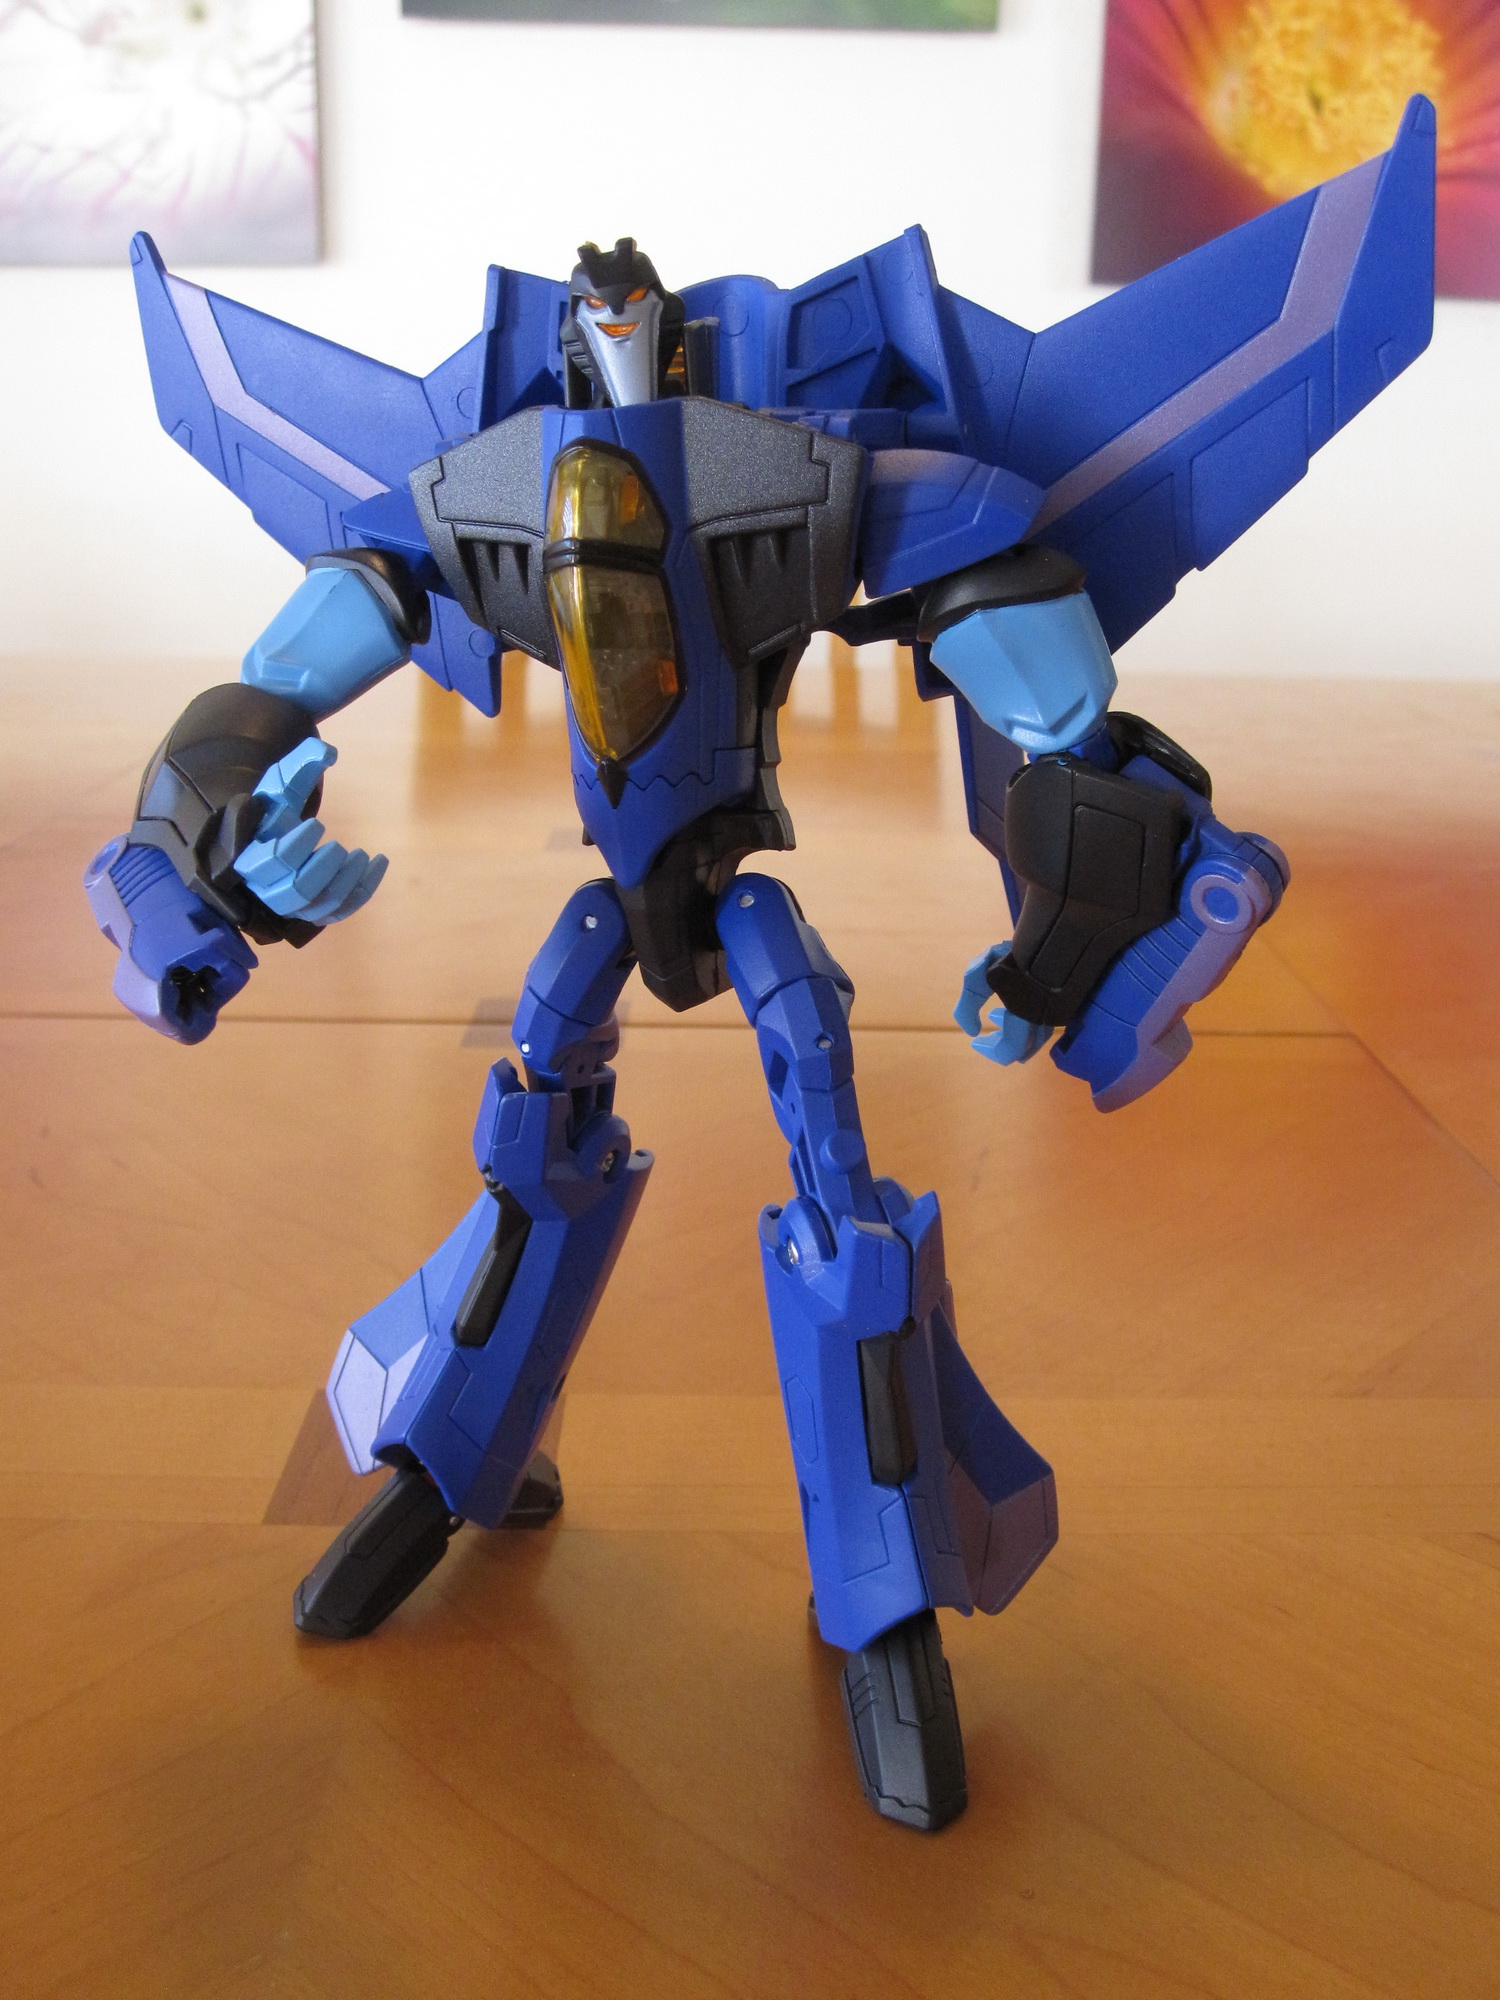
Oh, my next attempt with this mold will most likely be a certain blue female bot whose character I seem to have an affinity for…
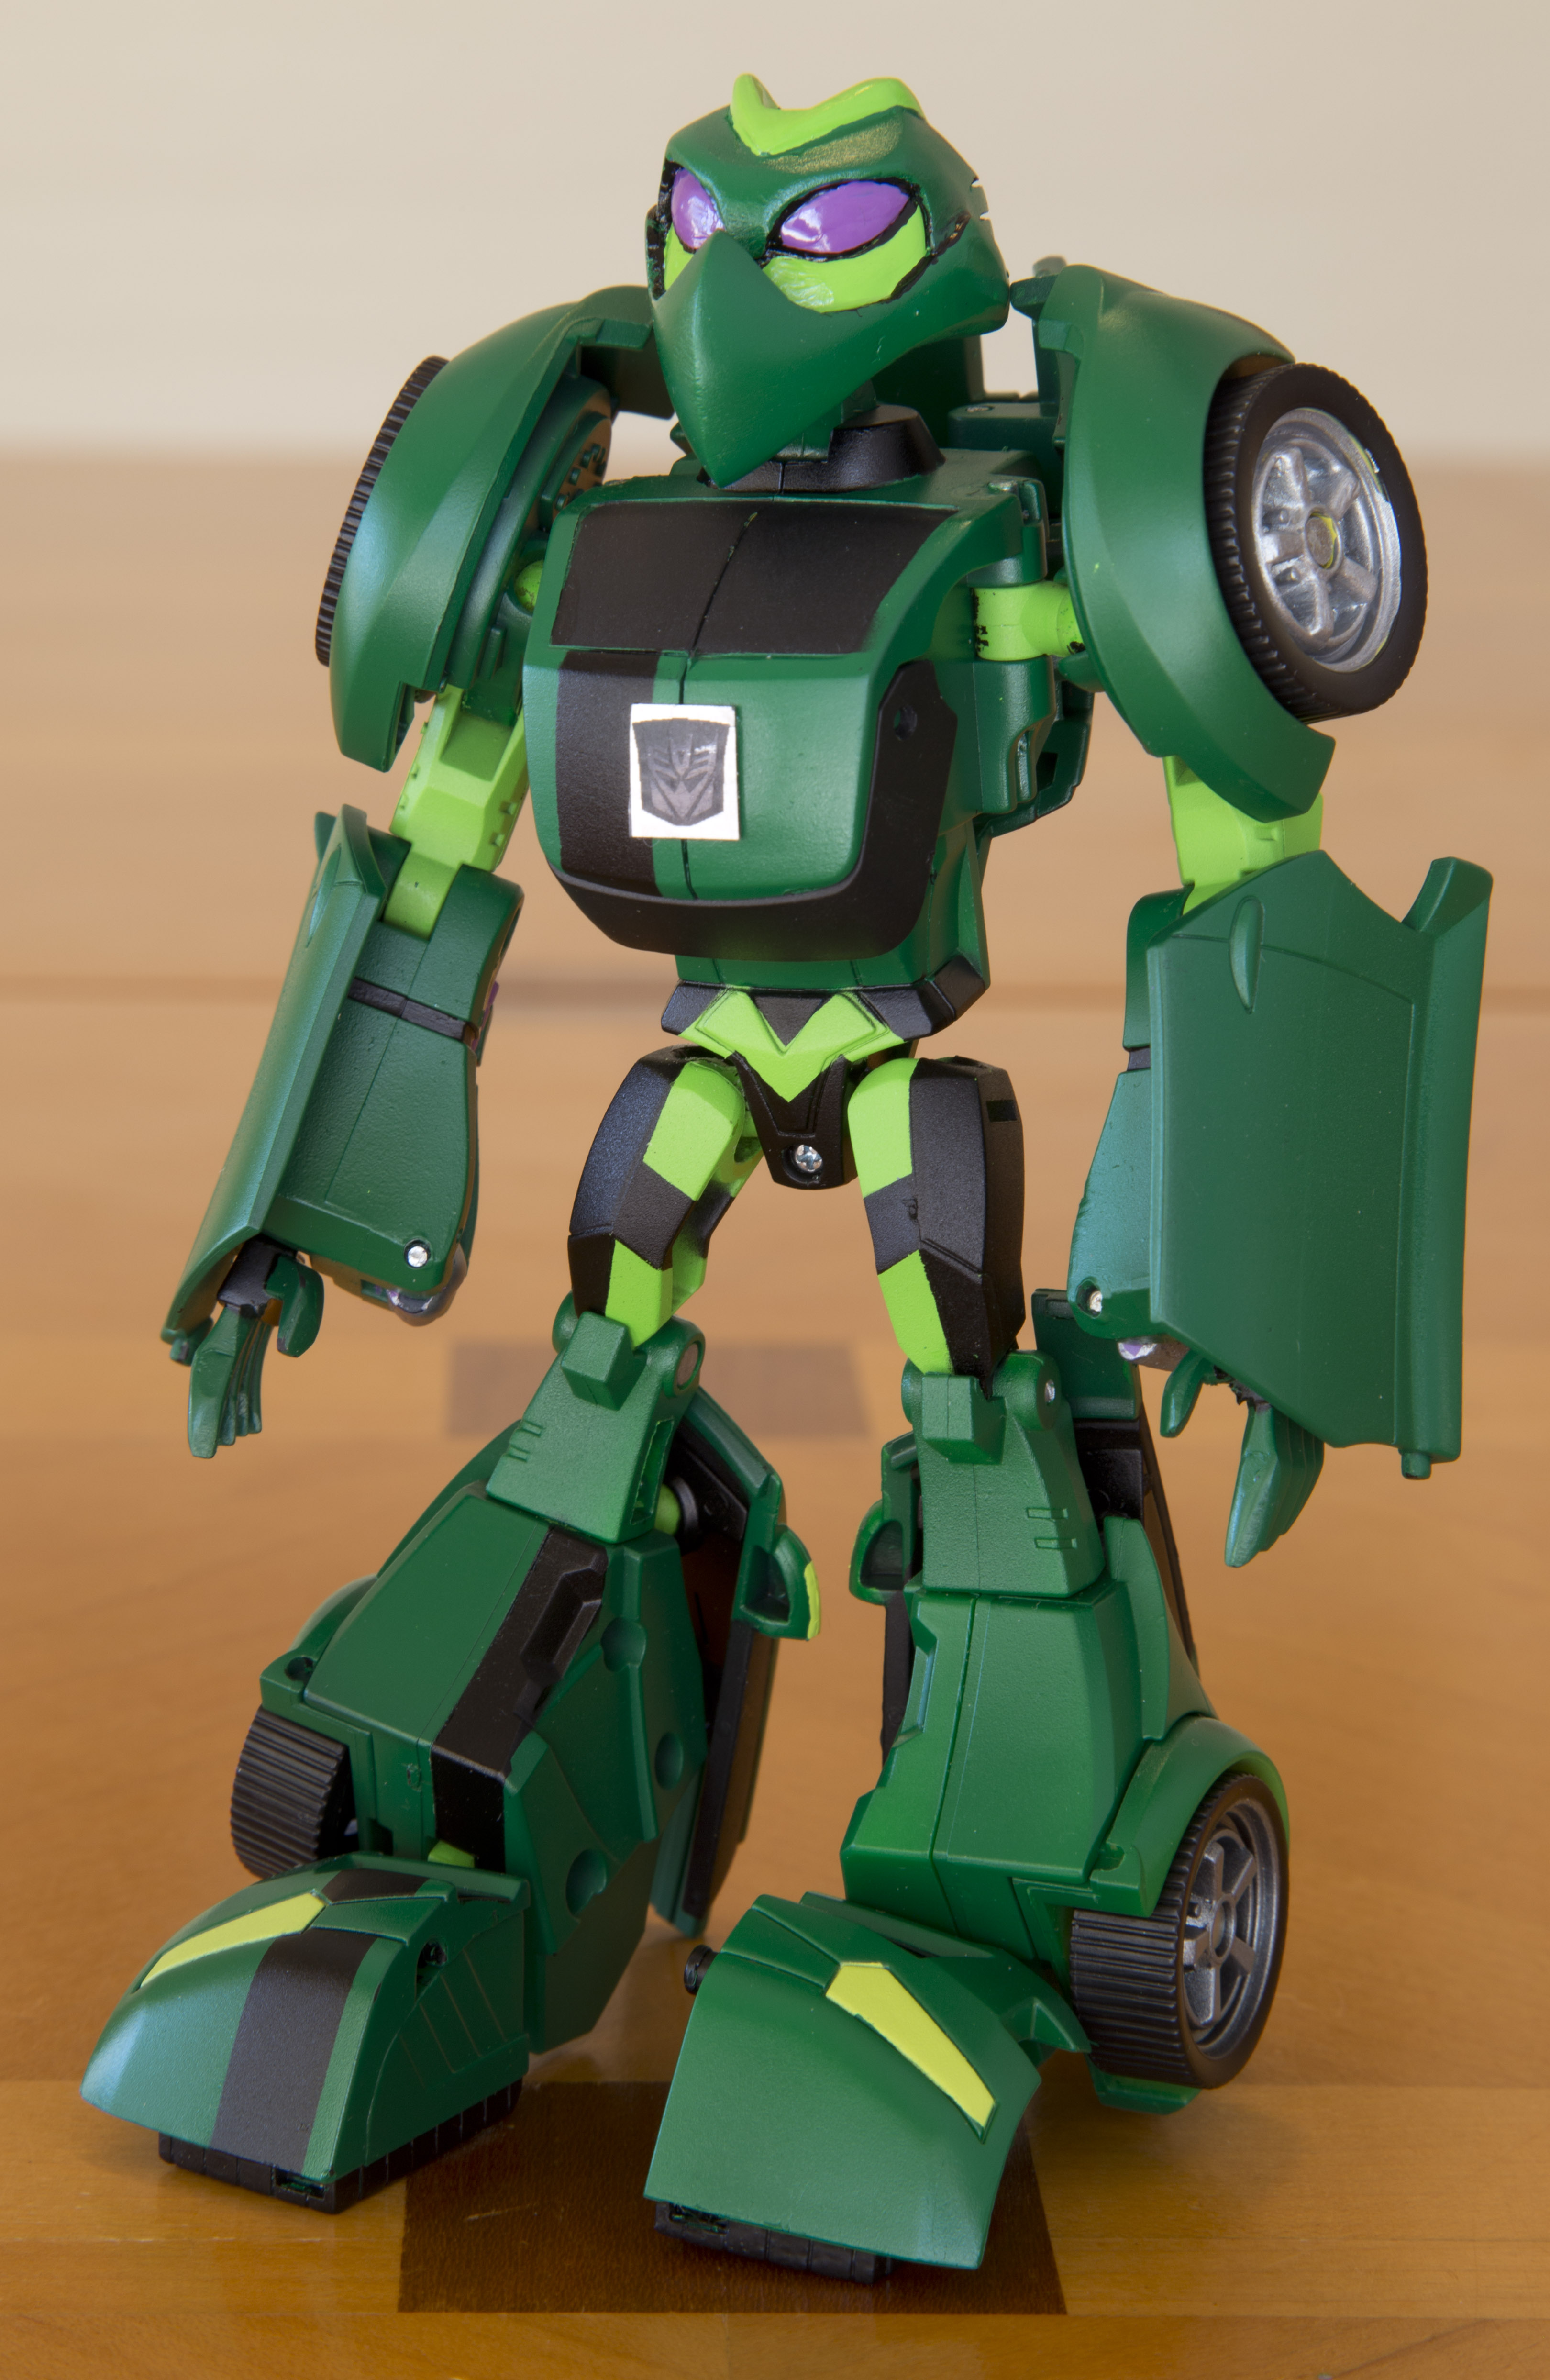
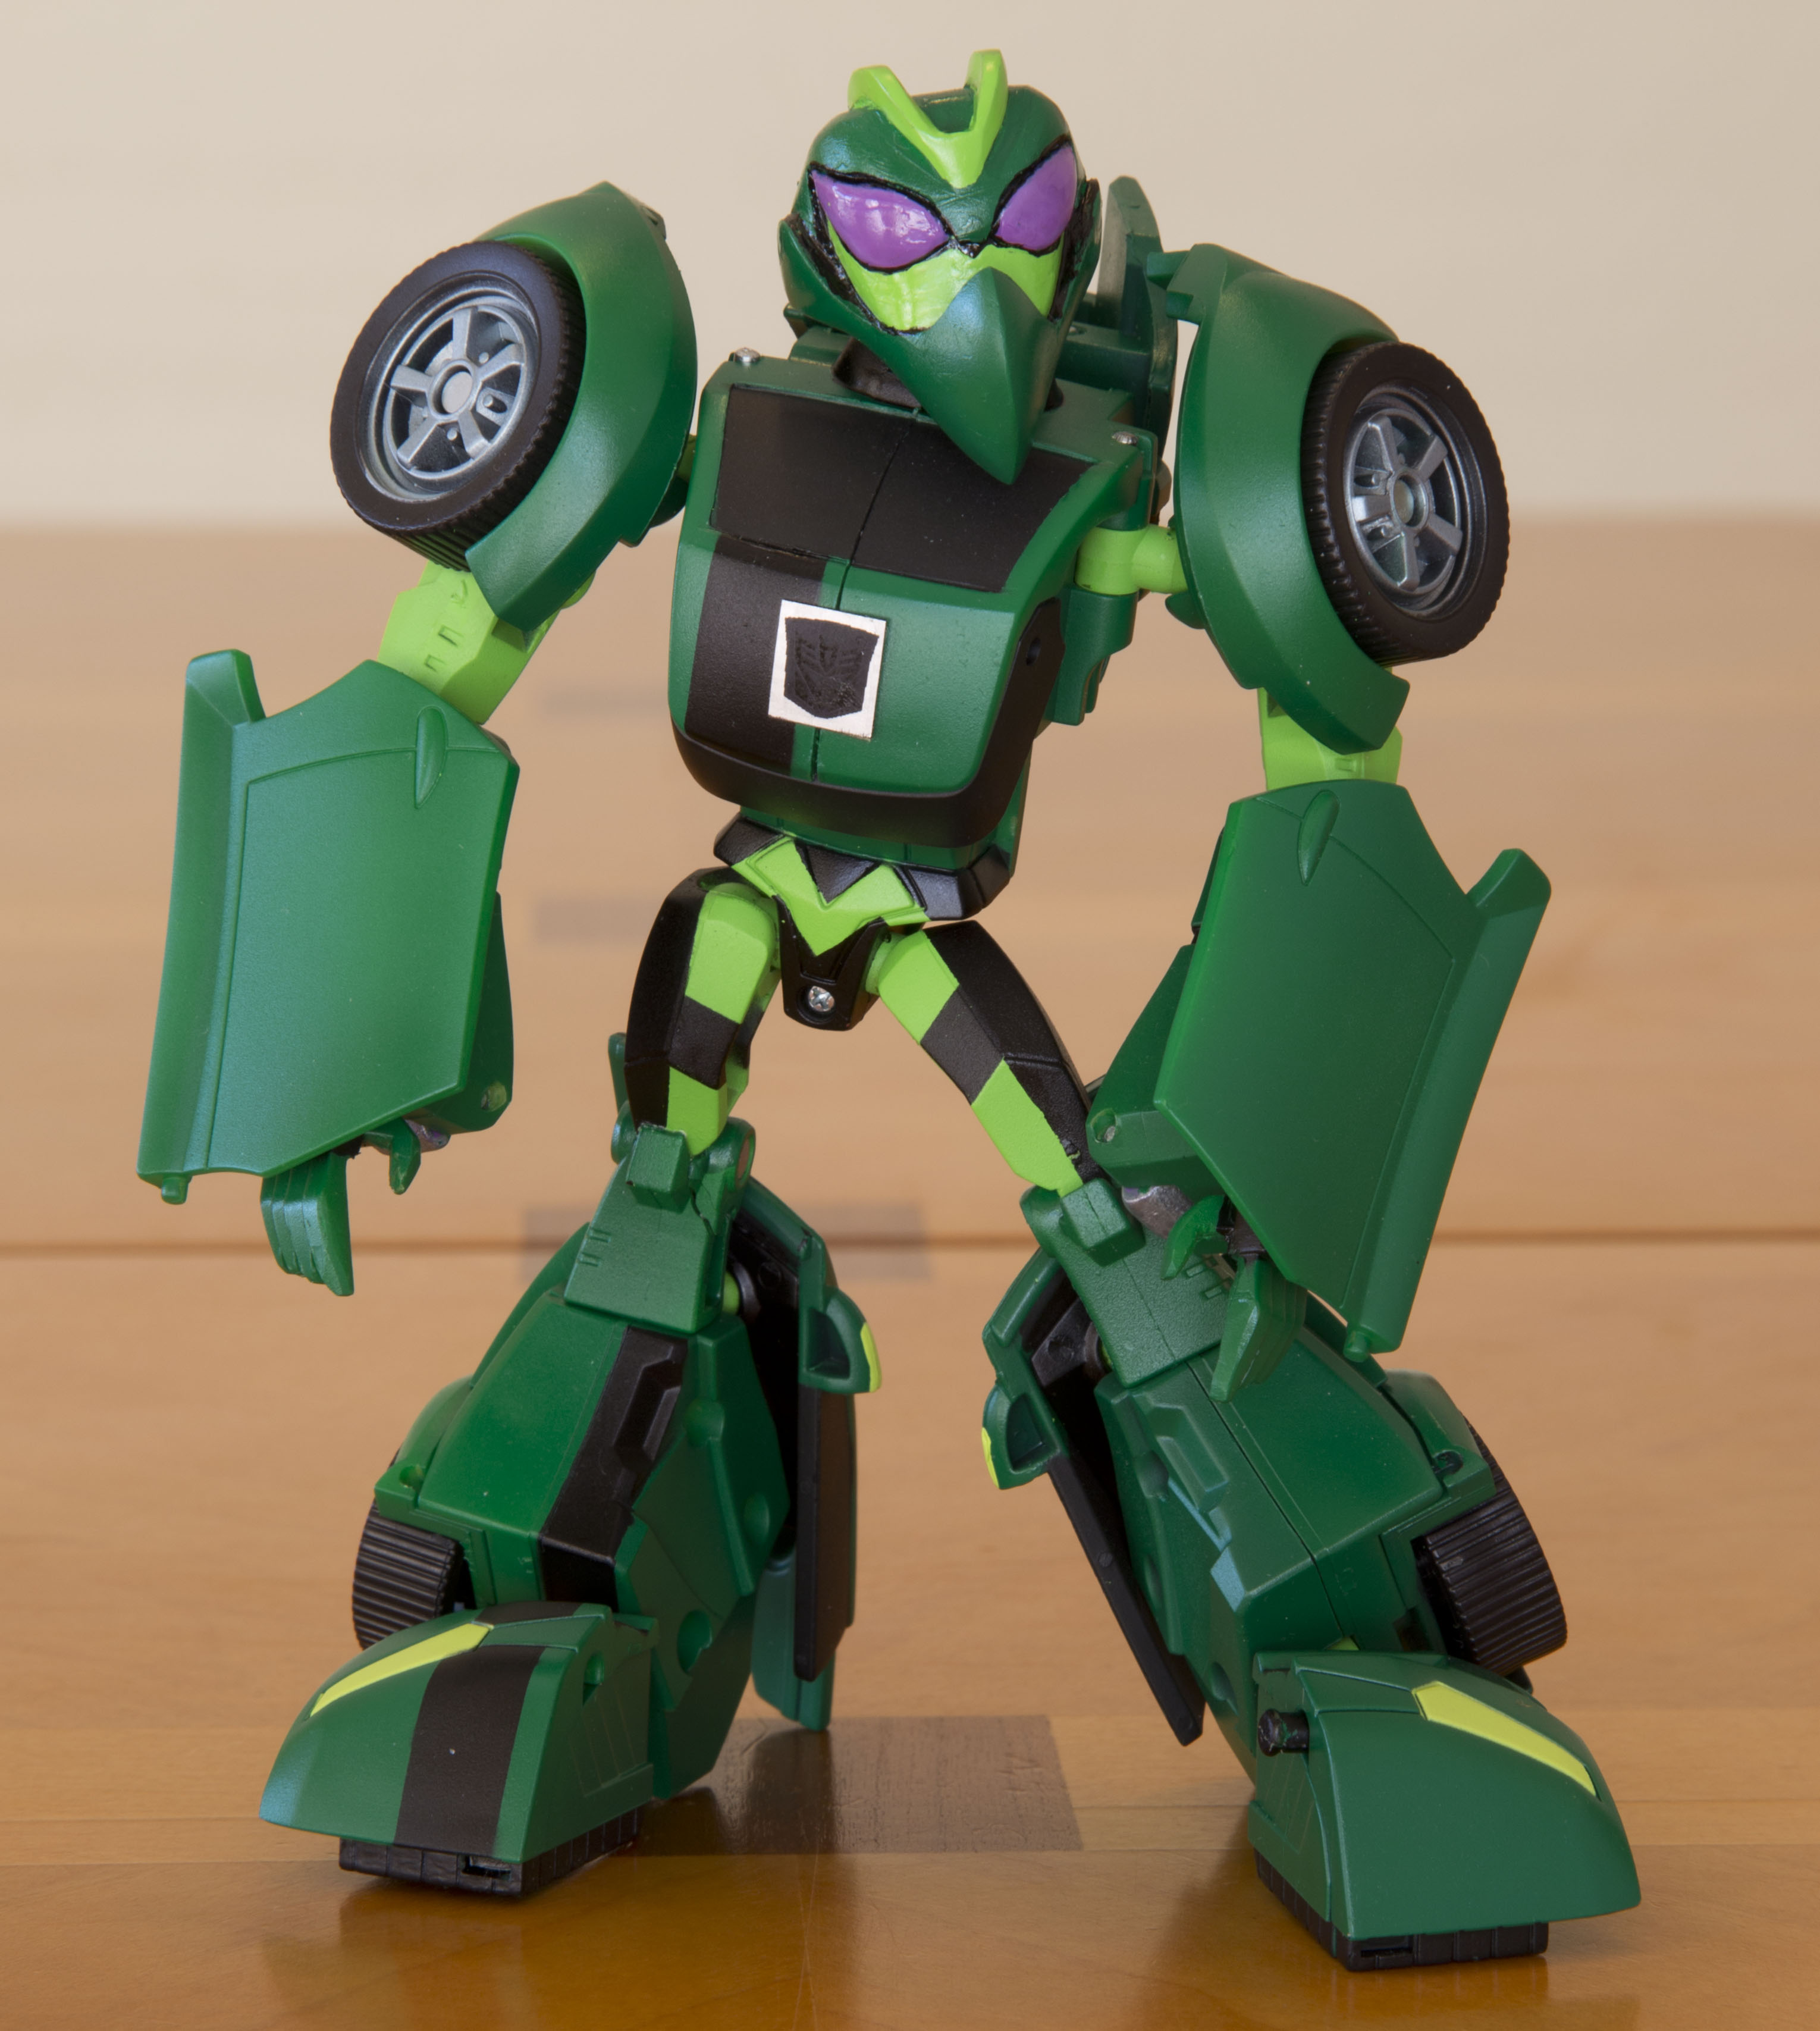
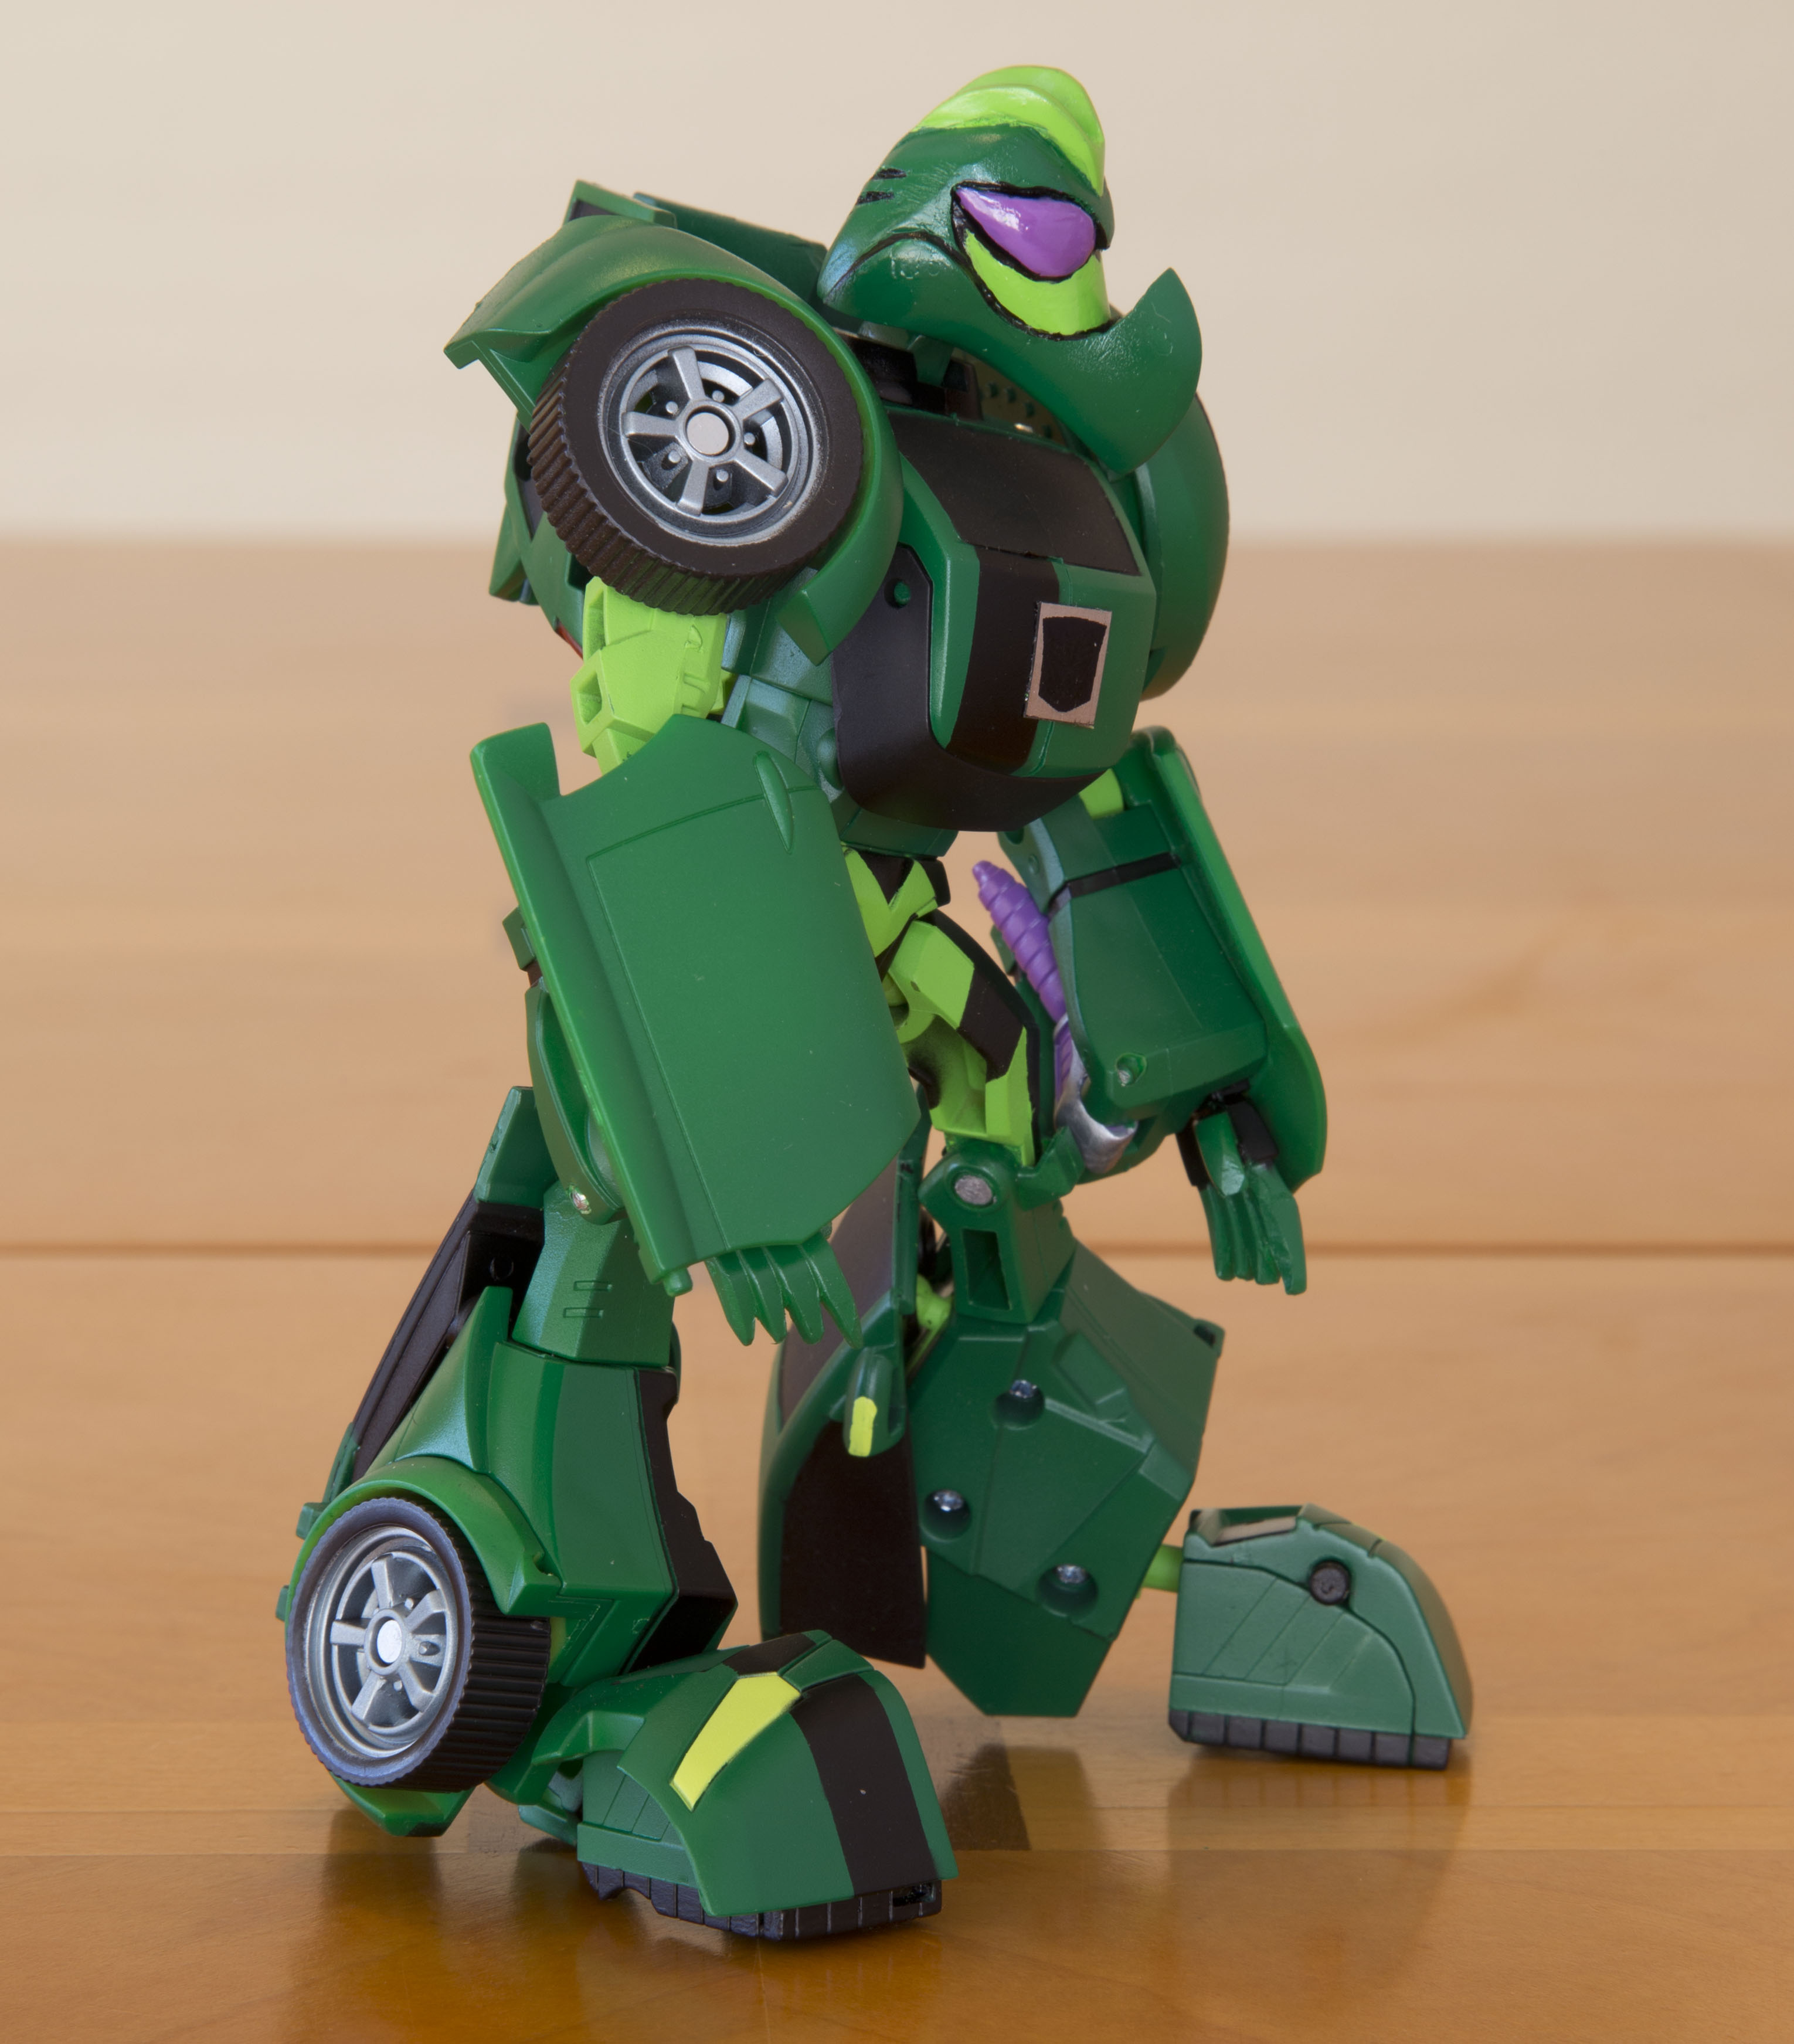
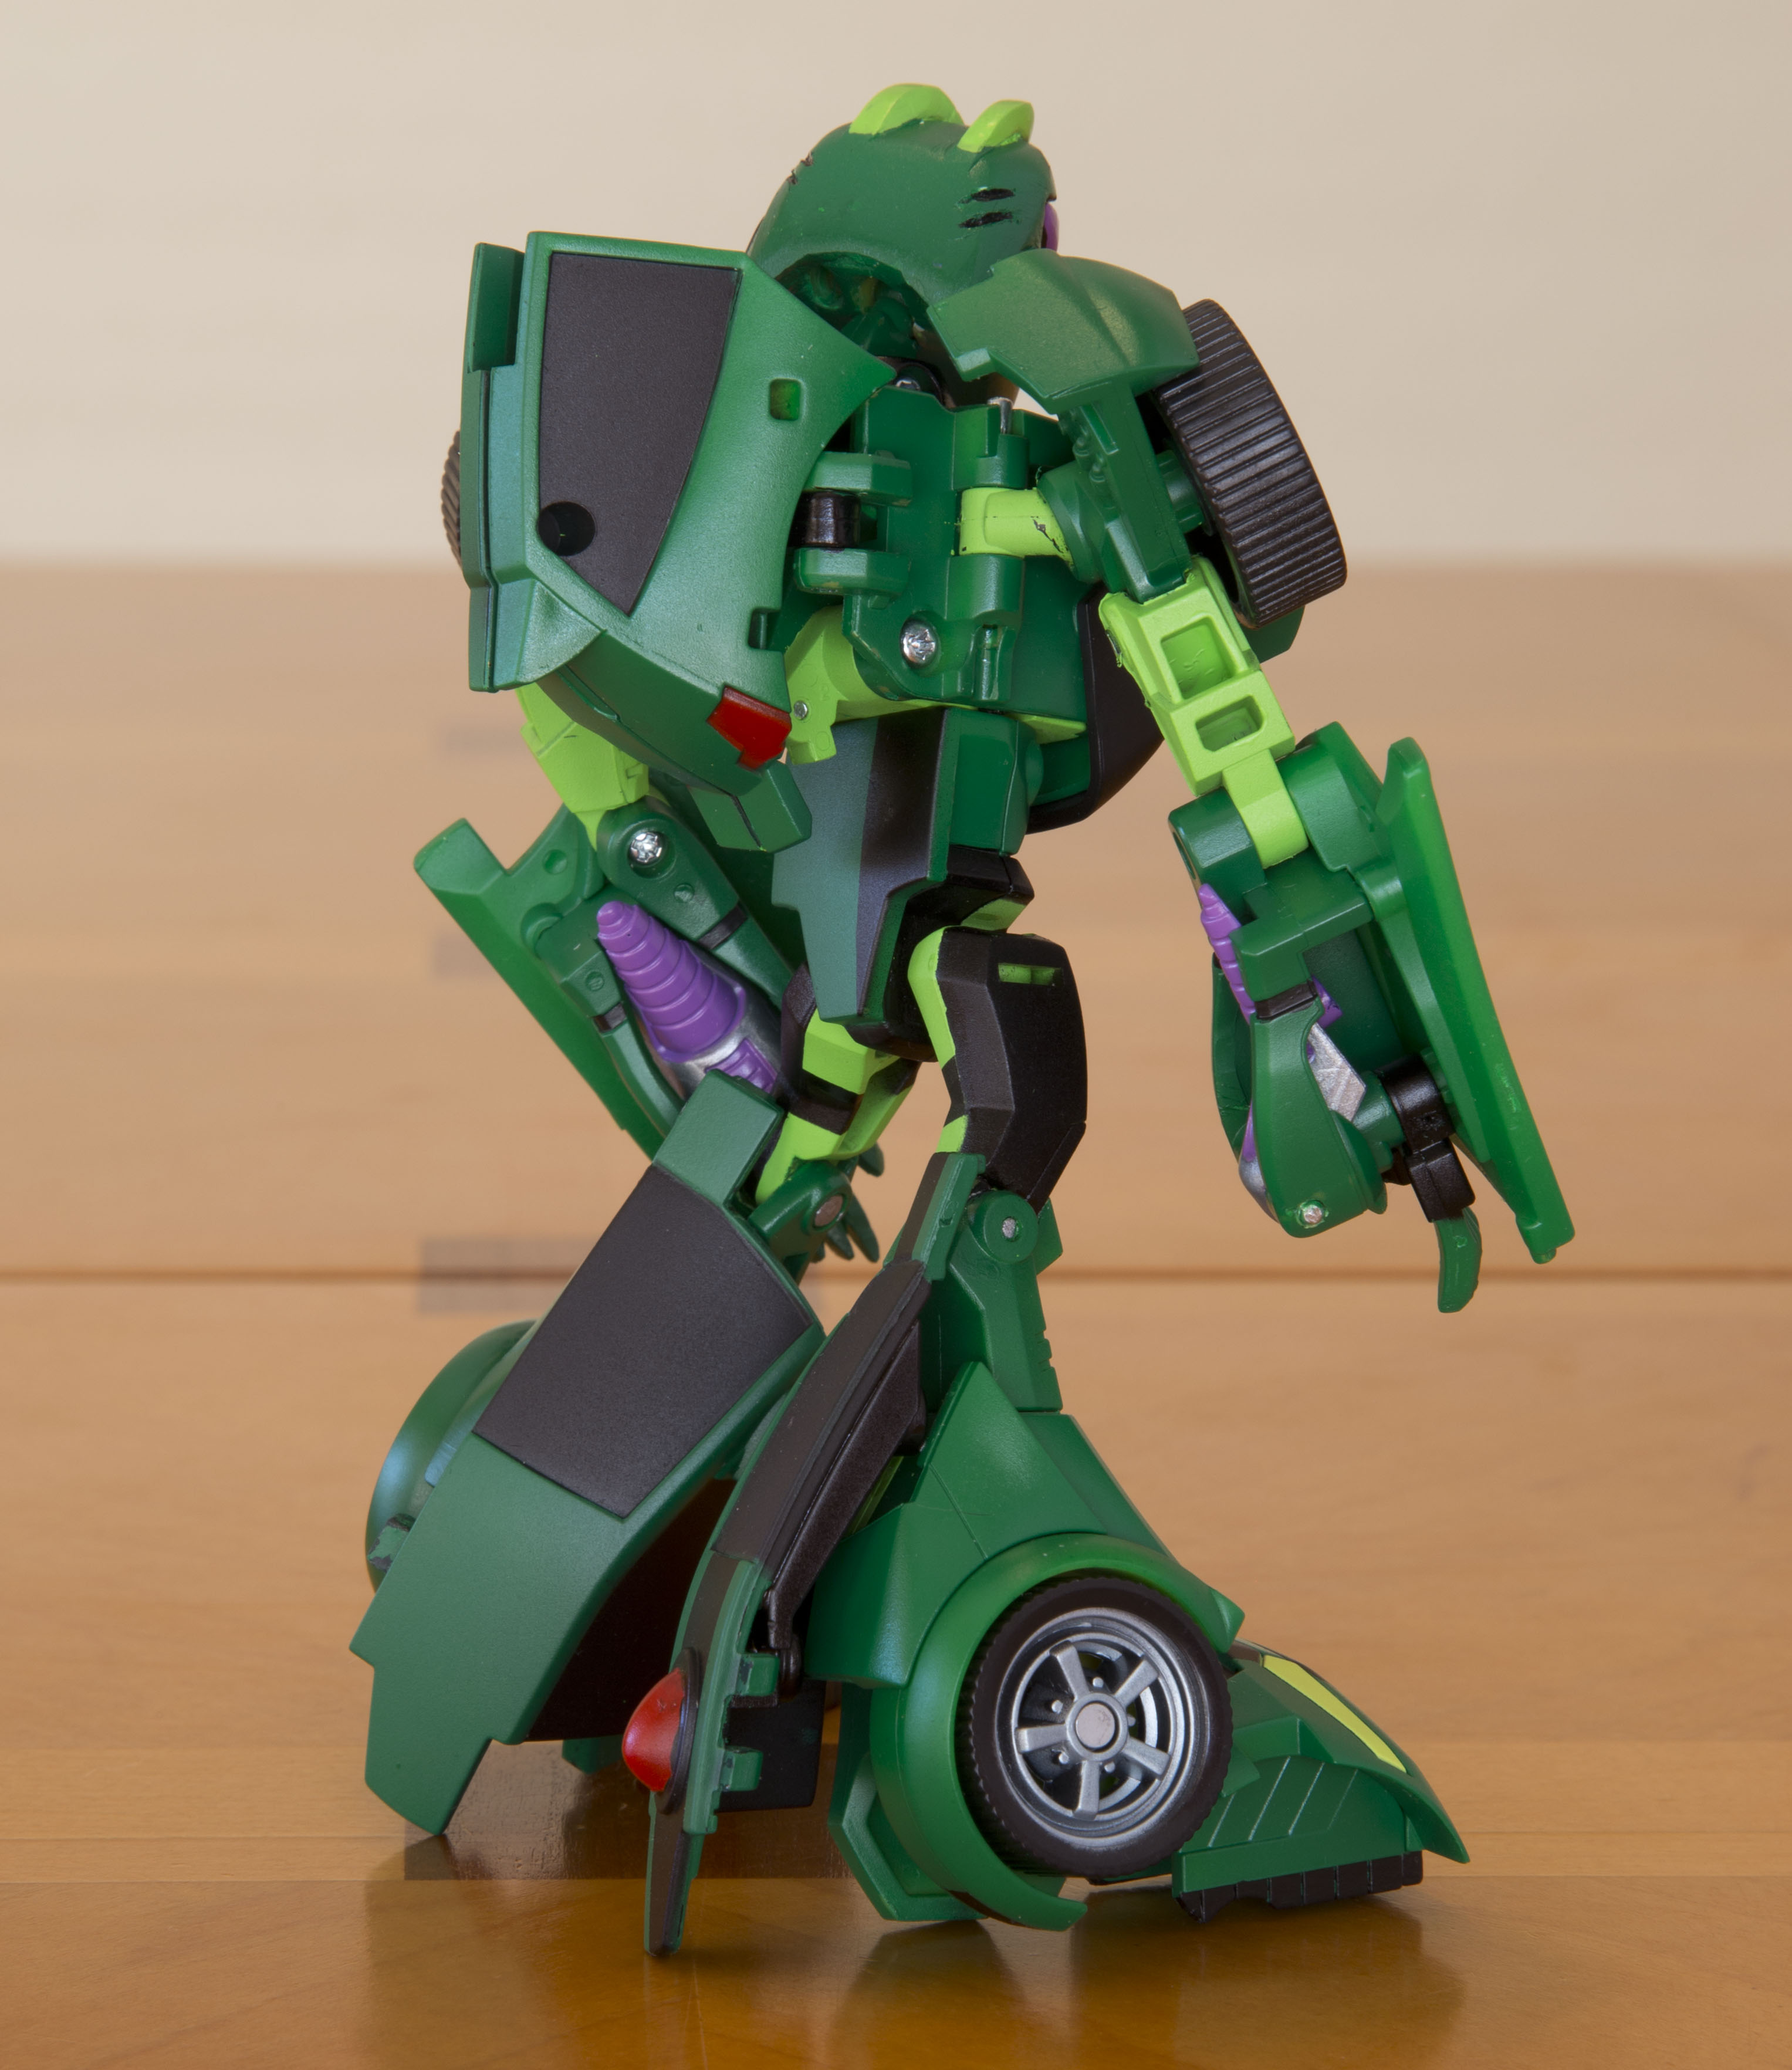
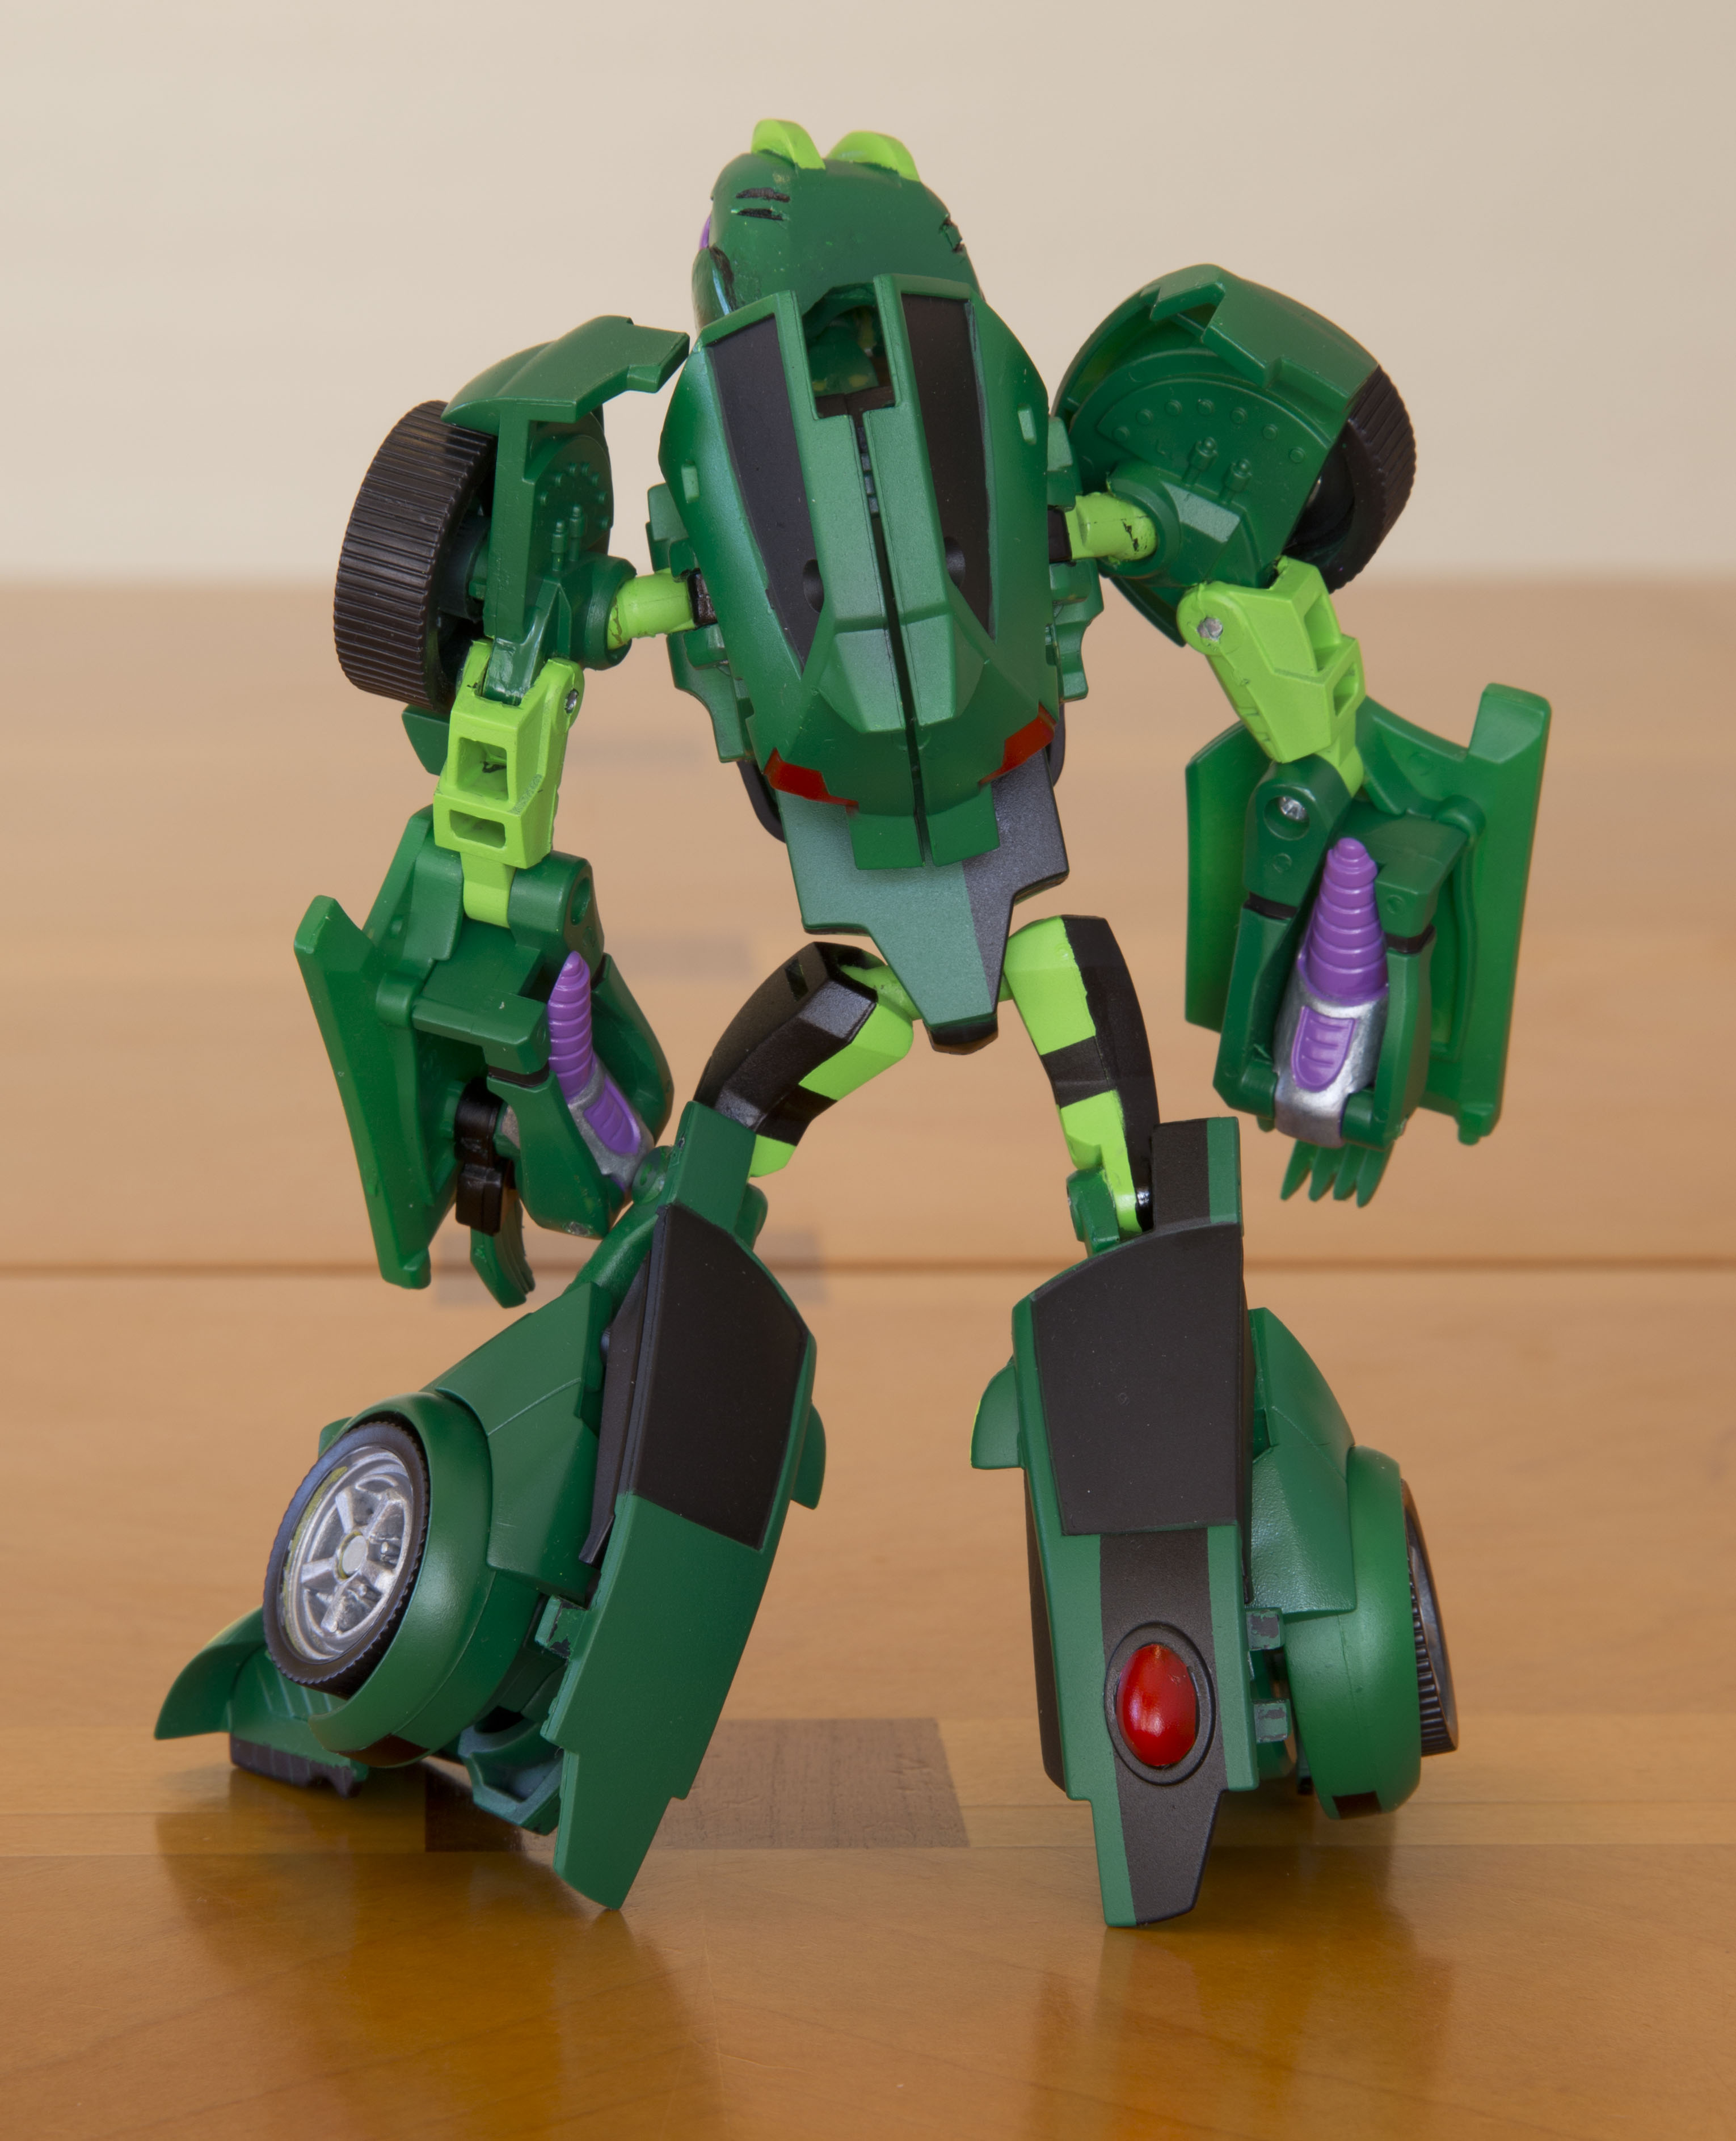
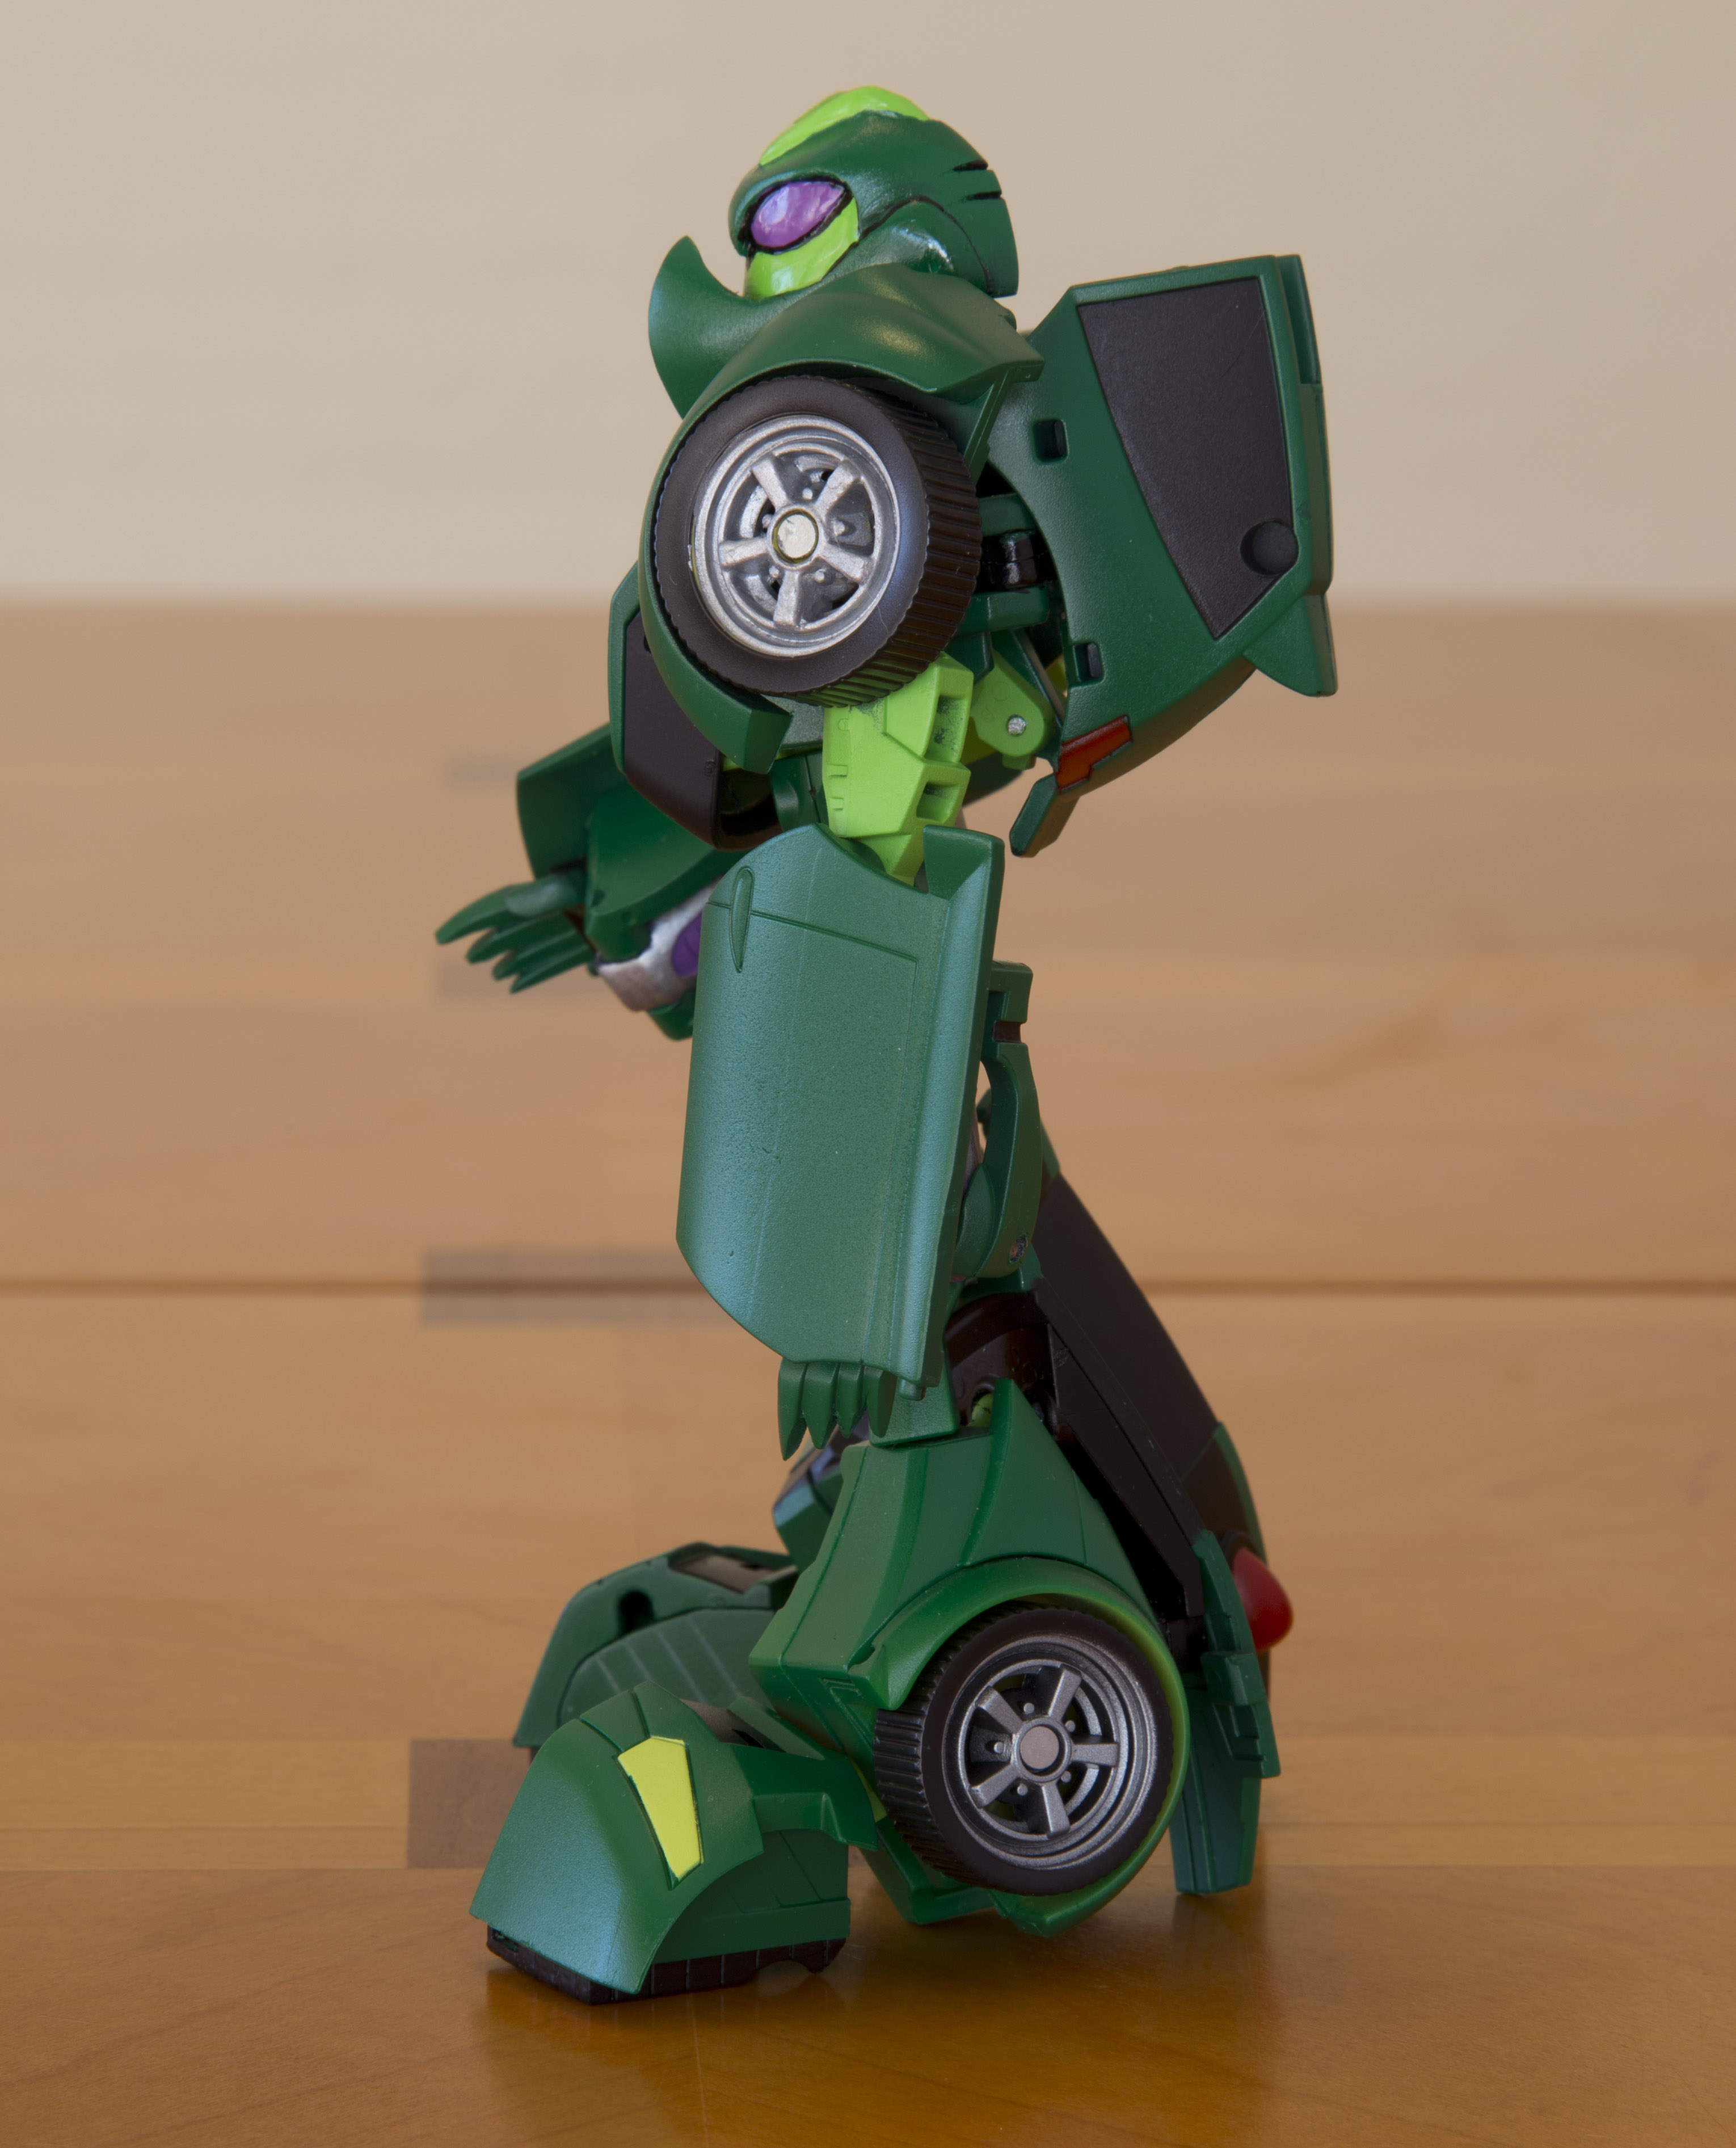

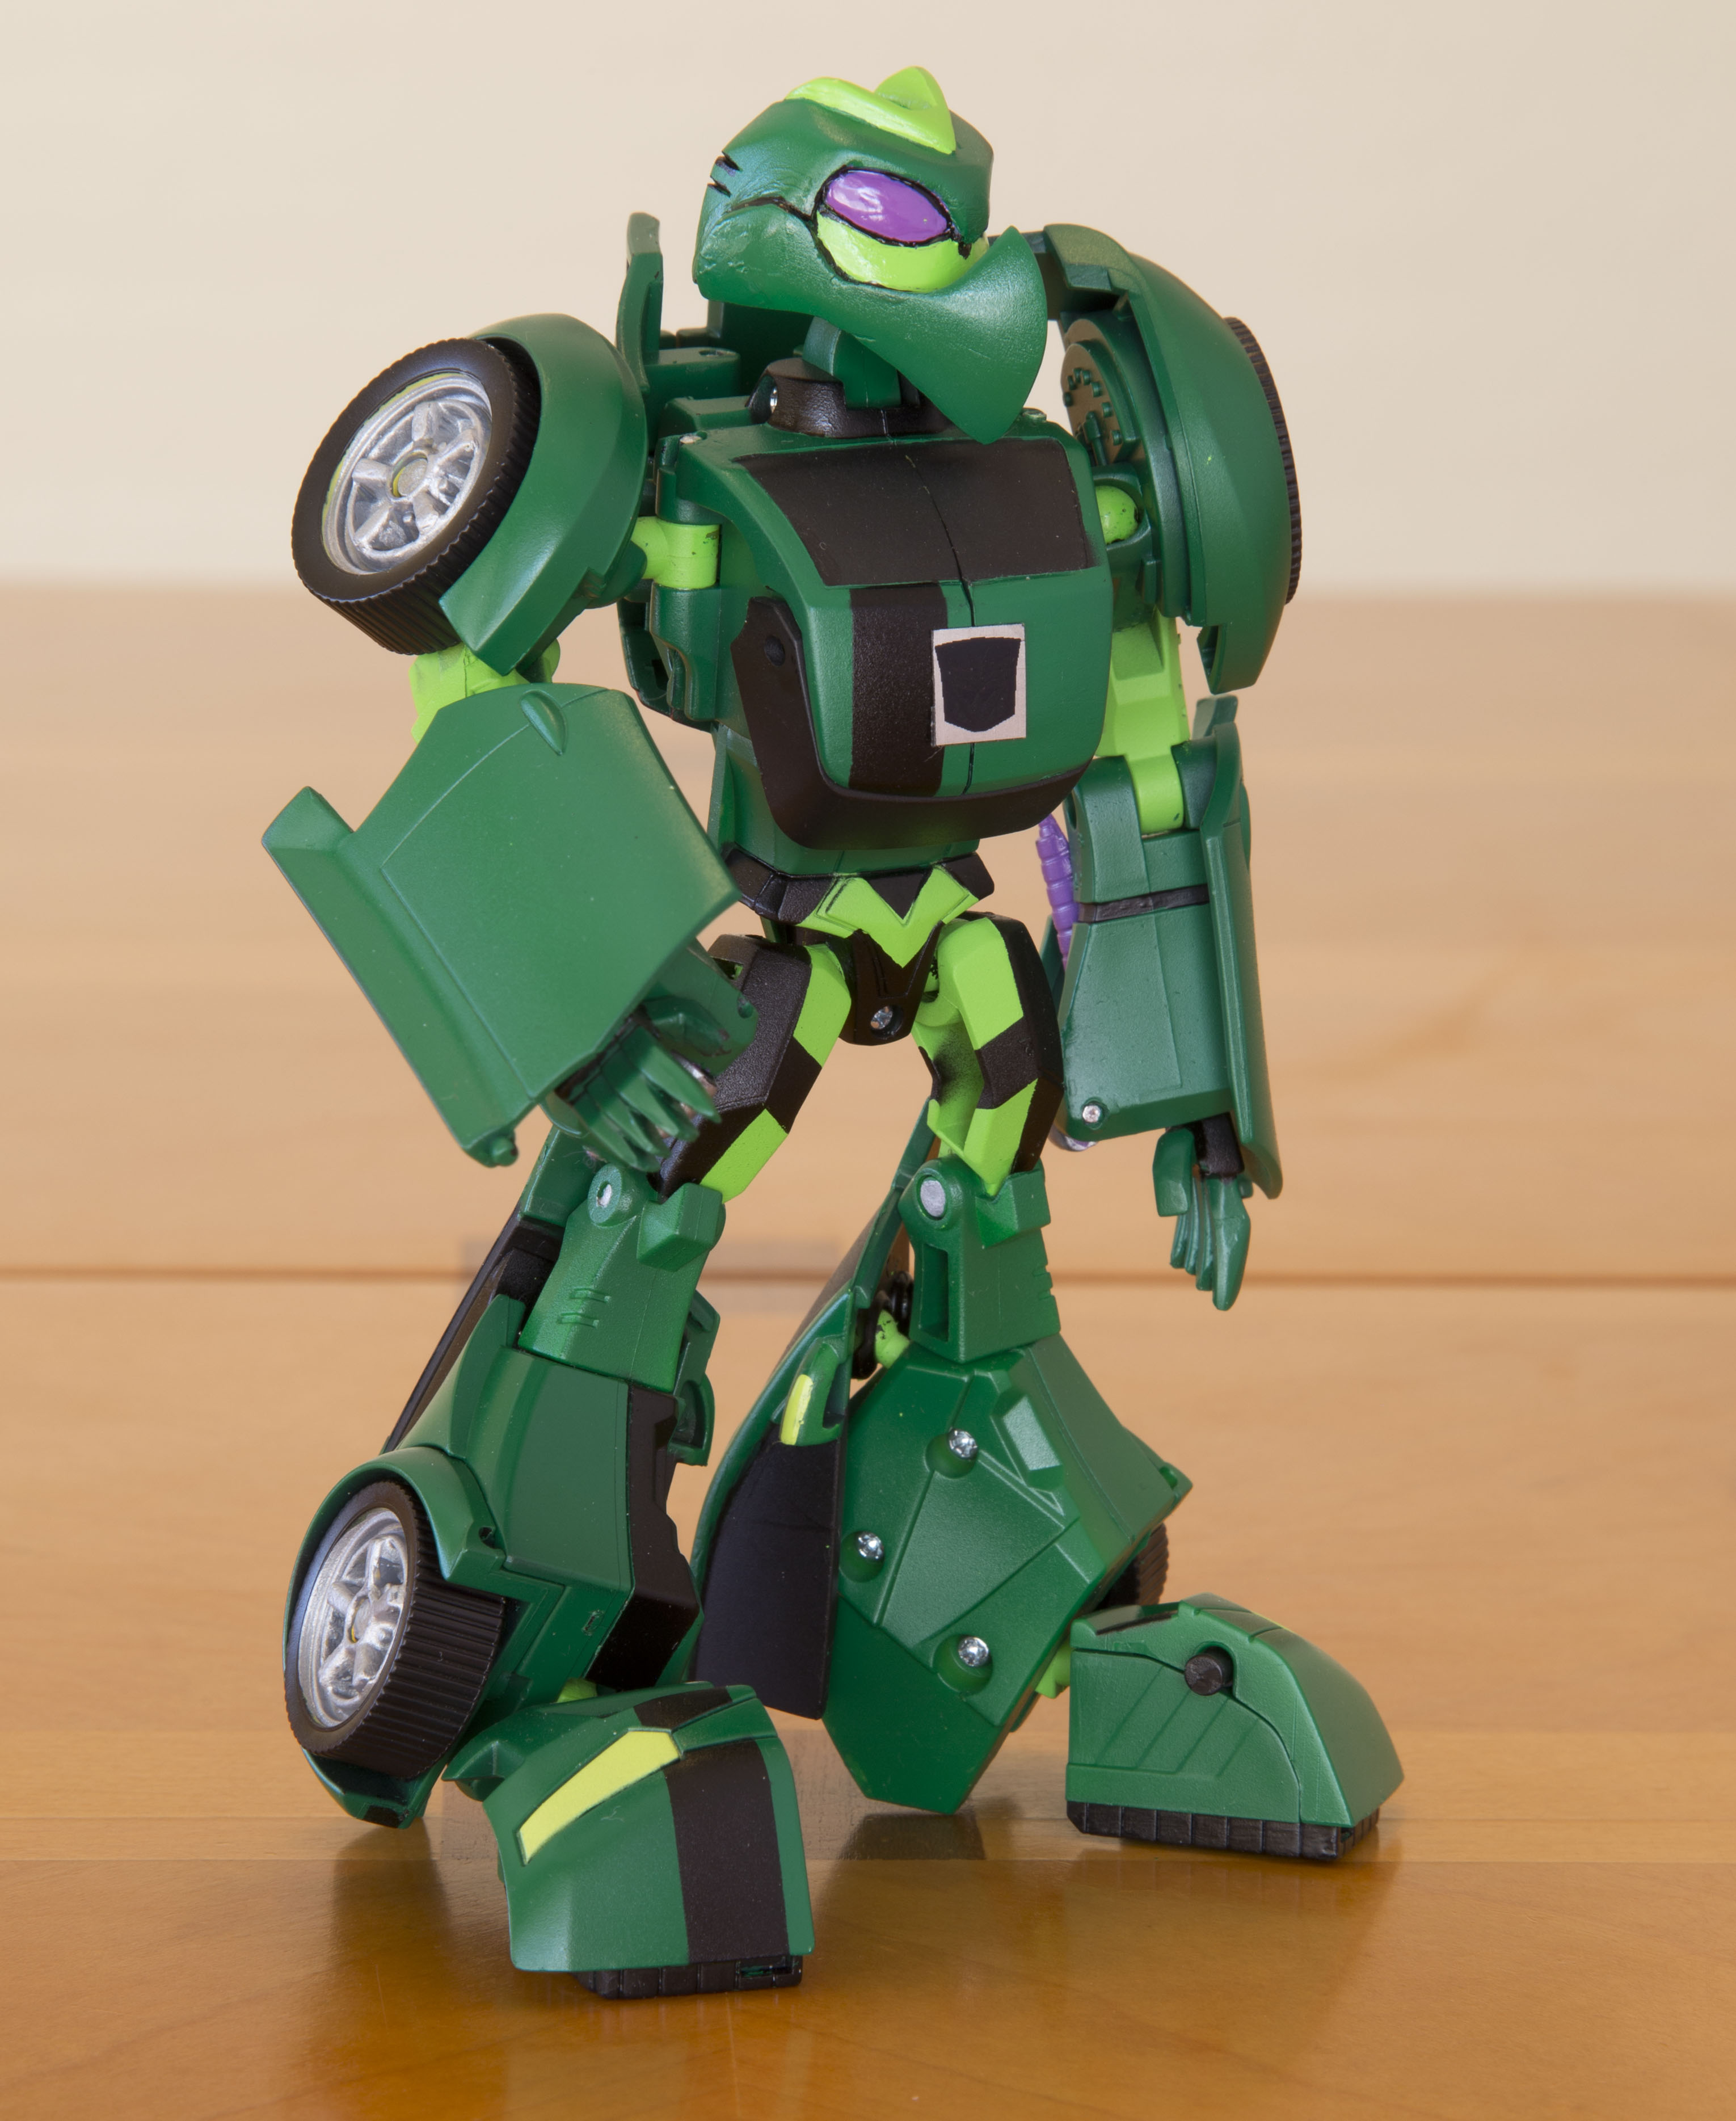
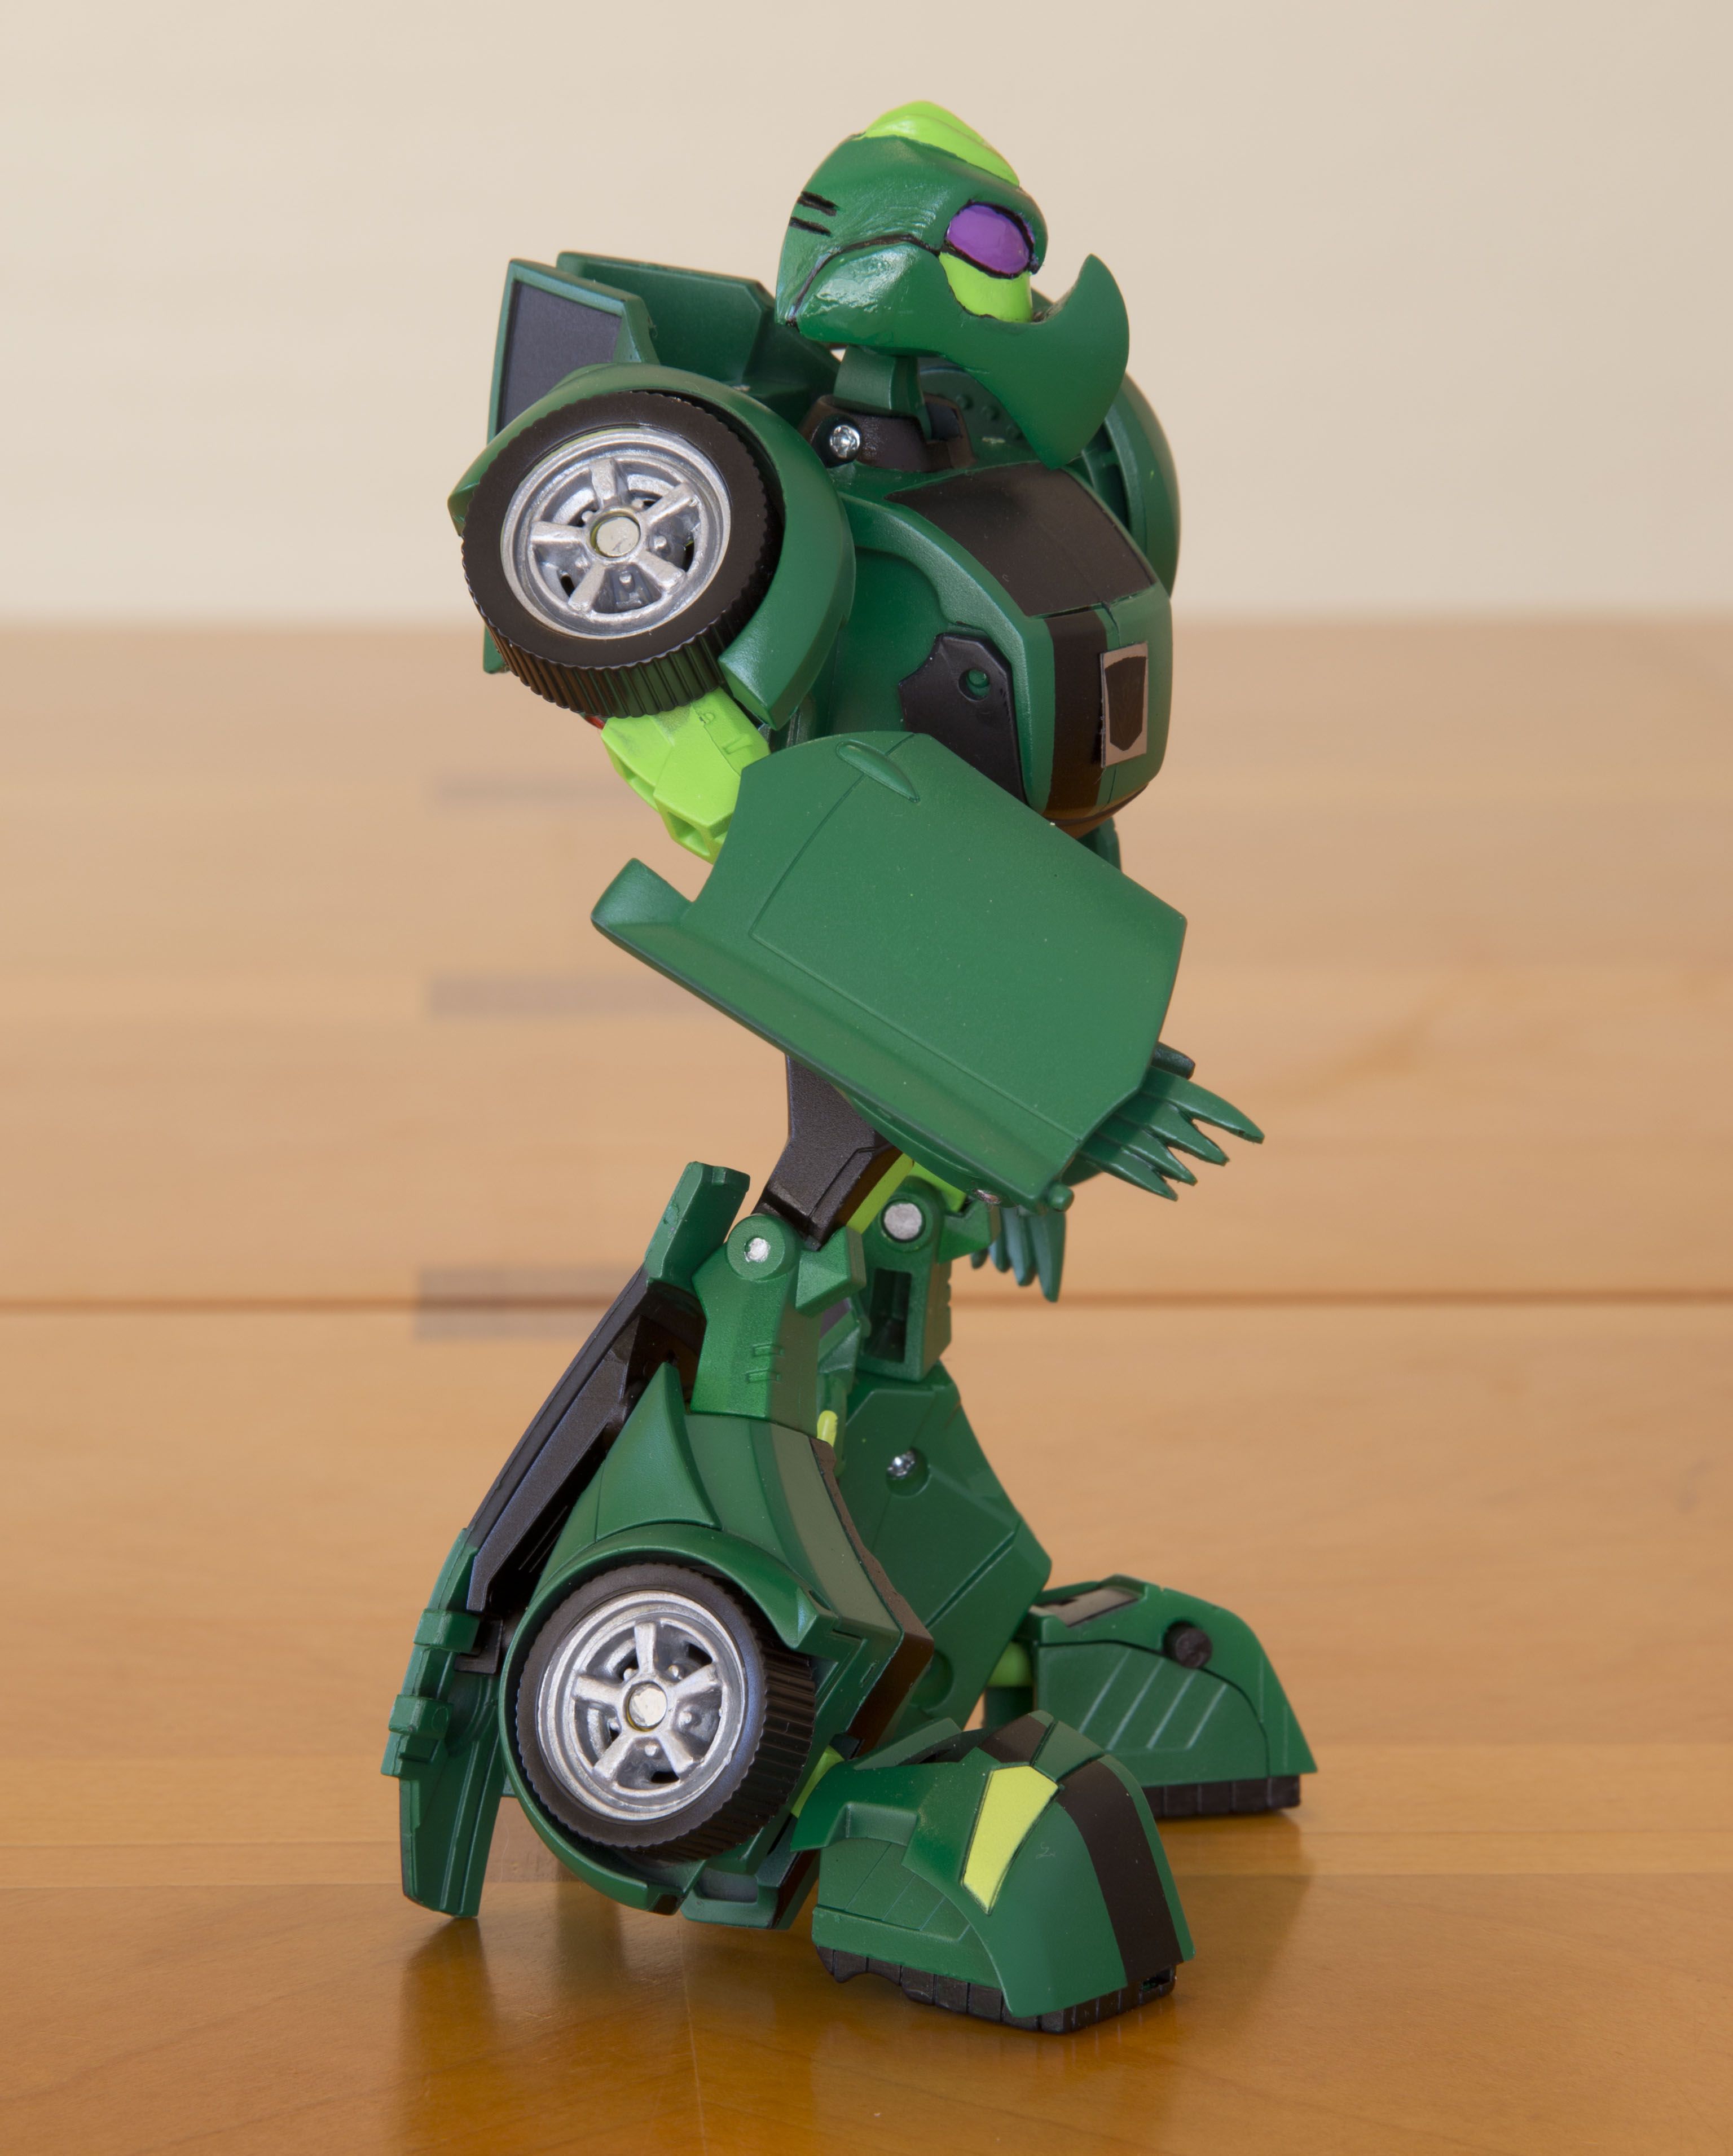

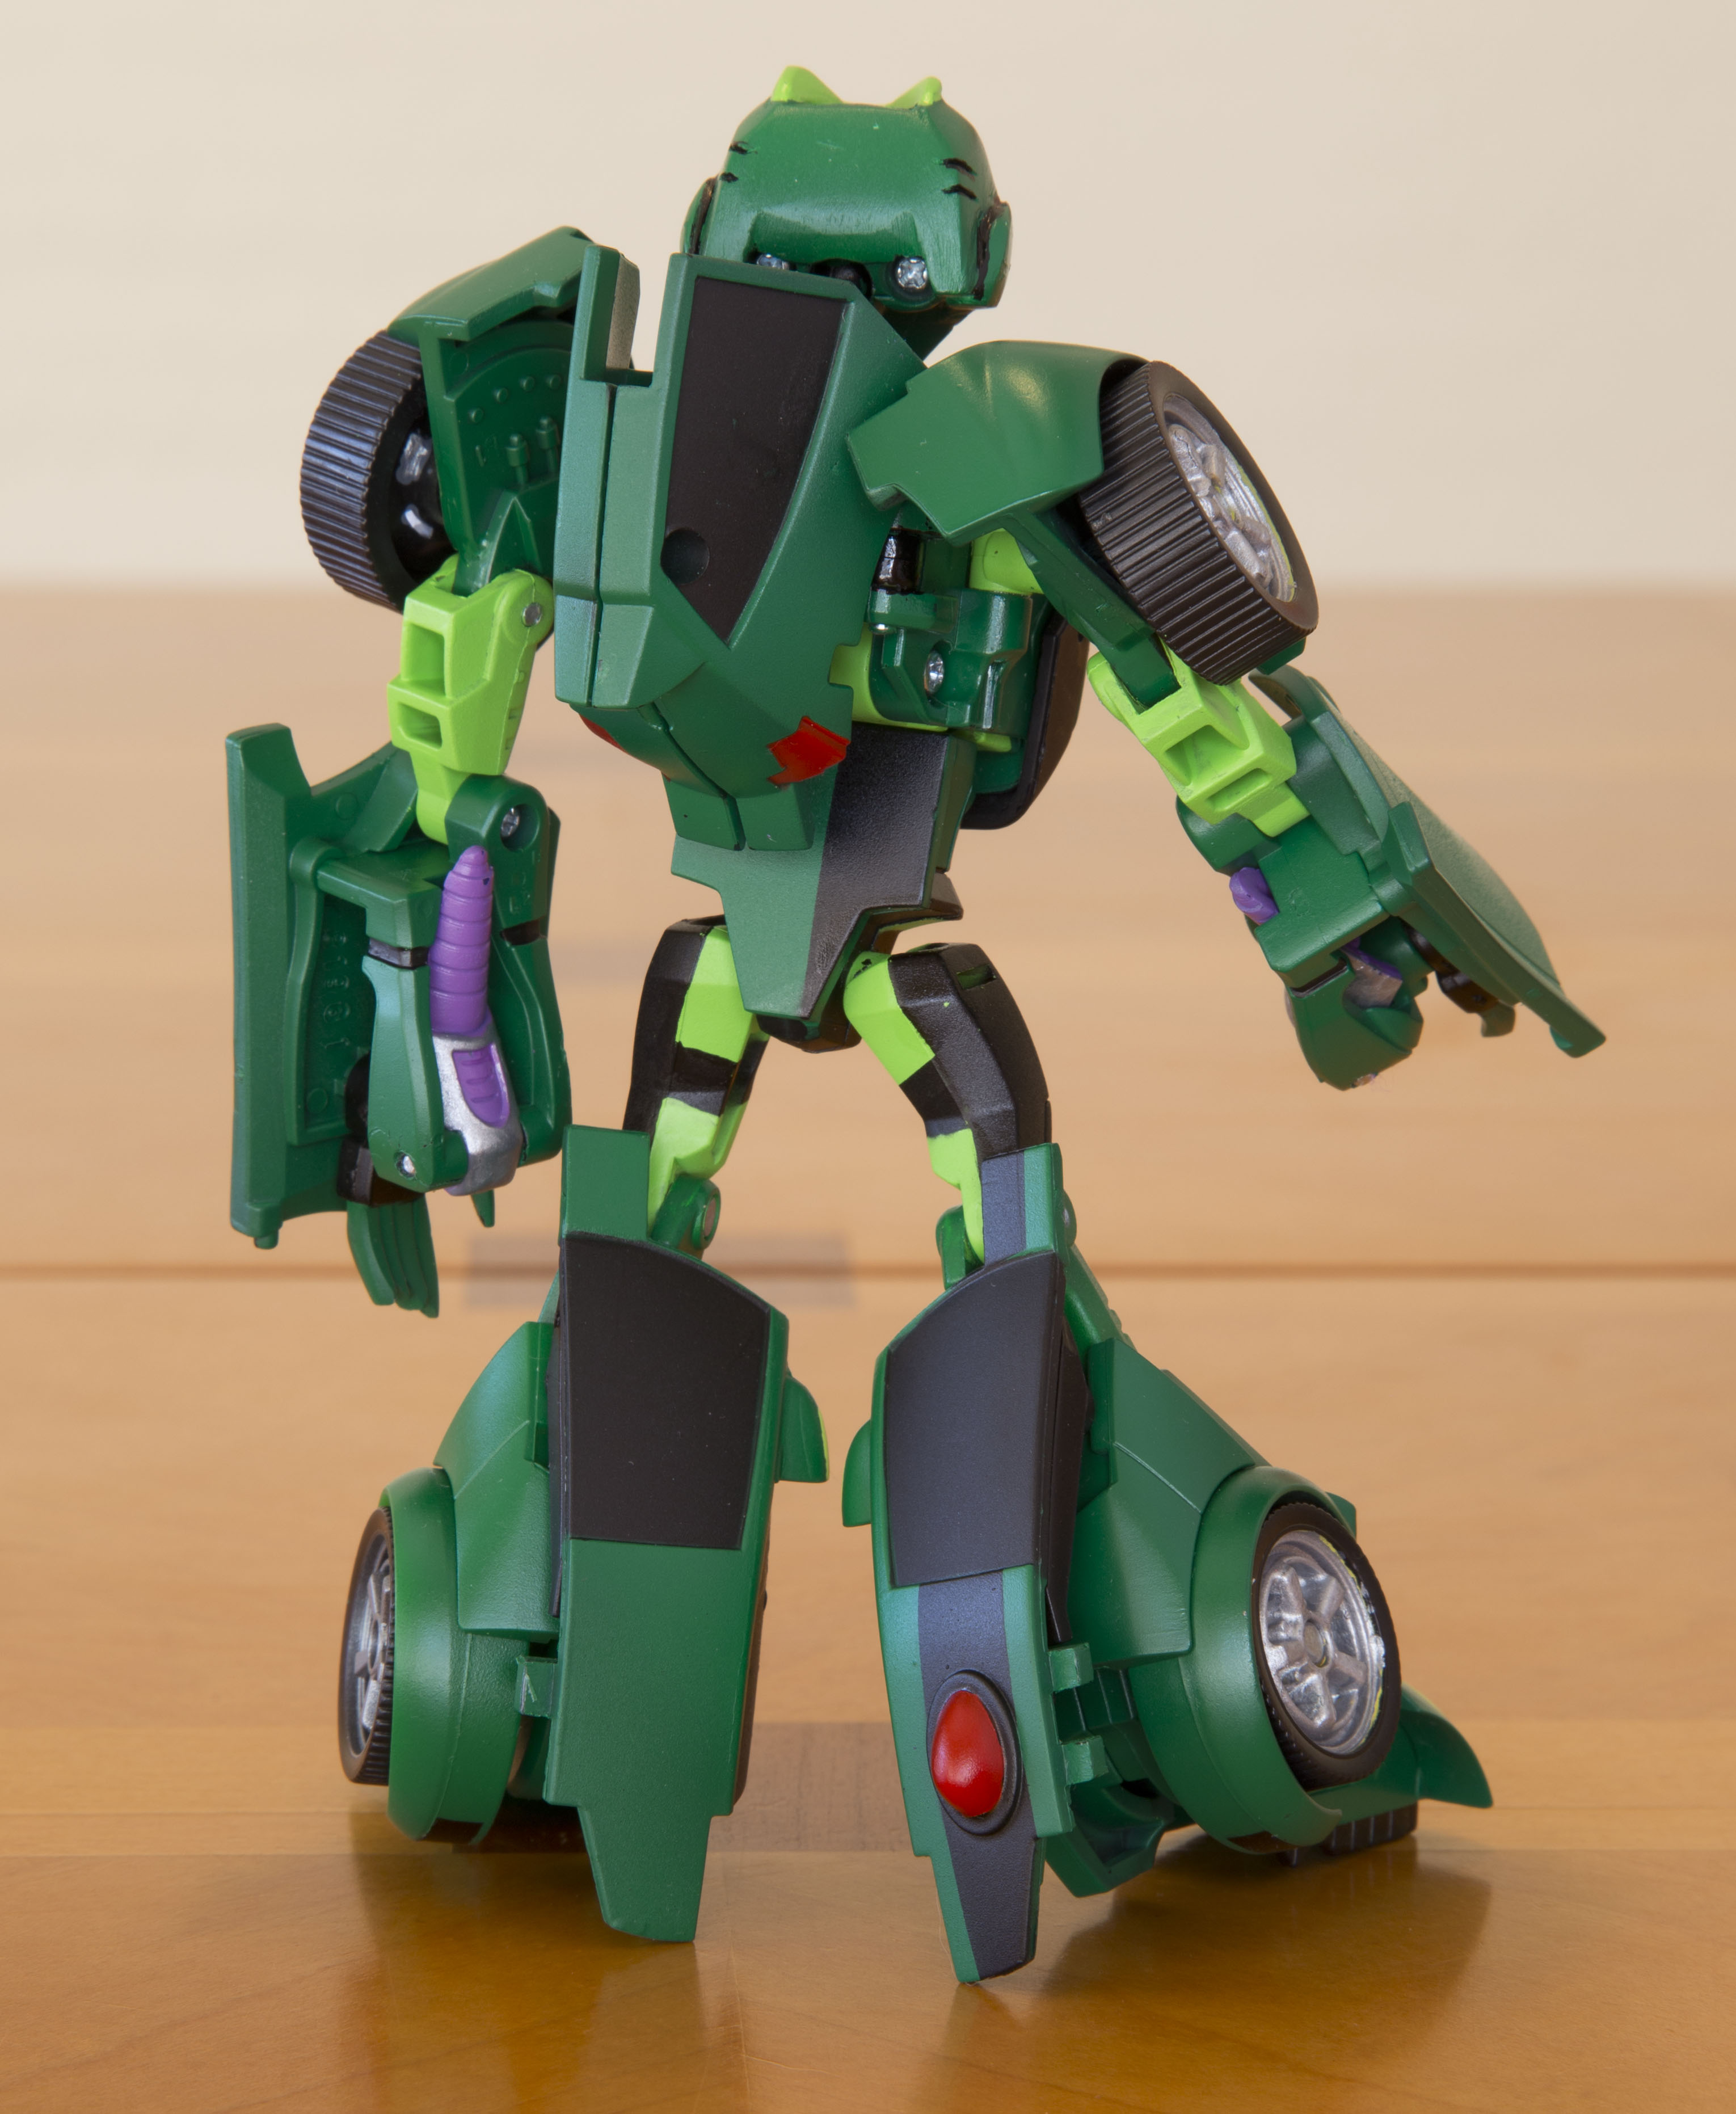
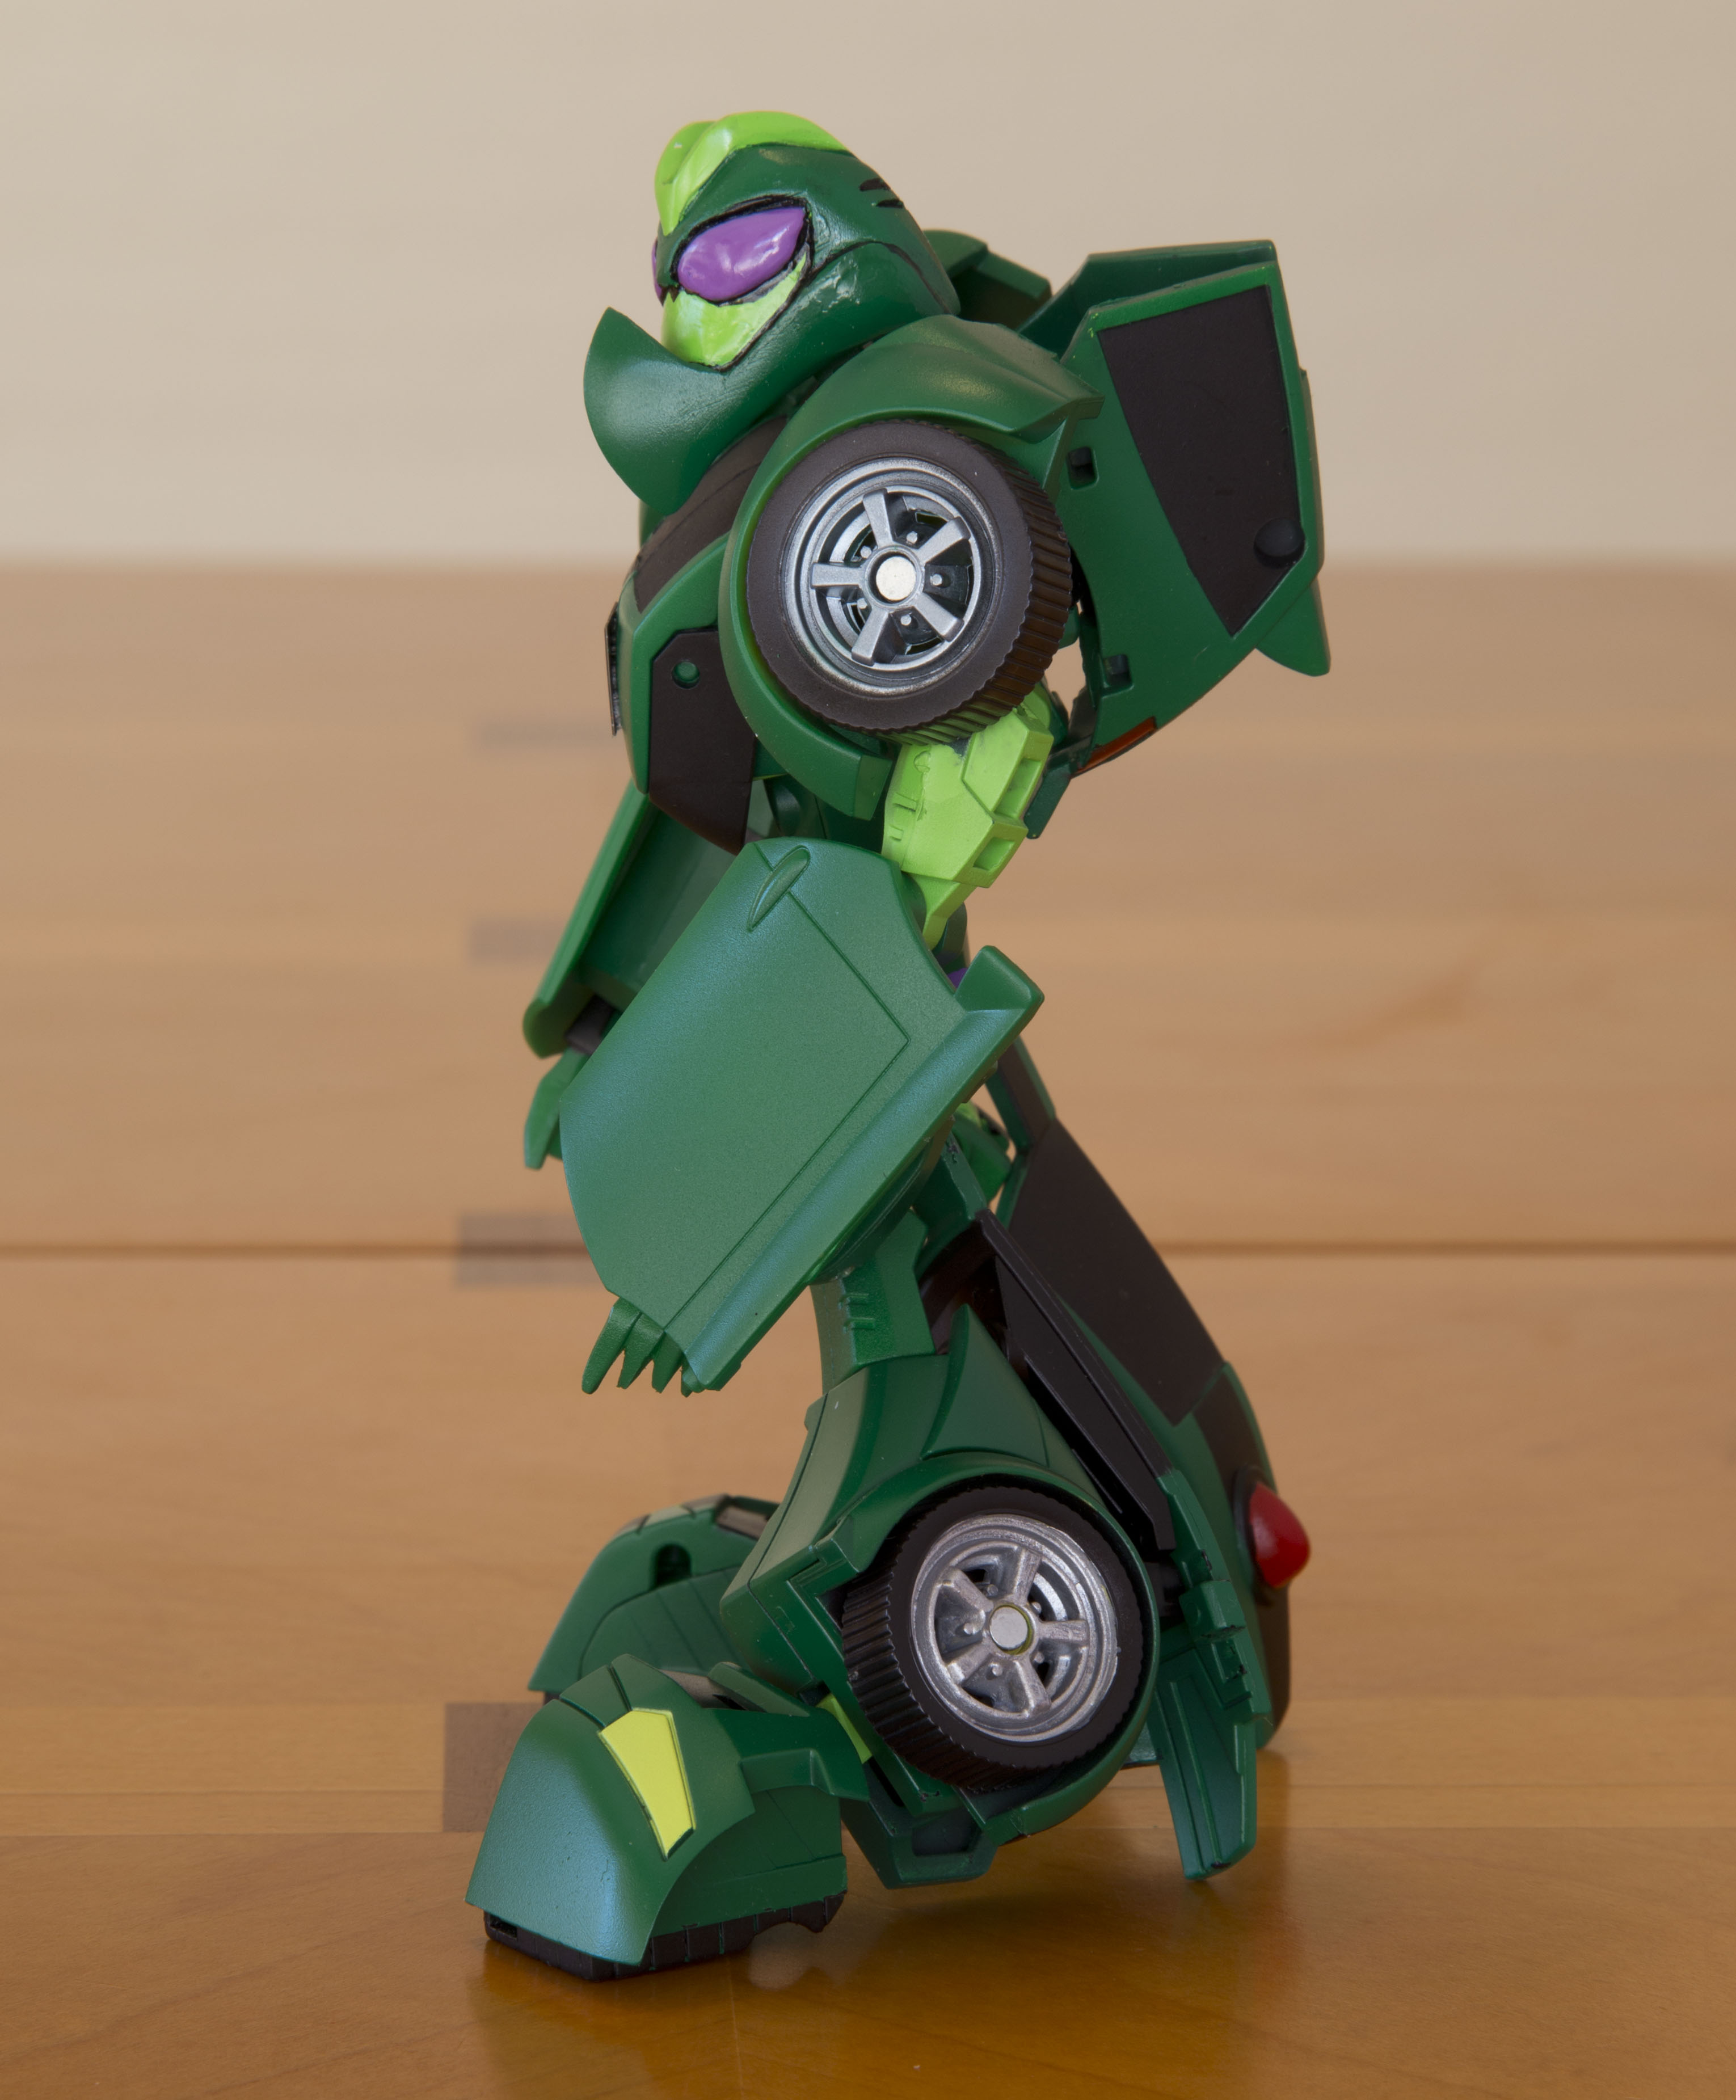
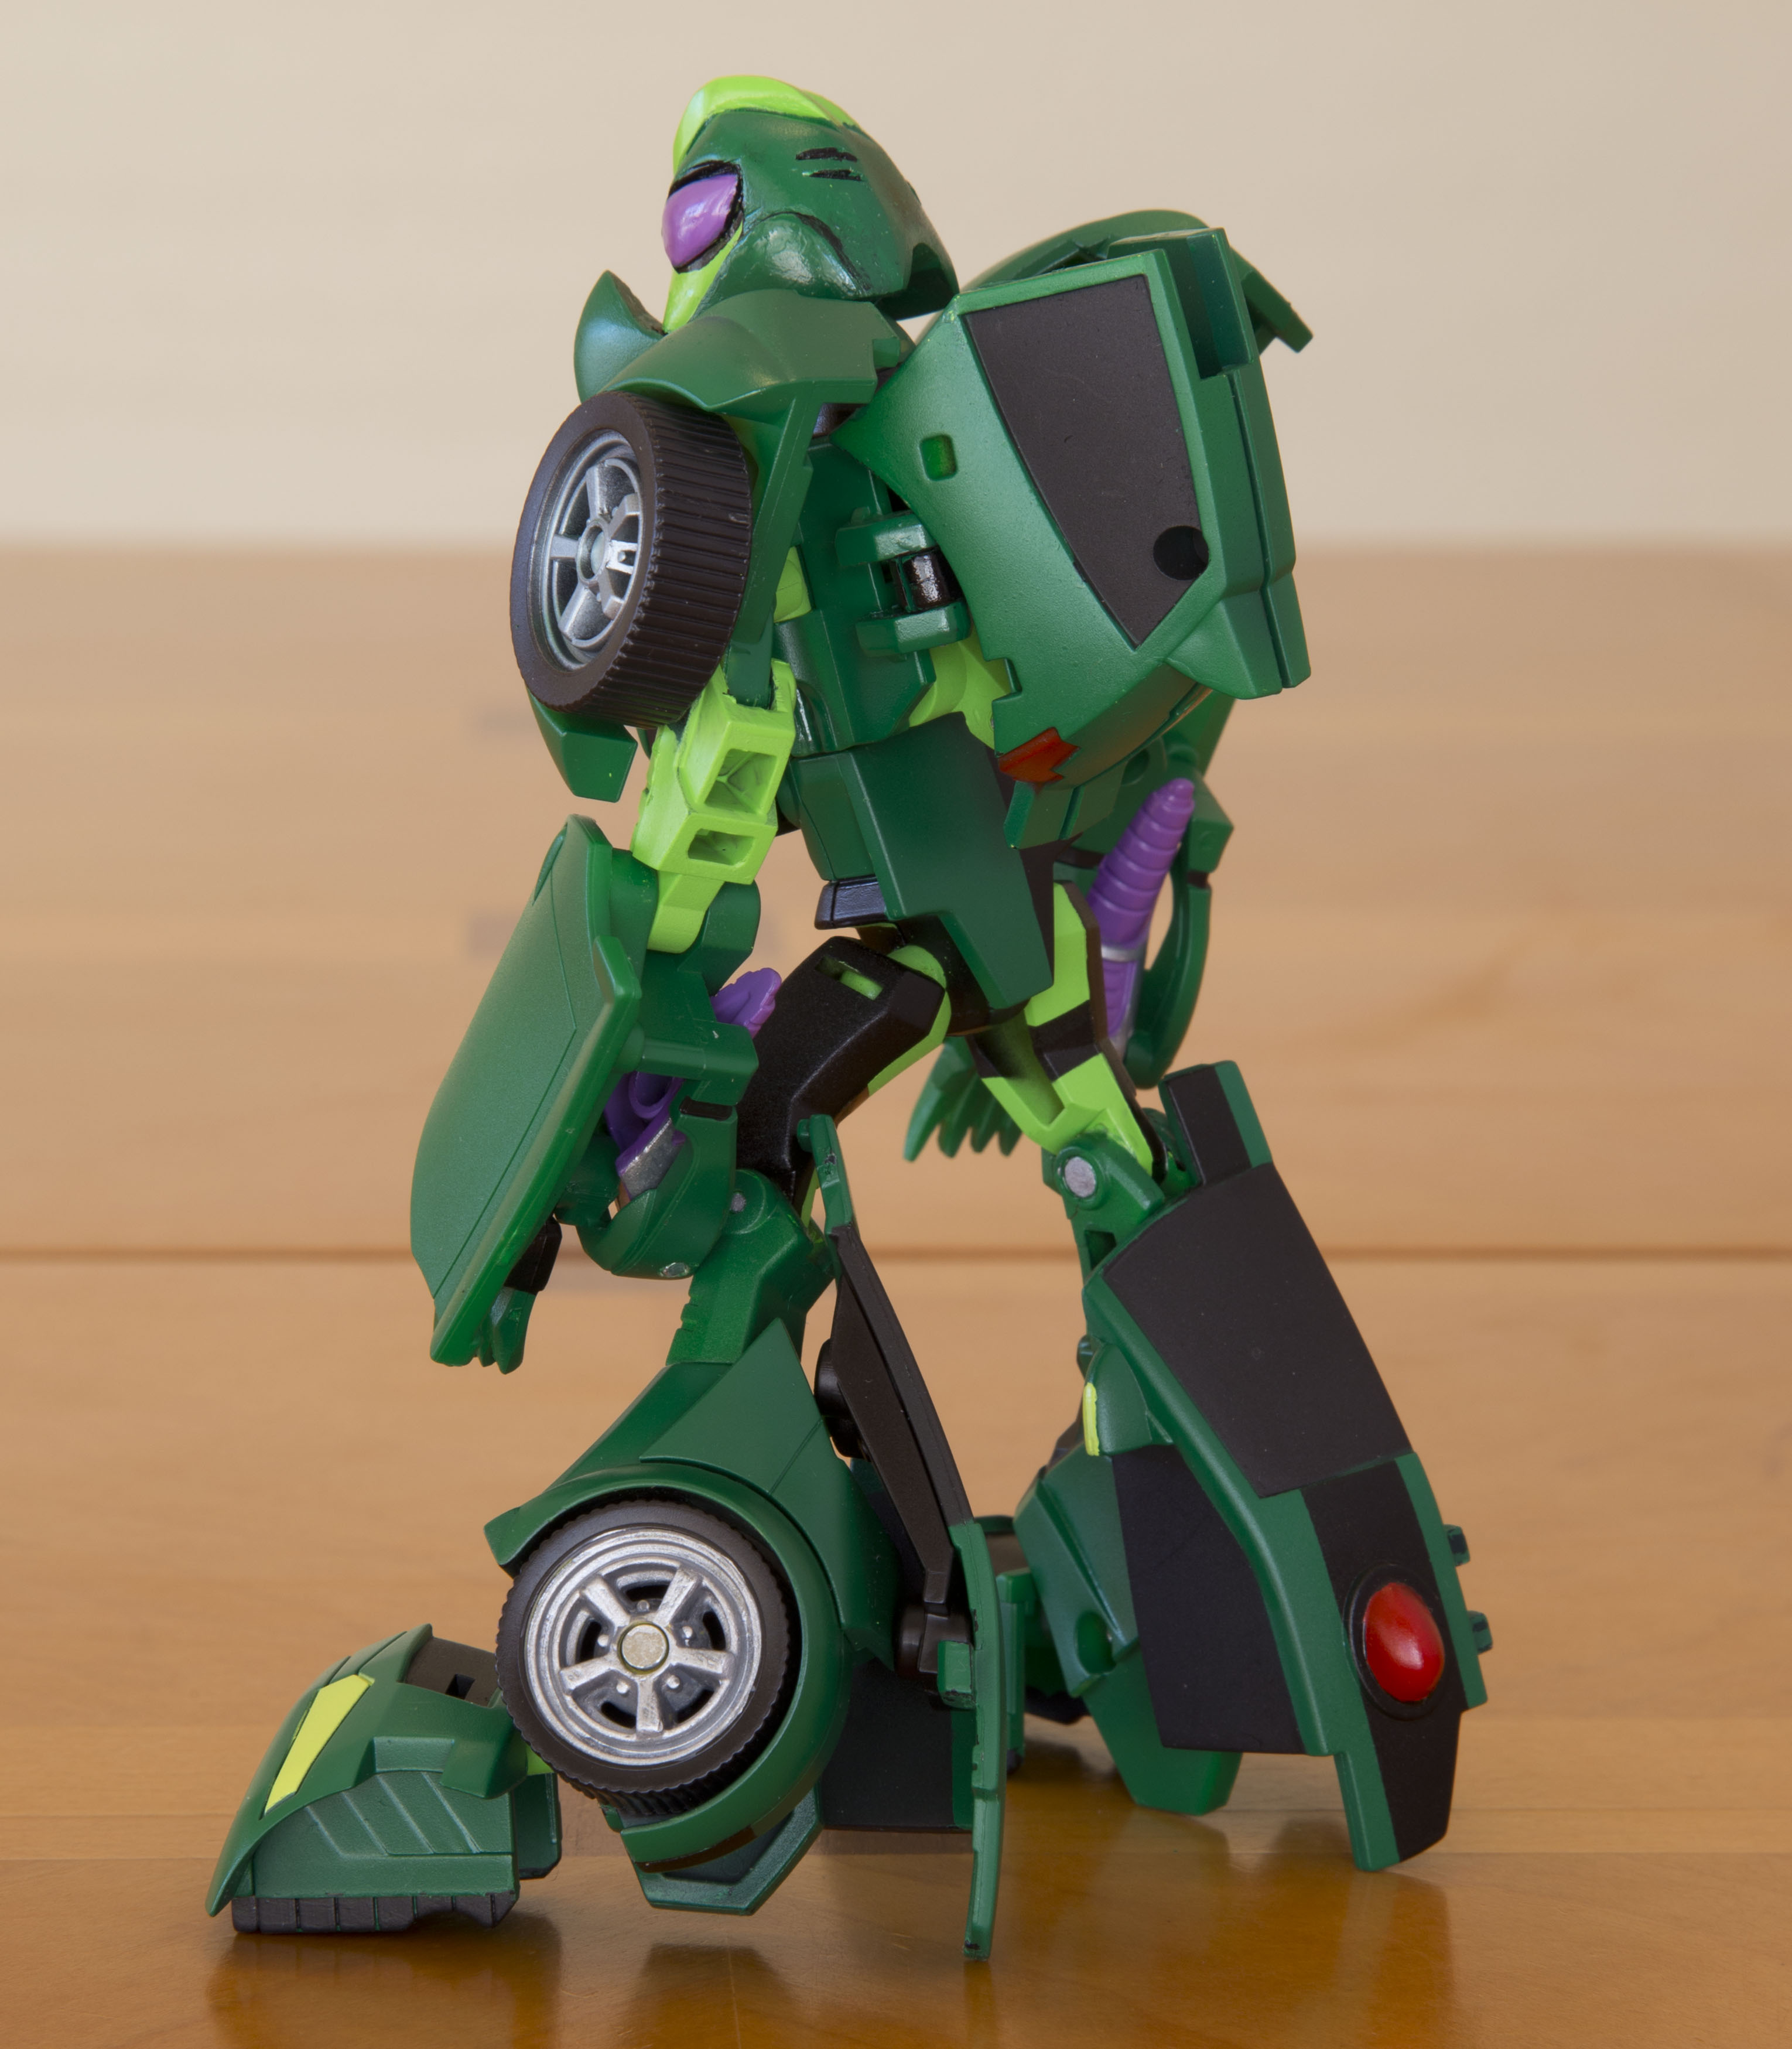

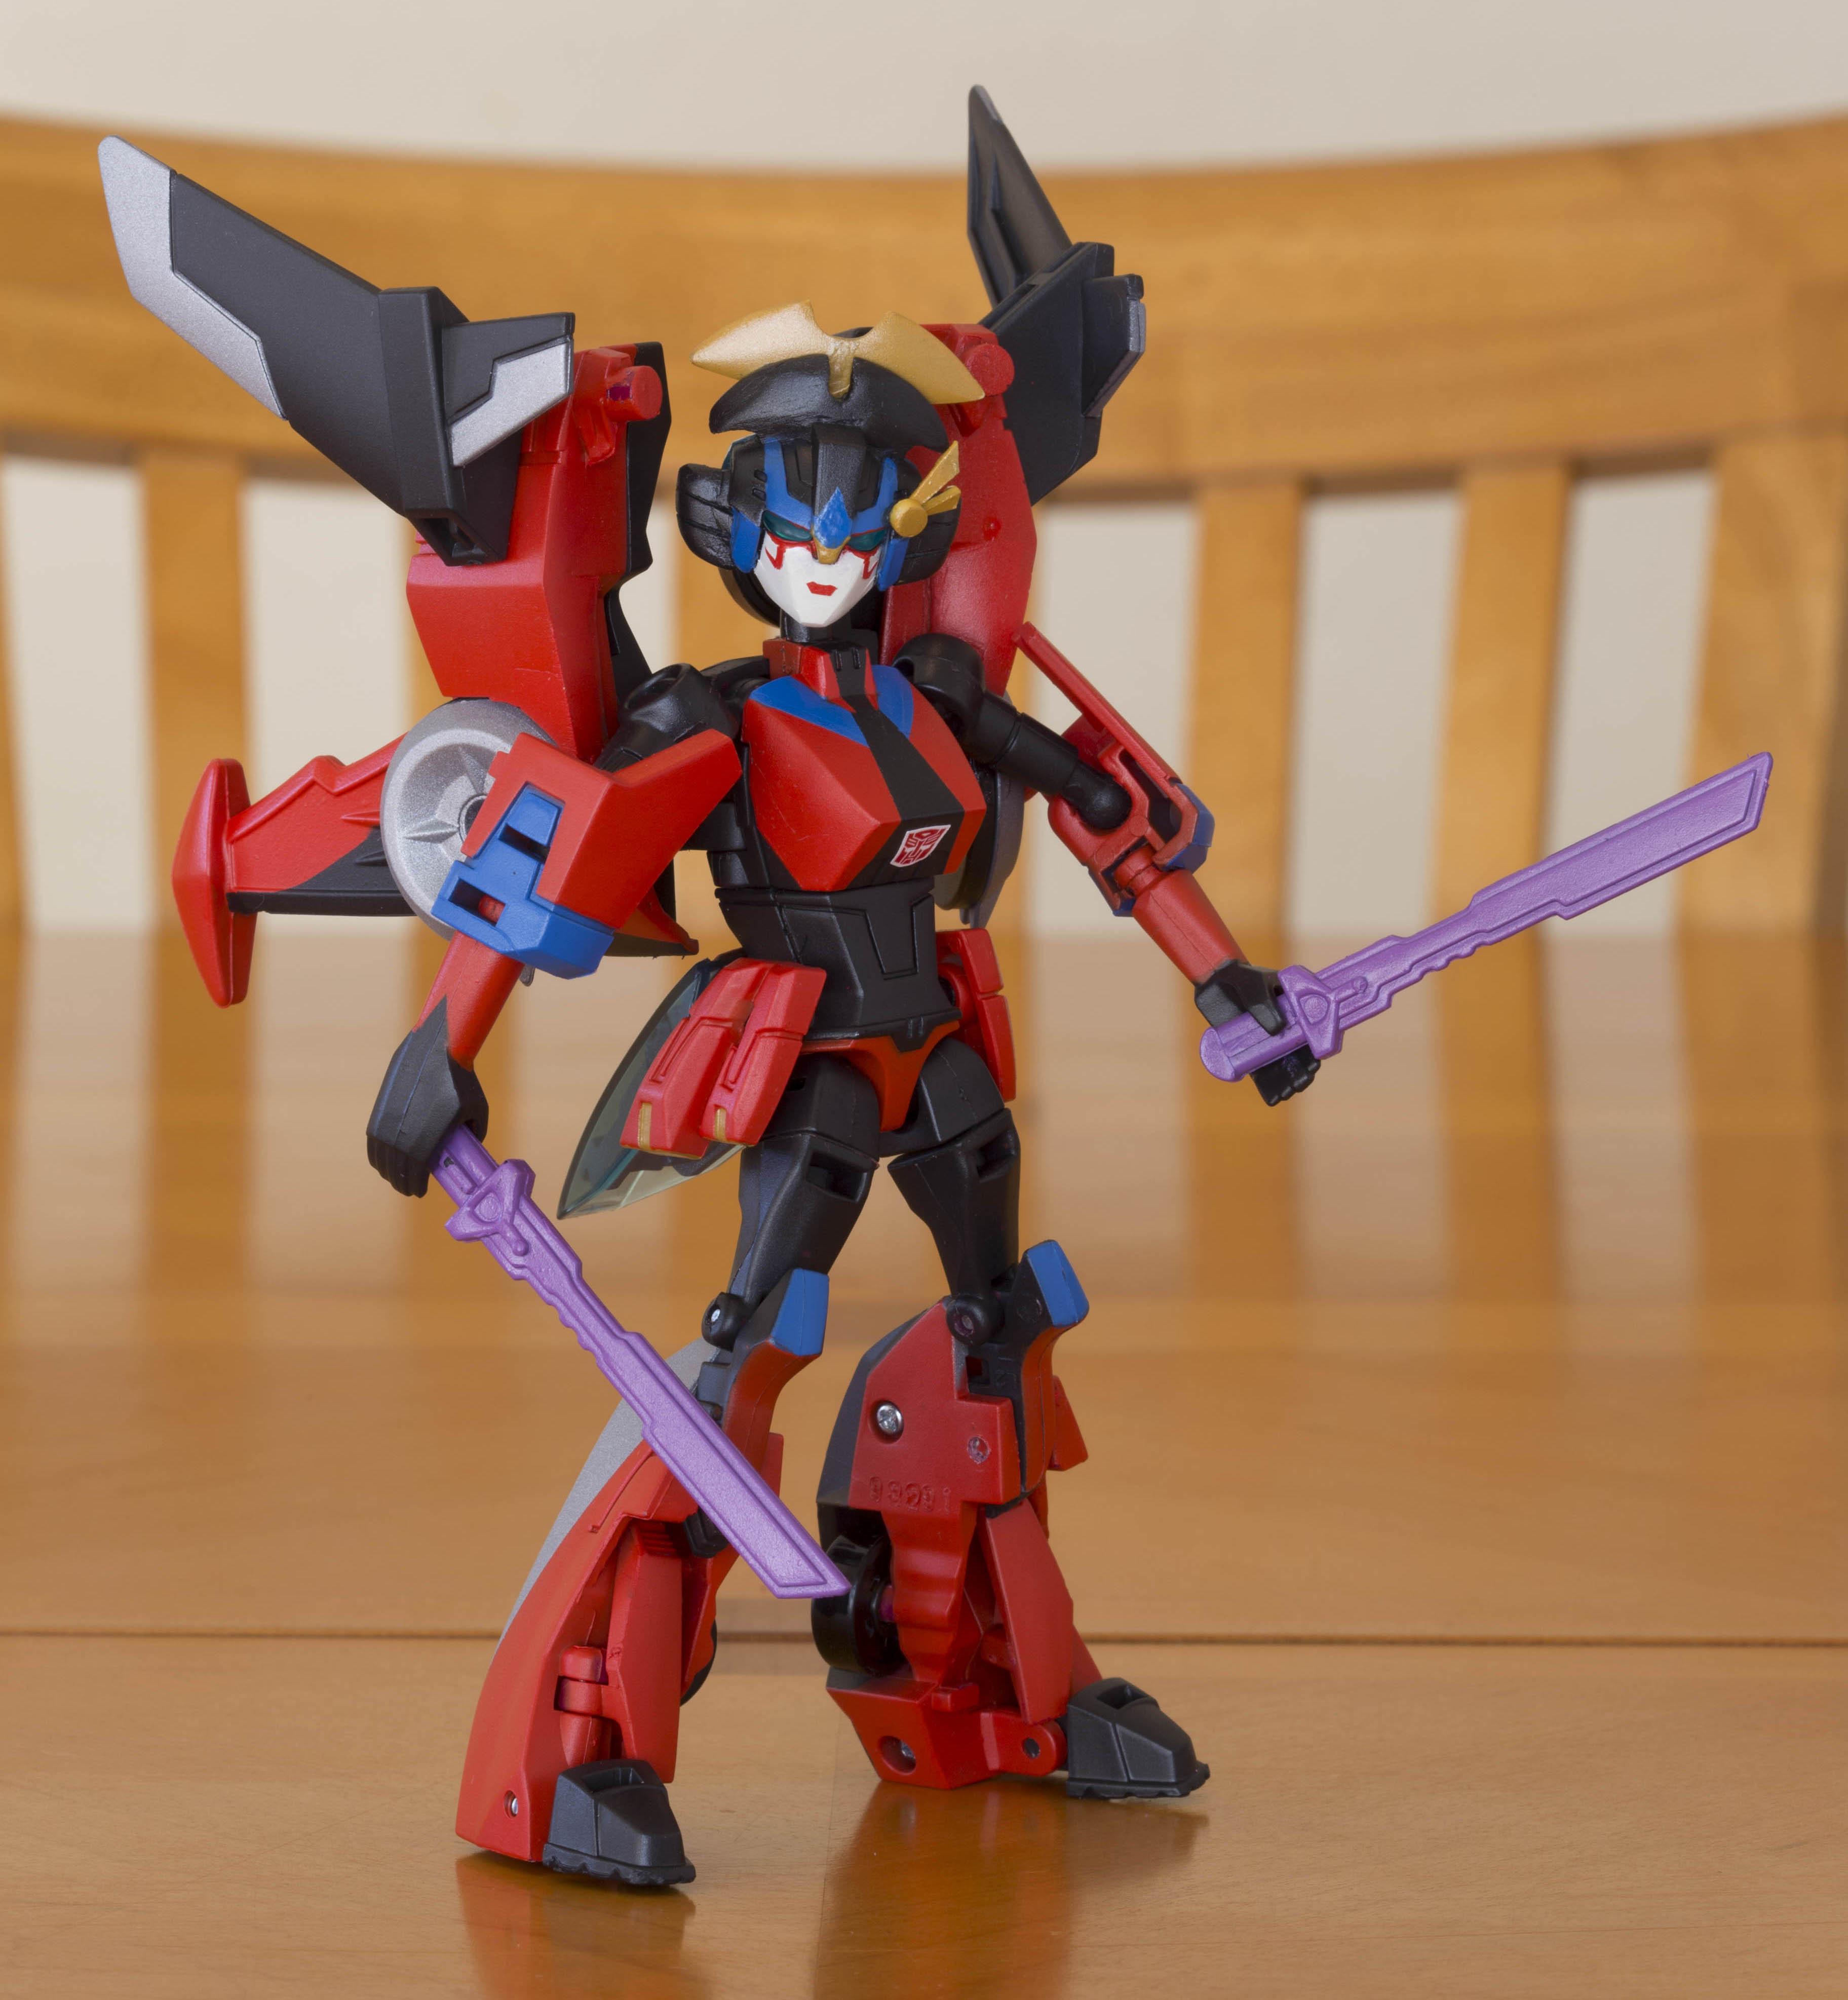

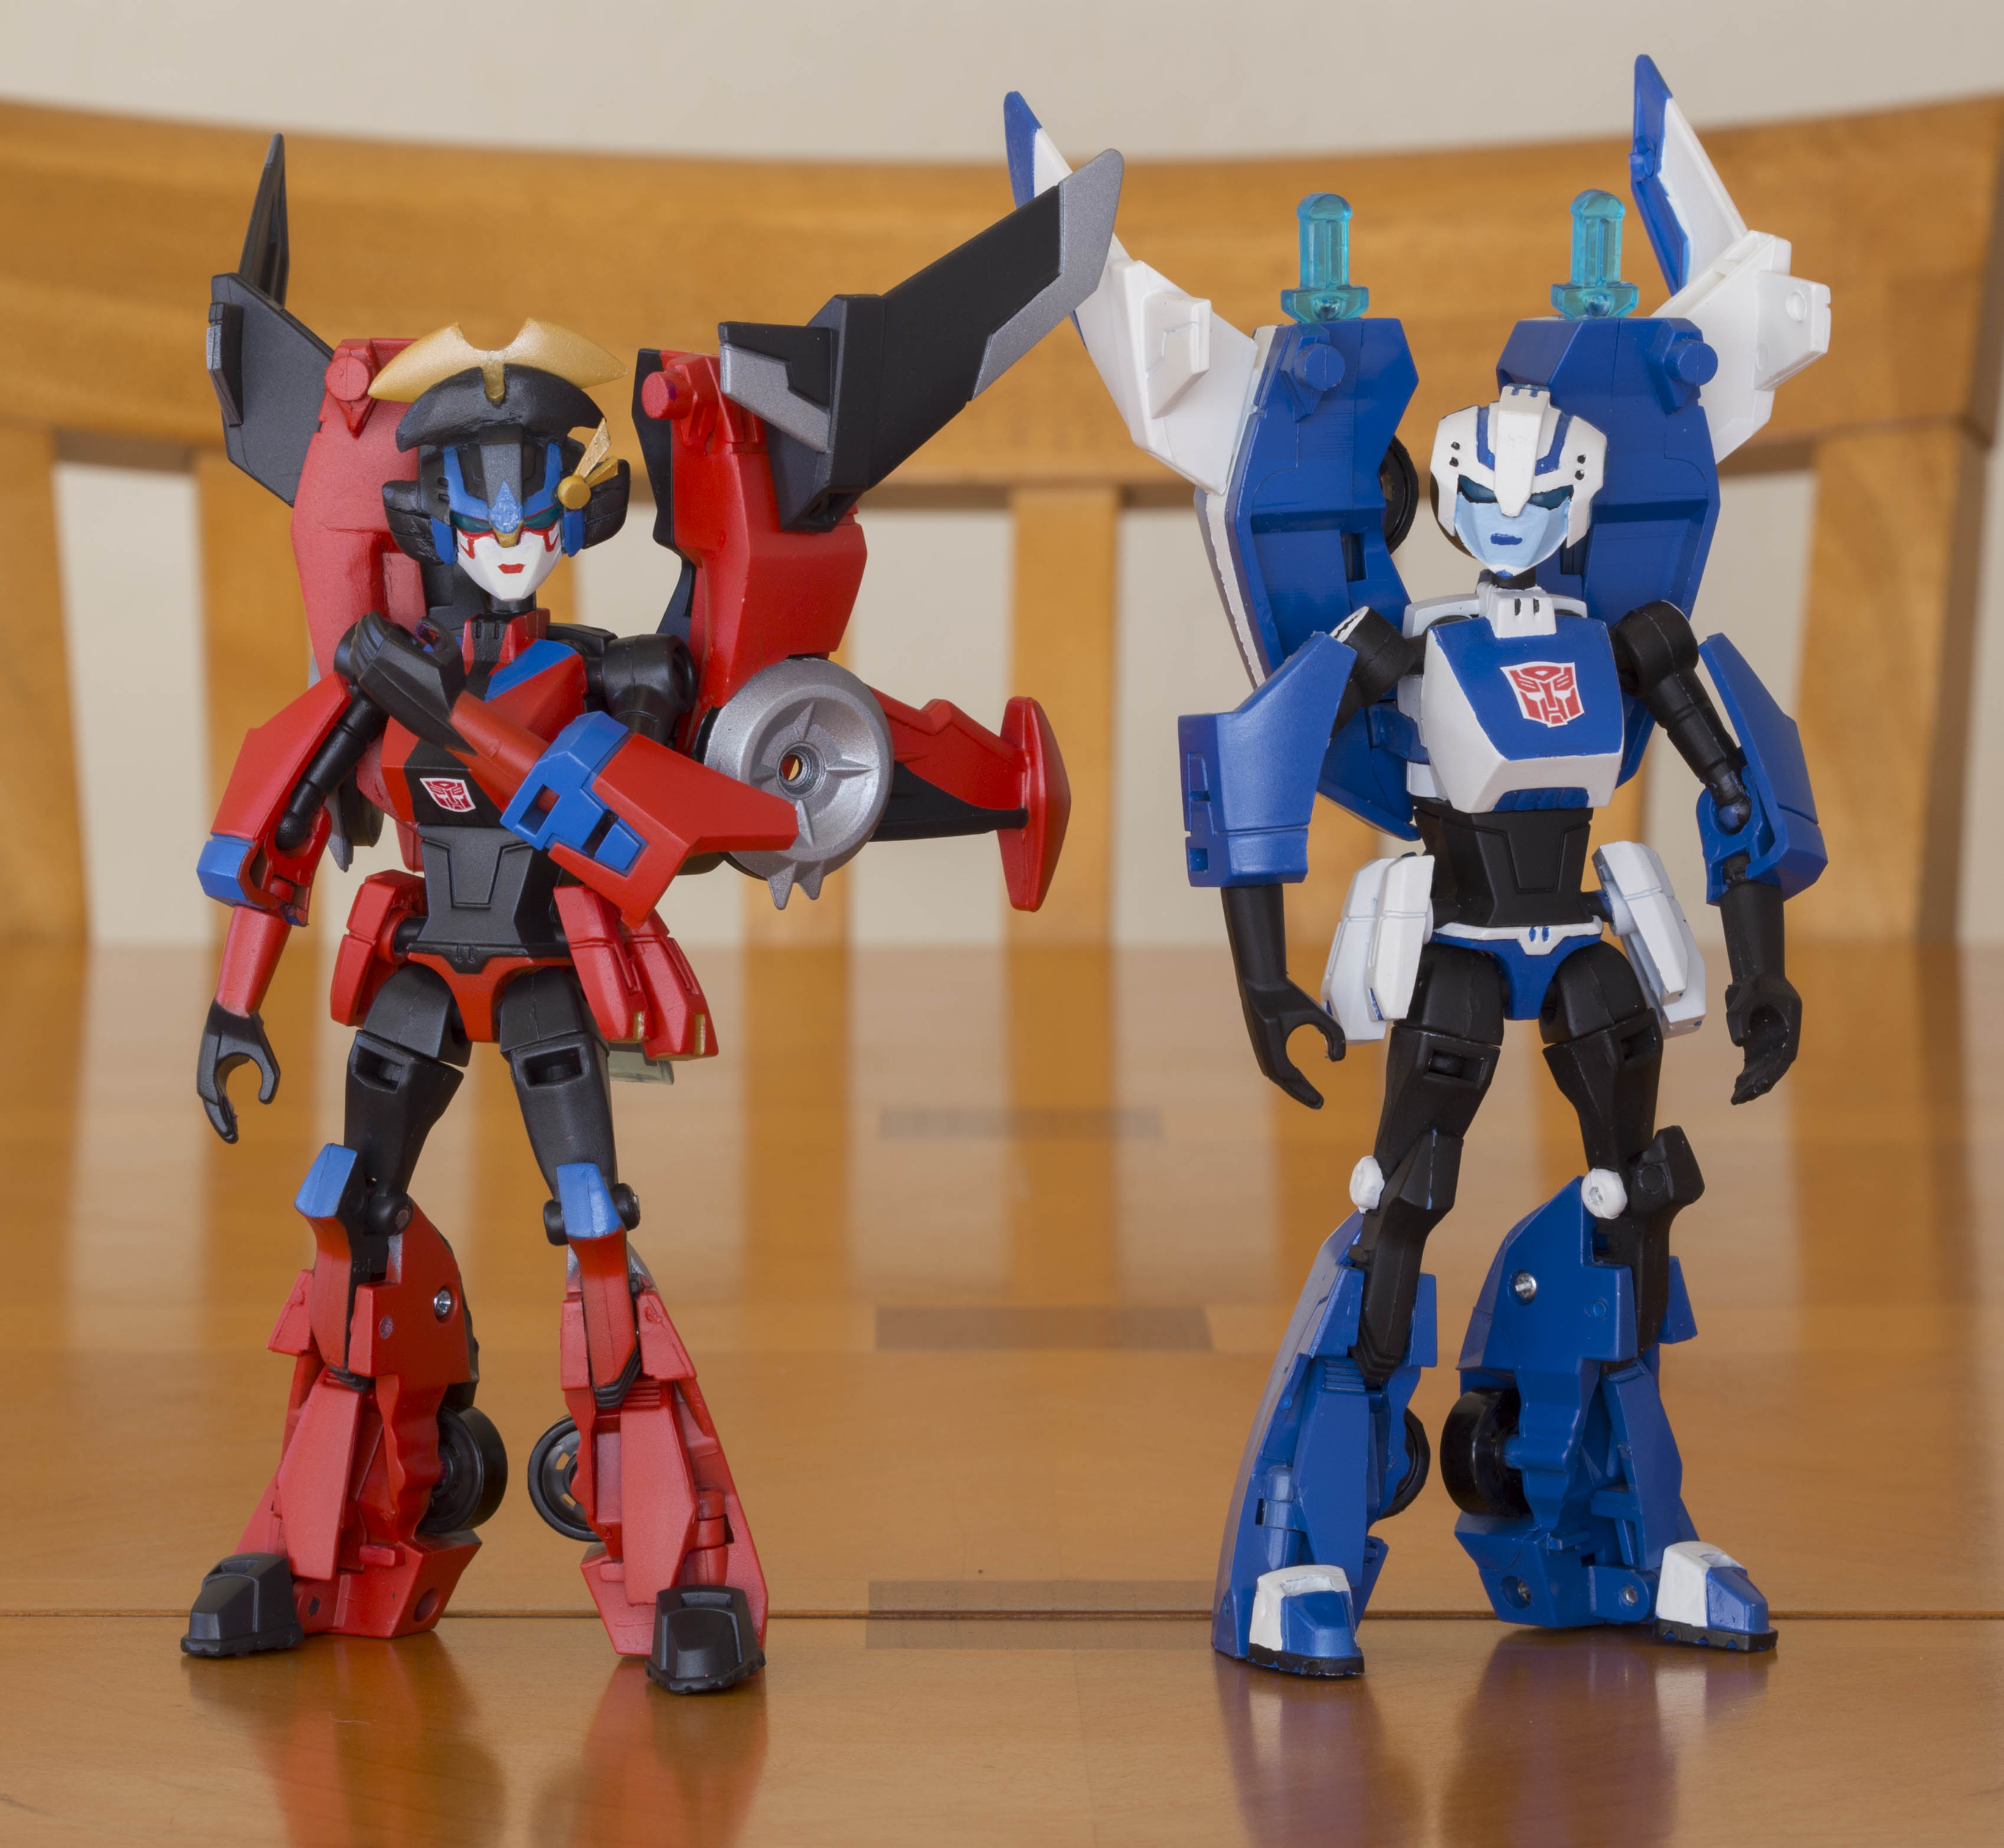

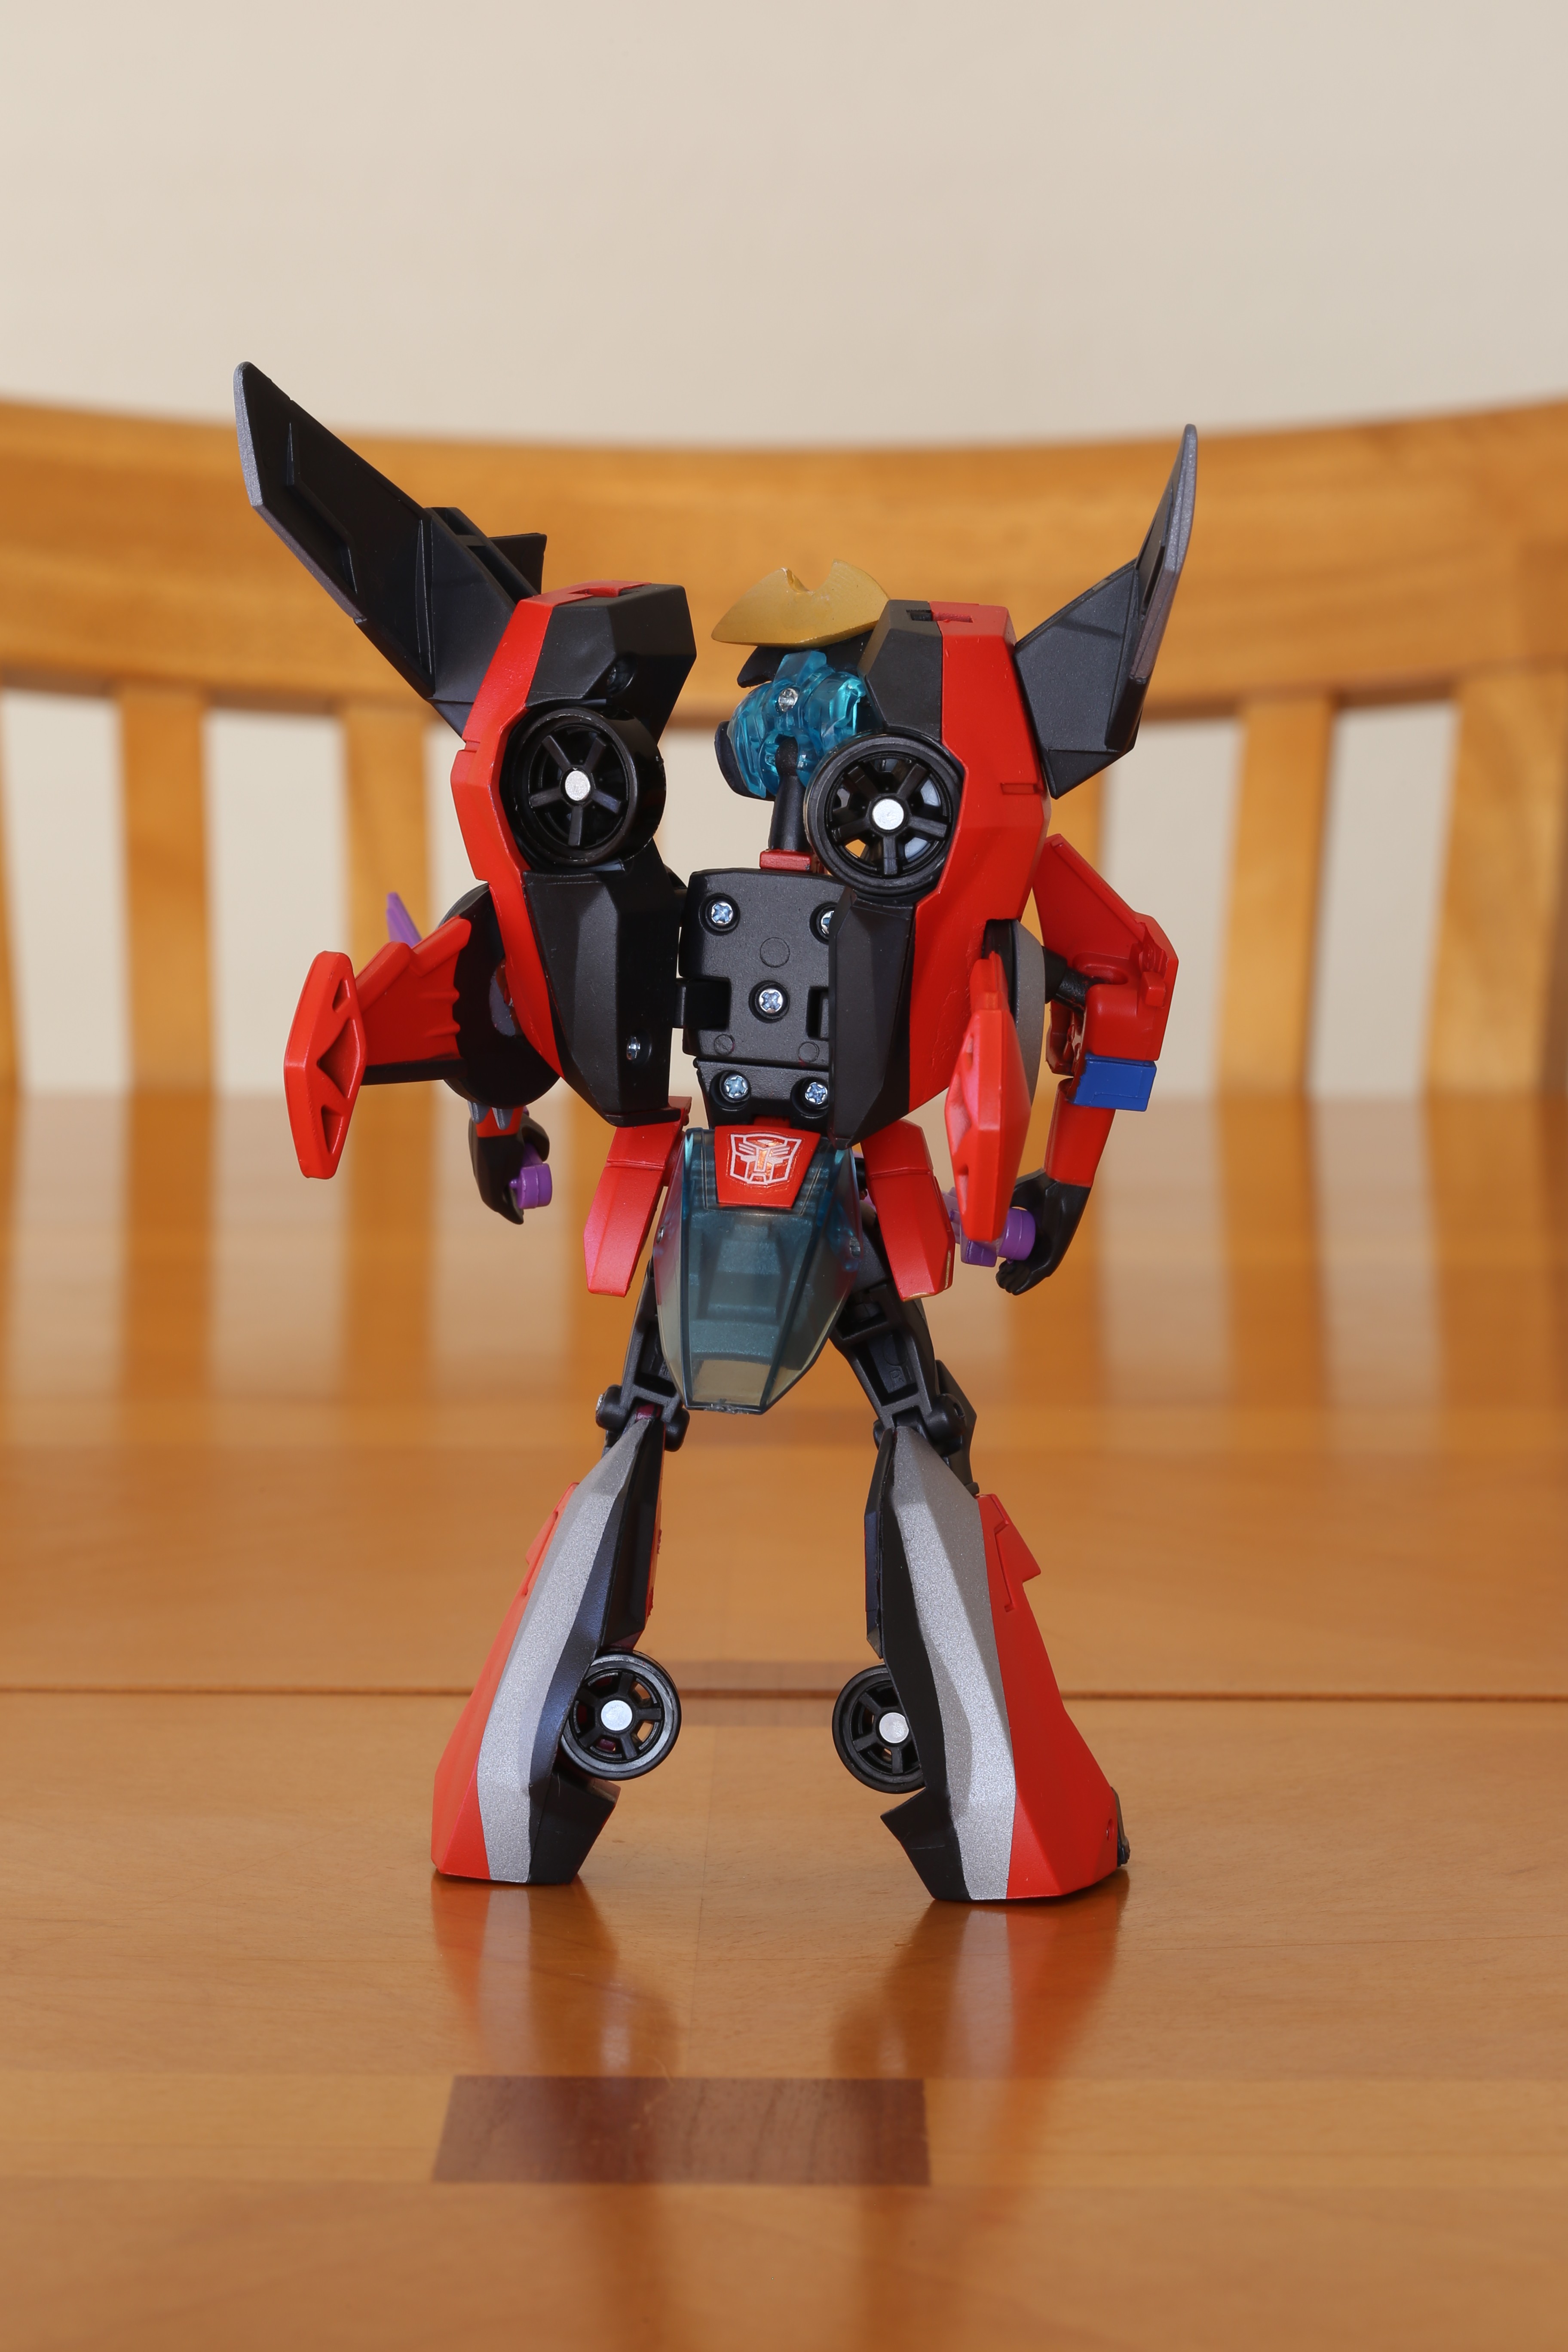
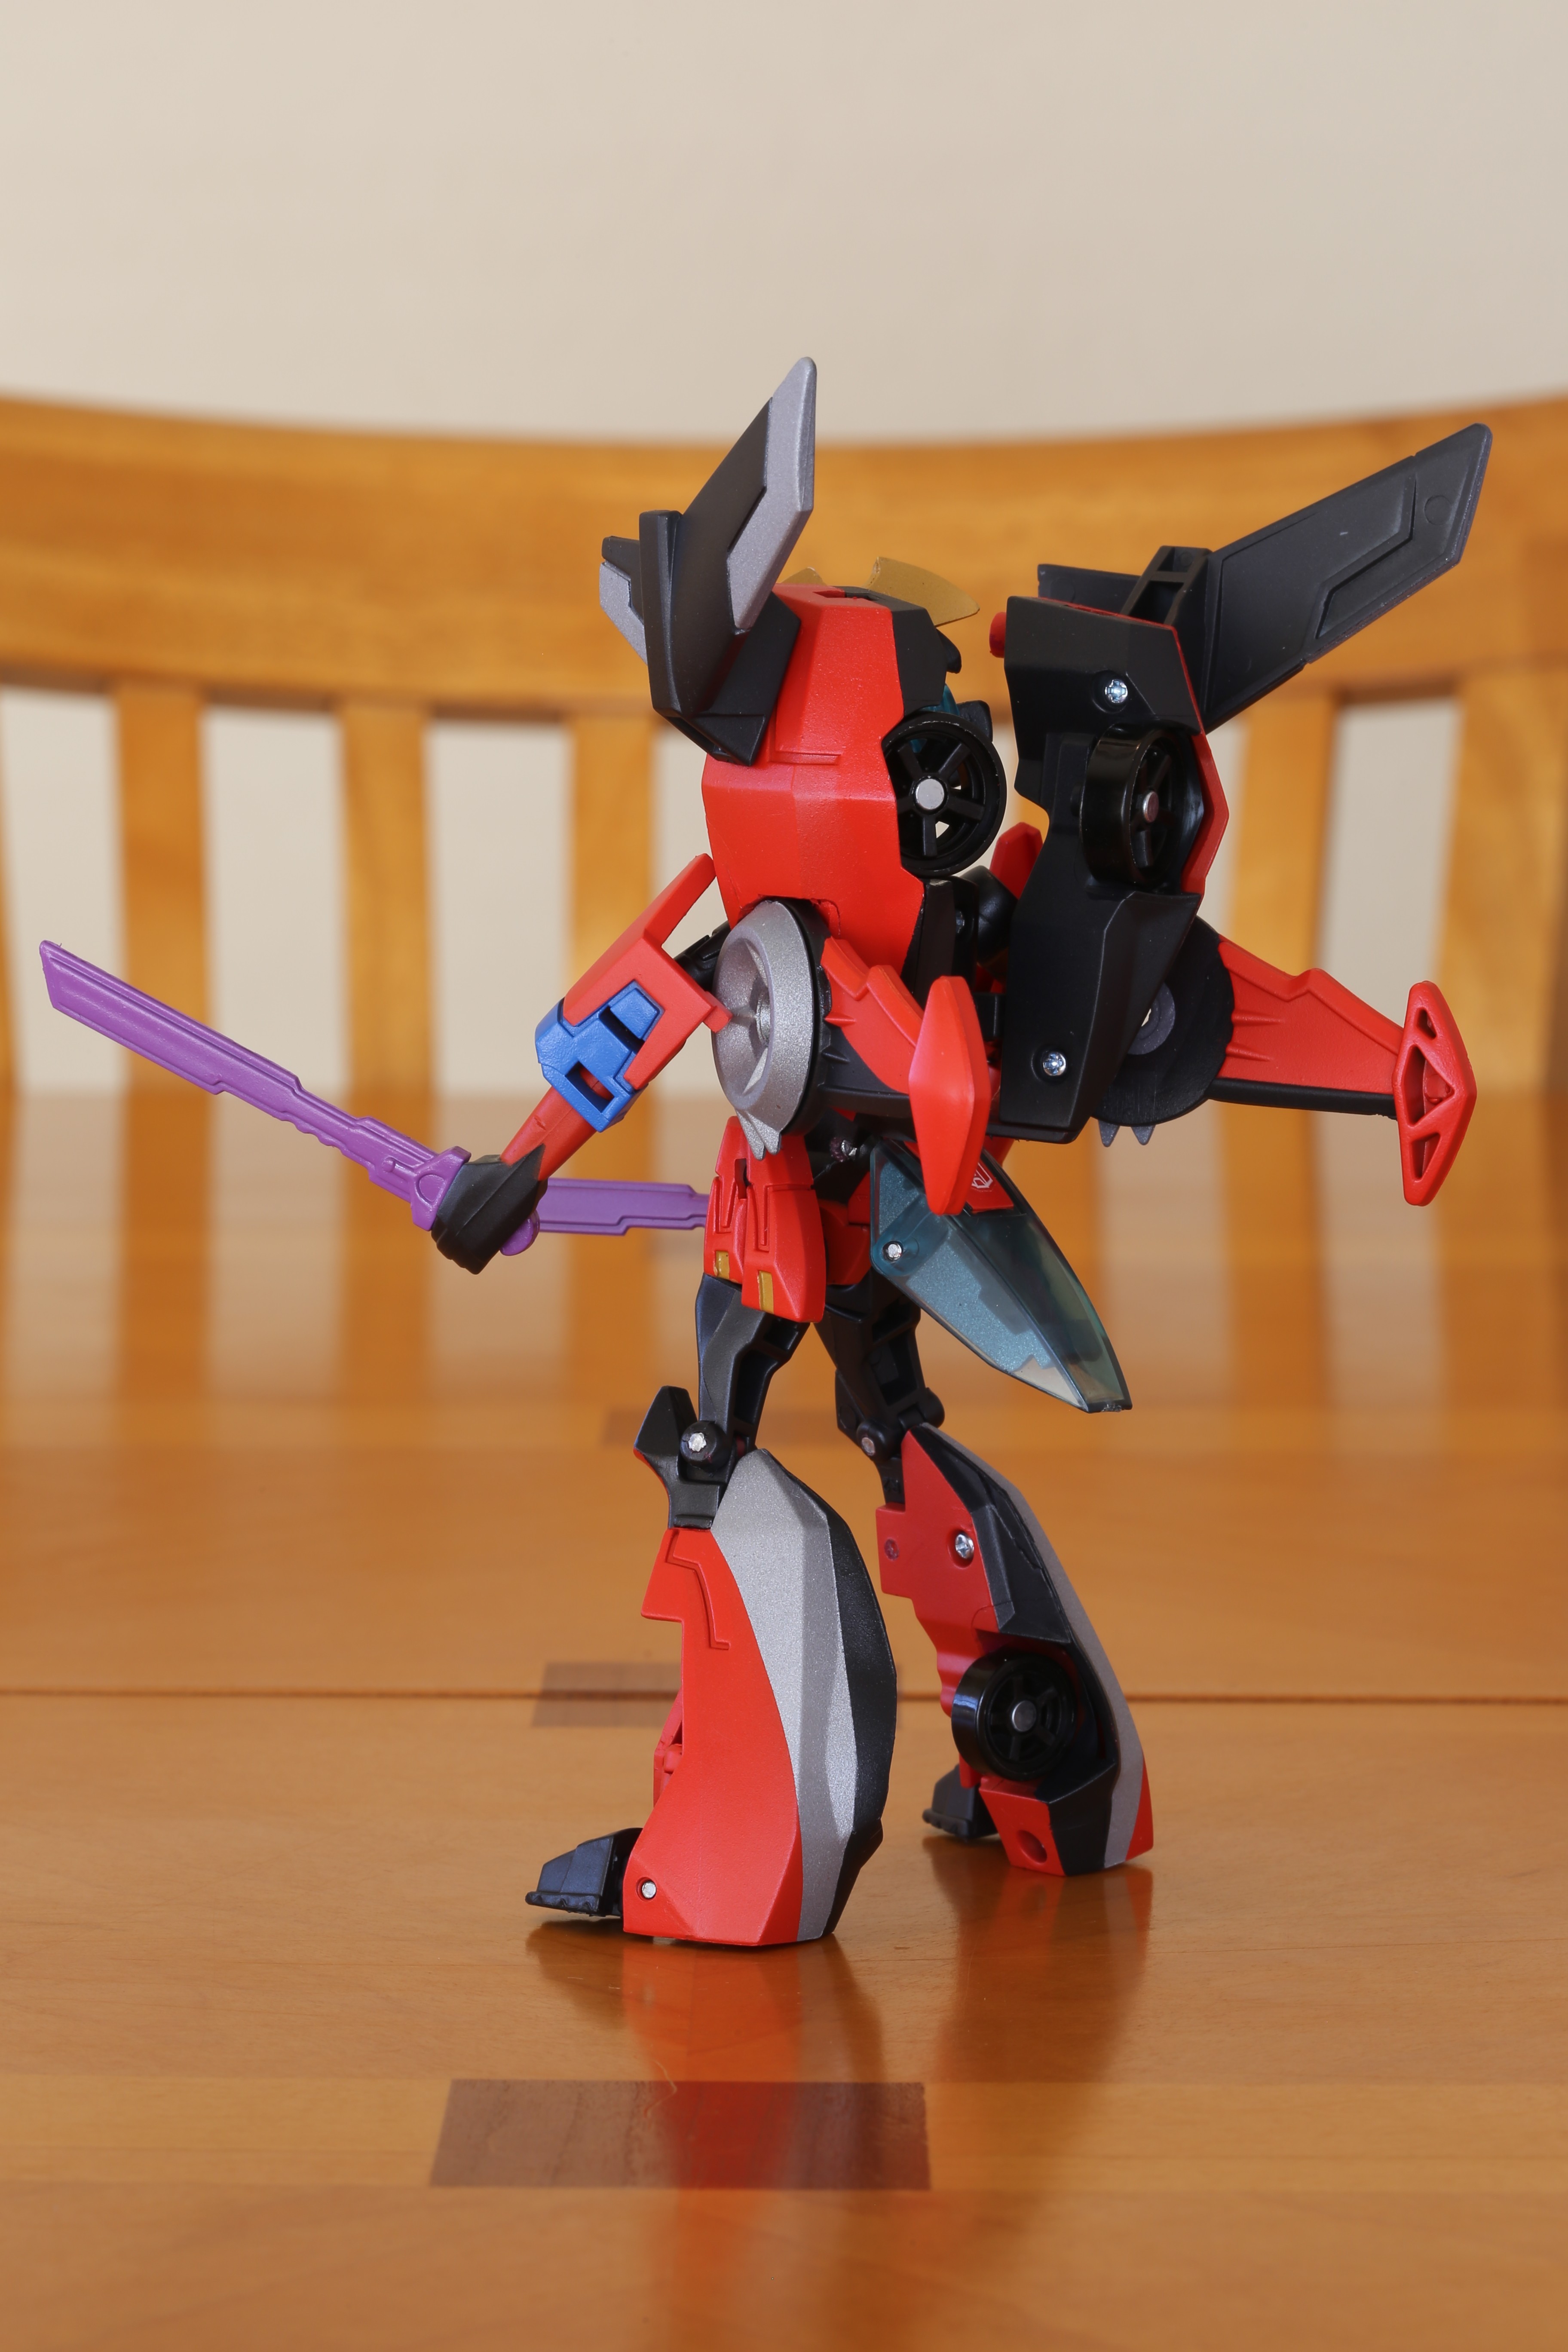
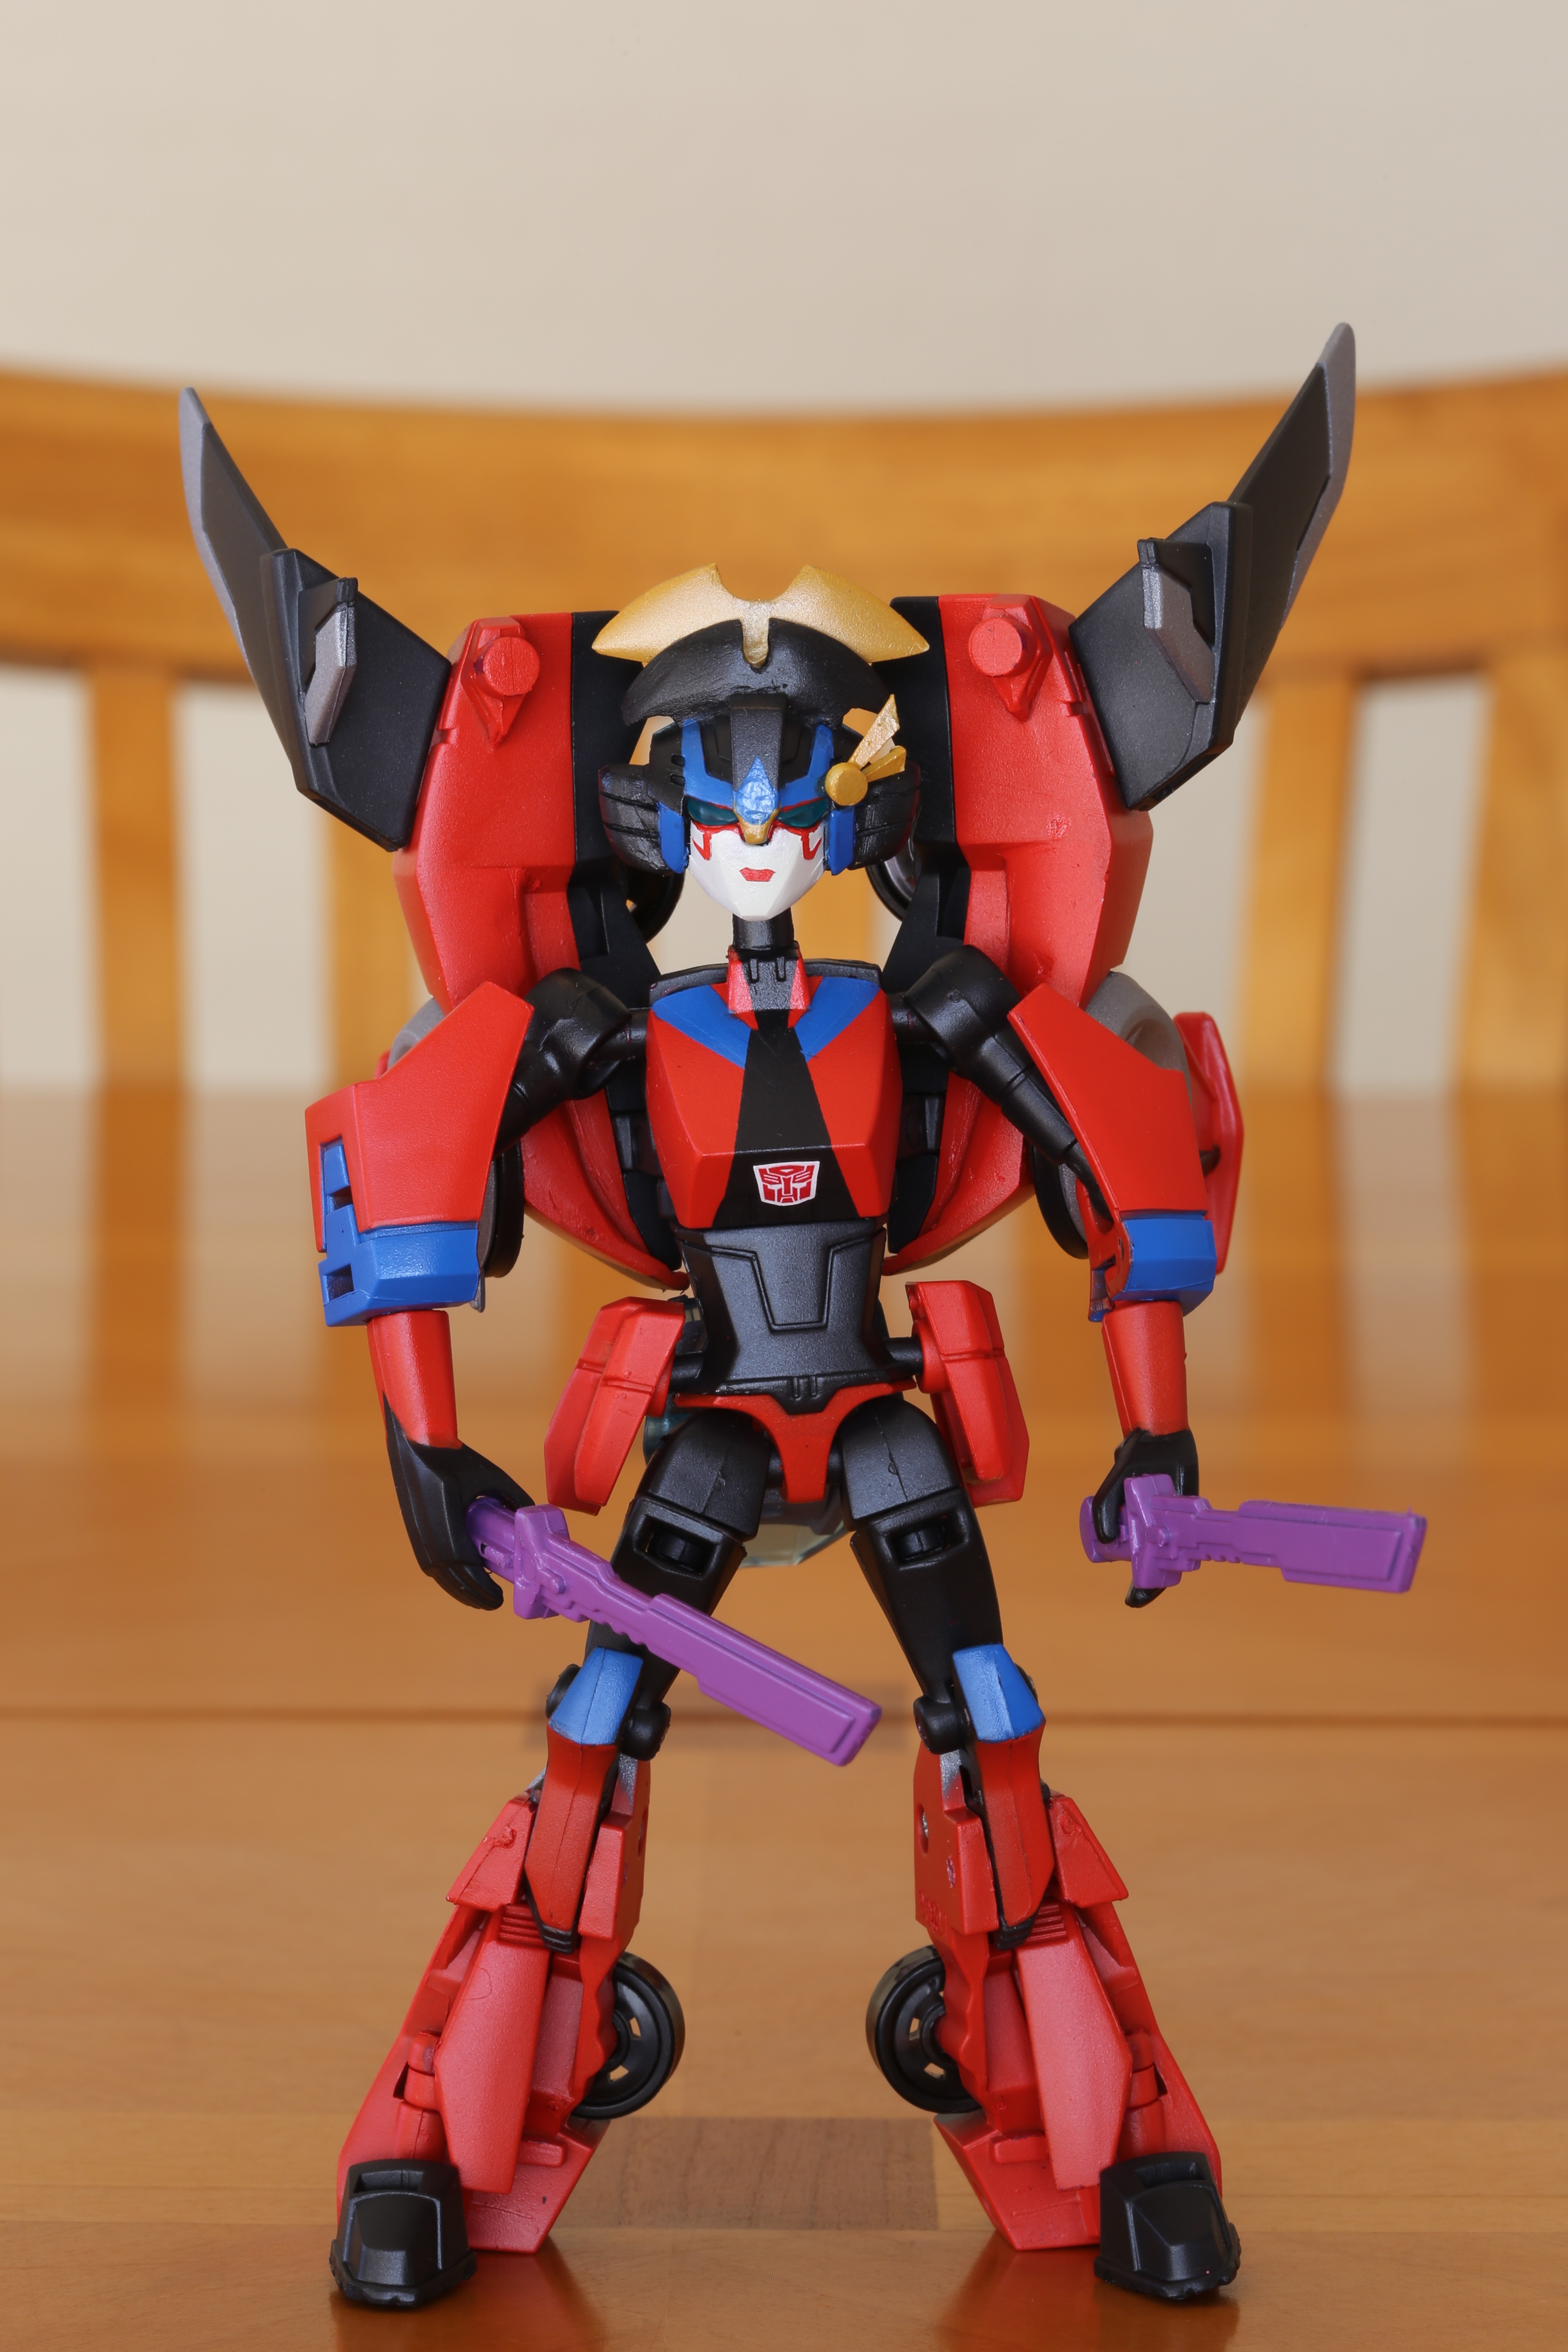
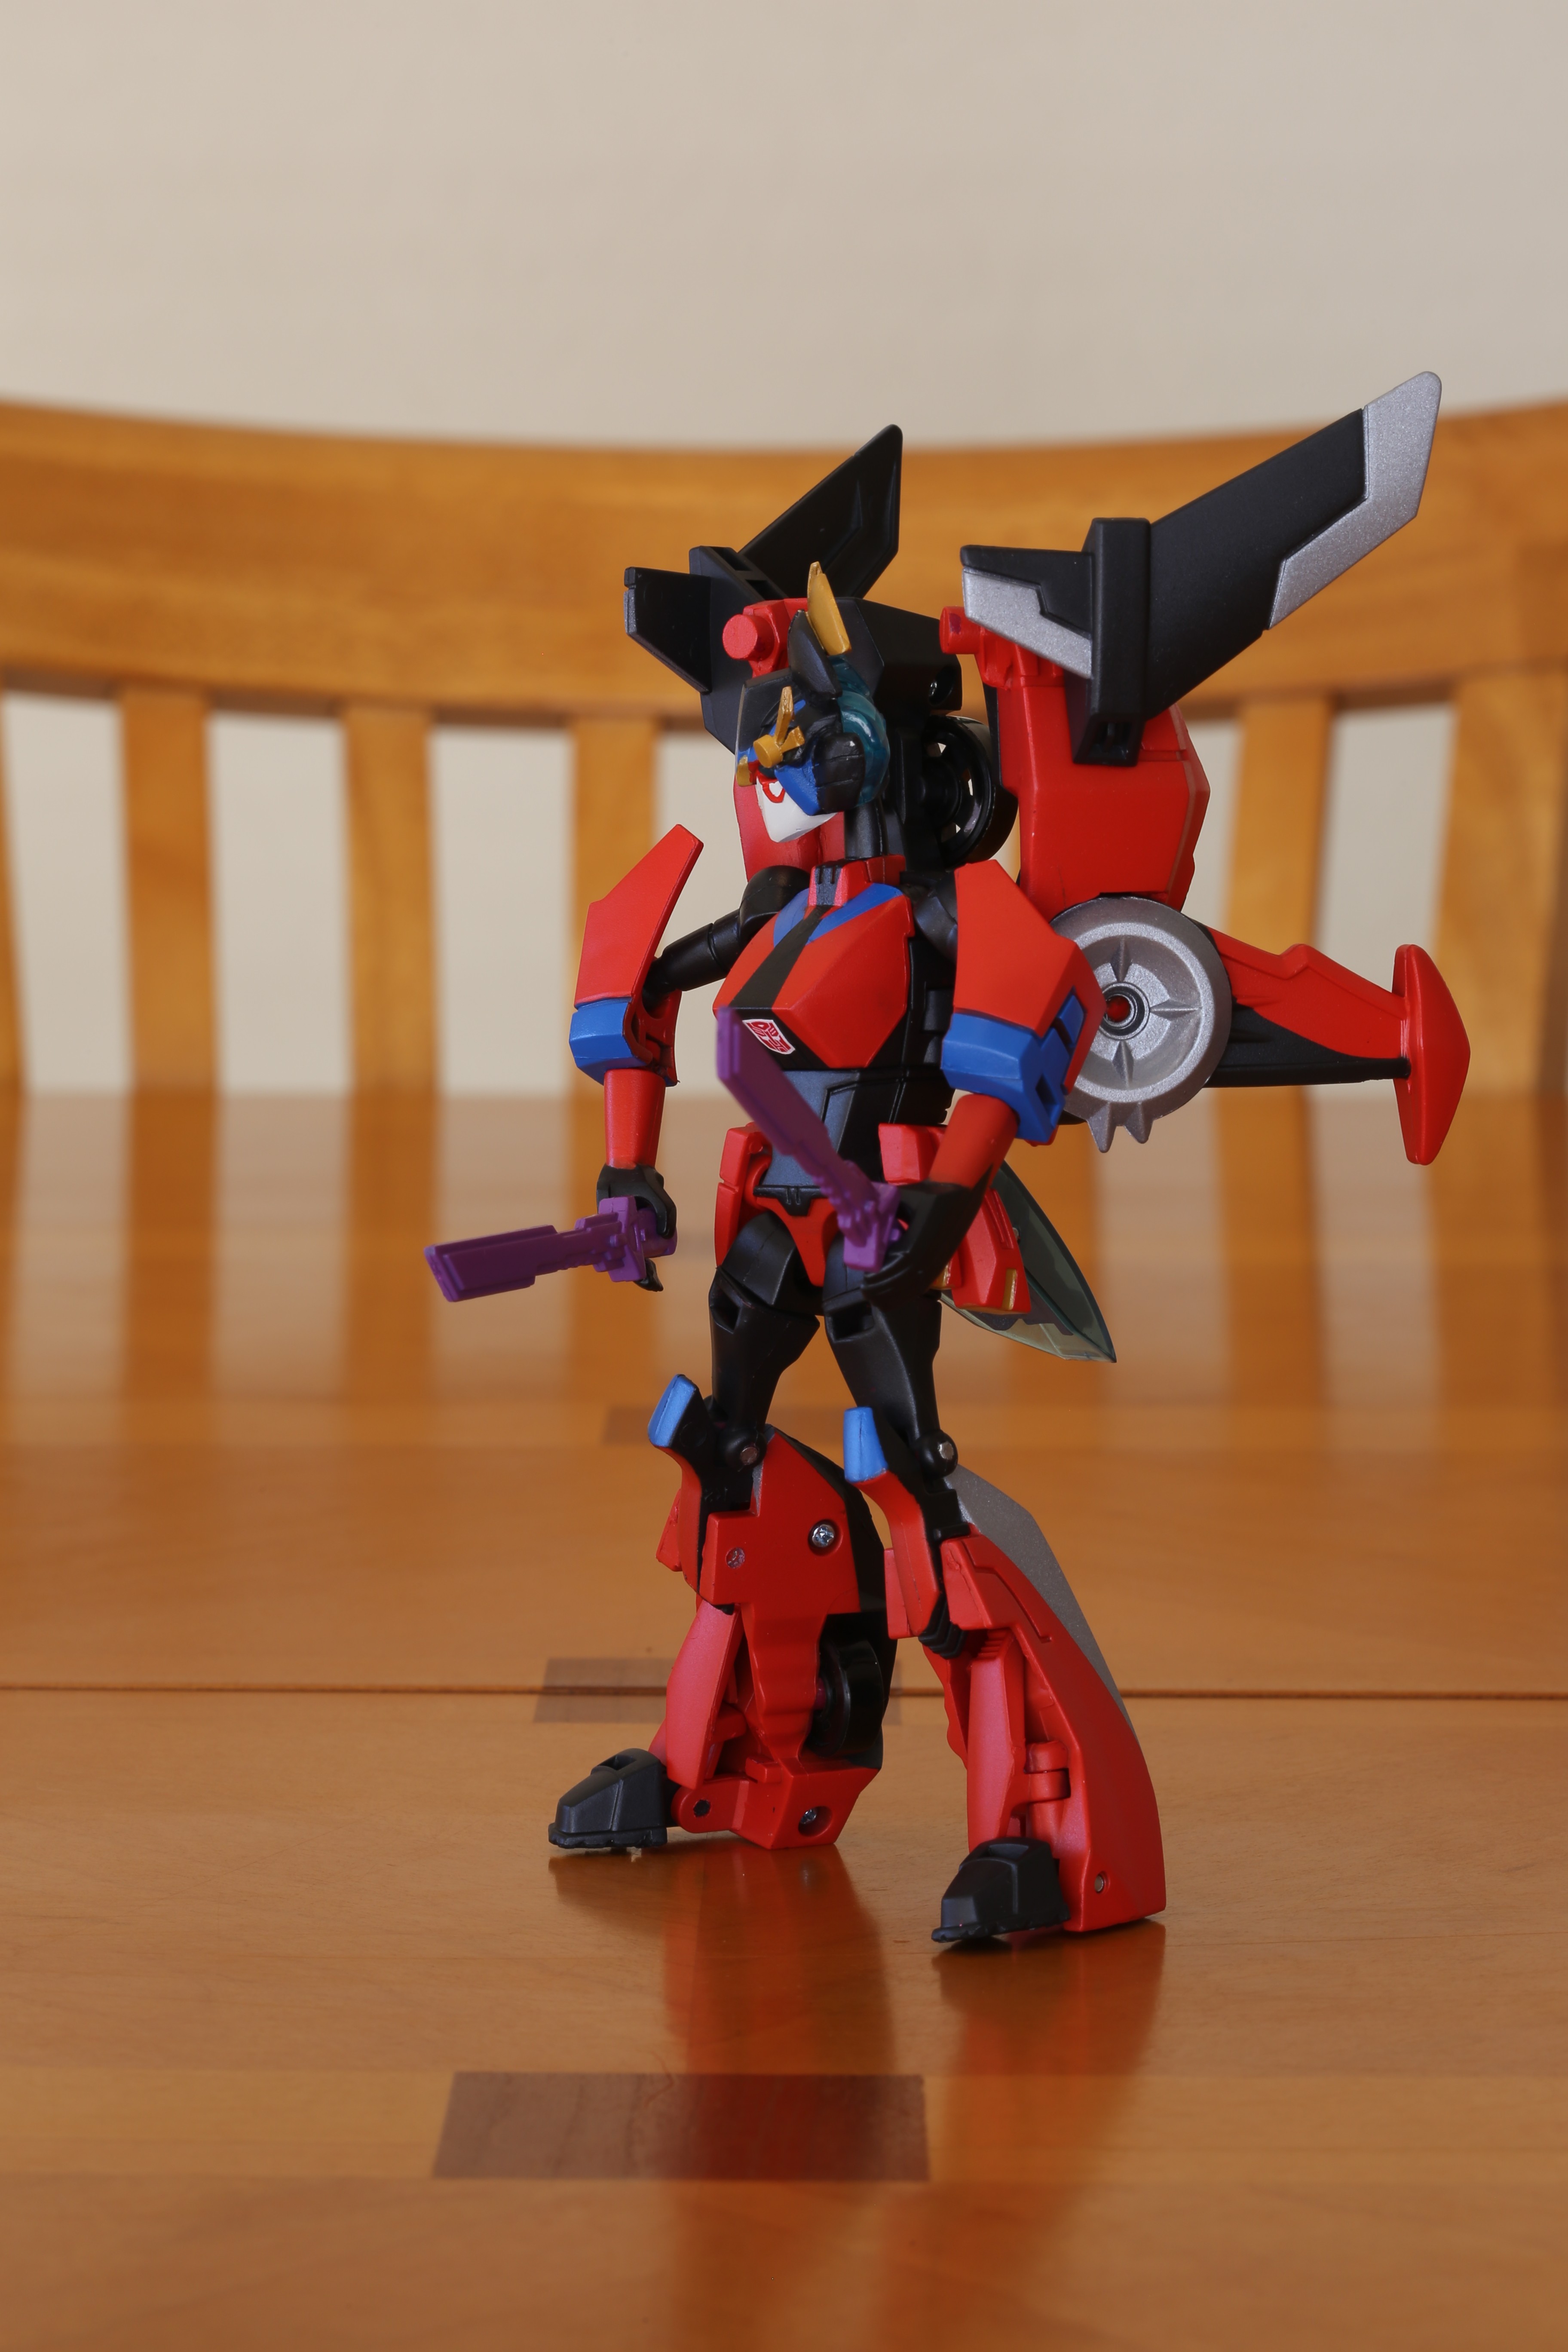


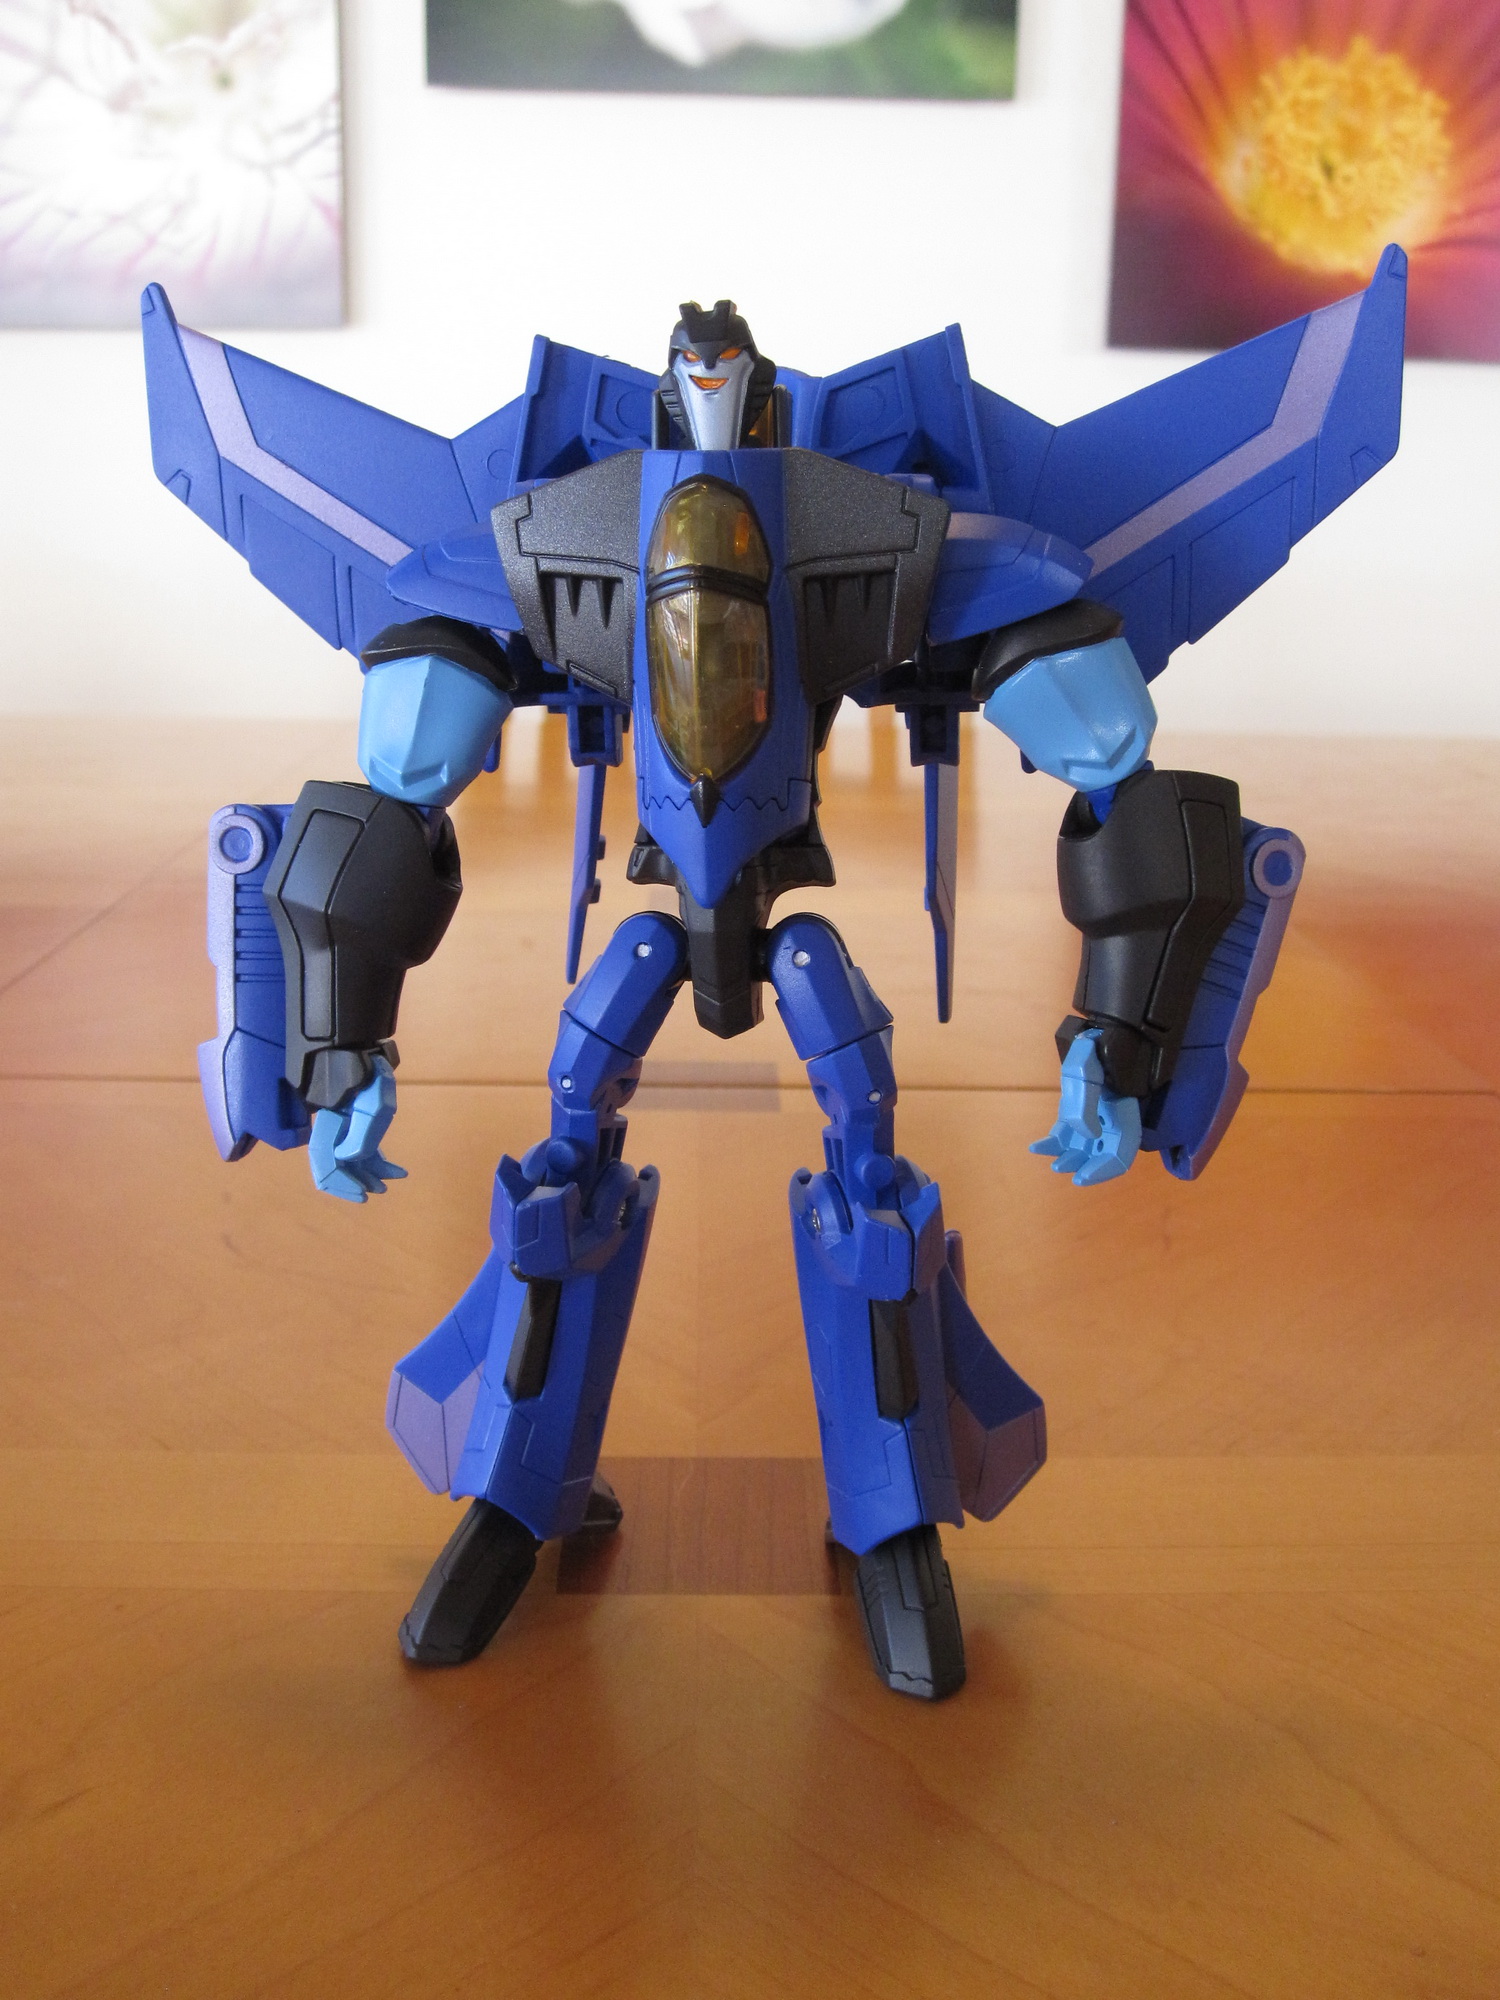
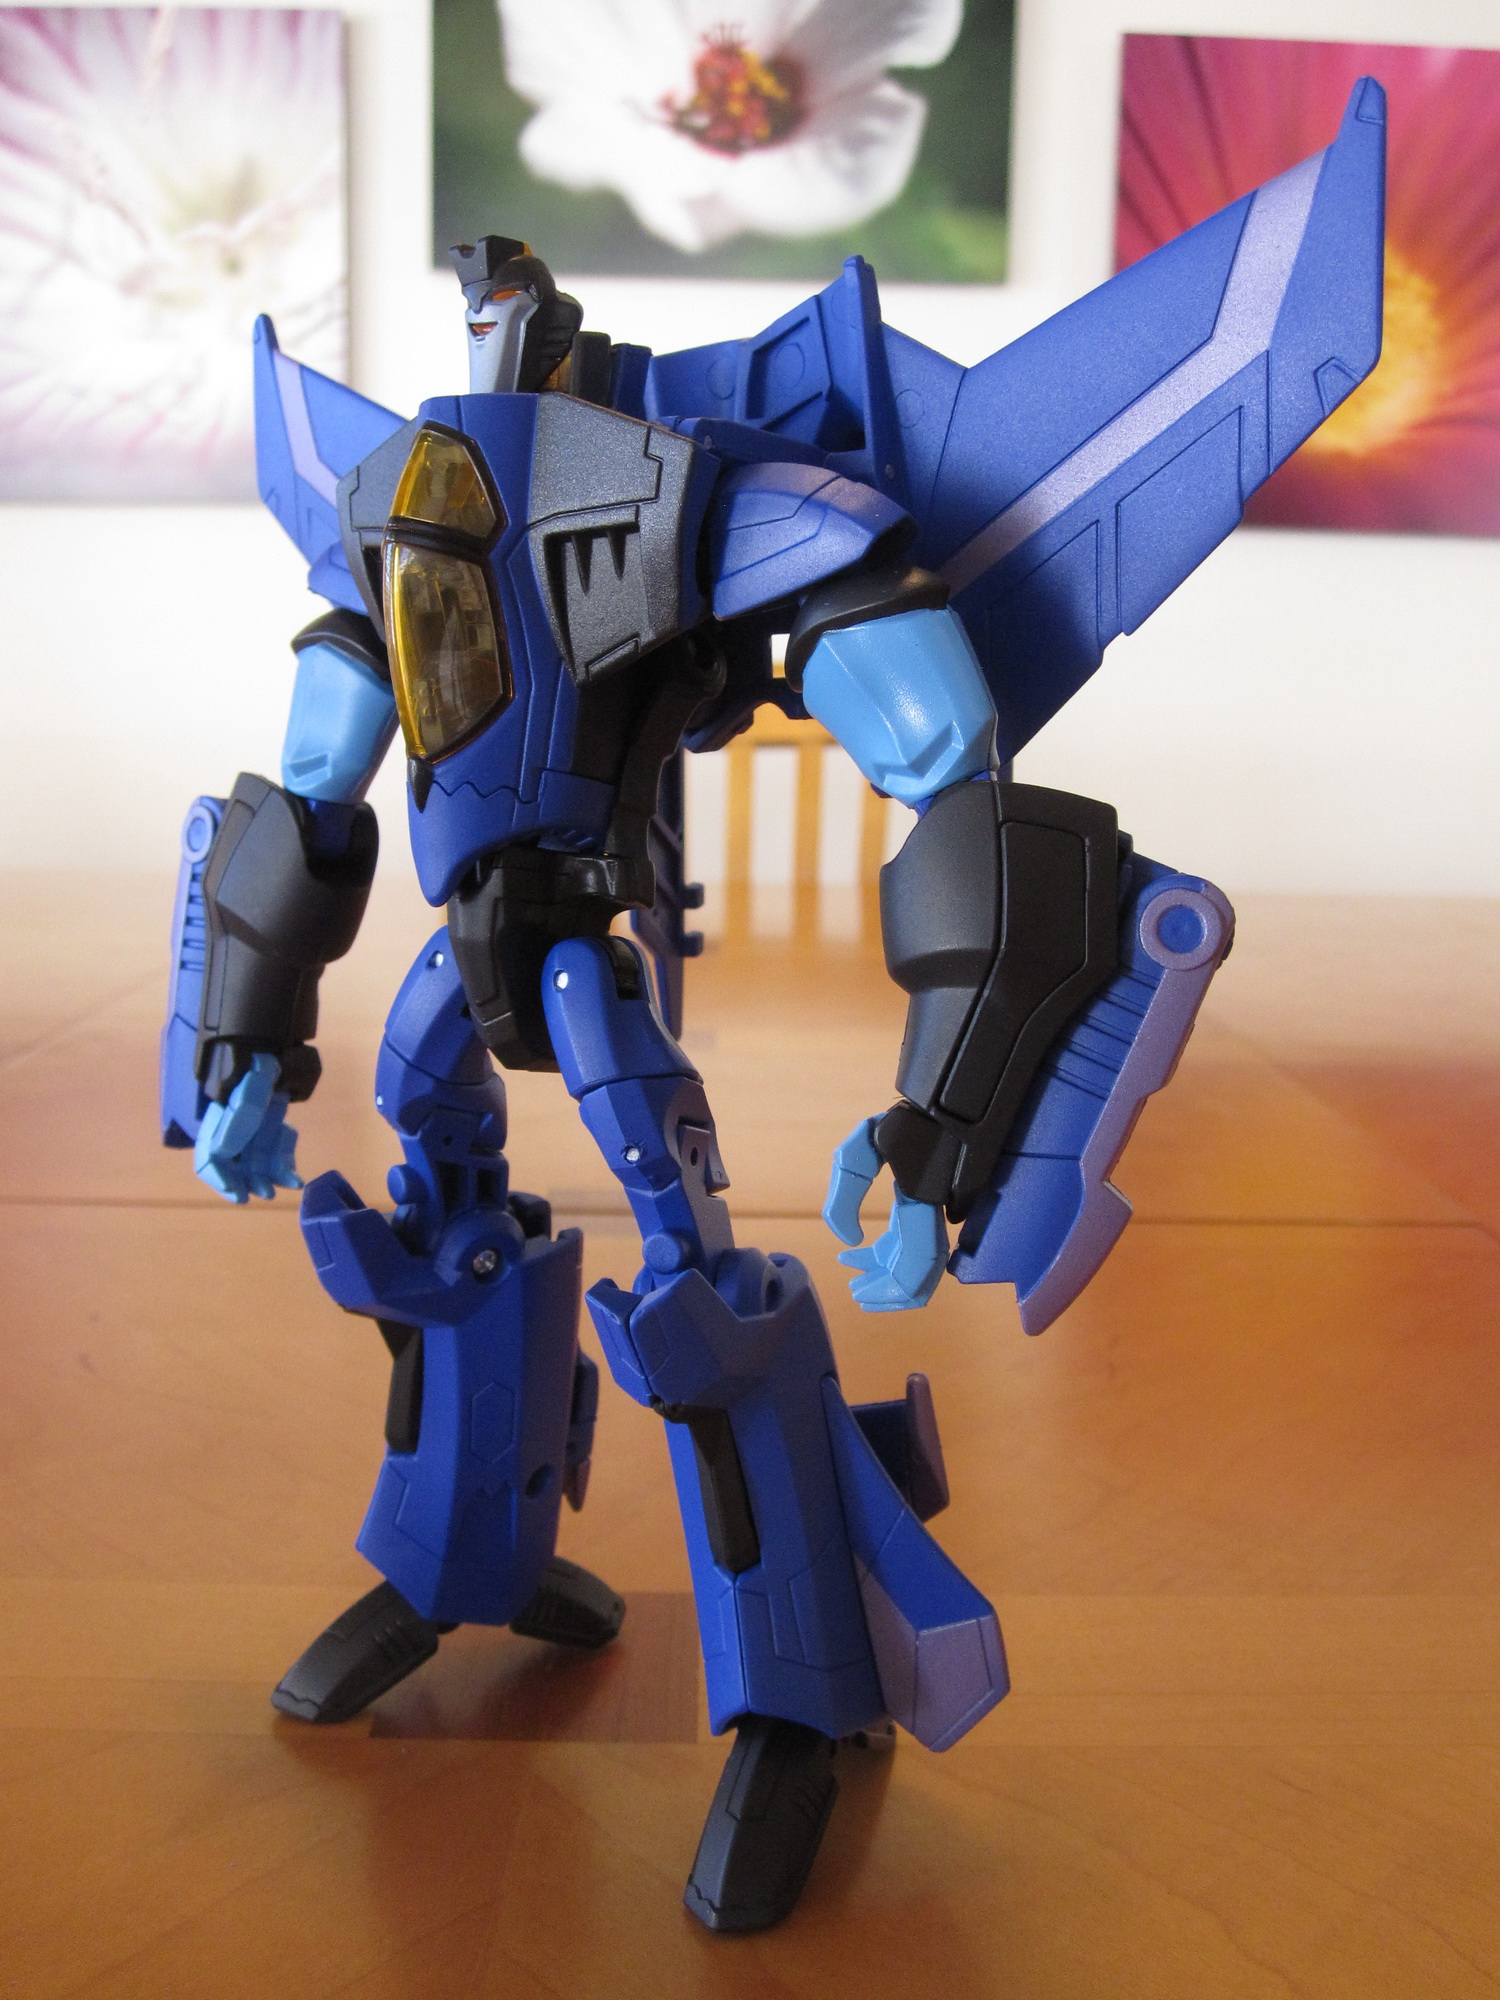
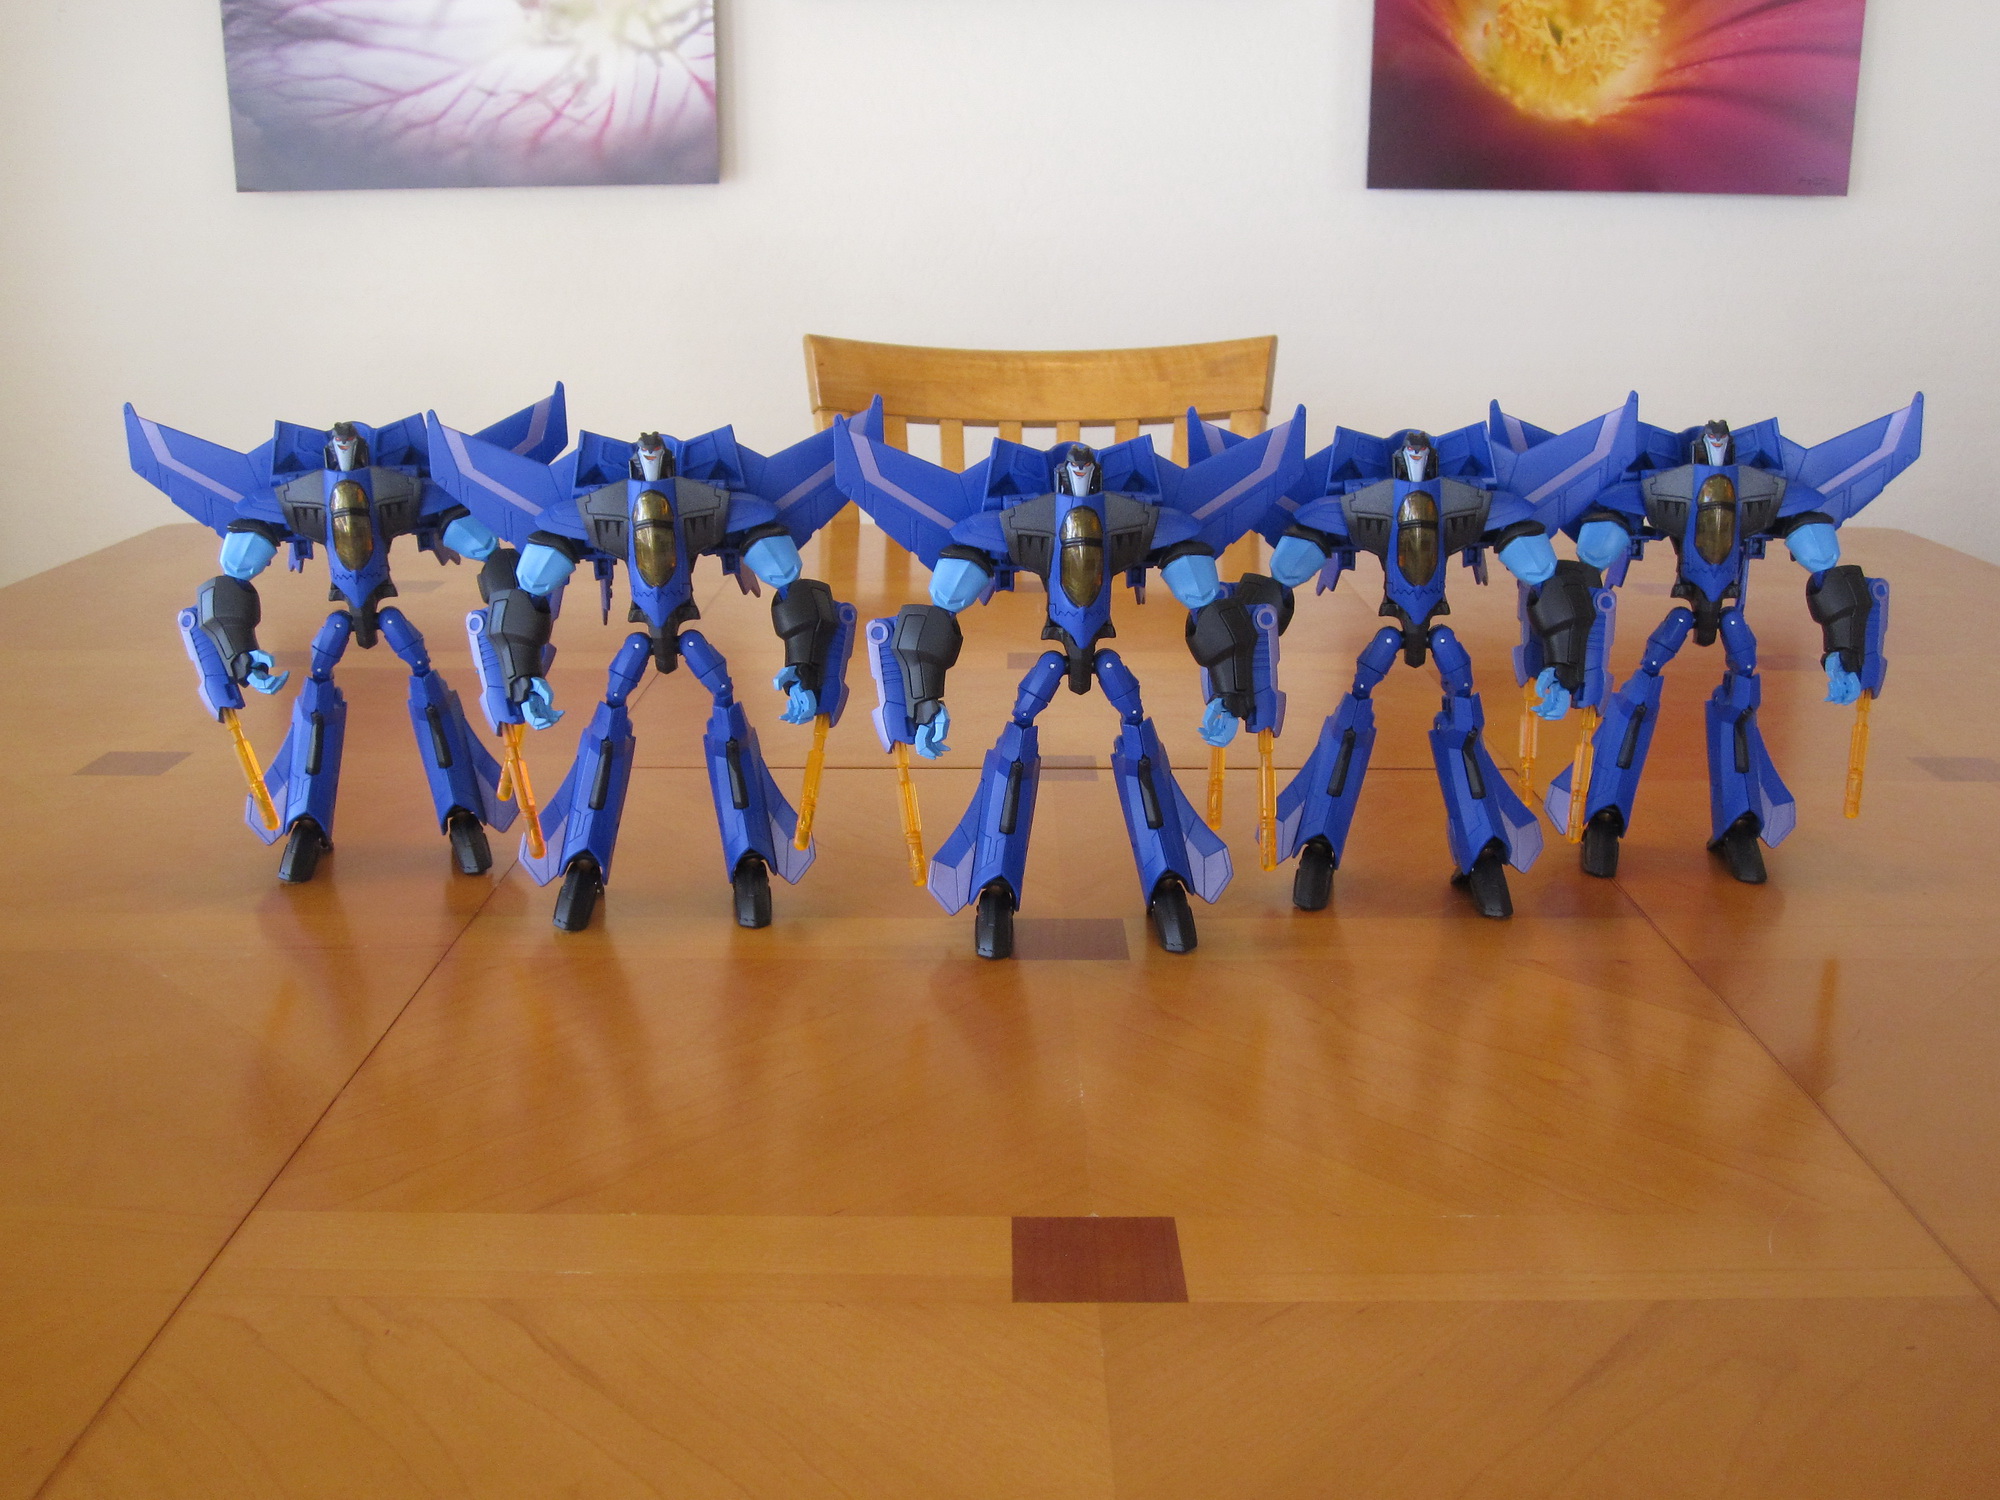
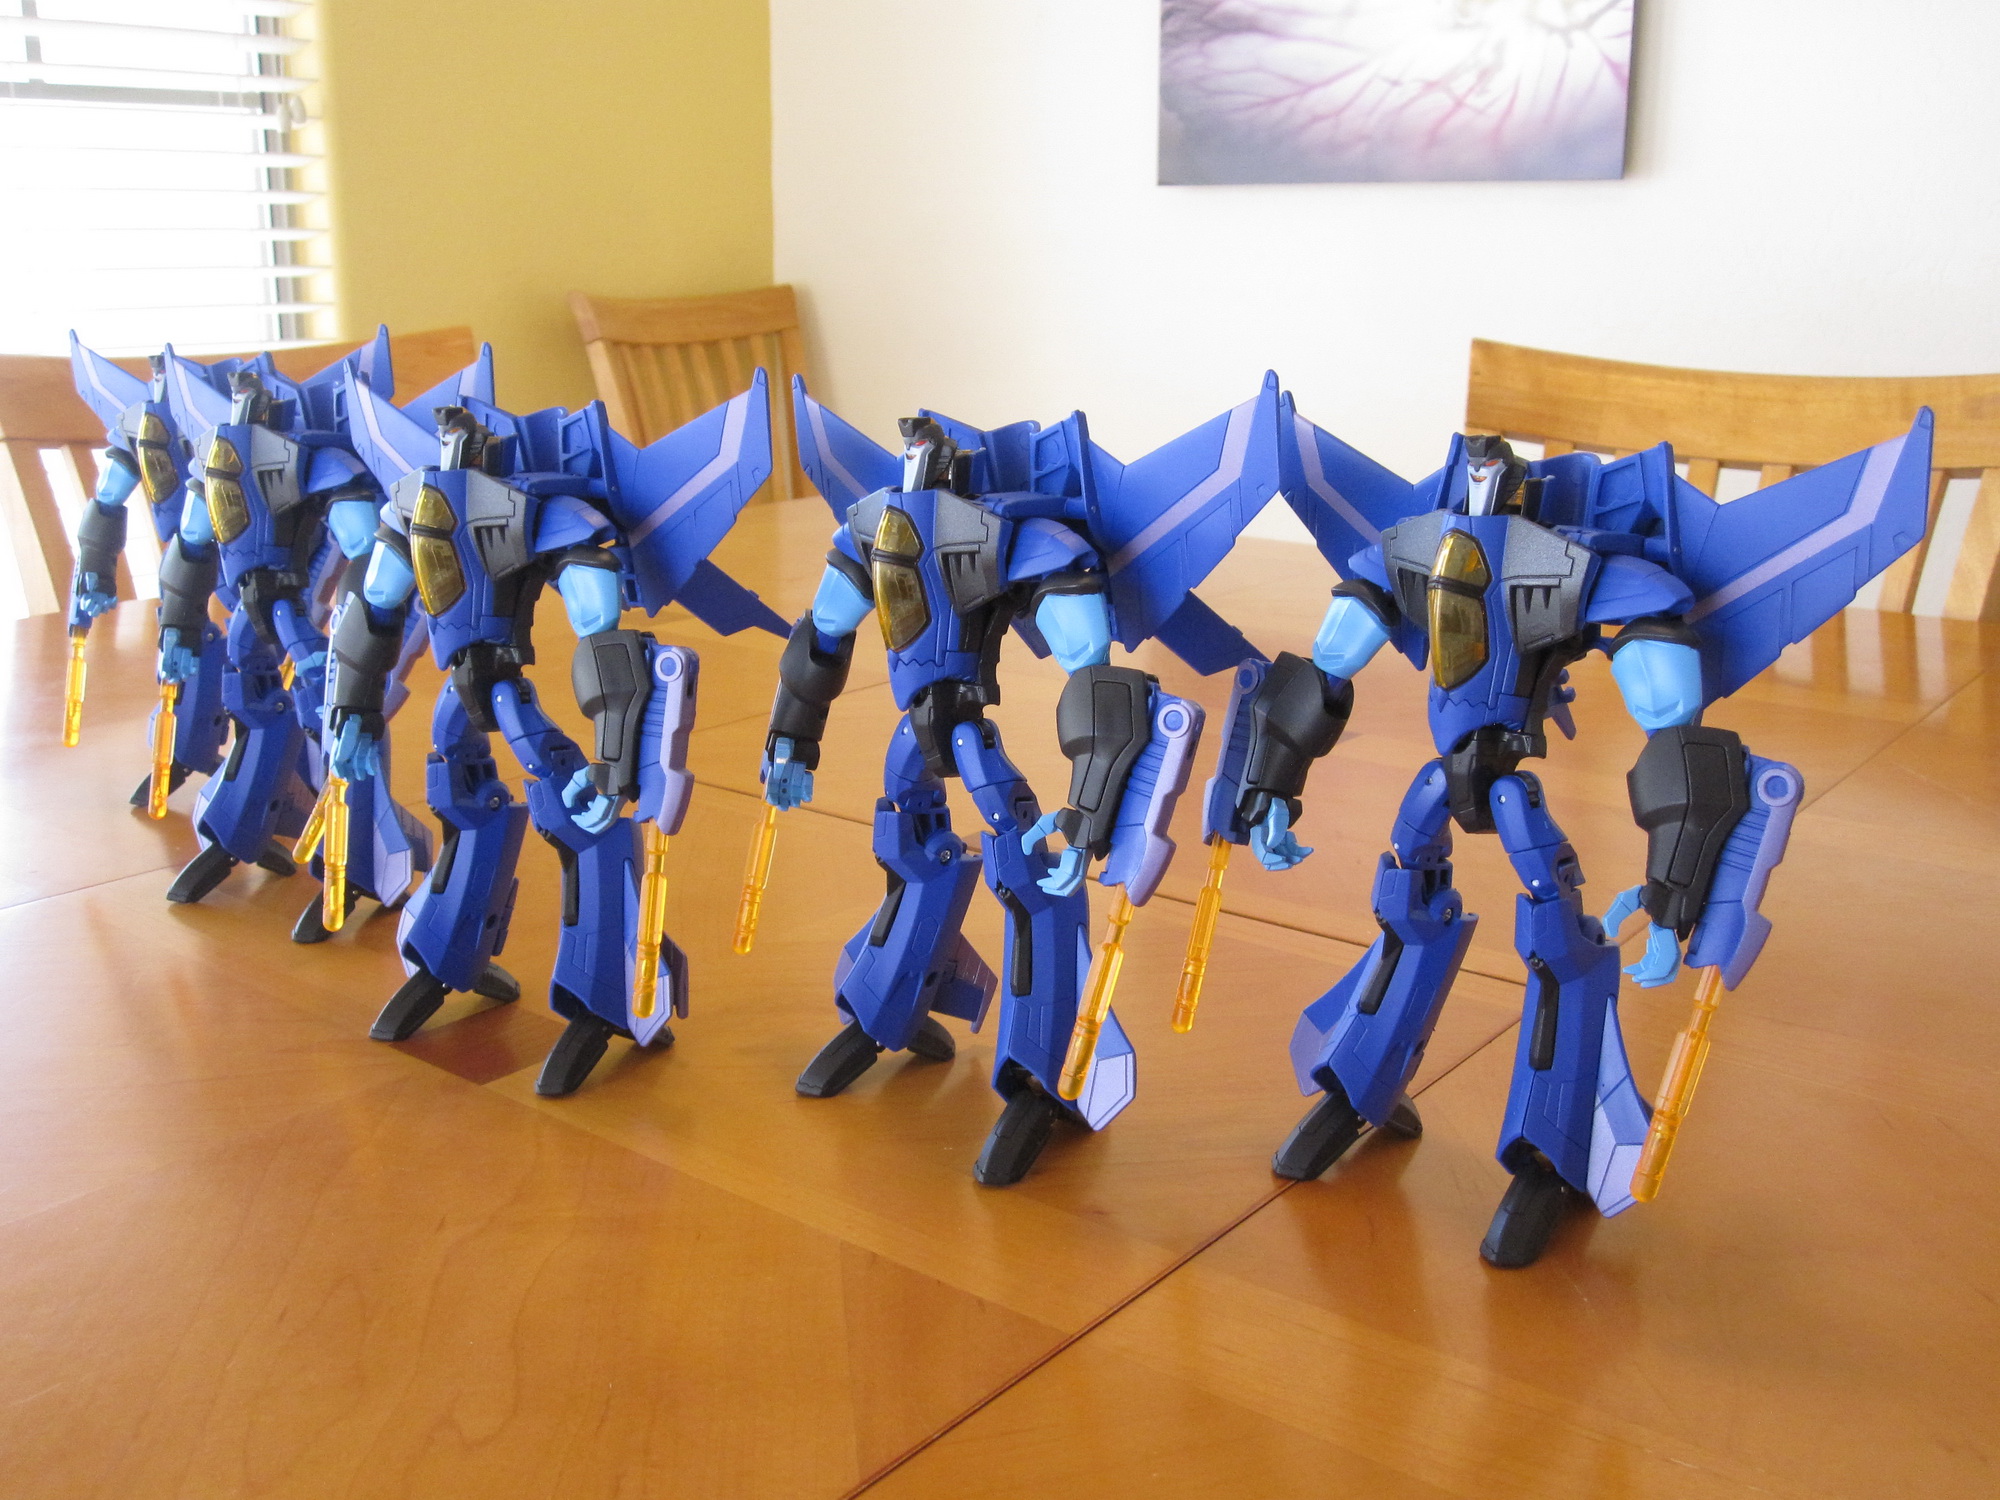
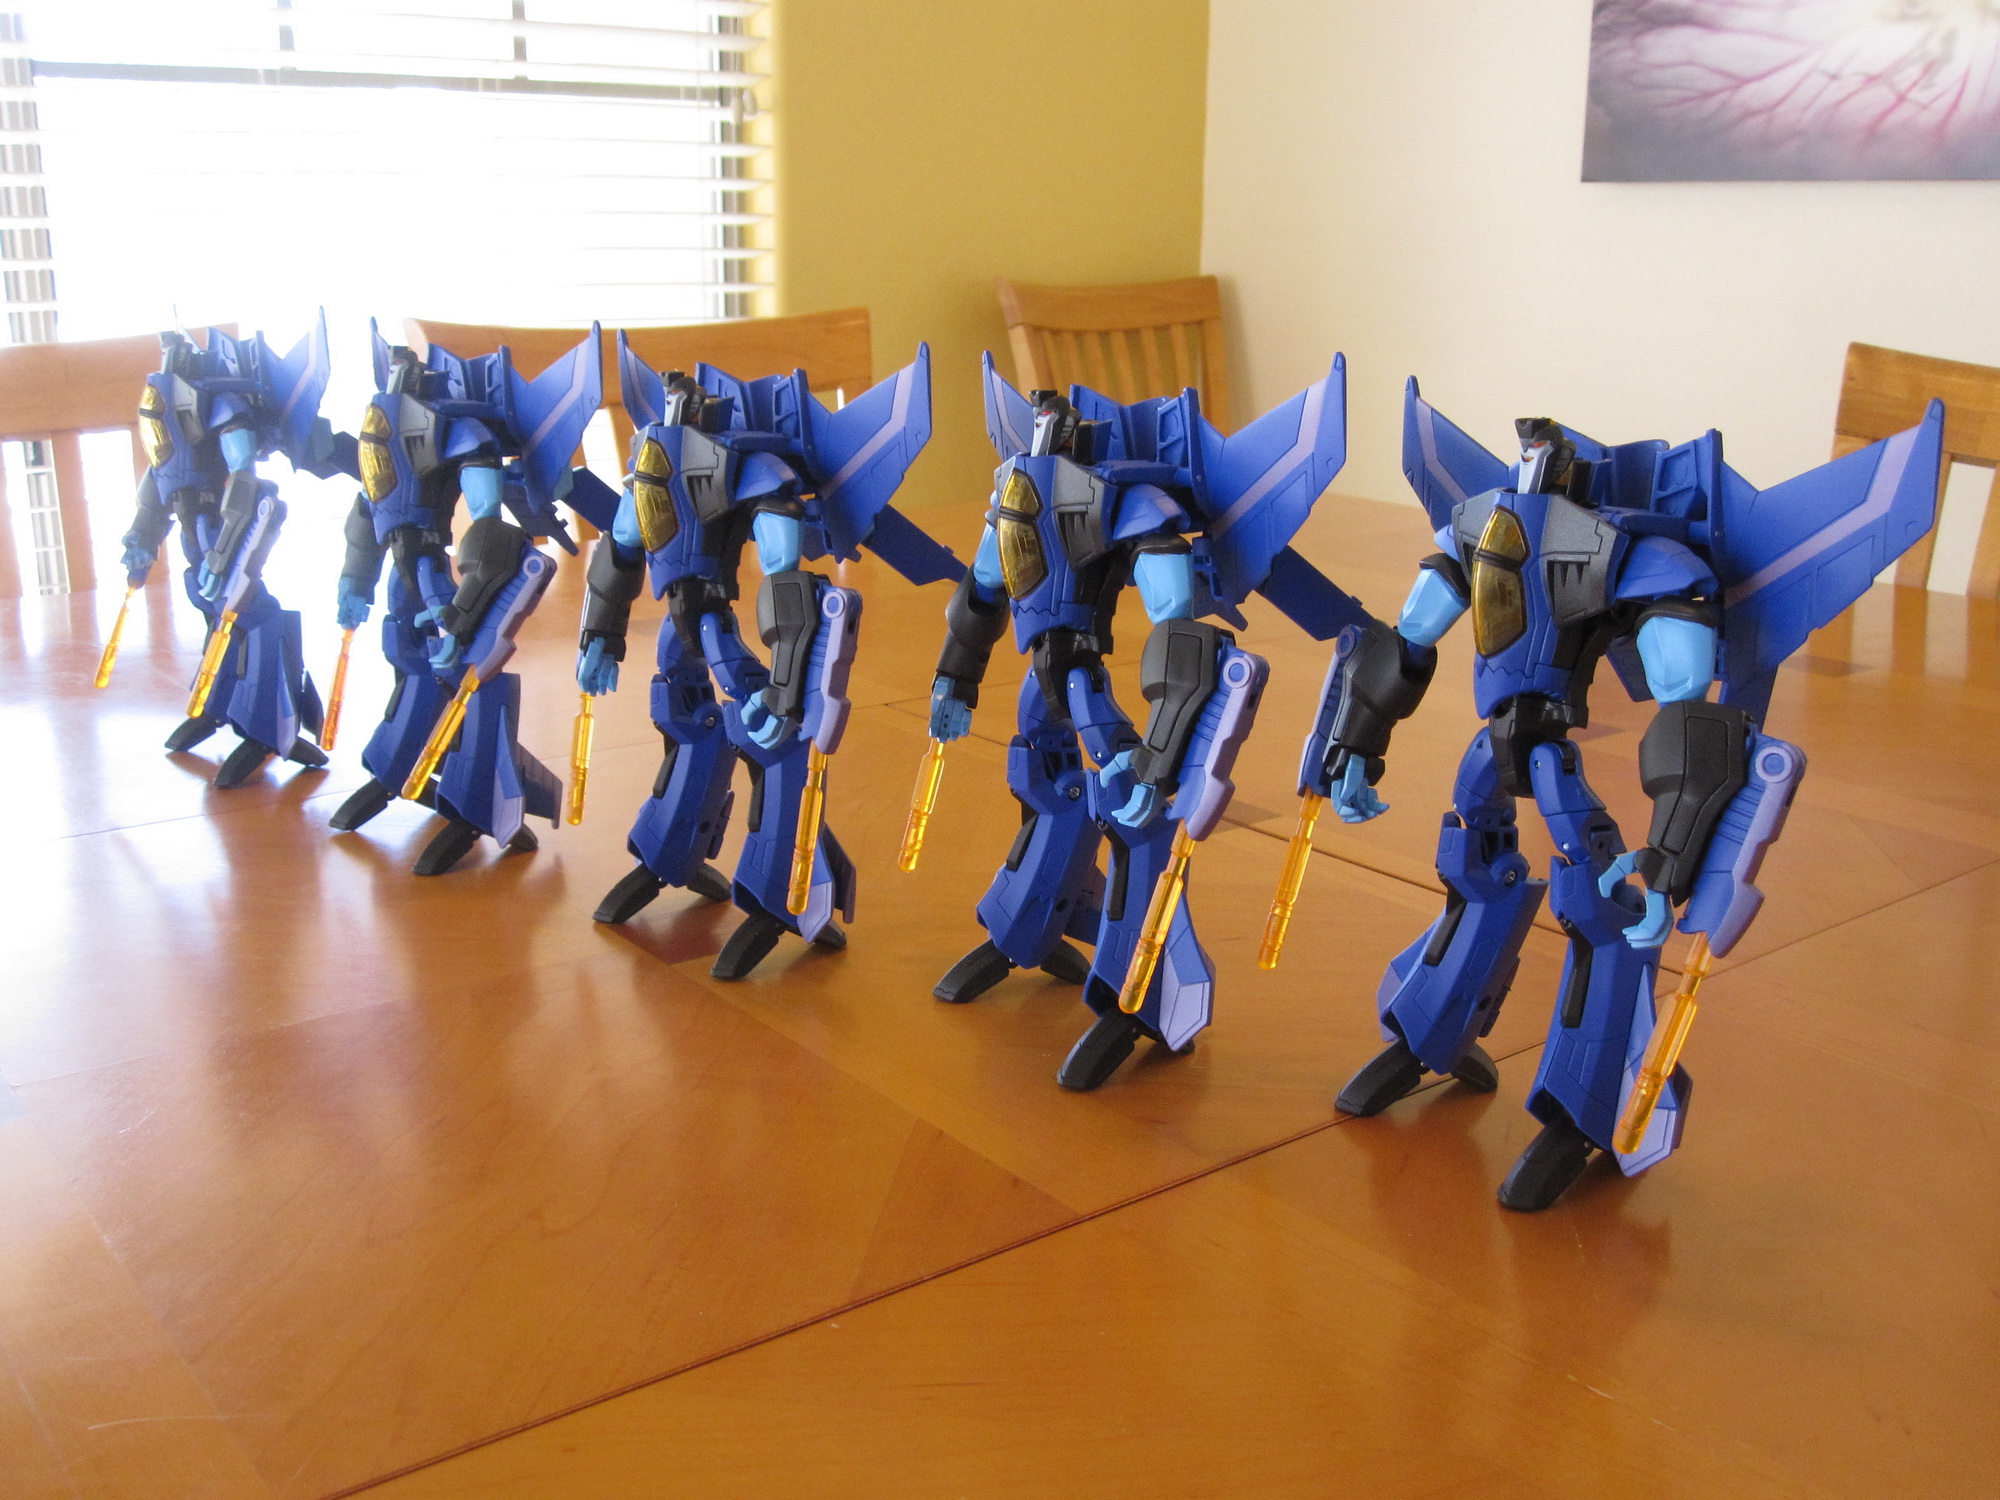
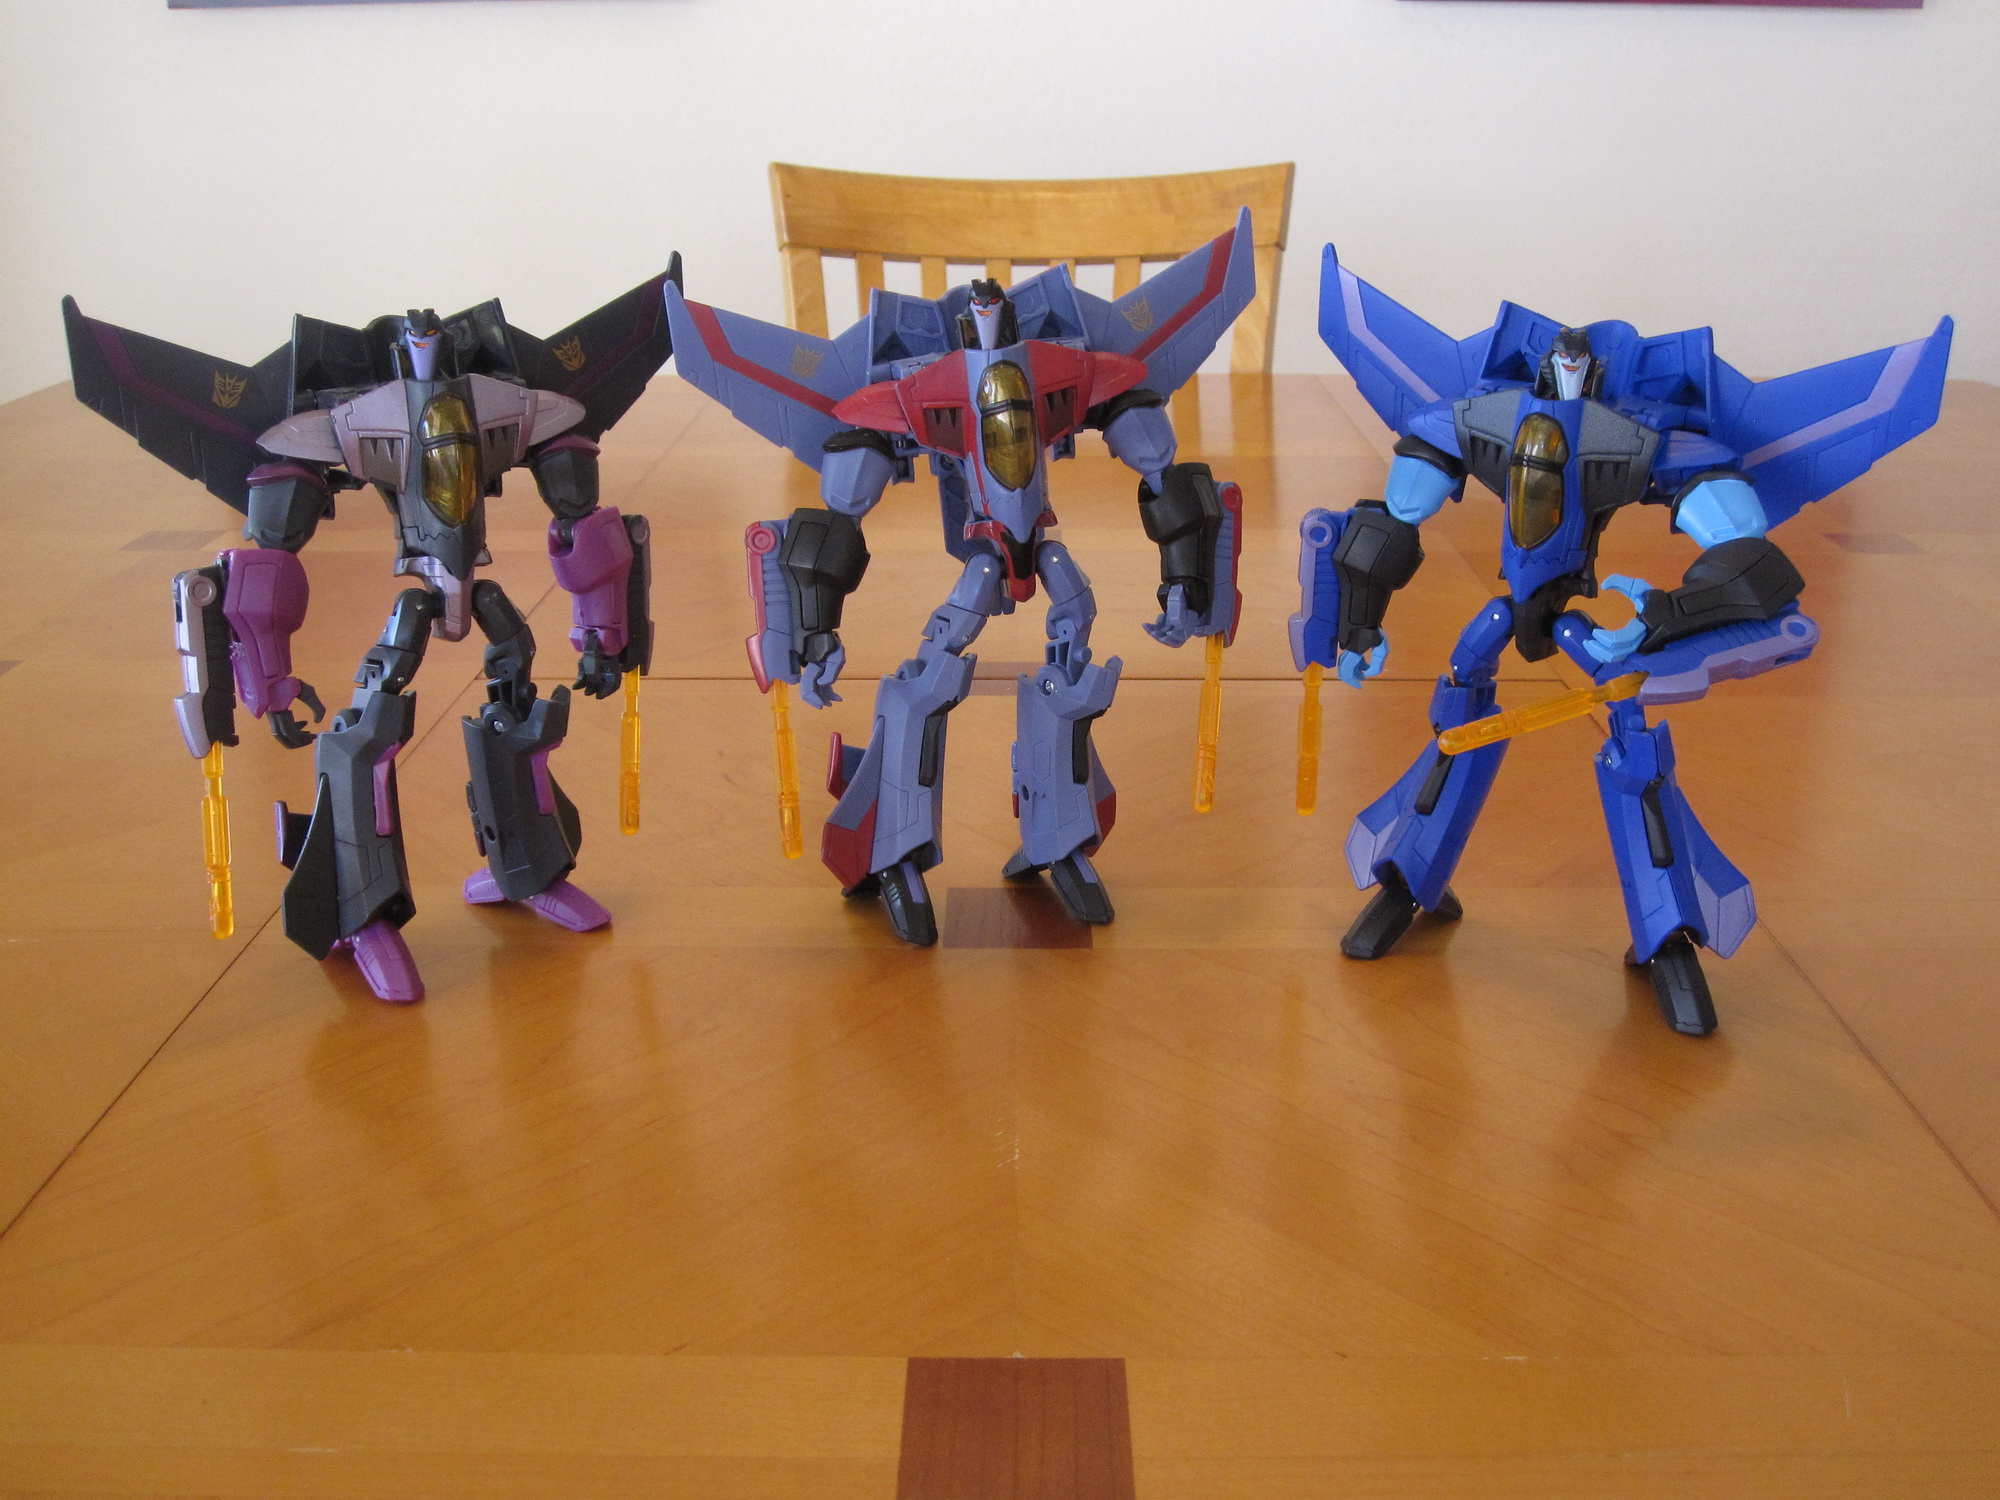


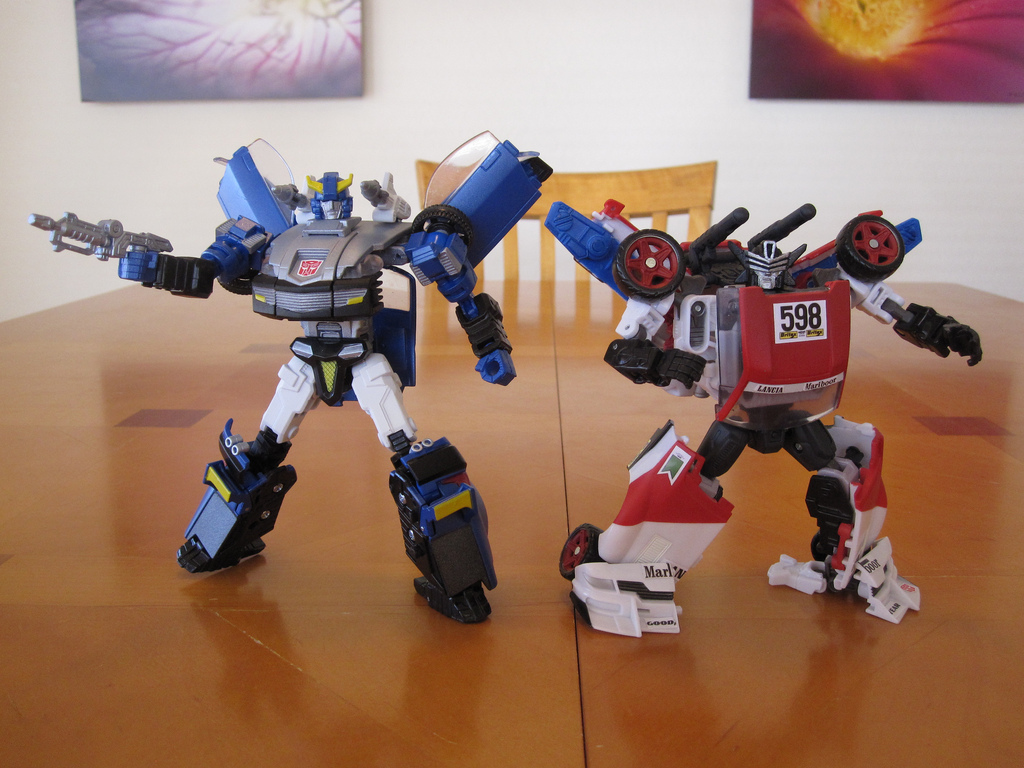
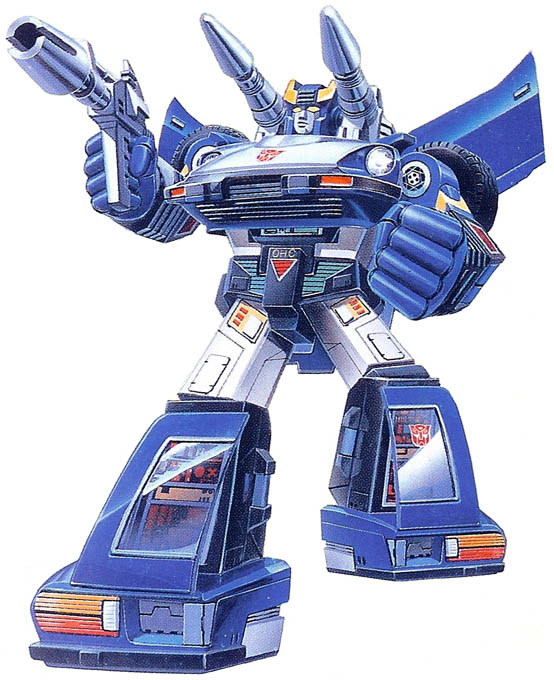
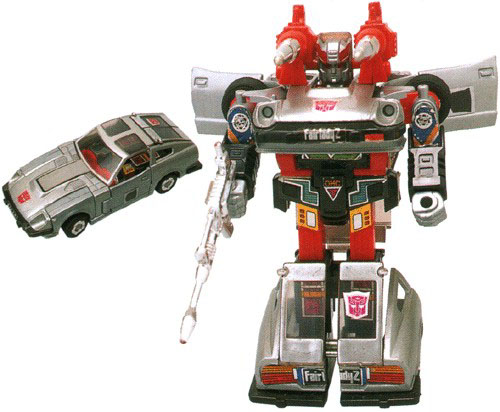
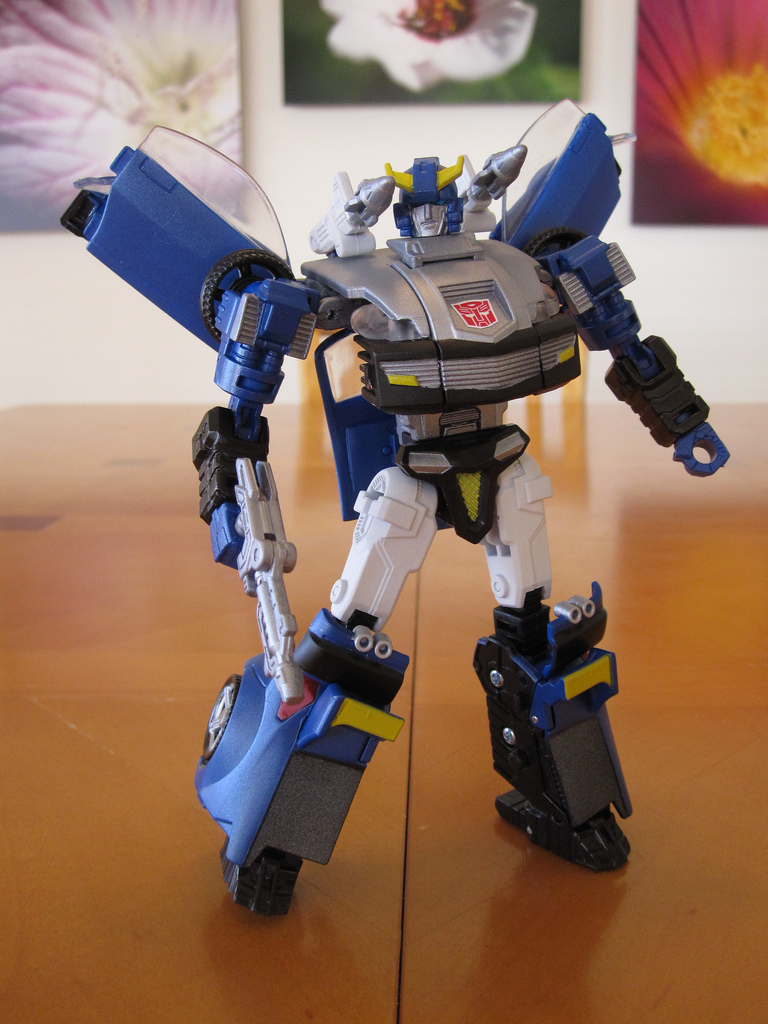
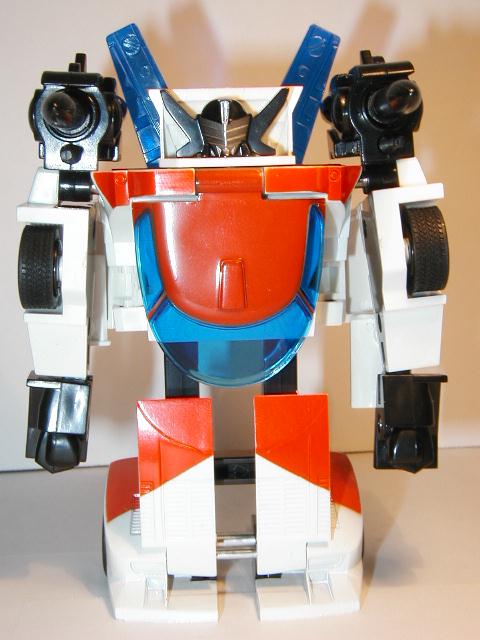
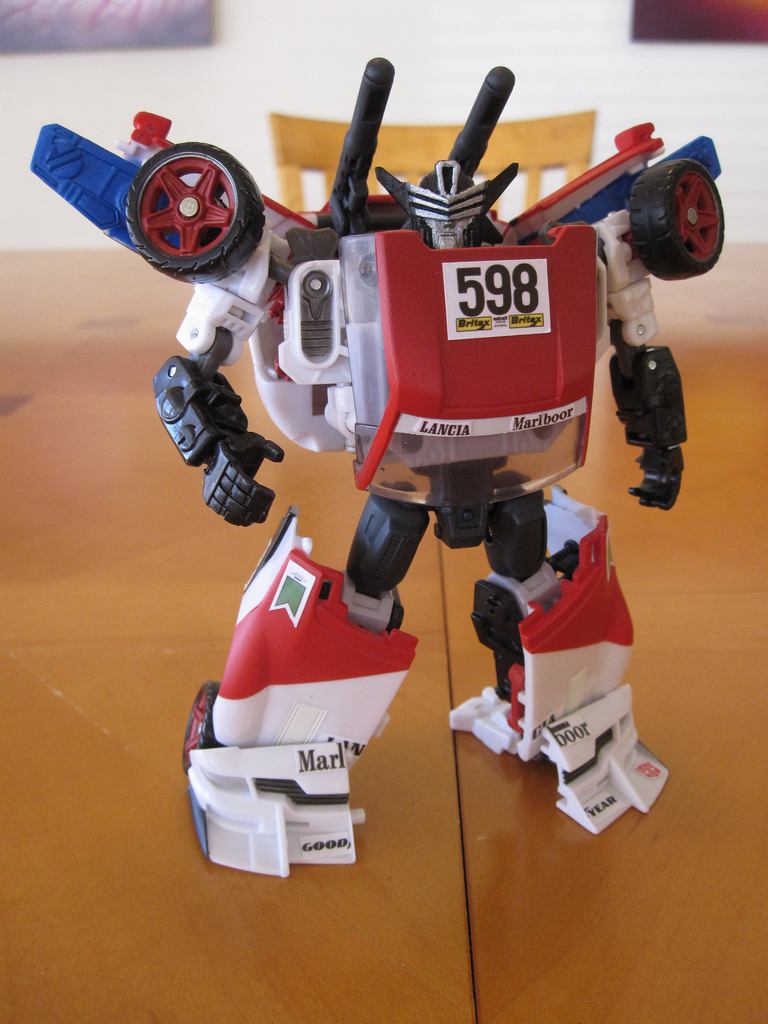
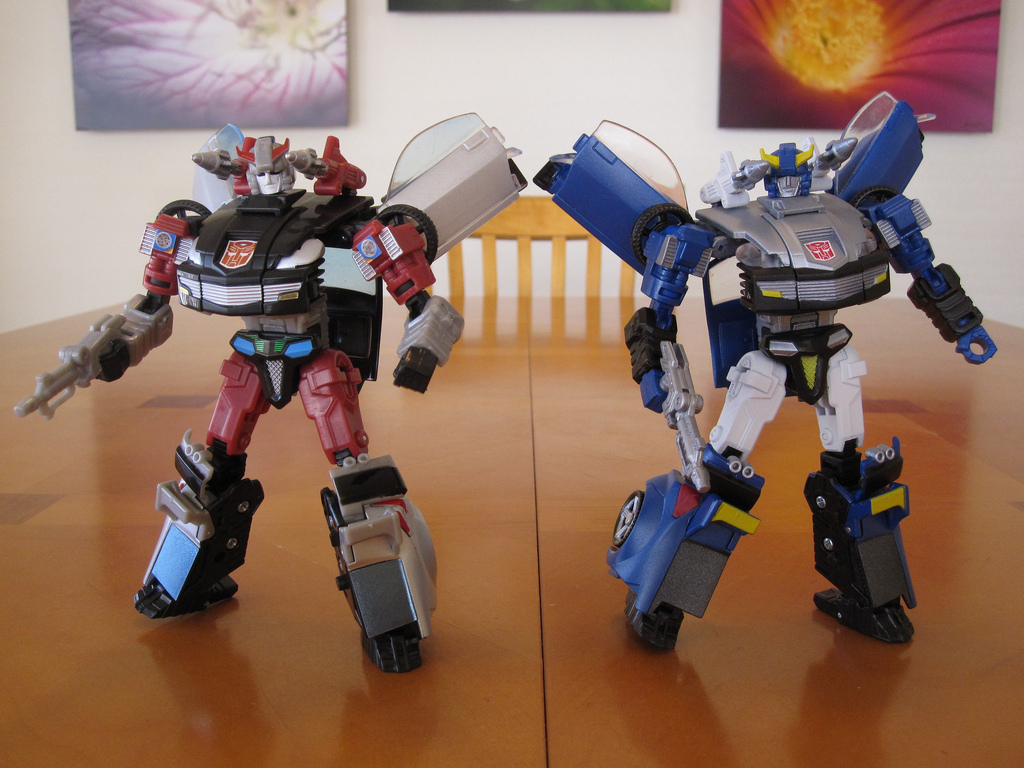
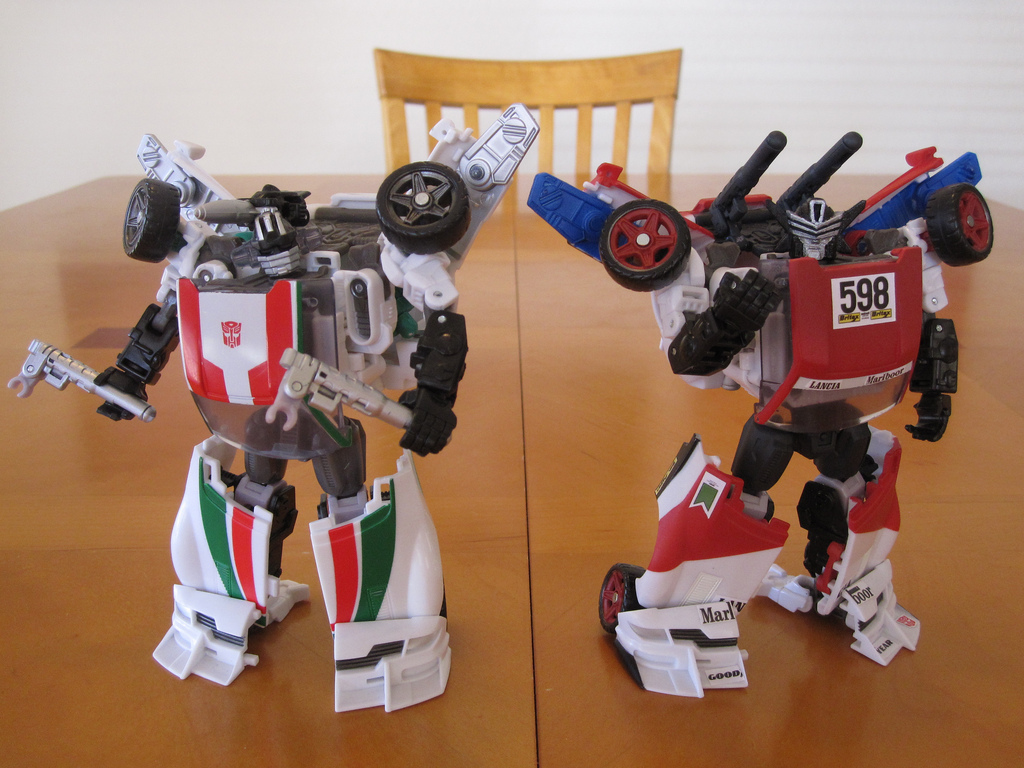


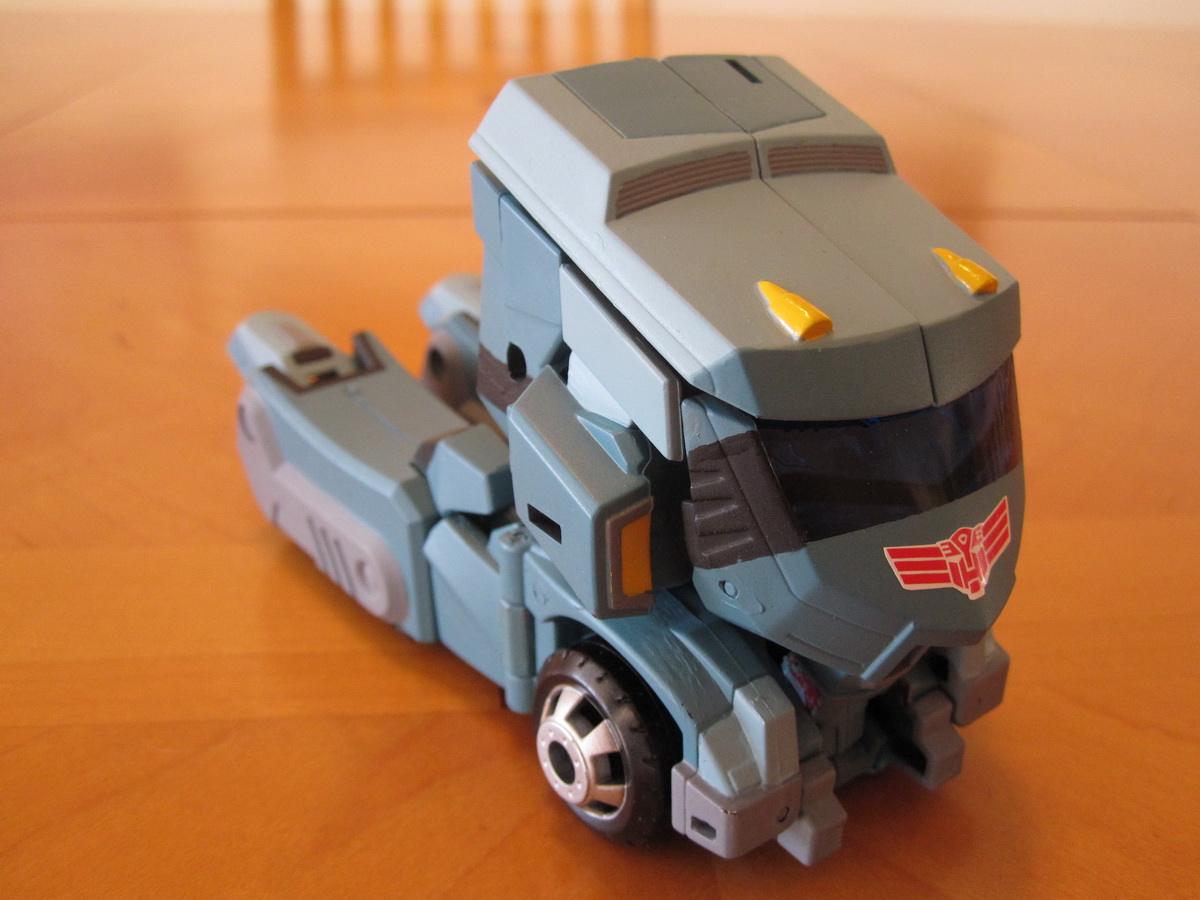
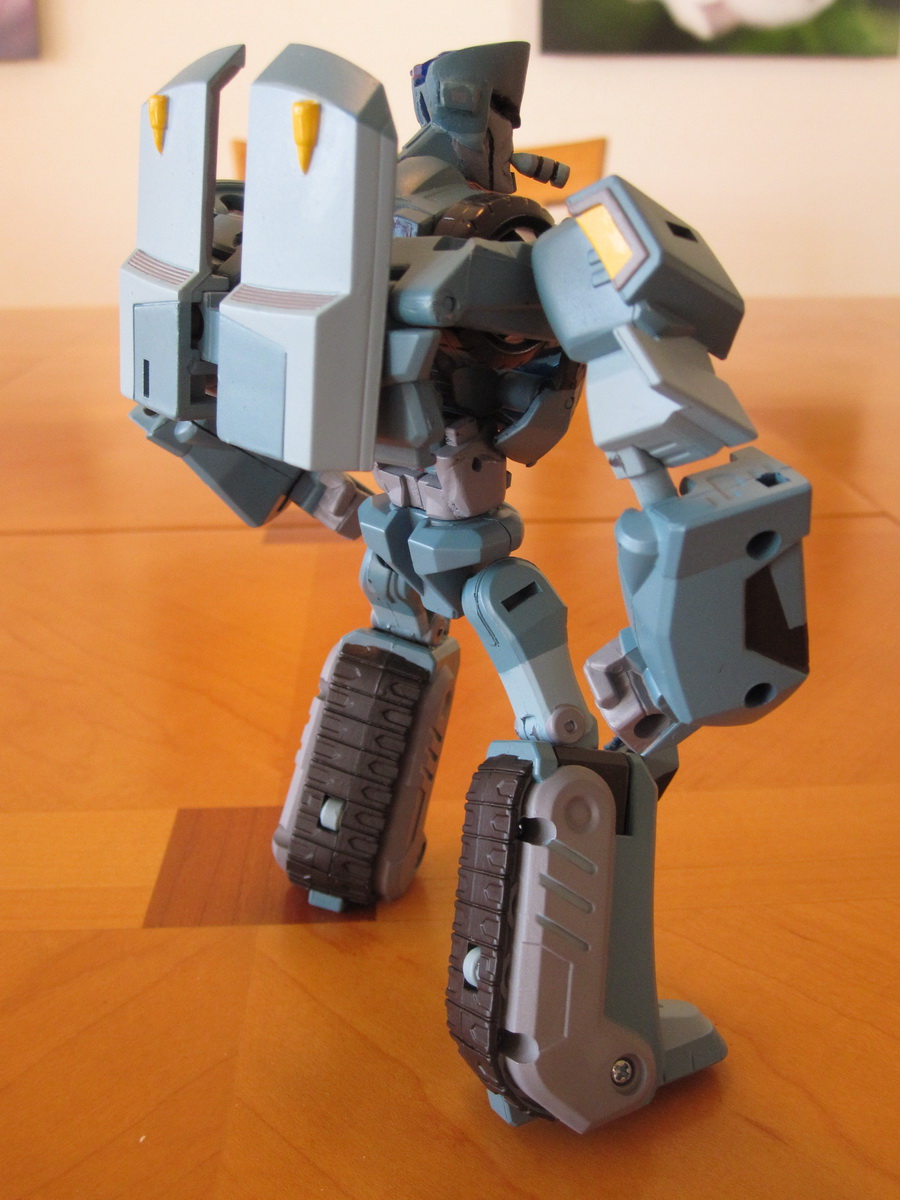
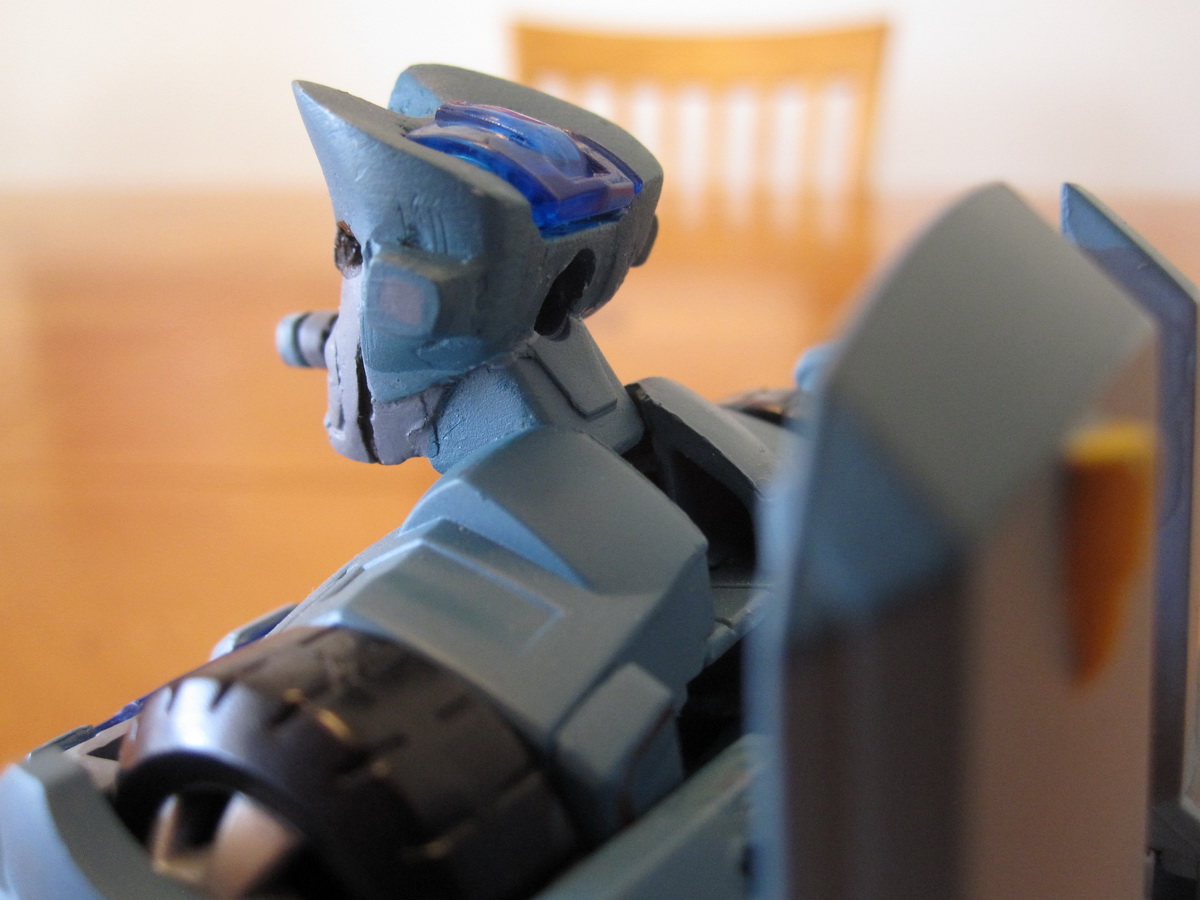
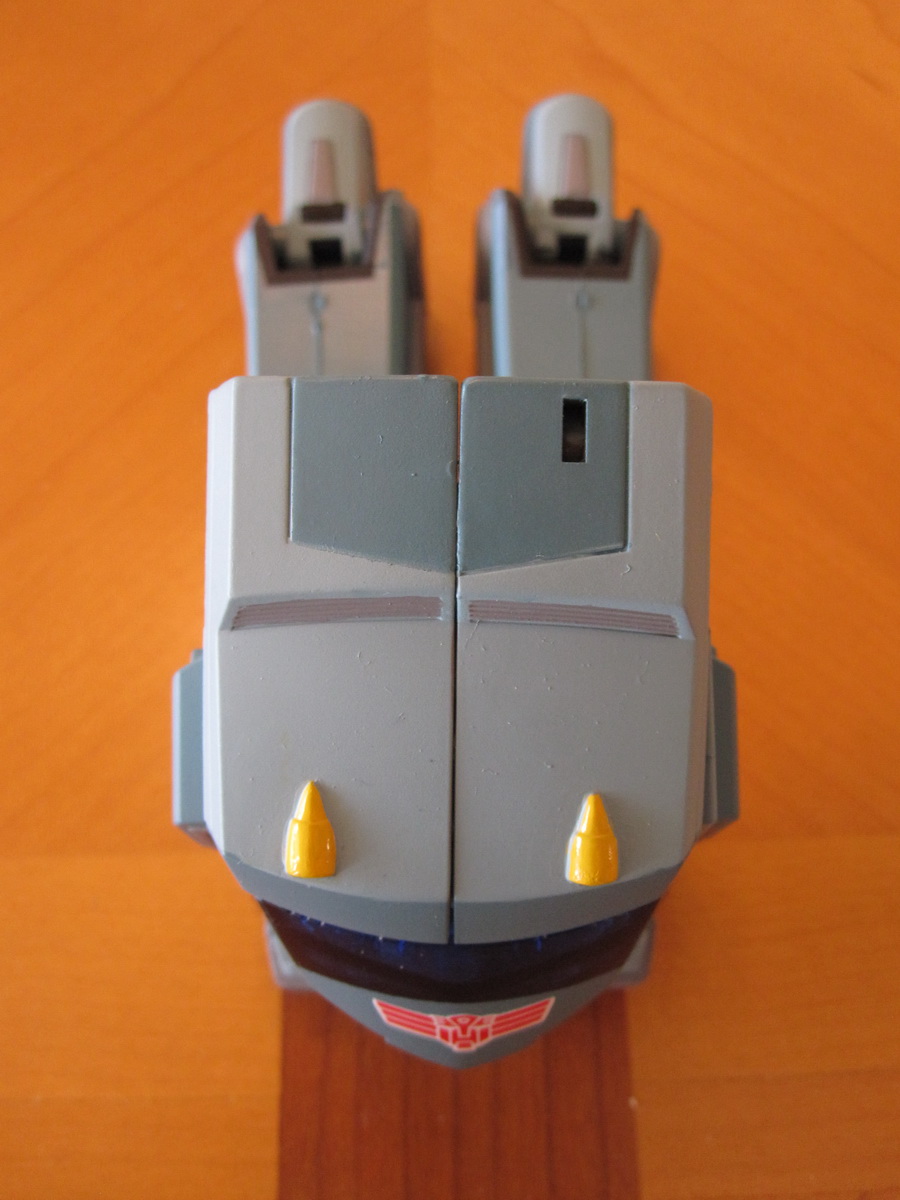
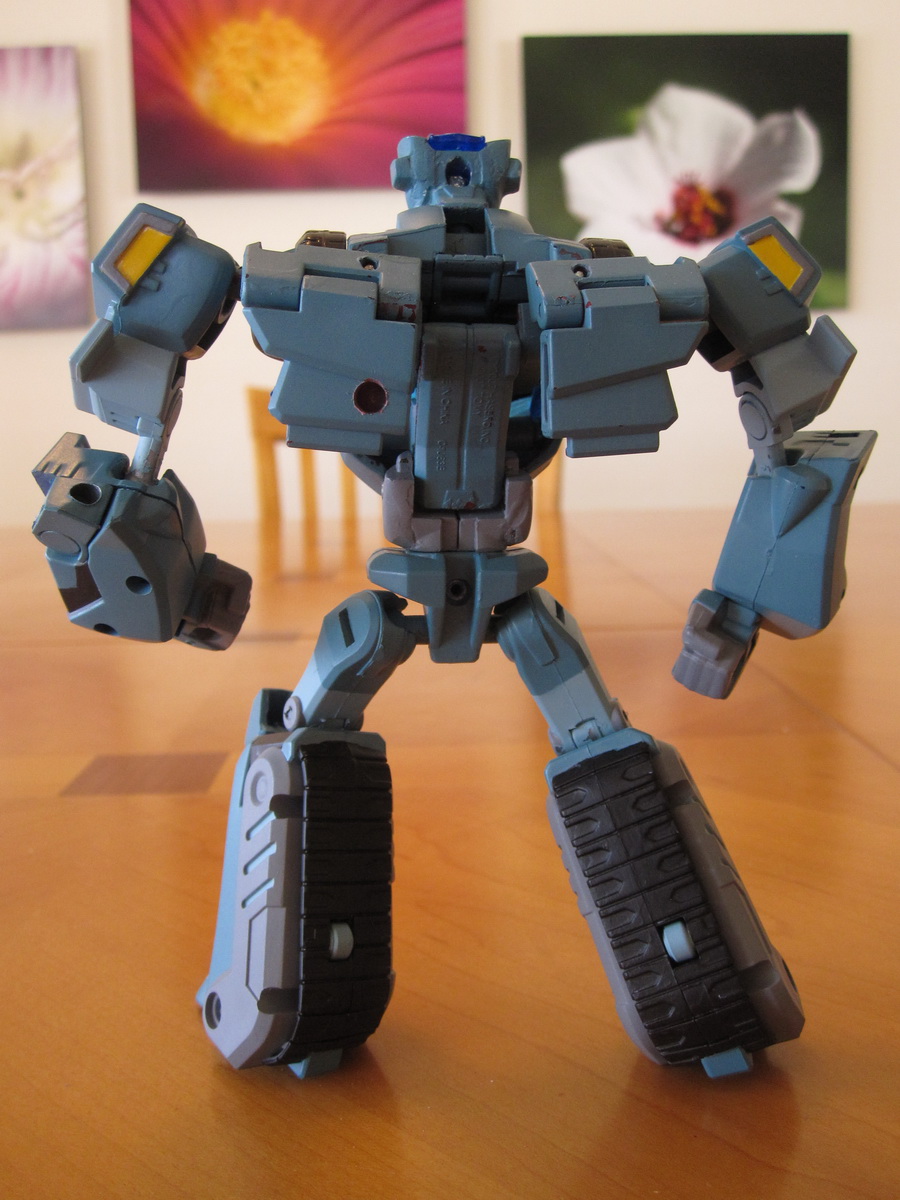
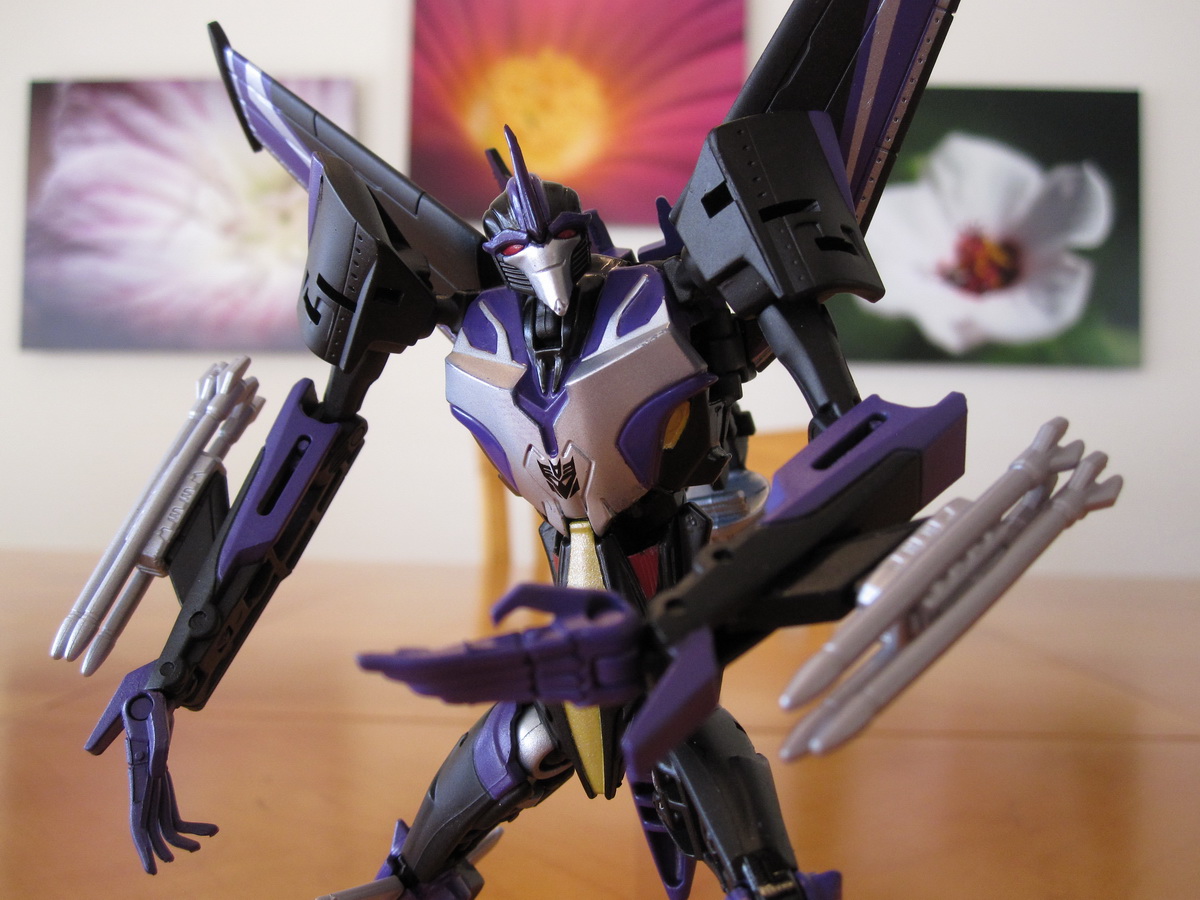
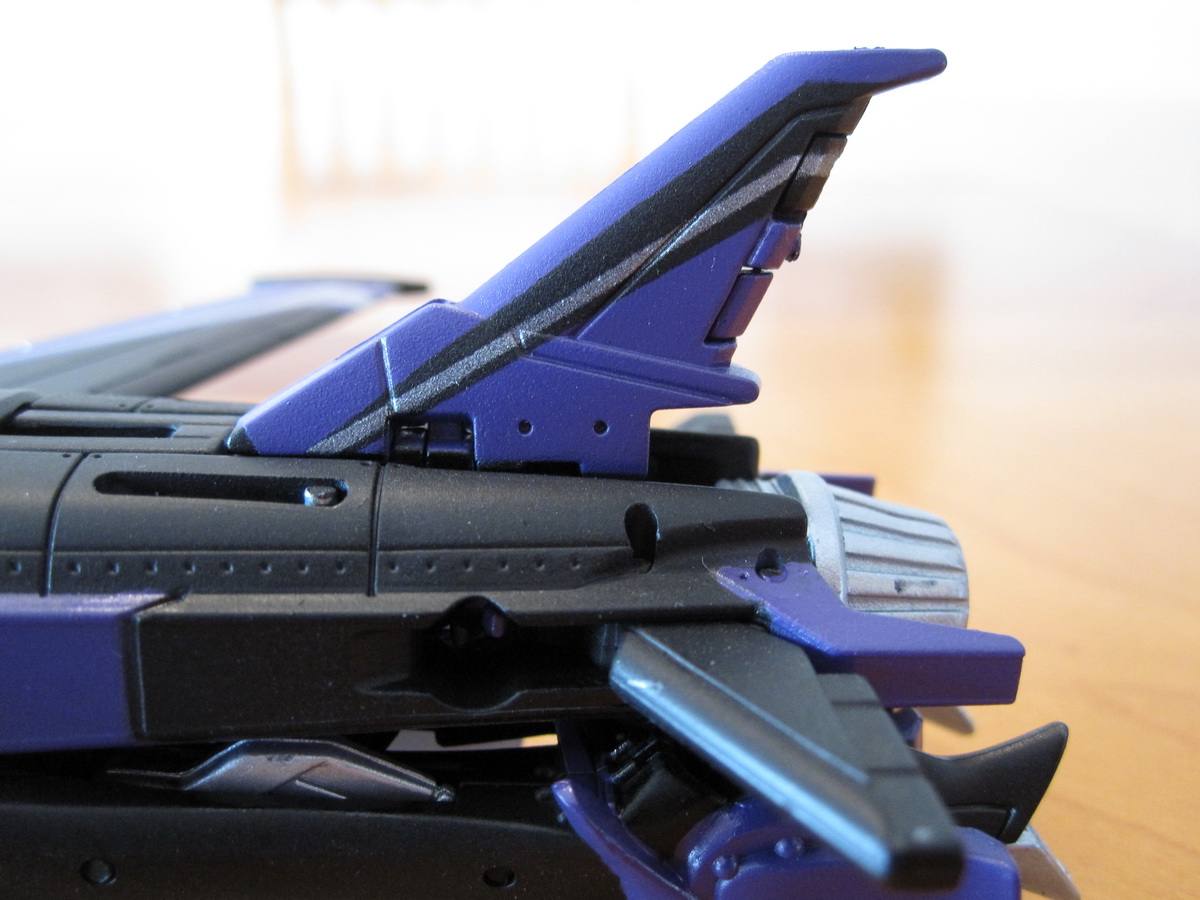
 - Robot mode")
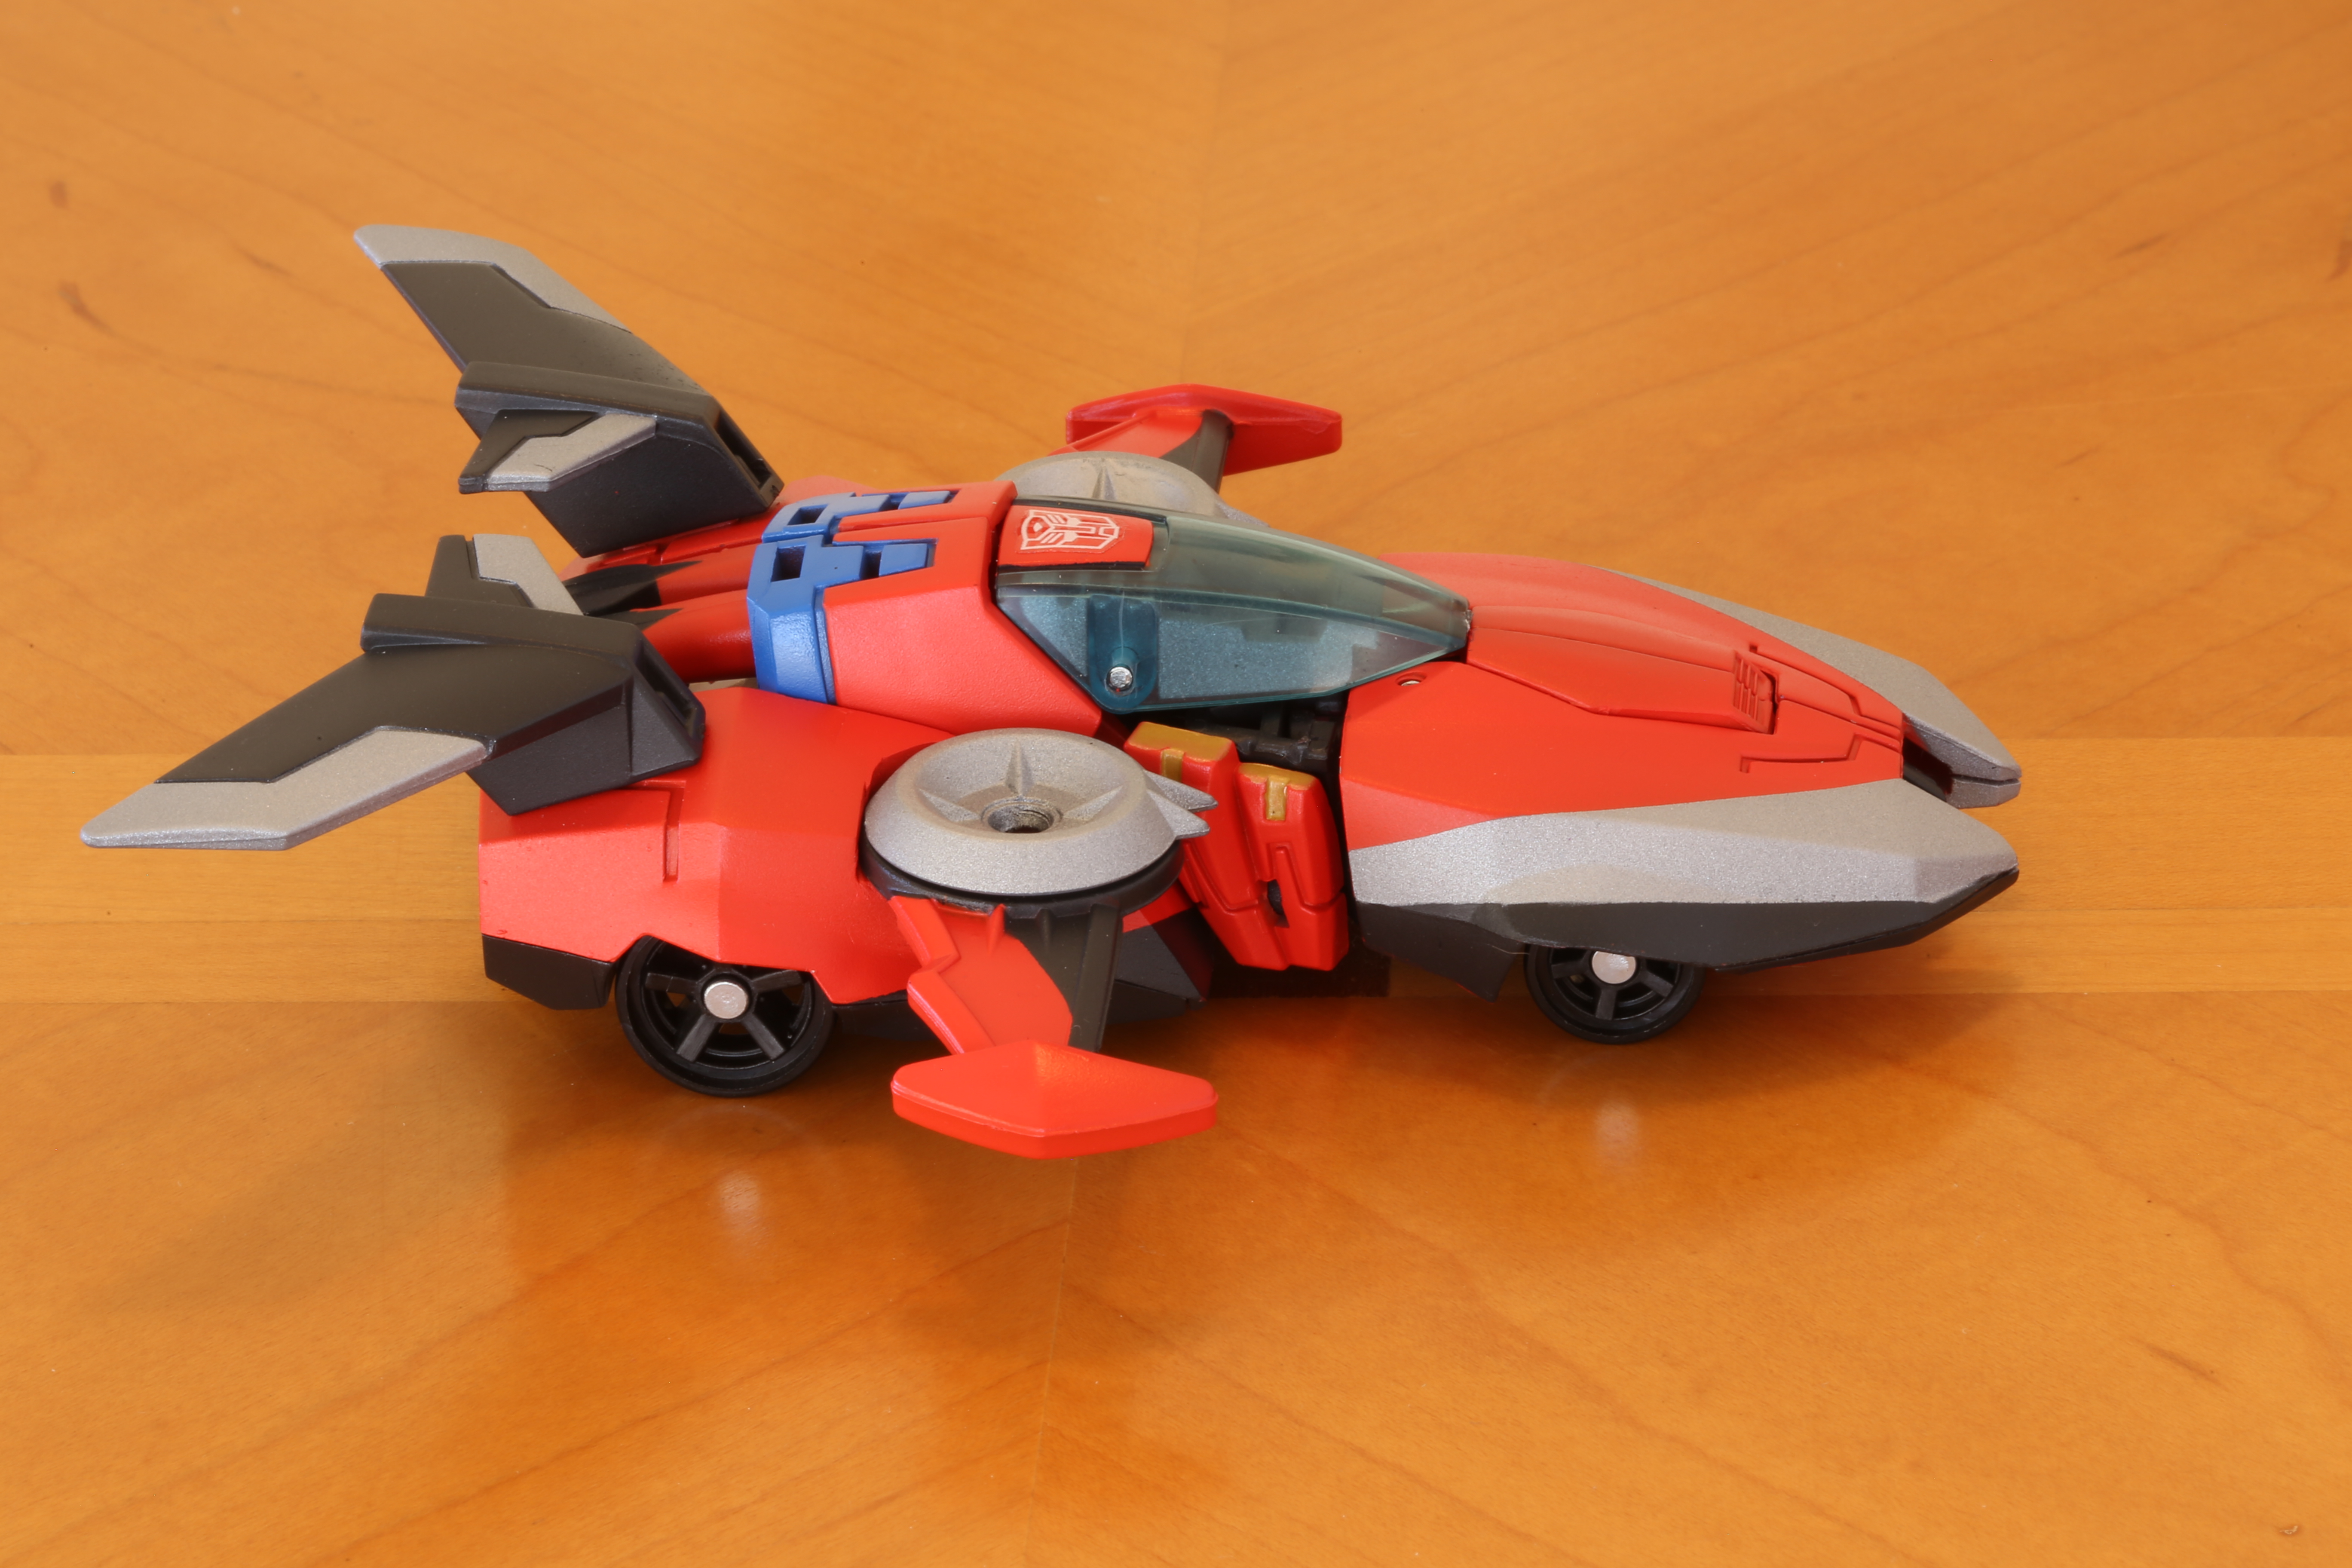
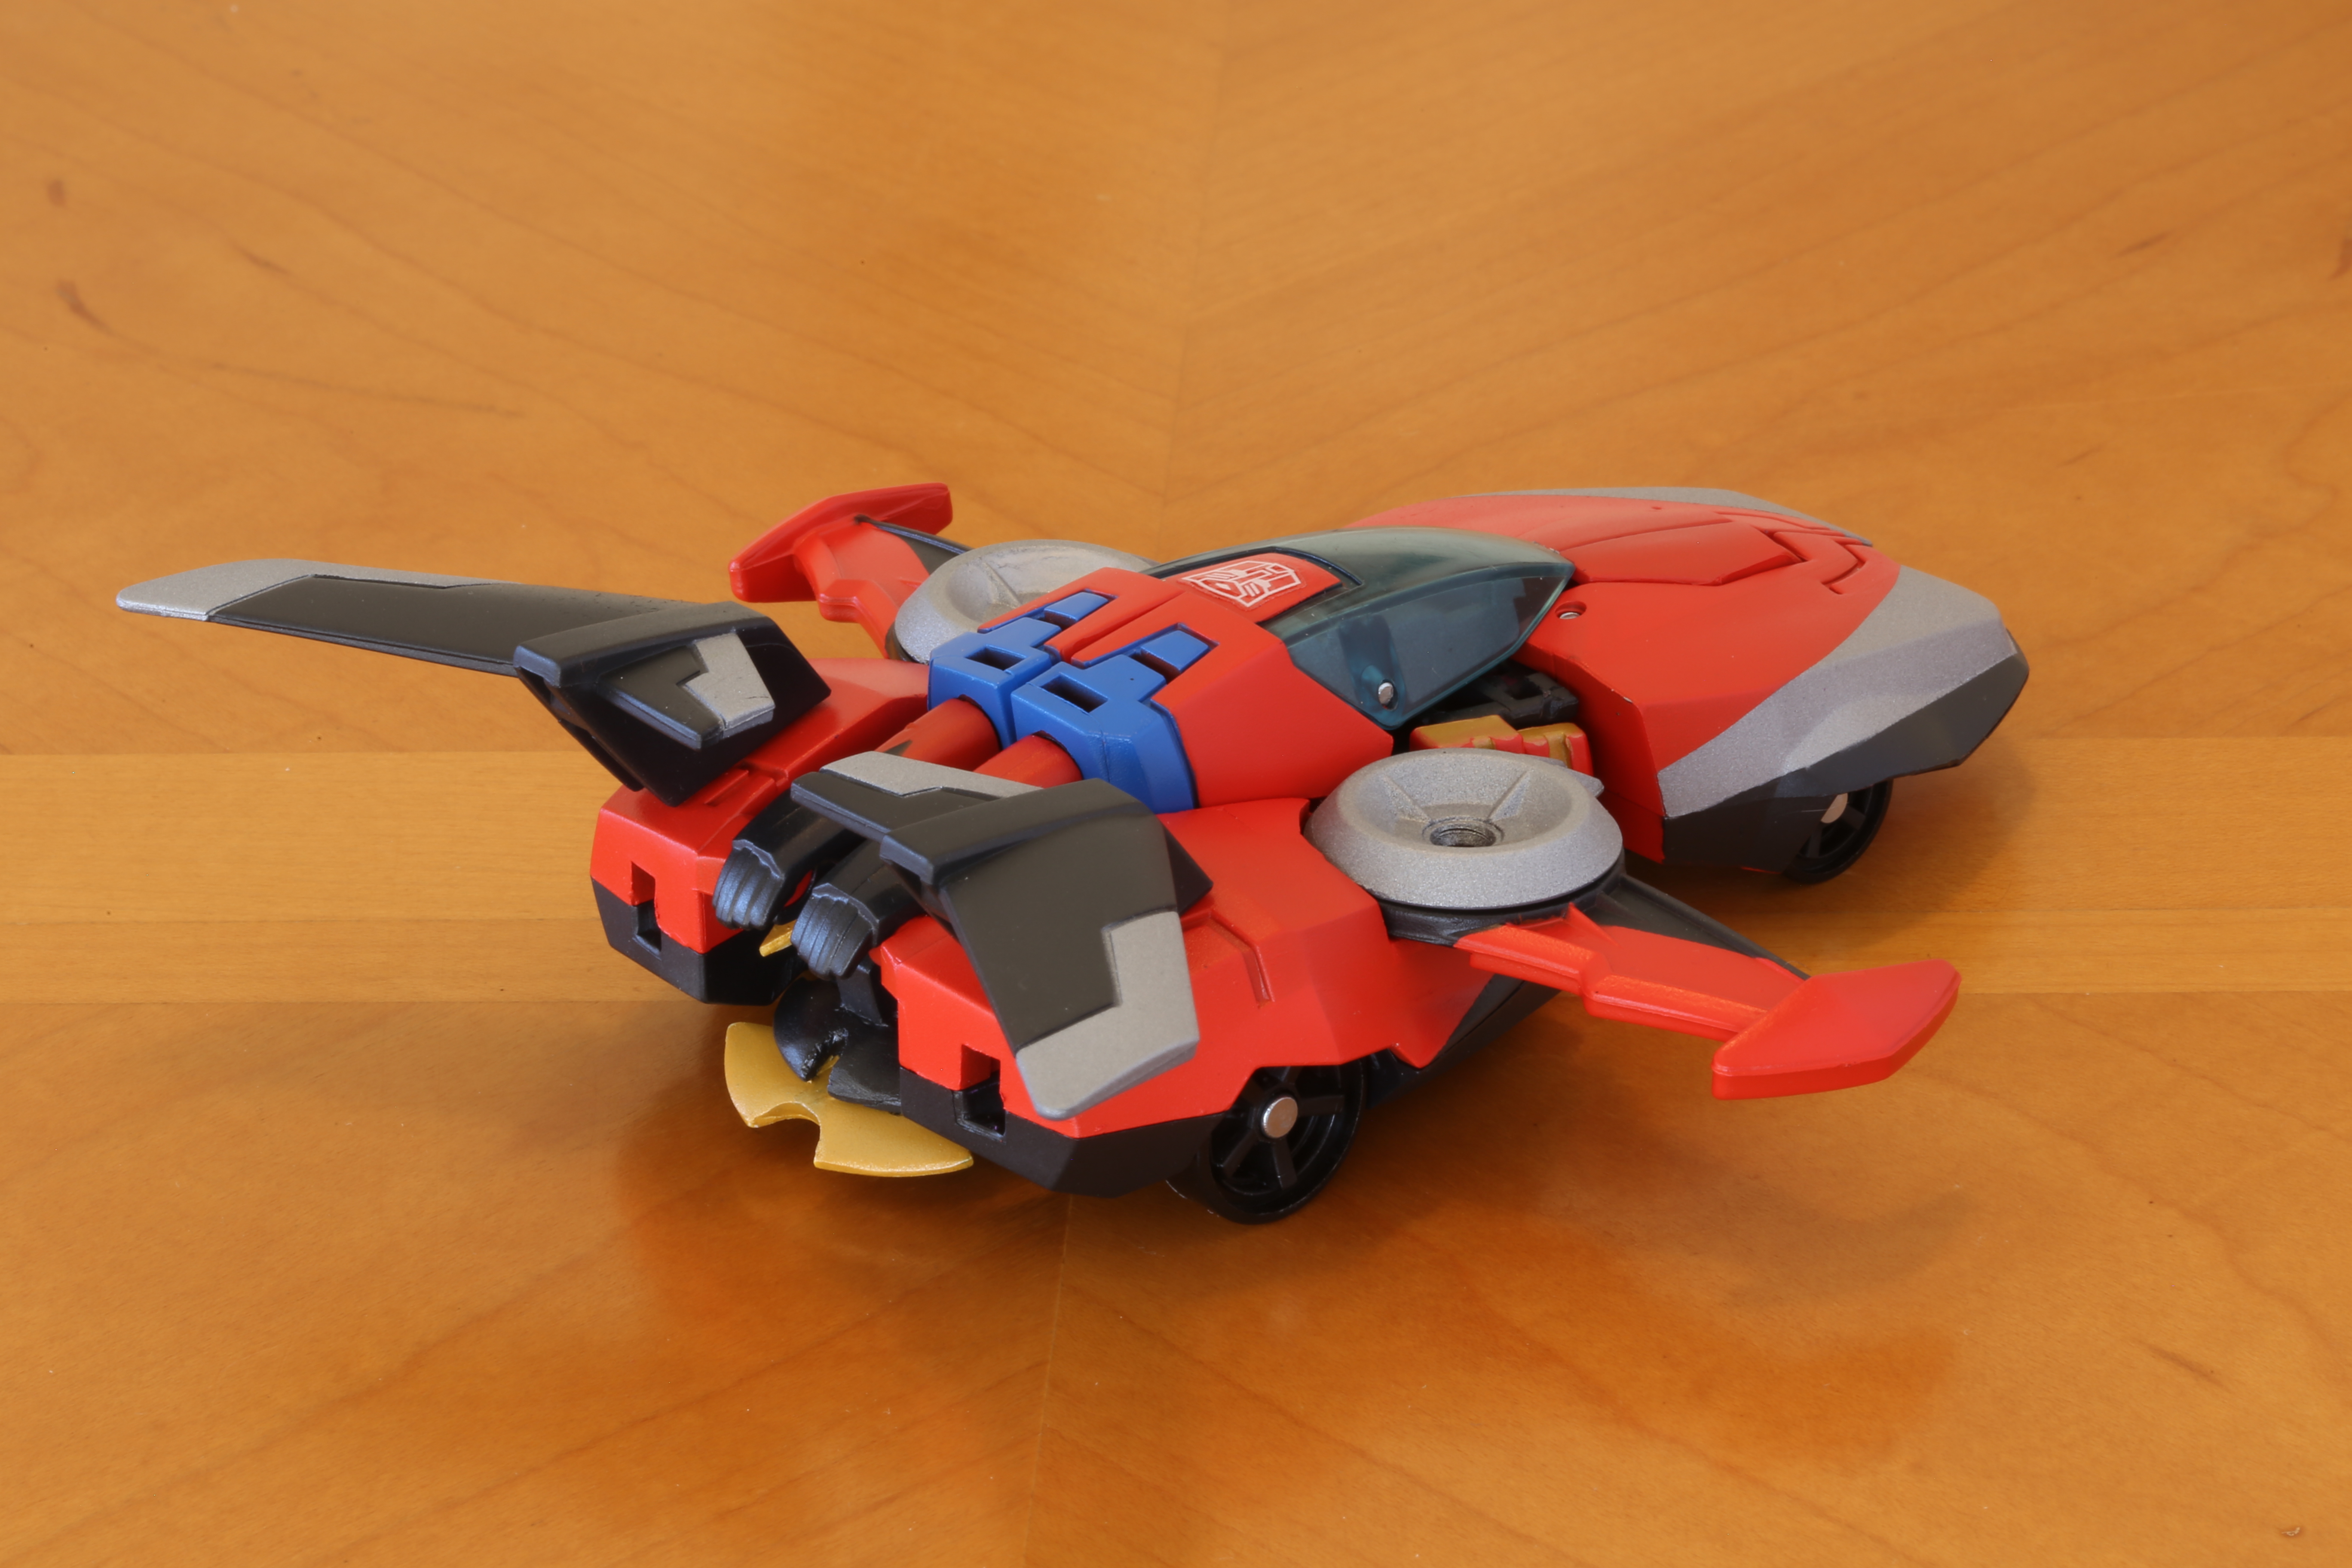
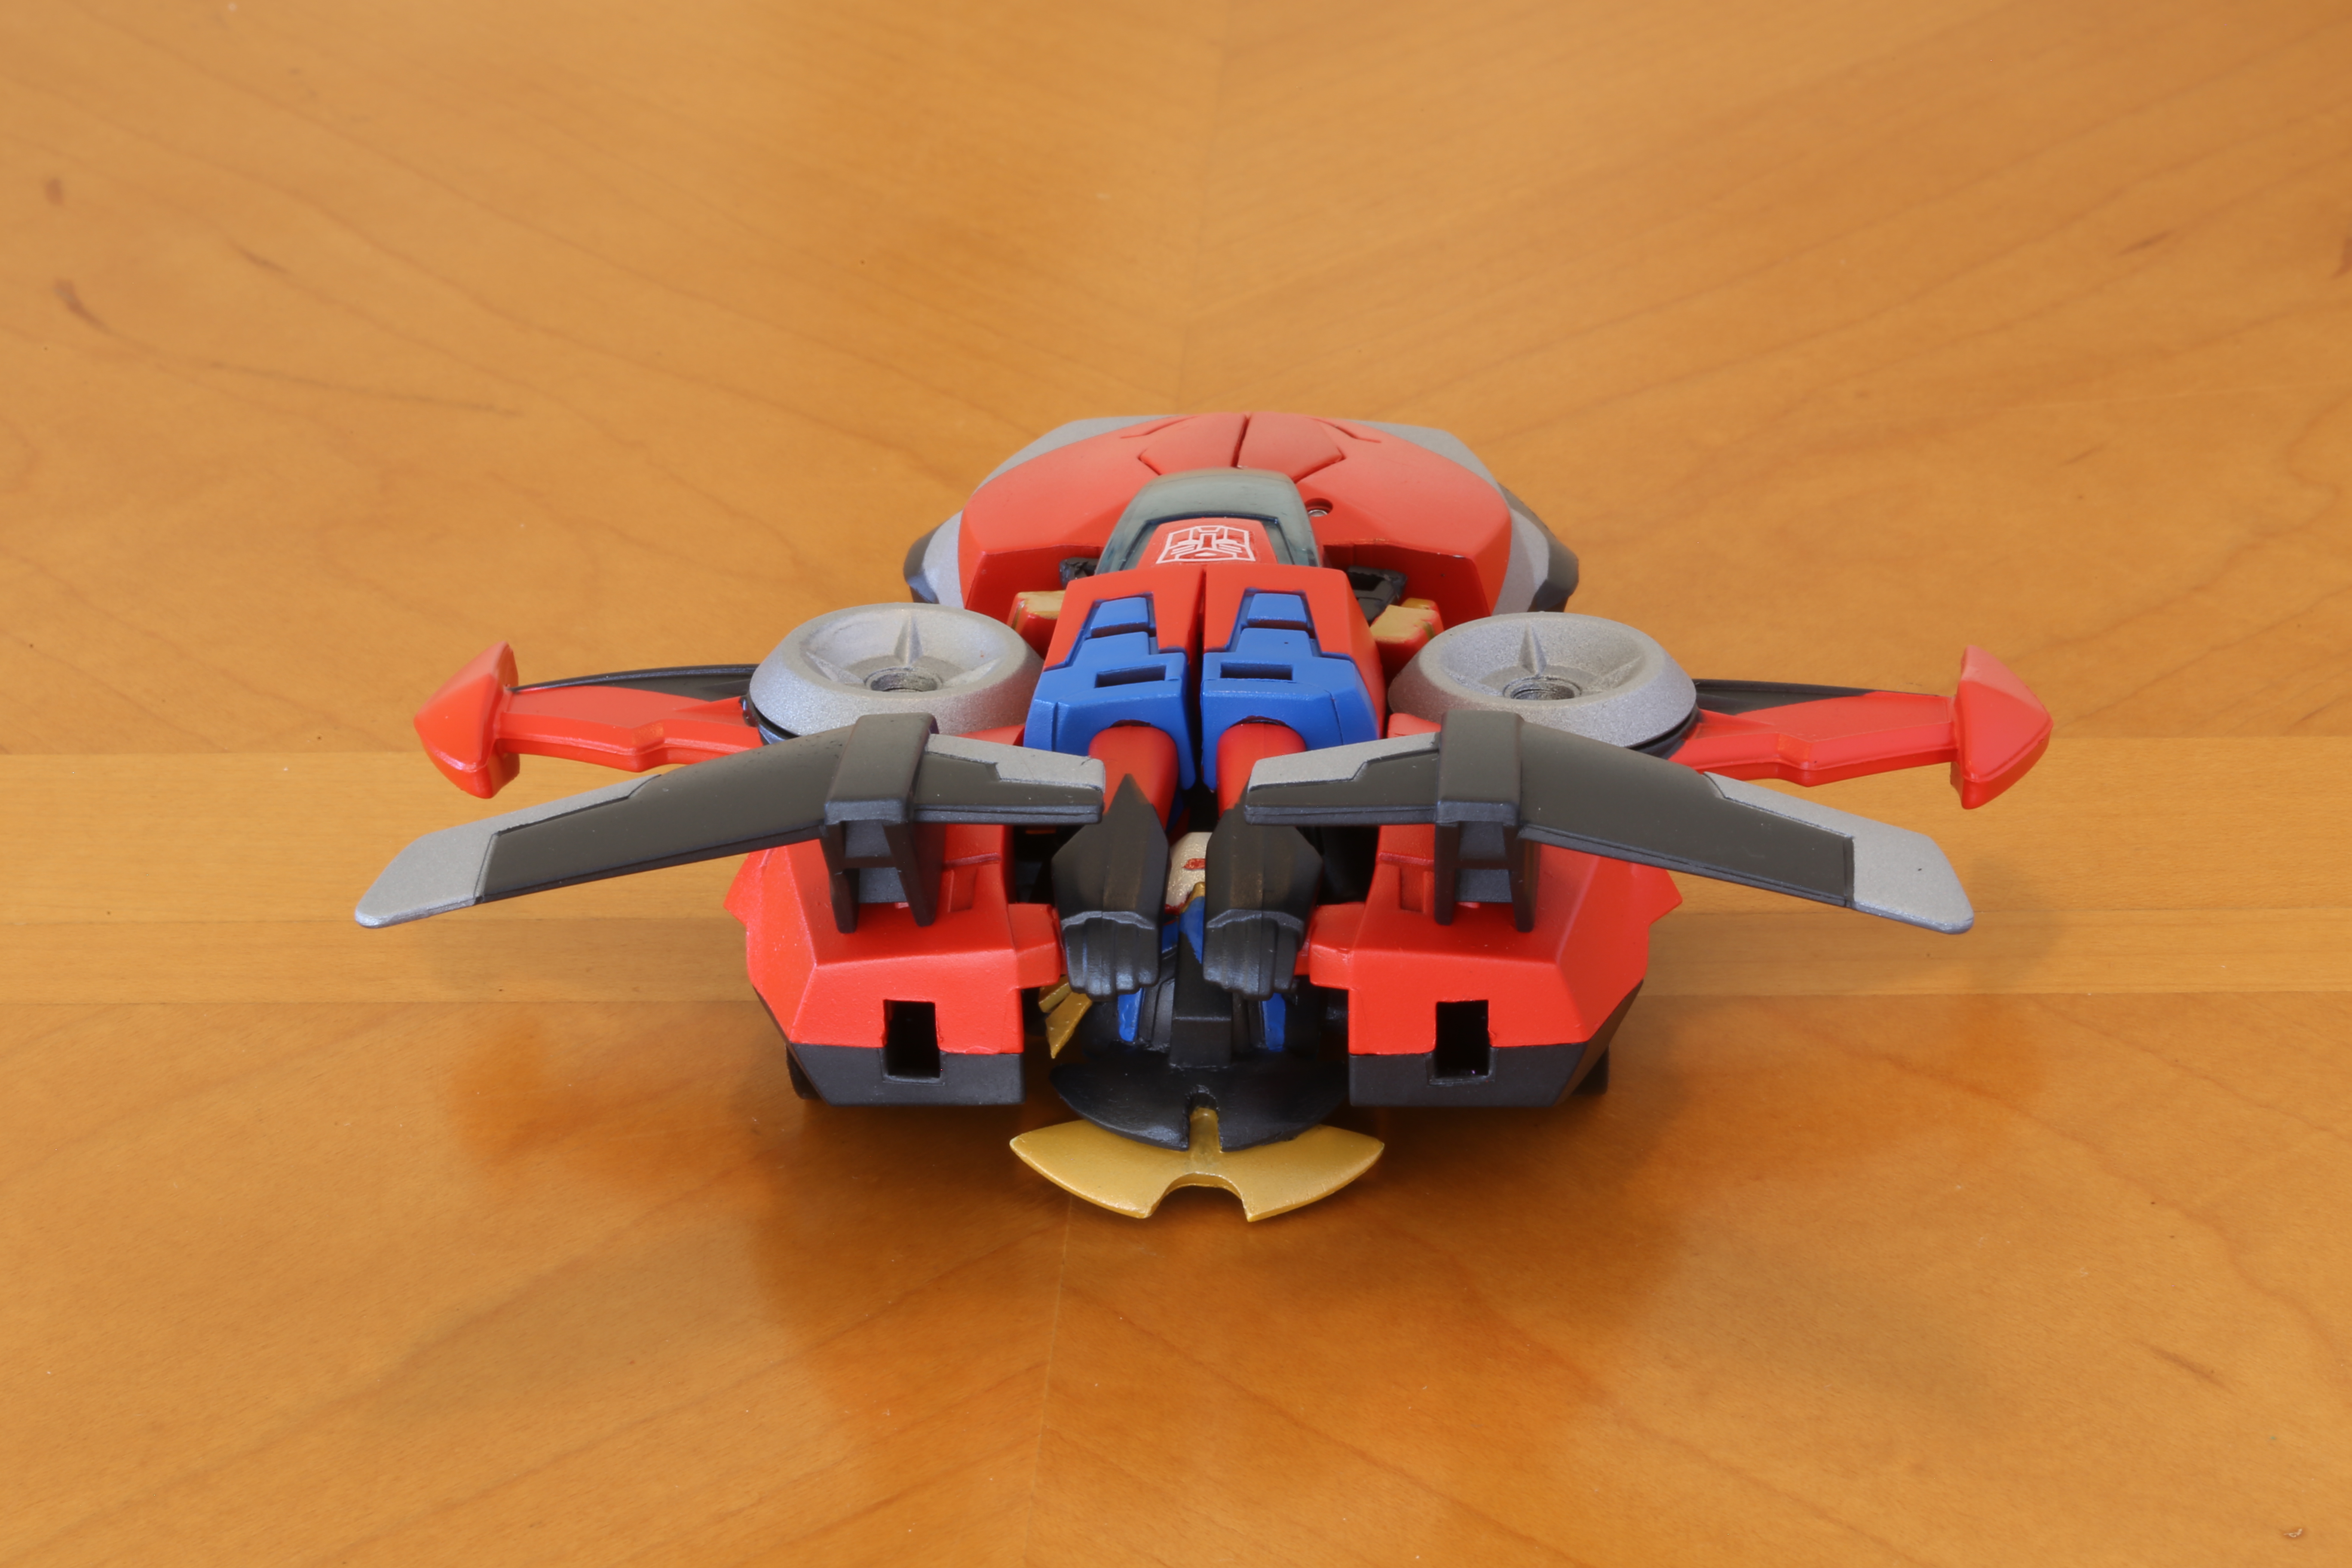
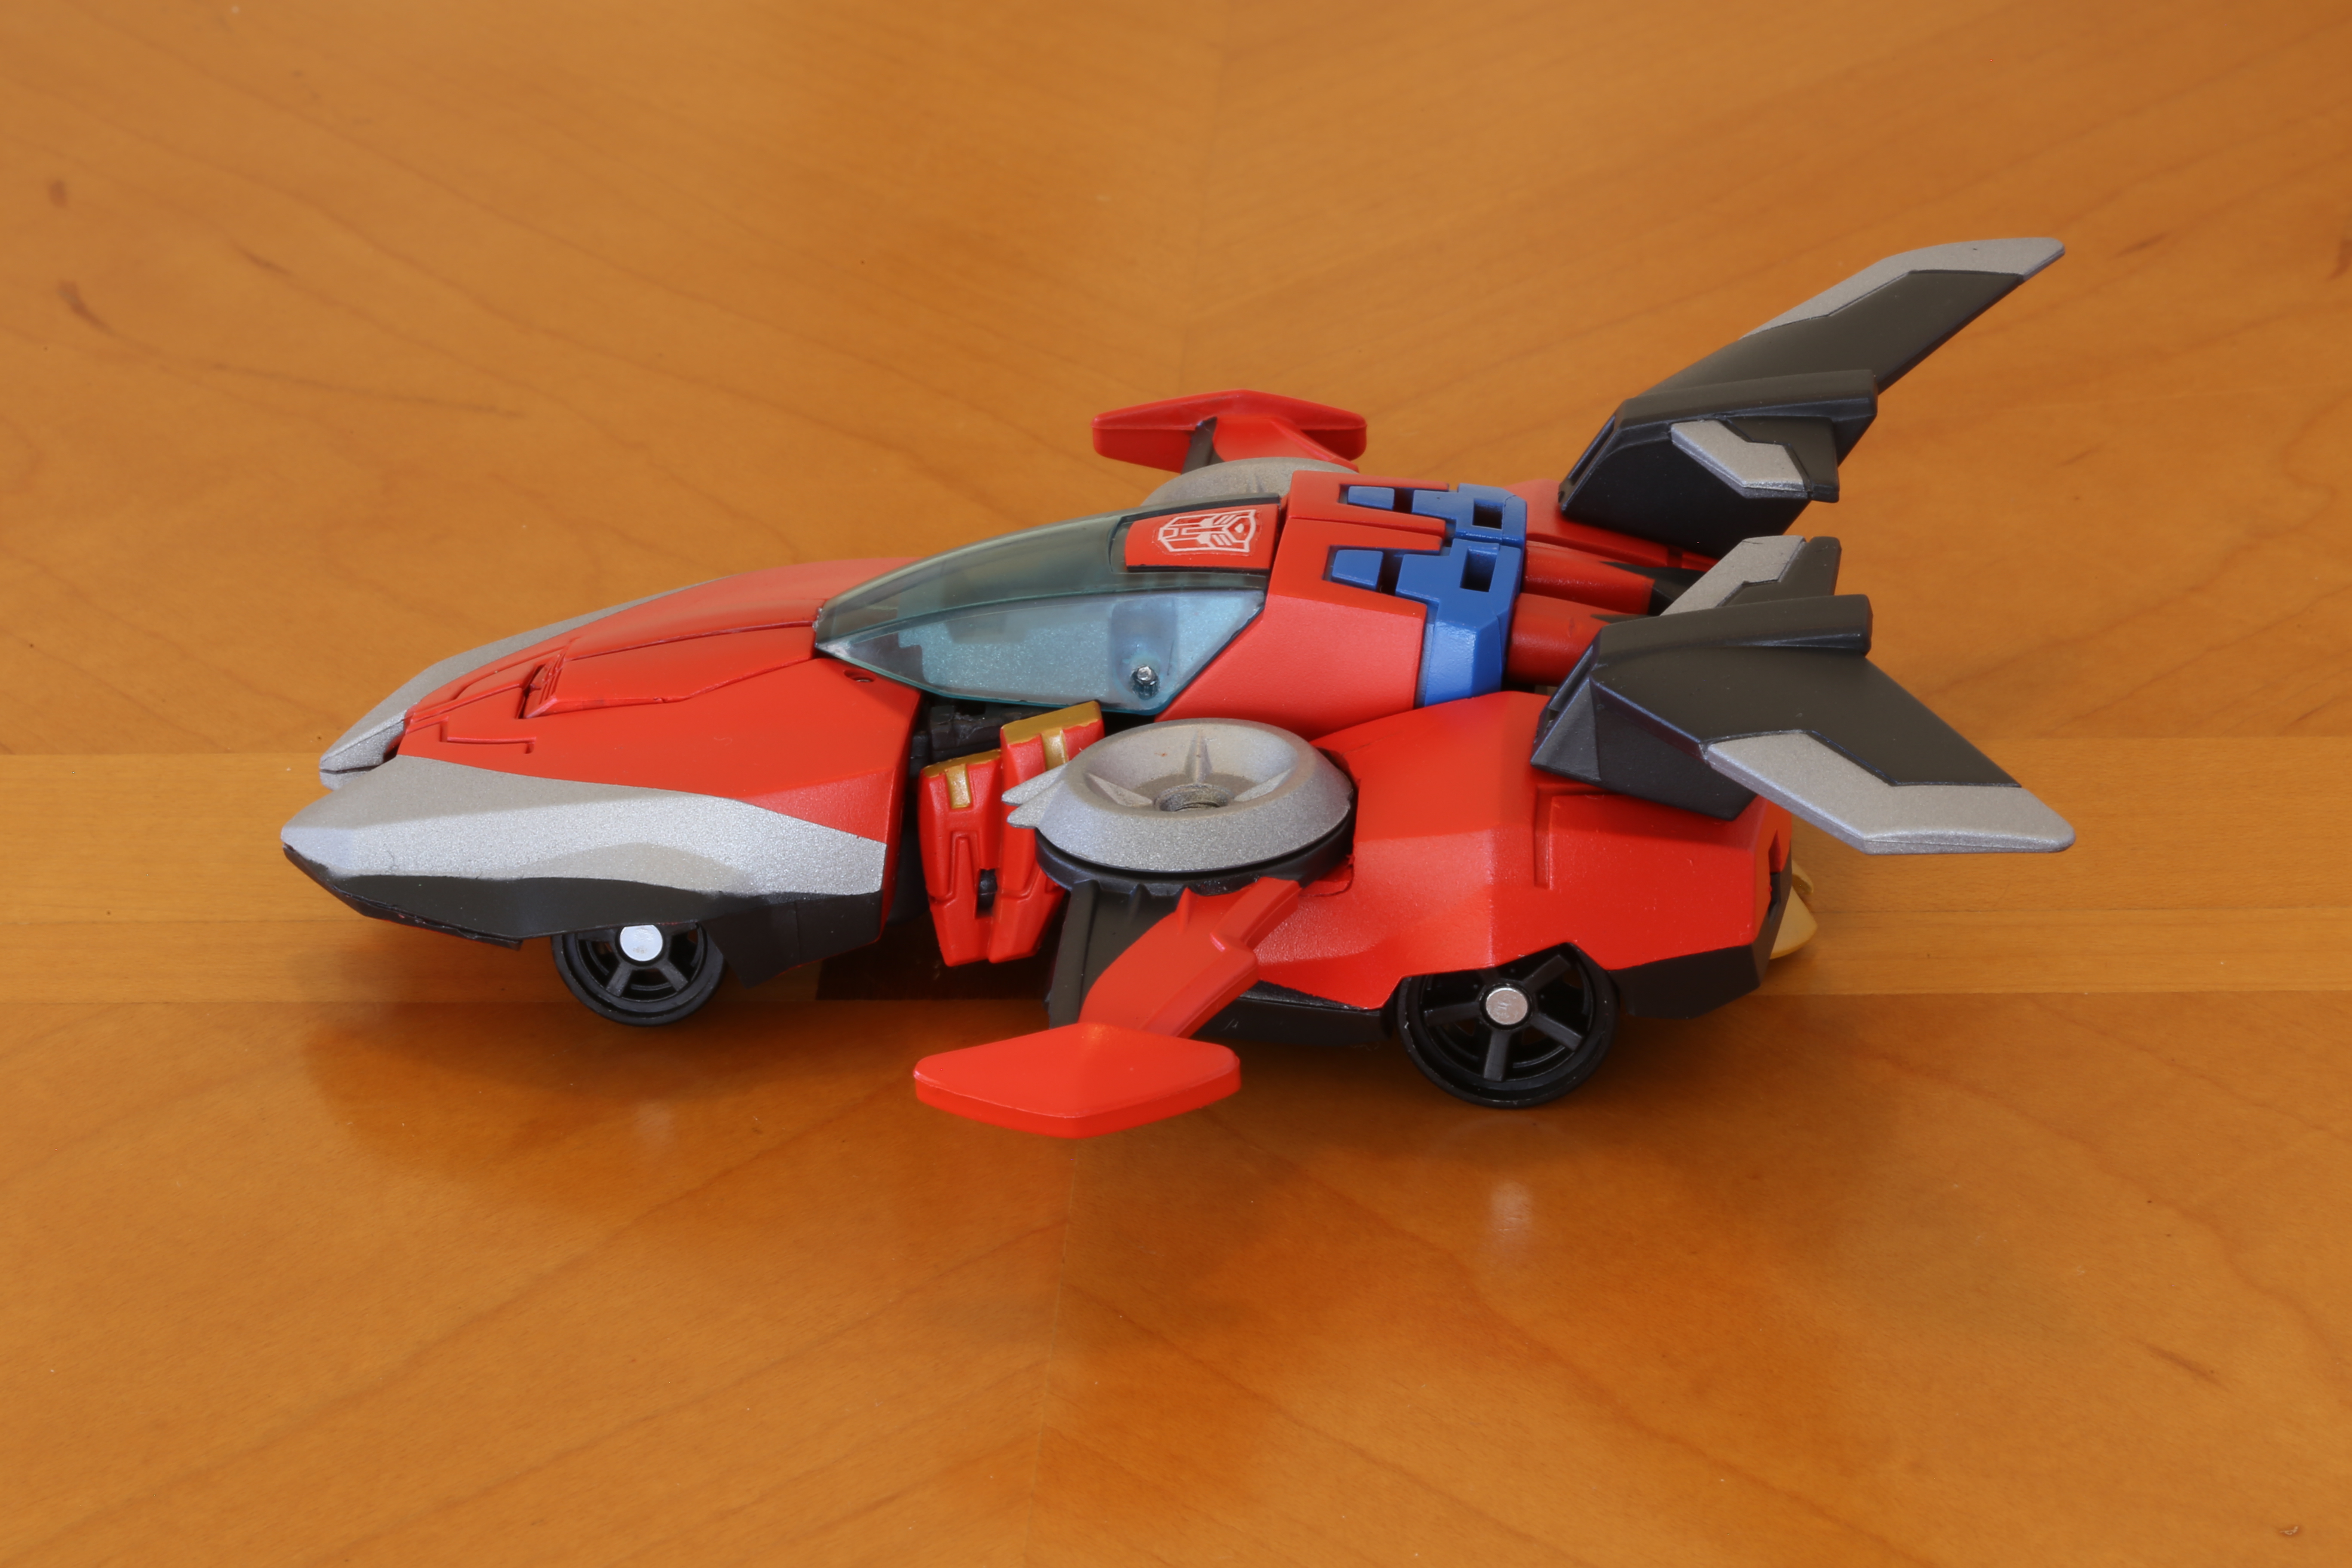
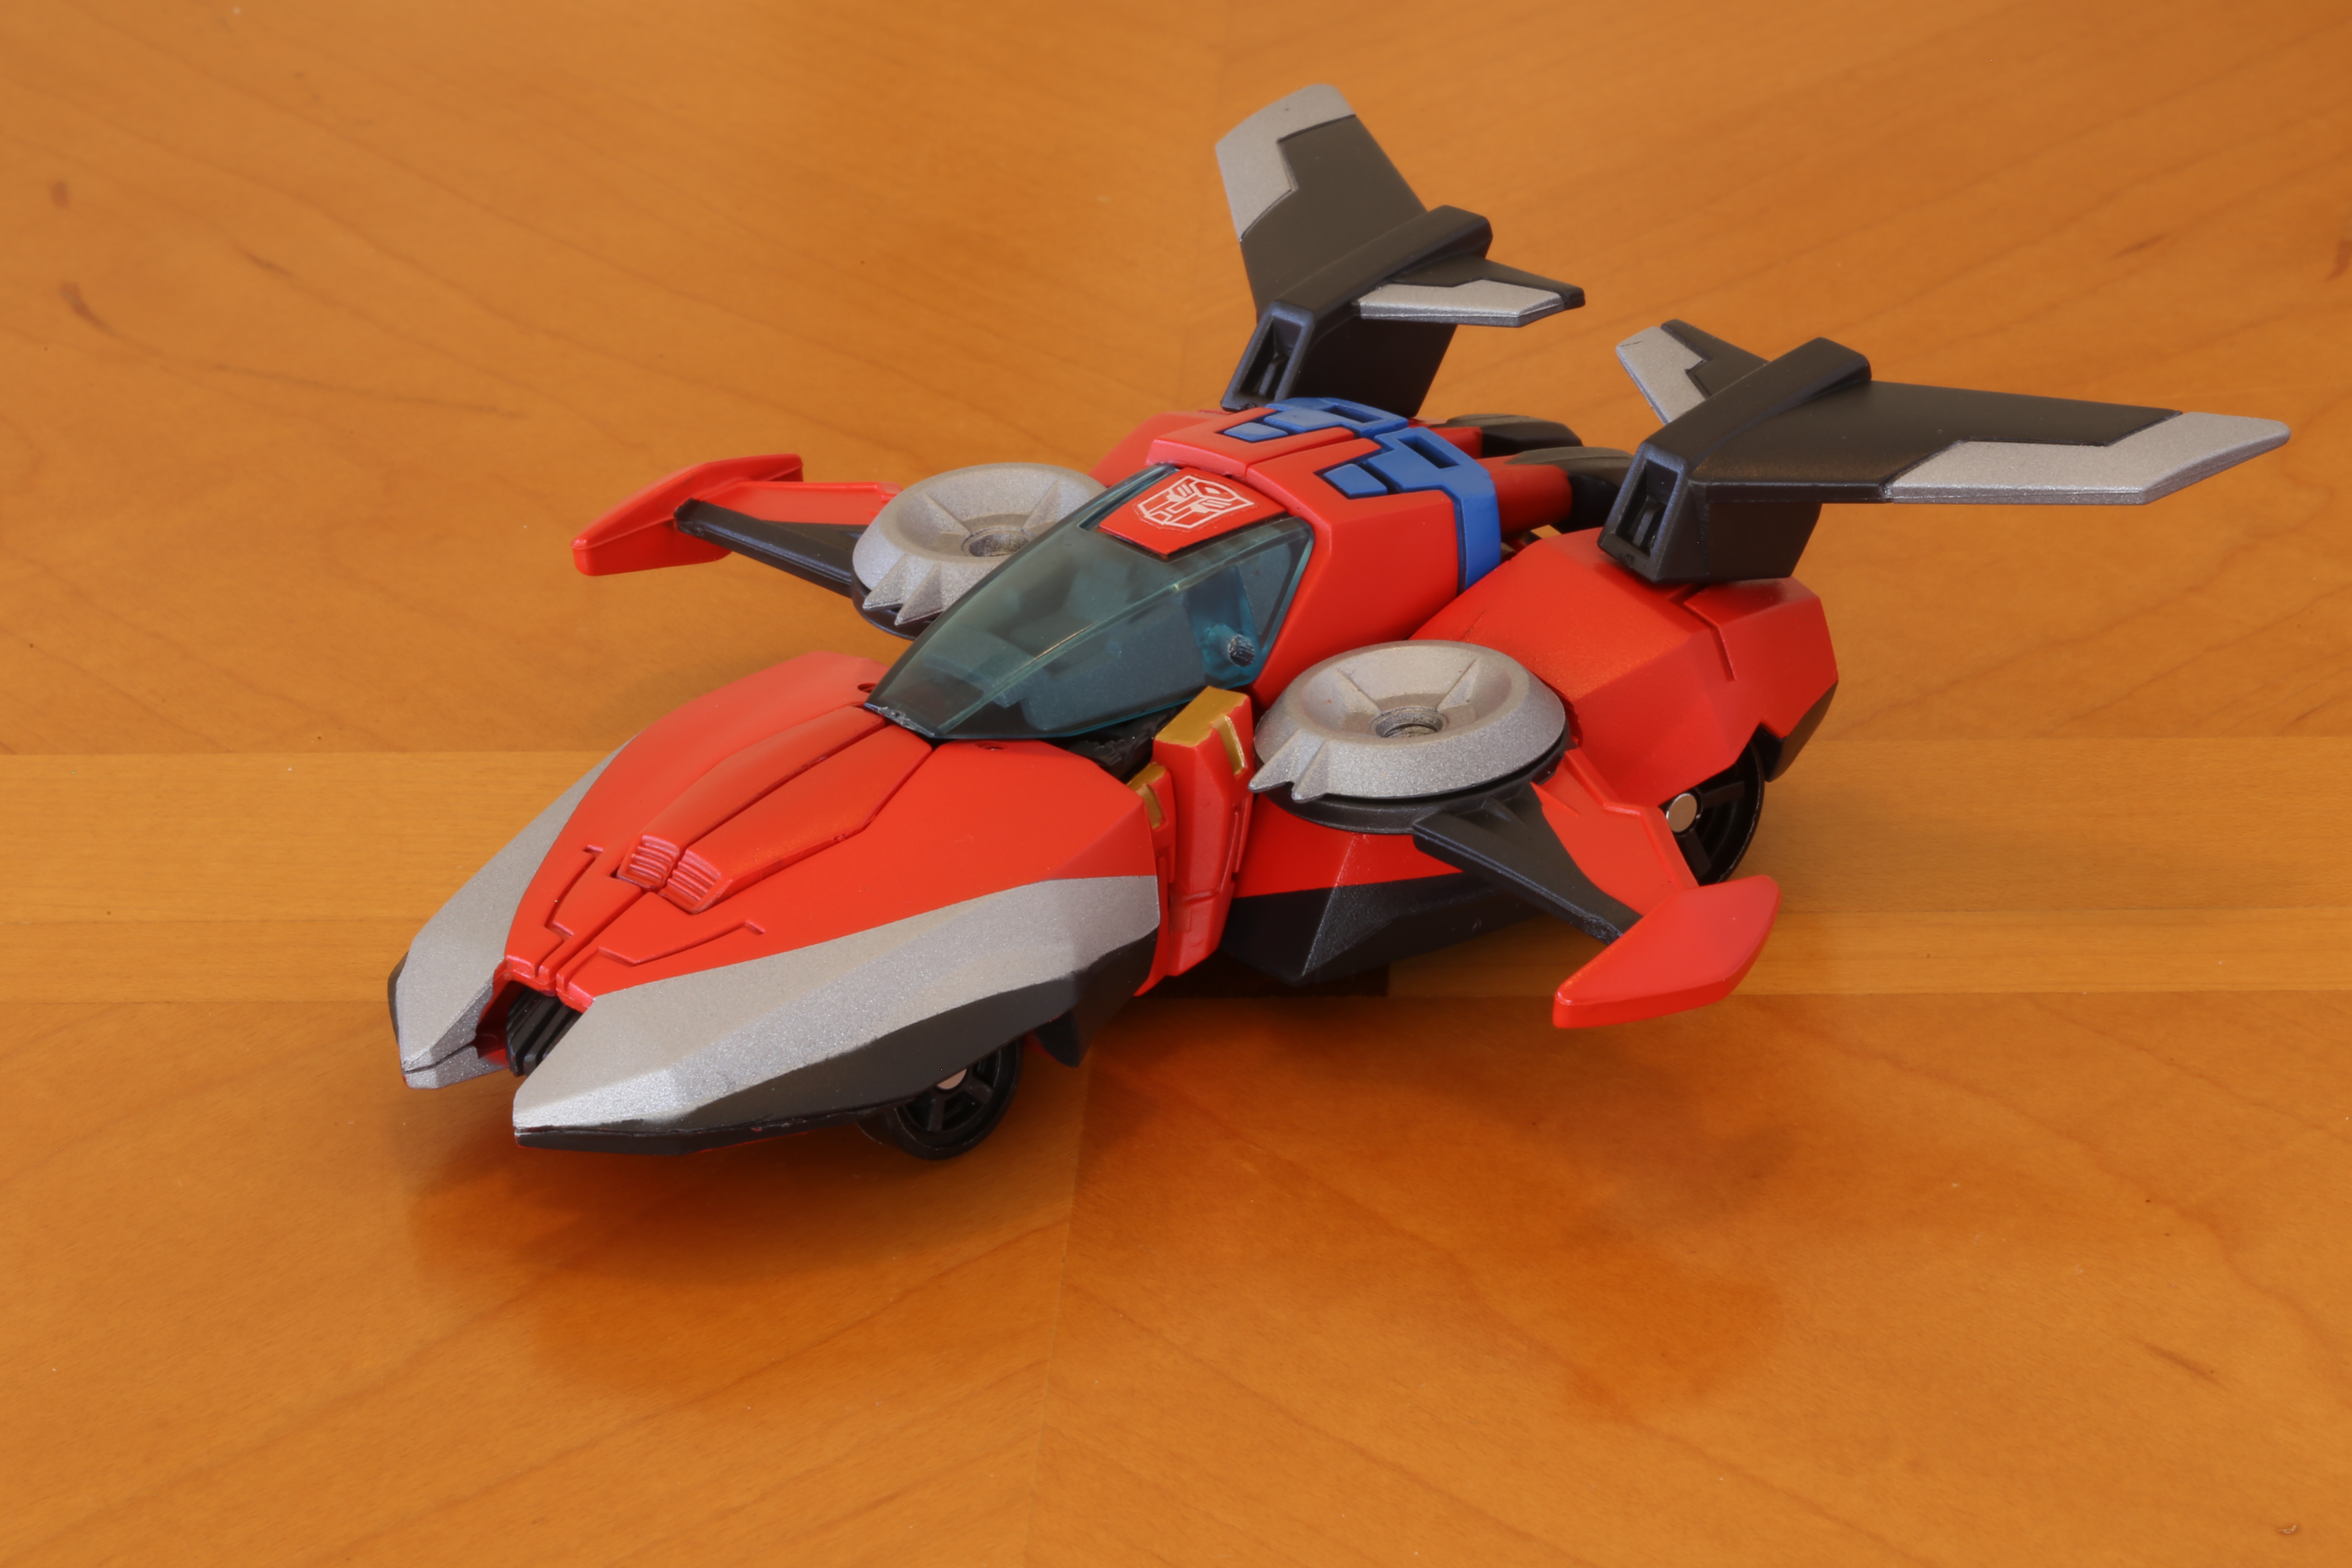
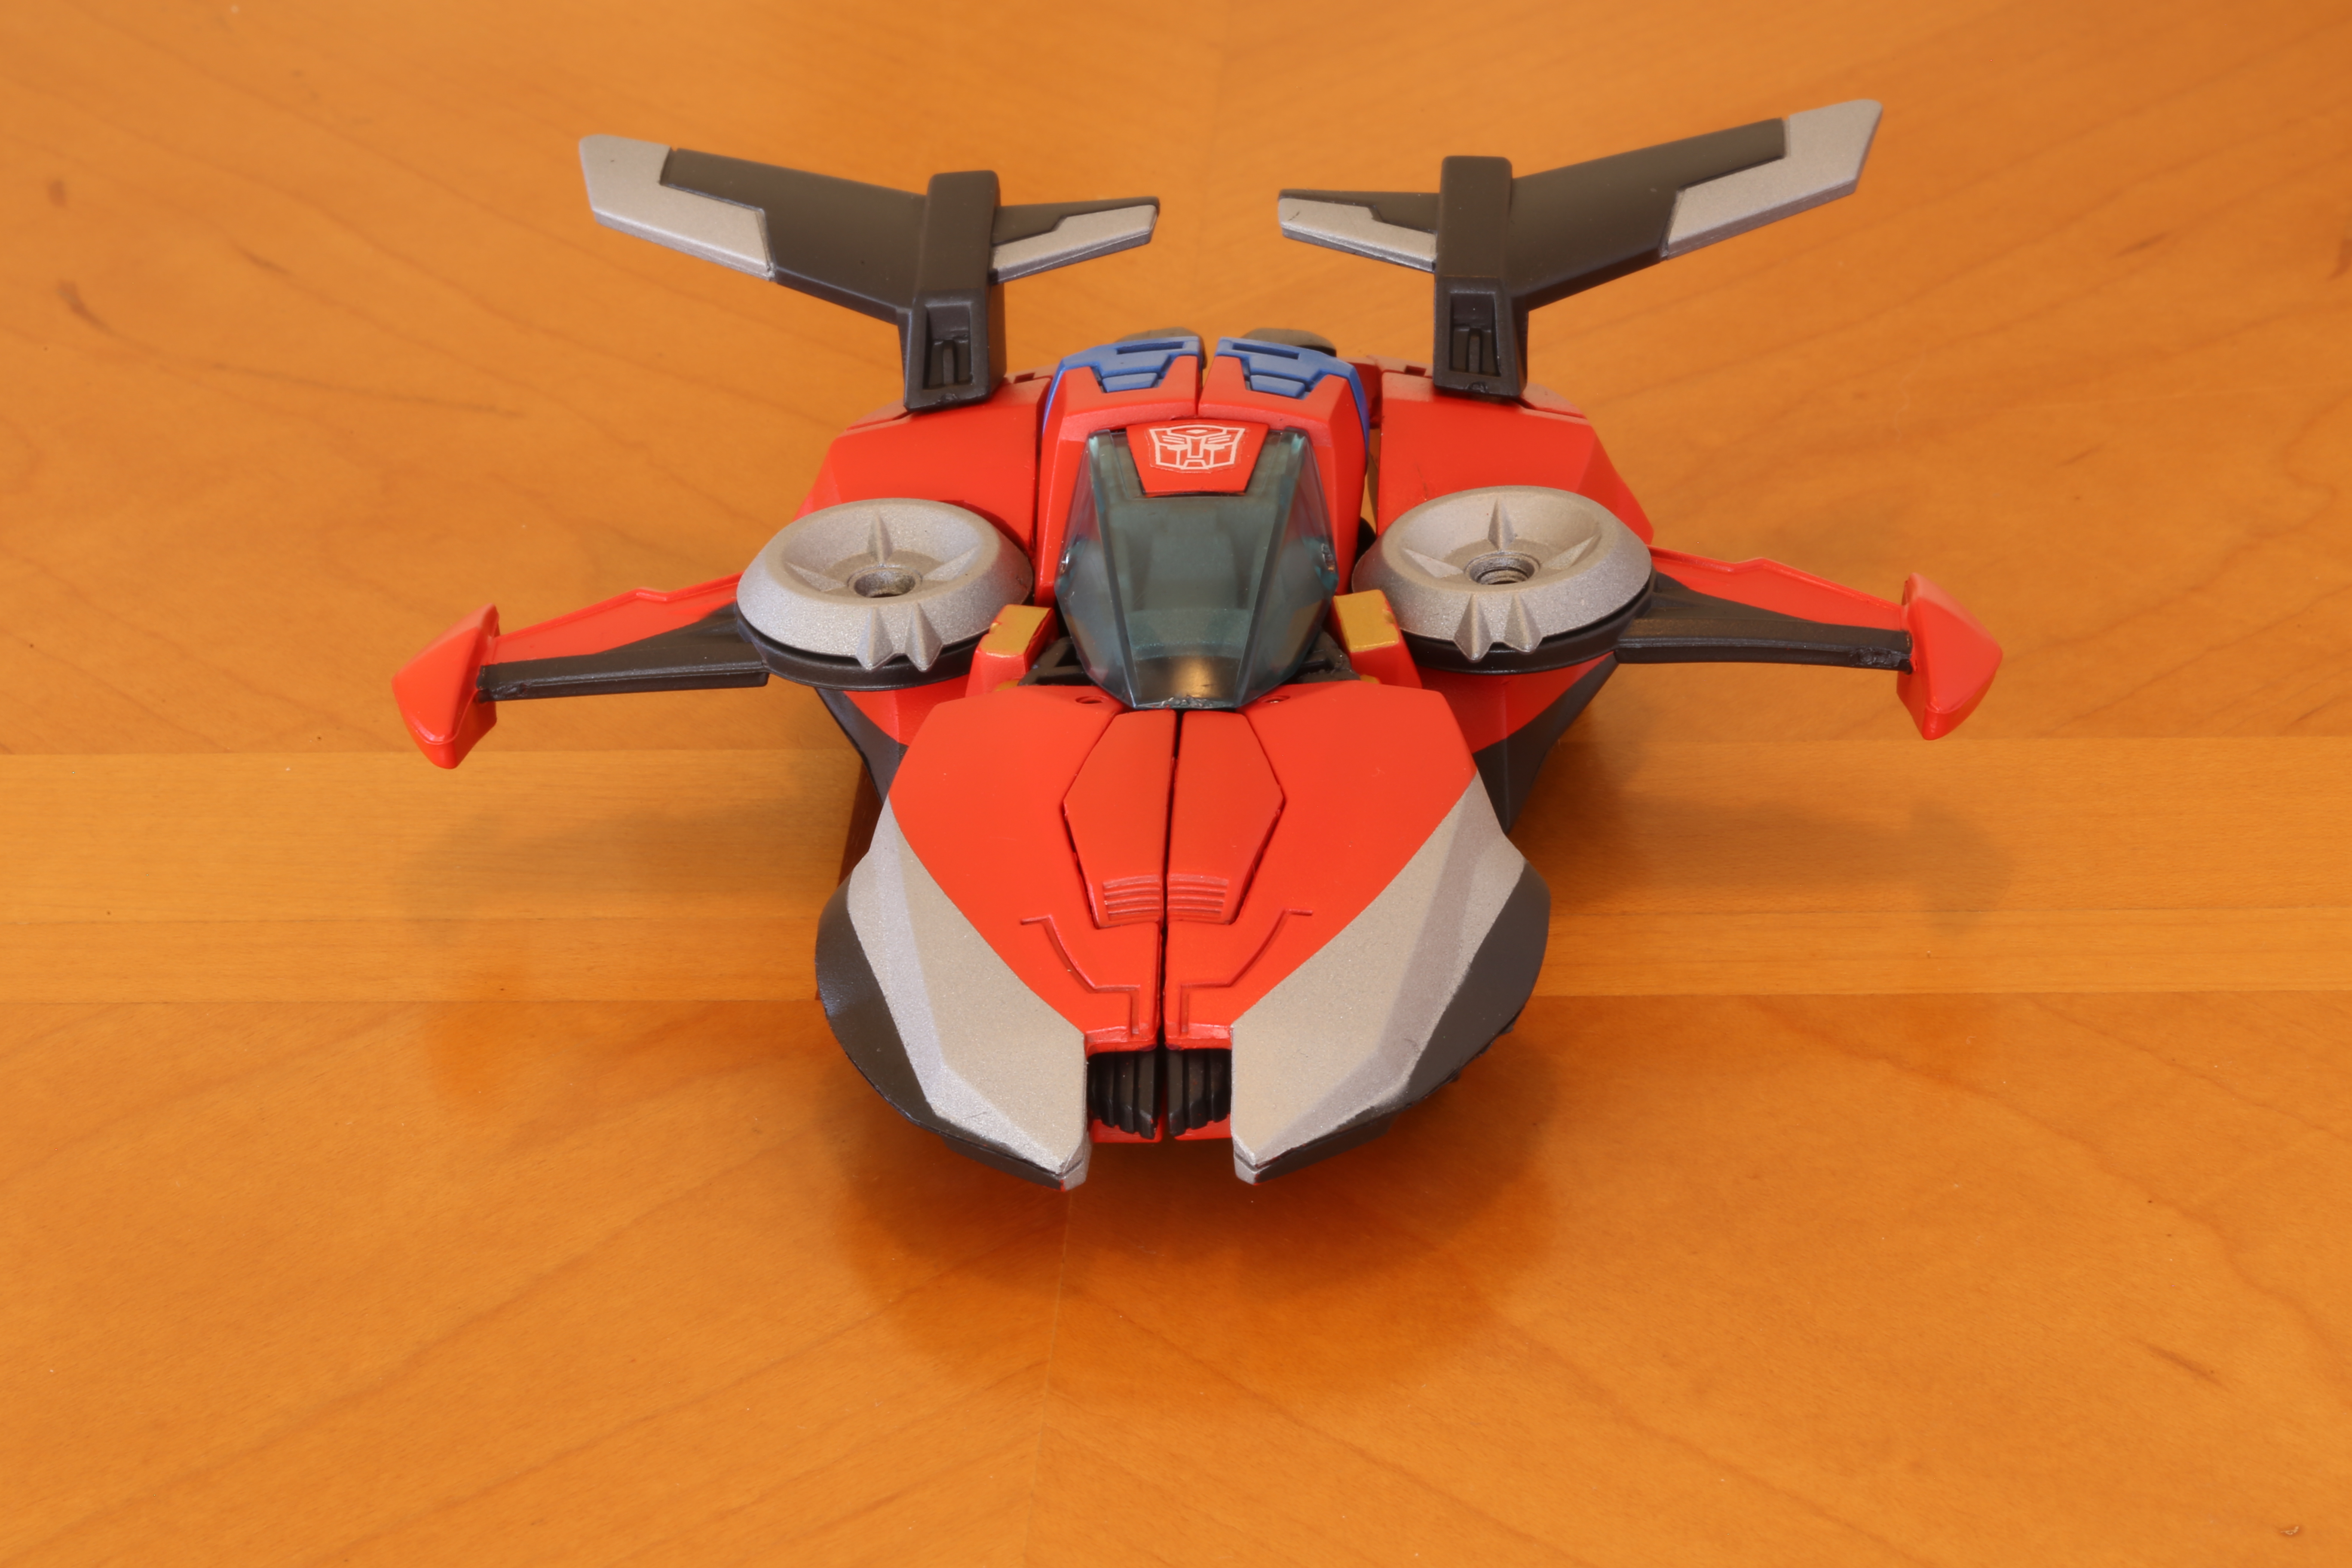
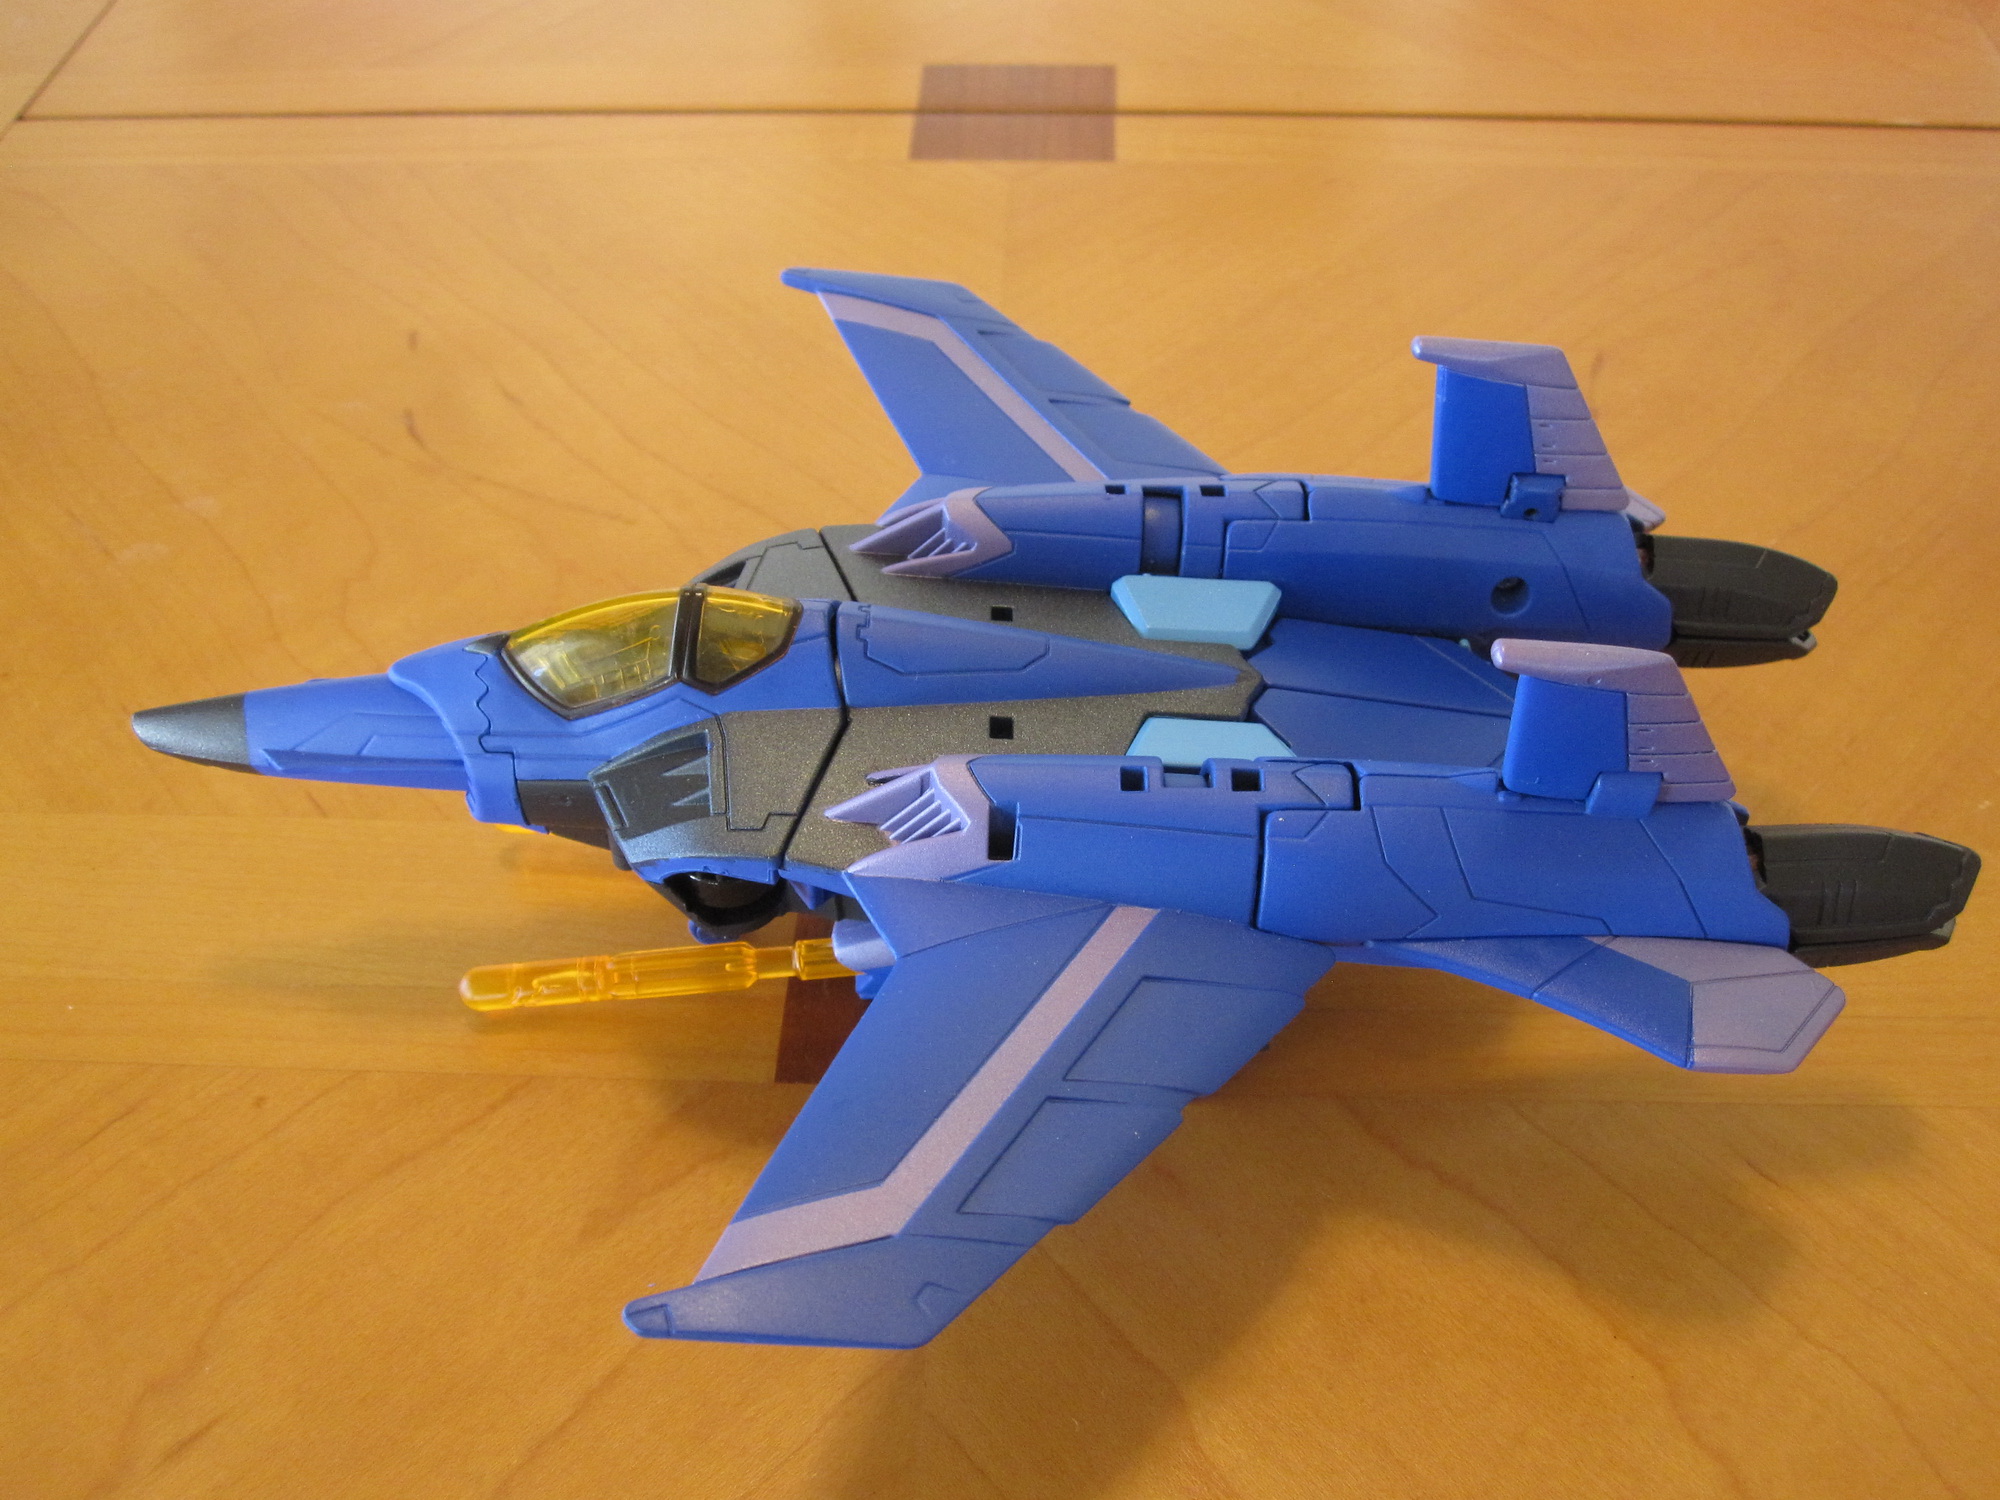
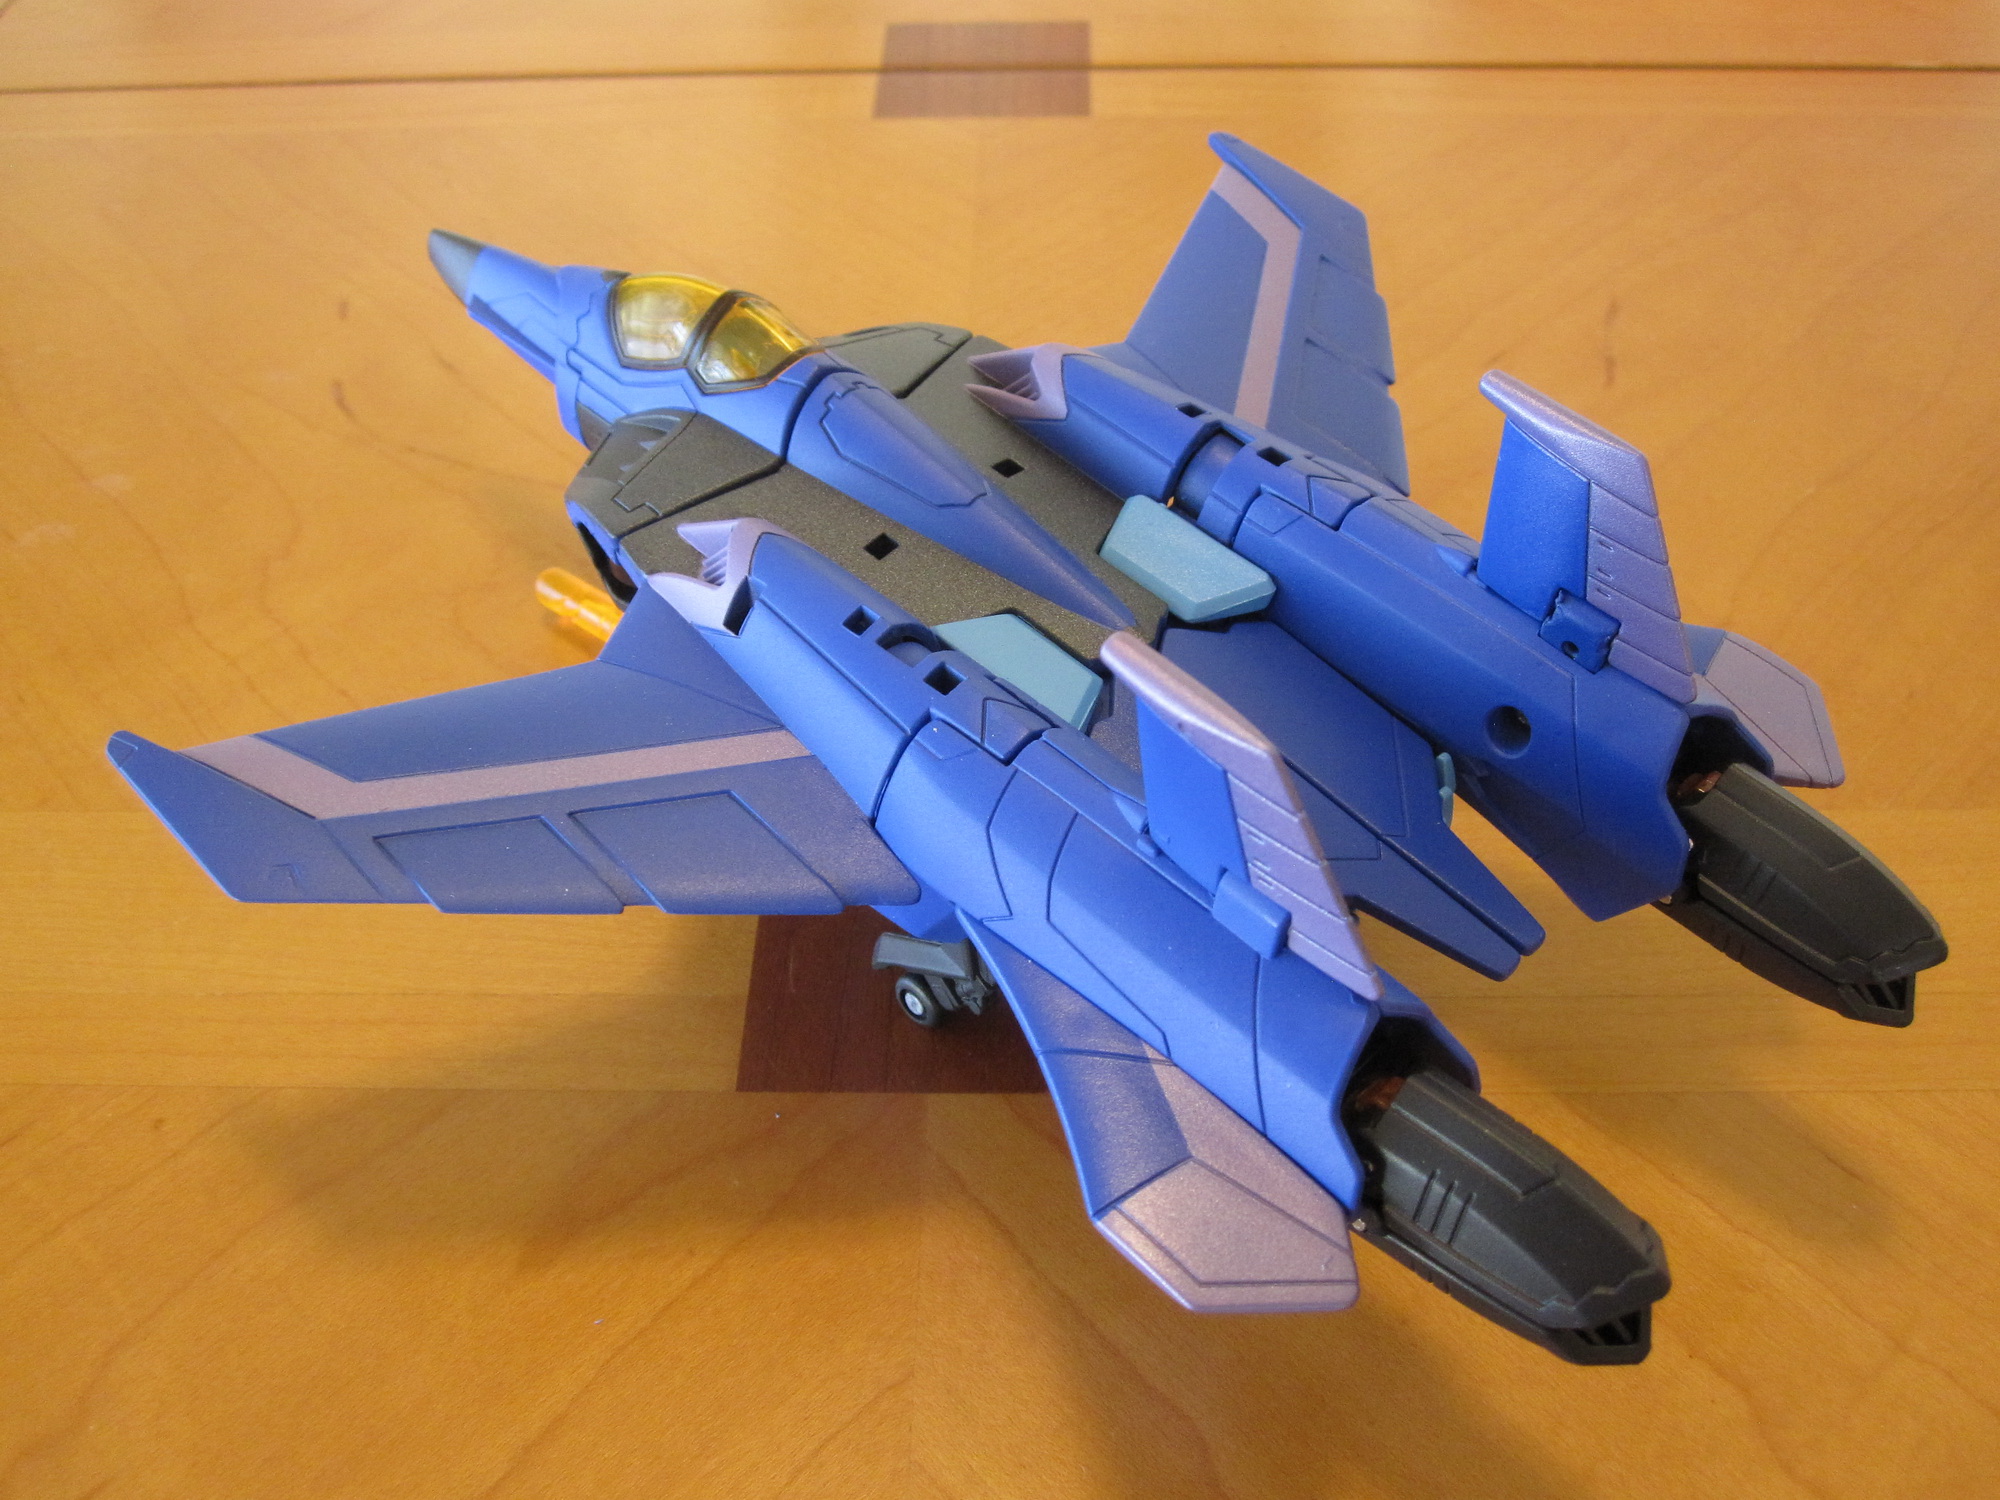
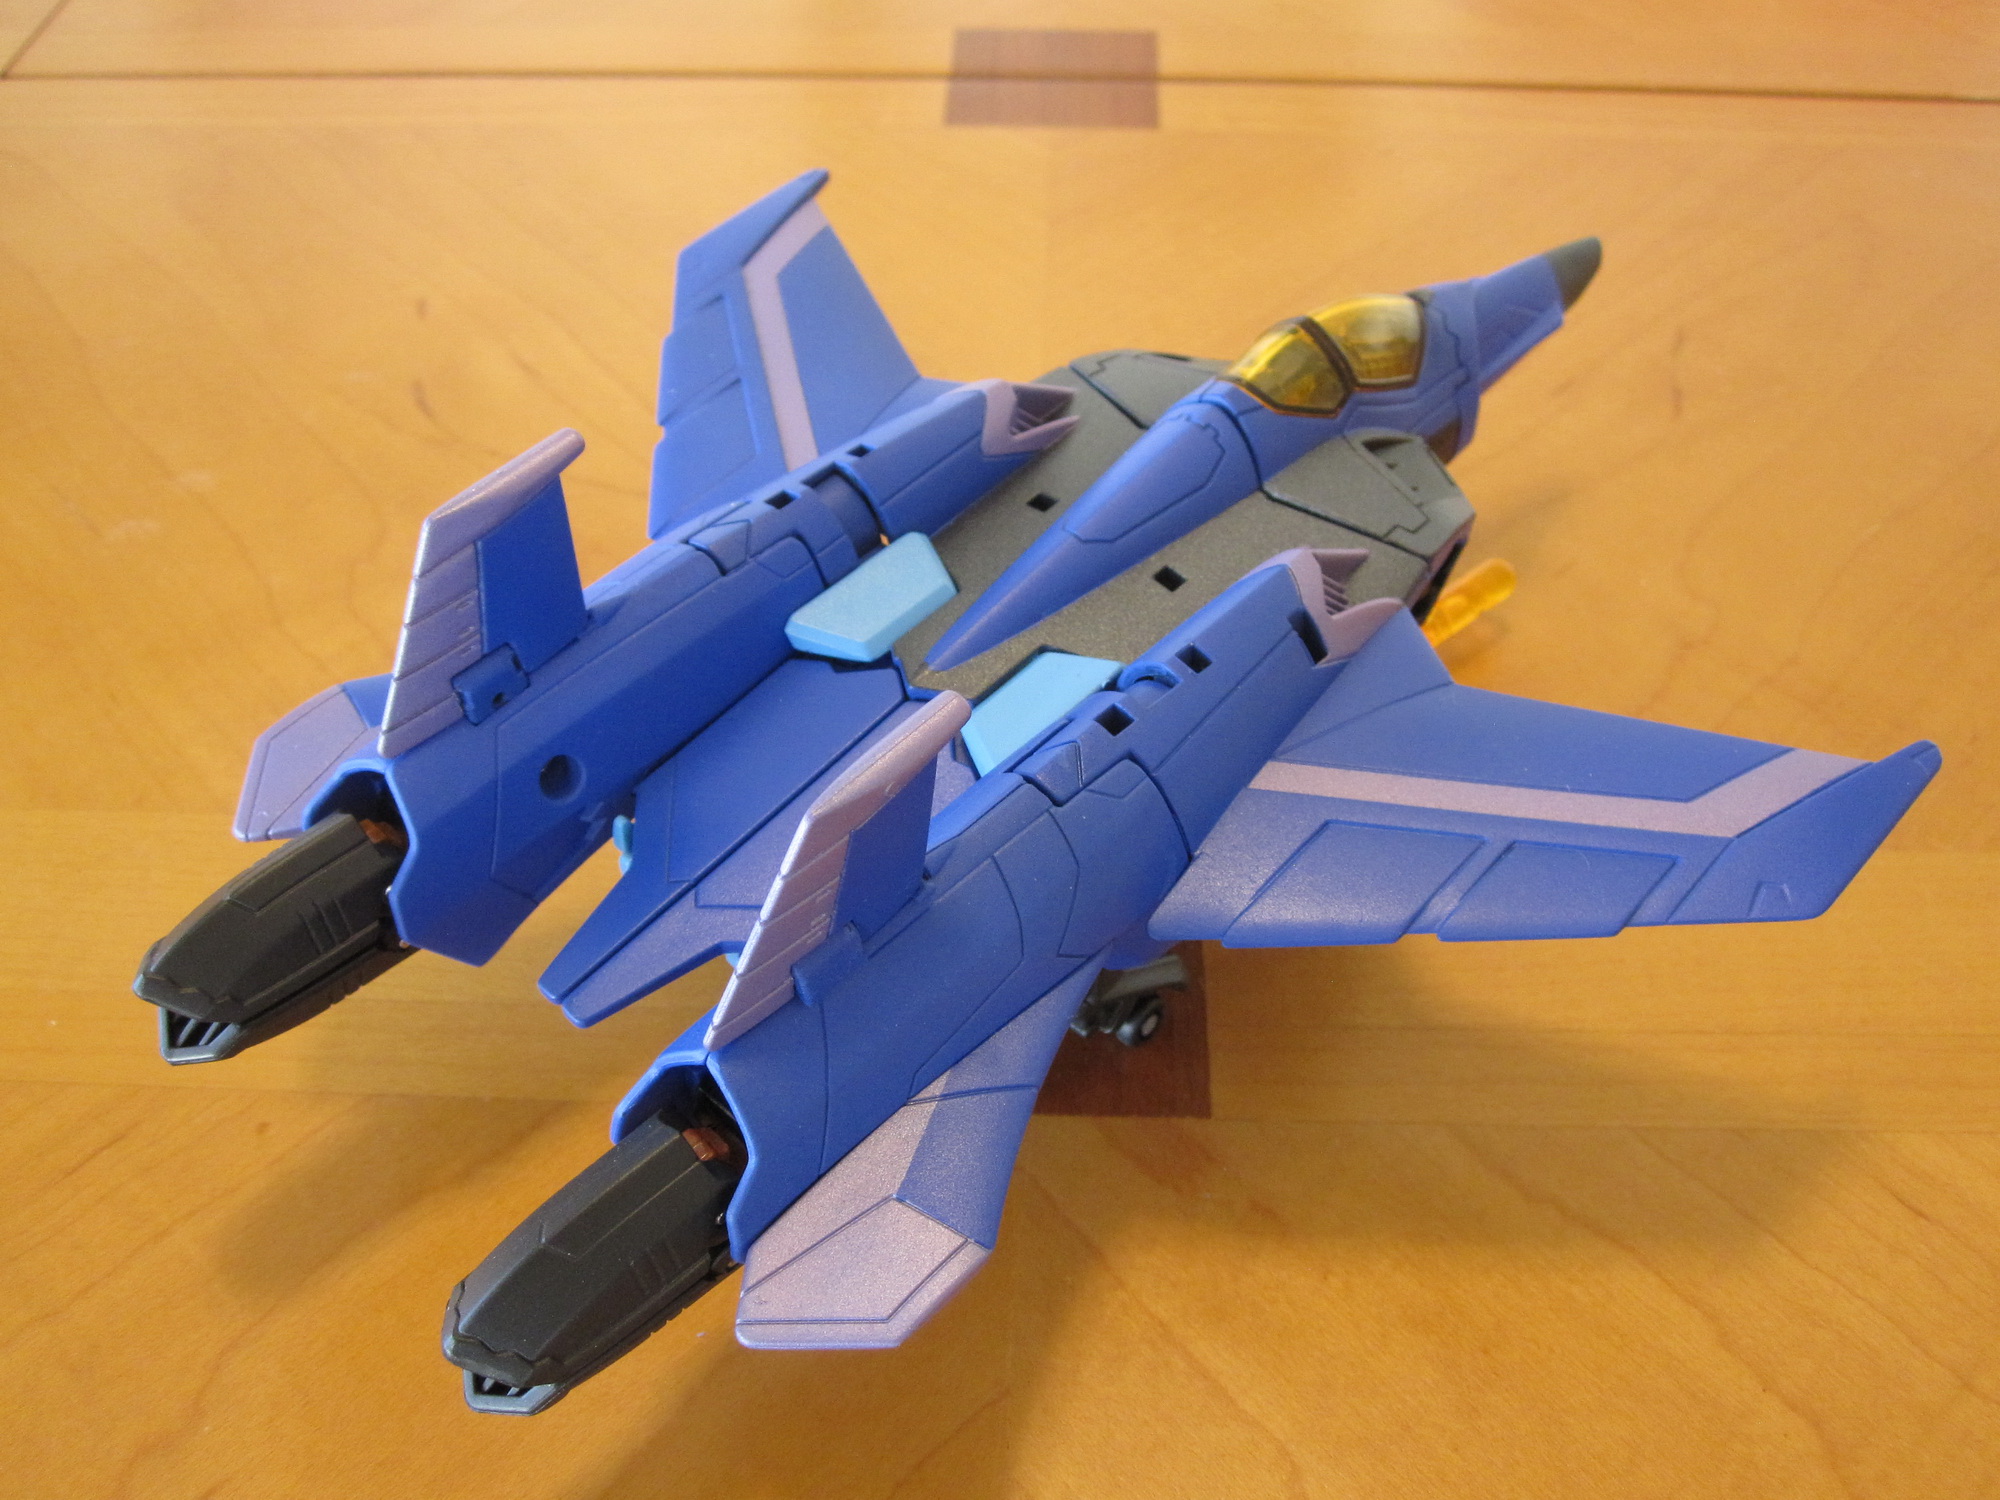
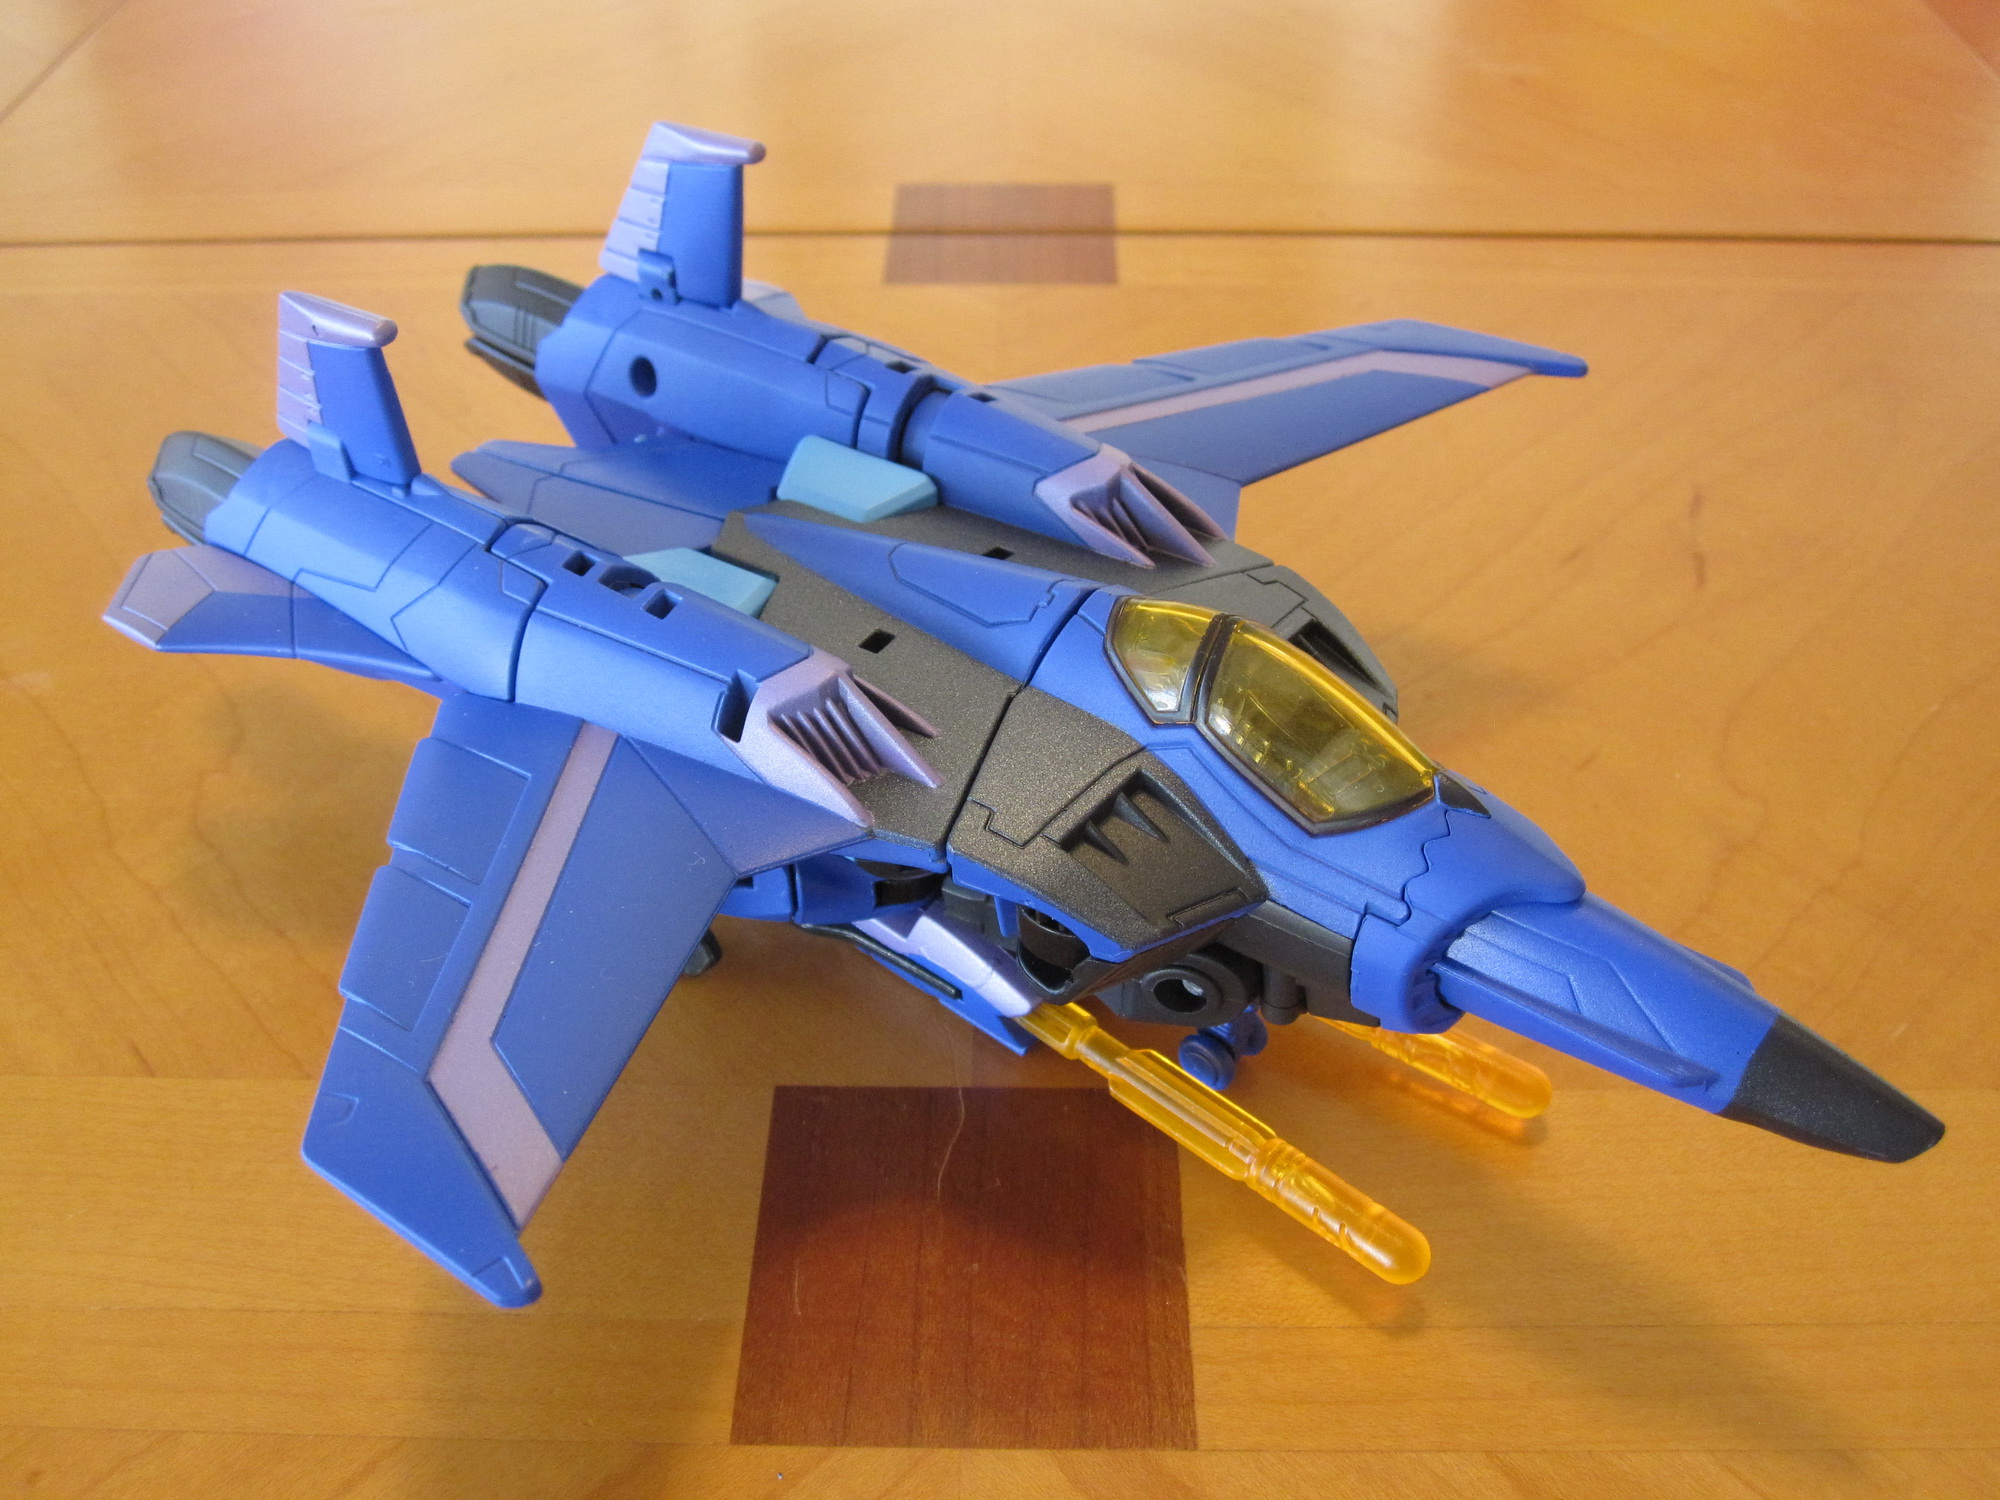
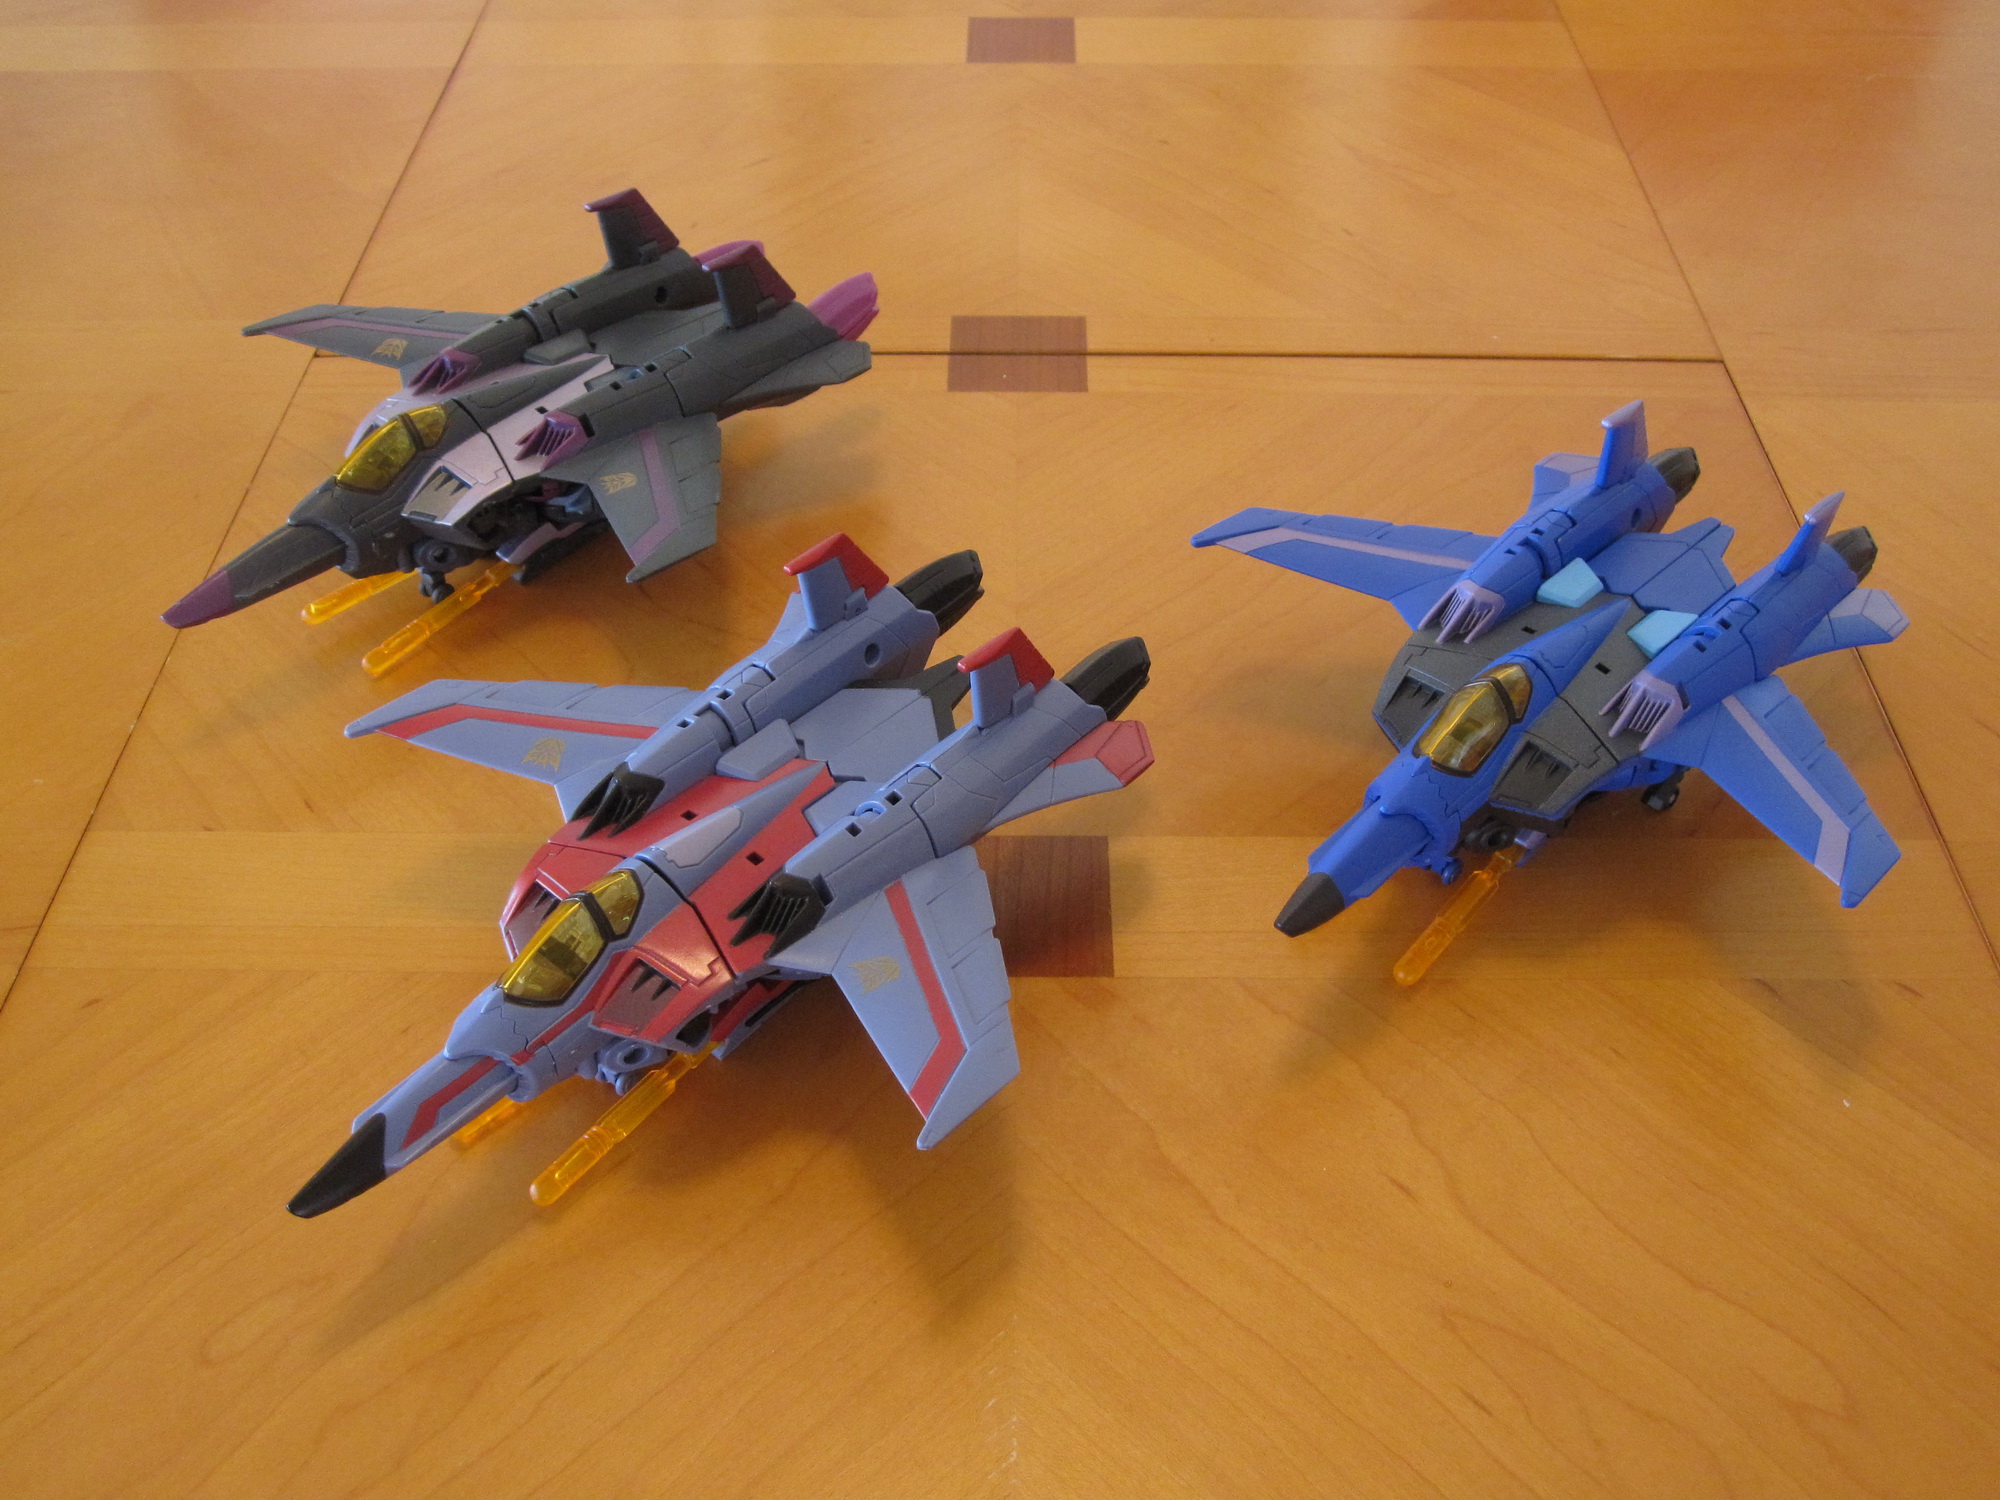
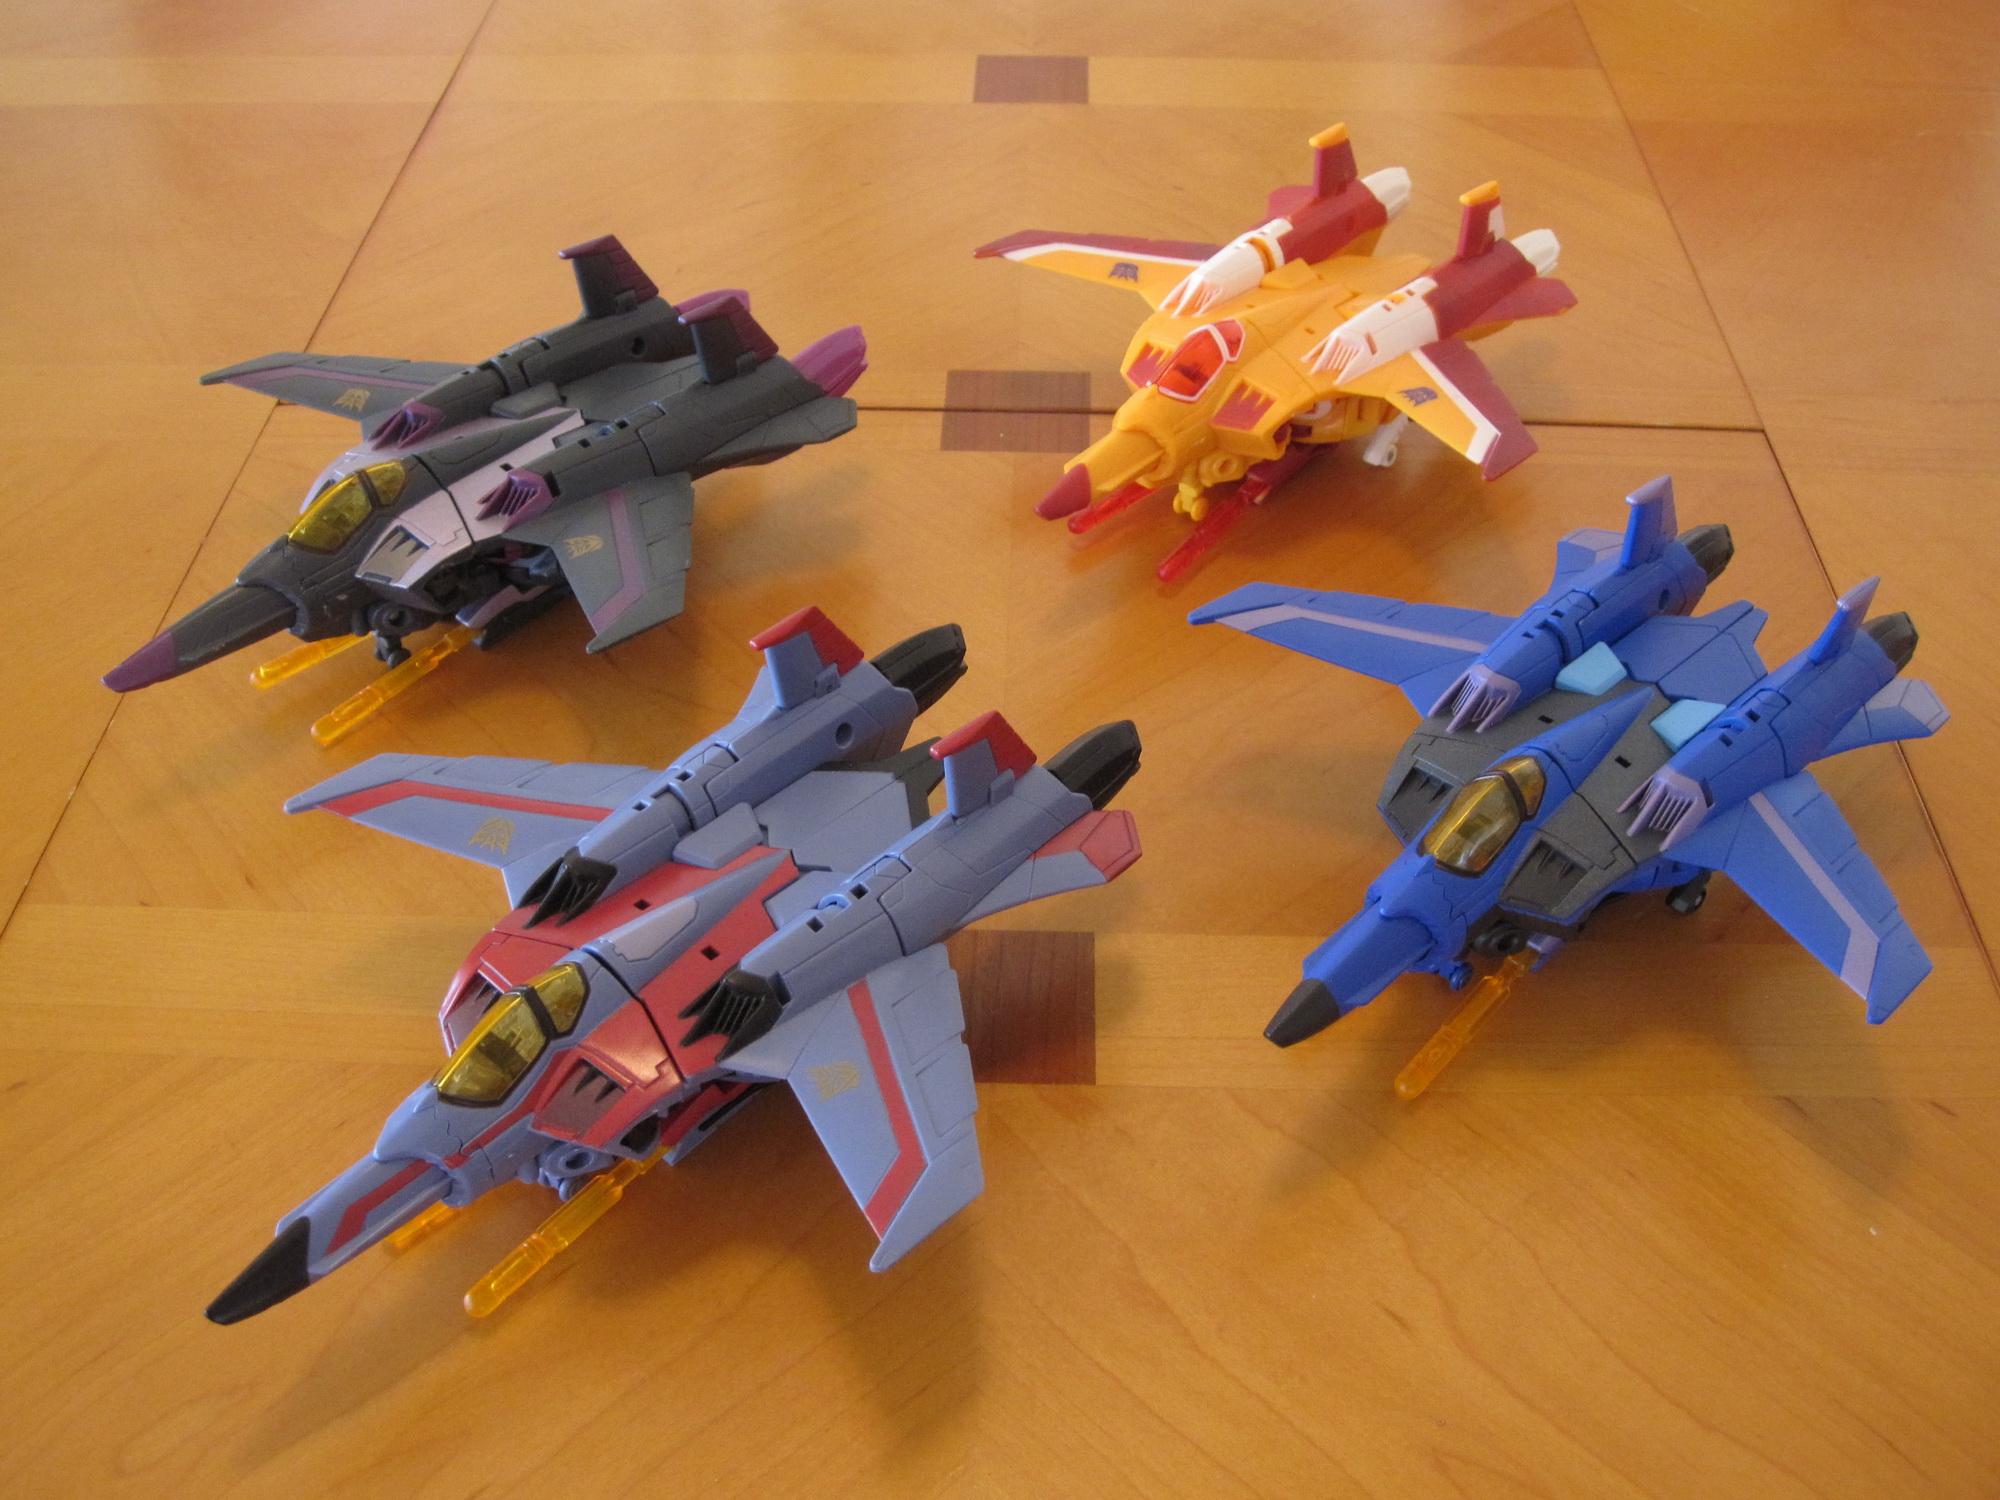
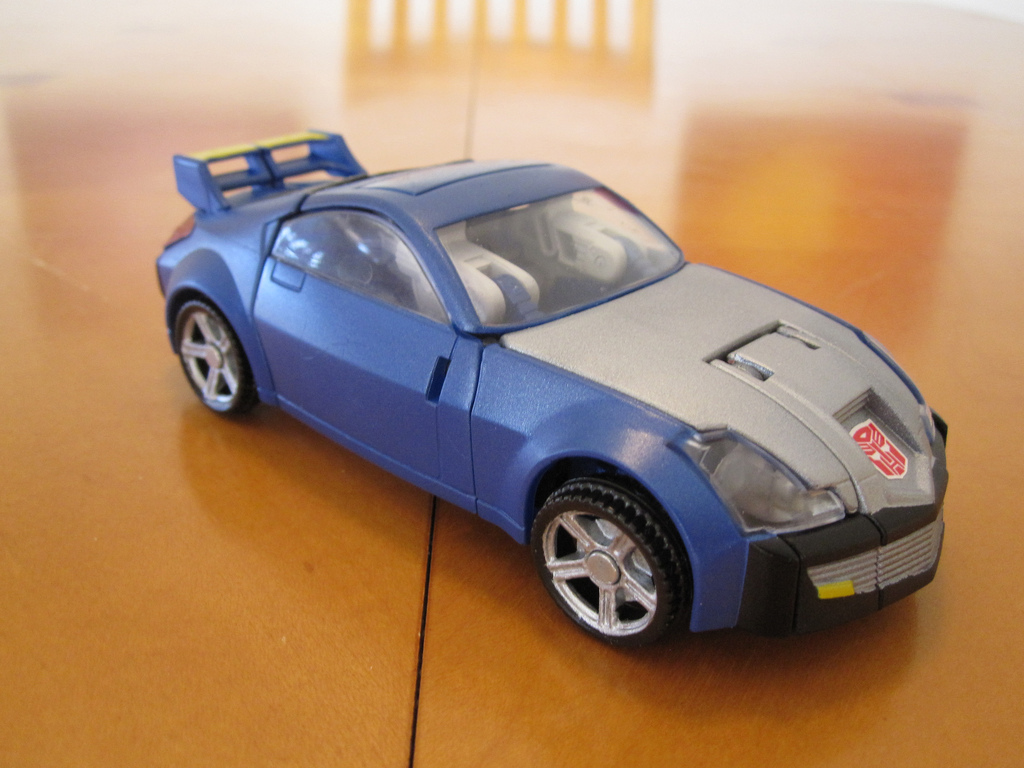
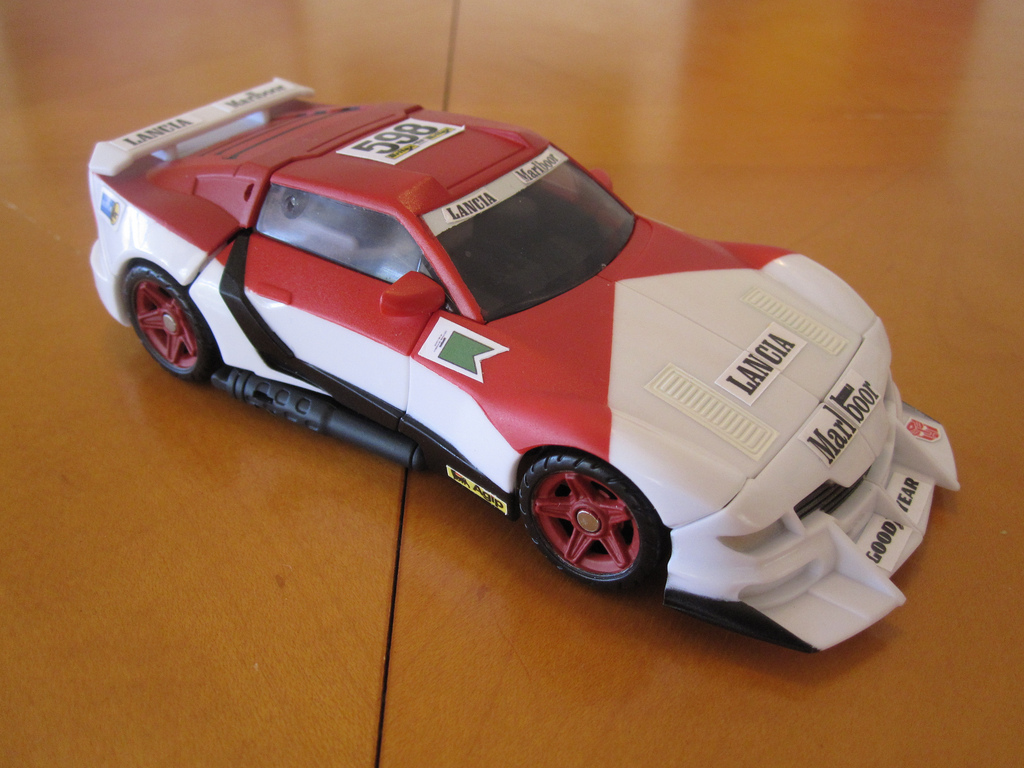
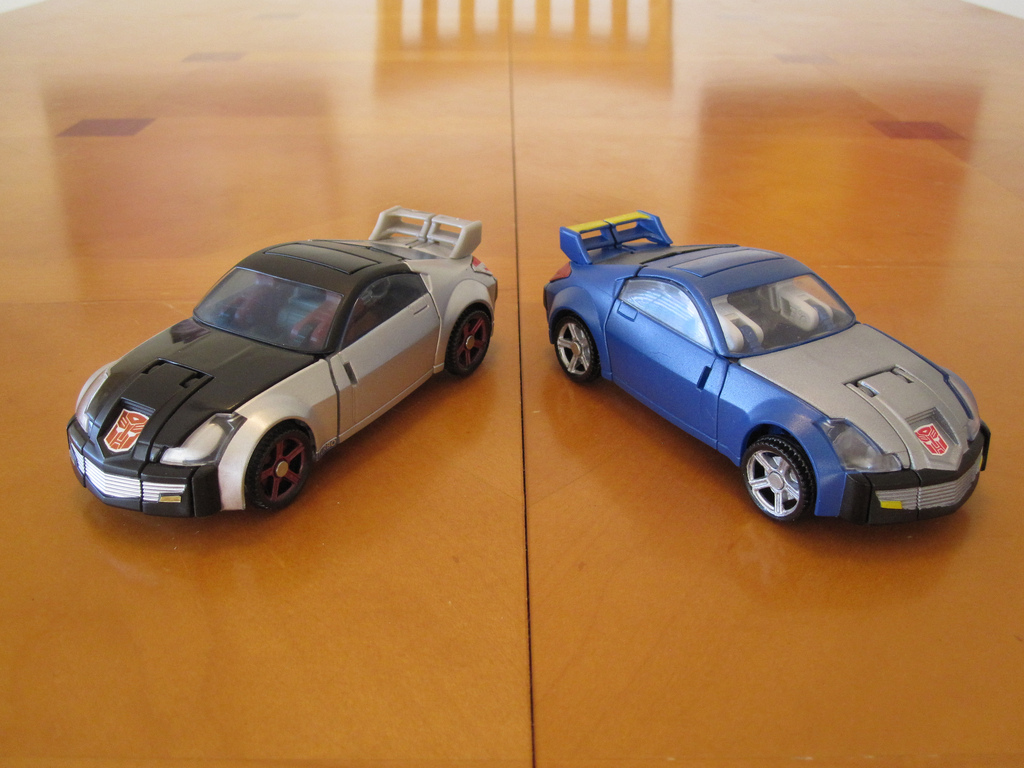
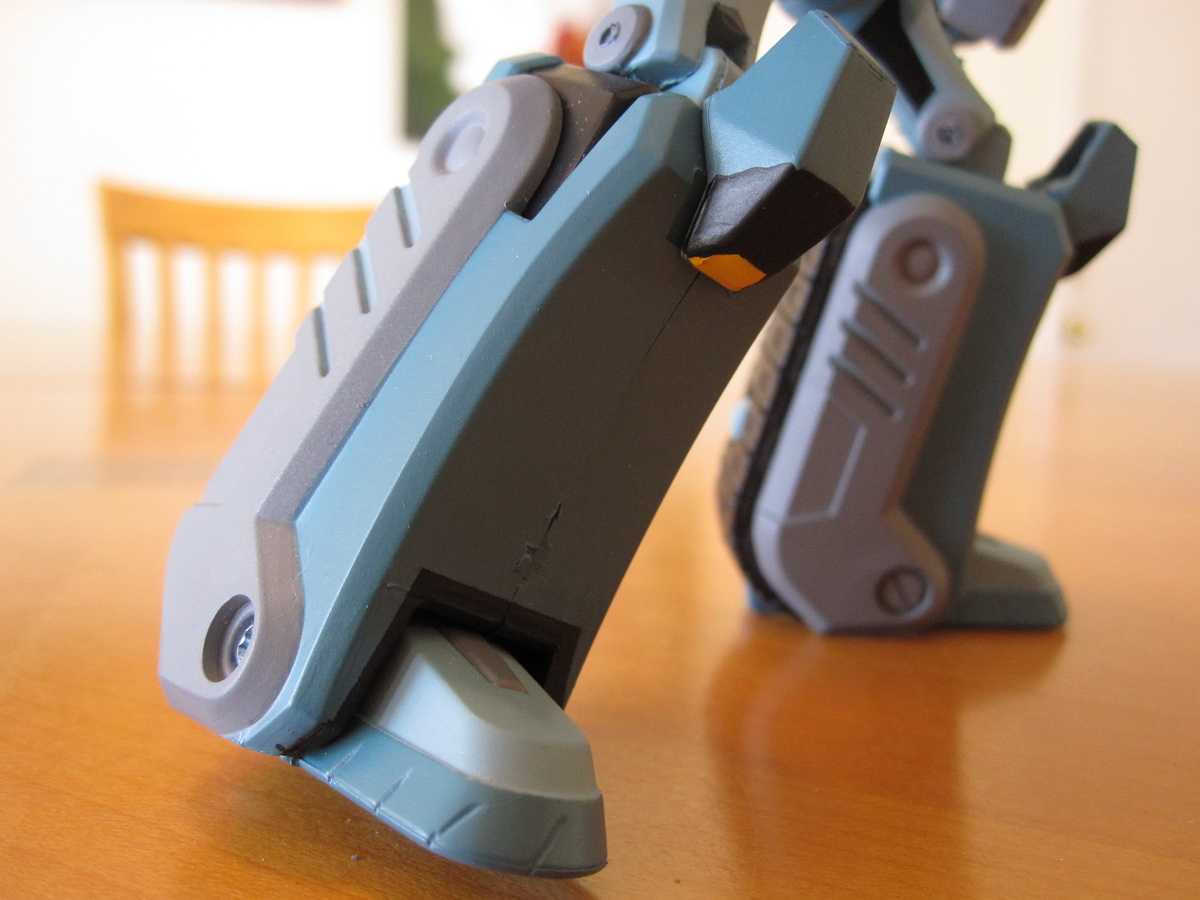
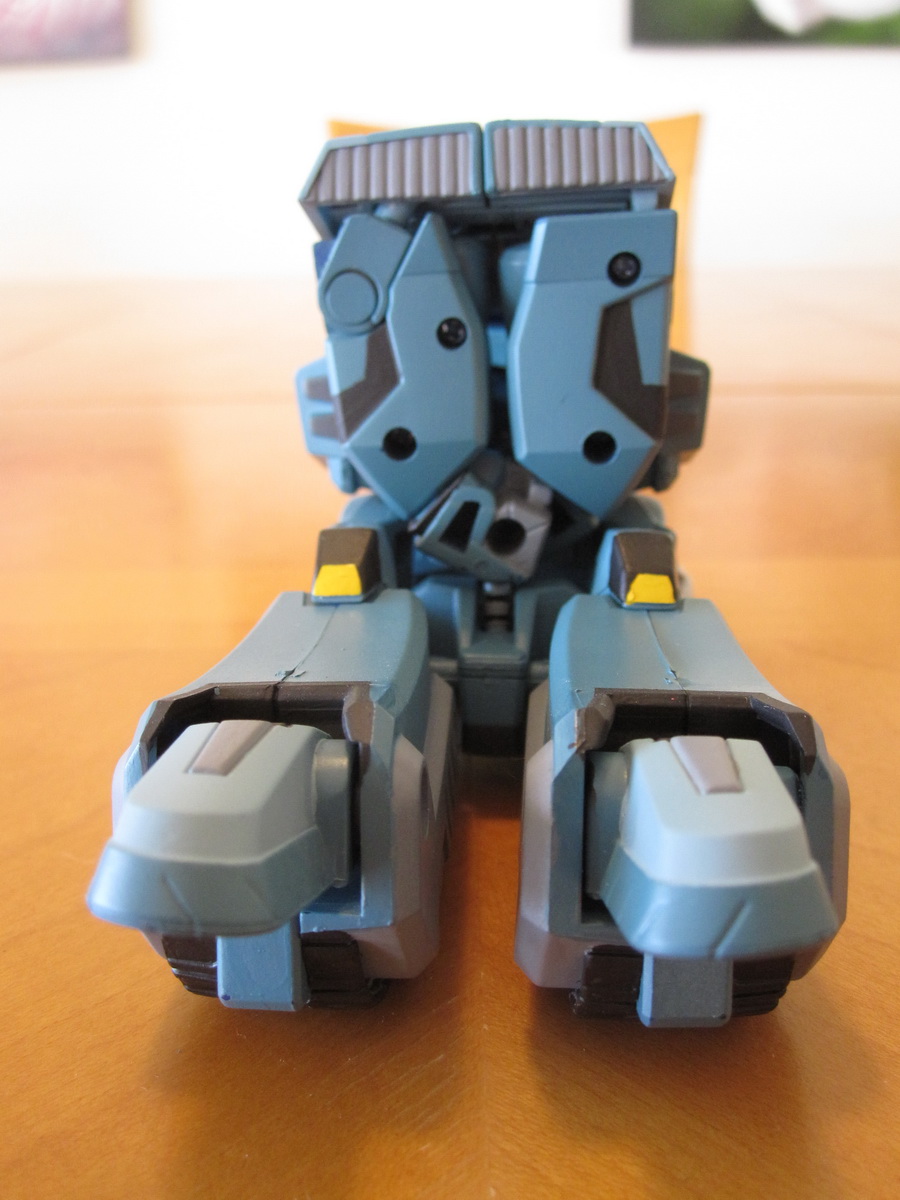
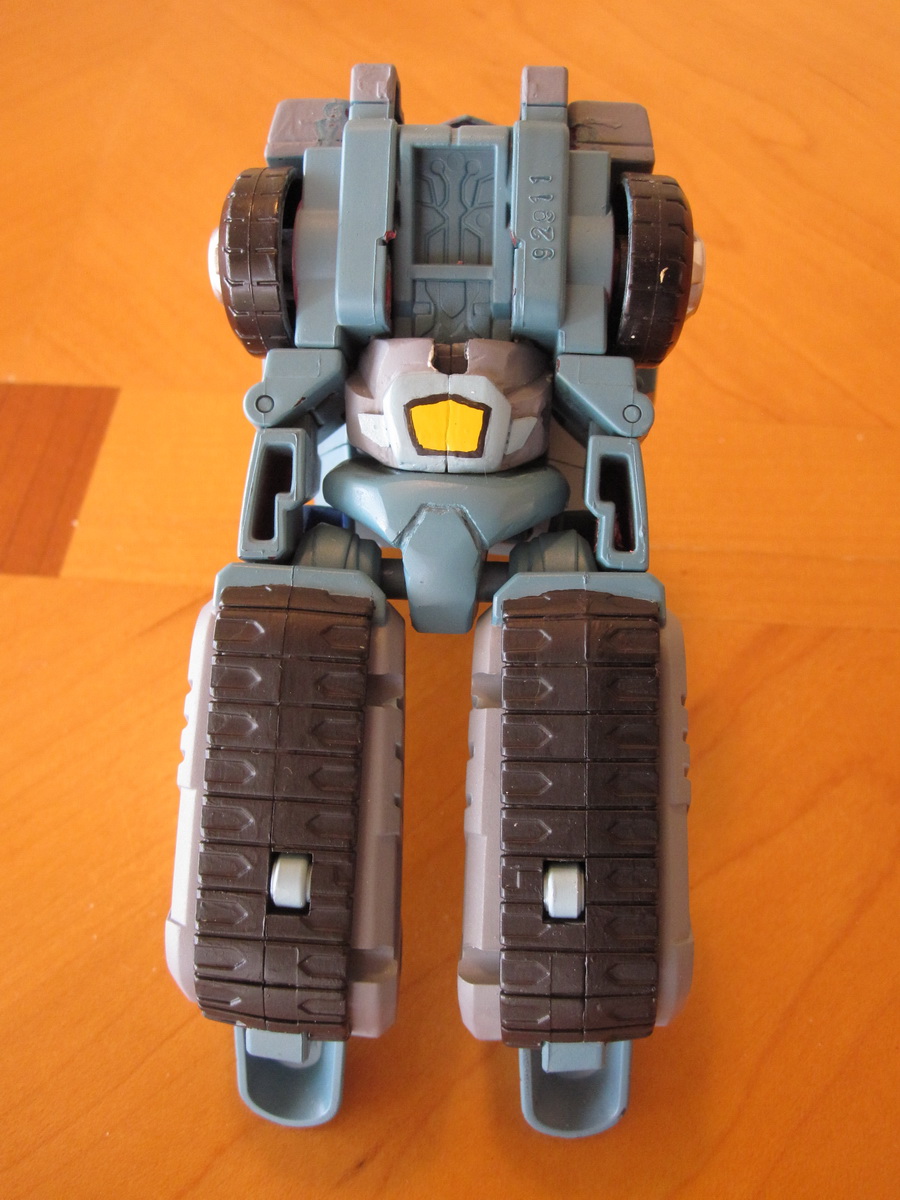
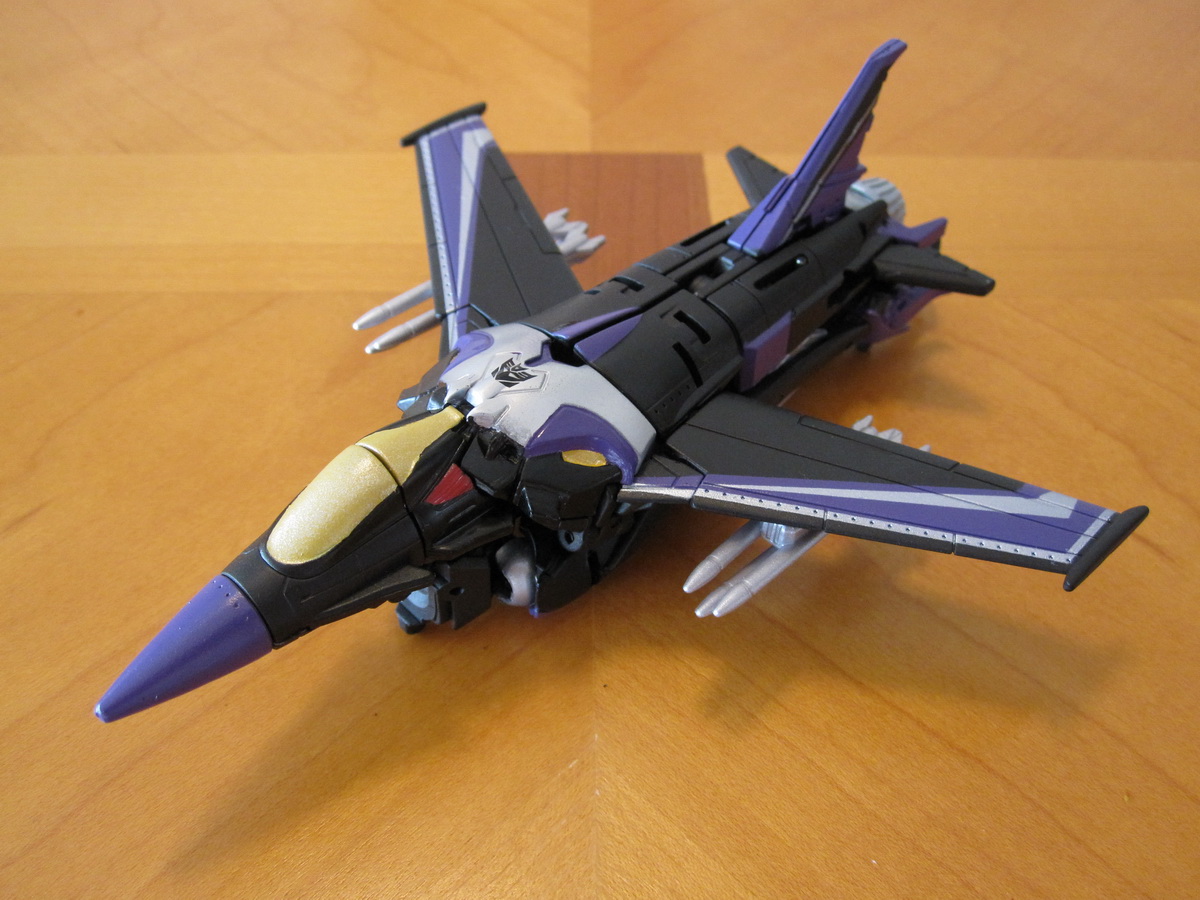
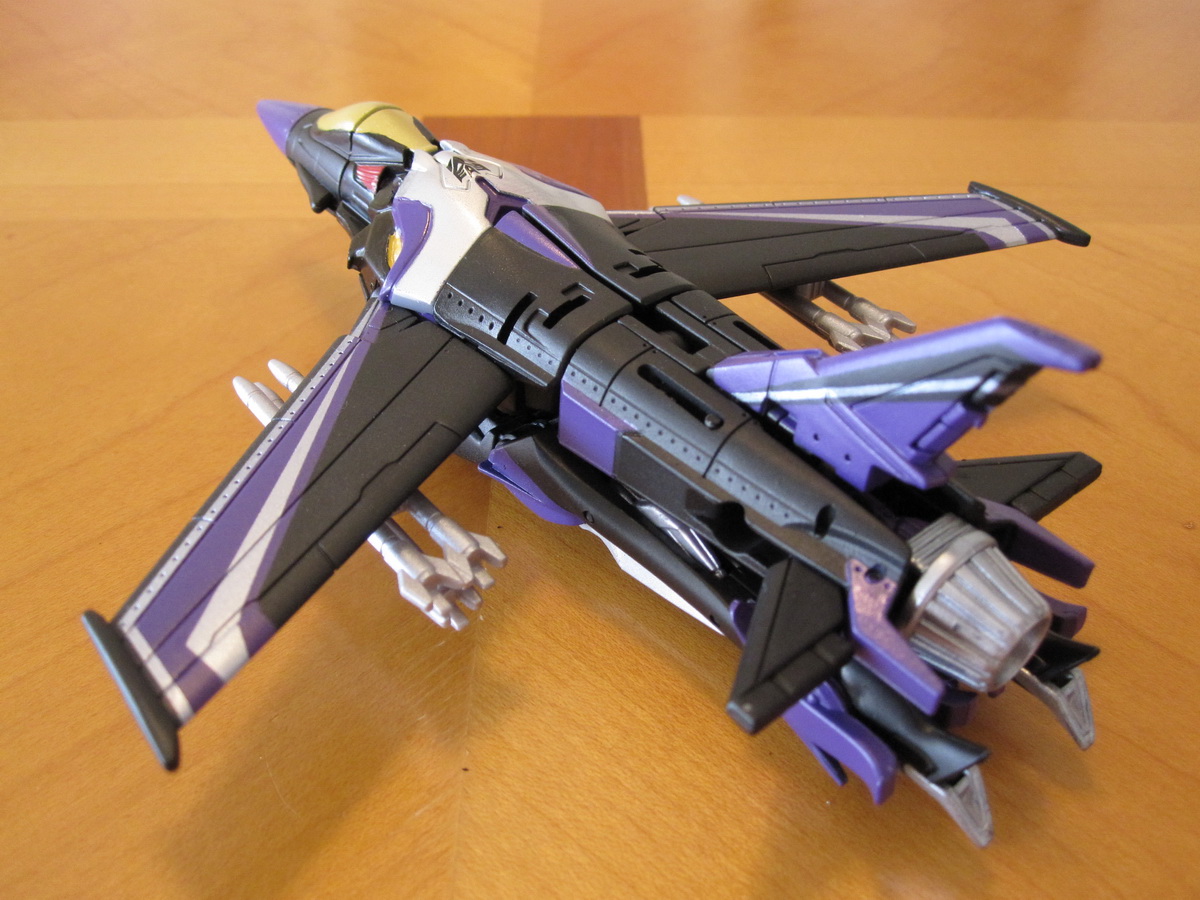
 - Sports Car mode")


