

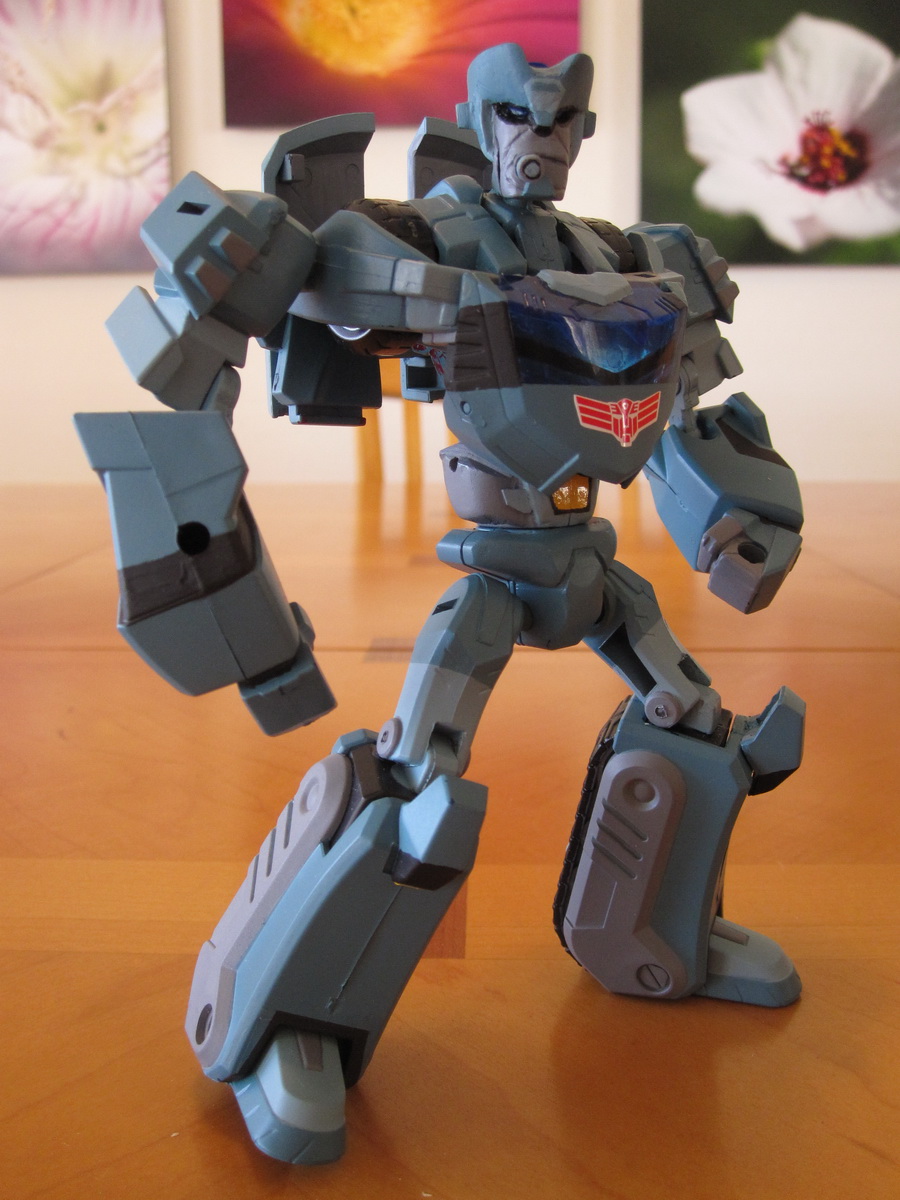
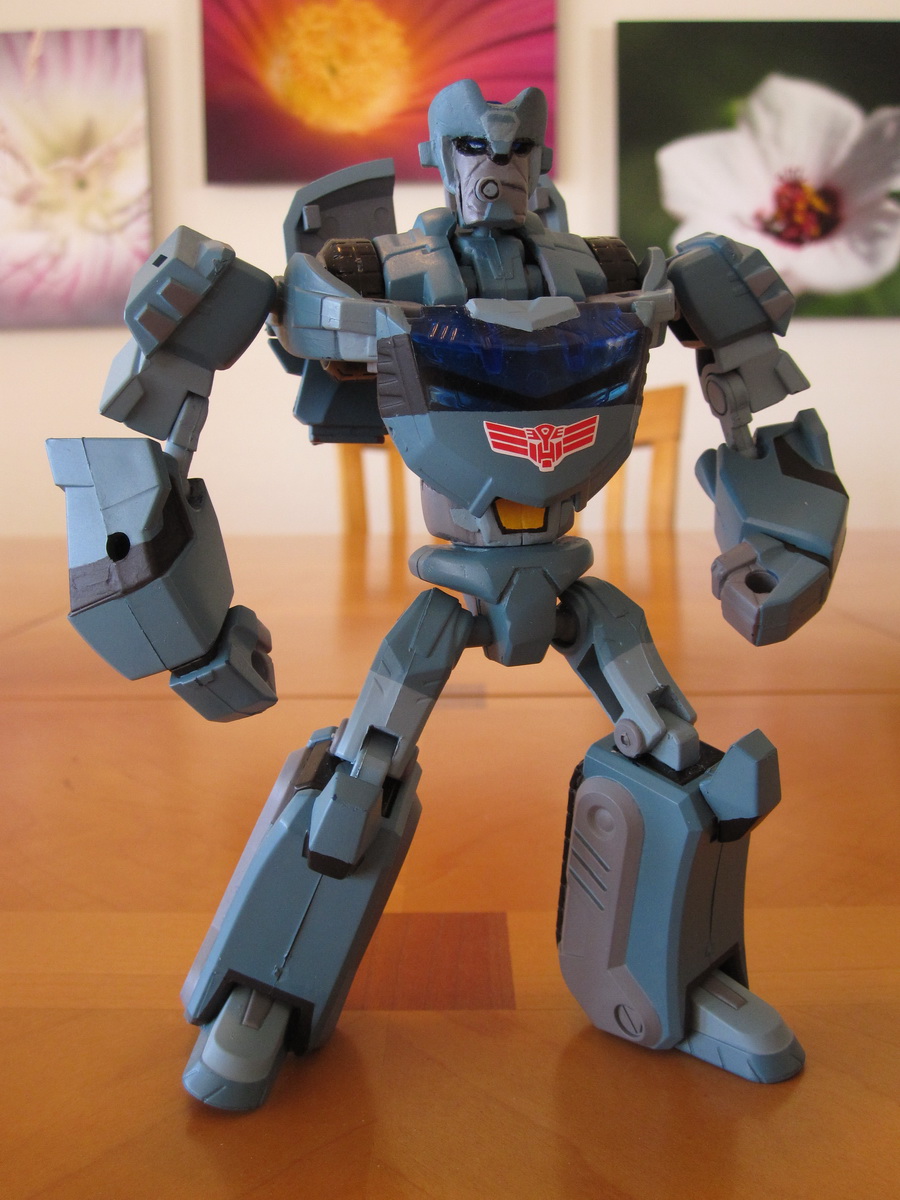
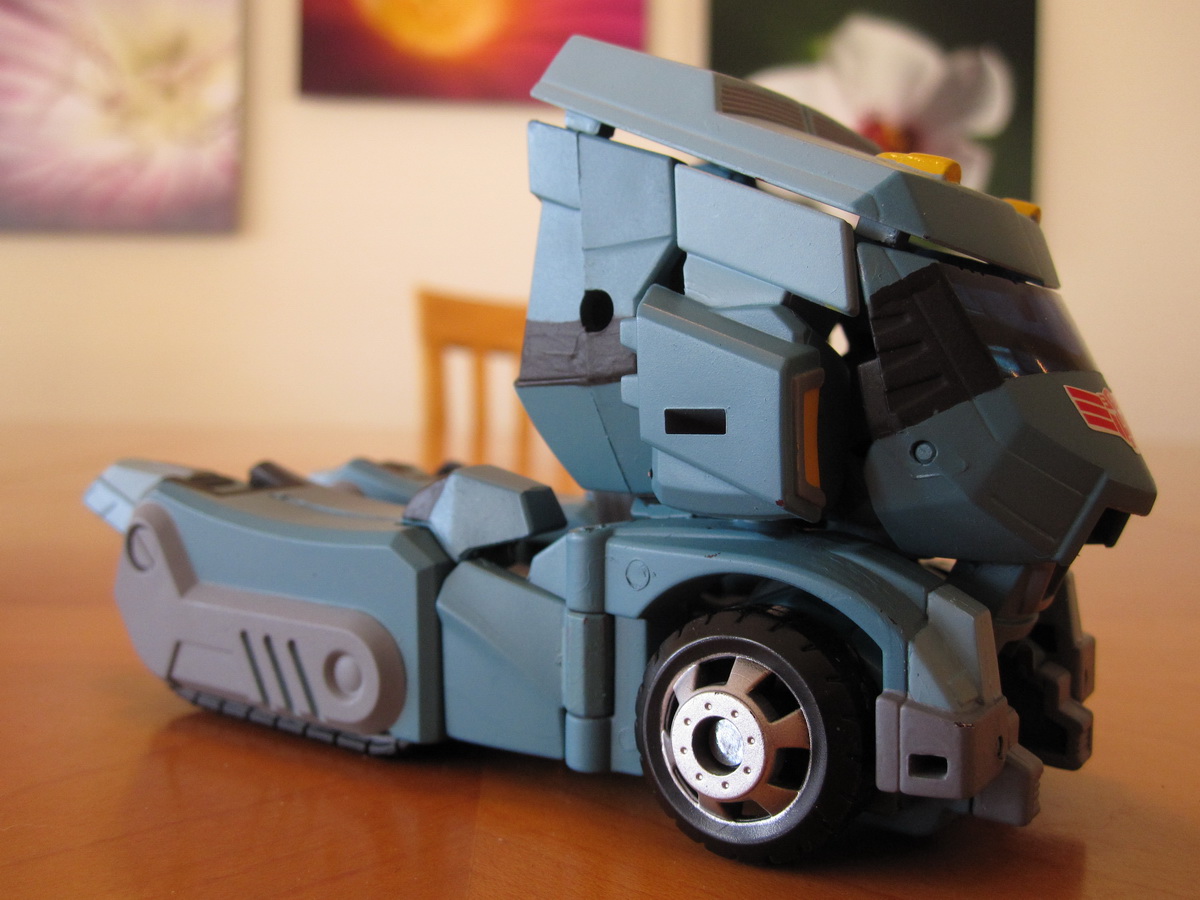
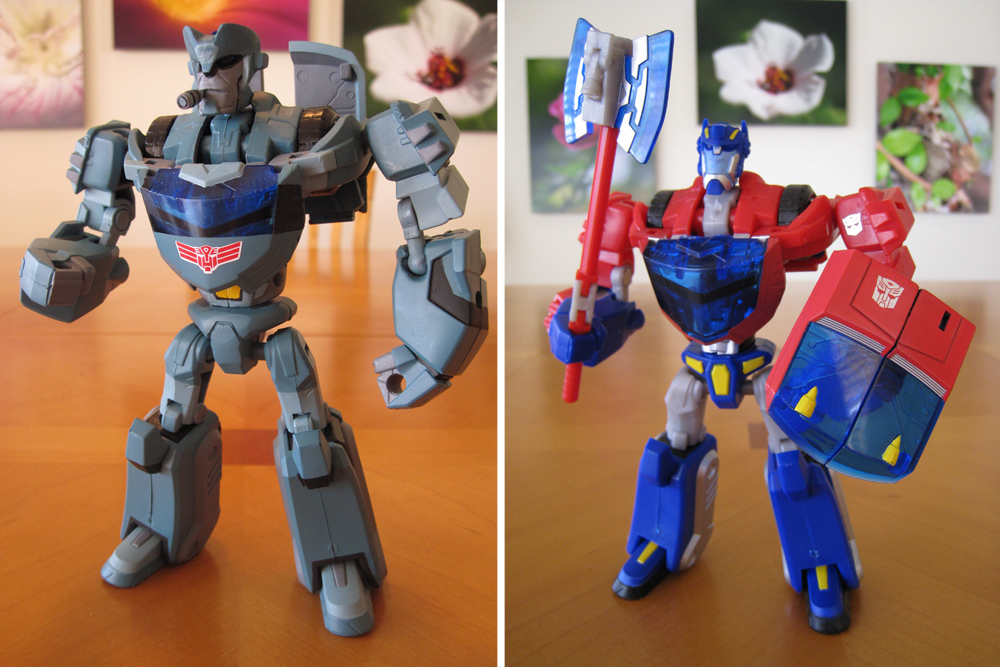
This old rust-bucket to the left is my custom-made Transformers Animated Kup. He is by far the best custom figure I’ve completed to date. He’s also the first to have extensive sculpting work.
The character of Kup in the Transformers universe is traditionally a representative of an old Transformer. Transformers, while millions of years old, do age. Kup has usually seen it all; having been there since the early days and seeing many, many battles throughout the centuries. He has loose parts, doesn’t move as fast as the others, and in general is just a grouchy old guy with lots of stories to tell.
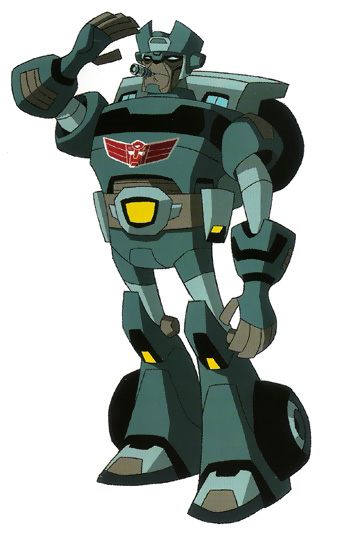
Kup did show up in the Transformers Animated universe, but only as official artwork in the Transformers Animated Allspark Almanac – Volume 2. In this universe, he’s an old retired member of the Elite Guard and has transitioned into being a drill instructor for the Autobot troops. He also has the distinction of naming some of the prominent characters.
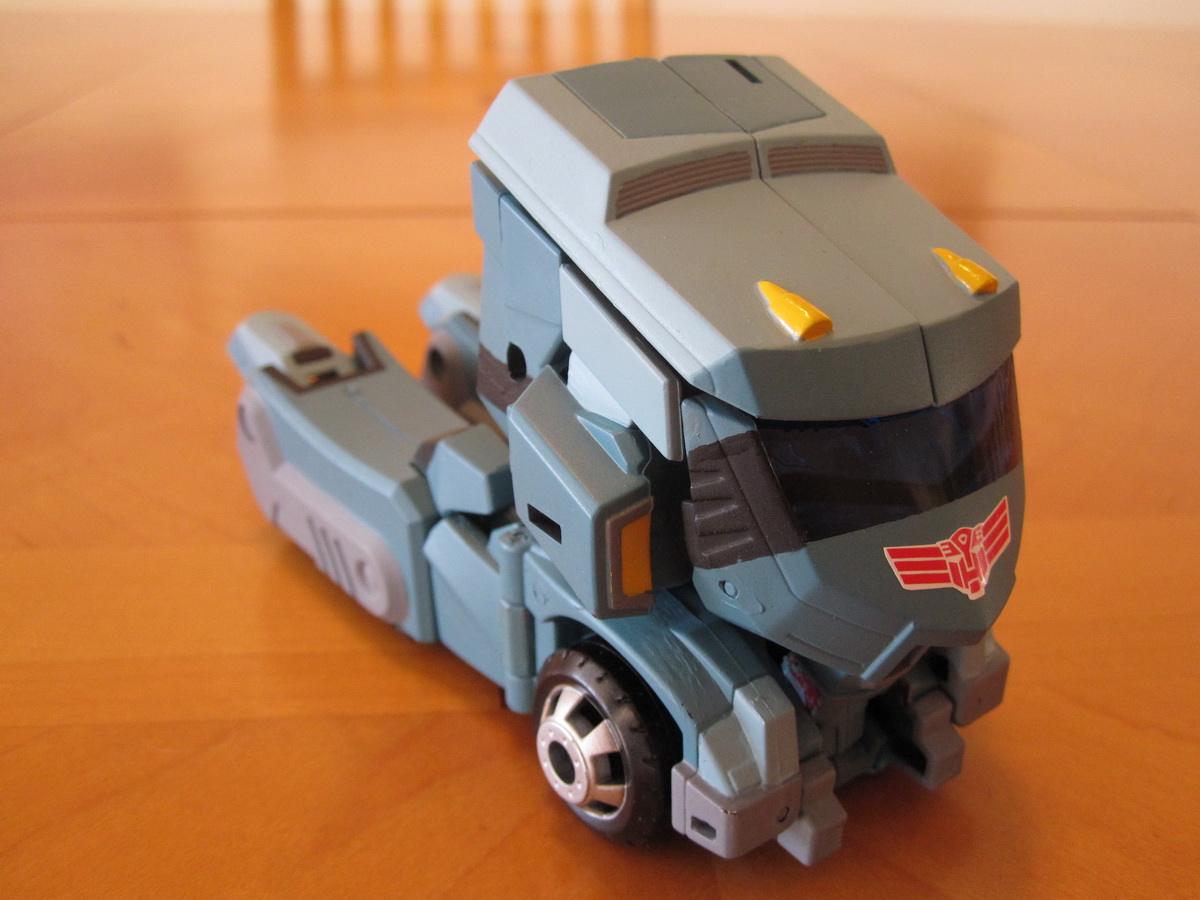 While I would have loved had they actually made a real toy for the guy, it was up to me to create my version. Taking hints from previous customizers, I used the deluxe-class Cybertron Optimus Prime toy as the base. Then with a bit of sculpting and paint, he’d be transformed into a version of the beloved Kup. I tried my best to transfer design cues from the official artwork onto the appropriated toy as best I could.
 This guy has the distinction of being the first to have any sculpting work. I used a modelling material called Apoxie-Sculpt. It’s a two-part clay-like material that you mix together and then sculpt. You have a few hours to mold it to your choosing, after which it turns into a hard plaster-type material. You can then sand down or trim, and then built upon further if you wish.
 I first disassembled and cleaned the base figure like all the customs I do, and then I started sanding down the original Optimus Prime toy’s head. Particularly the large chin and “ears”.
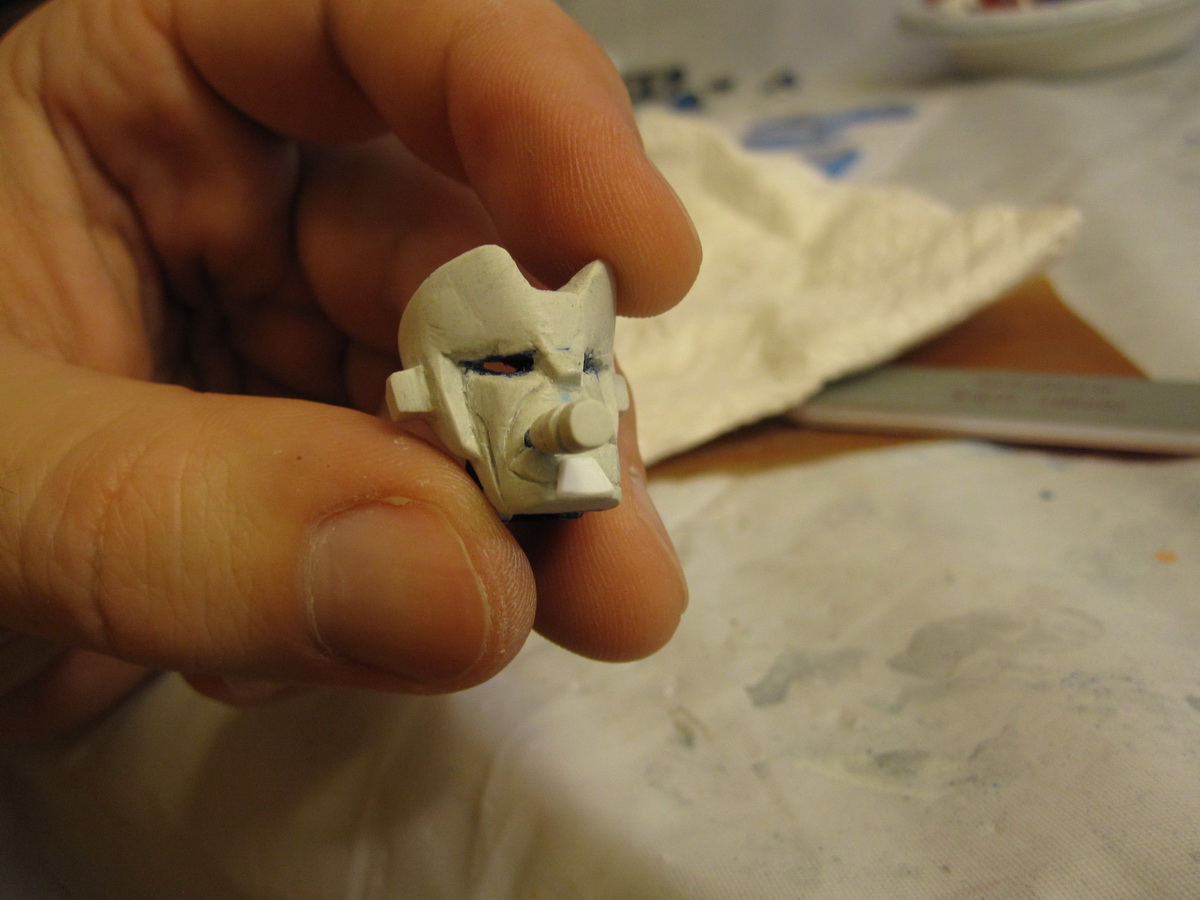
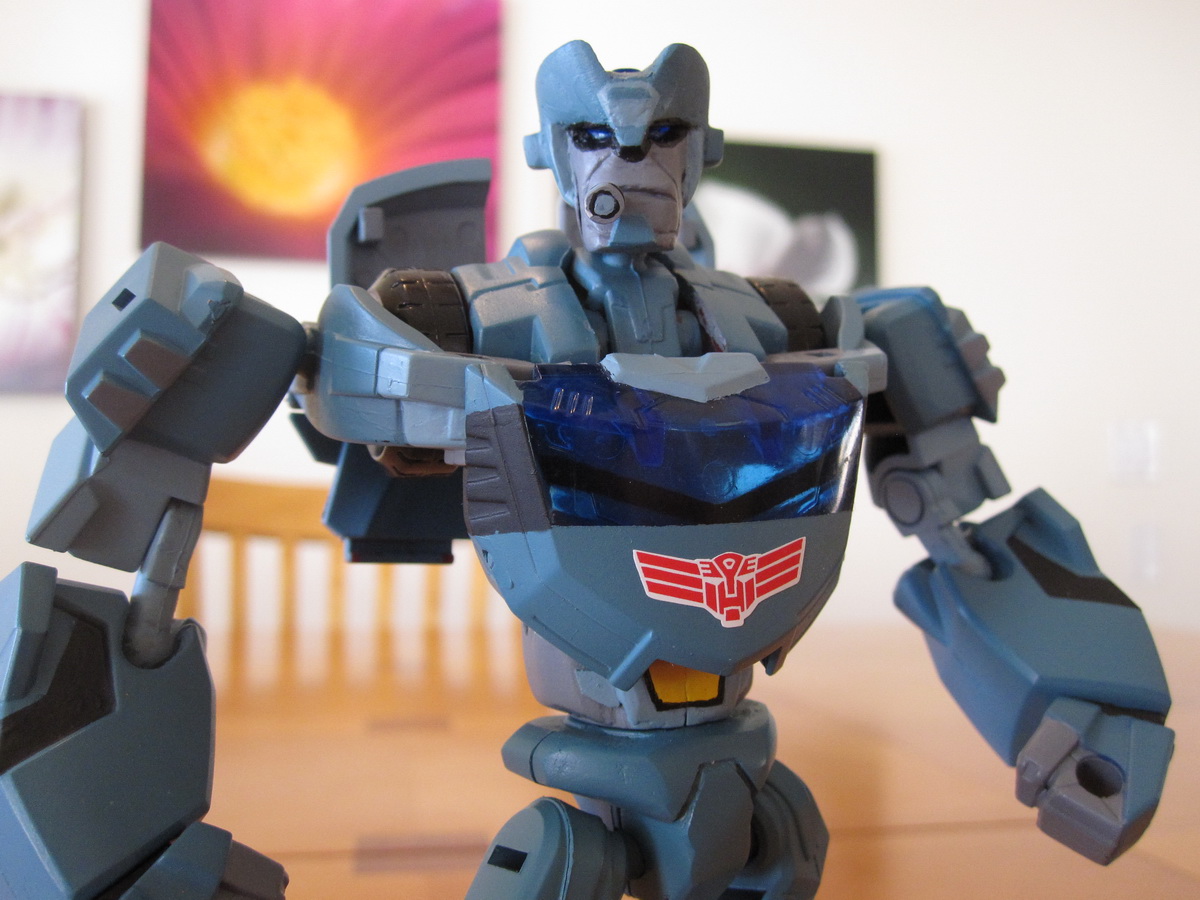
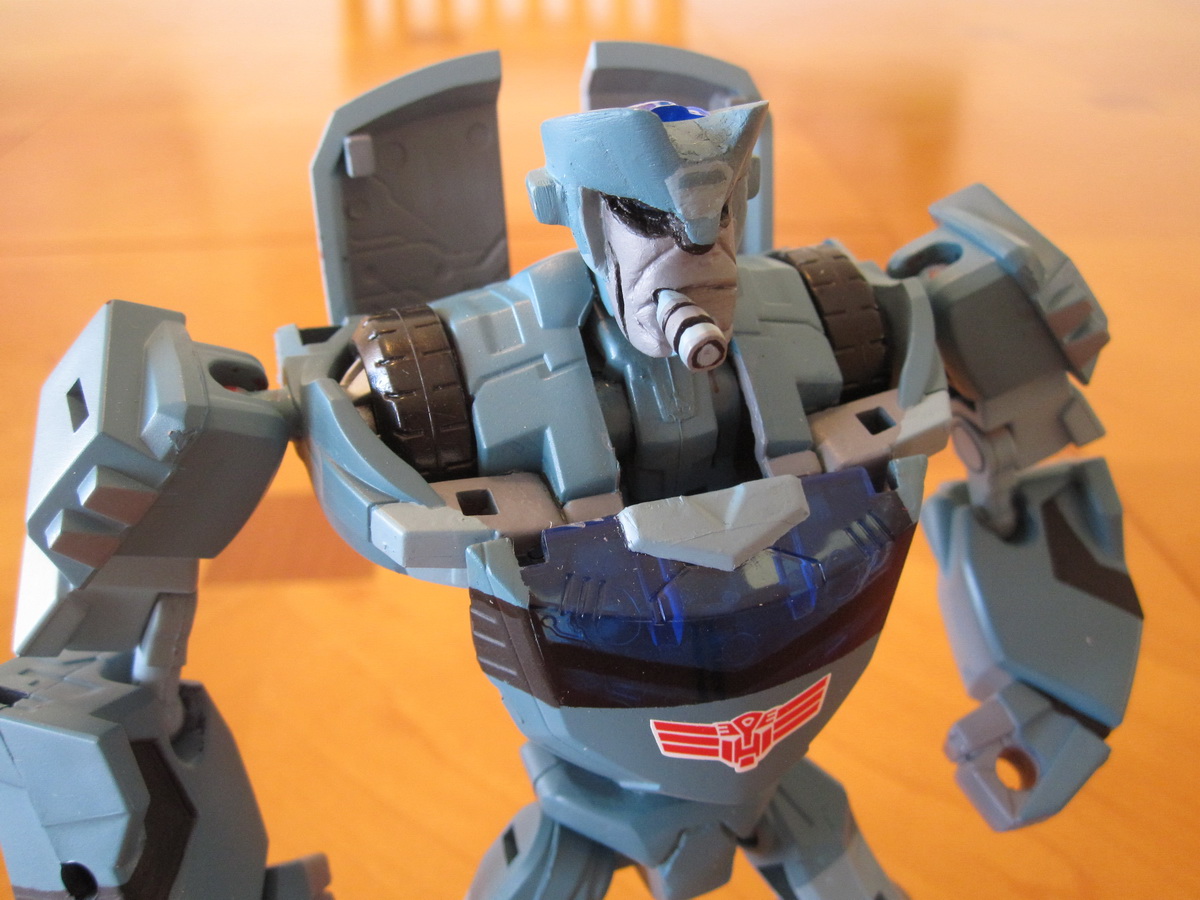
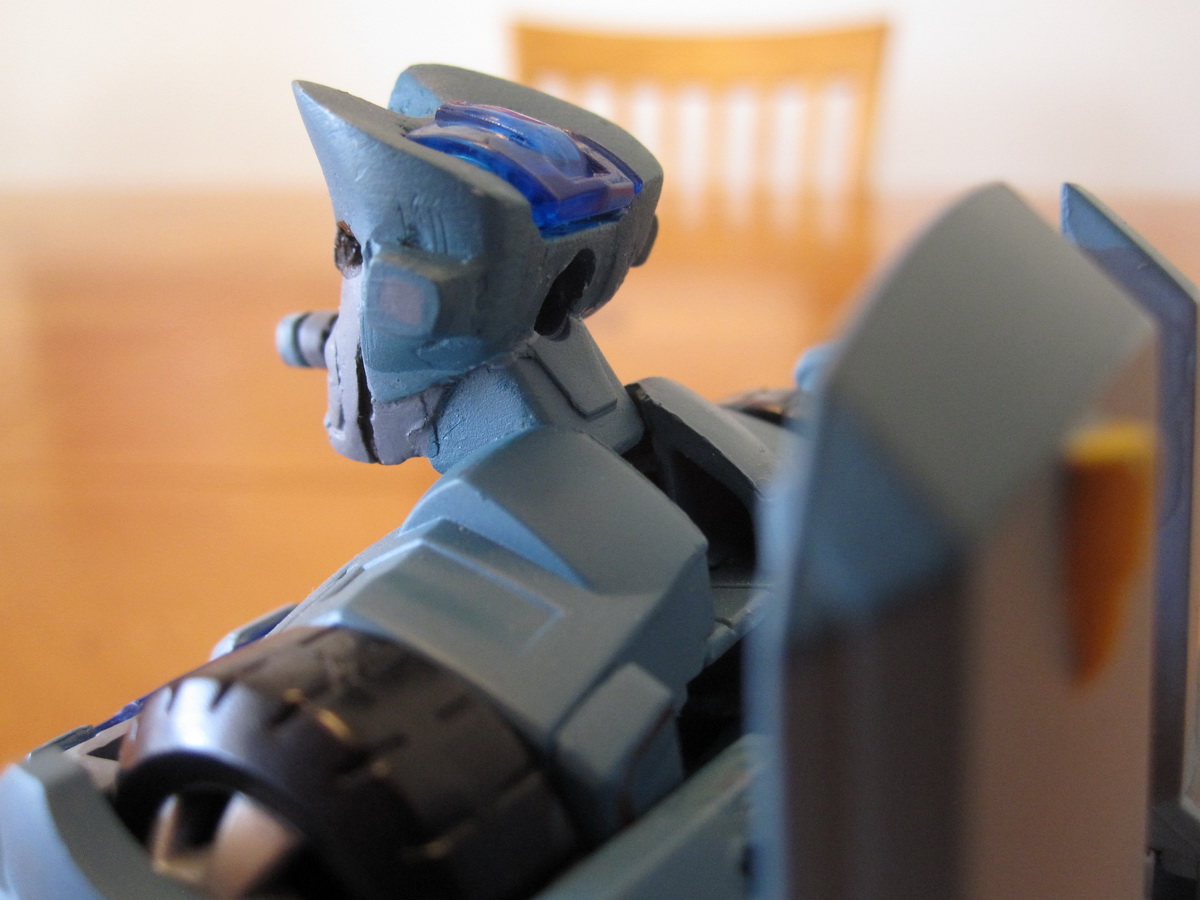
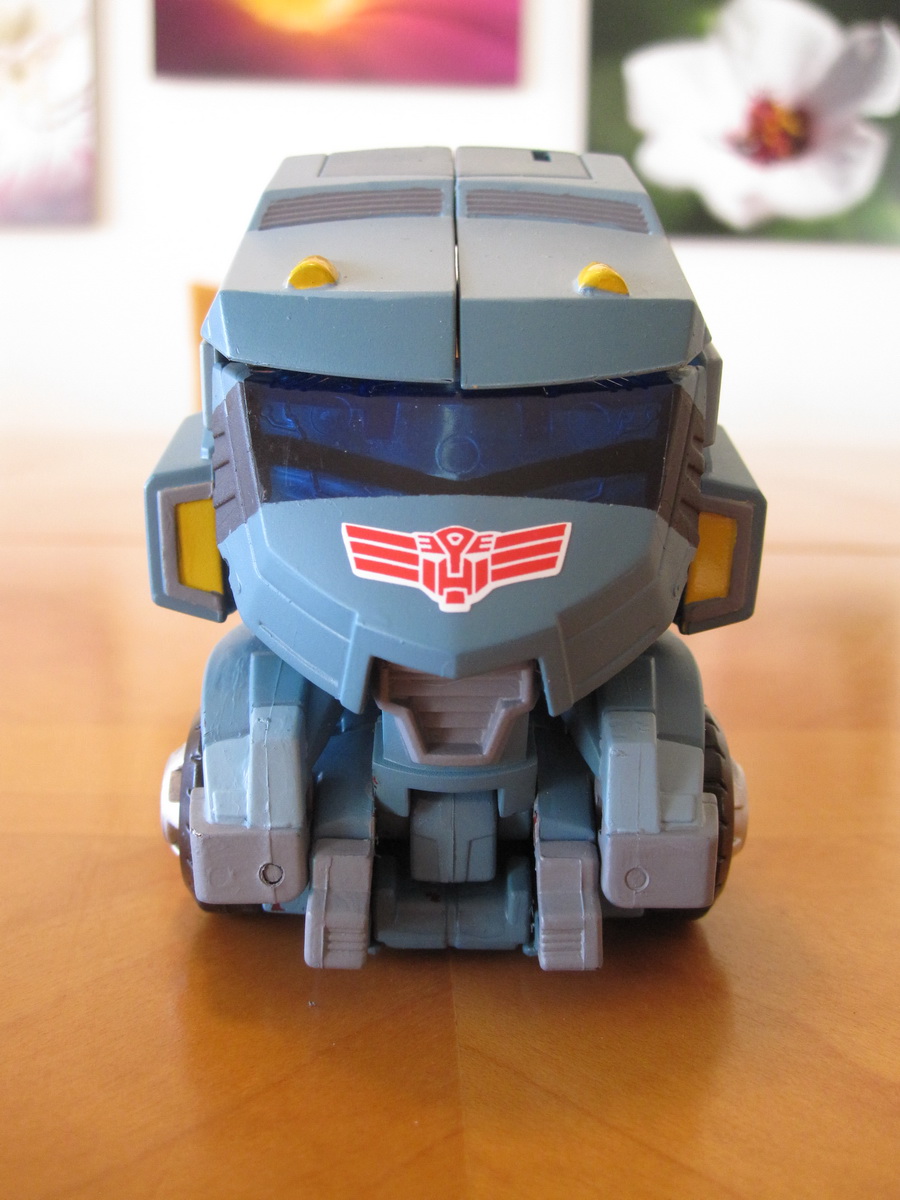
I then mixed a bit of the apoxie and placed it on his head. I wish I had more photos of this entire process, but I did build the head layer-by-layer over the course of a week. Starting with a base form for his chin and face, I let it dry, and then built up the helmet and nose afterwards. Then I let it dry some more and built the ears or sides of his helmet. In between each phase, I would sand down or straighten hard edges with sandpaper, files, and an exacto blade. A bit of water on the fingers also helped to smooth out bumps and ridges, just like other clay because you will leave fingerprints in the stuff. The material also would stiffen if you let it sit for a few hours in case you wanted to shape it with more refinement, as when it’s fresh it is a very soft putty. Furthermore, the other nice thing about the Apoxie-Sculpt is that it lets you build upon itself, even if dry, letting you fix earlier mistakes and fill imperfections.
I did end up using a little trapezoid of styrene so his chin would have a hard edge. I also had to make sure his lightpiping would still work and that presented a challenge as well. After a bit of shaving, the light piping from the back of his head was able to squeeze into place when I was done.
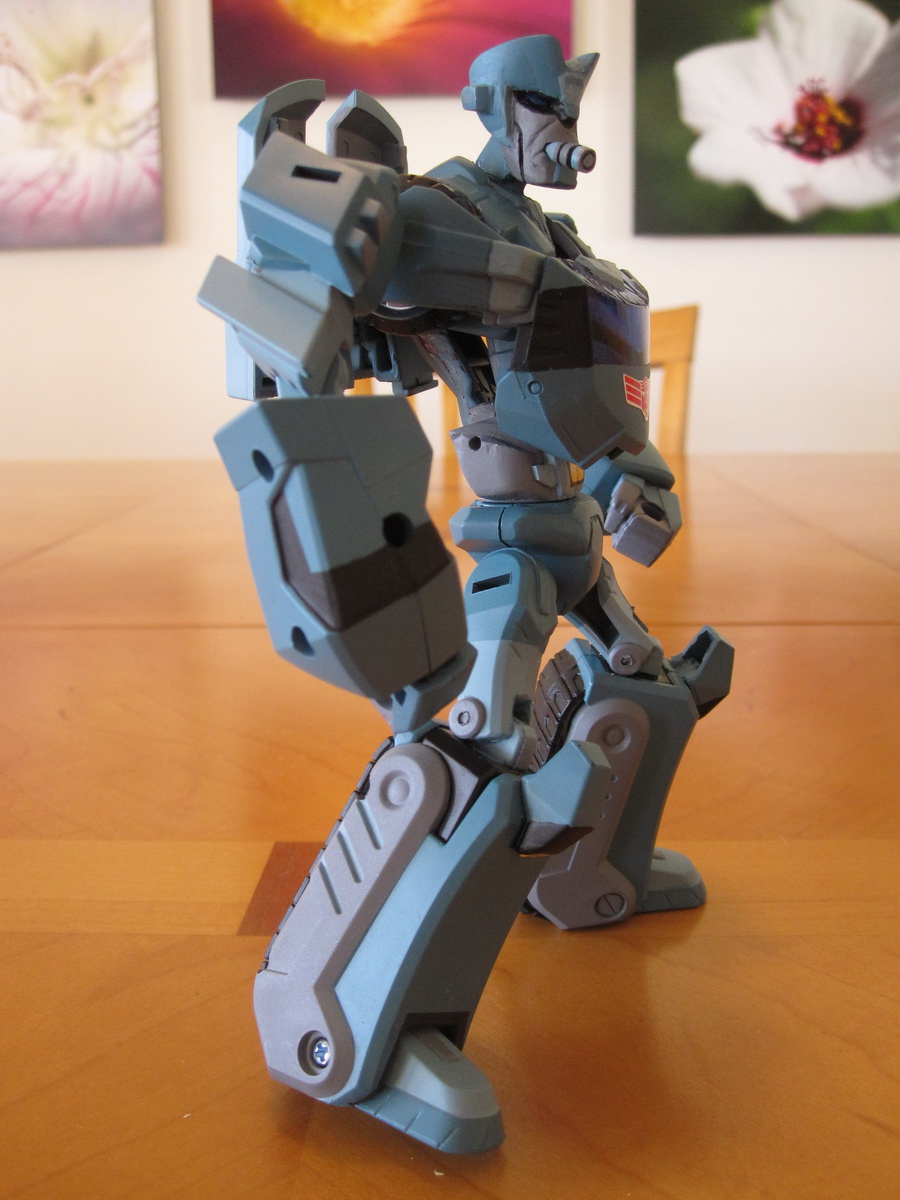
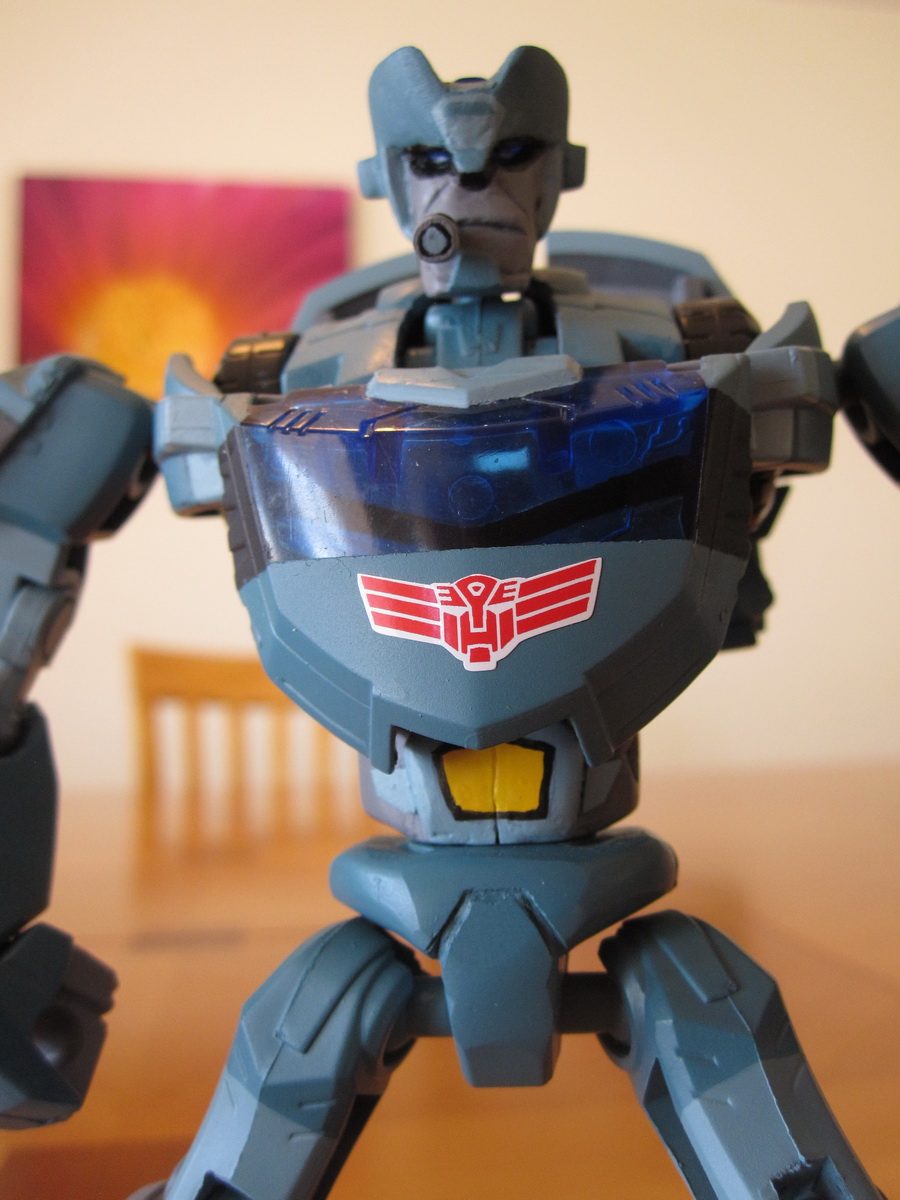
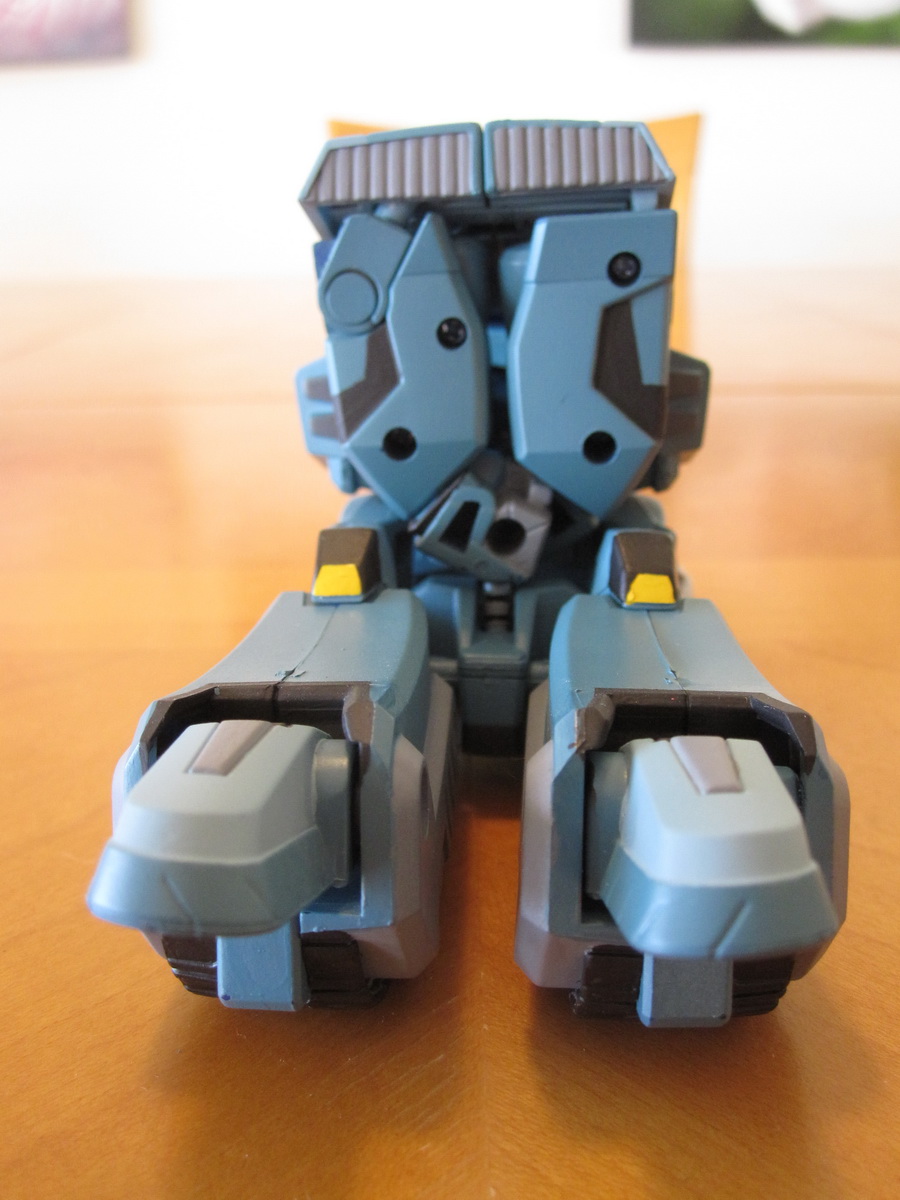
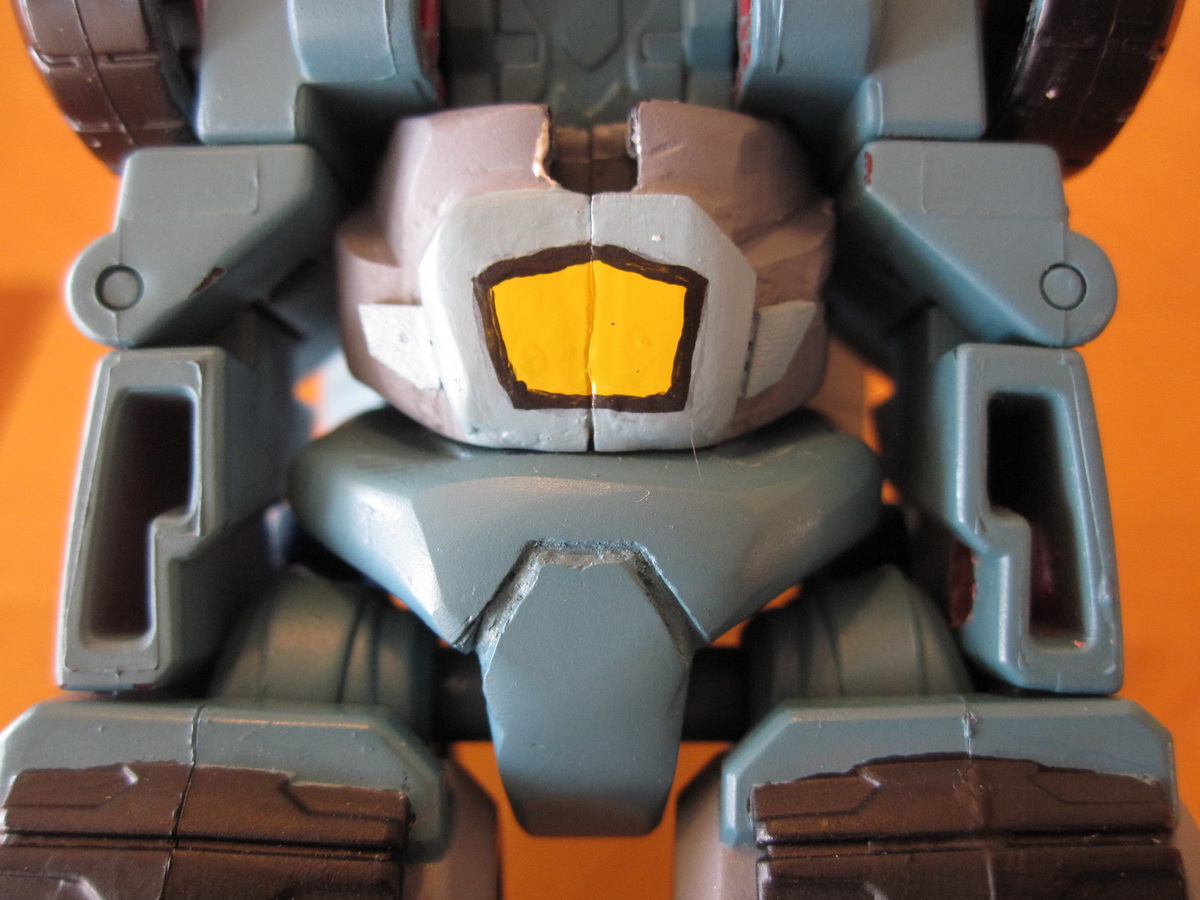 At the same time, I knew that I needed to make some additional sculpted details. I wanted Kup to have a thicker torso than Optimus, and so I built up some detail around his waist. I also wanted to try to match the artwork with his very wide torso and to differentiate him from Optimus. I’m happy how it turned out, but in the end I had to carve out more from the torso than what I had initially built due to transformation limitations. I had to sand, then test fit, then sand some more in order to get his chest to lock into position in robot mode.
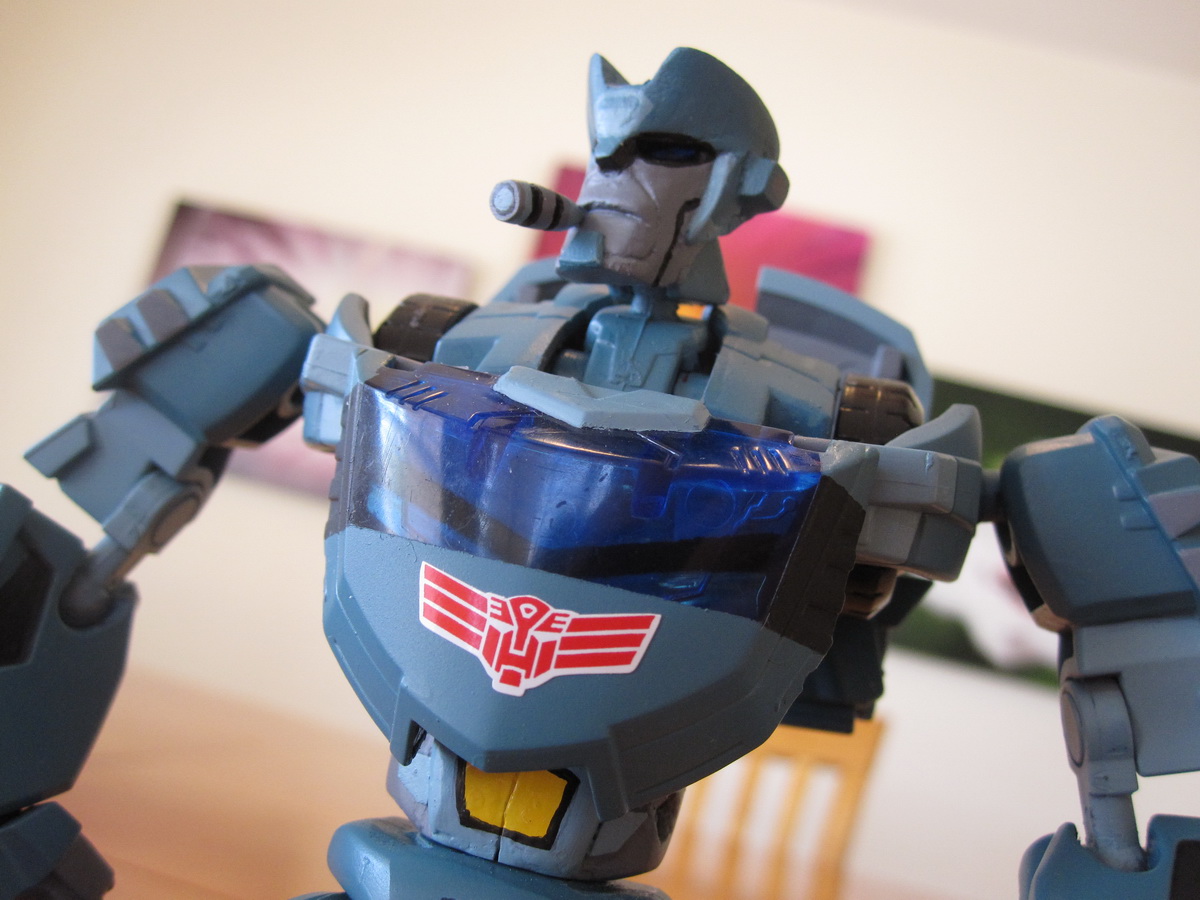
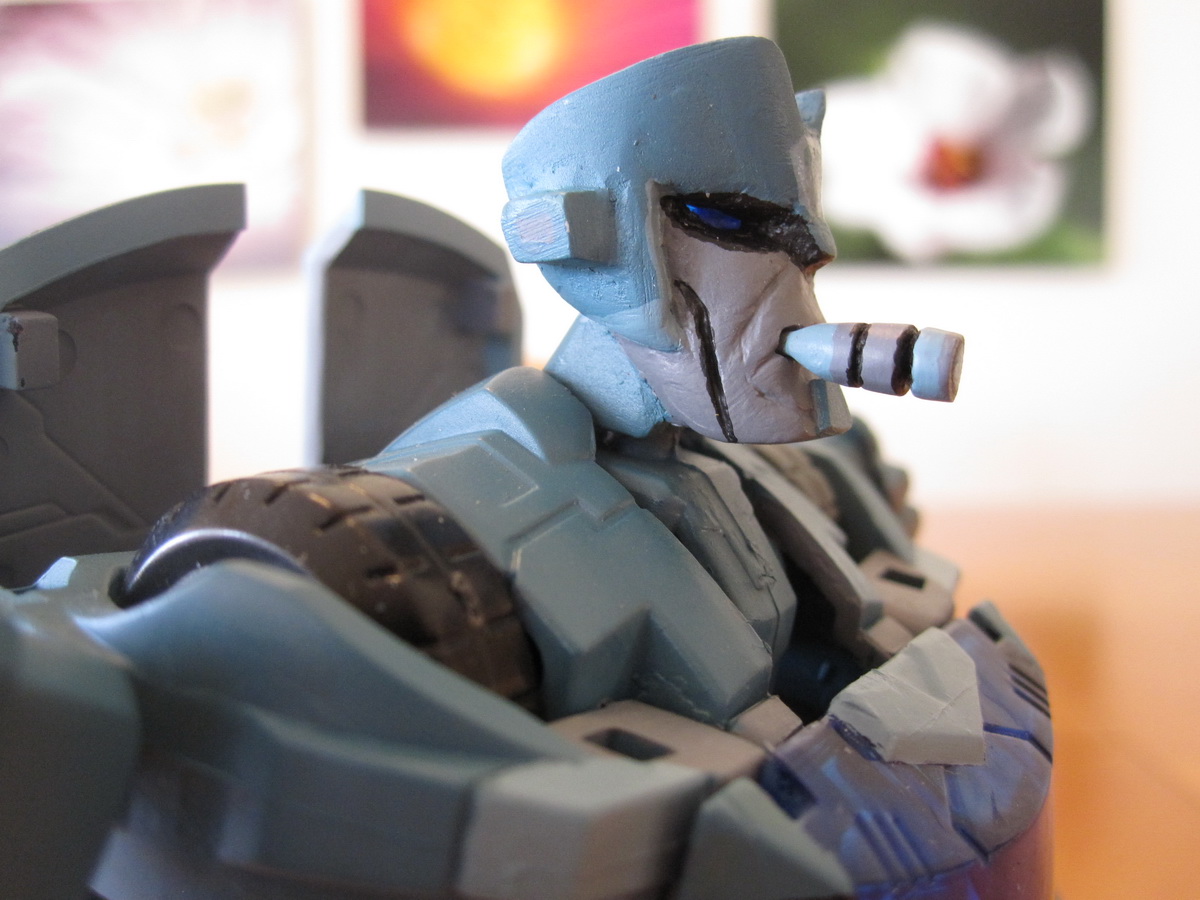
 The other sculpted detail, while tiny, was important. Recent versions of Kup have all been seen smoking a robotic stogie called a cy-gar. What it does in the various fictions is unique, but here it helps to sell Kup as a drill sergeant. Beginning with a penny nail, I slapped some apoxie-scuplt on it and tried to form something similar to the art. Once that dried, I started to bore a whole into the appropriate place on his mouth. Unfortunately, I was stubborn and did not use a drill bit, but instead actually used the cy-gar and my fingers to very slowly drill out enough material from the head so it would fit snugly. I’m very happy with how it attaches securely, but I did end up with blisters on my finger and thumb from trying to hand-bore the hole for almost half an hour.
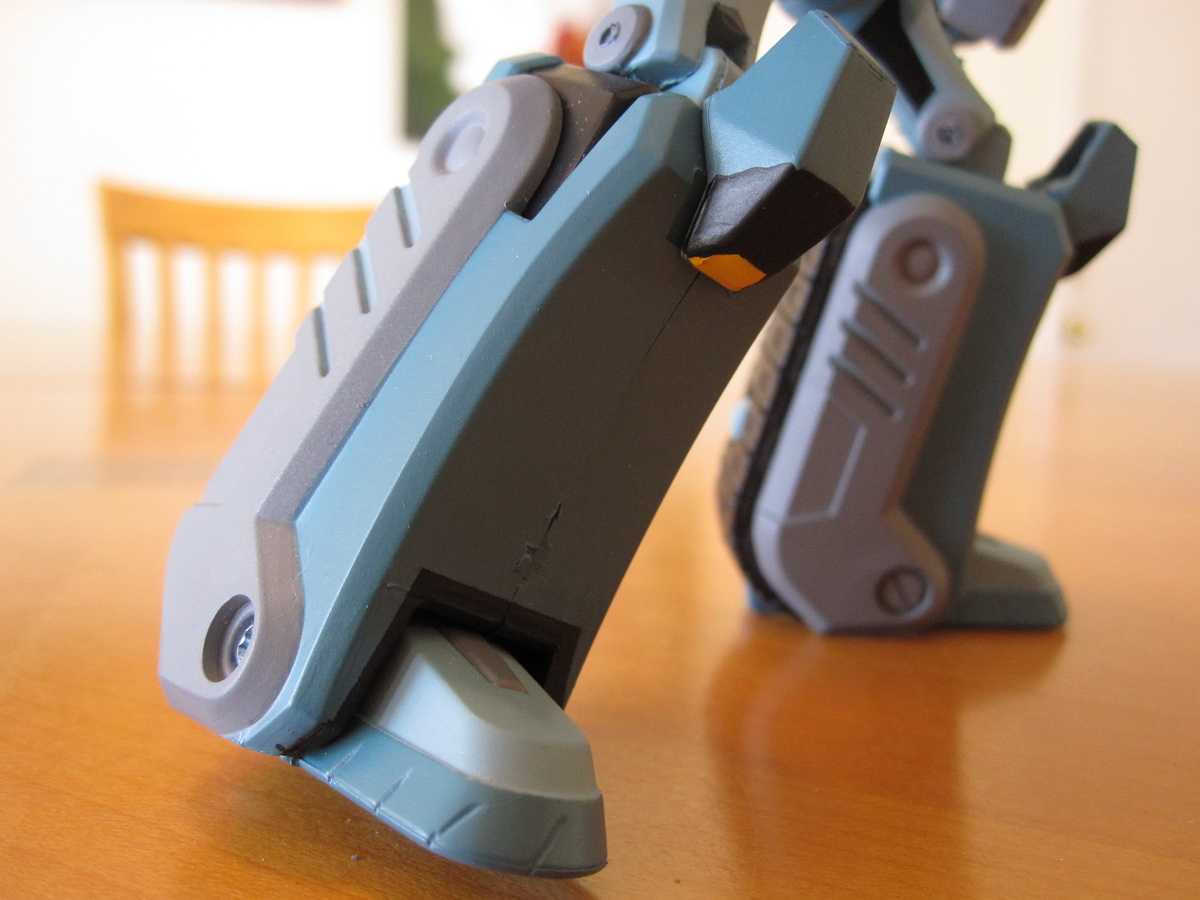
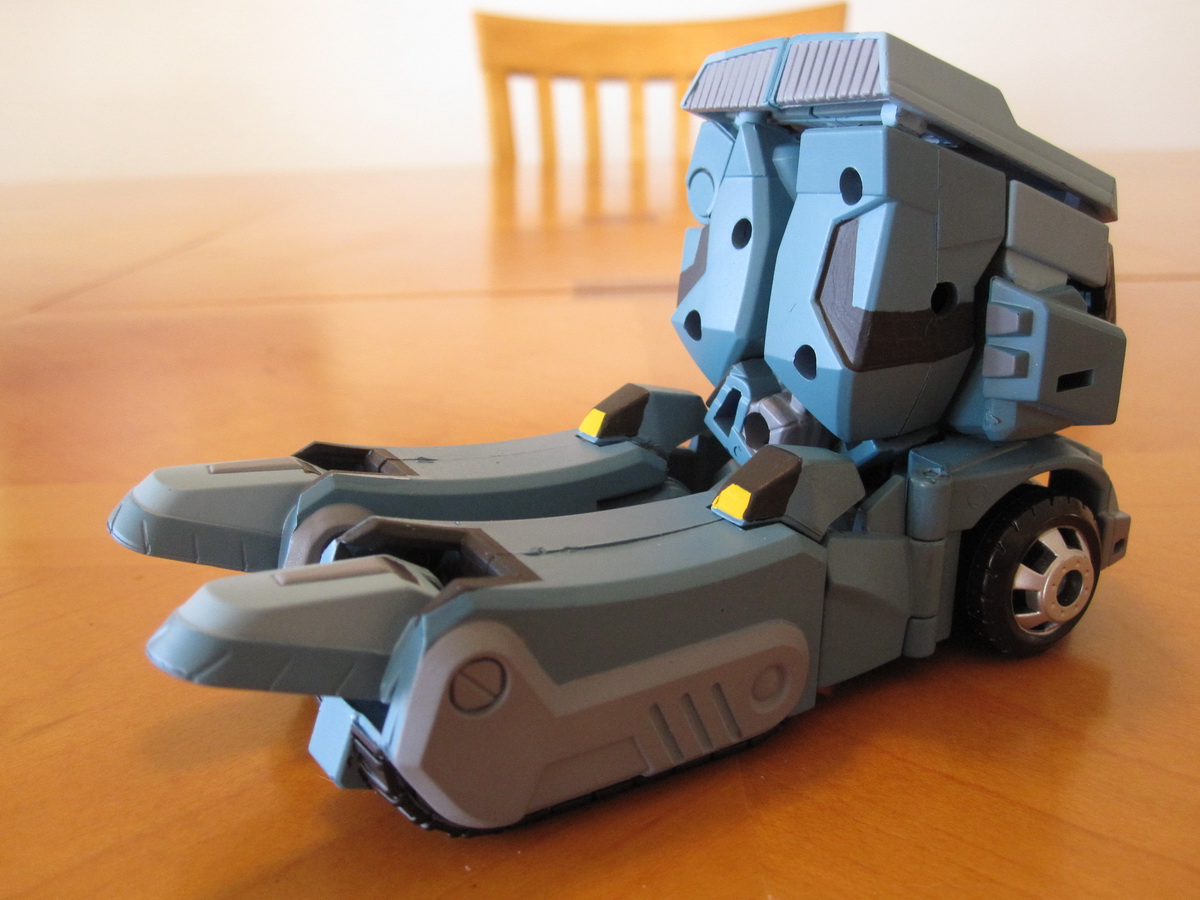
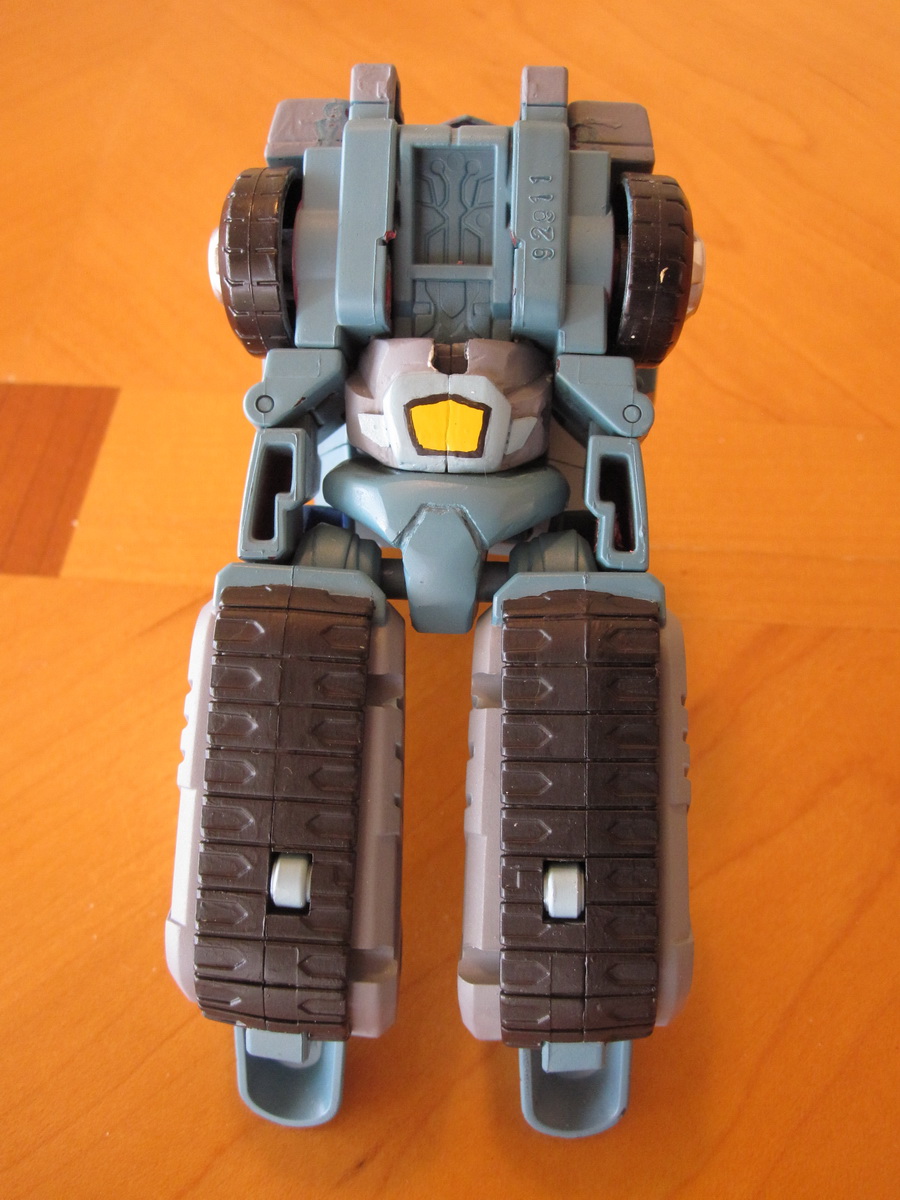
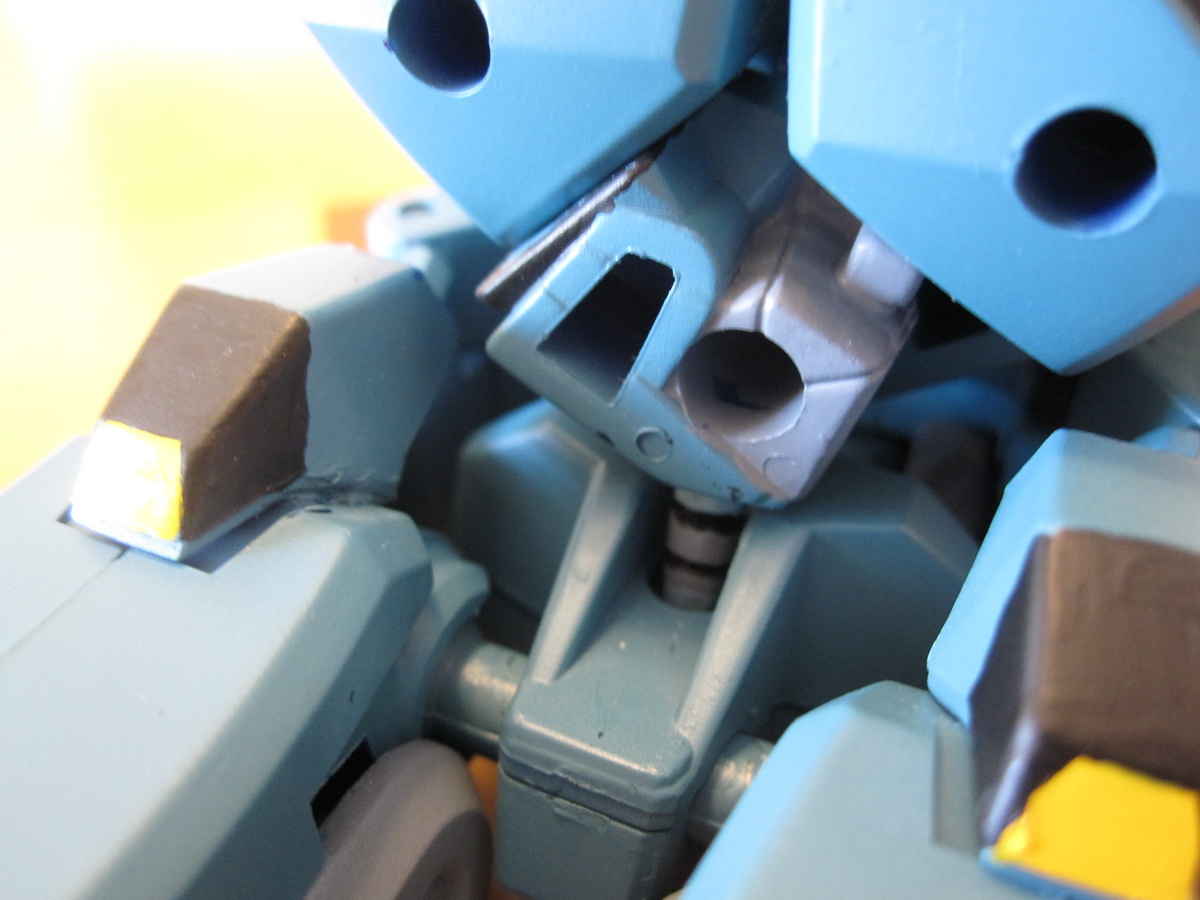 The final bit of ingenuity with the cy-gar was that since it could not be kept in his mouth during transformation (it would stick out too much), I simply used the empty screw hole on the back of his crotch as storage in vehicle mode.
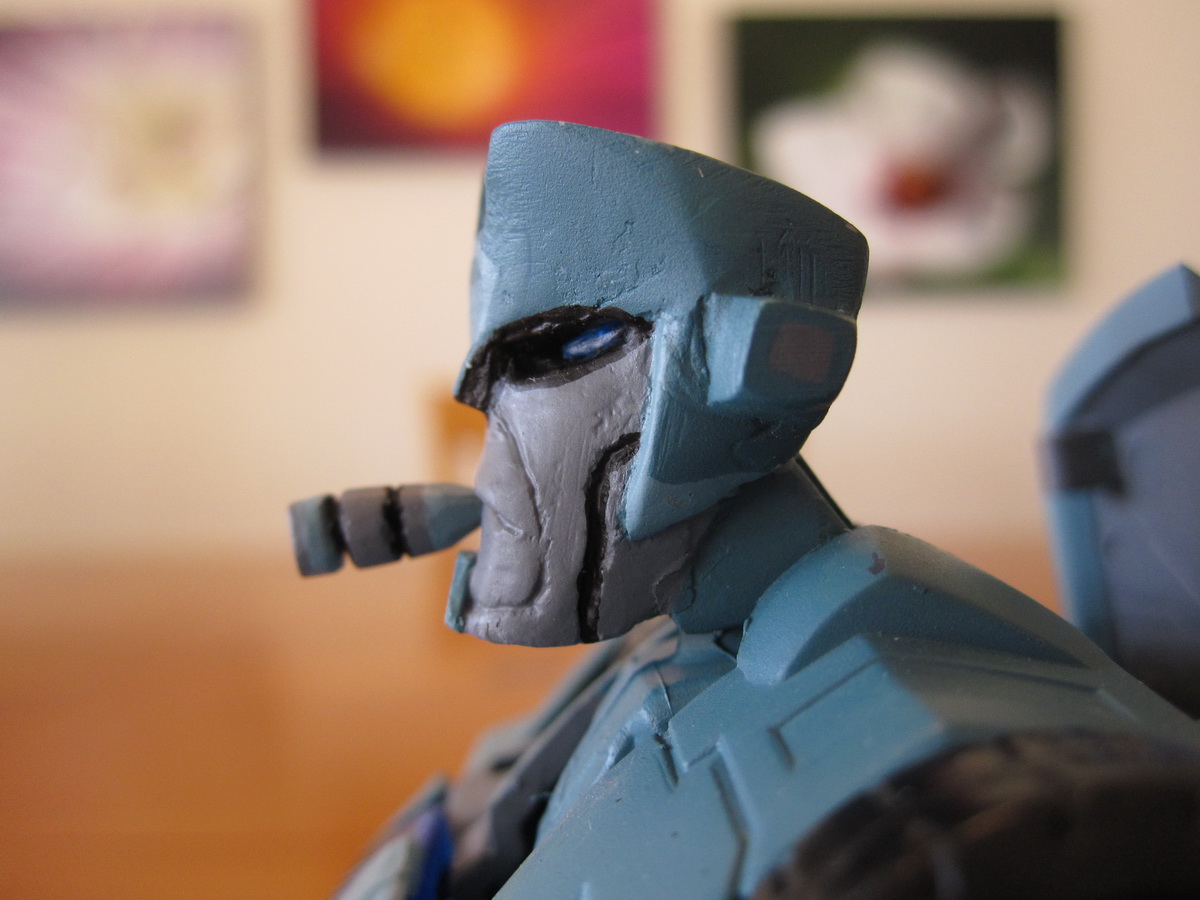
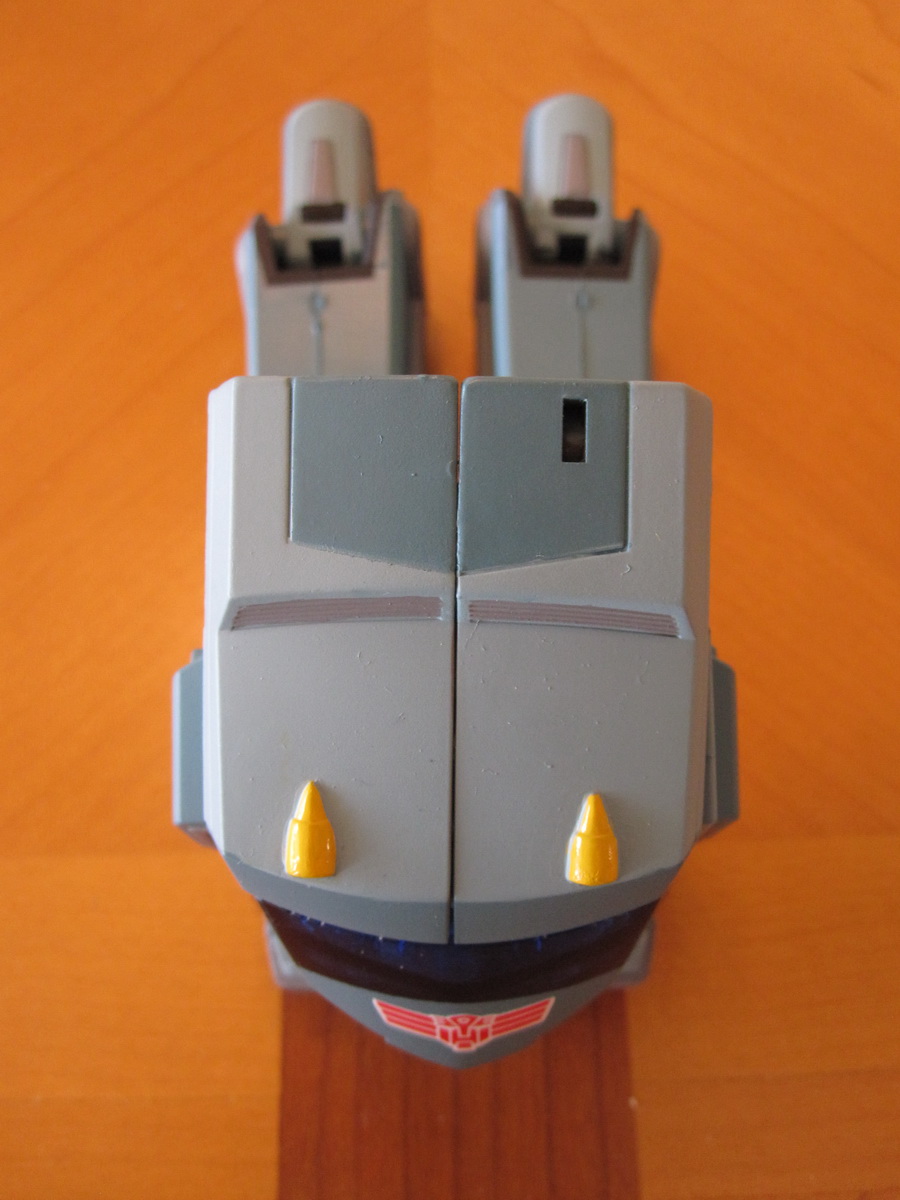
 With the sculpting complete, it was onto paint. I tried my best to 1) match the artwork colors, 2) match design cues, and 3) try to make differences in the color palette work for the better for the toy with more contrast.
Using a newly purchased motorized color mixer, I mixed my colors. I’m happy with the end palette I chose, but I ran into a big, big problem near the end; one I will try not to repeat.
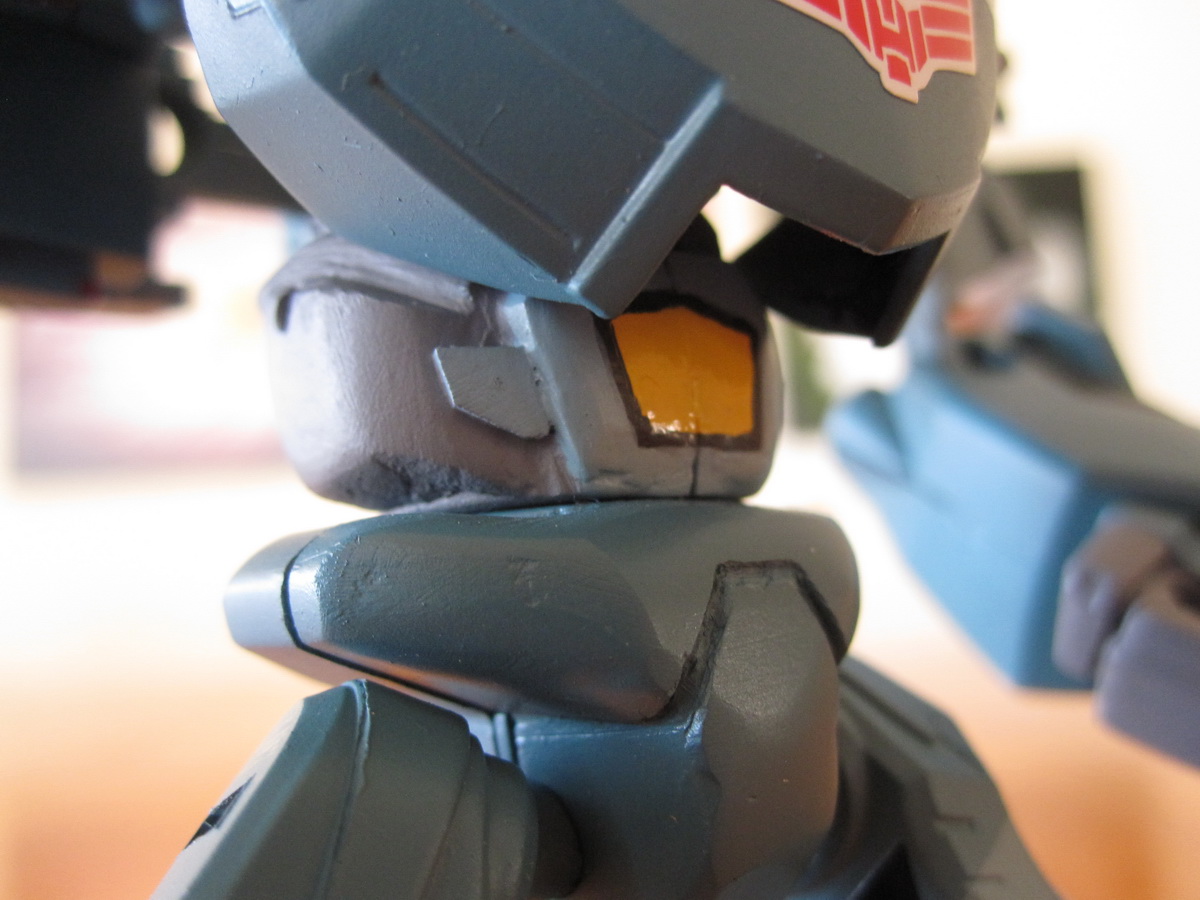
 As it happened, I did not make enough of the custom-mixed aqua blue paint that is his primary color, and so I ran out of it near the end. This became a problem because this guy has so many rub points. His joints were tight, the base plastic was red, and I had thinned the paint too much. Furthermore, the dried apoxie-sculpt isn’t as hard as the plastic and therefore “chips” if rubbed against, leaving a bright white base. It has gotten to the point with the figure and the lack of paint, that I’m afraid to transform him. Another nick on his helmet or ears would be nigh impossible to repaint because I can’t match the color again. Word to the wise for the future: mix a lot more paint for cases like this.
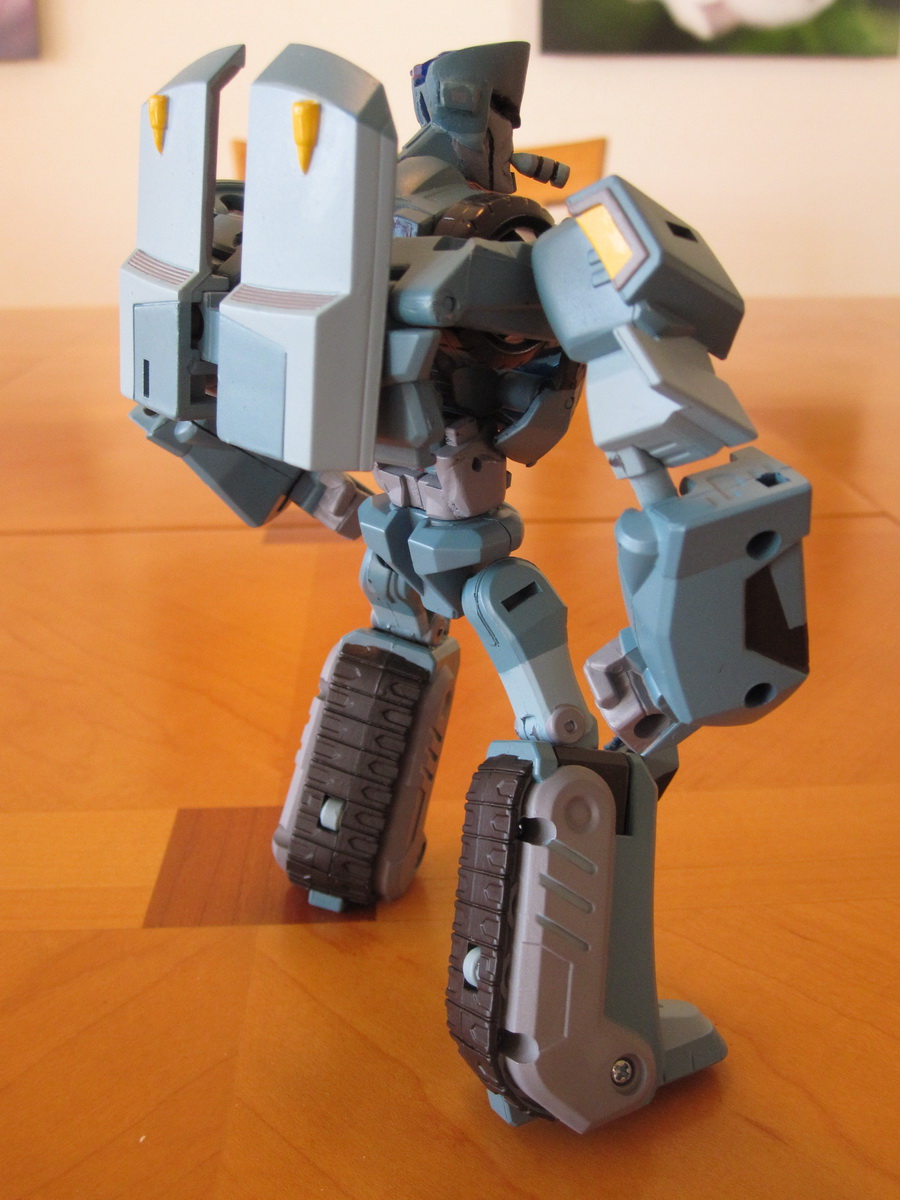
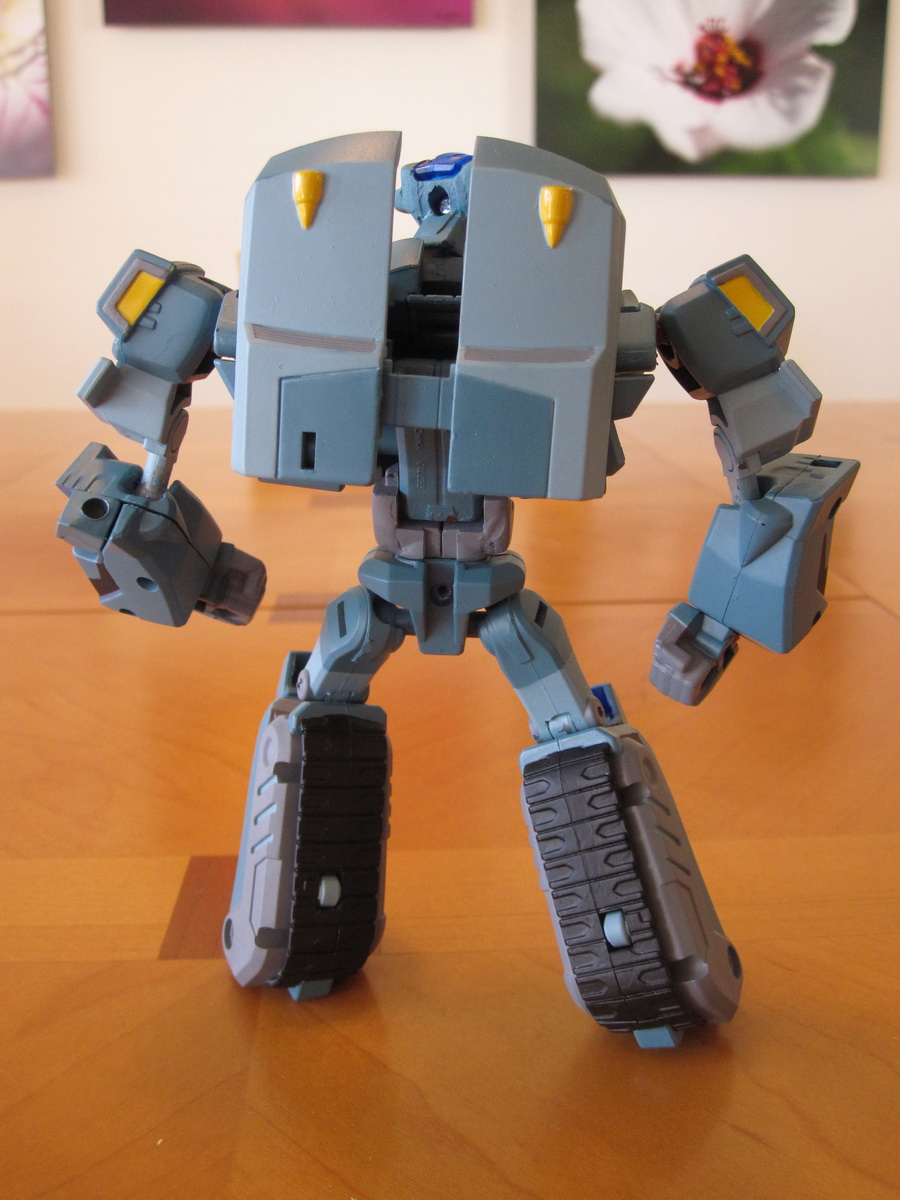 The final modification to this guy was re-purposing the shield accessory as a backpack. All I did was bore a hole, using an actual drill bit this time, on one of his back panels. This hole could then be used to peg in the shield so it could be positioned as a backpack. The other nice thing was that this hole was hidden in vehicle mode. I’m quite pleased with this simple mod for Kup.
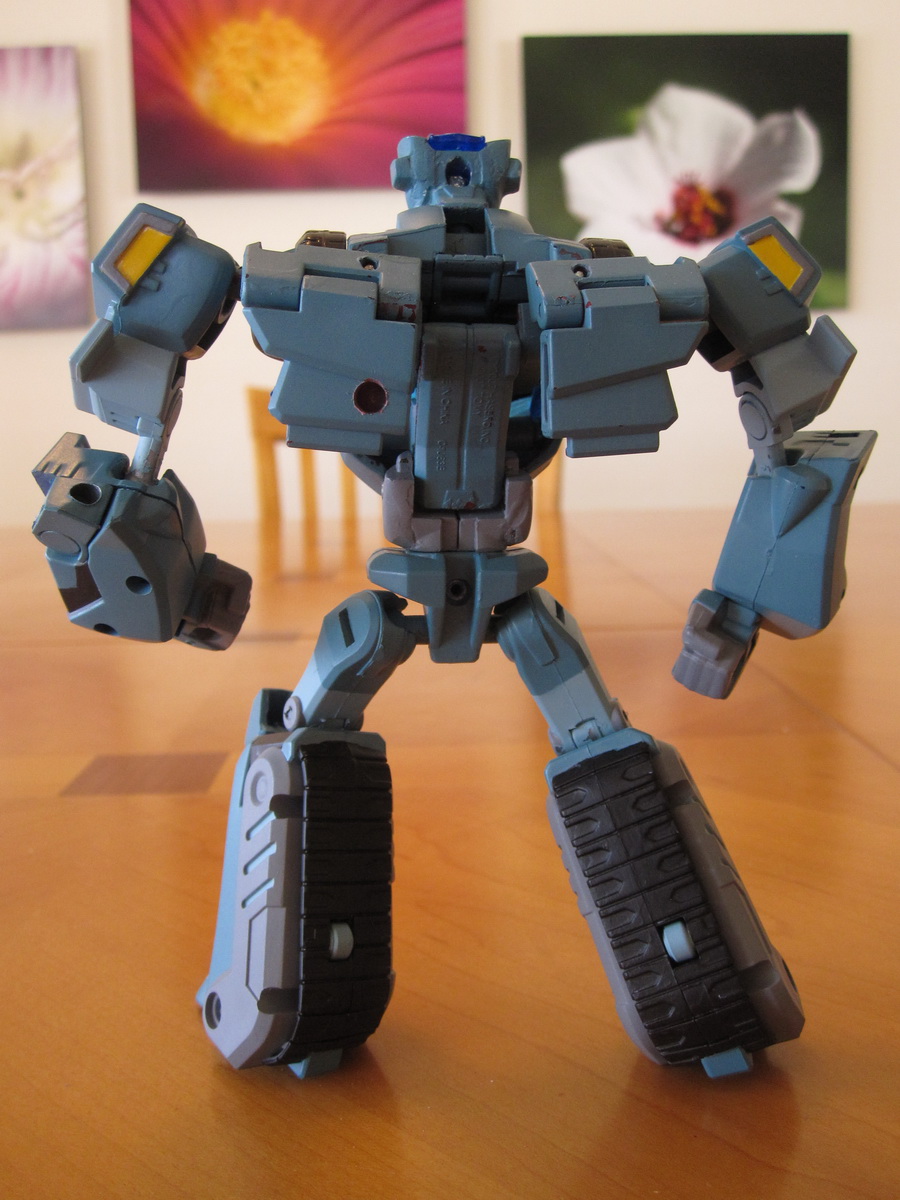
Now he was finally painted and I put him together for the first time. I added a few more robot mode details, and repainted some details that I felt were too sloppy. Some of the black lines I had originally hand-painted, were masked and repainted again with the airbrush to have harder edges. In the future, I will try to paint any details with the airbrush when possible, as the visible brushstrokes on this guy aggravate me.
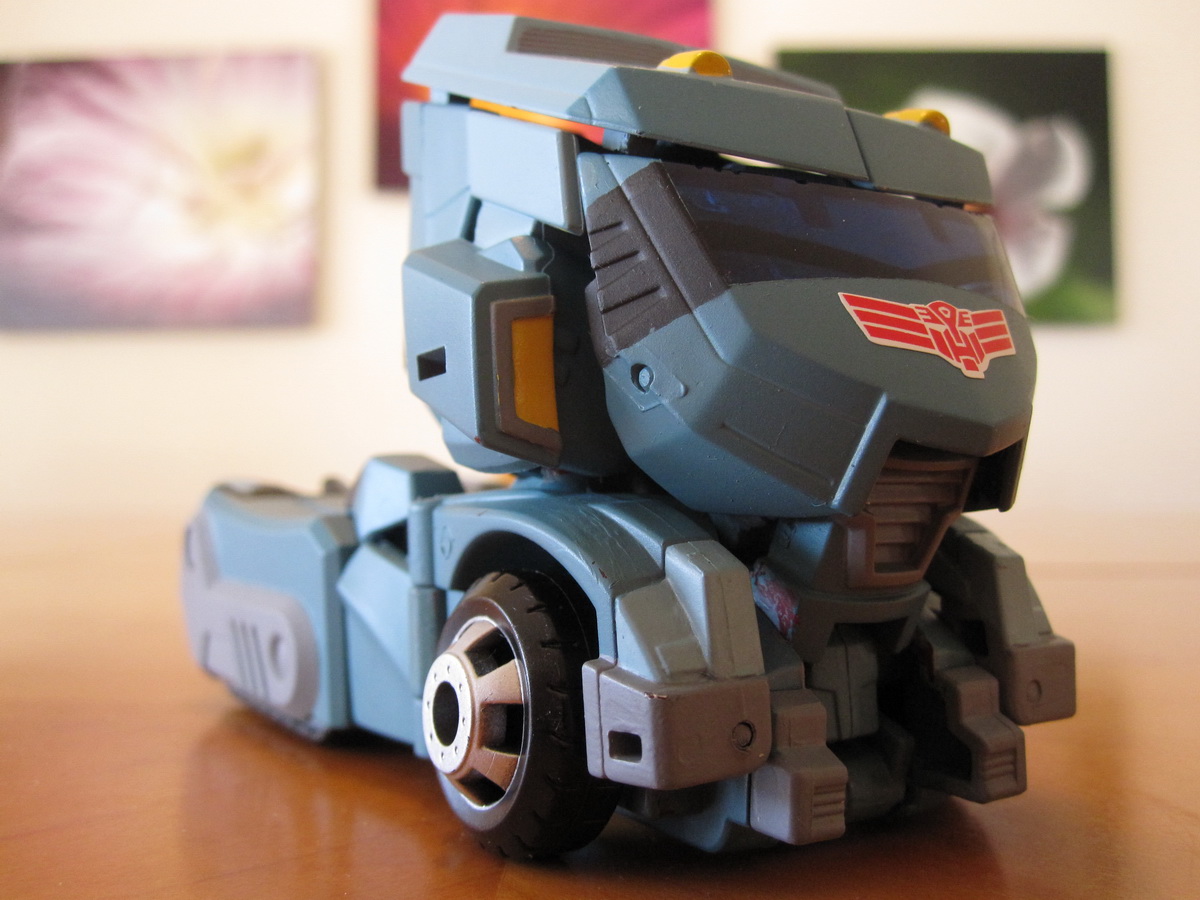
I then transformed him into vehicle mode, and came across all the rub issues. I tried to cover them up as much as possible with more paint, but I also added vehicle details this time like yellow lights and a gray bumper. As it turned out, some of these vehicle mode details helped the overall robot mode as well.
The final, final piece that he needed was his faction symbol. Kup is part of the Elite Guard and so needed the Elite Guard emblem. One order from Reprolabels, and Kup was now complete.

 The overall response to Kup by folks who have seen him has been tremendously positive. I’ve shown him off to local Arizona Transformers fans to a lot of praise. Some have offered to buy him from me, but unfortunately this guy was built to be part of my personal collection. In addition, some folks have asked if I could mold his head for their own customs. While I would have liked to have done that, now that he’s painted with his lightpiping inserted; I don’t want to risk ruining his face, especially since I don’t have any more of his paint.
After this custom project, I’m now much more comfortable with how to add sculpted details, and Kup is just the first of a series of Transformers Animated customs yet to come…

Fatal error: Declaration of Social_Walker_Comment::start_lvl(&$output, $depth, $args) must be compatible with Walker_Comment::start_lvl(&$output, $depth = 0, $args = []) in /home/floating/floatingcat.com/wp-content/plugins/social/lib/social/walker/comment.php on line 18